
How to Use a Spill Kit
This standard operating procedure explains how to use a spill kit — specifically the SpillTech 240 Liter Chemical Spill Kit — to safely contain, absorb, and dispose of small chemical spills. Follow these steps in order to protect yourself, contain the hazard quickly, and restore your kit to a ready state for future use.
Video: How to use your Spill Tech Chemical Spill Kit by Spill Tech (2020). All credit for the demonstration goes to the creator; watch the original on YouTube. The written guide below was generated from this video by Docsie. Creator? Request a change or removal.
This standard operating procedure explains how to use a spill kit — specifically the SpillTech 240 Liter Chemical Spill Kit — to safely contain, absorb, and dispose of small chemical spills. Follow these steps in order to protect yourself, contain the hazard quickly, and restore your kit to a ready state for future use.
Purpose
This SOP provides step-by-step guidance for using the SpillTech 240 Liter Chemical Spill Kit to respond to small chemical spills. It covers donning personal protective equipment (PPE), containing and absorbing the spill, stopping the source of a leak, safely disposing of hazardous waste, and restocking the kit after use.
Scope
This procedure applies to small chemical spills only. For larger or highly hazardous spills, do not attempt cleanup yourself — call SpillTech immediately for professional assistance.
Safety warning
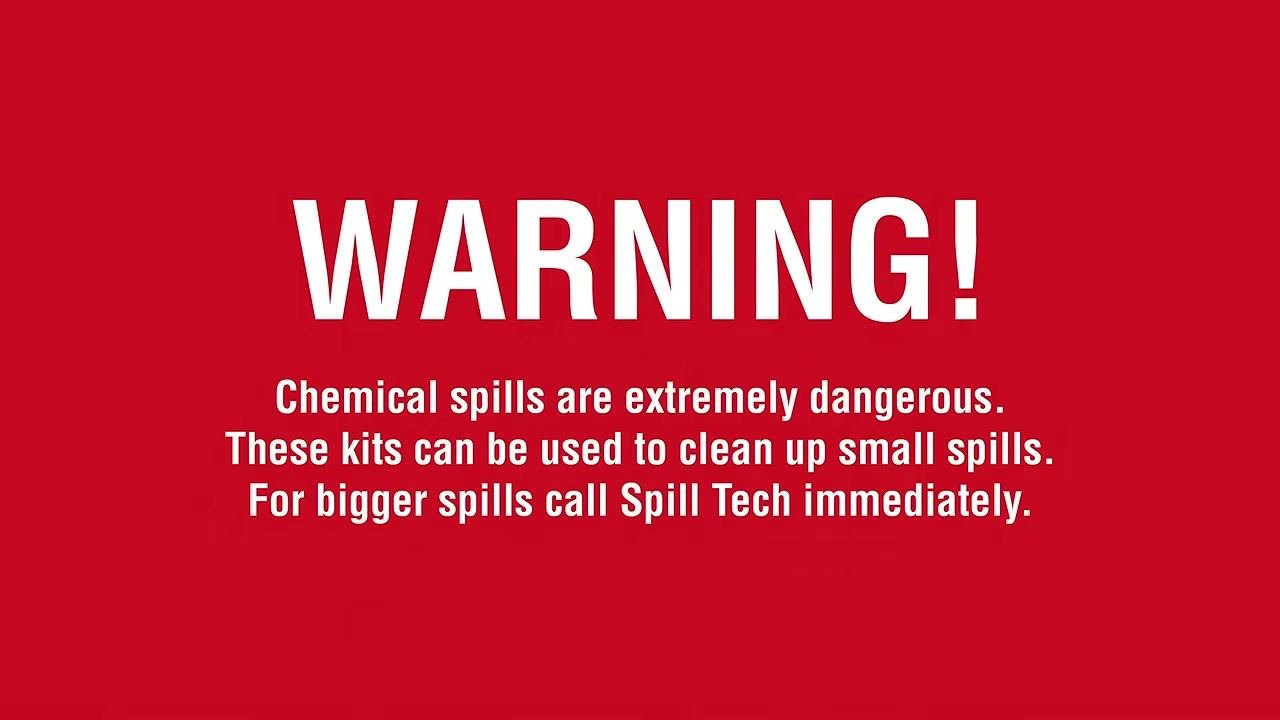
Chemical spills are extremely dangerous. Use this kit only for cleaning up small spills. For bigger spills, call SpillTech immediately.
Required equipment: kit contents
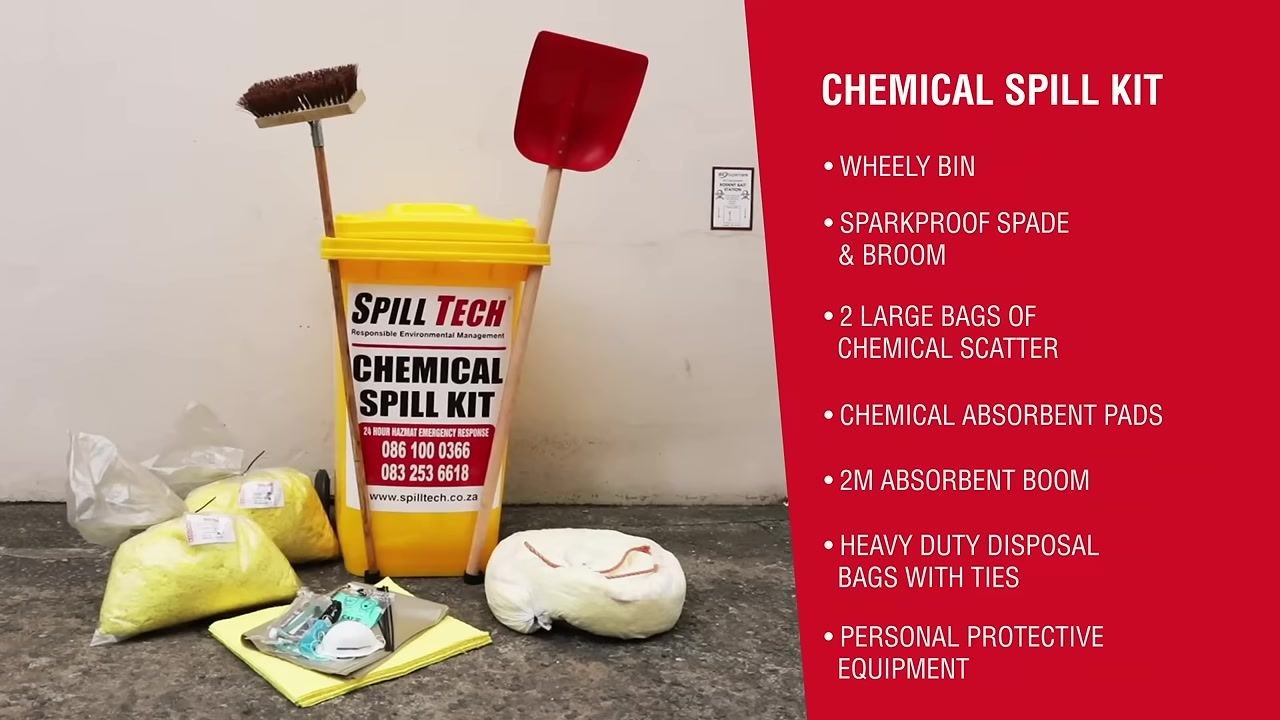
Before you begin, familiarize yourself with the contents of the SpillTech Chemical Spill Kit:
- Yellow wheely bin labeled "Spill Tech Chemical Spill Kit"
- Sparkproof spade and broom
- Two large bags of chemical scatter (yellow absorbent material)
- Chemical absorbent pads
- 2-meter absorbent boom (white, coiled)
- Heavy-duty disposal bags with ties
- Personal protective equipment (PPE): PVC gloves, goggles, dust mask
Depending on the type of chemical and your industry, alternative products may be required. Contact SpillTech for assistance customizing your spill kit to suit your specific needs.
Fire and static safety
Some chemicals, such as alcohols, are highly flammable and can ignite from a small spark. Static electricity from devices like cell phones can also ignite chemical fumes. Only use the non-friction (sparkproof) spades and brooms provided in the kit to minimize ignition risk.
Required PPE
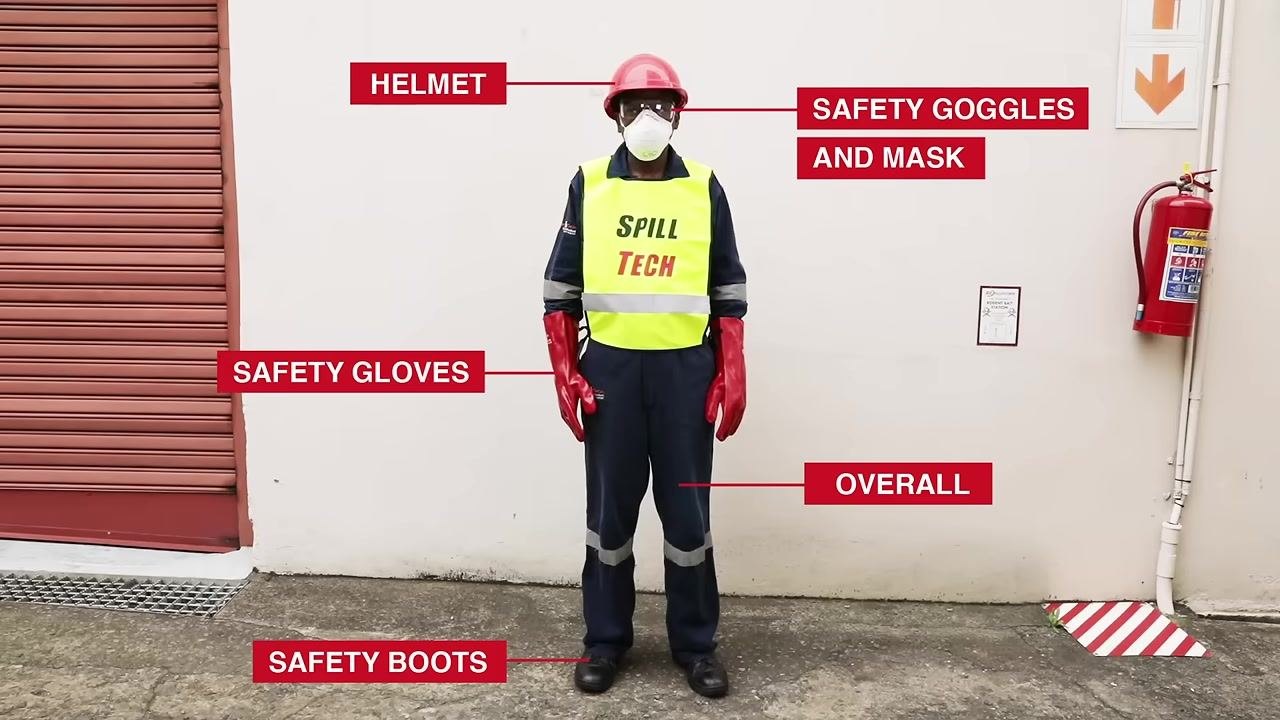
Always prioritize your safety before approaching a spill. Required PPE includes:
- Helmet
- Safety goggles and mask
- Overall
- Safety gloves
- Safety boots
Don your PPE in the correct order
Put on your protective equipment in the following sequence:
- Remove your helmet.
- Pull the mask forward onto your face to cover your nose and mouth, ensuring a snug fit.
- Put on your safety goggles.
- Put on your gloves.
- Replace your helmet.
- Confirm you are also wearing your overall and safety boots.
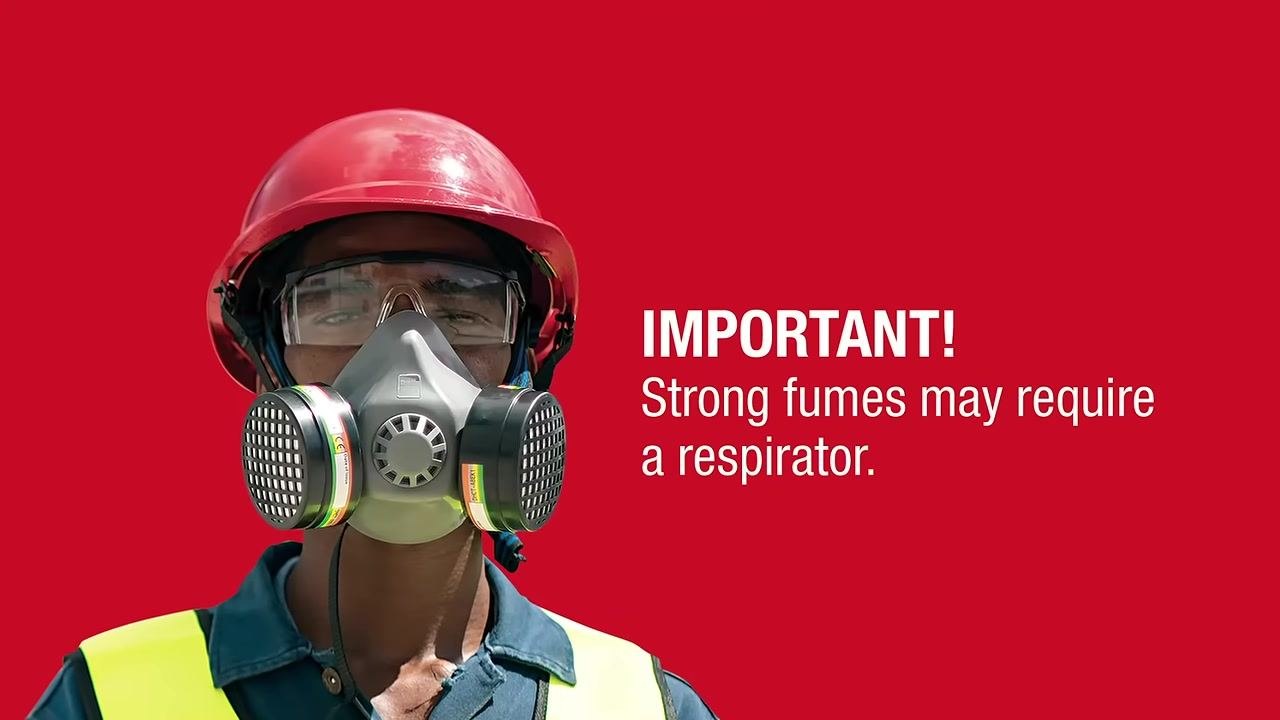
If the chemical gives off strong fumes, use a respirator instead of a standard dust mask. Ensure the respirator fits securely over your nose and mouth, and always prioritize respiratory protection when fumes are present.
Contain the spill
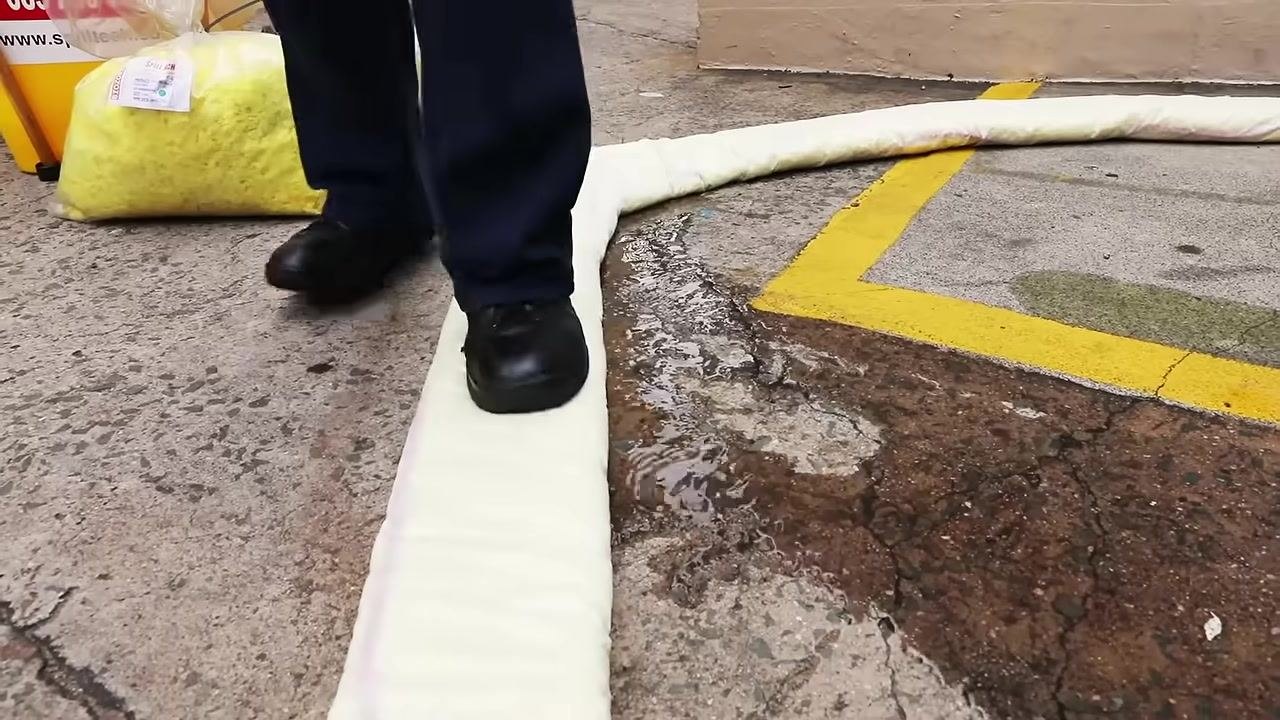
Assess the direction in which the liquid is flowing to determine the best position for the absorbent boom.
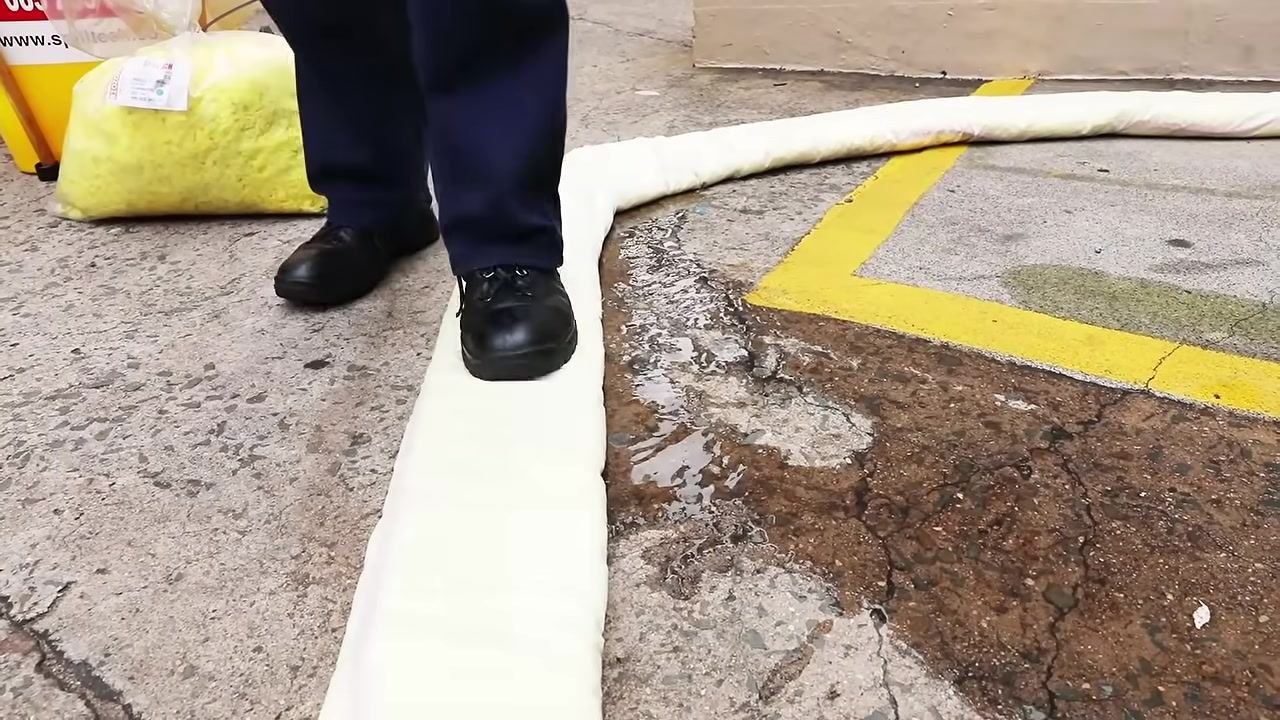
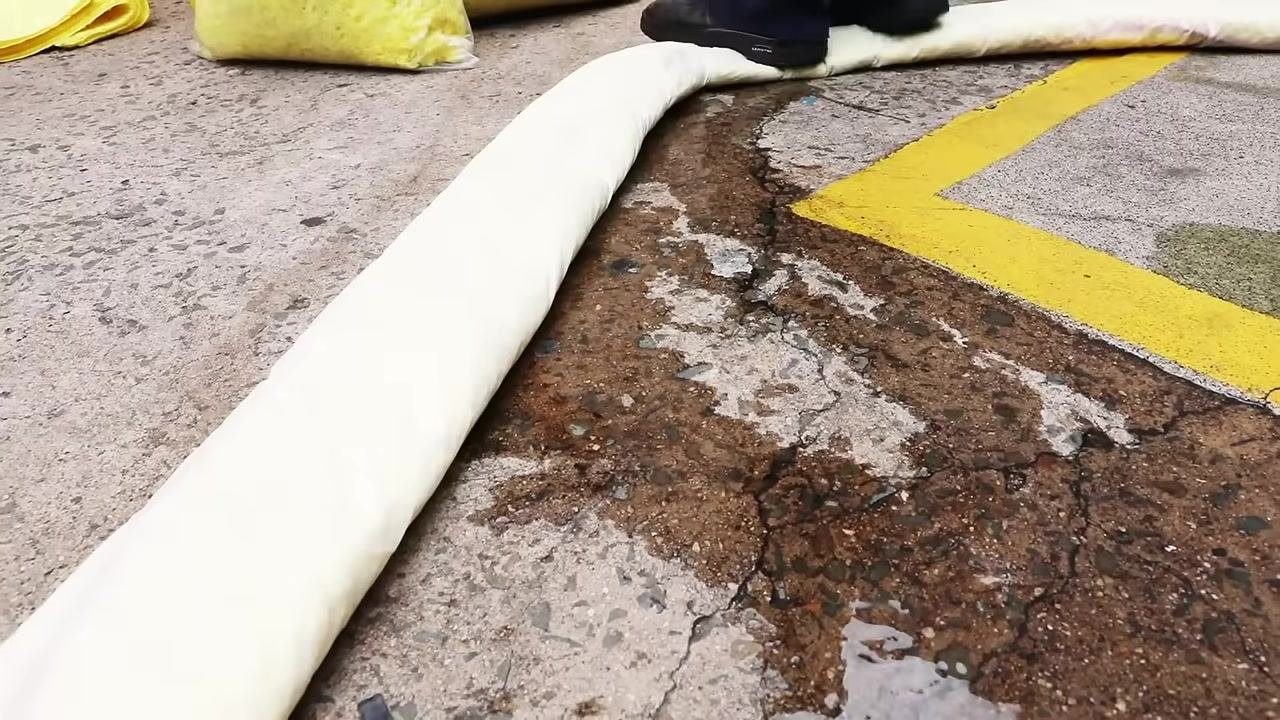
Spread the boom out in a semicircle around the spill to act as a dam wall. Walk along the top of the boom and press down firmly to close any gaps at the base, ensuring no liquid seeps underneath.
Work quickly to contain the spill and prevent hazardous liquid from reaching drains, causeways, or open ground.
Stop the source of the leak
If possible, identify and stop the source of the spill. If the leak is from a container, such as a hole in the side, plug the hole with absorbent pads.
When feasible, carefully turn the container so the damaged area or hole faces upward. This reduces liquid pressure and stops further leakage.
Absorb and clean up the spill
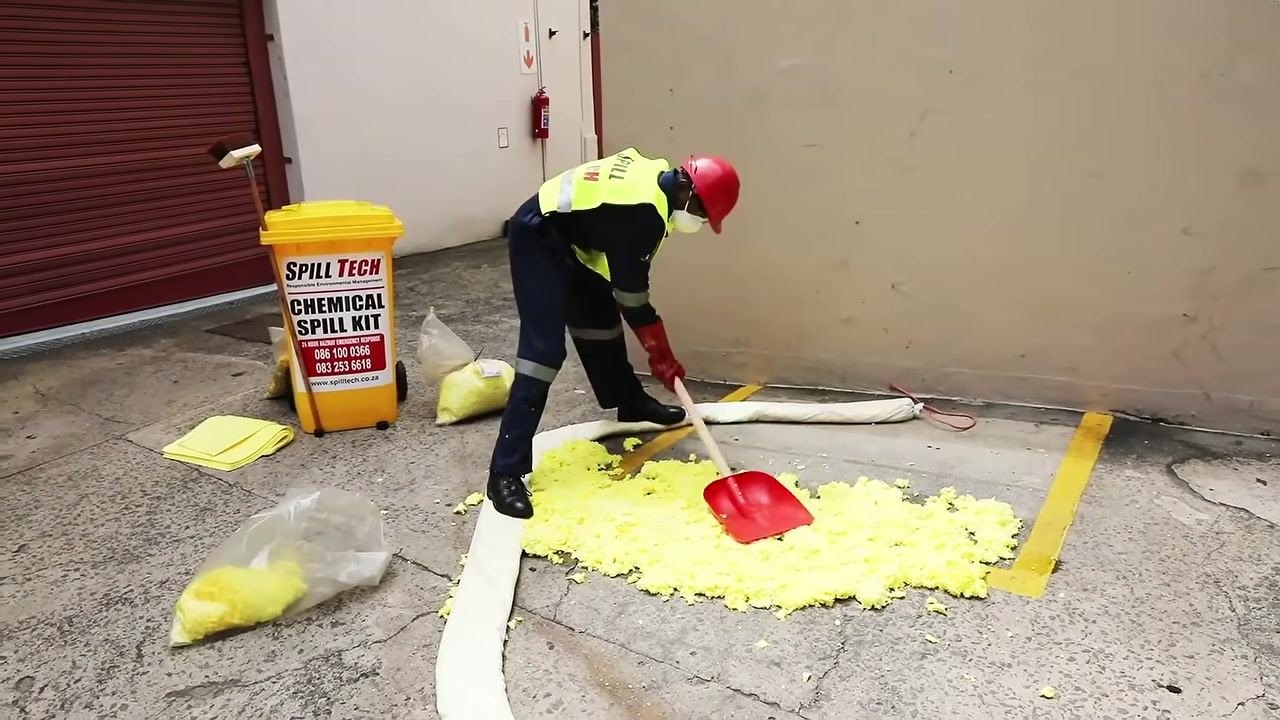
Open a bag of yellow chemical scatter absorbent and evenly apply a layer over the entire spill area. The scatter will change color as it absorbs the liquid.
If liquid remains visible, add more scatter and tap it down with the sparkproof spade to aid absorption. Use the sparkproof broom to sweep up the absorbed waste, always sweeping away from yourself to avoid contact with hazardous material.
Sweep up hazardous waste
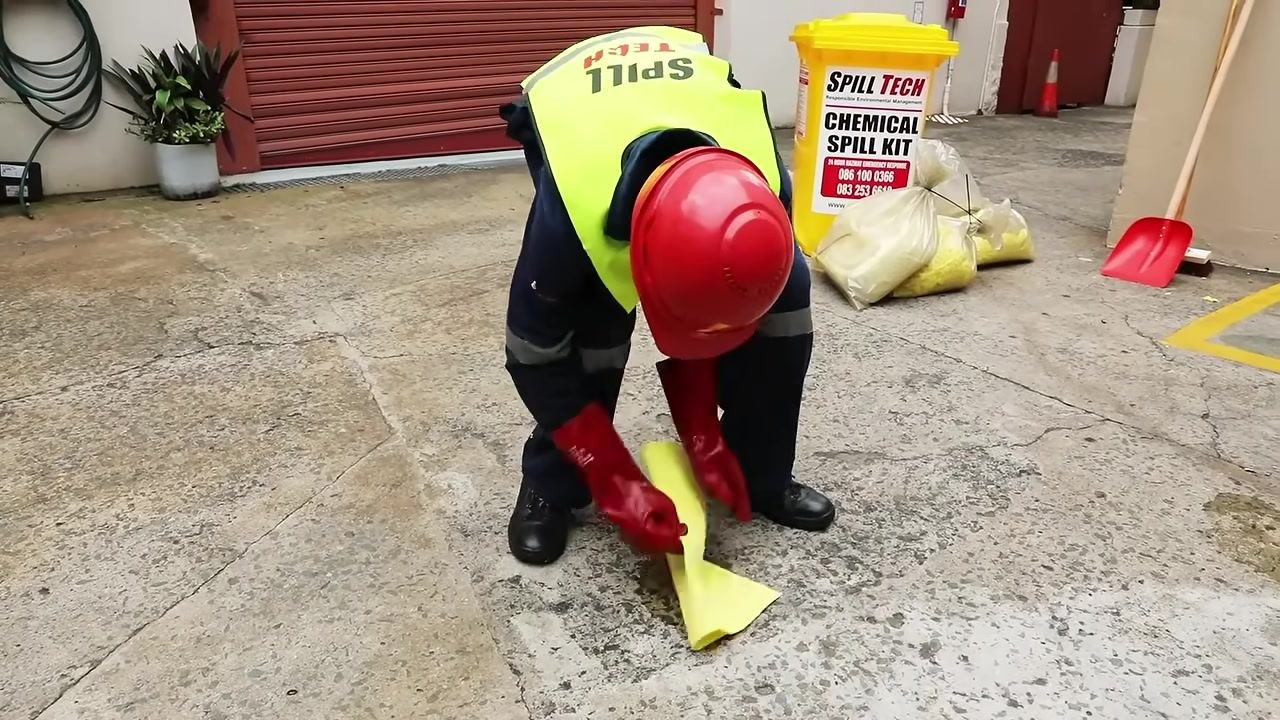
Continue wearing your PPE — gloves, goggles, mask or respirator, high-visibility vest, and helmet. Carefully sweep up the absorbed chemical residue using the sparkproof broom and spade, taking care not to sweep any hazardous material onto yourself or others.
Dispose of the waste
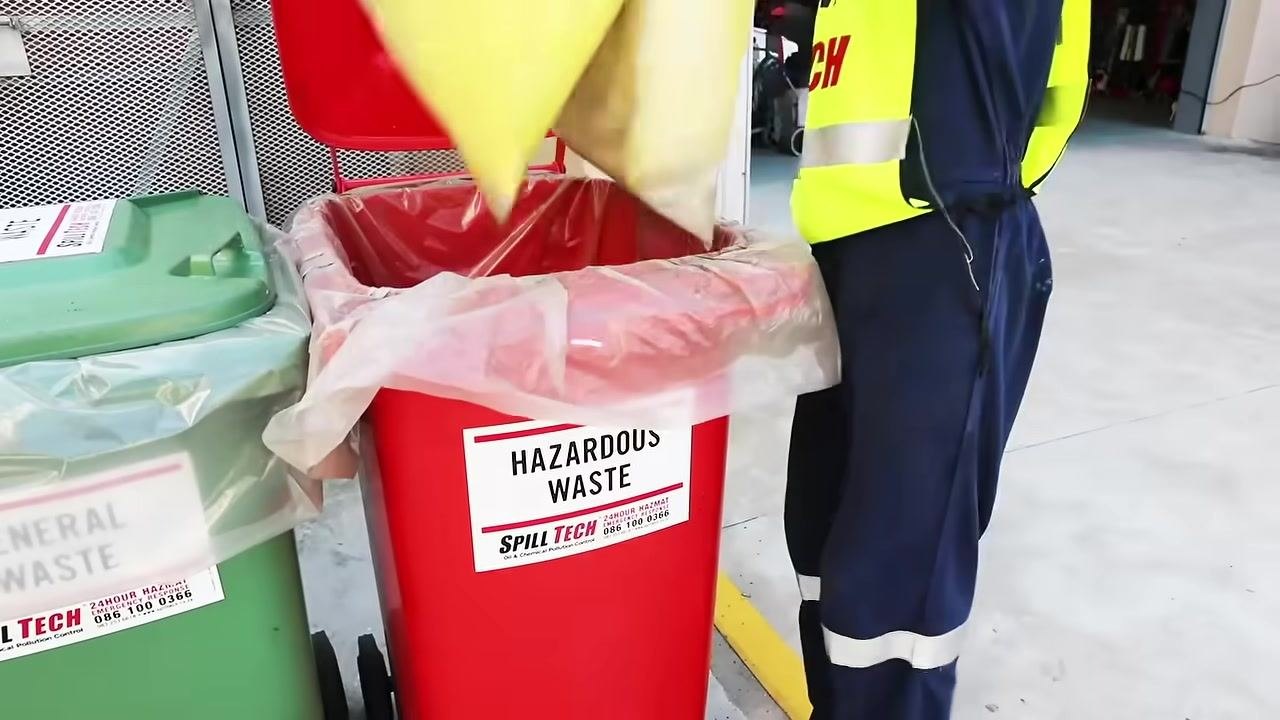
Place the swept-up chemical waste into the disposal bag supplied with your SpillTech kit.
Ensure the disposal bag is securely closed, then place it into a designated hazardous waste bin or skip labeled "HAZARDOUS WASTE." Do not use general waste bins for chemical residues.
Apply final degreasing cleanup
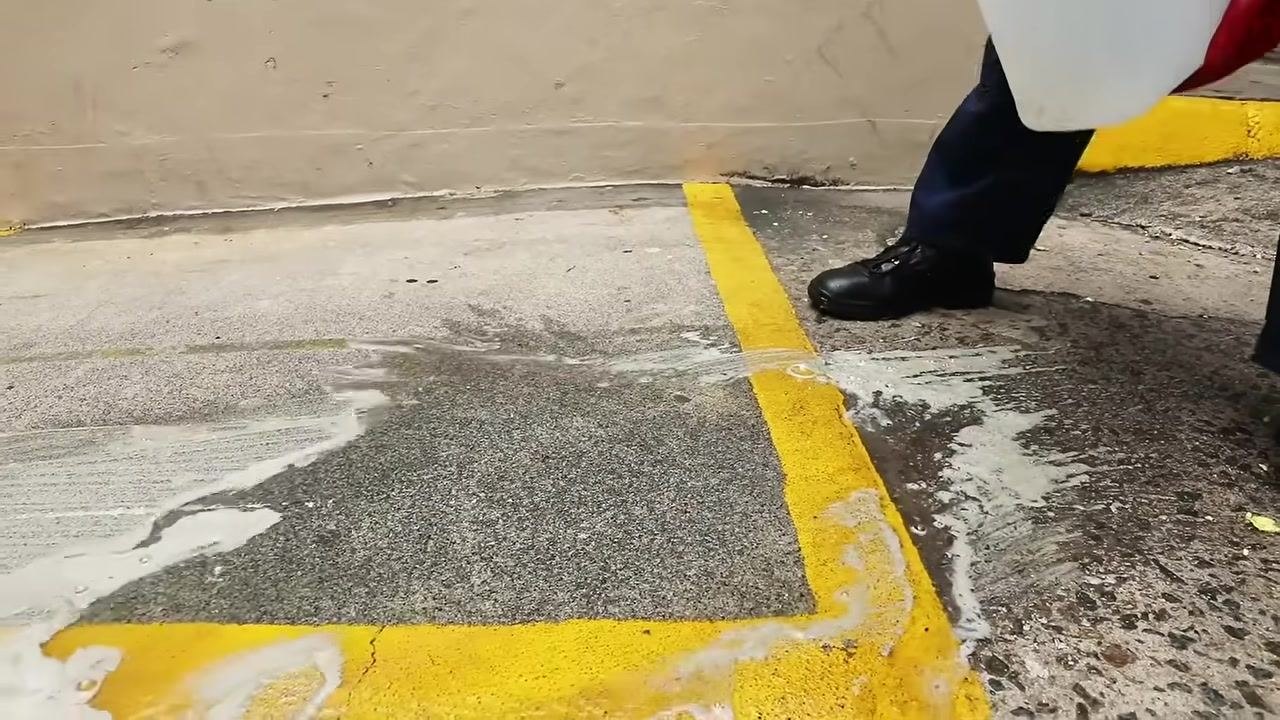
Pour the water-based oil slip SpillTech Bio-2 biodegradable degreaser onto the affected area. Use the broom to work the degreaser into the surface, loosening and lifting any remaining chemical or oil residue. The area can then be washed or hosed down with water.
For small spills, you can instead place chemical absorbent pads directly onto the remaining liquid and allow them to fully absorb the spill before disposal.
Special procedure: sulfuric or nitric acid spills
For acid spills, follow this specific sequence:
- Add SpillTech acid neutralizer to the spill area to neutralize the pH level.
- Use the scoop provided to evenly distribute the neutralizer over the acid spill.
- Once neutralized, add the solidifier to the area.
- The solidifier will transform the liquid into a solid or semi-solid mass, making it easier to contain and clean up.
Complete the final cleanup
After applying the neutralizer and solidifier, use the sparkproof broom and spade to sweep up the solidified chemical residue. Collect all remaining powder and debris from the spill site. Maintain full PPE — gloves, mask, high-visibility vest, and helmet — throughout this process. The area should remain surrounded by absorbent booms to prevent spread.
Restock the kit
Restock your SpillTech Chemical Spill Kit immediately after use:
- Inspect the SpillTech bin and replace all used items, including absorbent pads, booms, neutralizer, solidifier, disposal bags, and PPE.
- Confirm that the broom, spade, and all essential tools are present and in good condition.
- Store the kit in a clearly marked, easily accessible location.
- Keep the kit ready for immediate deployment in case of future spills.
Verification: confirm emergency contact information
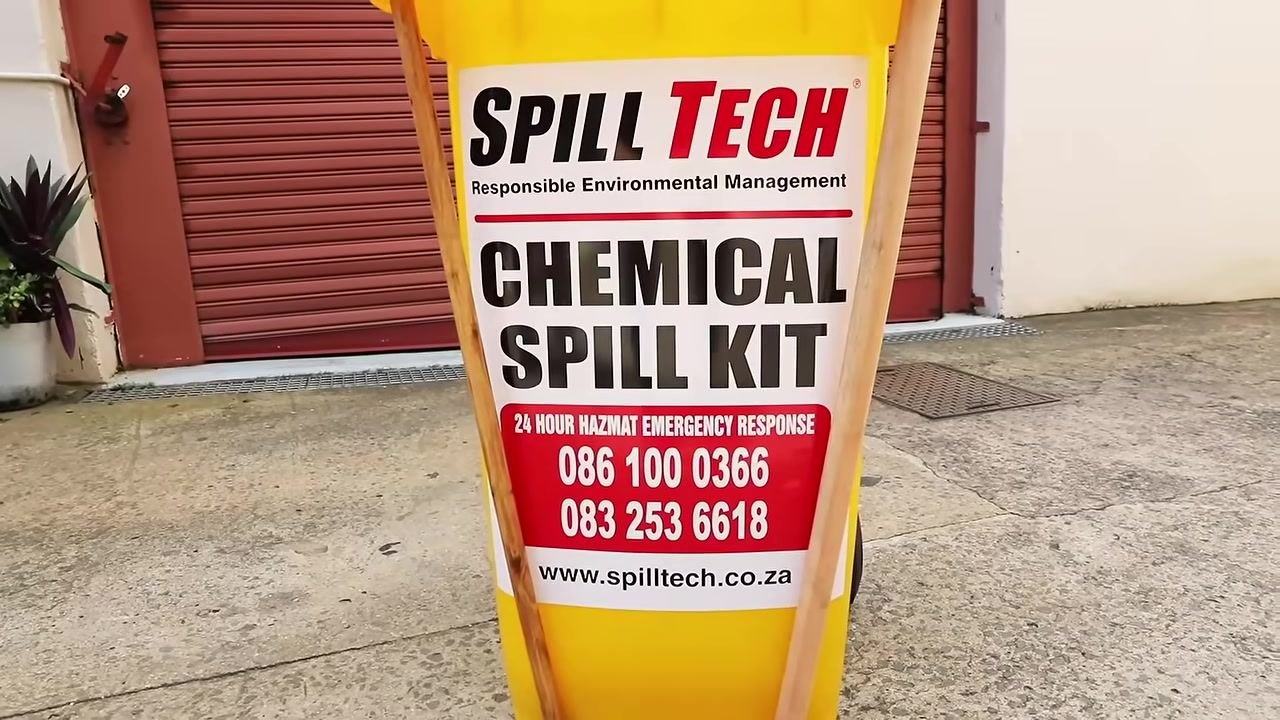
Check that the SpillTech Chemical Spill Kit label is intact and legible. Ensure the 24-hour hazmat emergency response numbers are clearly displayed:
- 086 100 0366
- 083 253 6618
Confirm the website address (www.spilltech.co.za) is visible for further information or assistance.
In the event of a major spill, or if you are unsure how to proceed, call SpillTech's 24-hour emergency response line at 086 100 0366. Visit www.spilltech.co.za for additional resources, product information, or to arrange professional spill response services.
Summary
By following these steps, you can safely and effectively use the SpillTech 240 Liter Chemical Spill Kit to contain and clean up small chemical spills. Always wear the correct PPE, act quickly to contain the spill, address the source of the leak before proceeding with cleanup, and dispose of hazardous waste using the correct containers and site-specific protocols. For acid spills, neutralize before solidifying and absorbing.
What's next
Keep your SpillTech Chemical Spill Kit fully stocked and stored in a clearly marked, accessible location at all times. This ensures you are prepared to respond quickly and safely to any future chemical spill incident. For large or highly hazardous spills, or if you are ever in doubt about how to proceed, contact SpillTech immediately for professional assistance.
Generation details: cost, quality tiers
Docsie billed 3,000 credits ($2.10) to analyze this 6-minute video at standard quality. The rewrite, template fill and Word/PDF exports were included. The same video at each quality tier:
| Quality | Frames sampled | Credits | Approx. cost |
|---|---|---|---|
| Draft | every 16-30 s | 1,500 | $1.05 |
| Standard (this guide) | every 8-15 s | 3,000 | $2.10 |
| Detailed | every 4-7 s | 6,000 | $4.20 |
| Ultra | every 1-3 s | 12,000 | $8.40 |
Credits priced at $0.70 per 1,000; plans include a monthly allowance. Enterprise customers on on-premise or bring-your-own-model deployments run this on their own inference and pay no per-video credits.
Generated by Docsie Video-to-Docs on 2026-09-09 from a 5-minute video. Screenshots are frames from the source video and belong to their creator, Spill Tech, whose original is embedded above. If you own this video and want the guide removed or credited differently, contact us and we will act within one business day.