
How to Create Infolets in Oracle Fusion
Infolets are small, interactive widgets that display key information relevant to your work areas. You can use them to monitor important metrics and identify items that may require follow-up. This guide explains how to create infolets in Oracle Fusion, from setting up your sandbox to configuring views, adding content, and publishing the finished infolet for all users.
Video: Cross-Product Features| Create an infolet by Oracle Applications Cloud Tutorials (2021). All credit for the demonstration goes to the creator; watch the original on YouTube. The written guide below was generated from this video by Docsie. Creator? Request a change or removal.
Infolets are small, interactive widgets that display key information relevant to your work areas. You can use them to monitor important metrics and identify items that may require follow-up. This guide explains how to create infolets in Oracle Fusion, from setting up your sandbox to configuring views, adding content, and publishing the finished infolet for all users.
Prerequisites
Before you create an infolet, ensure you have access to a sandbox environment with the Page Composer tool enabled and set to the Site Context layer. You can test your new infolet in the sandbox before making it available to all users.
Enter the sandbox
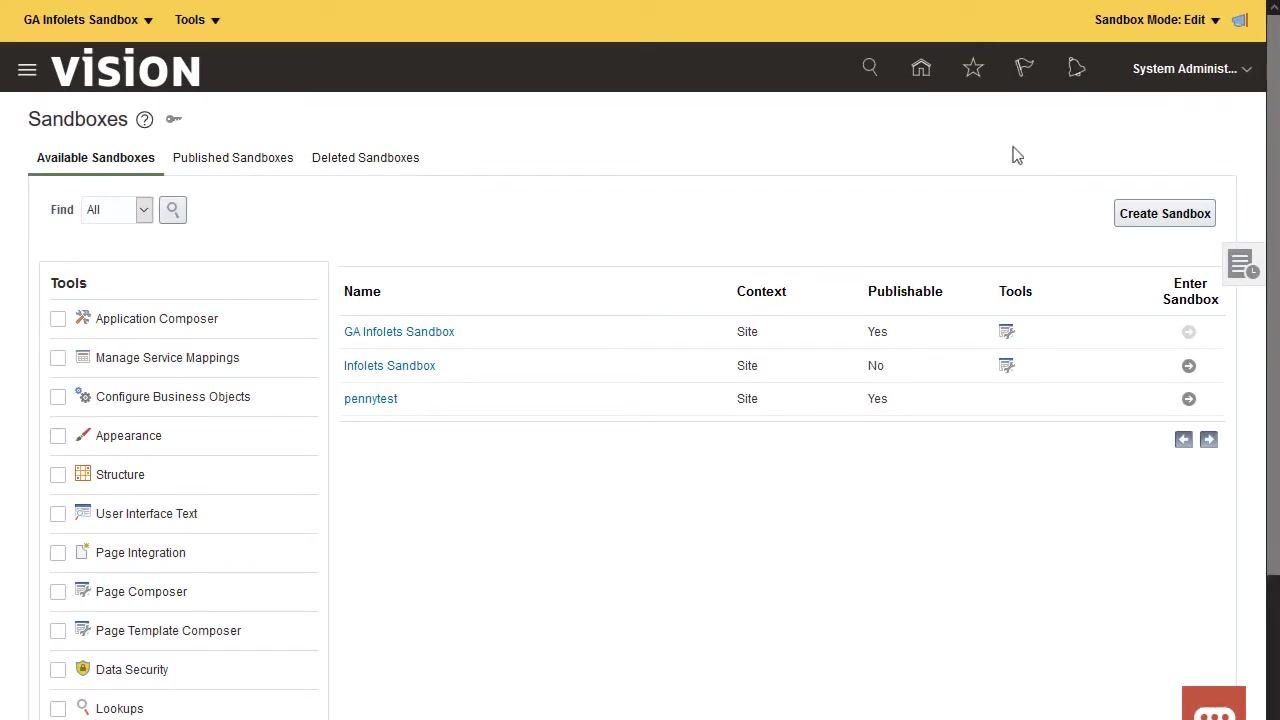
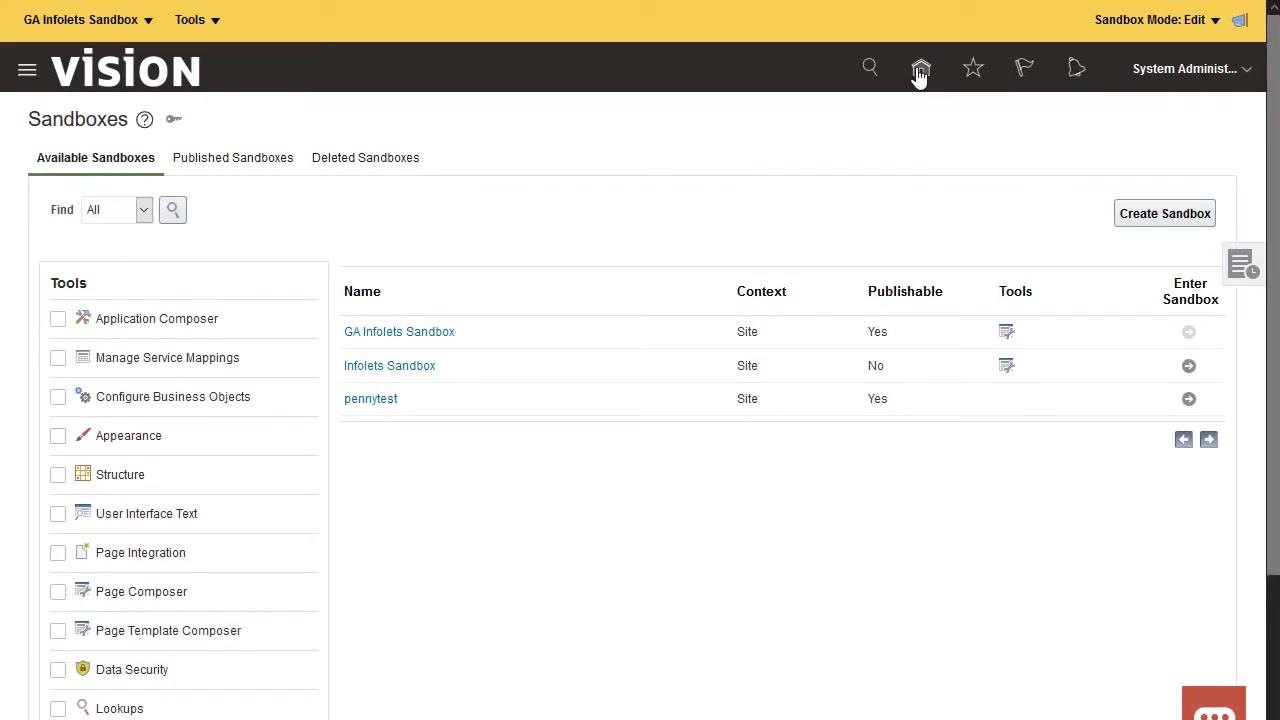
From the Sandboxes screen, locate a sandbox with the Page Composer tool and Site Context enabled. Example sandboxes include "GA Infolets Sandbox," "Infolets Sandbox," and "pennytest." Make sure the selected sandbox is publishable and has the required tools enabled.
Click the Enter Sandbox icon next to your chosen sandbox to begin editing.
Navigate to the infolet page
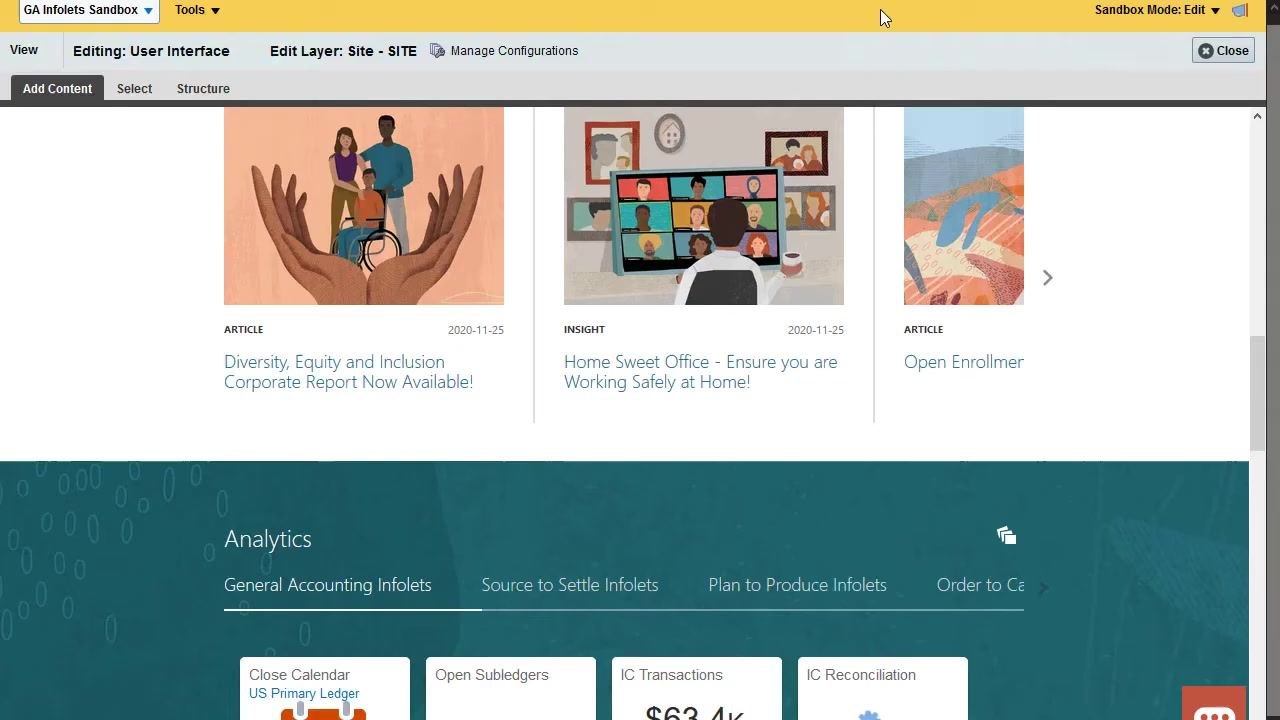
Go to the page where you want to add the new infolet. For example, the Analytics dashboard displays various infolets such as Close Calendar, Global Revenues, AR Reconciliation, AP Reconciliation, Travel Costs, Journals by Status, and Unallocated. Tabs at the top may include General Accounting Infolets, Source to Settle Infolets, Plan to Produce Infolets, and Order to Cash Infolets. Review the existing infolets to understand the layout and available information.
Select Edit Pages
On the infolet page, select Edit Pages to enable editing mode.
Open the infolet repository and create a new infolet
Click the Infolet Repository icon, typically found in the editing toolbar or menu. A dropdown appears listing available infolets and categories, such as AP Reconciliation, AR Reconciliation, Balance Sheet, Cash, Claims by Reason, Close Calendar, Debt, Global Revenues, IC Reconciliation, IC Transactions, Income, Journals, Margin YTD, Margins, Open Subledgers, Policy by Product, Travel Costs, and Turnover.
In the Infolet Repository, select the option to create a new infolet.
Configure the infolet views
Enter the infolet title (for example, "Balance"). Specify the front view dimensions by selecting from options such as 1x1, 2x1, 3x1, 1x2, 2x2, 3x2, 1x3, or 2x3. Enable the back view, which automatically inherits the same dimensions as the front view. Enable the expanded view if you need a larger display area.
Add content to the infolet
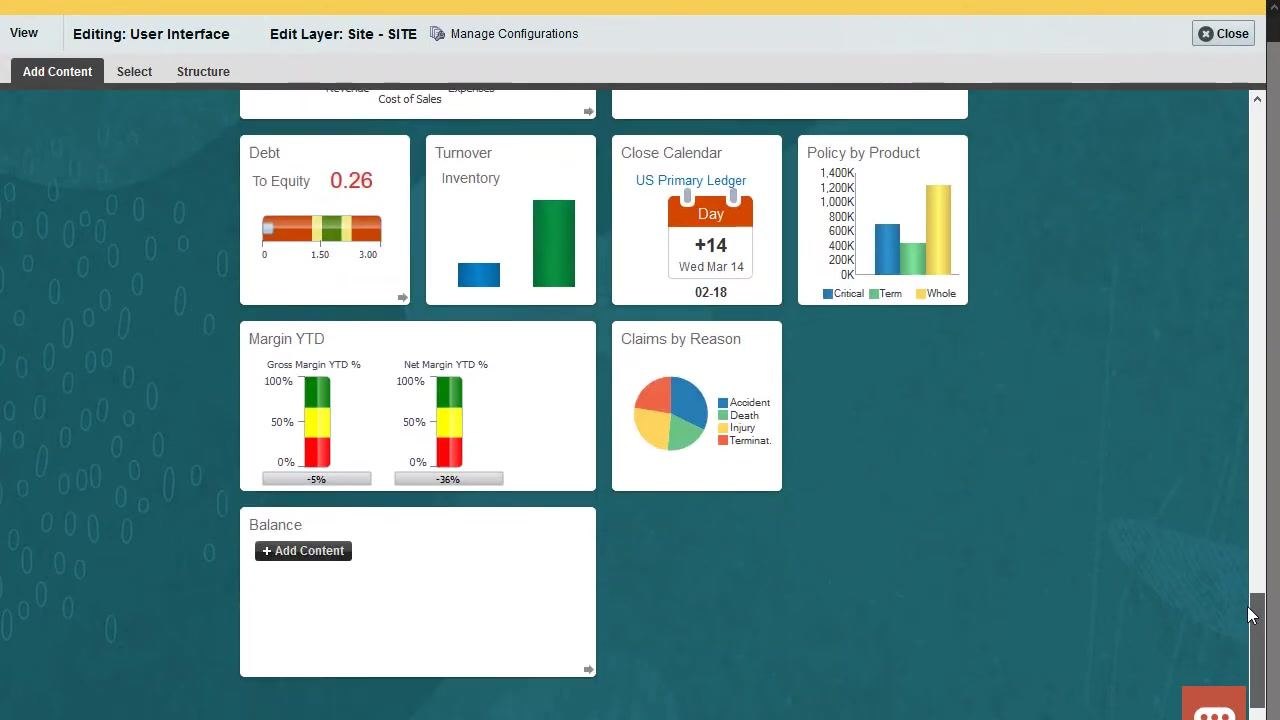
Once the infolet is created, locate it on the dashboard (for example, the "Balance" infolet with an Add Content button). Click Add Content to begin populating the infolet with data or visualizations.
Add a report to the infolet
To add content, navigate through the Reports and Analytics folder structure: BI Presentation Server > Shared Folders > continue navigating to the desired report. Select the desired report and add it to the infolet's front view.
Add a link to a detailed report
For more detailed information, add a link to the detailed report within the infolet. This allows users to access comprehensive data directly from the infolet.
Add content to the detailed report page
Navigate to the Reports and Analytics folder structure and select the desired report (for example, "Assets by Categories and Projects"). Add the report to the detailed report page, then click Done when finished.
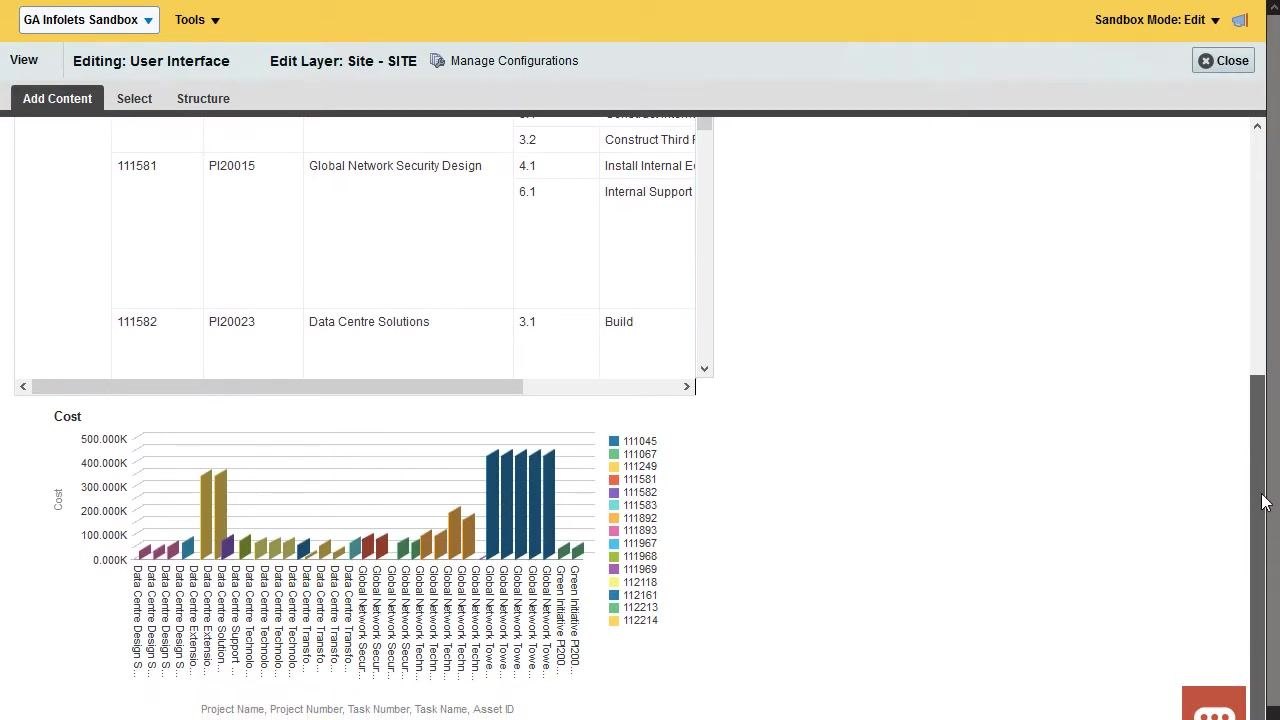
Return to the infolet for additional content
Navigate back to your infolet on the dashboard. Follow the same steps as before to locate and add another report to the infolet's back view.
Add a report to the expanded view
Select the expanded view option for your infolet. Navigate to the Reports and Analytics folder, then select and add the appropriate report to the expanded view.
Review the completed infolet
Confirm that all required views—front, back, and expanded—have the correct reports and visualizations, and that the infolet displays all necessary data and links.
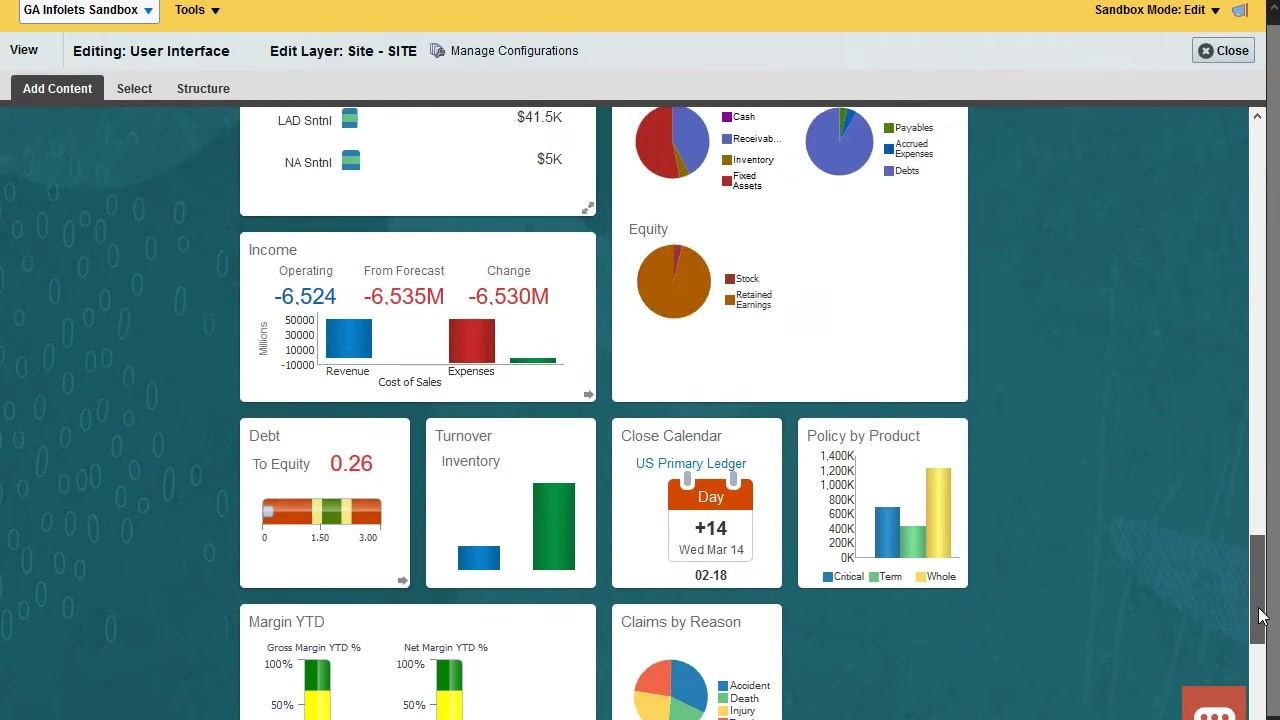
Close the infolet editing session
Click Close in the editing toolbar to exit the infolet configuration mode.
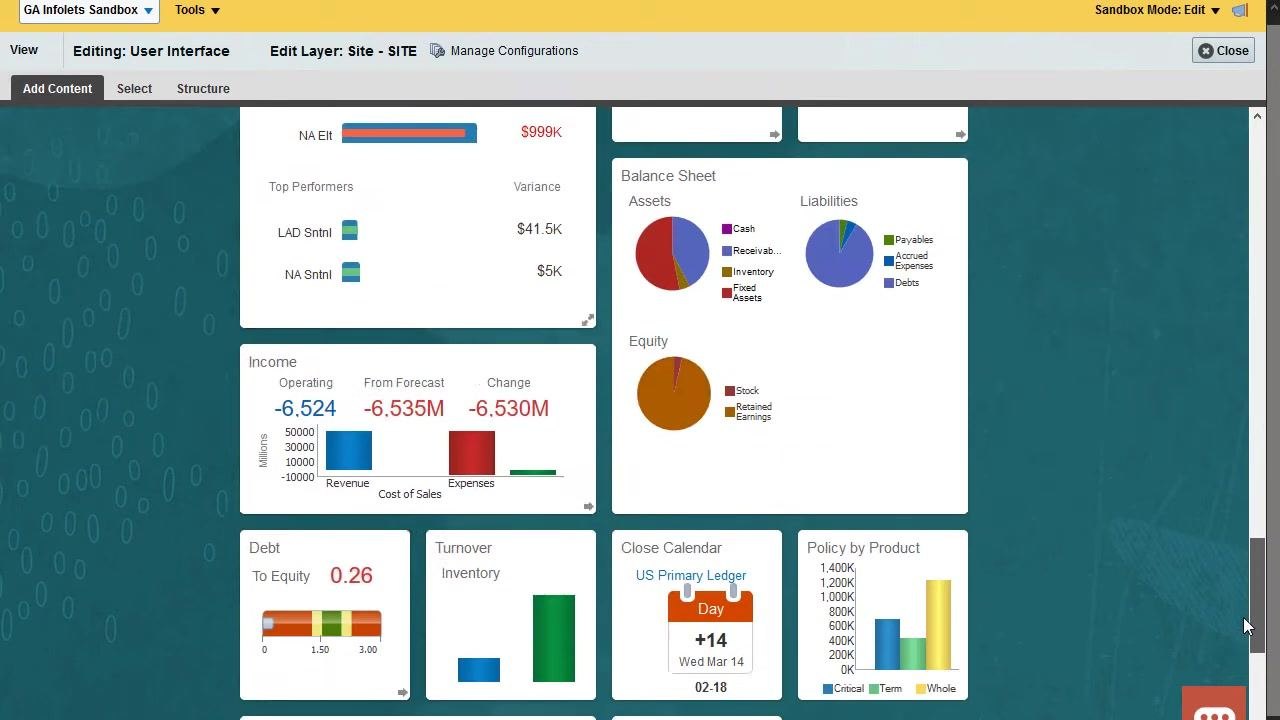
Preview the infolet
Preview the infolet to verify its appearance and functionality. Drill down to the detailed report to confirm the link works, and review the back and expanded views for accuracy.
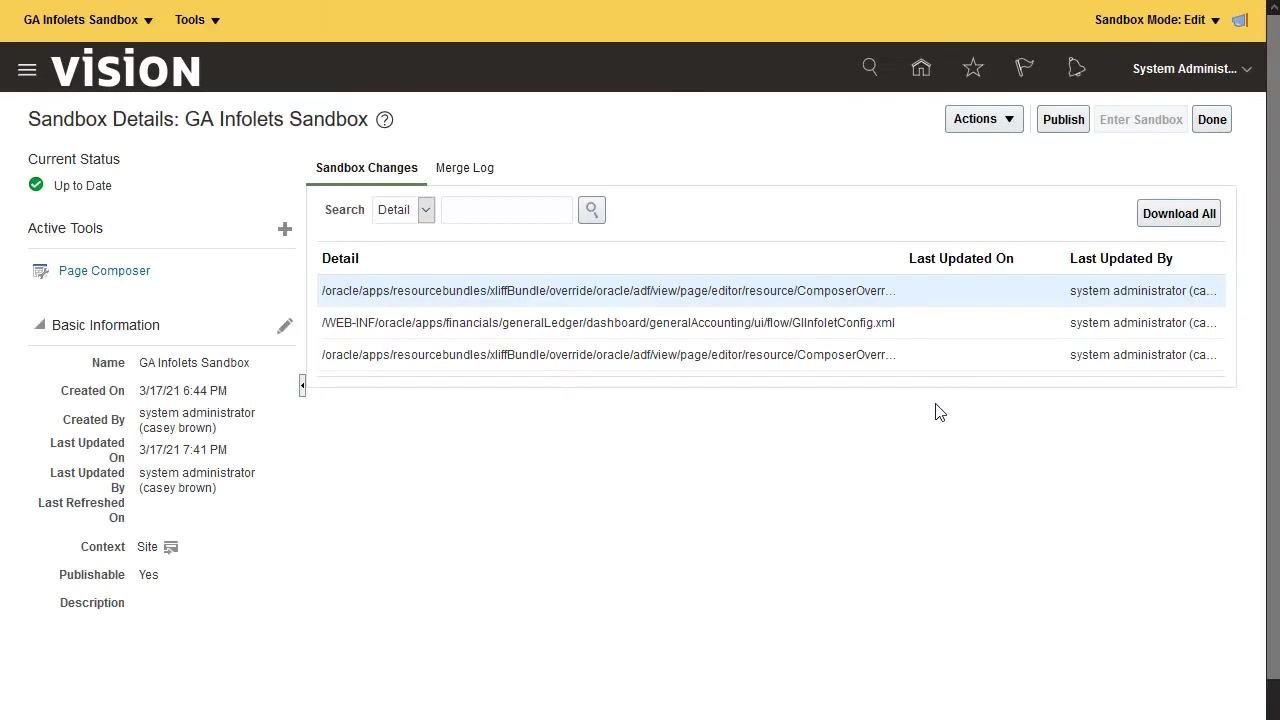
Finalize and publish the sandbox
Navigate to the Sandbox Details page and click Publish to make your new infolet available to all users. Confirm the publish action when prompted.
Verify the infolet is available
Return to the dashboard and confirm that your new infolet is visible and accessible to users.
Summary
By following these steps, you can create, configure, and populate a new infolet in Oracle Fusion, making key information easily accessible and actionable for users. With all views configured and content added, publishing the sandbox ensures key metrics and reports are available organization-wide.
Generation details: cost, quality tiers
Docsie billed 2,000 credits ($1.40) to analyze this 4-minute video at standard quality. The rewrite, template fill and Word/PDF exports were included. The same video at each quality tier:
| Quality | Frames sampled | Credits | Approx. cost |
|---|---|---|---|
| Draft | every 16-30 s | 1,000 | $0.70 |
| Standard (this guide) | every 8-15 s | 2,000 | $1.40 |
| Detailed | every 4-7 s | 4,000 | $2.80 |
| Ultra | every 1-3 s | 8,000 | $5.60 |
Credits priced at $0.70 per 1,000; plans include a monthly allowance. Enterprise customers on on-premise or bring-your-own-model deployments run this on their own inference and pay no per-video credits.
Generated by Docsie Video-to-Docs on 2026-10-14 from a 3-minute video. Screenshots are frames from the source video and belong to their creator, Oracle Applications Cloud Tutorials, whose original is embedded above. If you own this video and want the guide removed or credited differently, contact us and we will act within one business day.