
How to Send a Secure Email in Outlook
This guide shows you how to send a secure email in Outlook using the desktop version of Microsoft Outlook with a Microsoft 365 account. You'll configure S/MIME encryption in the Trust Center and then apply it to a new message before sending.
Video: How to Send an Encrypted Email in Microsoft Outlook by MyExcelOnline.com (2024). All credit for the demonstration goes to the creator; watch the original on YouTube. The written guide below was generated from this video by Docsie. Creator? Request a change or removal.
This guide shows you how to send a secure email in Outlook using the desktop version of Microsoft Outlook with a Microsoft 365 account. You'll configure S/MIME encryption in the Trust Center and then apply it to a new message before sending.
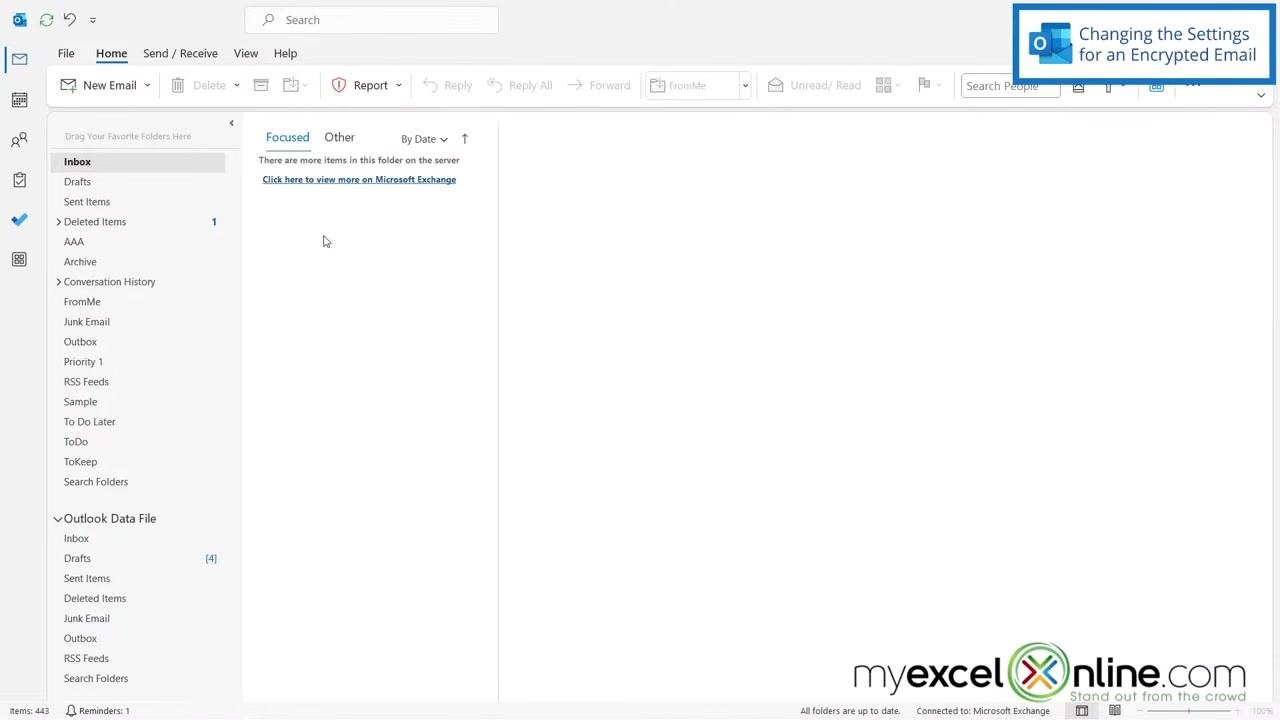
Prerequisites
- You need Microsoft Outlook (desktop version) connected to a Microsoft 365 account.
- Your recipient must also use Outlook 365. Both sender and recipient need Outlook 365 for encrypted messages to work correctly.
Configuring the settings for an encrypted email
Before you can send a secure email in Outlook, you need to set up your encryption preferences in the Trust Center.
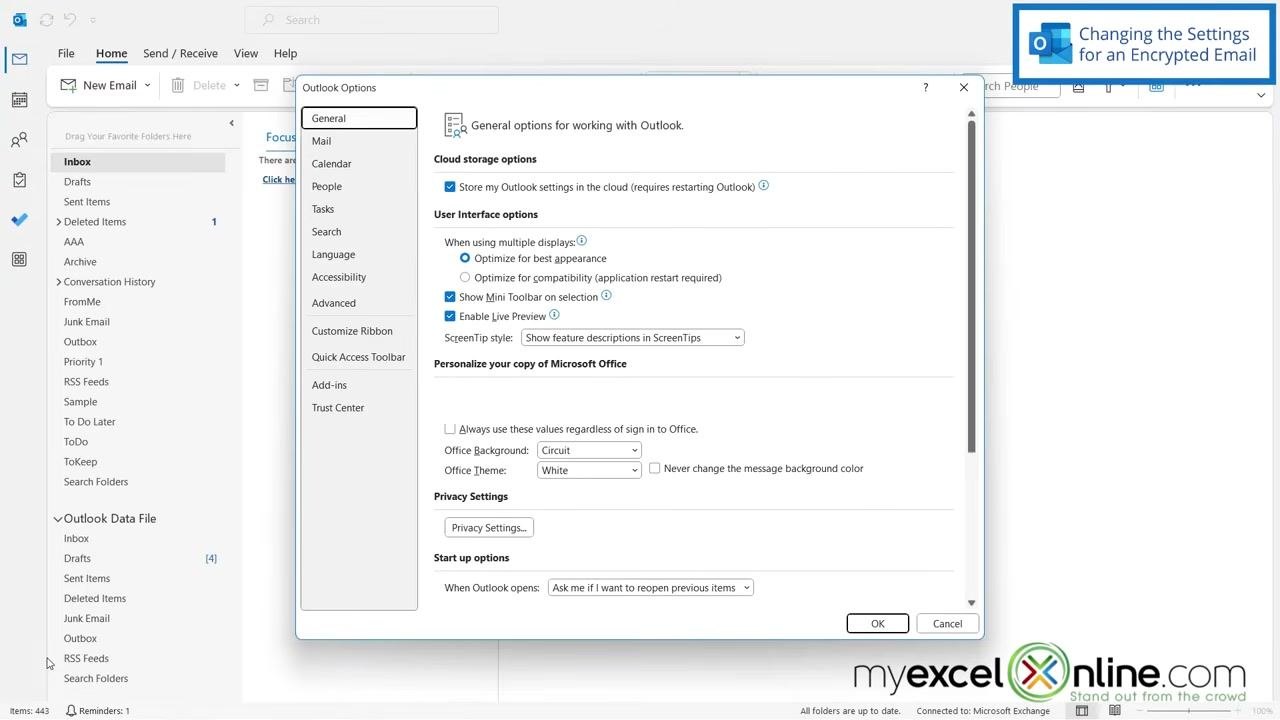
- Open File in the top-left corner of Outlook.
- Select Options to open the Outlook Options dialog.
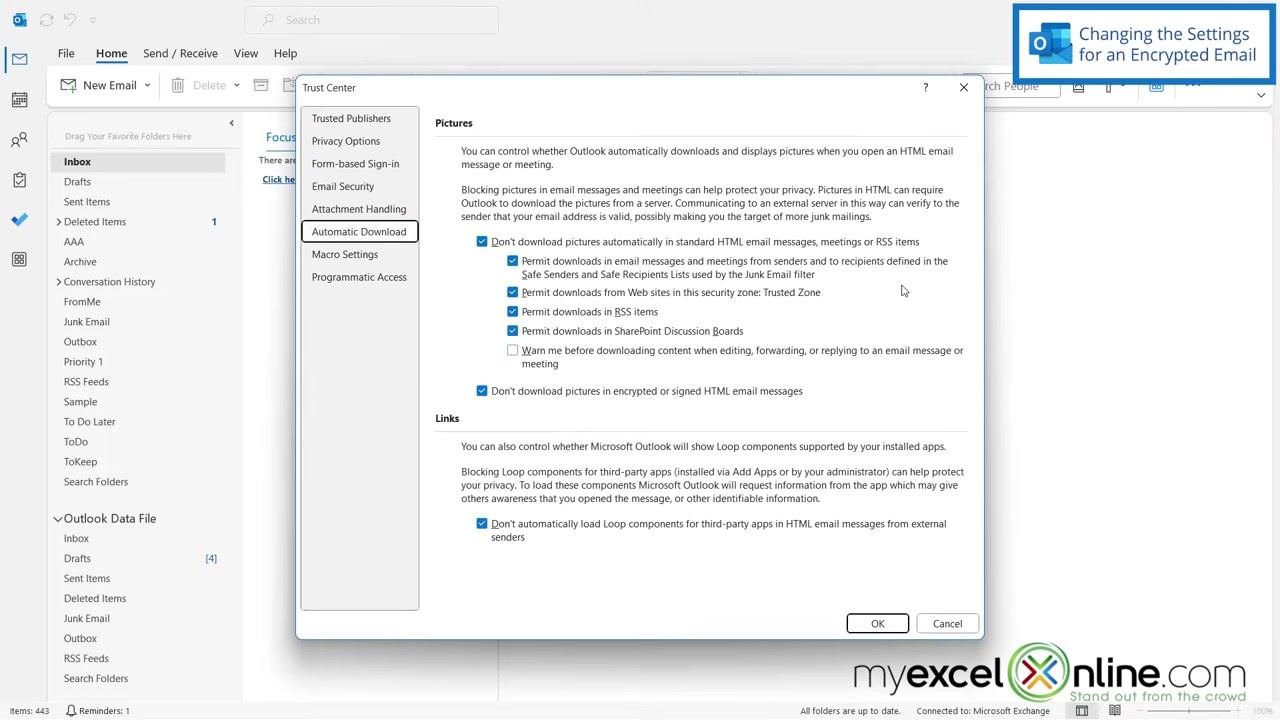
- In the left sidebar, select Trust Center.
-
Click Trust Center Settings to open the Trust Center dialog.
-
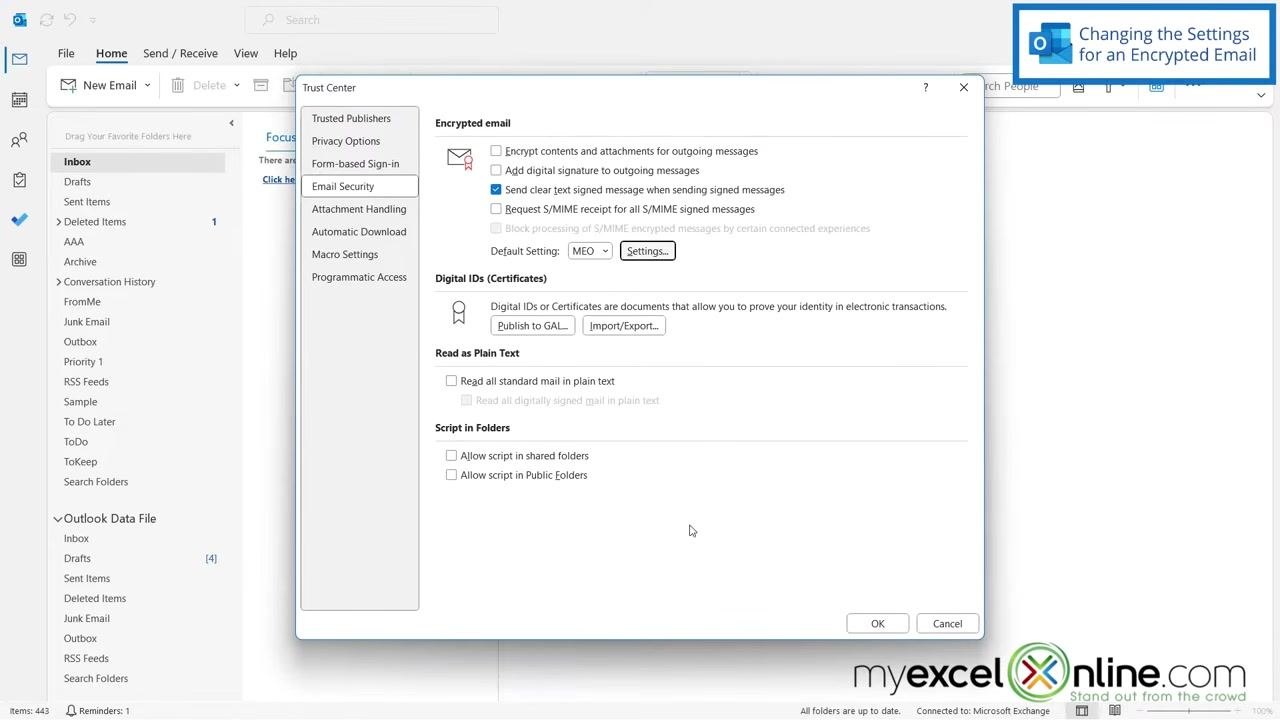
In the Trust Center dialog, select Email Security from the left sidebar.
-
Under the "Encrypted email" section, click Settings....
-
In the Change Security Settings dialog, configure the following:
- Enter a name in the Security Settings Name field (for example, "MEO").
- Set Cryptography Format to S/MIME.
- Confirm or select your Signing Certificate and Encryption Certificate (for example, "Microsoft Your Phone").
- Set Hash Algorithm to SHA1.
- Set Encryption Algorithm to AES (256-bit).
- Make sure the checkbox for "Send these certificates with signed messages" is checked.
- Click OK to save your settings.
- Back in the Trust Center dialog, confirm that your new setting (for example, "MEO") now appears under Default Setting.
- Click OK to close the Trust Center dialog, then click OK again to close the Outlook Options dialog.
With these settings saved, Outlook is now configured to send encrypted emails using your chosen security settings.
Writing and sending a secure email in Outlook
- Return to the main Outlook window and click New Email to open a new message.
-
In the new message window, go to the Options tab on the ribbon.
-
Under the Encrypt section, click the Encrypt button to open the encryption options dropdown.
- Select Encrypt with S/MIME from the dropdown menu. A tooltip may appear stating "Encrypt this message using S/MIME."
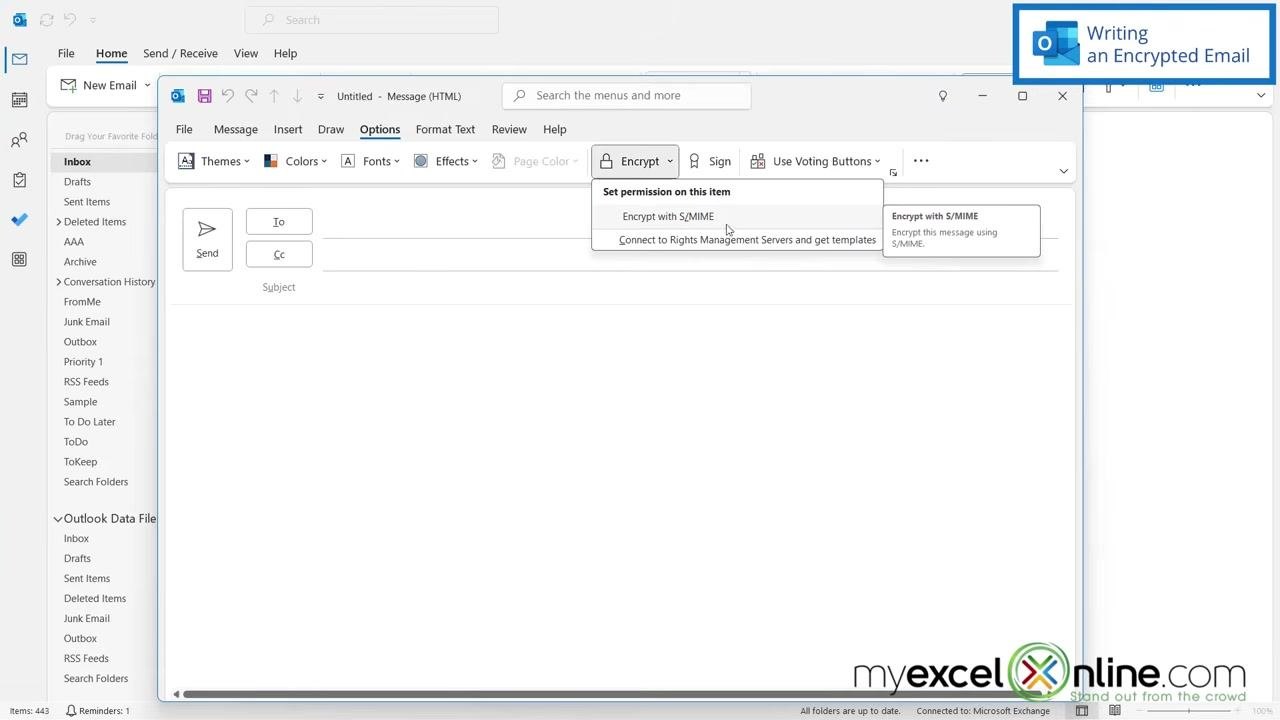
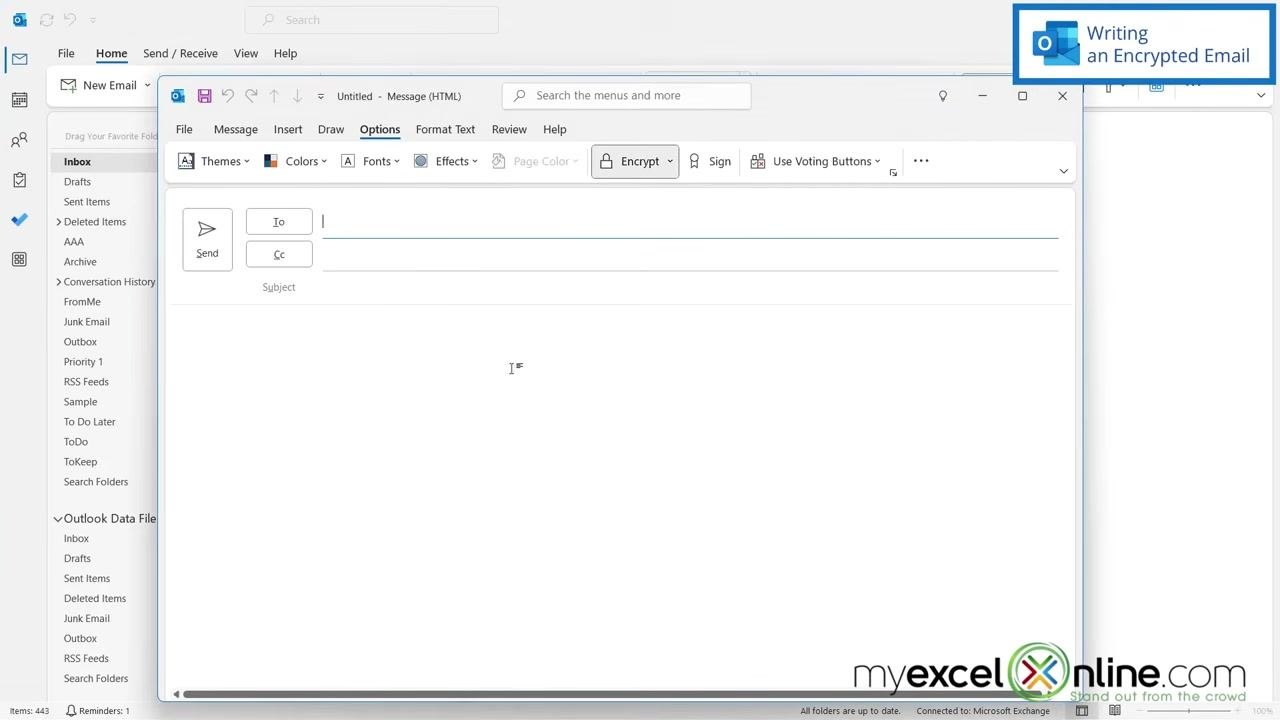
- Confirm that the Encrypt button is now highlighted, which indicates encryption is enabled for this message.
- Compose your email as usual. It will be sent encrypted.
What's next
- To learn more about Microsoft Excel and Office, you can explore the MyExcelOnline Academy, which offers over 1,000 video training tutorials.
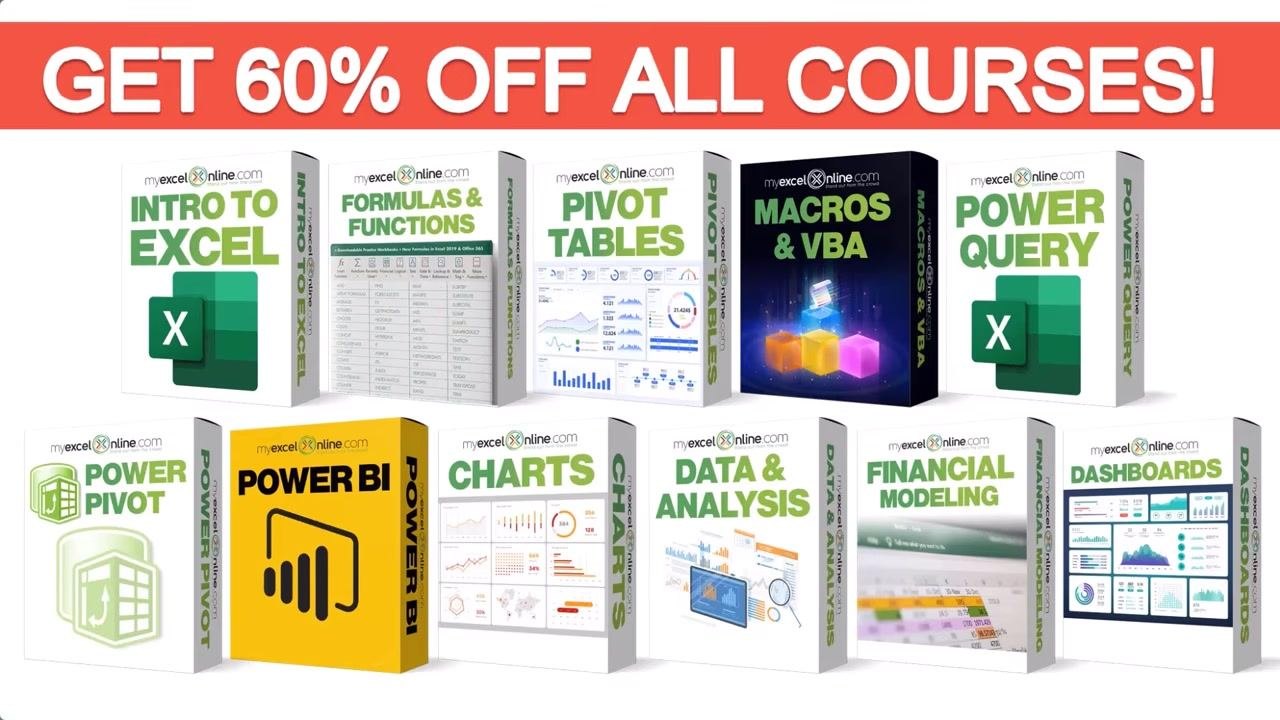
- A promotional offer of 60% off all courses is available, covering topics such as Intro to Excel, Formulas & Functions, Pivot Tables, Macros & VBA, Power Query, Power Pivot, Power BI, Charts, Data & Analysis, Financial Modeling, and Dashboards.
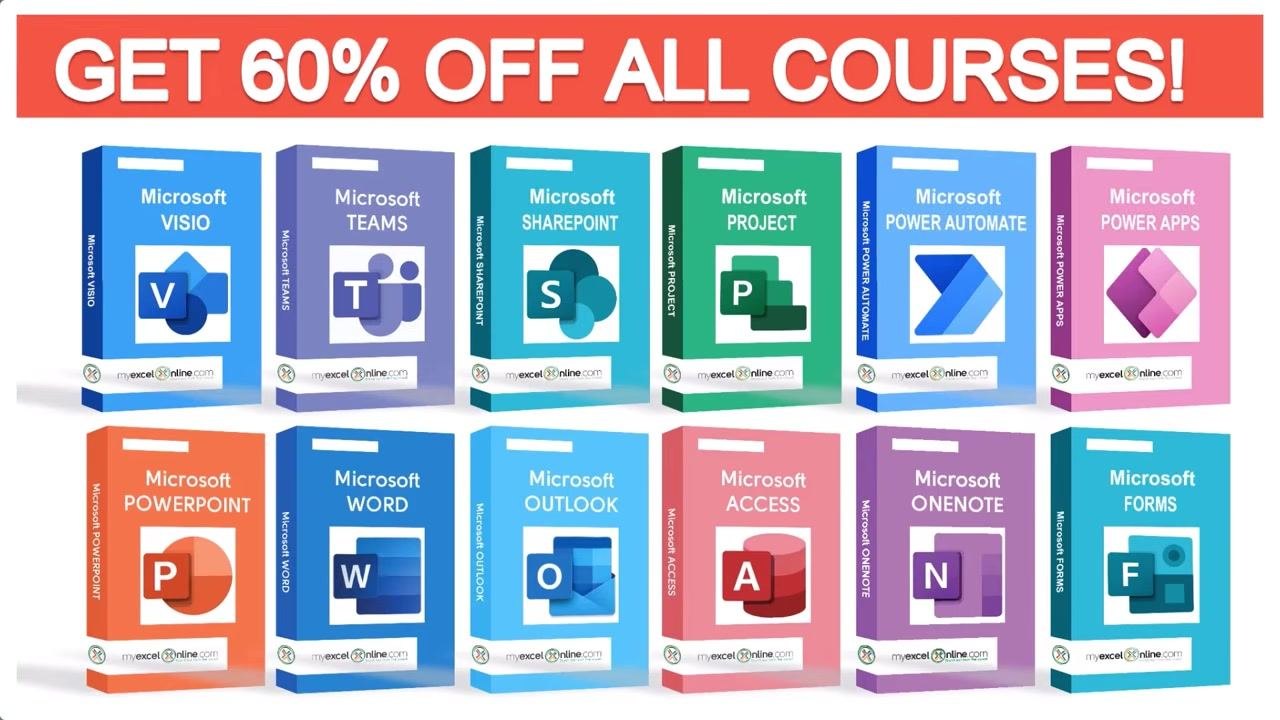
- Courses are also available for other Microsoft products, including Visio, Teams, SharePoint, Project, Power Automate, Power Apps, PowerPoint, Word, Outlook, Access, OneNote, and Forms.
Summary
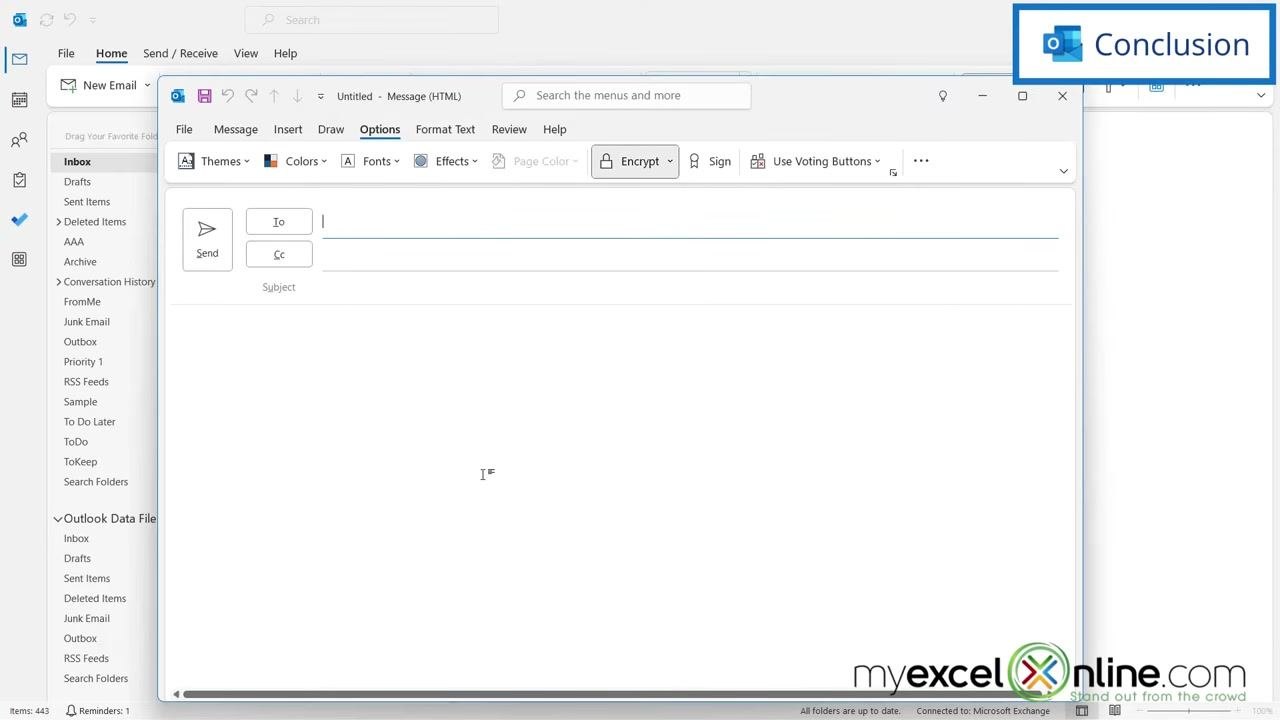
By following these steps, you've configured Outlook's Trust Center settings and learned how to send a secure email in Outlook using S/MIME encryption. Once your security settings are saved as the default, you can apply encryption to any new message from the Options tab before sending.
Generation details: cost, quality tiers
Docsie billed 1,500 credits ($1.05) to analyze this 3-minute video at standard quality. The rewrite, template fill and Word/PDF exports were included. The same video at each quality tier:
| Quality | Frames sampled | Credits | Approx. cost |
|---|---|---|---|
| Draft | every 16-30 s | 750 | $0.52 |
| Standard (this guide) | every 8-15 s | 1,500 | $1.05 |
| Detailed | every 4-7 s | 3,000 | $2.10 |
| Ultra | every 1-3 s | 6,000 | $4.20 |
Credits priced at $0.70 per 1,000; plans include a monthly allowance. Enterprise customers on on-premise or bring-your-own-model deployments run this on their own inference and pay no per-video credits.
Generated by Docsie Video-to-Docs on 2026-09-08 from a 2-minute video. Screenshots are frames from the source video and belong to their creator, MyExcelOnline.com, whose original is embedded above. If you own this video and want the guide removed or credited differently, contact us and we will act within one business day.