
How to Create a Channel in Microsoft Teams
Channels in Microsoft Teams let you organize conversations, files, and collaboration around specific topics or projects within a team. This guide walks you through how to create a channel in Microsoft Teams, configure its privacy settings, manage its members, and use tags to communicate efficiently with groups.
Video: How to create and manage a new channel in Microsoft Teams by Microsoft Teams (2022). All credit for the demonstration goes to the creator; watch the original on YouTube. The written guide below was generated from this video by Docsie. Creator? Request a change or removal.
Channels in Microsoft Teams let you organize conversations, files, and collaboration around specific topics or projects within a team. This guide walks you through how to create a channel in Microsoft Teams, configure its privacy settings, manage its members, and use tags to communicate efficiently with groups.
Prerequisites
Before you begin, make sure you have the following:
- Access to a team in Microsoft Teams where you want to add a new channel.
- A clear purpose for the channel (for example, budget discussions, documentation, or a go-to-market plan).
- Awareness of which teammates should have access, especially if the topic is sensitive.
Understanding teams and channels
Teams and channels create a centralized hub for your work group. Organize your work by creating separate channels for different topics or projects, such as documentation, a go-to-market plan, or digital assets. Assign different members to each channel so that only relevant people are included in each conversation.
Identify the need for a new channel
Determine when a new channel is needed—for example, when you need to communicate with a specific department, such as the finance team. Decide on the purpose of the new channel, such as budget discussions, before you create it.
Start creating a new channel
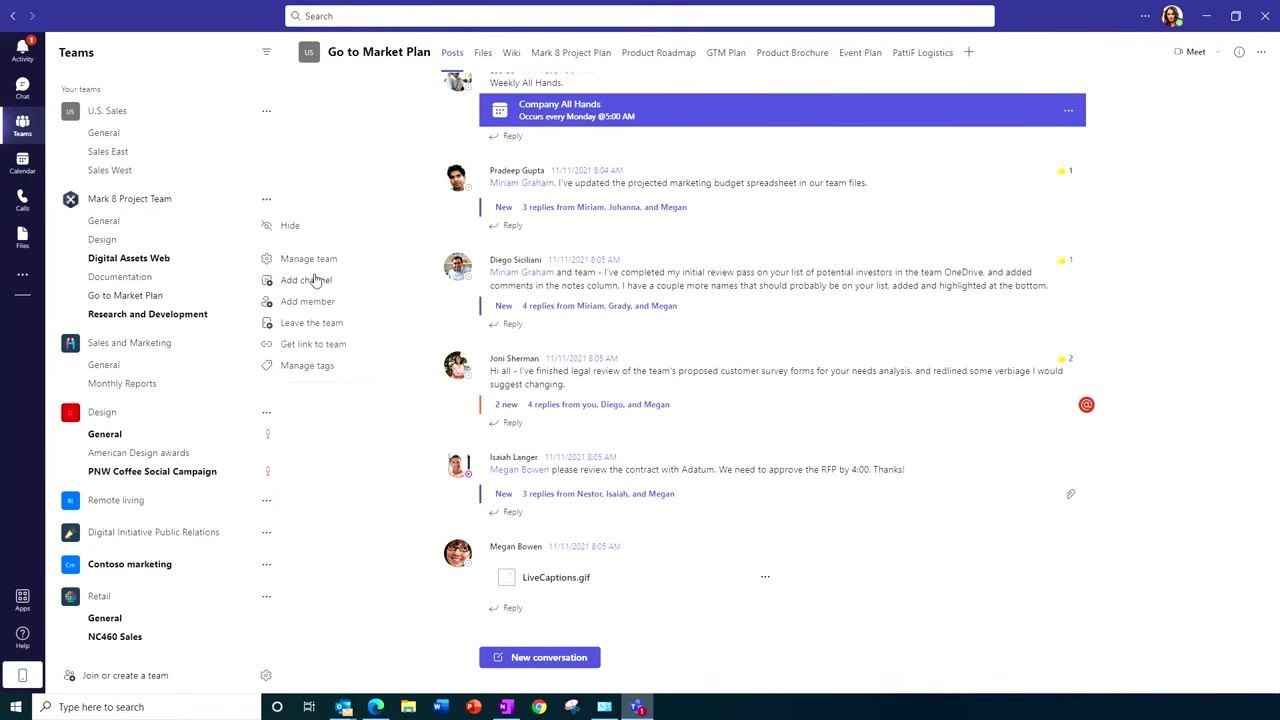
- In Microsoft Teams, locate your team in the left sidebar.
- Click the three dots (ellipsis) next to your team name to open the context menu.
- Select Add channel from the menu.
Configure the channel details
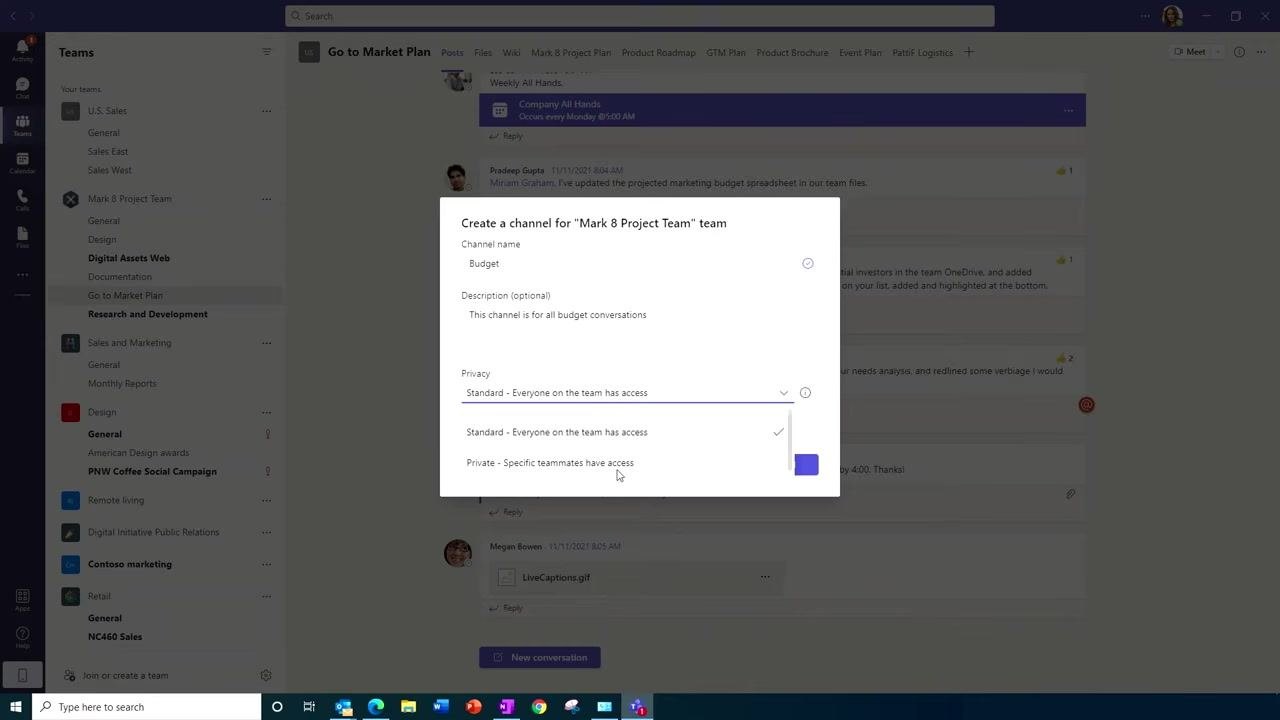
In the "Create a channel" dialog, enter the following details:
- Channel name: Enter a descriptive name, such as "Budget."
- Description (optional): Add a description to clarify the channel's purpose, such as "This channel is for all budget conversations."
Then choose a privacy setting for your channel:
- Standard: Everyone on the team has access to the channel. Use this setting for team-wide announcements and conversations.
- Private: Only specific teammates have access. Use this setting for sensitive topics, such as budget discussions or confidential projects.
Select the appropriate privacy setting
For sensitive discussions, such as budget topics, select Private – Specific teammates have access. Invite only the relevant stakeholders to the private channel so the conversation stays limited to the right people.
View and manage channel members
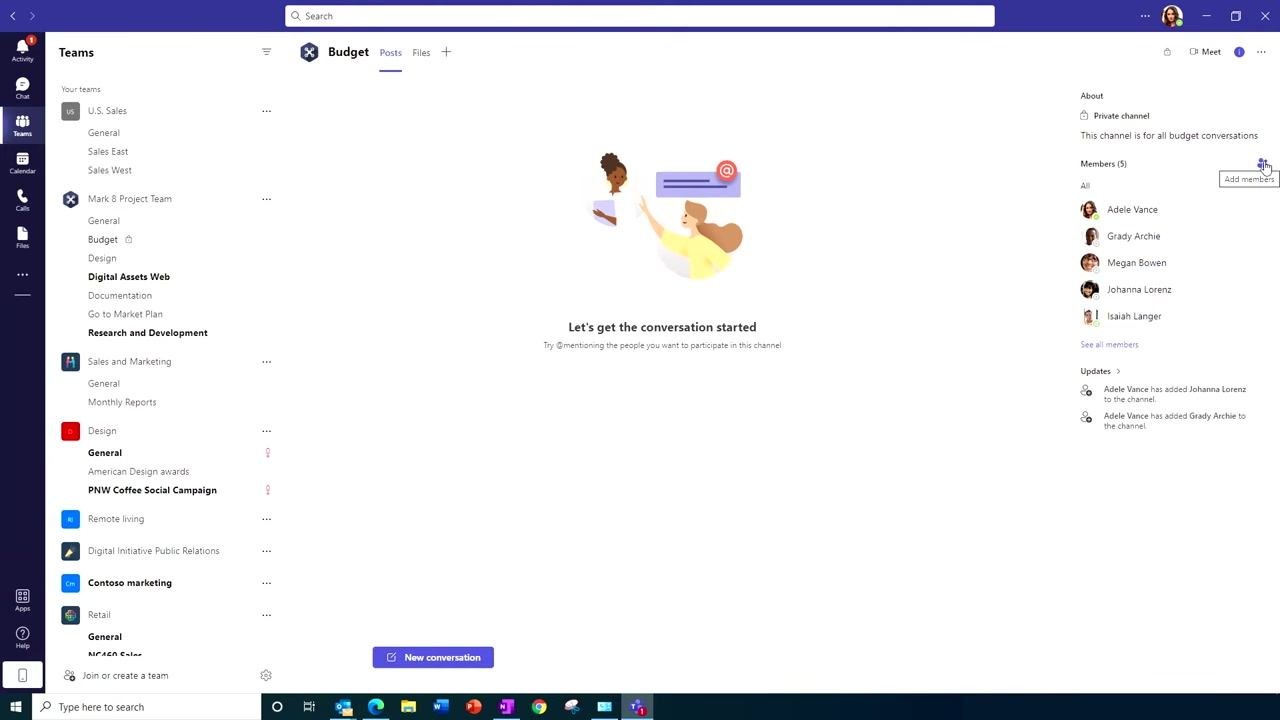
Open the channel you created, such as "Budget." Locate the "About" section on the right side of the screen to see the list of current channel members. Click the Add members icon (a person with a plus sign) to add or remove members as needed.
- The member list displays all current participants, such as Adele Vance, Grady Archie, Megan Bowen, Johanna Lorenz, and Isaiah Langer.
- Updates about member changes, such as "Adele Vance has added Johanna Lorenz to the channel," appear below the member list.
If you are not a team owner or admin, your request to add a new member is sent to the team owner for approval. If you are the team admin, you can add or remove channel members directly without needing approval.
Start a conversation in the channel
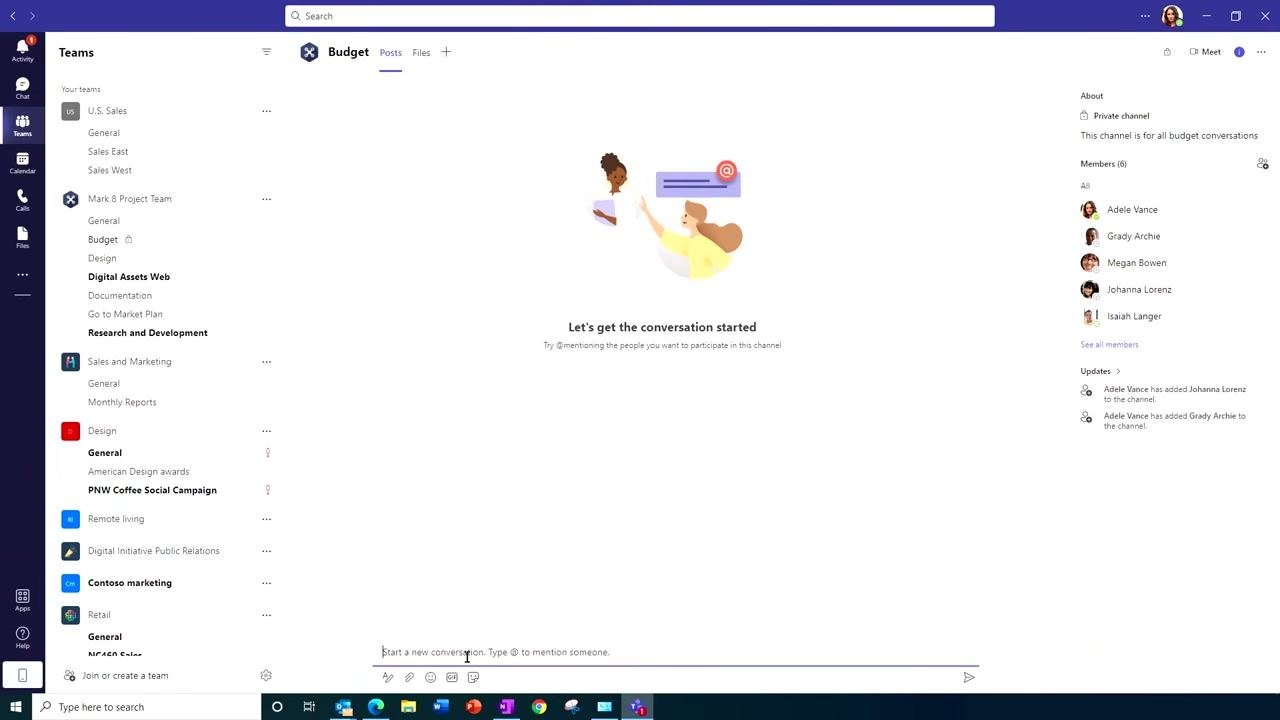
Once all necessary members are added, begin your conversation. Click the New conversation button at the bottom of the channel window, then type your message in the text box that appears. Use @mentions to notify specific people directly in the conversation.
Open the tags tab to create a group tag
To communicate efficiently with a group, such as the finance team, set up a tag:
- Move your mouse to the team name in the left sidebar.
- Right-click the team name to open the context menu.
- Select Manage Team.
- Go to the Tags tab at the top of the Manage Team window.
Create the tag
- Click Create a tag.
- In the "Create a new tag" dialog, enter the following:
- Tag name: Finance
- Tag description: This is the finance team
- Add people: Select the relevant members, such as Isaiah Langer, Adele Vance, and Johanna Lorenz.
- Click Create to finalize the tag.
Use tags to notify groups
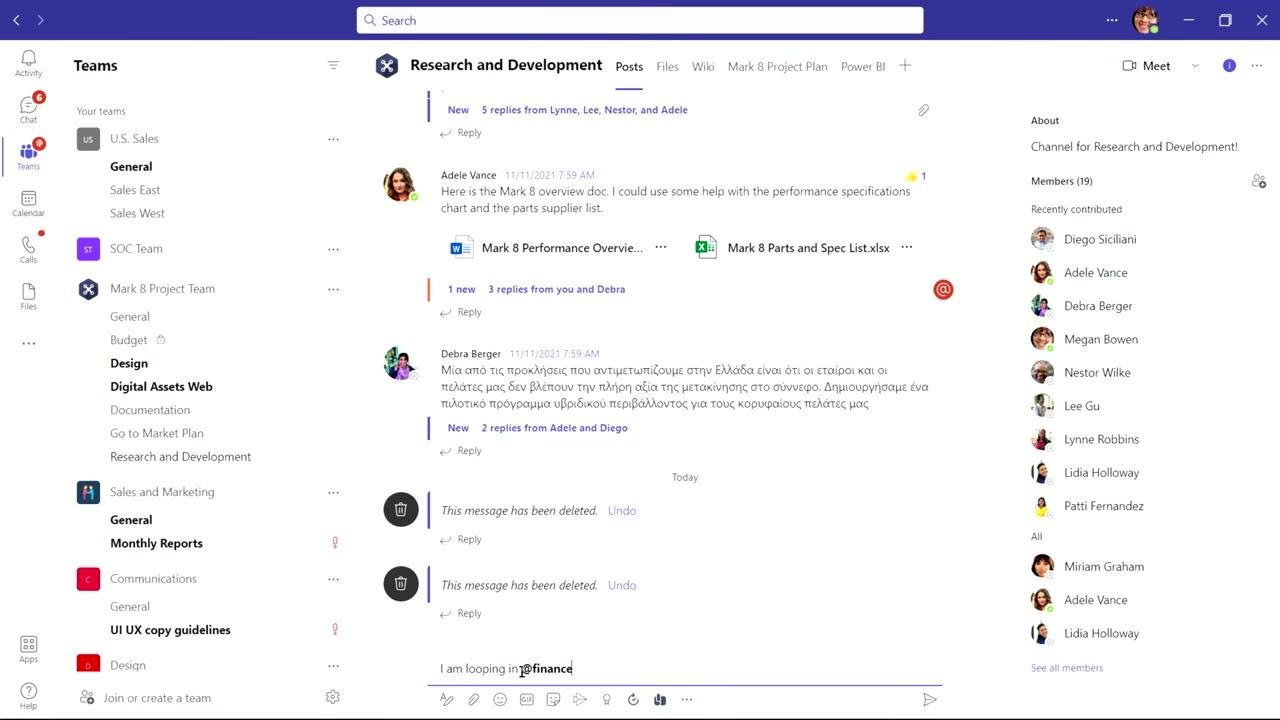
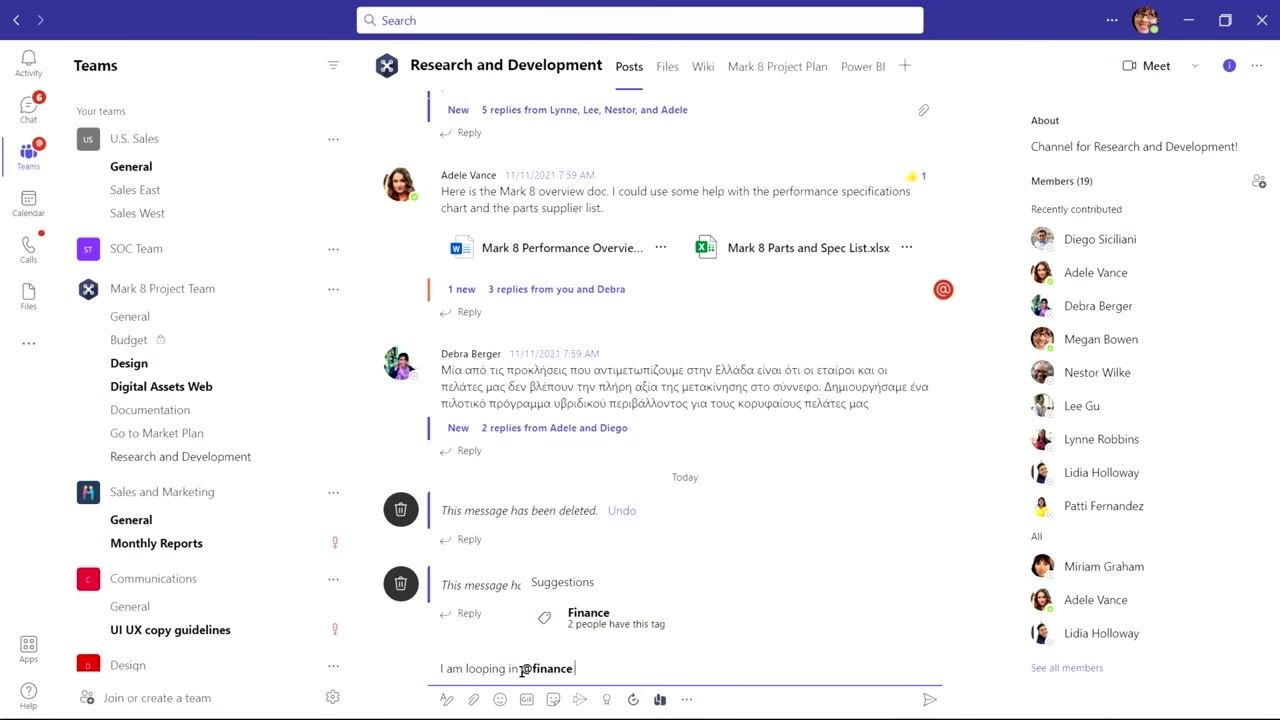
In any channel conversation, type @ followed by the tag name, such as @Finance, to mention the entire group. All members assigned to the tag are notified, just as if you had mentioned them individually. For example, typing "I am looping in @Finance" in the message box notifies all finance team members at once.
Invite external users to expand collaboration
To further enhance teamwork, you can invite external users, such as suppliers or partners, to your workgroup or channel:
- Open the desired team or channel where you want to add external users.
- Click the Add members icon.
- Enter the email address of the external user, such as a supplier's email.
- Assign appropriate permissions and roles to ensure they have access to the necessary resources.
External users receive an invitation to join your team or channel and can collaborate securely within the defined boundaries.
What's next
You now know how to create a channel in Microsoft Teams, configure its privacy settings, manage members, and use tags to communicate with groups efficiently. With external users invited as needed, your team can collaborate with all relevant stakeholders, internal and external, in one organized environment.

Generation details: cost, quality tiers
Docsie billed 2,000 credits ($1.40) to analyze this 4-minute video at standard quality. The rewrite, template fill and Word/PDF exports were included. The same video at each quality tier:
| Quality | Frames sampled | Credits | Approx. cost |
|---|---|---|---|
| Draft | every 16-30 s | 1,000 | $0.70 |
| Standard (this guide) | every 8-15 s | 2,000 | $1.40 |
| Detailed | every 4-7 s | 4,000 | $2.80 |
| Ultra | every 1-3 s | 8,000 | $5.60 |
Credits priced at $0.70 per 1,000; plans include a monthly allowance. Enterprise customers on on-premise or bring-your-own-model deployments run this on their own inference and pay no per-video credits.
Generated by Docsie Video-to-Docs on 2026-09-08 from a 3-minute video. Screenshots are frames from the source video and belong to their creator, Microsoft Teams, whose original is embedded above. If you own this video and want the guide removed or credited differently, contact us and we will act within one business day.