
How to Schedule an Email in Outlook
Knowing how to schedule an email in Outlook lets you write a message when it's convenient for you while making sure it lands in your recipient's inbox at the moment they're most likely to read it. This guide walks you through scheduling, managing, and canceling delayed emails in both the New Outlook and Classic Outlook, along with tips for using the feature effectively.
Video: How to schedule an email in Outlook (Send it later) by Andy Park (2026). All credit for the demonstration goes to the creator; watch the original on YouTube. The written guide below was generated from this video by Docsie. Creator? Request a change or removal.
Knowing how to schedule an email in Outlook lets you write a message when it's convenient for you while making sure it lands in your recipient's inbox at the moment they're most likely to read it. This guide walks you through scheduling, managing, and canceling delayed emails in both the New Outlook and Classic Outlook, along with tips for using the feature effectively.
Why timing matters before you schedule
Sending emails at the right time increases the likelihood that your message is read and answered promptly. Avoid sending work-related emails late on Fridays or over the weekend, since this can disrupt your team's downtime. Instead, aim to have emails arrive when recipients are most likely to check their inbox, such as Monday mornings or during normal working hours.
Consider the recipient's time zone and typical work habits when choosing a send time, as this maximizes the impact of your communication.
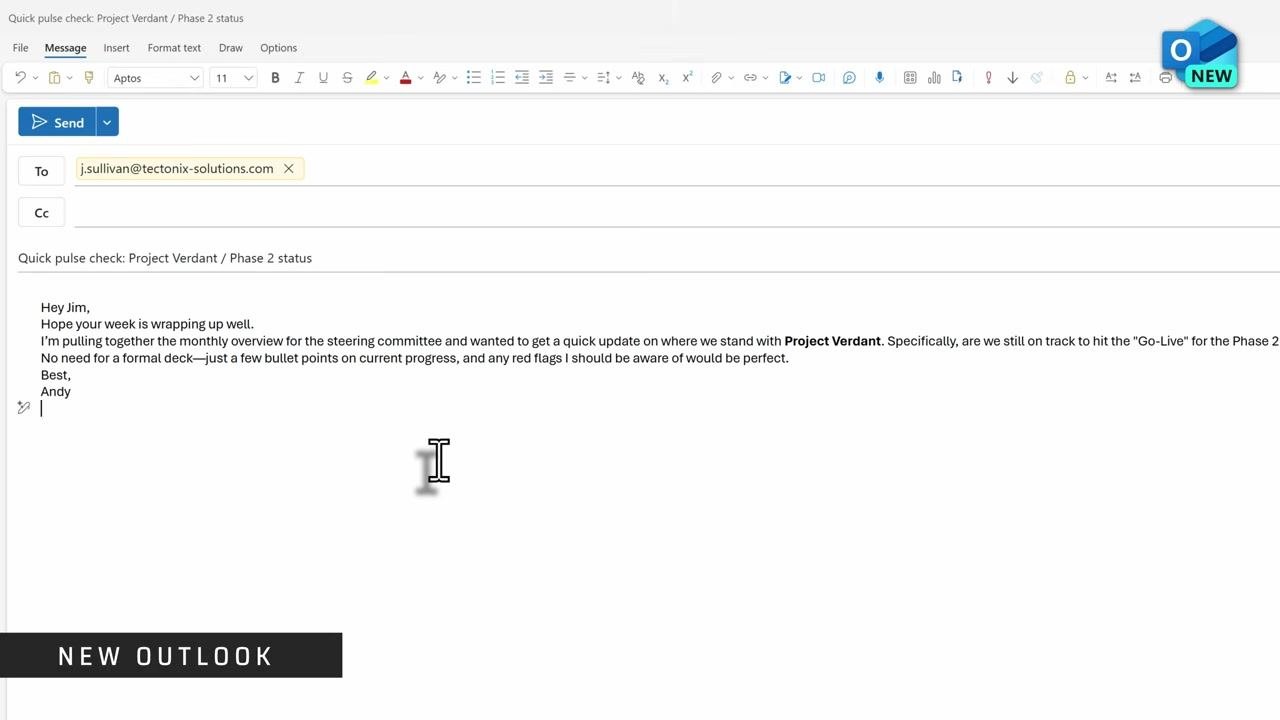
Example scenario: If you finish work late on a Friday and want to send follow-up items to your team, write the emails while the information is still fresh in your mind.
Rather than sending immediately, schedule the emails to arrive Monday morning. This way, your team receives the information exactly when they're ready to act on it, without adding weekend stress.
Scheduling an email in the New Outlook
-
Open the New Outlook application—the modern version that resembles the web interface.
-
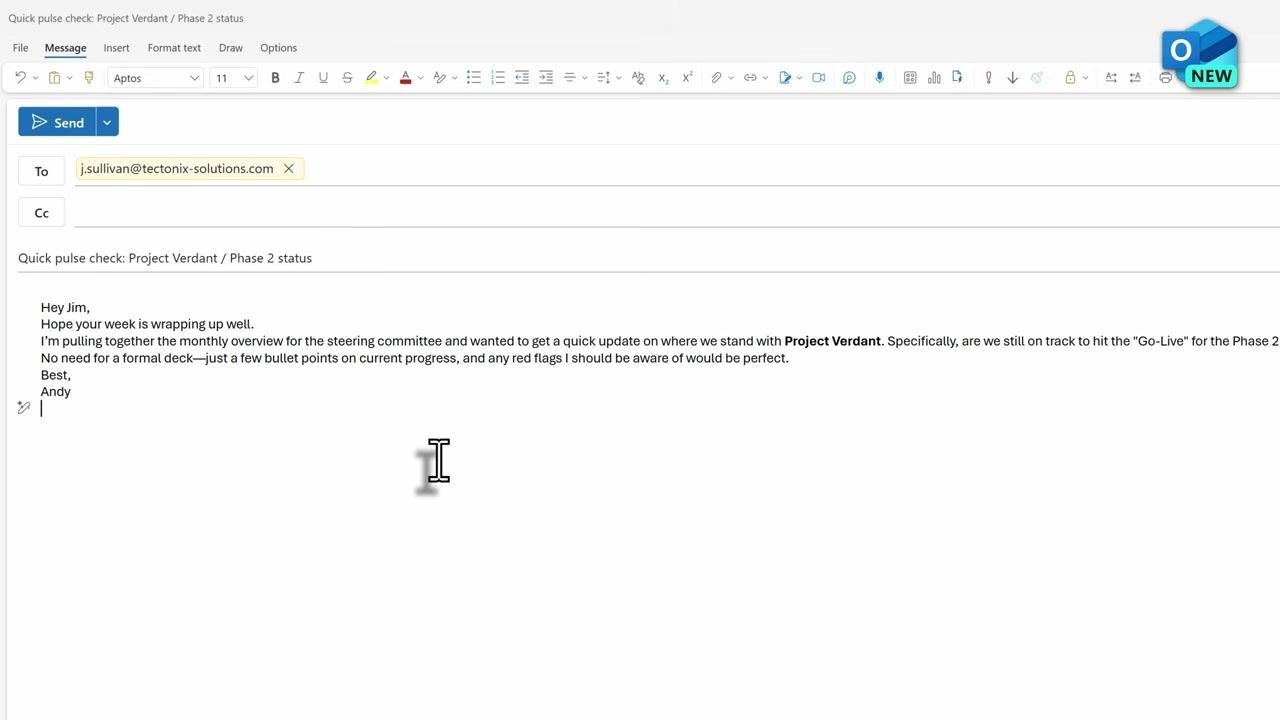
Compose your email as you normally would: enter the recipient's address, add a subject line, and write your message in the body.
-
Instead of clicking Send, click the dropdown arrow next to the Send button.
-
Select Schedule send from the dropdown menu.
-
In the Schedule send dialog box, choose one of the preset time options, or select Custom time if none of the presets fit your needs.
-
If you selected Custom time, pick your desired date from the calendar, then choose a time from the Select a time dropdown.
-
Click the blue Send button to confirm and schedule the email.
Verifying and managing a scheduled email in the New Outlook
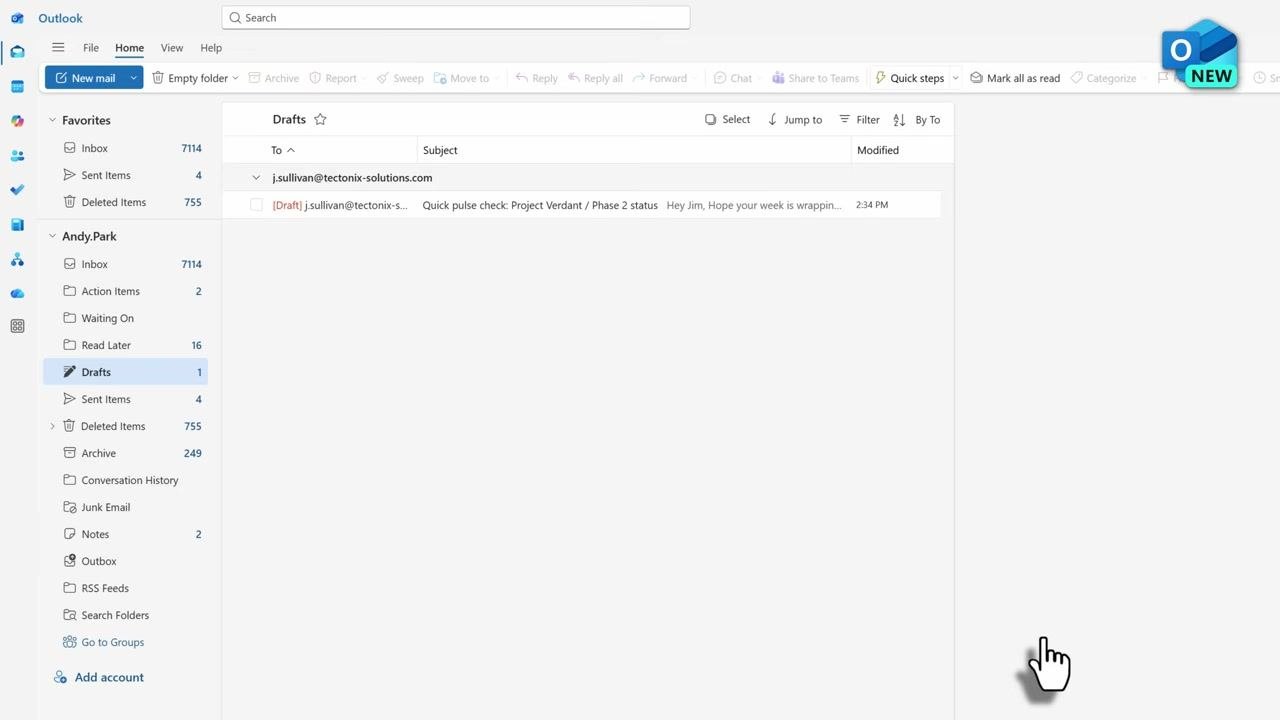
After scheduling, your email appears in the Drafts folder with a status showing it is scheduled. It remains there until the scheduled date and time arrive.
The New Outlook is cloud-based, so your computer does not need to be powered on for the email to send. Outlook doesn't even need to be open—the message dispatches automatically at the scheduled time, giving you reliable, hands-off delivery.
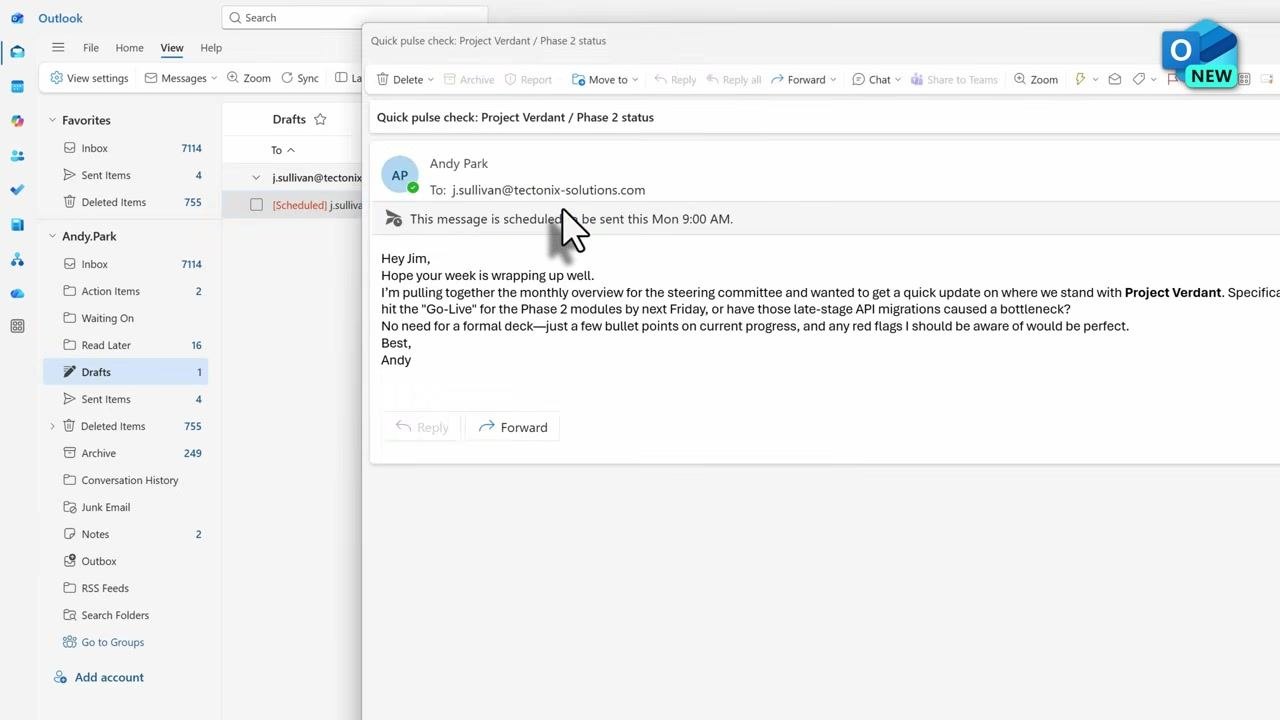
To edit or cancel a scheduled email in the New Outlook:
- Go to the Drafts folder and double-click the scheduled email to open it. Note that you cannot edit the message directly in this window.
- Click Cancel send to return the email to an editable draft state.
- Make your desired edits to the content.
- Click the dropdown next to Send, select Schedule send again, and choose a new date and time.
- Click Send to reschedule the email.
Scheduling an email in Classic Outlook
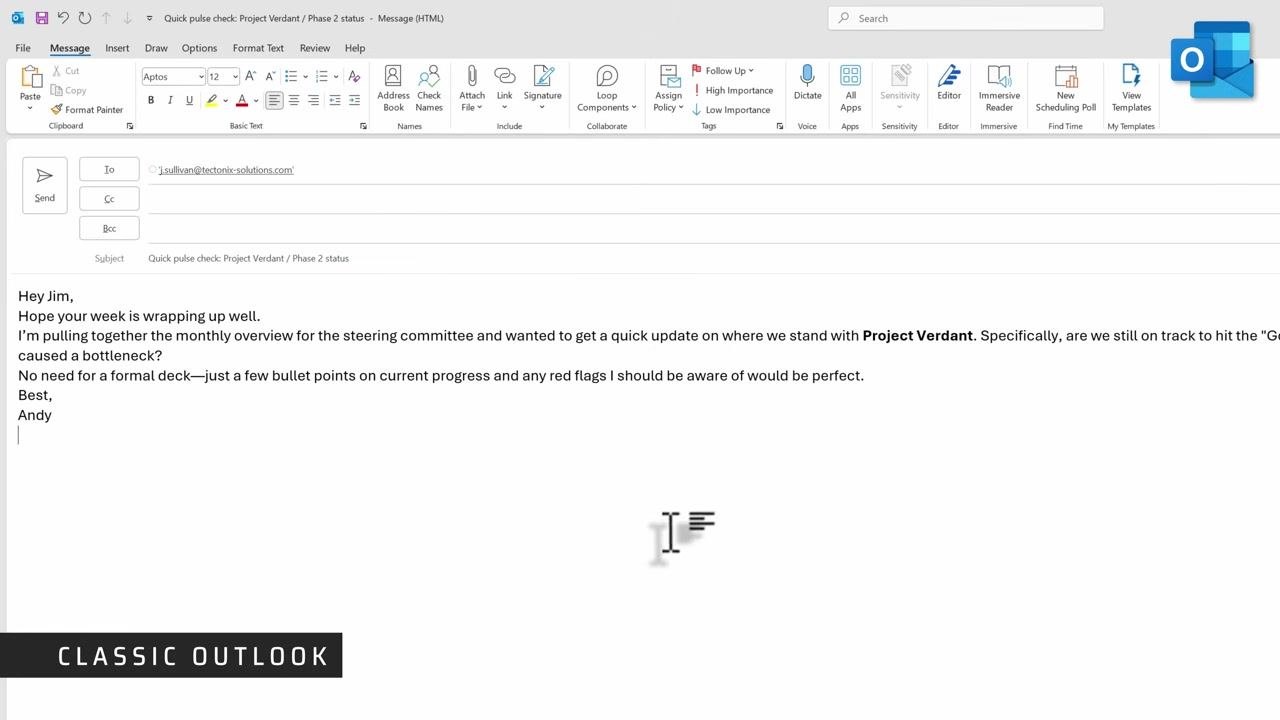
- Open Classic Outlook, which uses the traditional ribbon interface, and compose your email as usual—entering the recipient, subject, and message body.
-
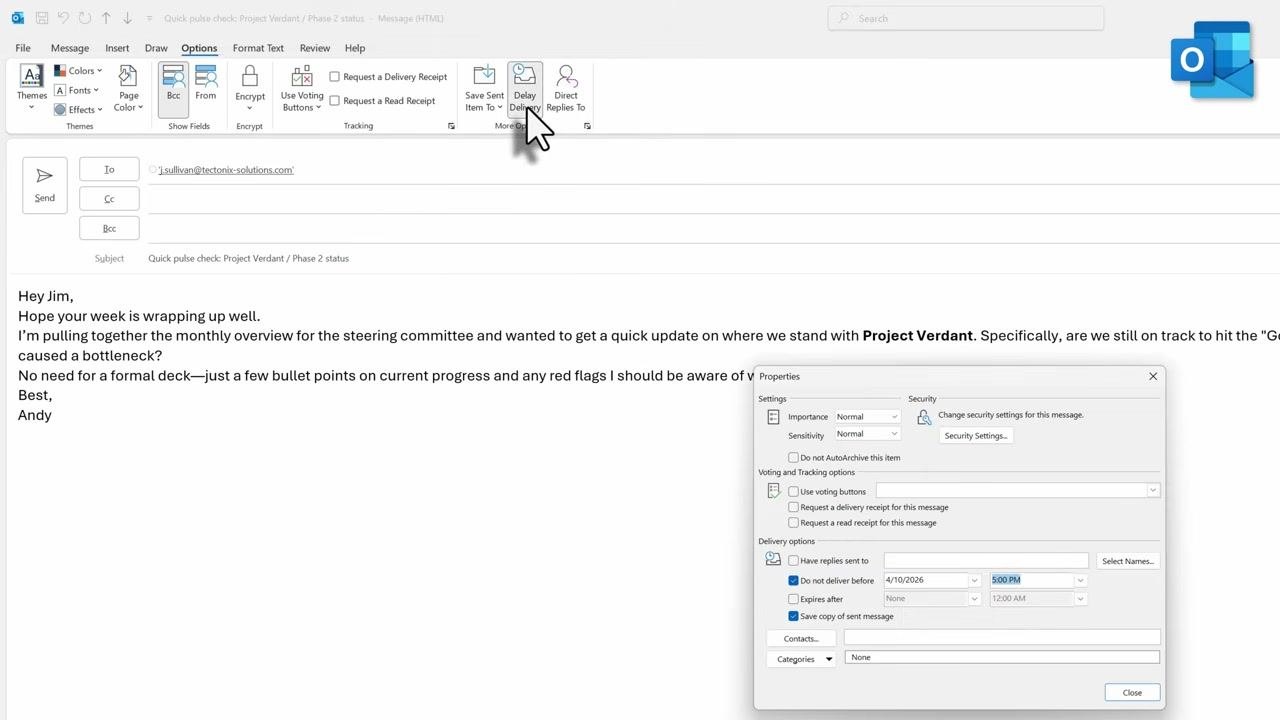
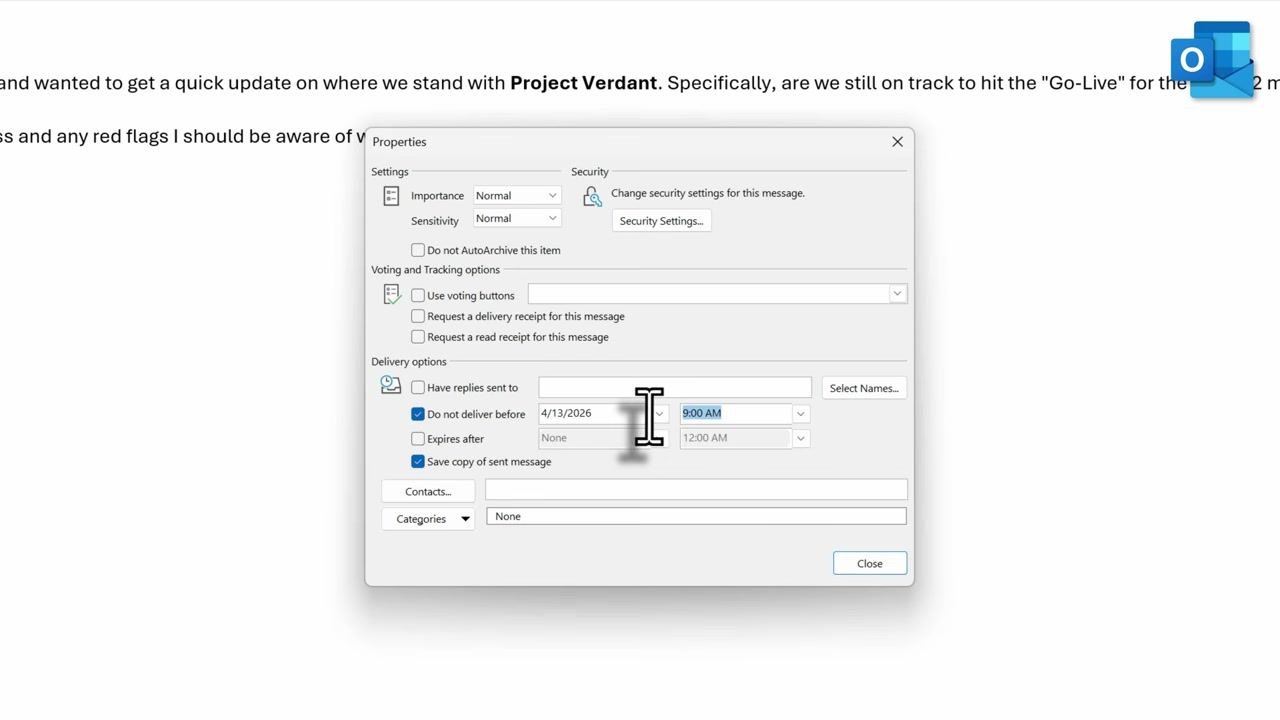
With your email open, go to the Options tab in the ribbon and click Delay Delivery to open the Properties dialog.
-
At the bottom of the Properties dialog, in the Delivery options section, make sure the Do not deliver before checkbox is selected. This step is essential for scheduling to work.
-
Click the dropdown next to the date field and select your desired delivery date. Then click the dropdown next to the time field and select your preferred delivery time.
-
Click Close to save your scheduling settings and return to your email.
-
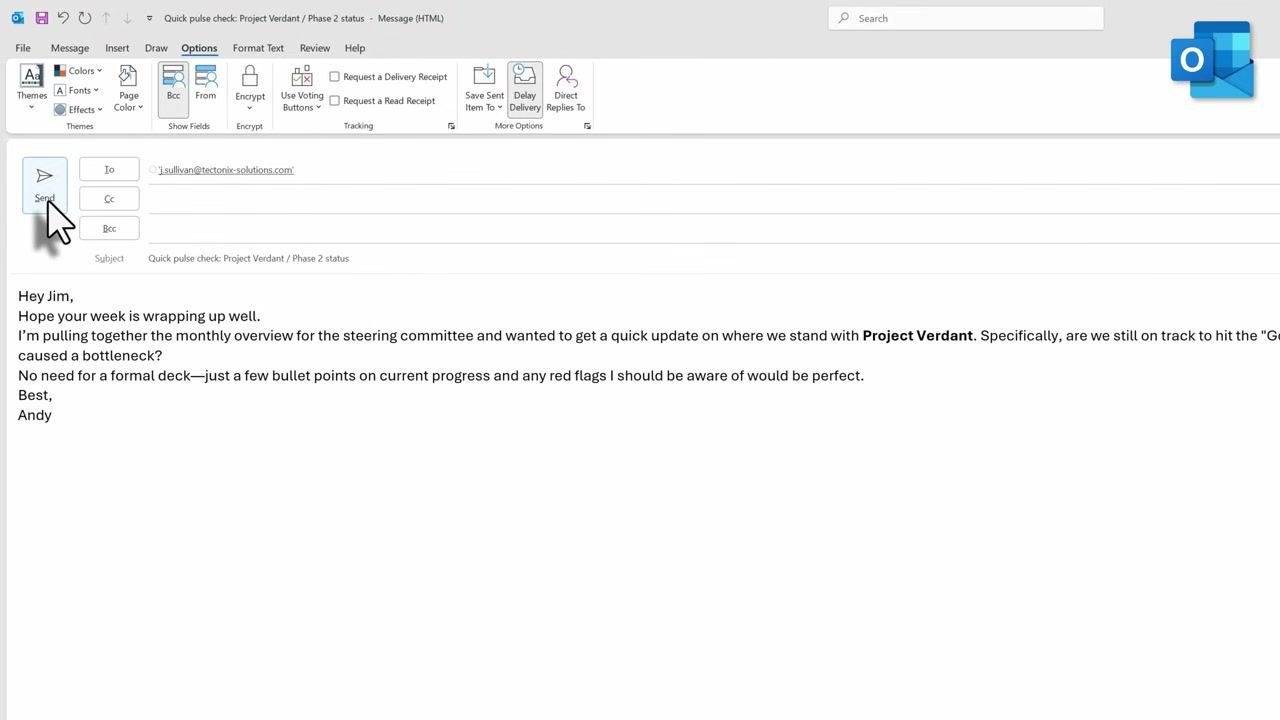
Click the Send button in your email window.
In Classic Outlook, the scheduled email moves to the Outbox folder rather than the Drafts folder—a key difference from the New Outlook.
Verifying a scheduled email in Classic Outlook
Open the Outbox folder in the left navigation pane and confirm your scheduled email appears there. This confirms it is queued and waiting to be sent at the specified date and time.
Classic Outlook is not cloud-based, so your computer must be powered on and Outlook must be open at the scheduled send time. If your computer is off or Outlook is closed, the email stays in the Outbox and won't send until both are running again.
For example, if you schedule an email for Monday morning, don't shut down your computer on Friday and expect automatic delivery. To ensure the email goes out, either leave your computer running with Outlook open, or use the New Outlook, which handles scheduled sends through the cloud.
Editing or canceling a scheduled email in Classic Outlook
To edit a delayed email before it sends:
- Open the Outbox folder and double-click the scheduled email to open it for editing.
- Make any necessary changes to the message content.
- To change the scheduled time, go to the Options tab, click Delay Delivery, and select a new date and/or time.
- Click Close in the Properties dialog, then click Send again to re-queue the email.
To cancel a scheduled email entirely:
- Open the Outbox folder and locate the scheduled email you want to cancel.
- Right-click the email to open the context menu.
- Select Delete to remove the email from the Outbox, preventing it from being sent at the scheduled time.
Combining scheduling with contact groups
For greater efficiency, use Outlook's contact group feature alongside scheduled sending to reach multiple recipients at once. If you've already set up a contact group, simply enter the group name in the recipient field when composing your email, then schedule it as usual using Delay Delivery.
This lets you send one scheduled email to your entire team so everyone receives the message at exactly the same time—especially useful for regular team communications or announcements.
What's next
Combining scheduled emails with contact groups saves time and streamlines your communication process. Keep in mind that scheduled emails in Classic Outlook require your computer to be on and Outlook to be open at the send time, while the New Outlook handles delivery through the cloud regardless of your device's state. With these steps, you can schedule, verify, edit, and cancel emails in both versions of Outlook, ensuring your messages arrive at the most effective time.
Generation details: cost, quality tiers
Docsie billed 3,000 credits ($2.10) to analyze this 6-minute video at standard quality. The rewrite, template fill and Word/PDF exports were included. The same video at each quality tier:
| Quality | Frames sampled | Credits | Approx. cost |
|---|---|---|---|
| Draft | every 16-30 s | 1,500 | $1.05 |
| Standard (this guide) | every 8-15 s | 3,000 | $2.10 |
| Detailed | every 4-7 s | 6,000 | $4.20 |
| Ultra | every 1-3 s | 12,000 | $8.40 |
Credits priced at $0.70 per 1,000; plans include a monthly allowance. Enterprise customers on on-premise or bring-your-own-model deployments run this on their own inference and pay no per-video credits.
Generated by Docsie Video-to-Docs on 2026-09-08 from a 5-minute video. Screenshots are frames from the source video and belong to their creator, Andy Park, whose original is embedded above. If you own this video and want the guide removed or credited differently, contact us and we will act within one business day.