
How to Use Calipers
This document explains how to use calipers to take precise measurements of external dimensions, internal dimensions, and depth. Calipers are precision instruments that can measure objects very accurately, but their scales can be difficult to interpret at first. Following this procedure will help you read the main scale and vernier scale correctly and calculate accurate final measurements.
Video: How to Use a Vernier Caliper by SMUPhysics (2013). All credit for the demonstration goes to the creator; watch the original on YouTube. The written guide below was generated from this video by Docsie. Creator? Request a change or removal.
Purpose
This document explains how to use calipers to take precise measurements of external dimensions, internal dimensions, and depth. Calipers are precision instruments that can measure objects very accurately, but their scales can be difficult to interpret at first. Following this procedure will help you read the main scale and vernier scale correctly and calculate accurate final measurements.
Scope
This procedure applies to anyone using a vernier caliper to measure the external width or diameter, internal diameter, or depth of an object. It covers identifying the caliper's parts, taking a measurement, and calculating the final reading from the main and vernier scales.
Required equipment
- A vernier caliper
- An object to measure (e.g., a coin, a roll of tape)
- A flat, stable surface to work on
Procedure
Step 1: Understand the purpose of the caliper
Recognize that calipers are precision instruments used to measure objects very precisely, though their scales can be difficult to interpret at first glance.
Step 2: Identify the important parts of the caliper
Before measuring, examine the caliper and familiarize yourself with its main components:
- Main scale (fixed ruler)
- Vernier scale (sliding scale)
- Main jaws (for external measurements)
- Smaller jaws (for internal measurements)
- Locking screw (to hold the position)
Step 3: Position the object between the main jaws
Hold the object you want to measure, such as a coin. Open the main jaws of the caliper, place the object between them, and close the jaws gently around it to ensure a snug fit.
Step 4: Read the main scale measurement
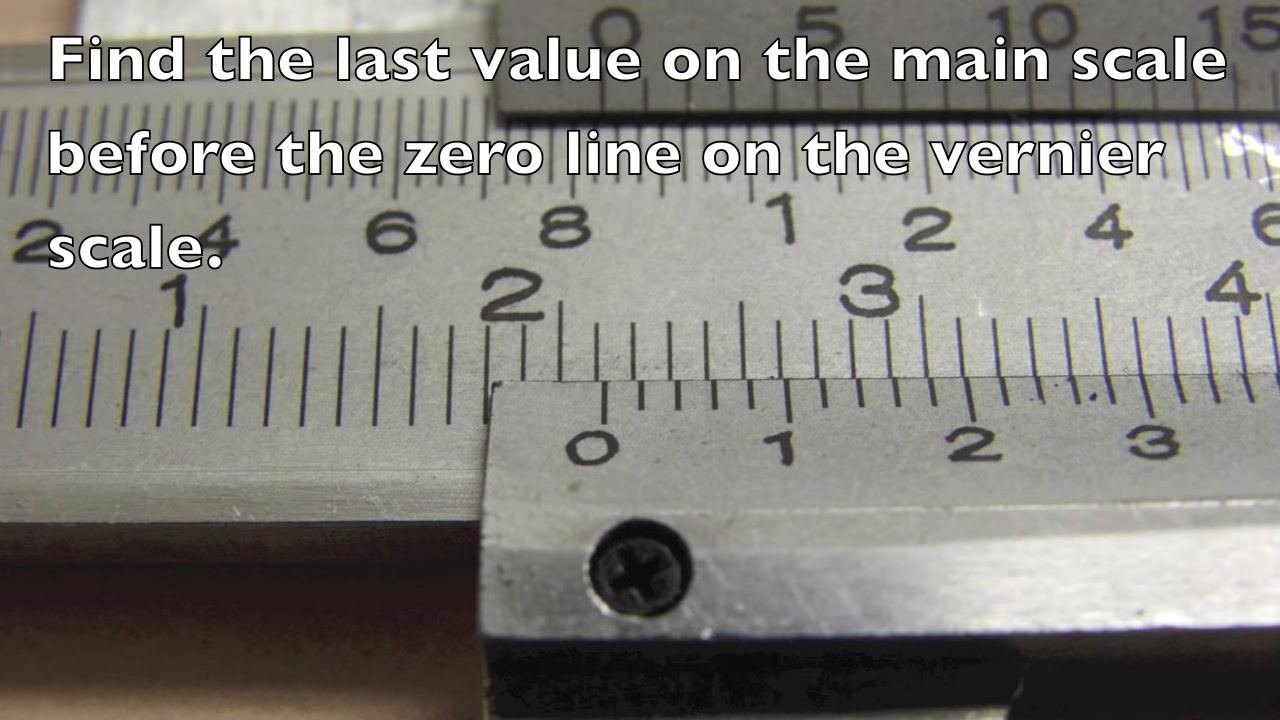
Look at the main scale on the caliper and find the last value that appears just before the zero line on the vernier scale. This value is your main scale reading.
Step 5: Read the vernier scale measurement
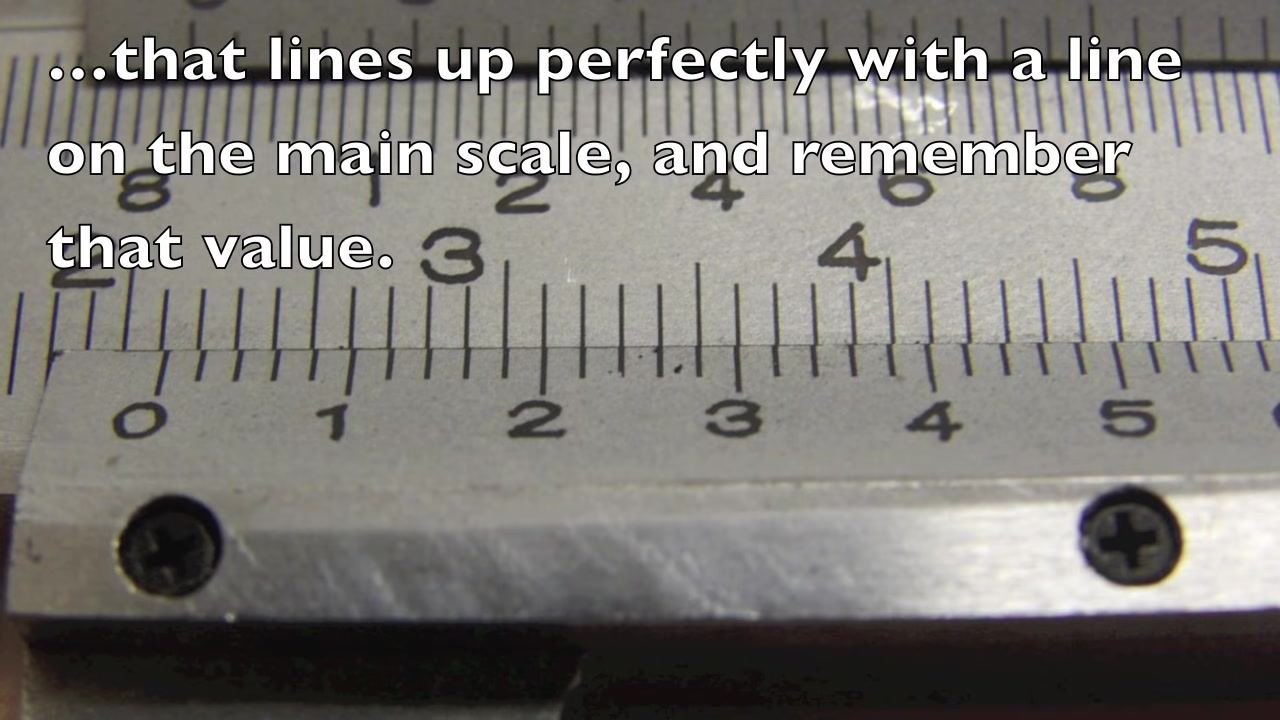
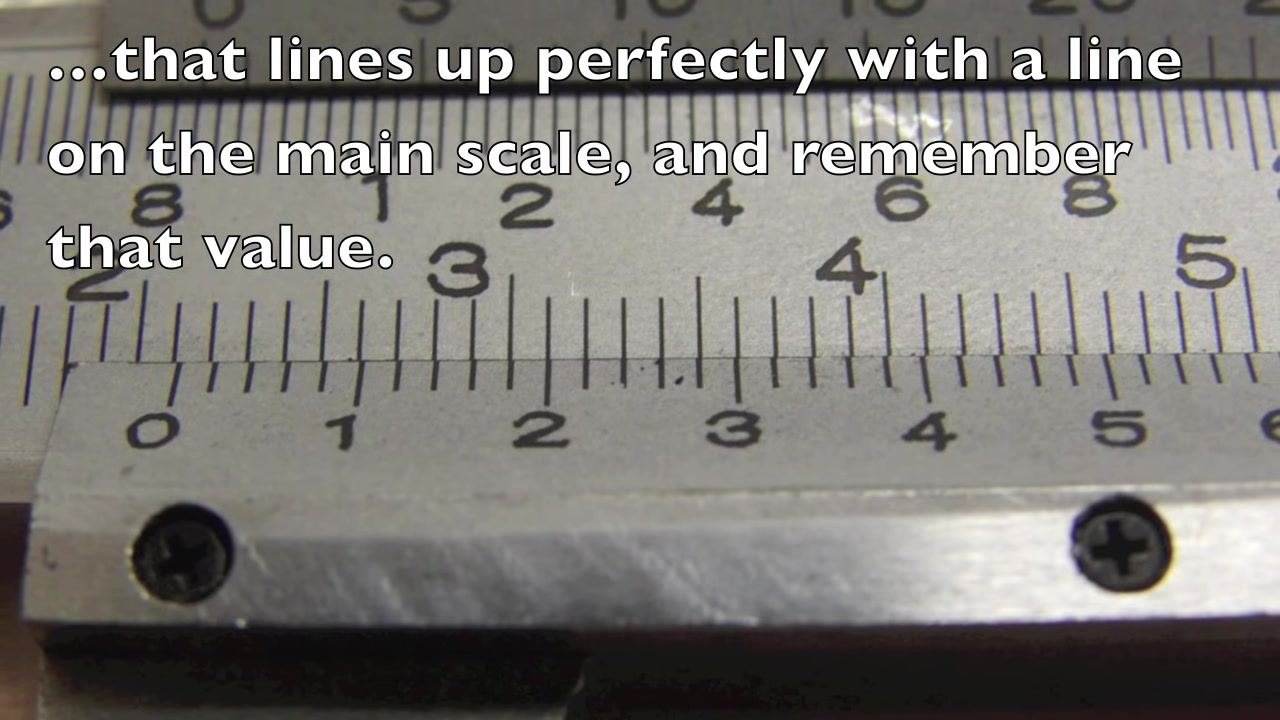
Look along the vernier scale for the line that lines up perfectly with a line on the main scale, and note the value of that aligned line.
Step 6: Multiply the vernier value by the smallest division
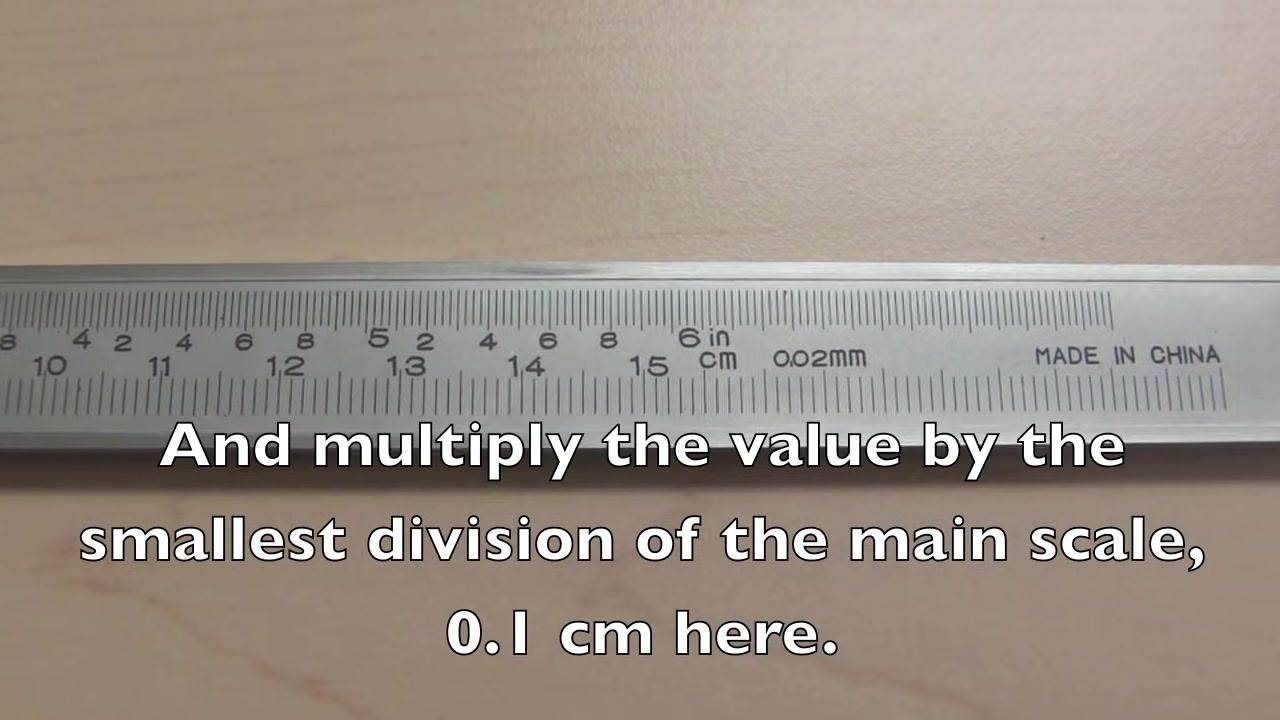
Determine the smallest division on the main scale (in this example, 0.1 cm), then multiply the value you read from the vernier scale by this smallest division.
Step 7: Calculate the final measurement
Add the value obtained from the vernier scale to the main scale measurement. For example, if the main scale reads 2.1 cm, add the vernier value to this to get the final result.
Step 8: Measure an internal diameter
Use the smaller jaws located at the top of the caliper. Insert them into the object's opening (for example, the inner diameter of a tape roll), and open the jaws until they touch the inner sides of the object. Read the measurement using the same method described in Steps 4 through 7.
Step 9: Interpret a sample vernier scale reading
Examine a close-up of the vernier and main scales as an example. In this case, the scales line up at 6.4 on the vernier scale, meaning the vernier scale reading is 6.4 divisions. Use this value in your calculation for the final measurement.
Step 10: Measure the depth of an object
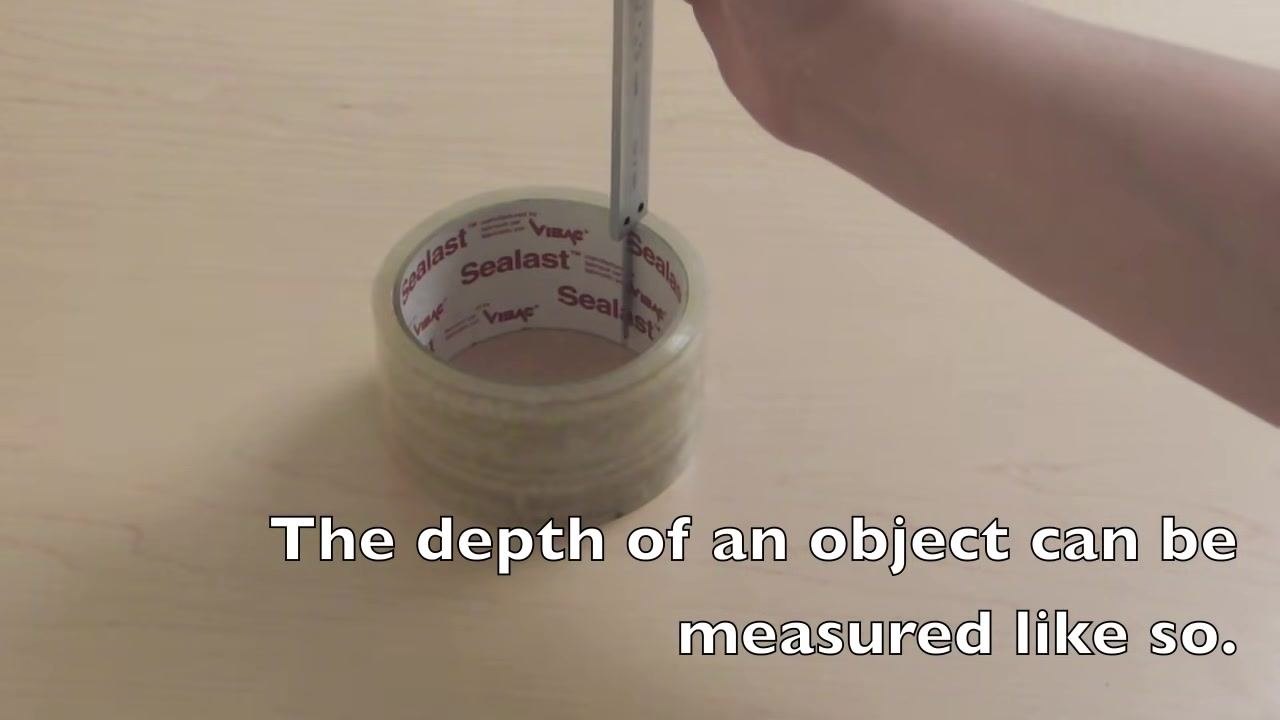
Place the object, such as a roll of tape, on a flat surface. Hold the caliper vertically and insert the depth rod — the thin rod extending from the end of the caliper — into the object's opening. Lower the caliper until the base rests flat on the object's top surface, so the depth rod touches the bottom of the object.
Step 11: Understand the depth rod mechanism
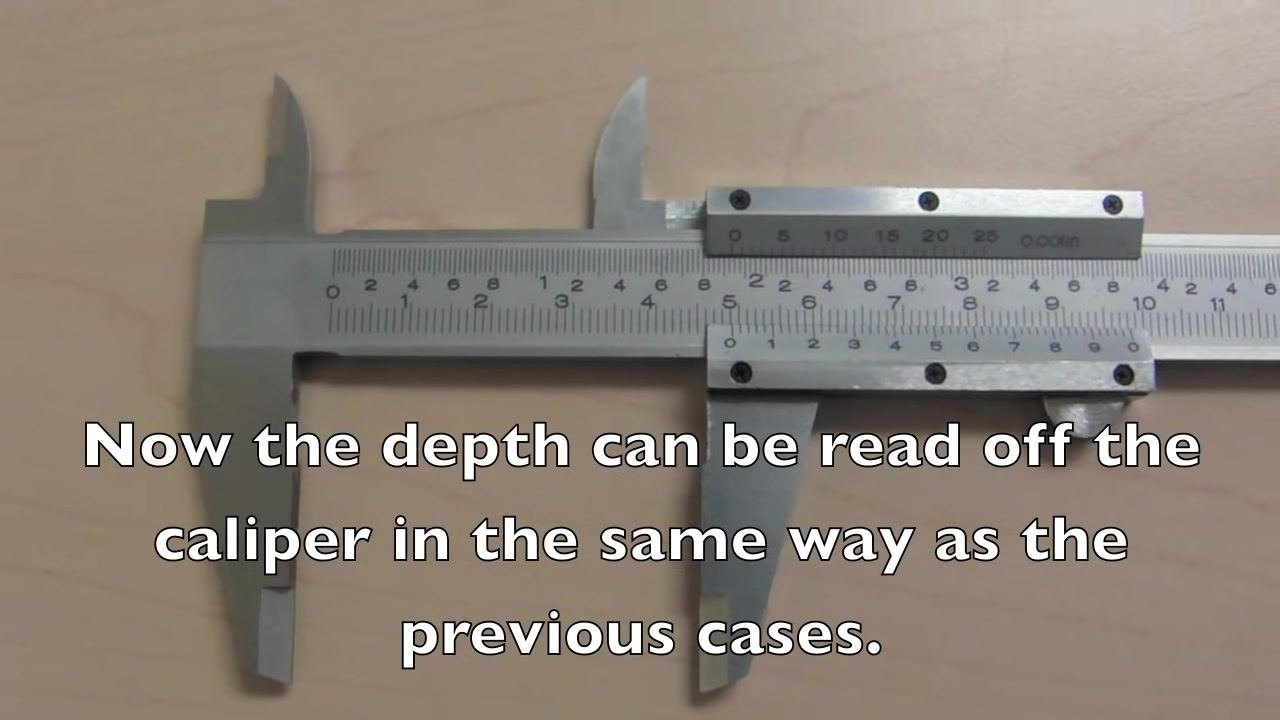
Observe the caliper from above to see the depth rod extended. Note that the length of the extended depth rod matches the space between the main jaws, which keeps the depth measurement consistent with other measurements taken by the caliper.
Step 12: Read the depth measurement
Read the depth value using the same method as for external and internal measurements:
- Find the main scale value just before the zero on the vernier scale.
- Find the vernier scale value that lines up with a main scale line.
- Add the two values together for the final depth measurement.
Step 13: Calculate a sample measurement
Review the following worked example to confirm your understanding of the calculation:
- Main scale reading: 4.8 cm
- Vernier scale reading: 1.4 divisions
- Smallest division: 0.1 cm
- Calculation: 4.8 + (1.4/10) × 0.1 cm = 4.814 cm
Verification
Confirm your measurement by checking that you have:
- Correctly identified the main scale reading just before the vernier zero line.
- Correctly identified the aligned vernier scale division.
- Multiplied the vernier value by the smallest division of the main scale.
- Added the vernier value to the main scale reading for the final result.
By following these steps, you can confidently use a vernier caliper to measure external, internal, and depth dimensions and accurately interpret the readings for precise results.
What's next
For more instructional videos and demonstrations on how to use calipers and other precision instruments, visit www.ap.smu.ca/demos, a resource provided by Saint Mary's University. Follow @SMUPhysicsDemos for updates and additional content.

Generation details: cost, quality tiers
Docsie billed 1,500 credits ($1.05) to analyze this 3-minute video at standard quality. The rewrite, template fill and Word/PDF exports were included. The same video at each quality tier:
| Quality | Frames sampled | Credits | Approx. cost |
|---|---|---|---|
| Draft | every 16-30 s | 750 | $0.52 |
| Standard (this guide) | every 8-15 s | 1,500 | $1.05 |
| Detailed | every 4-7 s | 3,000 | $2.10 |
| Ultra | every 1-3 s | 6,000 | $4.20 |
Credits priced at $0.70 per 1,000; plans include a monthly allowance. Enterprise customers on on-premise or bring-your-own-model deployments run this on their own inference and pay no per-video credits.
Generated by Docsie Video-to-Docs on 2026-09-09 from a 2-minute video. Screenshots are frames from the source video and belong to their creator, SMUPhysics, whose original is embedded above. If you own this video and want the guide removed or credited differently, contact us and we will act within one business day.