
How to Use a Lathe
This procedure explains how to use a lathe to machine a mild steel part to an exact specification, from reviewing the technical drawing through turning, facing, reducing the outside diameter, parting off, and final inspection. Following these steps ensures the finished part meets the required dimensions with a clean, deburred surface finish.
Video: Lathe Workshop for Beginners Part 1, Turning by myfordboy (2011). All credit for the demonstration goes to the creator; watch the original on YouTube. The written guide below was generated from this video by Docsie. Creator? Request a change or removal.
This procedure explains how to use a lathe to machine a mild steel part to an exact specification, from reviewing the technical drawing through turning, facing, reducing the outside diameter, parting off, and final inspection. Following these steps ensures the finished part meets the required dimensions with a clean, deburred surface finish.
Purpose
This SOP describes how to use a lathe to turn a mild steel rod into a finished part with a specified overall length, reduced section length, outer diameter, and inner diameter, and how to part the finished piece off the stock material.
Scope
This procedure applies to operators using a metal lathe to perform roughing cuts, finishing cuts, facing operations, outside diameter reduction, parting off, chamfering, and final part inspection on mild steel stock.
Required equipment
- Metal lathe with chuck, tool post, cross slide, and leadscrew
- Mild steel rod stock
- Digital caliper
- Turning tool and parting-off tool
- Chuck key
- Cutting fluid (squeeze bottle or brush)
- Deburring tool or file
- Chip brush or vacuum
- Technical drawing of the part
Turning the part to specification
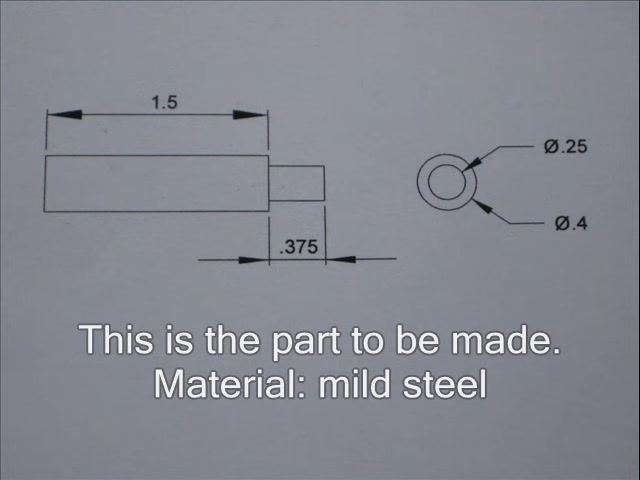
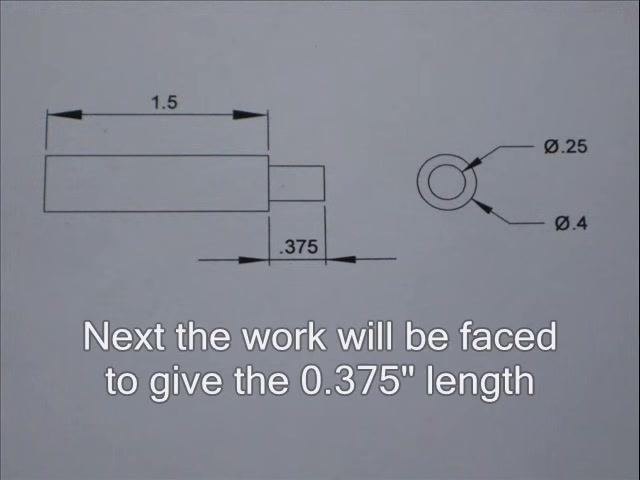
- Review the part drawing and material Examine the technical drawing of the part before starting. Note the required dimensions: overall length of 1.5 inches, reduced section length of 0.375 inches, outer diameter of 0.4 inches, and inner diameter of 0.25 inches. Confirm that the material is mild steel.
- Mount the workpiece in the lathe Secure the mild steel rod in the lathe chuck, ensuring it is tightly clamped and properly aligned before machining begins.
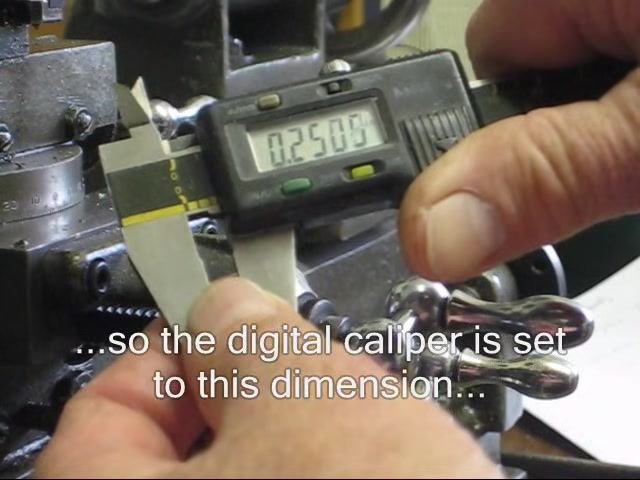
- Set the digital caliper for the first diameter Use the digital caliper to set the target diameter for turning. Start by setting the caliper to approximately 0.25 inches, since this is the specified inner diameter.
Adjust the caliper to exactly 0.2500 inches for a precise reference measurement.
-
Perform the roughing cut Start the lathe and take a roughing cut to bring the workpiece diameter close to the target size. Watch the cutting tool remove material from the rotating workpiece.
-
Monitor spindle speed Confirm the spindle speed is set to 840 rpm for optimal cutting conditions during this operation.
-
Stop the lathe for measurement Turn off the lathe once the roughing cut is complete, and prepare to measure the workpiece diameter.
-
Measure the workpiece diameter Use the digital caliper to check the current diameter. In this example, the workpiece measures 0.034 inches too large.
-
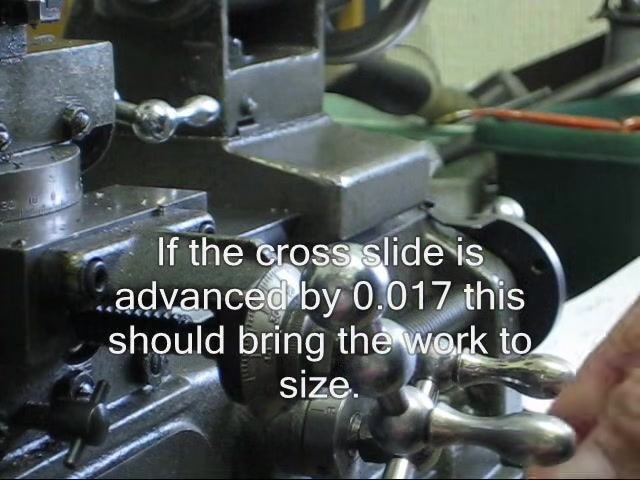
Calculate the cross slide adjustment Since the lathe removes material from both sides of the workpiece, calculate the required cross slide advancement as half the excess: 0.017 inches. Plan to advance the cross slide by this amount to bring the workpiece to the correct size.
-
Advance the cross slide slightly less for a finishing cut Advance the cross slide by slightly less than 0.017 inches, leaving material for a final finishing cut and ensuring a precise final dimension.
Finishing the inner diameter and facing to length
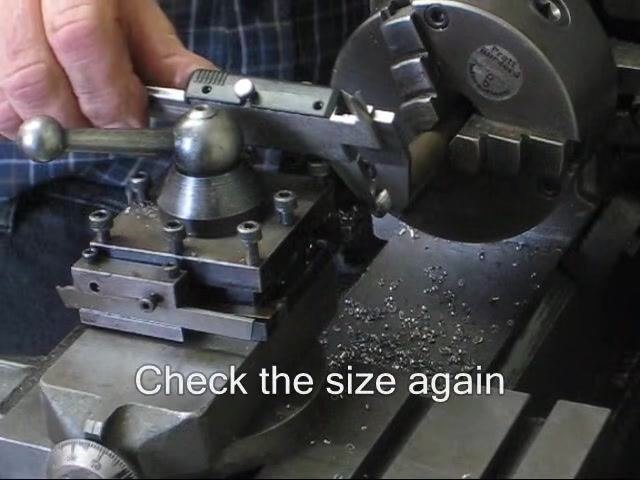
- Check the workpiece diameter again Use the digital caliper to measure the workpiece after the previous cut and confirm the current diameter is close to target. Metal chips may be visible on the lathe bed at this stage.
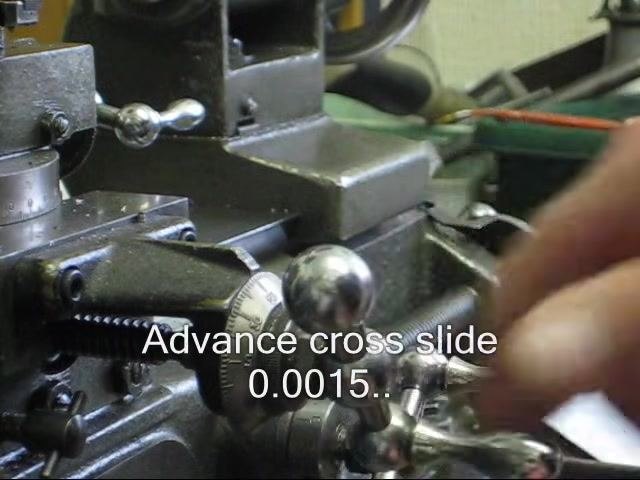
- Advance the cross slide for the final cut Use the handwheel to advance the cross slide by 0.0015 inches for the final finishing cut, making a precise adjustment.
- Perform the final cut Start the lathe and make the final cut to bring the workpiece to the exact inner diameter. Watch the cutting tool remove a small amount of material.
- Complete the final cut Allow the lathe to finish the cut, ensuring a smooth surface and a precise final dimension.
-
Prepare to face the workpiece to length Refer back to the technical drawing to confirm the next operation: facing the workpiece to achieve the 0.375-inch length of the reduced section.
-
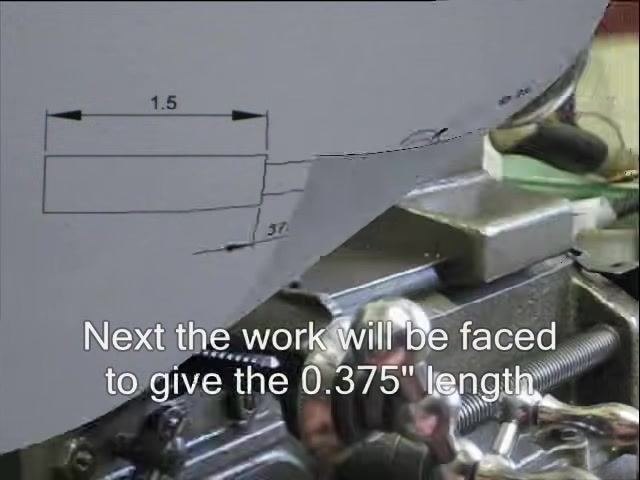
Position the drawing for reference Keep the technical drawing near the lathe for easy reference throughout the facing operation.
-
Zero the digital caliper Set the digital caliper to zero to prepare for an accurate length measurement, confirming the display reads 0.0000.
-
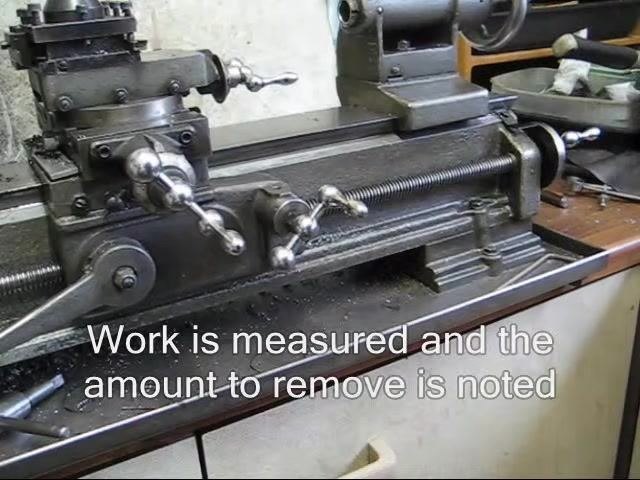
Measure the workpiece length Use the digital caliper to measure the current length of the workpiece and note the amount of material that needs to be removed to reach the specified length.
-
Consider alternative machining methods Note that the top slide could be used instead of the leadscrew to perform this facing operation.
-
Prepare for the next operation: reducing the outside diameter Refer to the technical drawing to confirm the next step, reducing the outside diameter to 0.4 inches.
Reducing the outside diameter to 0.4 inches
- Review the technical drawing for the next operation Confirm the required outside diameter of 0.4 inches before beginning this machining step.
-
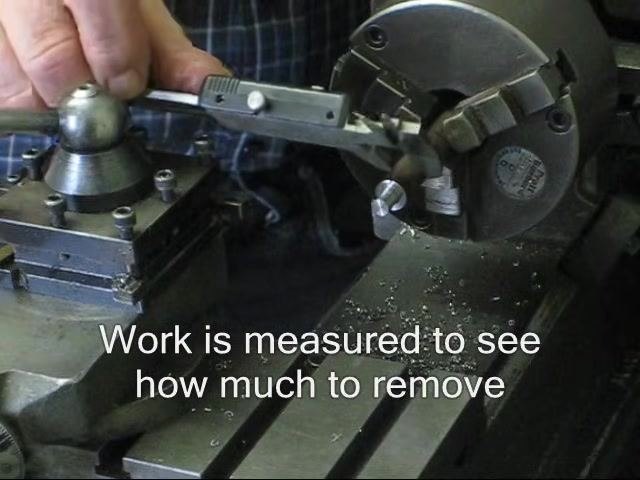
Measure the workpiece to determine material removal Use the digital caliper, held perpendicular to the workpiece, to measure the current outside diameter while the piece is still mounted in the chuck.
-
Start the lathe for machining Confirm the workpiece is securely clamped in the chuck, then start the spindle to begin the cutting operation.
-
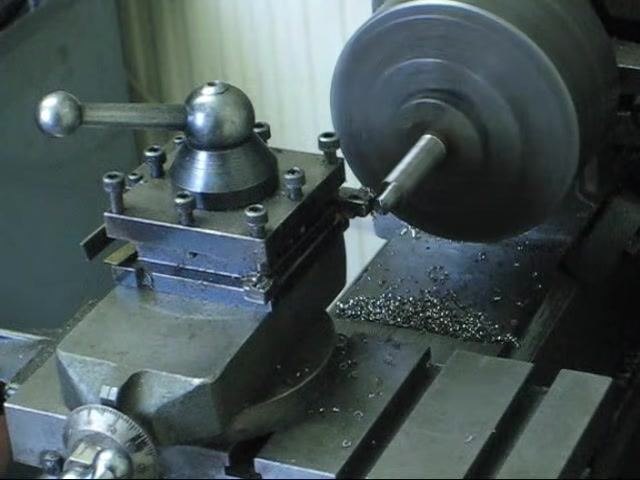
Monitor the machining process Keep hands clear of the rotating workpiece and watch the cutting tool as it removes material toward the target diameter.
-
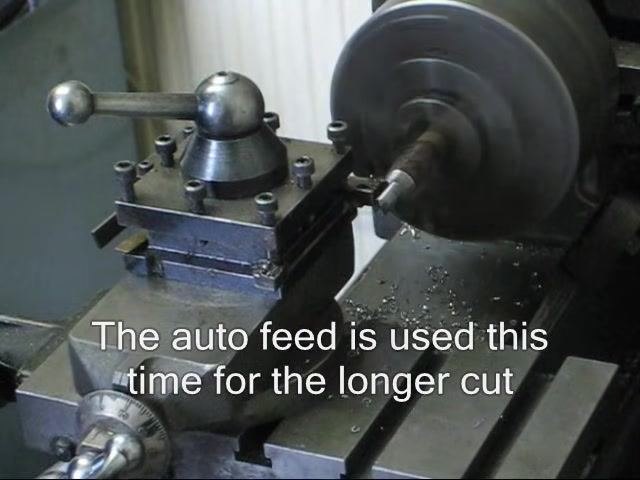
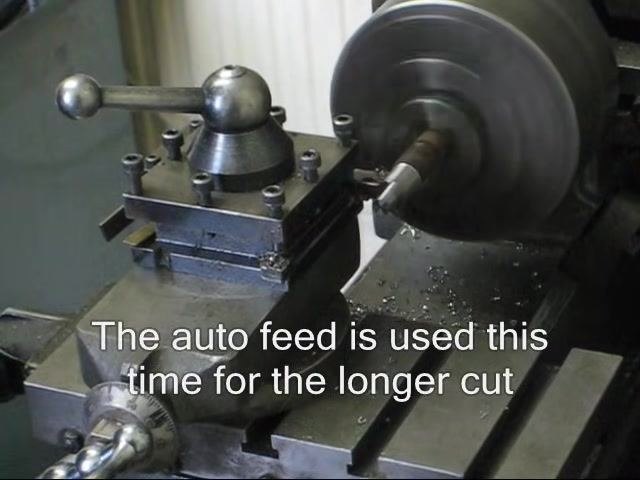
Use auto feed for the longer cut Engage the lathe's auto feed mechanism for a consistent, smooth cut along the length of the workpiece. This is especially useful on longer cuts to maintain surface finish and dimensional accuracy.
- Continue the auto feed cut Allow the auto feed to progress the cutting tool along the workpiece, monitoring for even cutting and clear chip removal.
-
Pause and inspect the workpiece Stop the lathe once the cut is complete and visually inspect the workpiece for surface finish and dimensional progress. Confirm the cutting tool has cleared the workpiece before the spindle stops.
-
Re-measure the outside diameter Use the digital caliper to measure the new outside diameter and compare it to the target 0.4-inch dimension. Repeat the cutting process if additional material needs to be removed.
-
Prepare to stop the lathe Move the cutting tool away from the workpiece before turning off the spindle.
- Complete the machining pass Observe the final state of the workpiece after the cut, confirming the correct diameter and an acceptable surface finish.
Final checks, deburring, and part removal
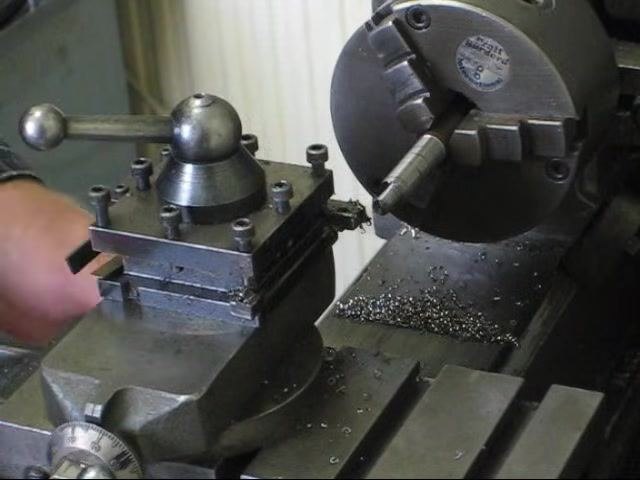
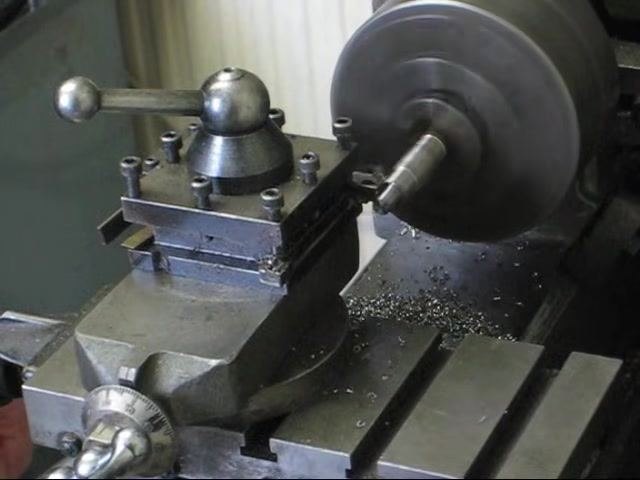
- Perform a final visual inspection With the workpiece still mounted in the chuck, confirm the outside diameter appears uniform and the surface finish is smooth. Check for any visible defects. Note that metal chips around the work area indicate material removal during the previous pass.
Safety note: Keep hands clear of the workpiece while the spindle is still turning.
-
Stop the lathe spindle Turn off the spindle and wait until the workpiece has come to a complete stop before proceeding.
-
Deburr the machined edges Use a deburring tool or file to remove sharp edges or burrs from the freshly machined surfaces, focusing on the outside diameter and any shoulders or transitions created during turning. Smooth edges prevent injury and improve part quality.
-
Clean the work area Brush metal chips away from the lathe bed and surrounding area using a chip brush or vacuum to maintain a safe, tidy workspace.
-
Remove the finished part from the chuck Loosen the chuck jaws with the chuck key and carefully withdraw the workpiece, supporting it by hand to prevent dropping. Inspect the part for dimensional accuracy and surface finish.
-
Perform a final measurement and quality check Use the digital caliper to confirm the outside diameter matches the specified 0.4-inch dimension, and verify that all machining operations meet specification. Repeat any steps as needed to correct minor deviations.
Parting off on the lathe
- Start the lathe engine Confirm the workpiece is securely mounted in the chuck and the tool post and cutting tool are properly installed. Turn on the lathe engine to begin spindle rotation.
- Measure the workpiece Hold a caliper against the workpiece, whether it is stationary or rotating slowly, and verify the measurement before proceeding.
-
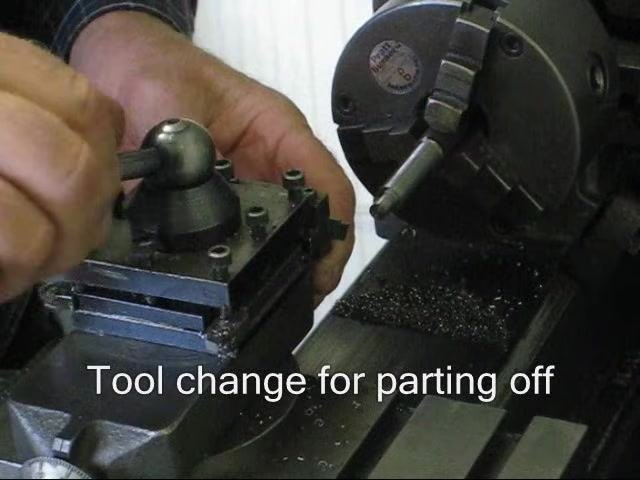
Change the tool for parting off Loosen the tool post handle, remove the existing tool, and insert the parting-off tool. Tighten the handle to secure the new tool, ensuring it is perpendicular to the workpiece and at the correct height.
-
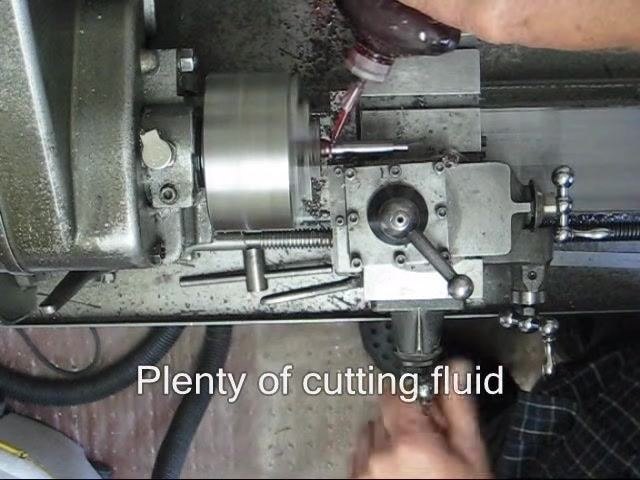
Apply cutting fluid Generously apply cutting fluid to the cutting zone using a squeeze bottle or brush. This reduces heat and friction, prolonging tool life and improving cut quality.
-
Begin the parting operation Engage the carriage feed or manually advance the parting tool into the workpiece at a steady feed rate. Monitor the cutting process and add cutting fluid as needed.
-
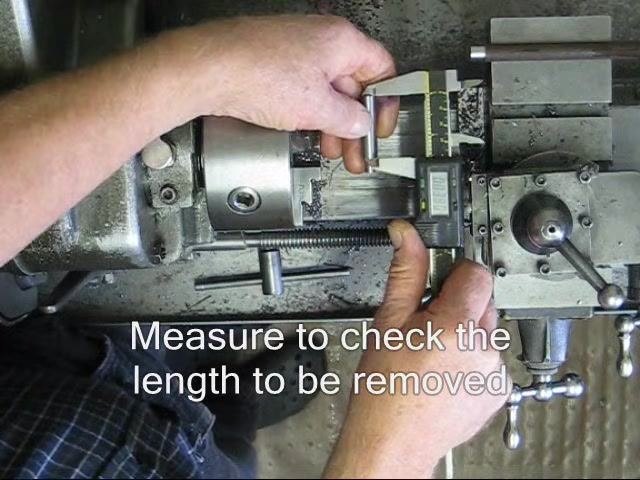
Measure to check the length to be removed Stop the lathe and use a caliper or digital gauge to measure the remaining length of the workpiece, comparing it to the required length.
-
Clear the work area Remove chips and debris from the lathe bed and work area, ensuring the workpiece and tool are free from obstructions before proceeding.
-
Set the leadscrew for the required cut Use the leadscrew handwheel to dial in the exact amount of material to be removed, based on the measurement taken previously.
-
Double-check the leadscrew setting Visually confirm the leadscrew dial matches the required removal amount, and hold the handwheel steady to prevent accidental movement.
-
Resume the parting operation Restart the lathe if it was stopped, then advance the carriage using the leadscrew to remove the measured amount of material, observing the cut and adjusting as needed.
By completing these steps, you can safely and accurately perform a parting operation on a metal lathe, ensuring precise removal of material to the desired length.

Chamfering and final inspection
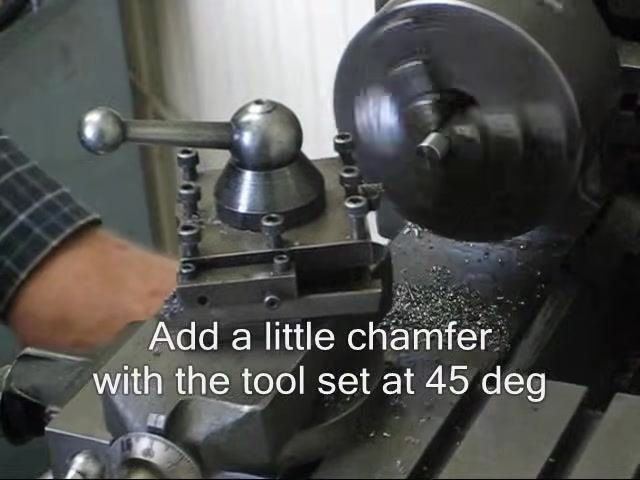
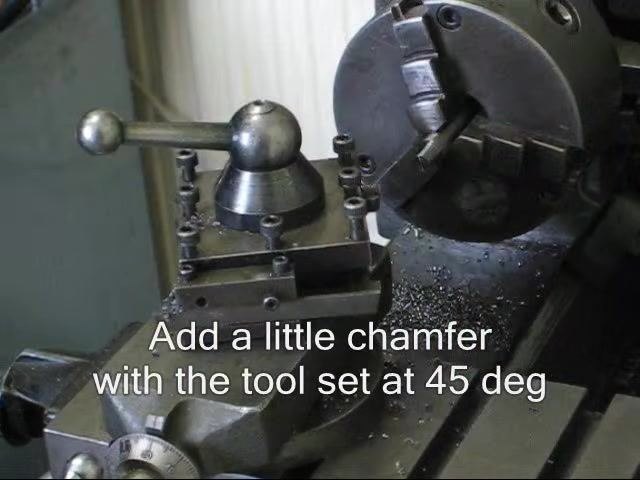
- Add a chamfer to the edge Set the cutting tool in the tool post at a 45-degree angle to the workpiece. With the lathe running, gently advance the tool to create a small, even chamfer on the edge of the parted workpiece, removing any sharp edges.
- Inspect the chamfer Stop the lathe and visually inspect the chamfered edge for smoothness and uniformity. Repeat the chamfering process if needed. Confirm the work area is clear of excessive chips and the tool post remains secure.
-
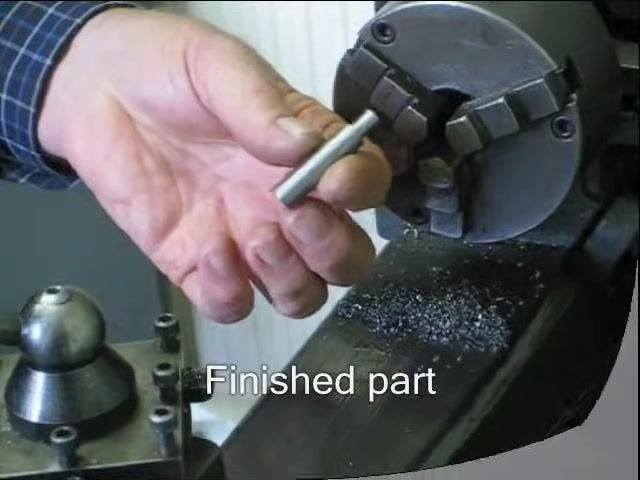
Remove the finished part from the chuck Loosen the chuck jaws and carefully remove the finished part, holding it securely to avoid dropping or damaging it. Inspect the part for correct dimensions and surface finish.
-
Compare the finished part to the technical drawing Place the finished part on the technical drawing and visually confirm it matches the specified dimensions and features: main body length of 1.5 units, step length of 0.375 units, outer diameter of 4 units, and inner diameter of 0.25 units. Confirm all features are present and accurately machined.
Verification and summary
By following this procedure, you will have learned how to use a lathe to machine a mild steel rod into a finished part: turning the roughing and finishing cuts to the specified inner diameter, facing the workpiece to length, reducing the outside diameter to 0.4 inches, parting the piece off the stock, and chamfering and inspecting the finished part against the technical drawing. Confirm all final measurements match specification before releasing the part.
Generation details: cost, quality tiers
Docsie billed 4,000 credits ($2.80) to analyze this 8-minute video at standard quality. The rewrite, template fill and Word/PDF exports were included. The same video at each quality tier:
| Quality | Frames sampled | Credits | Approx. cost |
|---|---|---|---|
| Draft | every 16-30 s | 2,000 | $1.40 |
| Standard (this guide) | every 8-15 s | 4,000 | $2.80 |
| Detailed | every 4-7 s | 8,000 | $5.60 |
| Ultra | every 1-3 s | 16,000 | $11.20 |
Credits priced at $0.70 per 1,000; plans include a monthly allowance. Enterprise customers on on-premise or bring-your-own-model deployments run this on their own inference and pay no per-video credits.
Generated by Docsie Video-to-Docs on 2026-09-09 from a 7-minute video. Screenshots are frames from the source video and belong to their creator, myfordboy, whose original is embedded above. If you own this video and want the guide removed or credited differently, contact us and we will act within one business day.