
How to Read a Micrometer
This SOP explains how to read a micrometer accurately, with a focus on the metric outside micrometer that measures to the nearest 0.01 millimeters. It covers identifying the tool's parts, reading the barrel scale, reading the thimble scale, and combining both readings into a final measurement. Following this procedure will help you take precise measurements with confidence.
Video: How to Read a Metric Micrometer by WeldNotes.com by WeldNotes (2014). All credit for the demonstration goes to the creator; watch the original on YouTube. The written guide below was generated from this video by Docsie. Creator? Request a change or removal.
Purpose
This SOP explains how to read a micrometer accurately, with a focus on the metric outside micrometer that measures to the nearest 0.01 millimeters. It covers identifying the tool's parts, reading the barrel scale, reading the thimble scale, and combining both readings into a final measurement. Following this procedure will help you take precise measurements with confidence.
Scope
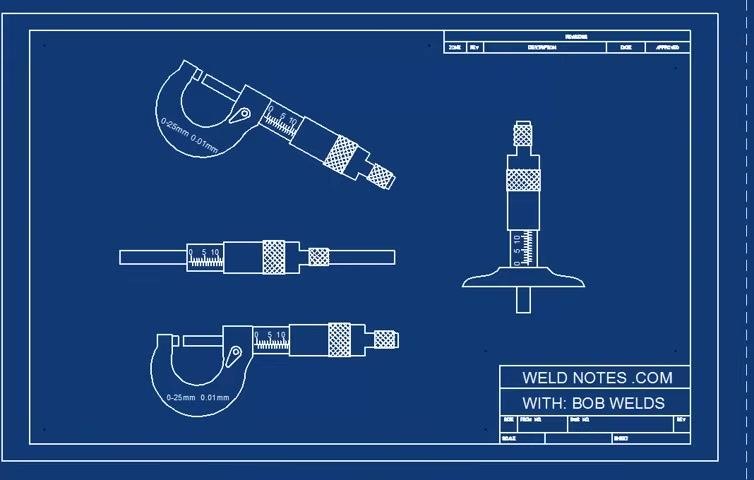
This procedure applies to metric micrometers marked 0-25mm 0.01mm. Micrometers also come in other forms — inside micrometers, outside micrometers, depth micrometers, and inch-based versions — but this SOP addresses only the metric outside micrometer.
Required equipment
- A metric micrometer with a 0-25mm 0.01mm range and precision marking
- A part or object to measure (for practical application)
Procedure
-
Understand the purpose of the micrometer Recognize that a micrometer is a precision measuring tool. This guide covers a metric micrometer that measures down to 0.01 millimeters, as indicated by the 0-25mm 0.01mm marking on the tool.
-
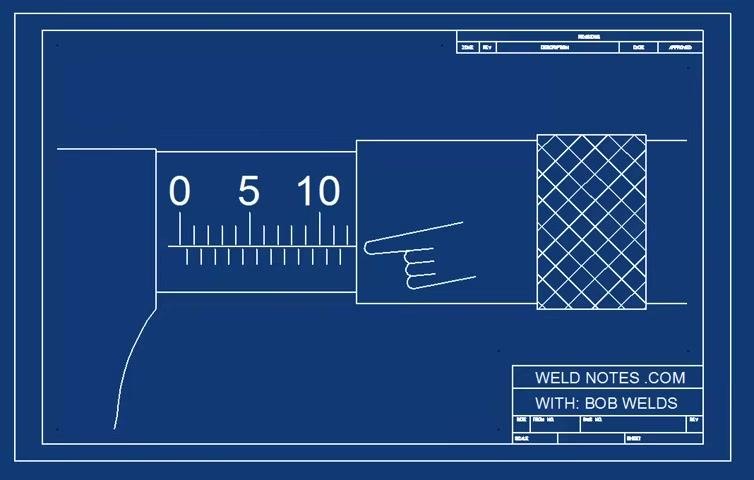
Identify the spindle and the anvil Locate the spindle, which moves when you turn the knurled thimble, and the anvil, which stays stationary. Turning the knurled section opens or closes the gap between these two parts.
-
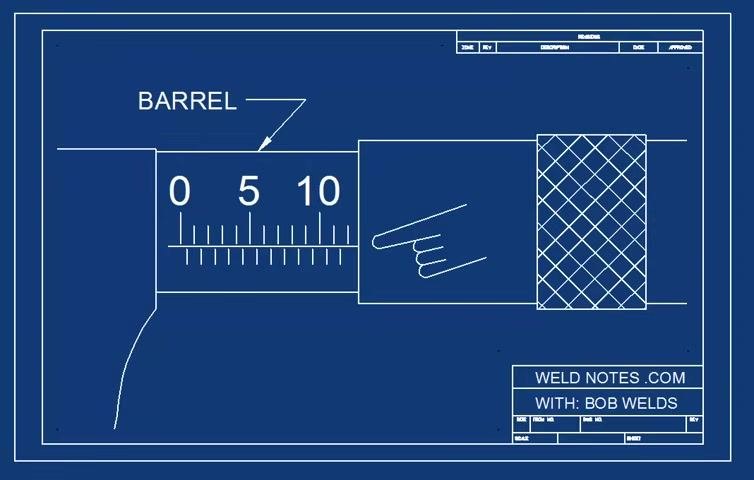
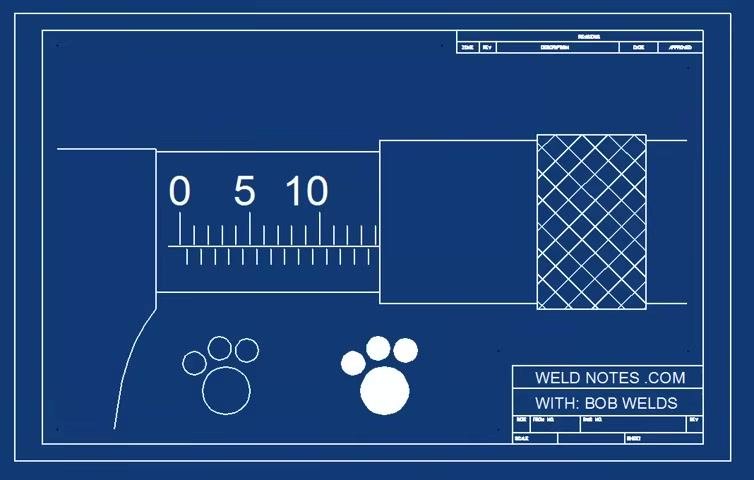
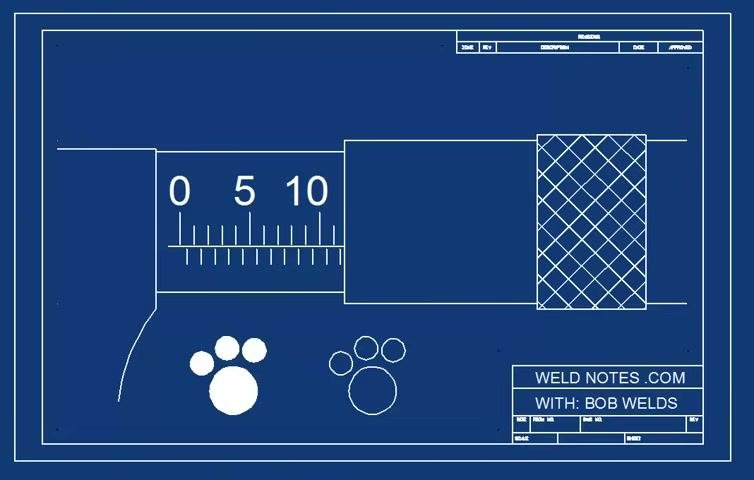
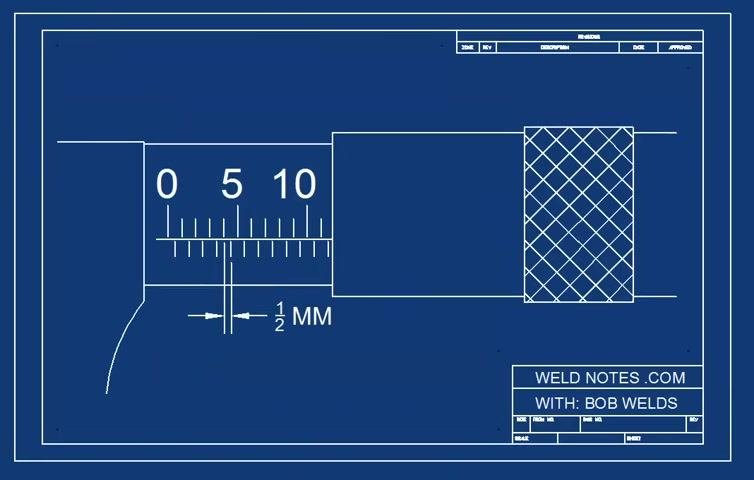
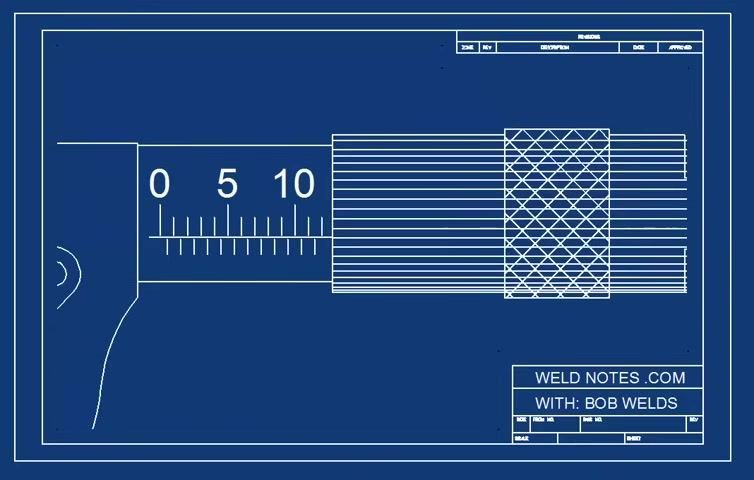
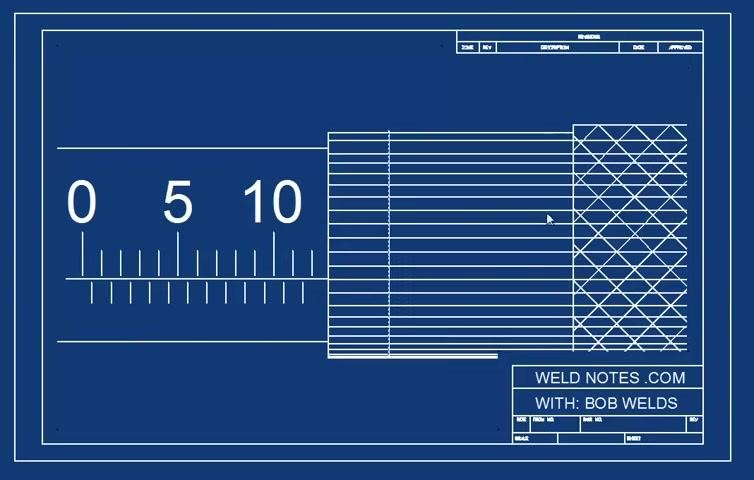
Locate the barrel scale Find the barrel scale, the fixed scale on the sleeve of the micrometer. It has two sets of marks: marks above the line represent whole millimeters, and marks below the line represent half-millimeters.
-
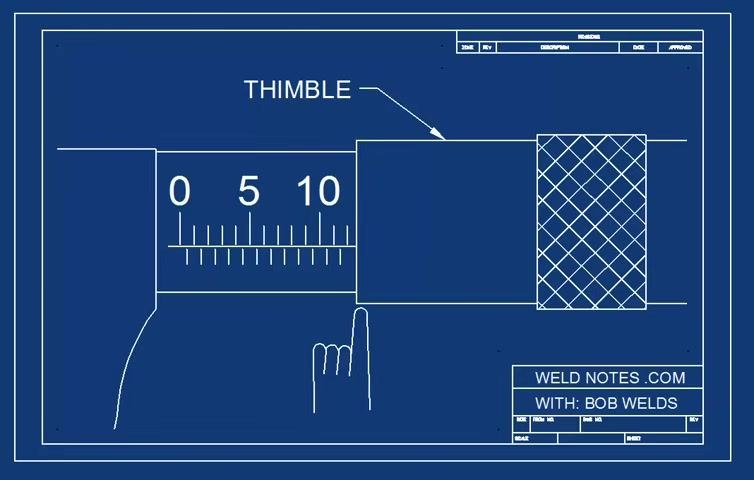
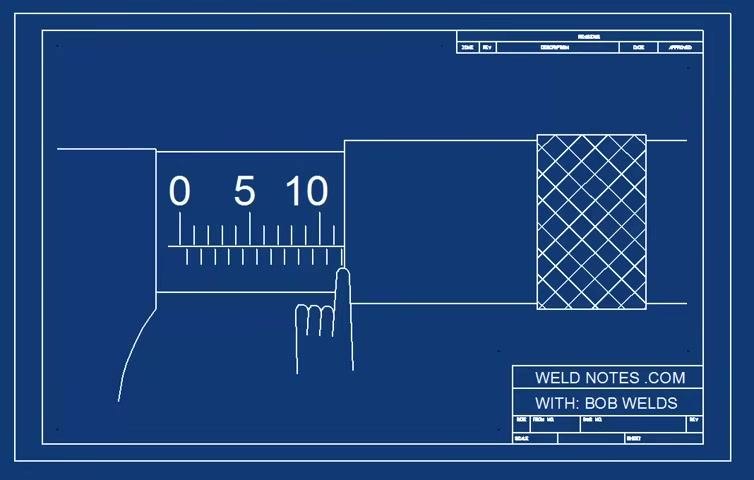
Locate the thimble Identify the thimble, the rotating part of the micrometer. The edge of the thimble is the reference point for reading against the barrel scale.
-
Read the barrel scale Align your view with the edge of the thimble and read the number of millimeters and half-millimeters visible to the left of that edge.
-
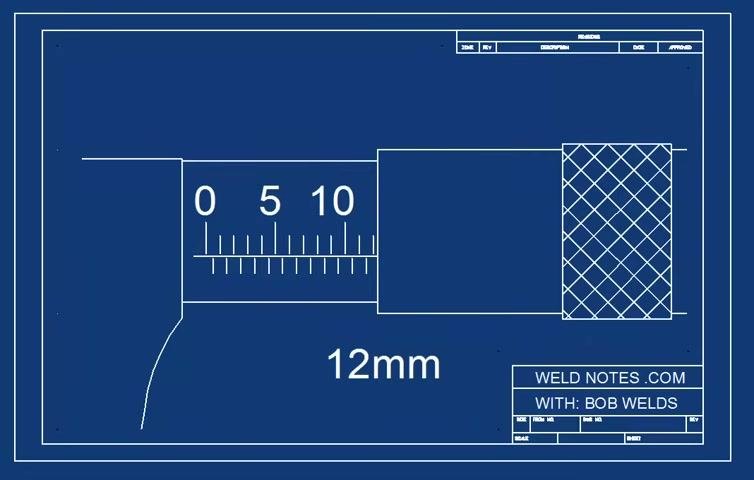
Confirm a first example reading In this example, the barrel scale reads 12 millimeters. Use the thimble edge as your reference point to verify the value.
-
Verify the labeled reading The barrel scale reading of 12 mm is confirmed and clearly labeled for reference.
-
Practice with a second example Observe another barrel scale reading. In this case, the scale reads 14 millimeters.
-
Confirm the second reading Check that the thimble edge aligns with the 14 mm mark to confirm the reading of 14 millimeters.
-
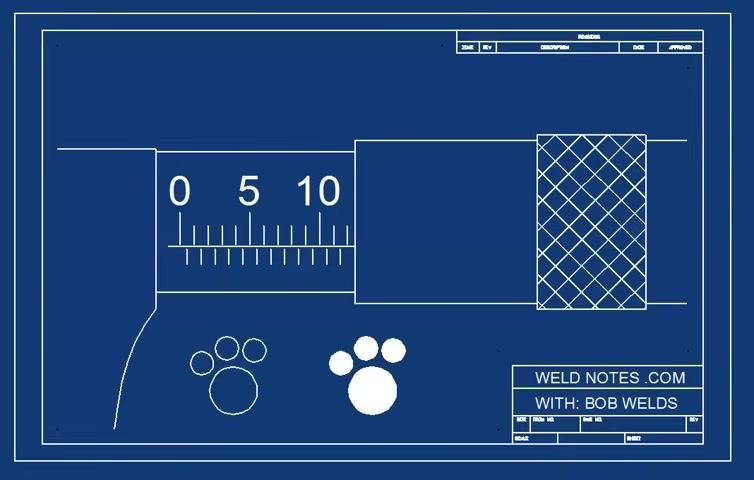
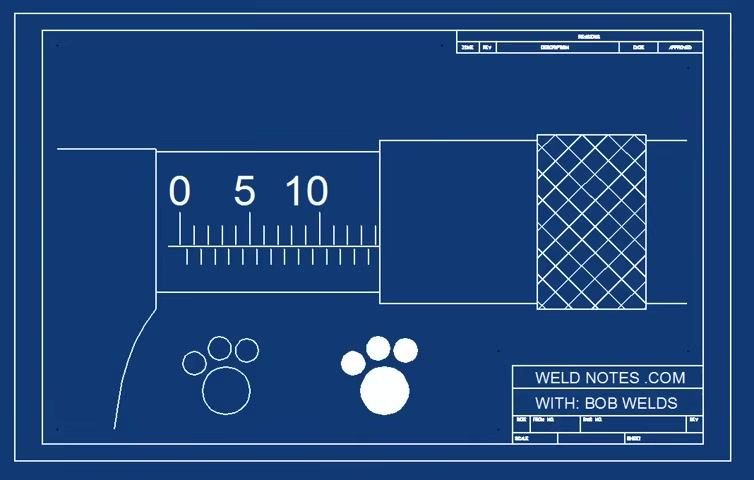
Practice reading a half-millimeter value Pause and determine the reading before checking. When the thimble edge falls between 11 and 12 with a half-millimeter mark visible, the correct reading is 11.5 millimeters.
-
Recognize the half-millimeter mark The half-millimeter mark sits between the whole millimeter marks on the barrel scale and represents an additional 0.5 mm beyond the last whole millimeter mark.
-
Understand the limits of barrel scale precision The micrometer measures down to 0.01 millimeters, but the barrel scale itself cannot physically display increments that fine — such marks would be too close together to read practically.
-
Interpret the half-millimeter mark as a fraction Each small mark on the barrel scale equals 0.5 millimeters, which can also be written as 1/2 MM.
-
Interpret the half-millimeter mark as a decimal The same half-millimeter value can also be expressed as 0.50 MM.
-
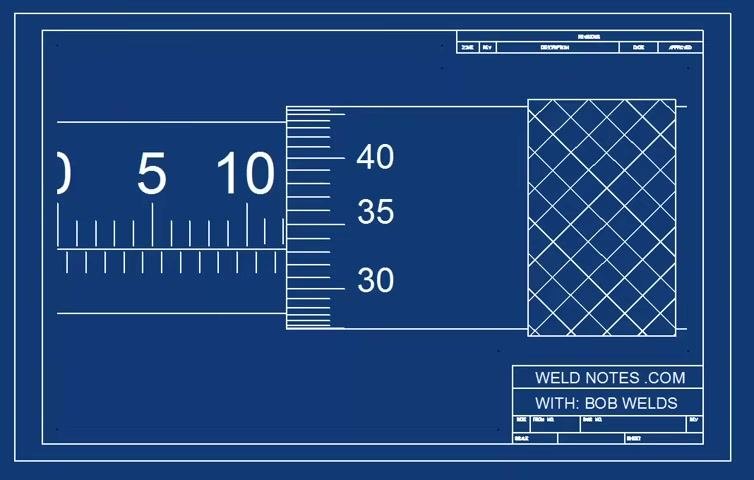
Learn the thimble scale The thimble is divided into 50 marks. As you rotate it, it counts from 1 to 50, and each mark equals 0.01 millimeters — this is where the fine-precision measurement comes from.
-
Observe the thimble divisions Note the multiple horizontal lines around the thimble, which represent its 50 individual divisions.
-
See how the thimble aligns with the barrel The thimble's 50 divisions allow you to read precise values between the half-millimeter marks on the barrel scale.
-
Combine the barrel and thimble readings Start by reading the barrel scale to the left of the thimble edge — in this example, it reads 12 millimeters. The final measurement equals this barrel value plus the value shown on the thimble.
-
Calculate the total measurement The decimal portion of the measurement comes from the thimble scale. In this example, the barrel reads 12 mm and the thimble reads .33, for a total measurement of 12.33 millimeters.
-
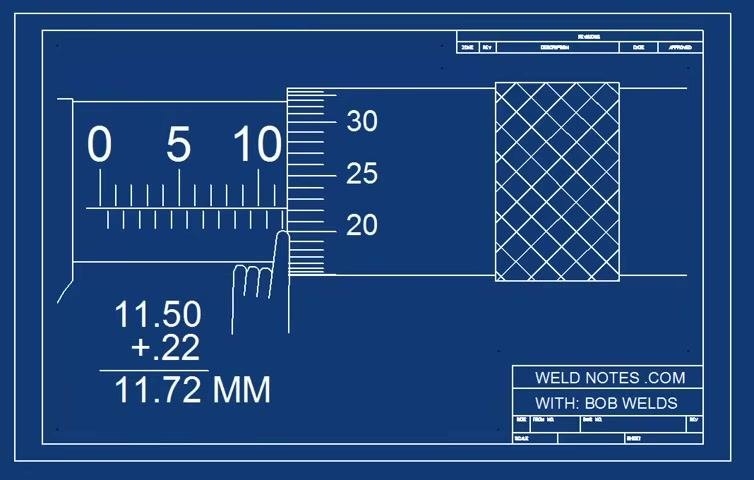
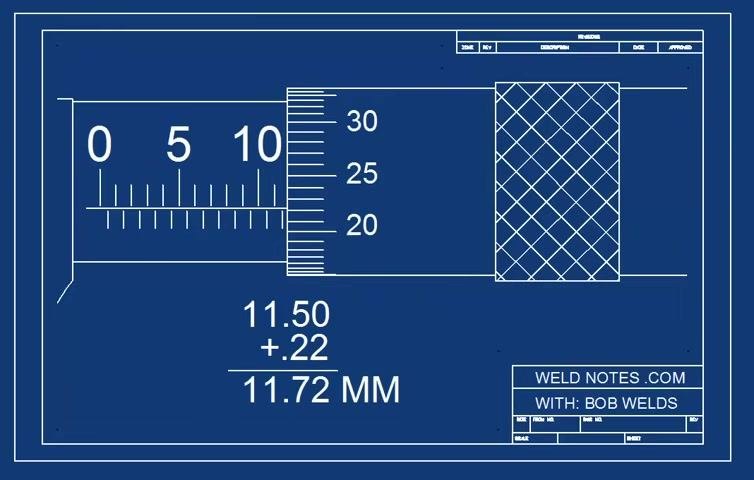
Practice a trickier example with a half-millimeter mark First read the barrel scale, noting whether a half-millimeter mark is visible (in this case, 11.5 mm). Then read the thimble scale (in this case, .22). Add the two values together: 11.50 + 0.22 = 11.72 millimeters.
-
Confirm the calculation Double-check your addition. The correct final measurement for this example is 11.72 millimeters.
-
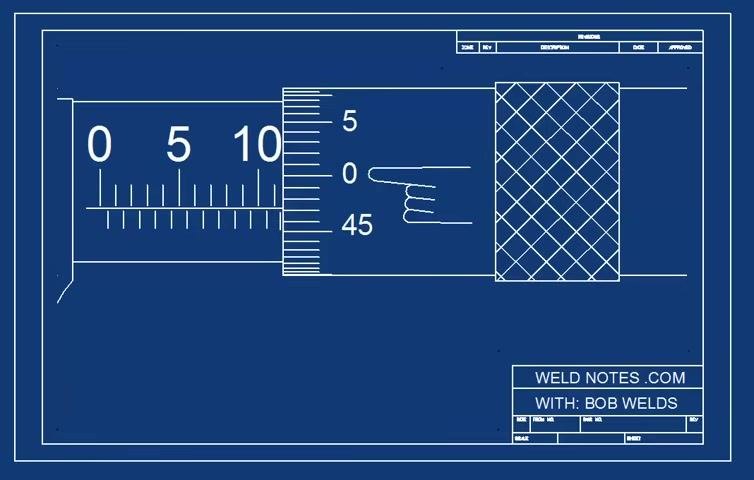
Handle high thimble readings near the end of the scale Since the thimble scale only goes up to 49, a reading near 47 tells you that you are close to the end of a full rotation. Check the thimble's position carefully rather than relying only on whether a mark is visible.
-
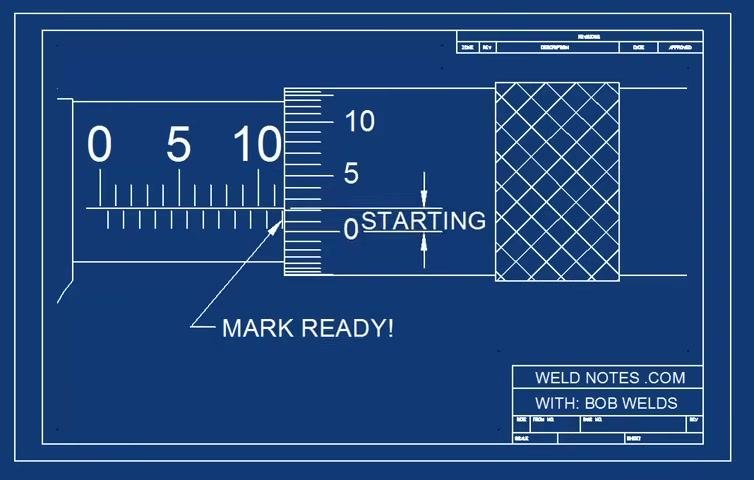
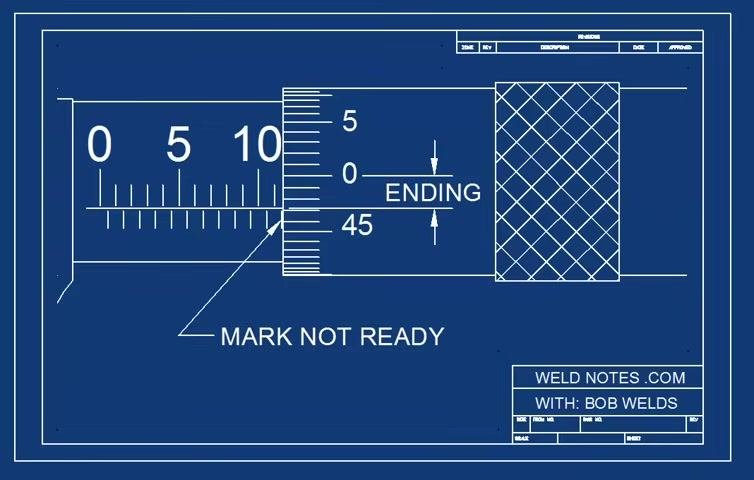
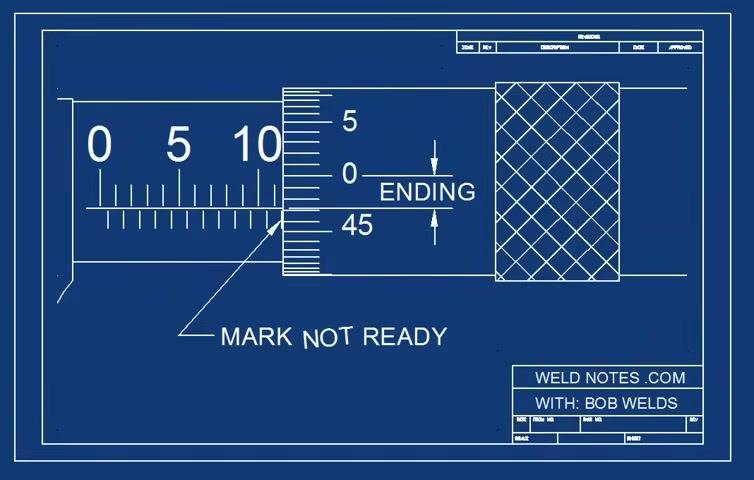
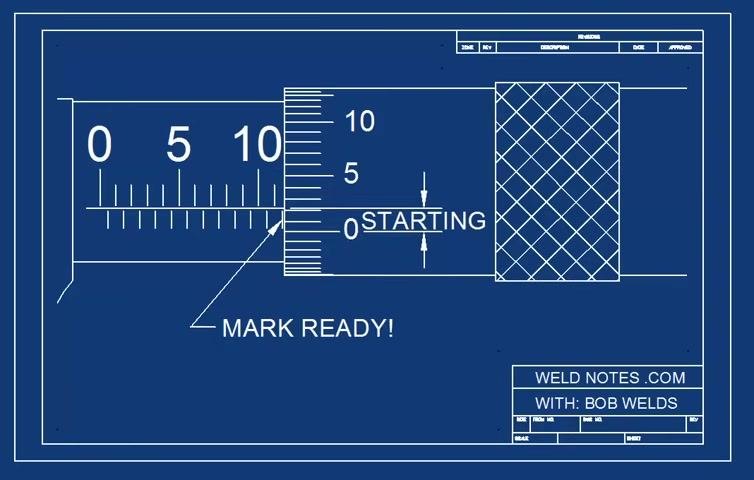
Caution: do not count a mark that is only barely visible If a mark is only partially showing and not fully aligned, do not count it. In this example, the display shows 0.47 mm with the mark not fully aligned, meaning it is ending rather than starting.
-
Identify which side of zero you are on Before you have reached zero, confirm you are not mistakenly counting a mark that is not fully aligned. The scale will indicate the mark is ending and not yet ready to count.
-
Wait until the mark is fully aligned before counting it Once a mark is fully aligned with zero, it is ready to be counted. The scale will indicate the mark is starting and ready.
Verification
- Confirm the barrel scale reading (whole and half millimeters) to the left of the thimble edge.
- Confirm the thimble scale reading (0 to 49, in 0.01 mm increments).
- Add the barrel and thimble values together for the final measurement.
- Only count a mark once it is fully aligned and clearly starting — never count a mark that is only partially visible or ending.
What's next
Continue practicing with different barrel and thimble readings, including examples with half-millimeter marks and readings near the end of the thimble scale, to build confidence and accuracy in reading a micrometer.
Generation details: cost, quality tiers
Docsie billed 3,500 credits ($2.45) to analyze this 7-minute video at standard quality. The rewrite, template fill and Word/PDF exports were included. The same video at each quality tier:
| Quality | Frames sampled | Credits | Approx. cost |
|---|---|---|---|
| Draft | every 16-30 s | 1,750 | $1.22 |
| Standard (this guide) | every 8-15 s | 3,500 | $2.45 |
| Detailed | every 4-7 s | 7,000 | $4.90 |
| Ultra | every 1-3 s | 14,000 | $9.80 |
Credits priced at $0.70 per 1,000; plans include a monthly allowance. Enterprise customers on on-premise or bring-your-own-model deployments run this on their own inference and pay no per-video credits.
Generated by Docsie Video-to-Docs on 2026-09-08 from a 6-minute video. Screenshots are frames from the source video and belong to their creator, WeldNotes, whose original is embedded above. If you own this video and want the guide removed or credited differently, contact us and we will act within one business day.