
How to Use a Microscope
This document explains how to use a microscope in a laboratory setting, covering setup, operation, focusing, troubleshooting, and cleanup. Follow these steps in order to ensure consistent, safe handling of the equipment and reliable observation results.
Video: BIOLOGY 10 - Basic Microscope Setup and Use by Fresno State (2013). All credit for the demonstration goes to the creator; watch the original on YouTube. The written guide below was generated from this video by Docsie. Creator? Request a change or removal.
This document explains how to use a microscope in a laboratory setting, covering setup, operation, focusing, troubleshooting, and cleanup. Follow these steps in order to ensure consistent, safe handling of the equipment and reliable observation results.
Purpose
This procedure describes how to use a microscope correctly from initial setup through storage. It is intended to help you set up the equipment properly, focus on a specimen at multiple magnifications, resolve common viewing problems, and return the microscope to storage in good condition.
Scope
This procedure applies to standard laboratory microscopes used in the Biology 10 laboratory. It covers four stages of use:

- Setting up the microscope
- Using the microscope
- Troubleshooting hints
- Cleanup and storage
Required equipment
- Microscope (retrieved from the storage cabinet)
- Microscope slide with specimen
- Lens paper (use only lens paper on the lenses)
- Lens cleaner
- Power outlet
- Stable, flat work surface
Setting up the microscope
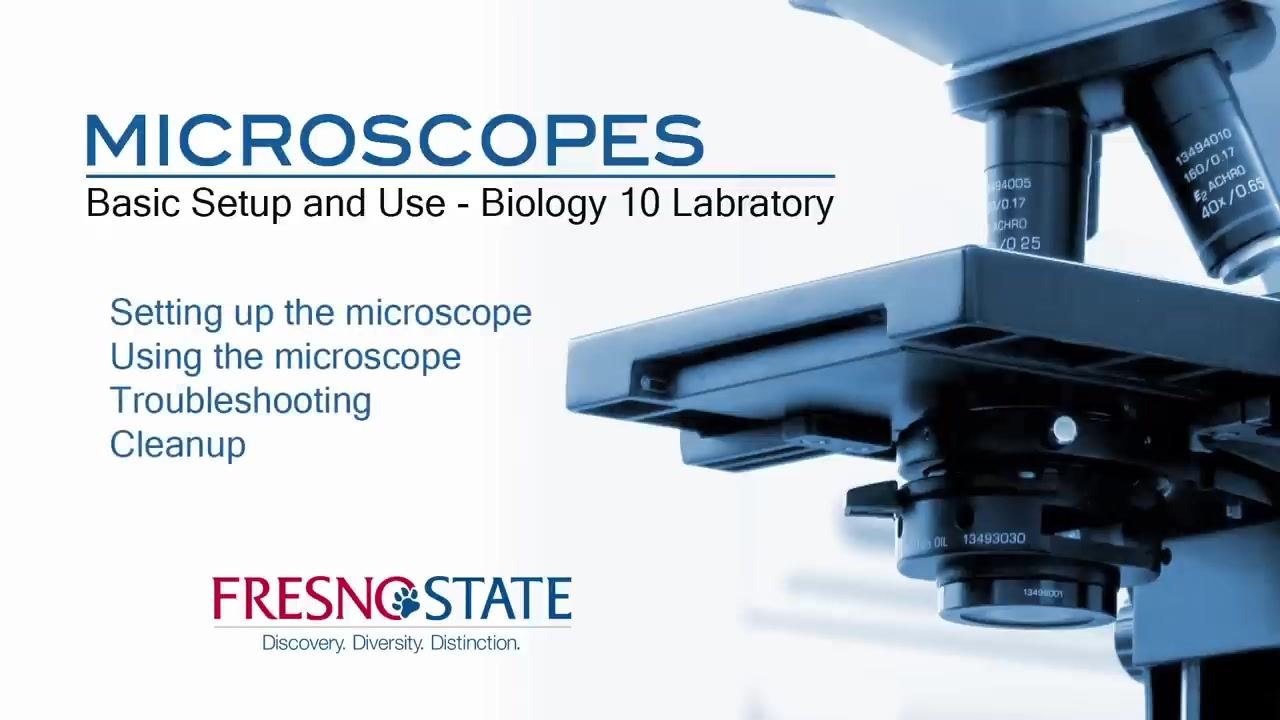
- Retrieve the microscope from the cabinet. Carry it with both hands—one hand holding the arm and the other supporting the base. If the microscope is too heavy to carry safely, ask for assistance.
-
Place the microscope on a stable, flat surface.
-
Unwind the power cord from the back of the microscope and plug it into a power outlet.
-
Locate the on-off switch on the back of the microscope. Note that the switch may be hard to find if the power cord is still wrapped around the holders.
-
Check the ocular (eyepiece) lenses. Rotate the oculars until the number 64 aligns with the white line below the rotating part of the lens.
-
Check the condenser lens and confirm it is positioned just below the stage.
-
Set the objective lens to low power (typically 4x). Rotate the nosepiece to select the 4x objective, move the stage to its highest position using the coarse focus knob, and adjust the light to a medium or medium-high setting. The brightest setting does not always provide the best image.
- Confirm that the microscope is ready for use. The stage should be at its highest position, the light should be on a medium setting, and the low power objective should be in place.
Using the microscope
-
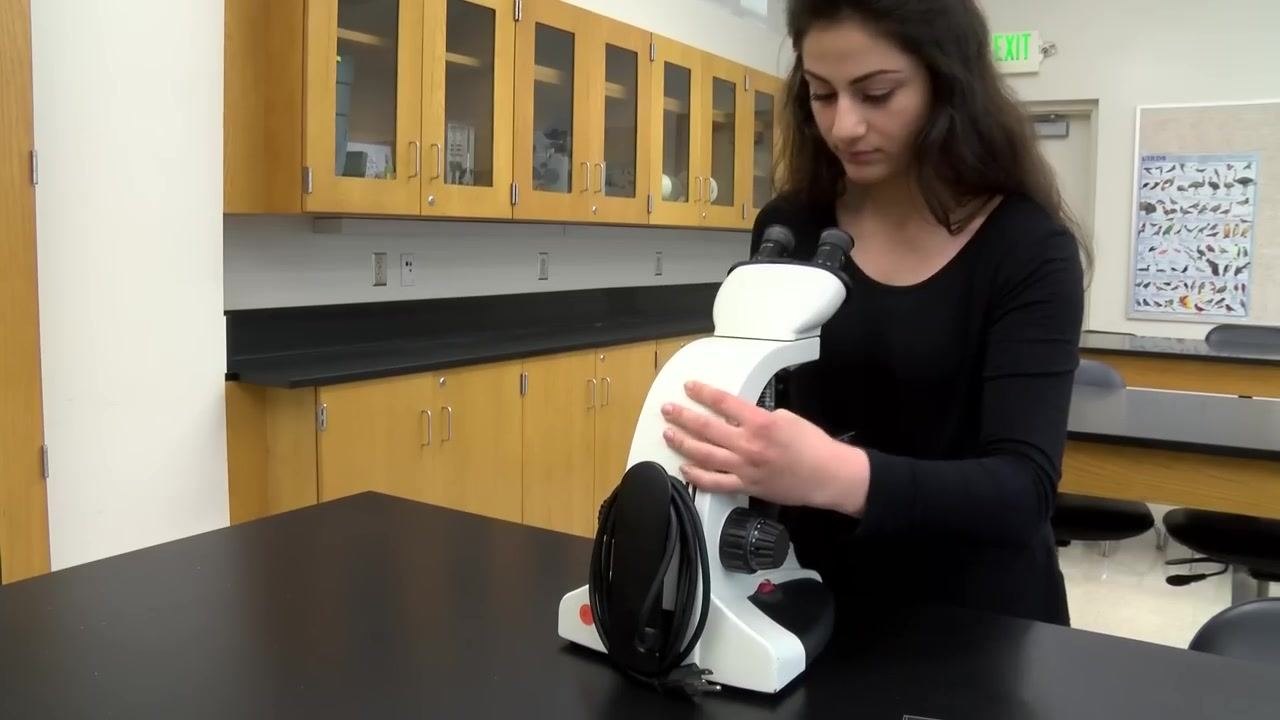
Load the slide. Open the stage clip with one hand and slide a microscope slide onto the stage, positioning it toward the back. Ensure the slide does not go under the clips that hold it in place.
-
Center the specimen over the condenser. Use the knobs on the lower right side of the stage—the X and Y stage controls—to adjust the slide until the specimen is directly above the condenser lens.
Focusing and observing specimens
- Confirm the low power setup. Start with the low power objective lens (4x) and ensure the stage is in its highest position, raised using the coarse focus knob.
-
Look through the ocular (eyepiece) lenses and focus on the specimen using the coarse focus knob. The specimen should already be nearly in focus if the previous steps were followed correctly.
-
Center the specimen in the field of view using the stage adjustment knobs so it sits directly in the center.
-
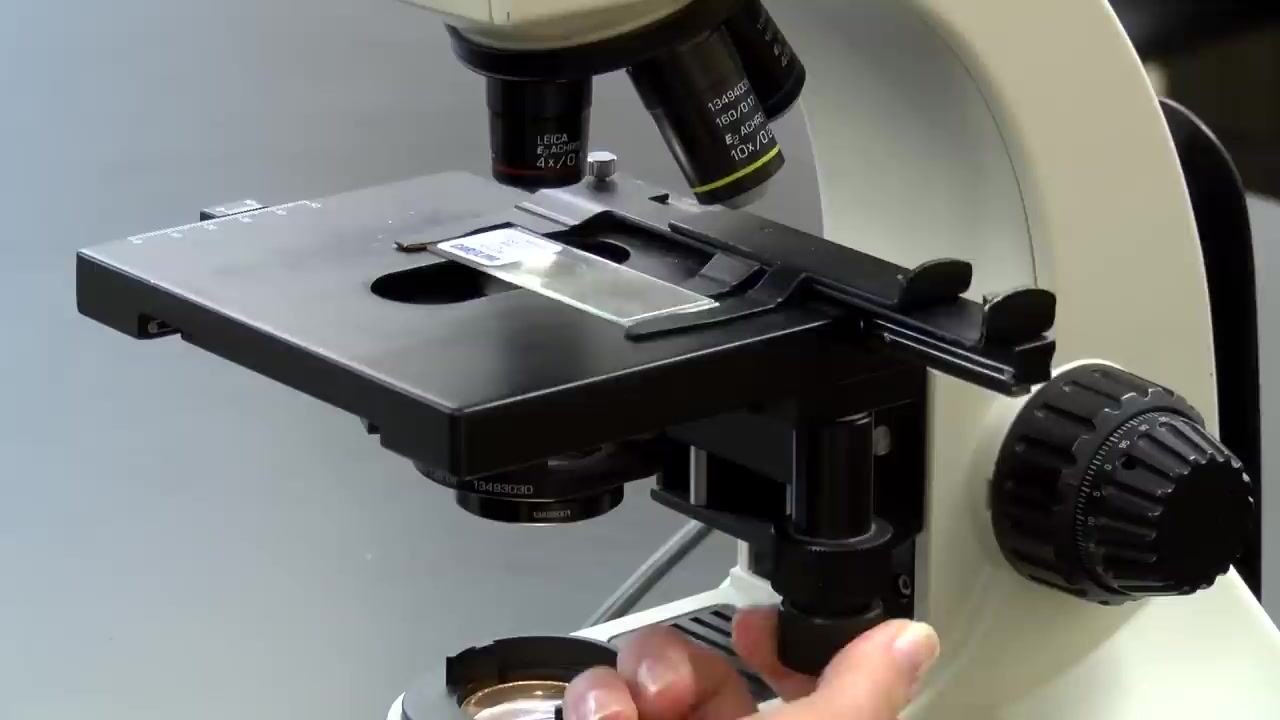
Switch to the next highest objective lens (10x). Rotate the nosepiece to bring the 10x objective into position, then refocus using only the fine focus knob for minor adjustments.
-
Center the specimen again in the field of view.
-
Move to the highest power objective lens (40x). Rotate the nosepiece to select the 40x objective and use only the fine focus knob to bring the specimen into sharp focus.
Common issues while focusing
- If the slide does not move when adjusting the stage knobs: confirm you are using the correct knobs and that the slide is properly clipped in place.
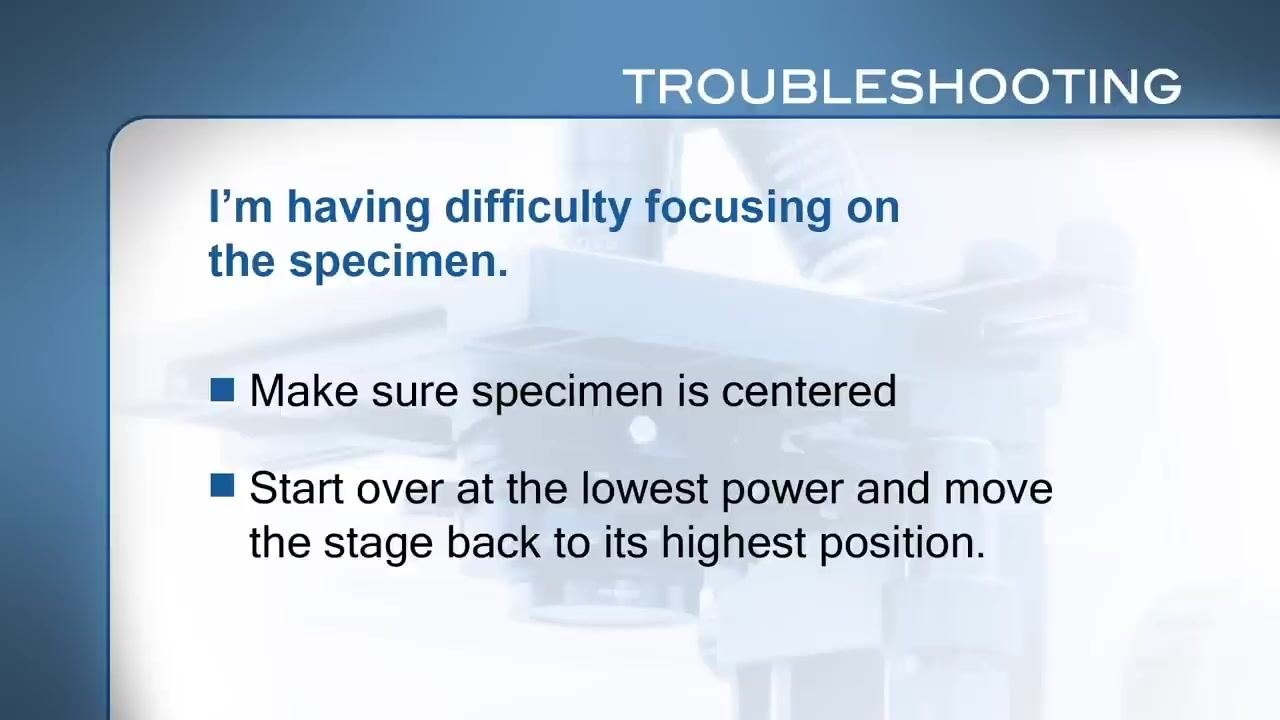
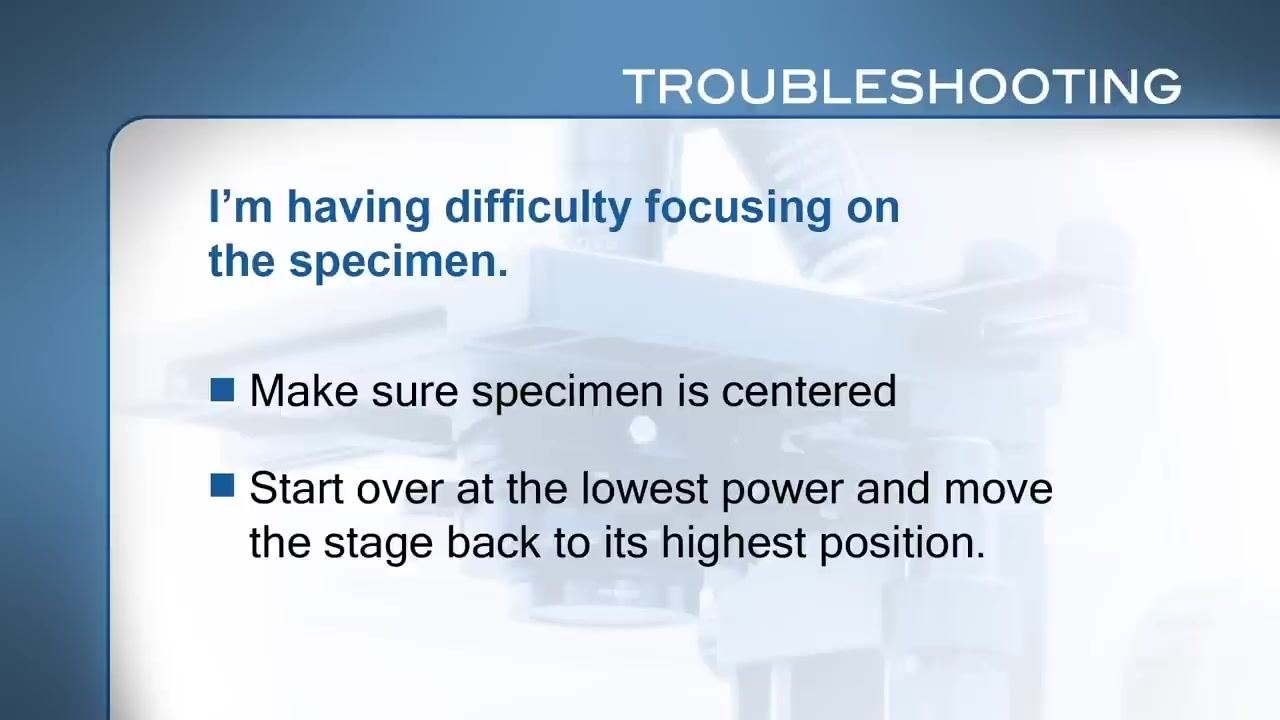
- If you have trouble finding the specimen: make sure the specimen is centered, then start over at the lowest power (4x) and move the stage back to its highest position.
- If focusing becomes difficult or frustrating: it may be easier to start over from the lowest power and highest stage position. Only minor adjustments should be needed at each magnification.
- While focusing, move the slide slightly back and forth using the slide holder knobs—eyes detect motion better than stationary objects.
-
For unstained specimens: use the stage diaphragm to reduce the amount of light passing through the specimen, and try to find a bubble or another easily observed object under the cover slip to focus on.
-
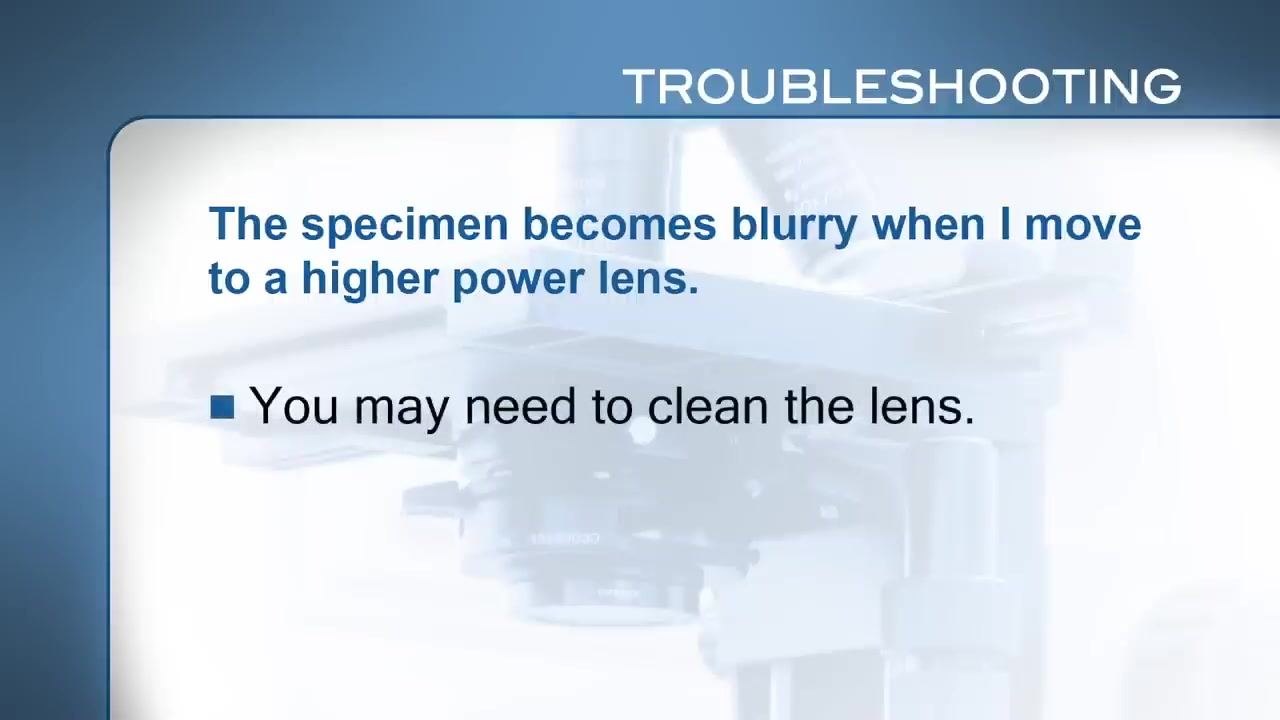
If the specimen becomes blurry when switching to a higher power lens (appearing as if coated with Vaseline) and cannot be focused, you may need to clean the lens.
Troubleshooting and cleaning procedures
-
Confirm the blurry-lens issue. If the specimen becomes blurry when switching to a higher power lens and cannot be focused, the lens likely needs cleaning.
-
Clean the lens.
- Soak a piece of lens paper (use only lens paper) with lens cleaner.
- Gently wipe the lens with the moistened lens paper.
- Wipe the lens dry with a clean piece of lens paper.
- Repeat this process a couple of times if necessary.
- If the problem persists after cleaning, check with your instructor.
Cleanup and storage
-
Remove the slide from the stage and rotate the nosepiece to position the lowest power objective lens (4x) in place.
-
Prepare the microscope for storage. Move the stage to a centered position, move the slide holder to the left, and check that the stage is clean and dry.
-
Turn off the microscope. Switch off the light and power, then wrap the power cord neatly around the microscope.
-
Carry the microscope back to the storage cabinet. Use both hands—one on the arm and one under the base. Ensure the arm faces outward when placing the microscope in the cabinet, and make sure microscopes are not crowded together.
Verification and summary
Before concluding this procedure, confirm the following:
- The microscope is powered off and the cord is wrapped neatly.
- The slide has been removed and the low power (4x) objective is in place.
- The stage is centered, clean, and dry.
- The microscope is stored in the cabinet with the arm facing outward and adequate space around it.
Following these setup, focusing, troubleshooting, cleaning, and storage steps ensures the microscope remains in optimal condition for future use.
Generation details: cost, quality tiers
Docsie billed 2,500 credits ($1.75) to analyze this 5-minute video at standard quality. The rewrite, template fill and Word/PDF exports were included. The same video at each quality tier:
| Quality | Frames sampled | Credits | Approx. cost |
|---|---|---|---|
| Draft | every 16-30 s | 1,250 | $0.88 |
| Standard (this guide) | every 8-15 s | 2,500 | $1.75 |
| Detailed | every 4-7 s | 5,000 | $3.50 |
| Ultra | every 1-3 s | 10,000 | $7.00 |
Credits priced at $0.70 per 1,000; plans include a monthly allowance. Enterprise customers on on-premise or bring-your-own-model deployments run this on their own inference and pay no per-video credits.
Generated by Docsie Video-to-Docs on 2026-09-10 from a 4-minute video. Screenshots are frames from the source video and belong to their creator, Fresno State, whose original is embedded above. If you own this video and want the guide removed or credited differently, contact us and we will act within one business day.