
How to Read Pipette
This standard operating procedure explains how to read a pipette correctly and use it to aspirate and dispense liquid with accuracy. Understanding how to read a pipette's controls and markings is essential for consistent, reliable results in laboratory work. Follow the steps below to ensure safe handling and precise measurements.
Video: How to pipette correctly – a short step-by-step introduction into proper pipetting by Eppendorf (2017). All credit for the demonstration goes to the creator; watch the original on YouTube. The written guide below was generated from this video by Docsie. Creator? Request a change or removal.
This standard operating procedure explains how to read a pipette correctly and use it to aspirate and dispense liquid with accuracy. Understanding how to read a pipette's controls and markings is essential for consistent, reliable results in laboratory work. Follow the steps below to ensure safe handling and precise measurements.
Purpose
This procedure describes the correct technique for identifying pipette controls, attaching tips, aspirating and dispensing liquid, and disposing of used tips safely, in order to minimize strain and maximize measurement accuracy.
Scope
This procedure applies to standard laboratory pipetting tasks, including liquid aspiration, sample transfer, and tip disposal using a manual pipette.
Required equipment and PPE
- Pipette
- Appropriate pipette tips
- Tip box
- Sample liquid and original vessel
- Microcentrifuge tube or receiving vessel
- Garbage bin for tip disposal
- Lab coat
- Gloves
Procedure
Step 1: Identify the pipette controls
Locate the control button, which has two stops, and the ejector button on your pipette. The control button is used for aspirating and dispensing liquid, while the ejector button is used for removing the tip. Understanding how to read these controls before you begin is the foundation of correct pipetting technique.
Step 2: Attach the pipette tip
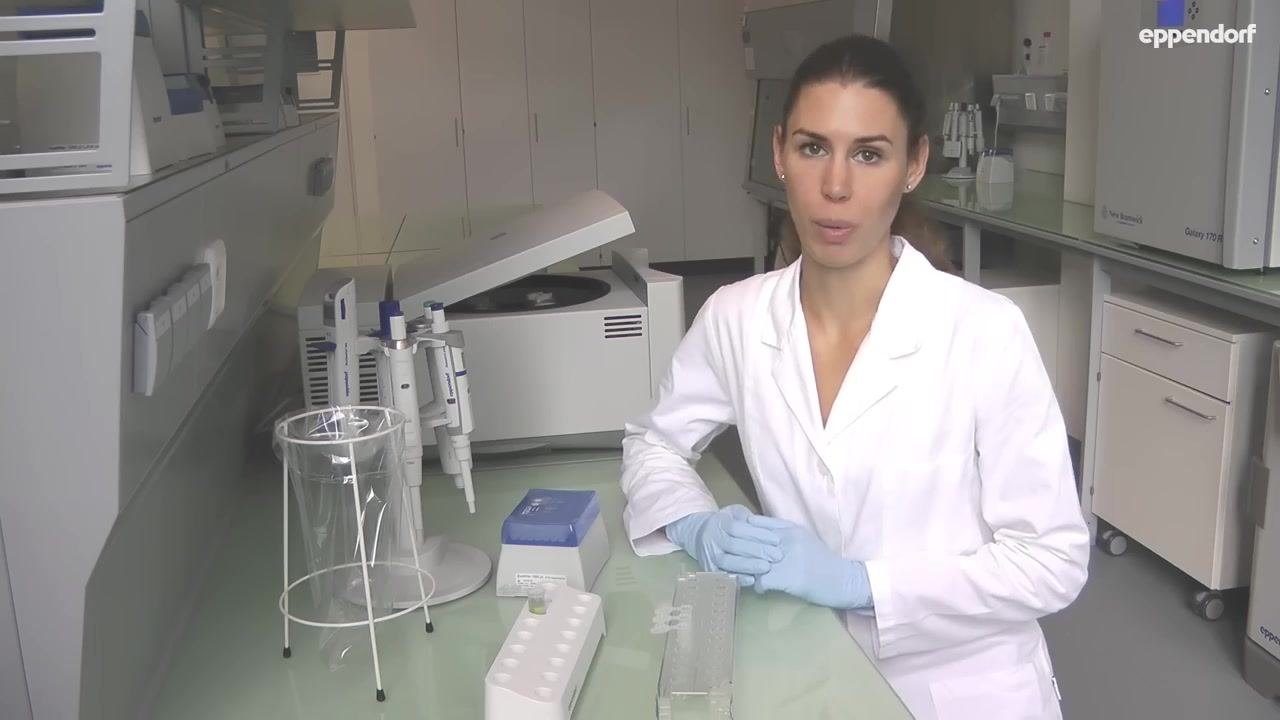
Select an appropriate pipette tip for your pipette. Apply light pressure to insert the pipette into the tip box and attach a tip.
Safety note: Do not use excessive force or move the pipette from side to side, as this can strain your arm and damage the pipette.
Step 3: Position the pipette for aspiration
Hold the pipette vertically to ensure accurate aspiration. The aspiration angle should be as close to vertical as possible.
Safety note: Tilting the pipette can cause you to aspirate too much liquid.
Step 4: Control the immersion depth
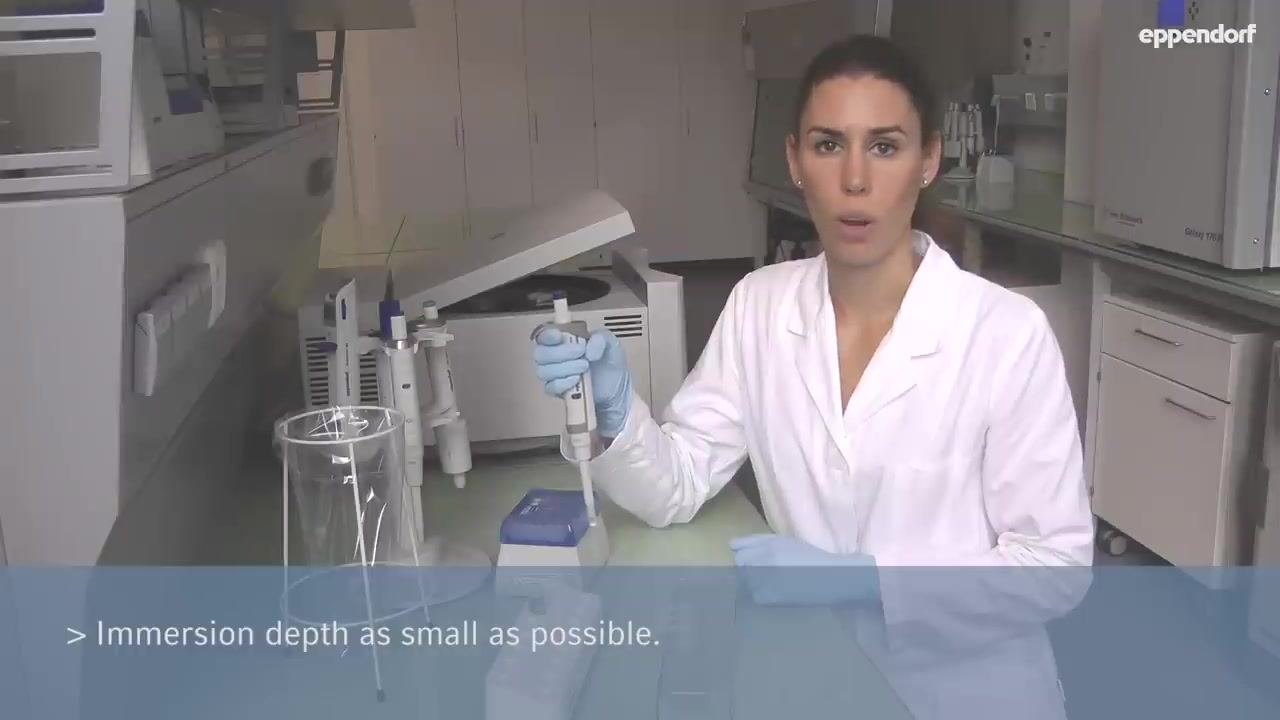
Immerse the pipette tip into the liquid only as much as necessary, keeping the immersion depth as small as possible.
Safety note: If the tip is immersed too deeply, additional liquid may be aspirated due to the capillary effect, leading to inaccurate measurements.
Step 5: Aspirate the liquid
Press the control button down to the first stop. Immerse the tip into the liquid, maintaining a vertical angle and minimal immersion depth. Slowly release the control button to aspirate the liquid into the tip.
Step 6: Pre-wet the pipette tip
Press the control button down to the first stop and aspirate liquid into the tip, then dispense the liquid back into the original vessel. Repeat this process 2 to 3 times to saturate the air in the tip and ensure accurate pipetting. This step, called pre-wetting, conditions the tip for consistent results.
Step 7: Aspirate the sample
After pre-wetting, press the control button to the first stop. Immerse the tip into the sample liquid, maintaining a vertical angle and minimal immersion depth. Slowly release the control button to aspirate the sample into the tip.
Step 8: Dispense the liquid
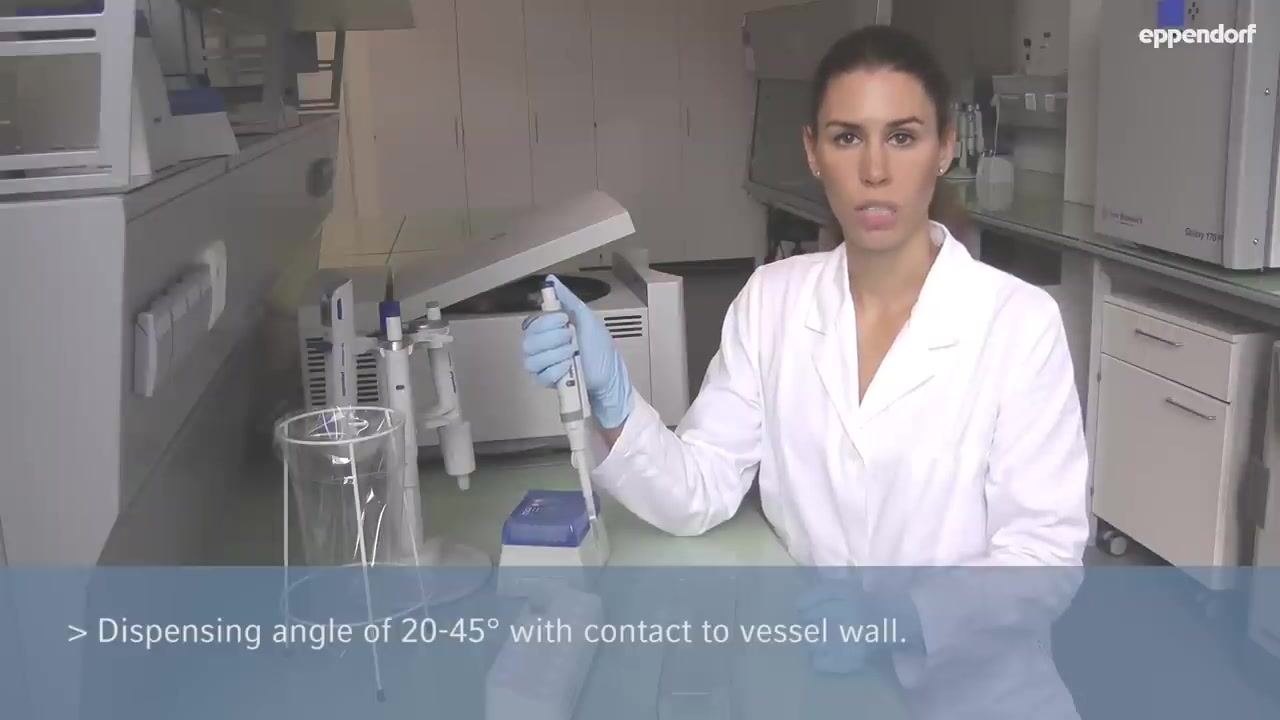
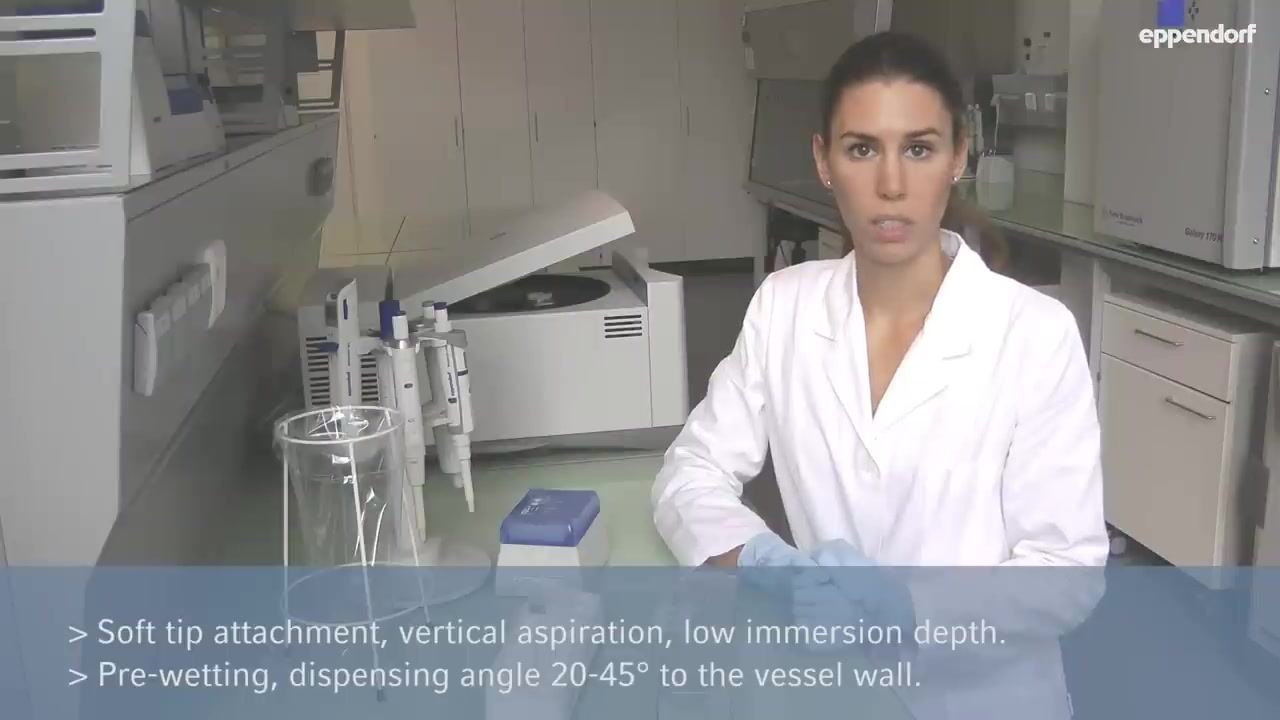
Hold the pipette at a dispensing angle between 20° and 45°.
Safety note: Ensure the pipette tip stays in contact with the vessel wall during dispensing. This guarantees optimal flow and prevents splashing or incomplete transfer.
Step 9: Perform the blowout
Press the control button down to the first stop to dispense the liquid. Then press further down to the second stop (blowout) to ensure the tip is emptied completely.
Step 10: Eject the pipette tip
Move the pipette over a garbage bin. Press the ejector button to remove and discard the used tip safely.
Verification and summary
Confirm that each of the following points has been followed correctly:
- Use light pressure to attach the tip, avoiding side-to-side movement.
- Maintain a vertical aspiration angle at all times.
- Keep the immersion depth as small as possible for accuracy.
- Pre-wet the tip 2 to 3 times before aspirating the sample.
- Dispense at a 20°–45° angle with the tip in contact with the vessel wall.
- Perform the blowout step to fully empty the tip.
- Eject and discard the used tip safely over a garbage bin.

Following these steps ensures accurate, reliable, and safe pipetting results, supporting consistency and precision in your laboratory work.
Further resources
For more detailed pipetting tutorials and resources, visit: www.eppendorf.com/pipetting
Generation details: cost, quality tiers
Docsie billed 2,000 credits ($1.40) to analyze this 4-minute video at standard quality. The rewrite, template fill and Word/PDF exports were included. The same video at each quality tier:
| Quality | Frames sampled | Credits | Approx. cost |
|---|---|---|---|
| Draft | every 16-30 s | 1,000 | $0.70 |
| Standard (this guide) | every 8-15 s | 2,000 | $1.40 |
| Detailed | every 4-7 s | 4,000 | $2.80 |
| Ultra | every 1-3 s | 8,000 | $5.60 |
Credits priced at $0.70 per 1,000; plans include a monthly allowance. Enterprise customers on on-premise or bring-your-own-model deployments run this on their own inference and pay no per-video credits.
Generated by Docsie Video-to-Docs on 2026-09-10 from a 3-minute video. Screenshots are frames from the source video and belong to their creator, Eppendorf, whose original is embedded above. If you own this video and want the guide removed or credited differently, contact us and we will act within one business day.