
How to Operate an Autoclave
This document describes how to operate an autoclave to sterilize laboratory solutions, culture media, empty glassware, and related materials. It provides the ordered steps for preparing samples, setting sterilization parameters, running the sterilization cycle, and verifying that sterilization was successful.
Video: How to Use an Autoclave by BioNetwork (2013). All credit for the demonstration goes to the creator; watch the original on YouTube. The written guide below was generated from this video by Docsie. Creator? Request a change or removal.
This document describes how to operate an autoclave to sterilize laboratory solutions, culture media, empty glassware, and related materials. It provides the ordered steps for preparing samples, setting sterilization parameters, running the sterilization cycle, and verifying that sterilization was successful.
Purpose
This method describes how to operate an autoclave to eliminate living organisms — including bacteria, fungi, and viruses — from laboratory instruments, solutions, and containers. Sterilization performed with this method is intended for use in pharmaceutical preparation, laboratory equipment reprocessing, solution sterilization, medical waste treatment, and other applications where contamination must be prevented, such as tattoo needle processing.
An autoclave functions like a powerful pressure cooker, using heat, steam, and pressure to destroy microorganisms on the materials placed inside it.
Scope
This method applies to two categories of materials:
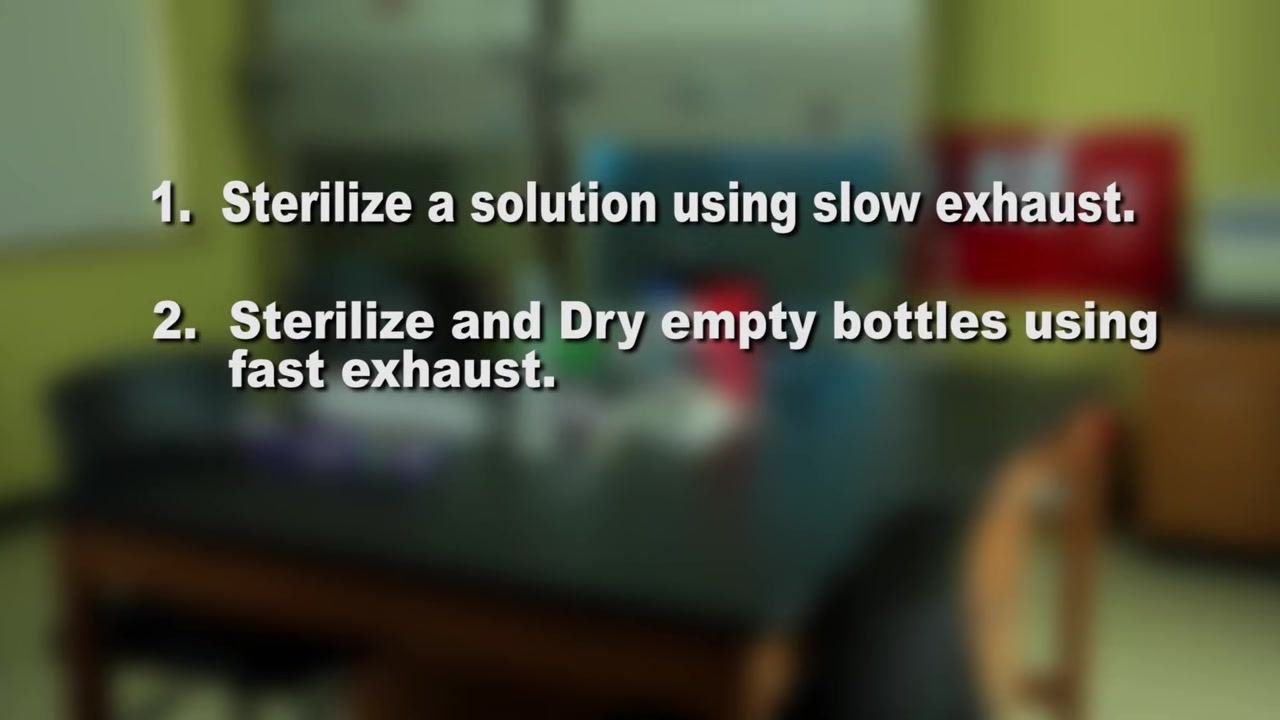
- Liquids, such as agar bacterial culture media and other solutions, which are sterilized using the slow exhaust cycle.
- Empty glassware and instruments, such as glass bottles, which are sterilized and dried using the fast exhaust cycle.
Sterilization by this method is also relevant to medical waste treatment and other applications requiring contamination control.
The specific list of authorized analysts, additional excluded sample types, and matrix restrictions beyond what is described above are not detailed in this material and should be defined by laboratory-specific policy.
Principle
The autoclave applies heat, steam, and pressure to destroy microorganisms present on or in the loaded materials. Successful sterilization is confirmed using autoclave tape, which resembles ordinary masking tape but contains special heat-sensitive ink. When the tape is exposed to sufficiently high temperature during the cycle, it displays black diagonal lines, providing a visual indicator that the required sterilization temperature was reached.
Materials and reagents
| Item | Purpose |
|---|---|
| Autoclave | Sterilization device using heat, steam, and pressure |
| Deionized water | Filled into the autoclave up to the level indicator line to generate steam |
| Flask with agar bacterial media | Solution to be sterilized |
| Aluminum foil | Covers the top of the flask to prevent contamination |
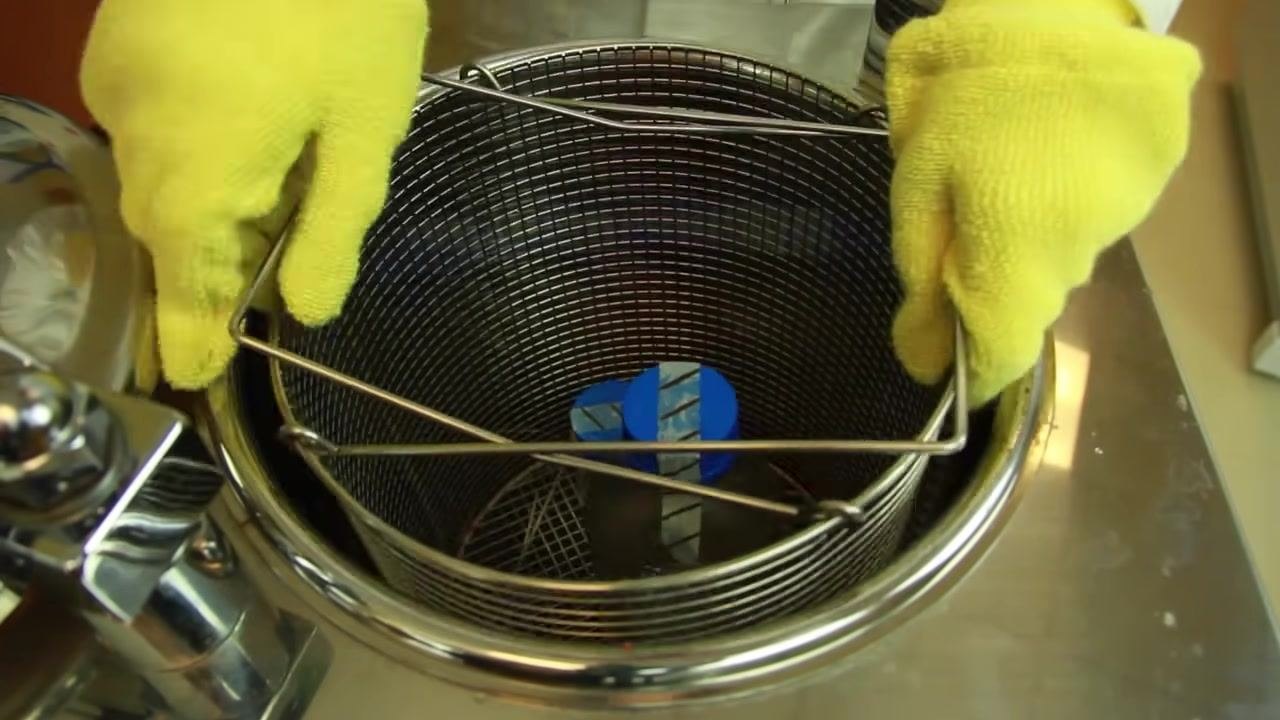
| Autoclave tape | Applied over the foil or bottle cap; displays black diagonal lines when exposed to high temperature, confirming sterilization |
| 100 mL glass bottles with caps | Empty glassware to be sterilized and dried |
| Wire basket | Holds the flask or bottles for loading into the autoclave chamber |
| Heat-resistant gloves | Worn when opening the autoclave and removing sterilized materials |
| Logbook | Used to record date, time, and operation details for each cycle |
Procedure
Preparing materials for sterilization
- Obtain a flask containing agar bacterial media for sterilization.
- Cover the top of the flask with aluminum foil to prevent contamination.
- Place a piece of autoclave tape over the foil. The tape will display black diagonal lines after exposure to high temperature, indicating successful sterilization.
Setting up and loading the autoclave
-
Turn on the autoclave power and ensure the drain valve is closed before proceeding.
-
Pour deionized water into the autoclave up to the level indicator line.
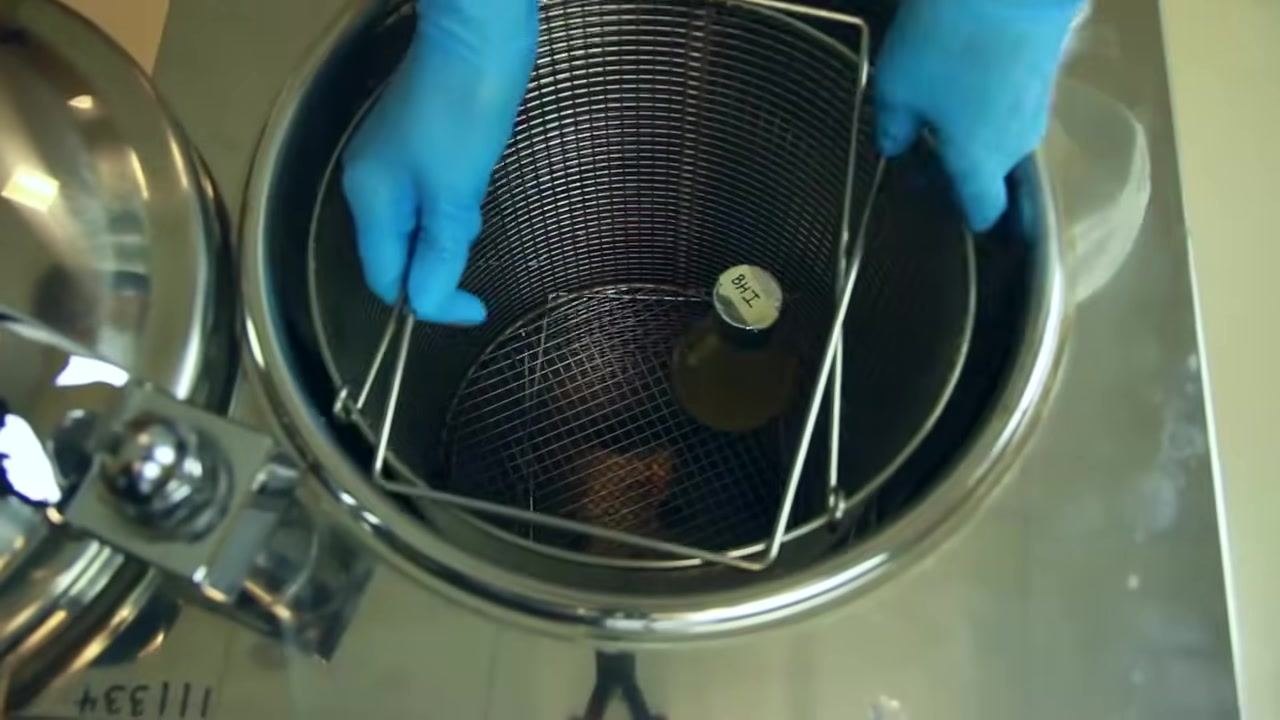
- Place the flask of culture media into the autoclave basket.
- Carefully lower the basket containing the flask into the autoclave chamber.
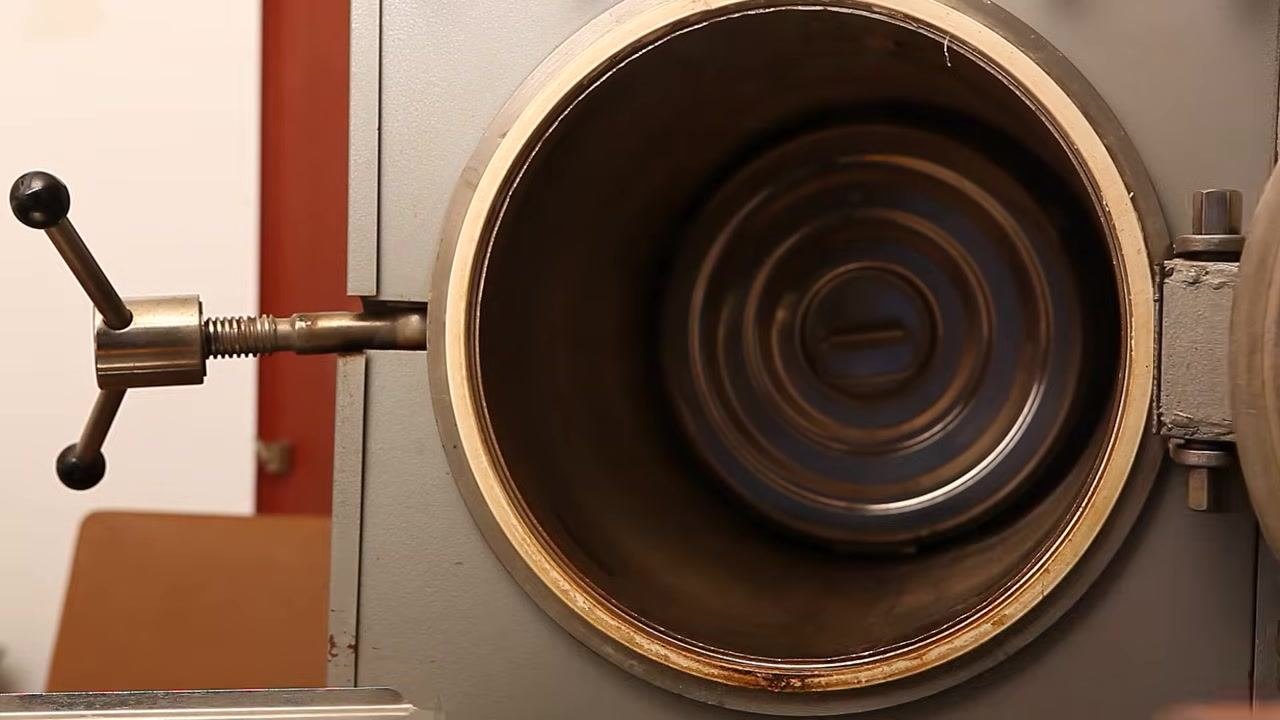
- Close the lid securely and turn the handle to create an airtight seal.
- Use the control panel to set the sterilization parameters: Mode: Sterilize, Temperature: 121°C, Pressure: 15 psi.
Running the slow exhaust cycle for liquids
- Confirm the autoclave is set to Sterilize mode, with temperature at 121°C and pressure at 15 psi.
-
Select the Slow Exhaust mode to prevent liquids from boiling over and out of the flask.
-
Start the autoclave and run the cycle for at least 15 minutes.
- While the autoclave is running, enter the date, time, and operation details in the logbook, and initial the entry to confirm your actions.
- Wait until the cycle ends and the pressure gauge reads zero psi.
- Put on heat-resistant gloves and slowly open the autoclave door to avoid a sudden release of steam.
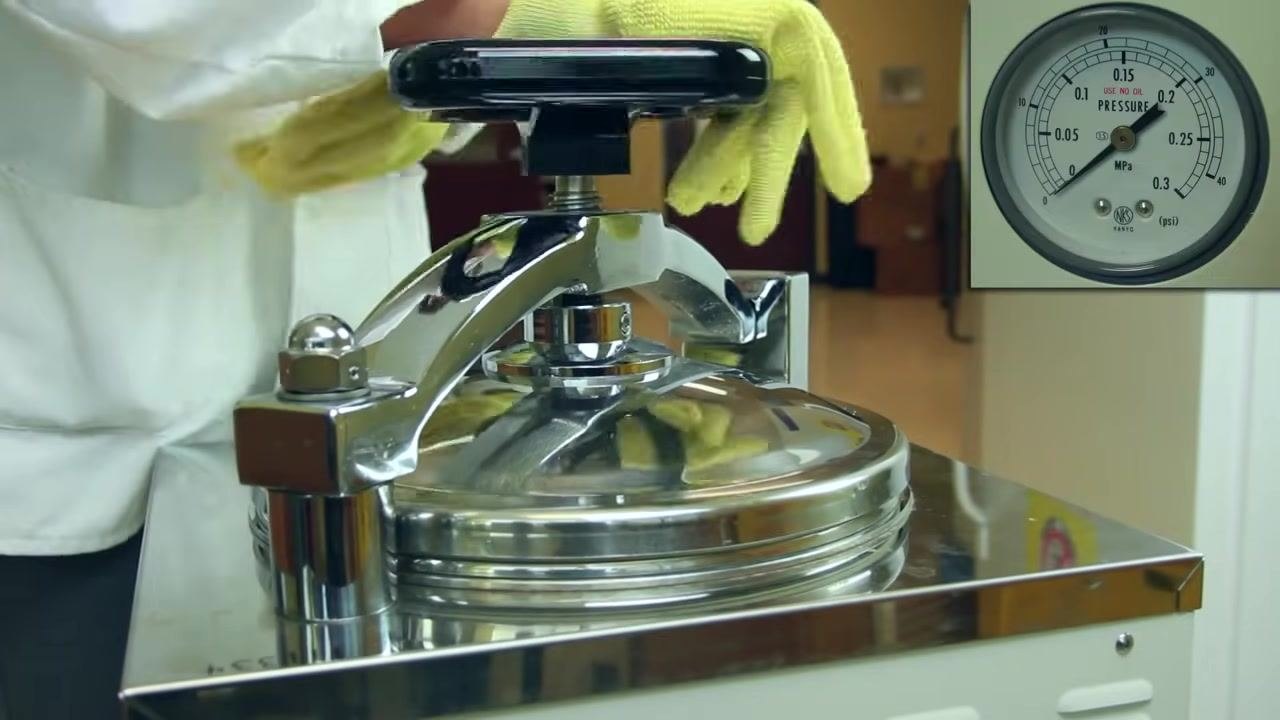
- Inspect the autoclave tape for black diagonal lines to confirm the proper temperature was reached.
- Allow the culture media to cool to about 45°C before pouring it into petri dishes.
Running the fast exhaust cycle for empty glassware
-
Place empty glass bottles on a clean surface. Tighten the cap, then loosen it about halfway to allow pressure equalization during sterilization. Place autoclave tape over the lid.
-
Place the prepared bottles into the autoclave basket.
-
Set the autoclave to: Mode: Sterilize & Dry, Temperature: 121°C, Pressure: 15 psi, Time: 20 minutes, and select the Fast Exhaust mode.
-
Enter the date, time, and operation details in the logbook, and initial the entry.
- Wait until the cycle ends and the pressure gauge reads zero psi.
-
Wearing heat-resistant gloves, slowly open the autoclave door and remove the basket.
-
Confirm that the autoclave tape on the bottles shows black diagonal lines, indicating successful sterilization.
Choosing the correct exhaust mode
- Slow Exhaust: use for liquids and medical waste.
- Fast Exhaust: use for empty glassware and instruments.
Calculations
This method does not involve numerical calculations, dilution factors, or reported analytical values. The operator instead sets fixed sterilization parameters on the control panel — mode, temperature (121°C), pressure (15 psi), and, for the fast exhaust cycle, run time (20 minutes) — rather than calculating results from measured data.
Quality controls
-
Sterilization indicator (autoclave tape): Inspect the tape on the flask or bottle after each cycle. Black diagonal lines confirm the material was exposed to the required sterilization temperature.
-
Logbook entry: For every cycle, record the date, time, and operation details, and initial the entry to confirm the operation was performed and reviewed.
- Acceptance criteria: A cycle is considered successful when the autoclave tape displays black diagonal lines and the pressure gauge reads zero psi before the door is opened.
- Failed-run handling: This material does not describe a specific corrective procedure for a failed cycle (for example, tape showing no diagonal lines); laboratories should define and document a corrective action and re-sterilization procedure for this scenario.
What's next
After sterilization, cooled culture media can be poured into petri dishes, and sterilized empty glassware or instruments can be stored or used according to laboratory protocol. You are now ready to safely and effectively operate an autoclave in the laboratory.
Generation details: cost, quality tiers, downloads
Docsie billed 2,000 credits ($1.40) to analyze this 4-minute video at standard quality. The rewrite, template fill and Word/PDF exports were included. The same video at each quality tier:
| Quality | Frames sampled | Credits | Approx. cost |
|---|---|---|---|
| Draft | every 16-30 s | 1,000 | $0.70 |
| Standard (this guide) | every 8-15 s | 2,000 | $1.40 |
| Detailed | every 4-7 s | 4,000 | $2.80 |
| Ultra | every 1-3 s | 8,000 | $5.60 |
Credits priced at $0.70 per 1,000; plans include a monthly allowance. Enterprise customers on on-premise or bring-your-own-model deployments run this on their own inference and pay no per-video credits.
Generated by Docsie Video-to-Docs on 2026-09-14 from a 3-minute video. It was generated straight into Docsie's Lab Method SOP template, so every section of that template is filled from the video. Screenshots are frames from the source video and belong to their creator, BioNetwork, whose original is embedded above. If you own this video and want the guide removed or credited differently, contact us and we will act within one business day.