
How to Create a List in HubSpot
Lists in HubSpot let you organize your contacts and companies based on shared traits. Once created, you can use these lists in workflows, marketing emails, customer satisfaction surveys, and other processes. This guide walks you through how to create a list in HubSpot, set criteria for it, and manage it afterward.
Video: How-to create lists in HubSpot. by HubSpot Tutorials (2022). All credit for the demonstration goes to the creator; watch the original on YouTube. The written guide below was generated from this video by Docsie. Creator? Request a change or removal.
Lists in HubSpot let you organize your contacts and companies based on shared traits. Once created, you can use these lists in workflows, marketing emails, customer satisfaction surveys, and other processes. This guide walks you through how to create a list in HubSpot, set criteria for it, and manage it afterward.
Prerequisites
- An active HubSpot account with access to the Contacts tool.
- Permissions to create and manage lists (some actions, such as exporting, may depend on your account permissions).
Navigate to the Lists tool
Log in to your HubSpot account. In the main navigation bar, click Contacts, then select Lists from the dropdown menu.
Start creating a new list
On the Lists page, click the Create list button located in the upper right corner to begin.
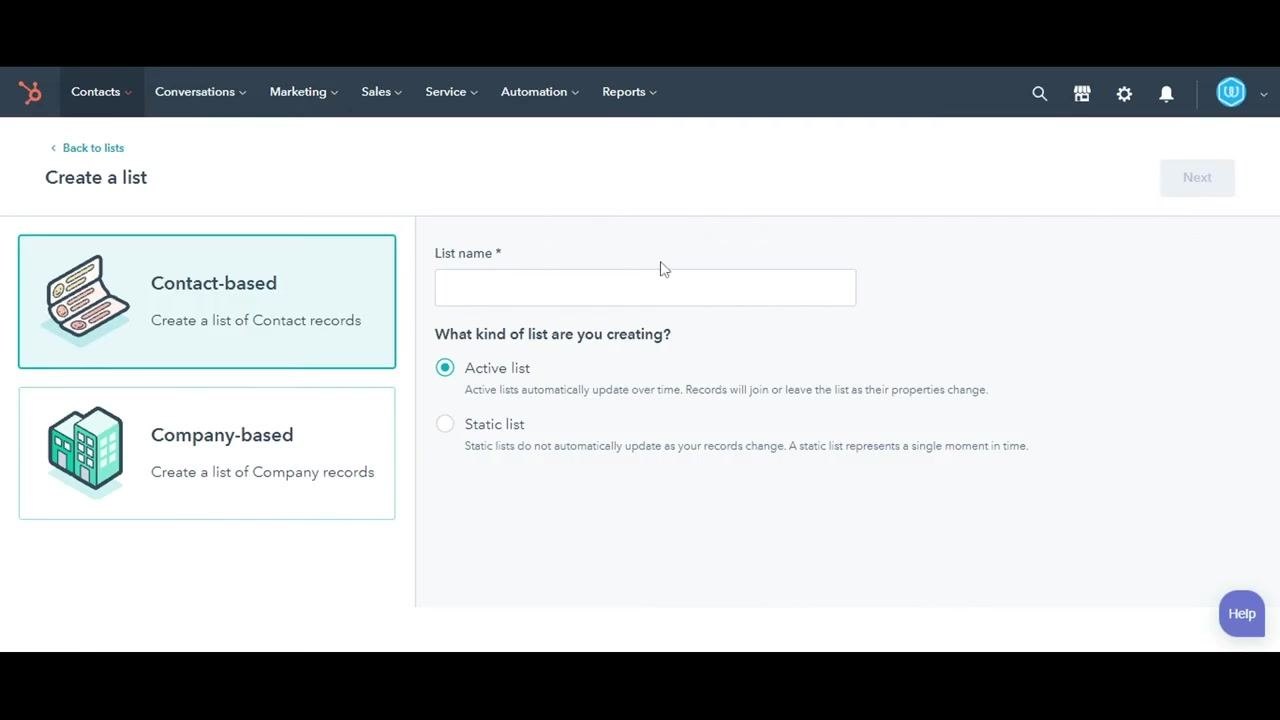
Choose the list type and name your list
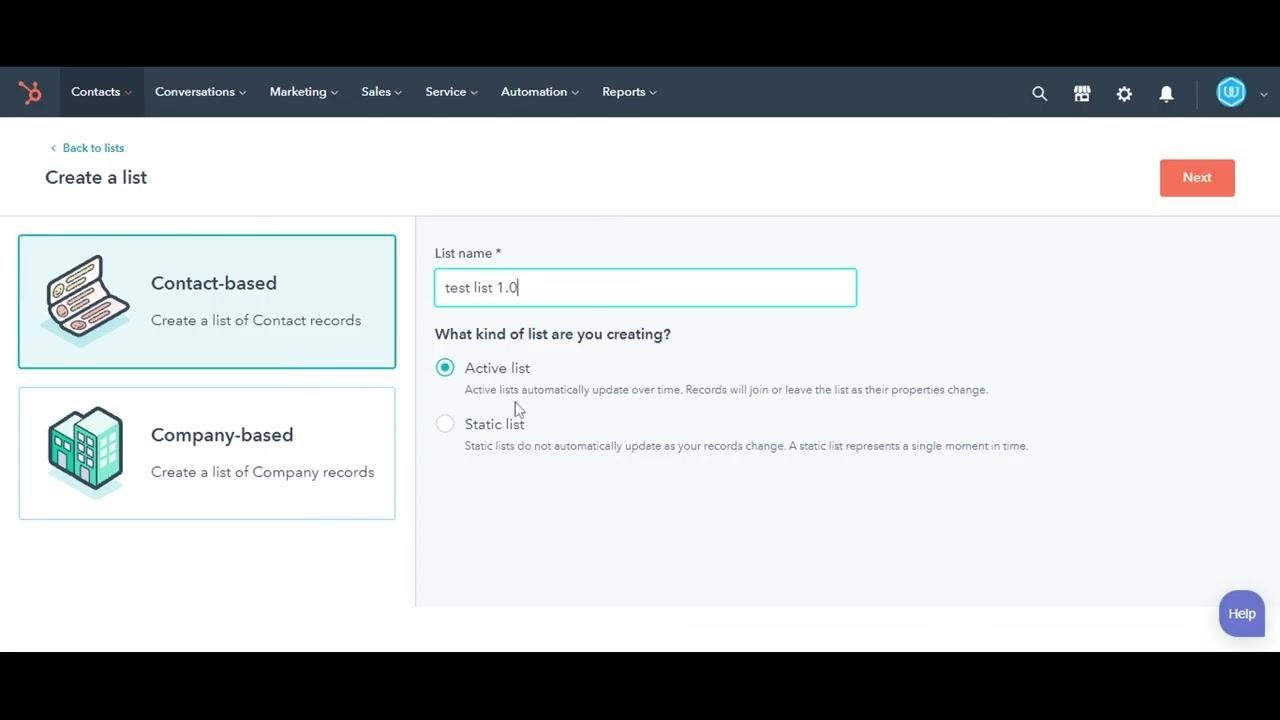
Select whether you want to create a Contact-based list (for contact records) or a Company-based list (for company records). Then enter a name for your list in the List name field—for example, test list 1.0.
Below the name field, choose the type of list:
- Active list: Updates automatically as records meet or no longer meet the criteria.
- Static list: Remains fixed and does not update even if new records match the criteria.
For this example, select Active list, then click Next to continue.
Set your list criteria
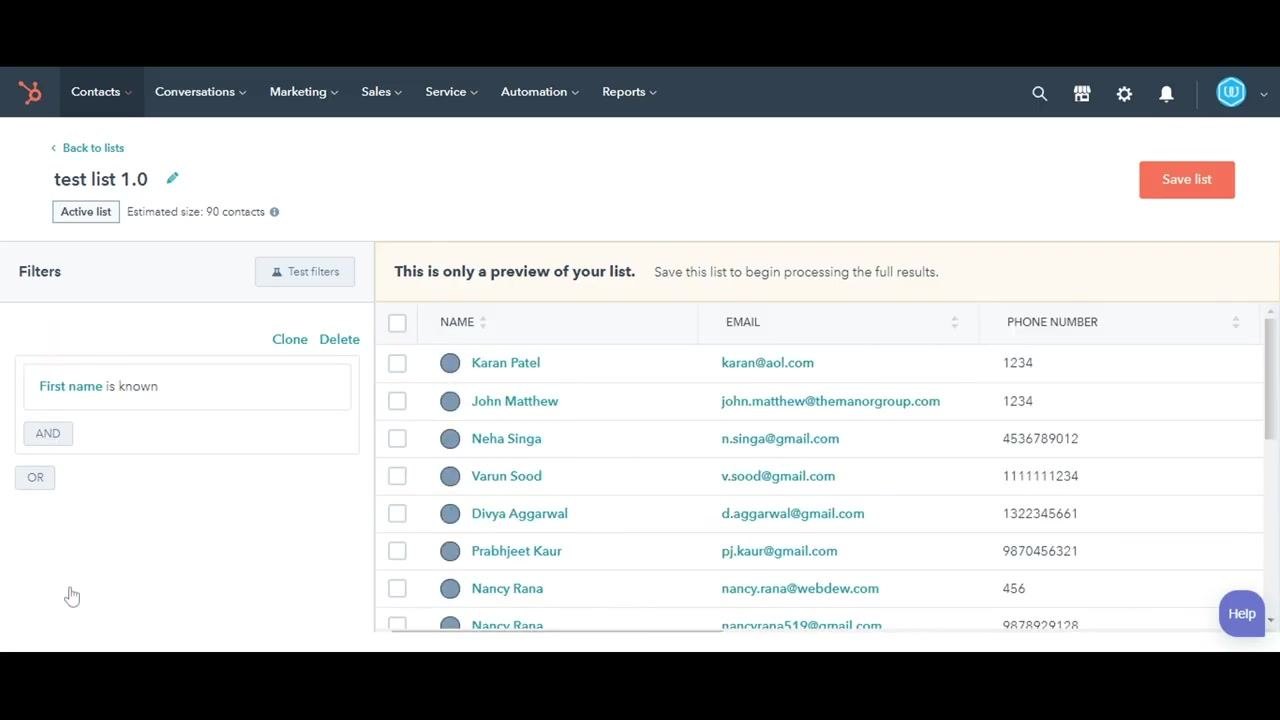
On the next screen, use the left panel to select a filter type and define the criteria for your list. Search for and select a property—for example, "First name is known." Click Apply filter to preview the contacts or companies that match your chosen criteria.
Save your list
Review the preview in the main panel, which shows the records currently meeting your criteria. When you're ready, click Save list in the upper right corner to finalize your new list.
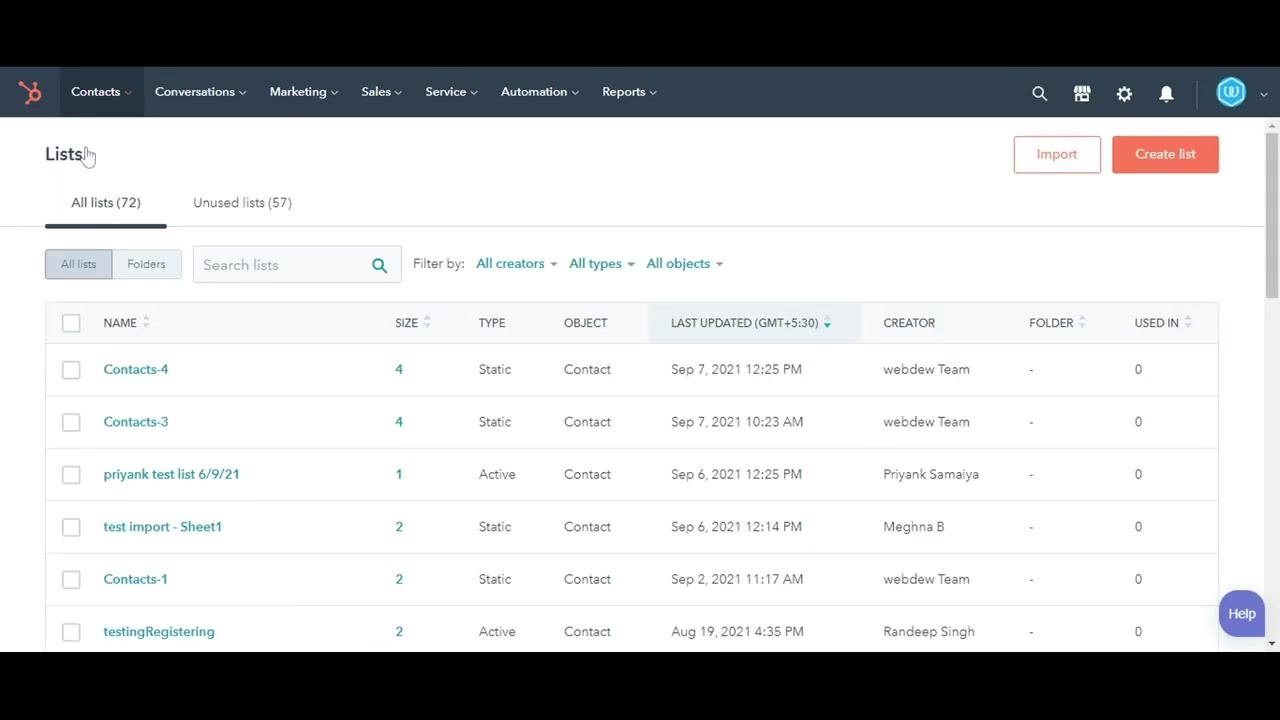
Review your list in the Lists overview
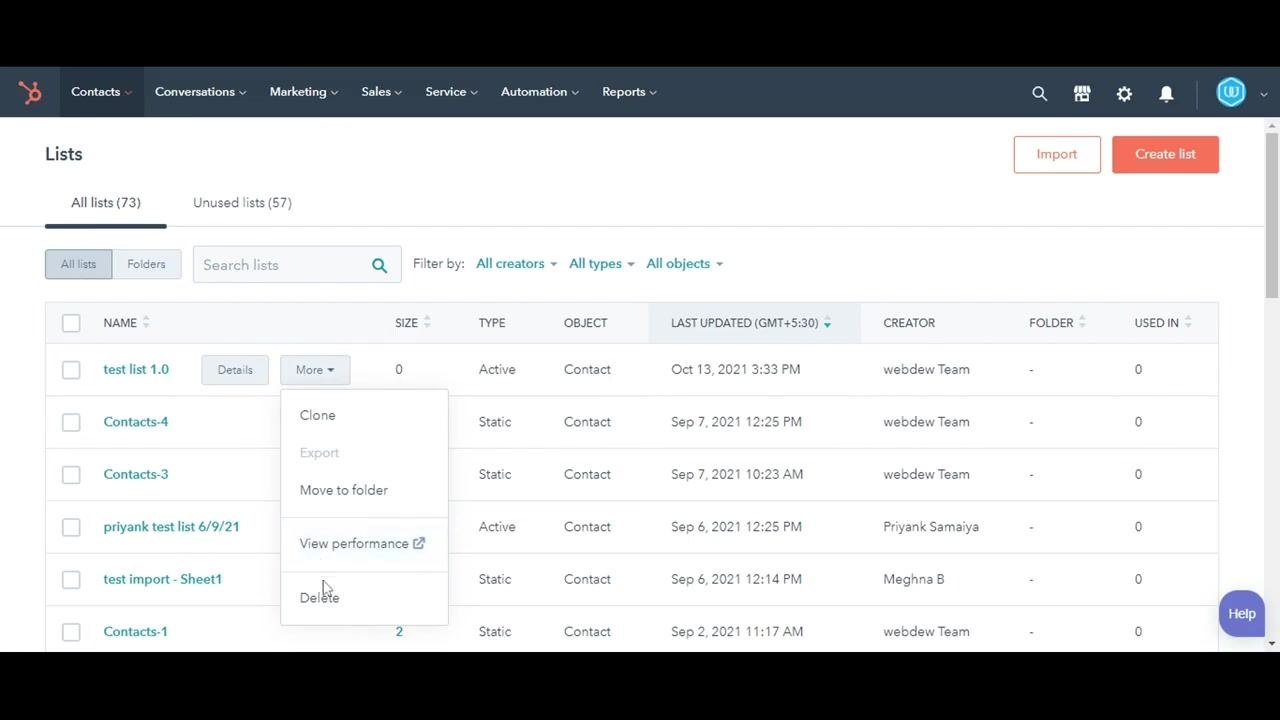
After saving, you'll return to the main Lists page, where you can see all your lists, including the one you just created. This overview displays details such as list name, size, type (active or static), object (contact or company), last updated date, creator, and usage.
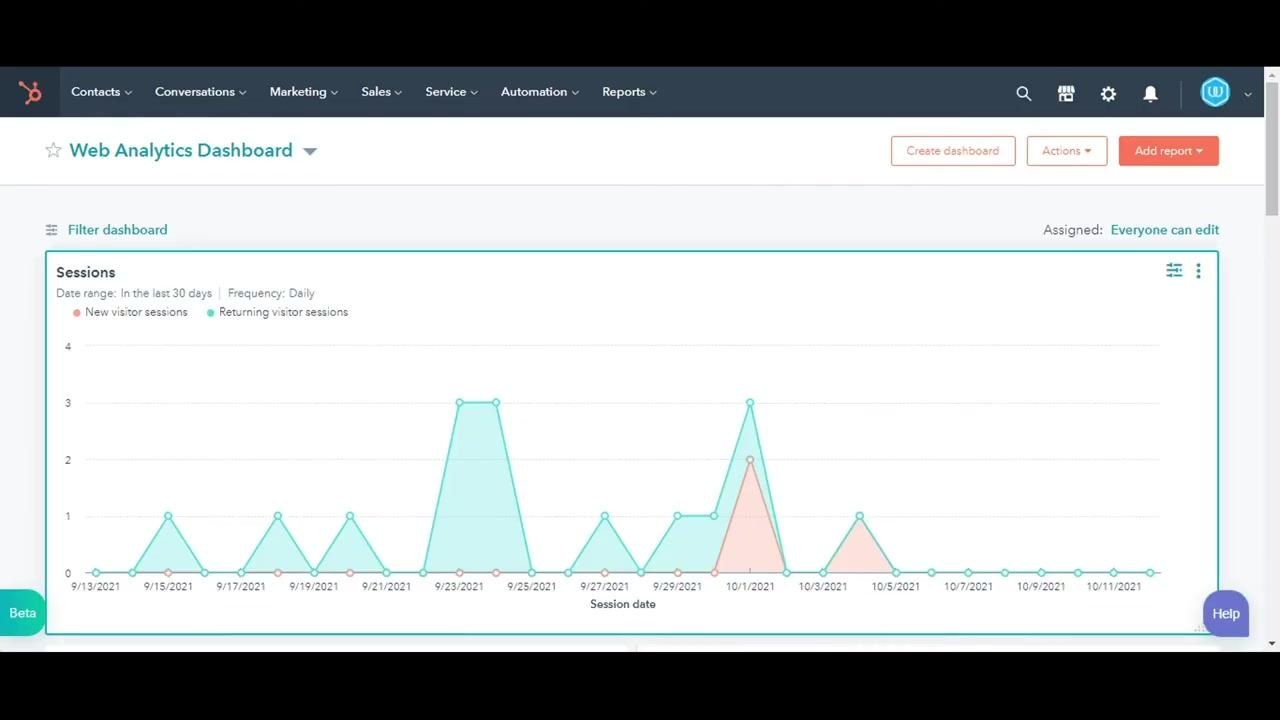
Managing your list with additional actions
Once your list is created, you can perform further actions directly from the Lists overview page.
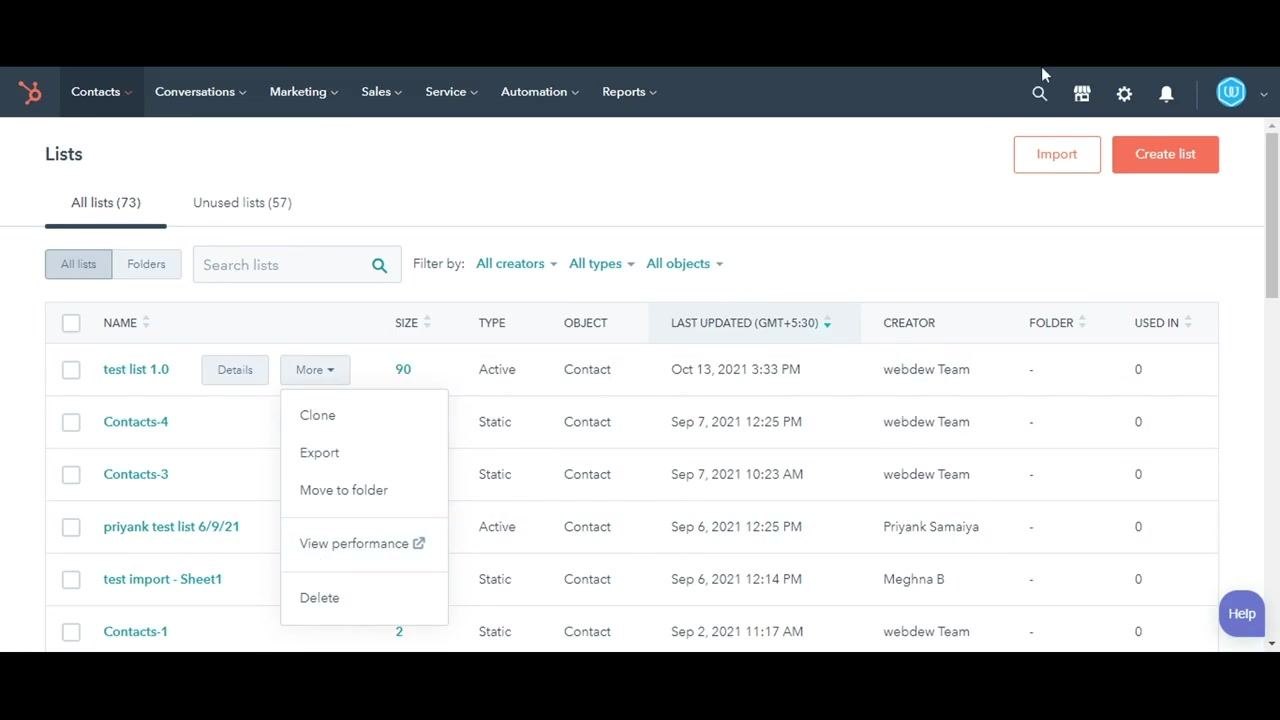
Hover over your list's name (for example, test list 1.0) and click the More dropdown button next to it. This reveals the following options:
- Clone: Create a duplicate of the list.
- Export: Export the list data (this option may be disabled depending on your permissions).
- Move to folder: Organize the list into a folder.
- View performance: Open a new tab to view the list's performance analytics.
- Delete: Permanently remove the list from your account.
Summary
You now know how to create a list in HubSpot and manage it using the available actions. With your list set up, you can organize your contacts and companies for use in workflows, marketing emails, and other processes across your HubSpot account.
What's next: To learn more about HubSpot services, visit www.webdew.com.
Generation details: cost, quality tiers
Docsie billed 1,500 credits ($1.05) to analyze this 3-minute video at standard quality. The rewrite, template fill and Word/PDF exports were included. The same video at each quality tier:
| Quality | Frames sampled | Credits | Approx. cost |
|---|---|---|---|
| Draft | every 16-30 s | 750 | $0.52 |
| Standard (this guide) | every 8-15 s | 1,500 | $1.05 |
| Detailed | every 4-7 s | 3,000 | $2.10 |
| Ultra | every 1-3 s | 6,000 | $4.20 |
Credits priced at $0.70 per 1,000; plans include a monthly allowance. Enterprise customers on on-premise or bring-your-own-model deployments run this on their own inference and pay no per-video credits.
Generated by Docsie Video-to-Docs on 2026-09-08 from a 2-minute video. Screenshots are frames from the source video and belong to their creator, HubSpot Tutorials, whose original is embedded above. If you own this video and want the guide removed or credited differently, contact us and we will act within one business day.