
How to Use a Gait Belt
This standard operating procedure explains how to use a gait belt to safely ambulate a resident from a chair, walk them to a destination, and return them to a seated position. Follow each step in order, and always defer to the resident's individual care plan.
Video: Ambulate with a Gait Belt CNA Skill Prometric by 4yourCNA (2016). All credit for the demonstration goes to the creator; watch the original on YouTube. The written guide below was generated from this video by Docsie. Creator? Request a change or removal.
This standard operating procedure explains how to use a gait belt to safely ambulate a resident from a chair, walk them to a destination, and return them to a seated position. Follow each step in order, and always defer to the resident's individual care plan.
Purpose
To guide caregivers through the correct, safe procedure for using a gait belt to assist a resident with standing, walking, and sitting.
Scope
This procedure applies to any caregiver assisting a resident who is able to walk but requires help to stand and needs support for stability during ambulation.
Required equipment / PPE
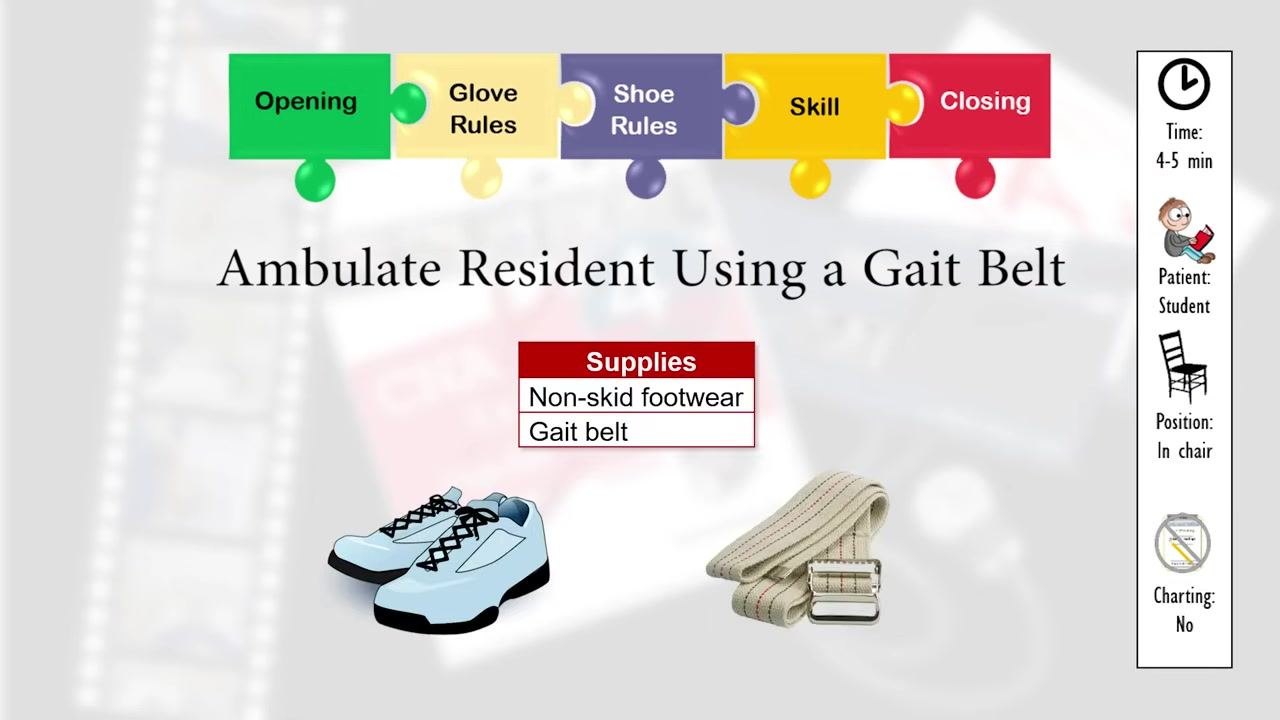
- Gait belt (or transfer belt)
- Non-skid footwear (shoes)
- Gloves (only if contact with body fluids, personal skin, or non-intact skin is expected)
Review and follow the care plan
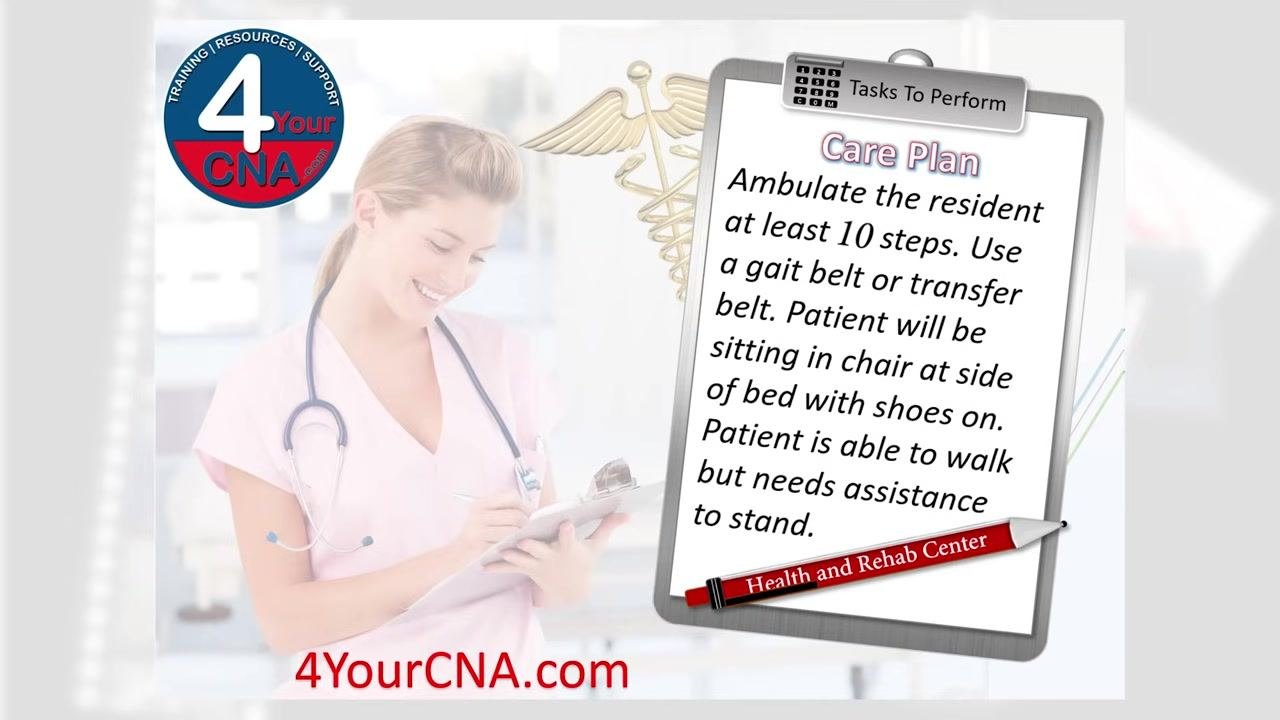
Always follow the care plan exactly as written for this skill. For this procedure, the care plan specifies:
- Ambulate the resident at least 10 steps.
- Use a gait belt or transfer belt.
- The resident will be sitting in a chair at the side of the bed with shoes already on.
- The resident is able to walk but needs assistance to stand.
Remember the guiding principle: the care plan, the whole care plan, and nothing but the care plan.
Gather required supplies
Prepare the following before beginning:
- Non-skid footwear (shoes)
- Gait belt
Confirm that the resident is seated in a chair before proceeding. Charting is not required for this particular skill.
Complete opening procedures
Before starting the physical procedure:
- Knock before entering the room.
- Introduce yourself to the resident and state your role.
- Identify the patient.
- Describe the skill you are about to perform.
- Obtain the resident's permission to proceed.
- Close the curtain for privacy.
- Wash your hands.
- Gather all necessary supplies.
Follow glove and shoe rules
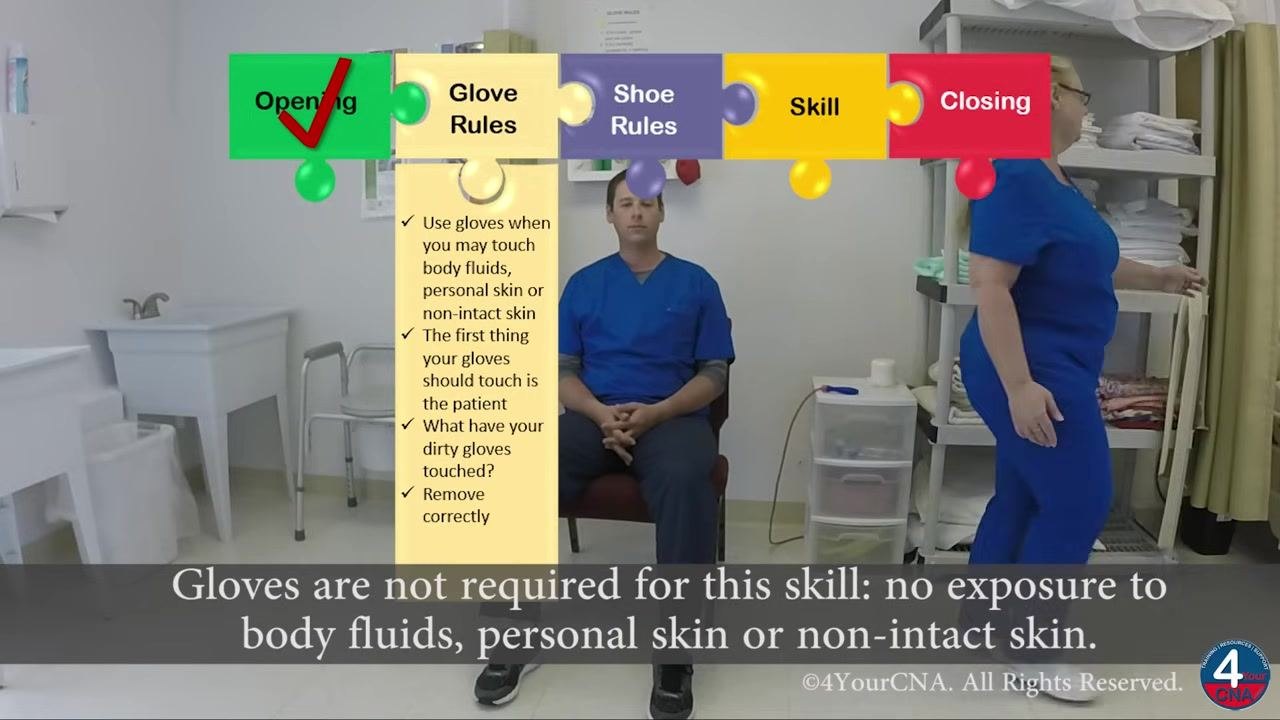
Glove rules:
- Gloves are not required for this skill, since there is no expected exposure to body fluids, personal skin, or non-intact skin.
- Use gloves only if you may touch body fluids, personal skin, or non-intact skin.
- The first thing your gloves should touch is the patient.
- Remove gloves correctly if you use them.
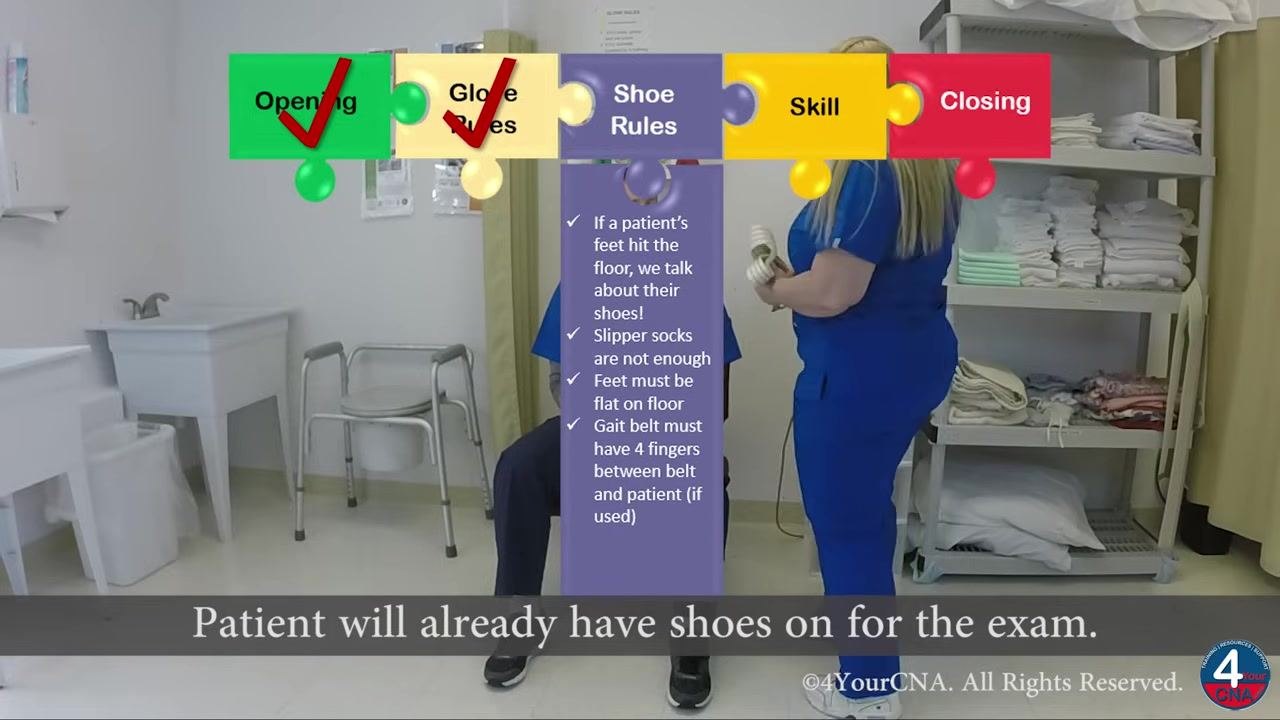
Shoe rules:
- If the resident's feet will touch the floor, confirm they are wearing shoes.
- Slipper socks are not sufficient.
- Feet must be flat on the floor.
- The gait belt must allow room for four fingers between the belt and the resident.
- For this procedure, the resident will already have shoes on.
Apply the gait belt
Explain the procedure to the resident: you will place the gait belt around their waist to help lift them to standing and provide stability while walking.
- Ask the resident to lift their arms and relax.
- Slide the gait belt around the resident's waist.
- Thread the free end through the first guard of the buckle.
- Tighten the belt so it is snug but not too tight, ensuring you can fit four fingers between the belt and the resident.
- Confirm with the resident that the belt is not too tight.
Prepare the resident to stand
- Confirm the resident's feet are together and flat on the floor.
- Confirm the resident is wearing non-skid shoes.
- Instruct the resident to place their hands on your shoulders.
- Explain that you will use the gait belt to help them stand.
- Position yourself with one foot in front and one foot beside the resident for stability.
- Confirm the resident's hands are on your shoulders.
- Prepare to count to three before assisting them up.
Safety note: Do not proceed to standing until the resident's feet are flat, footwear is confirmed, and the gait belt fit has been verified.
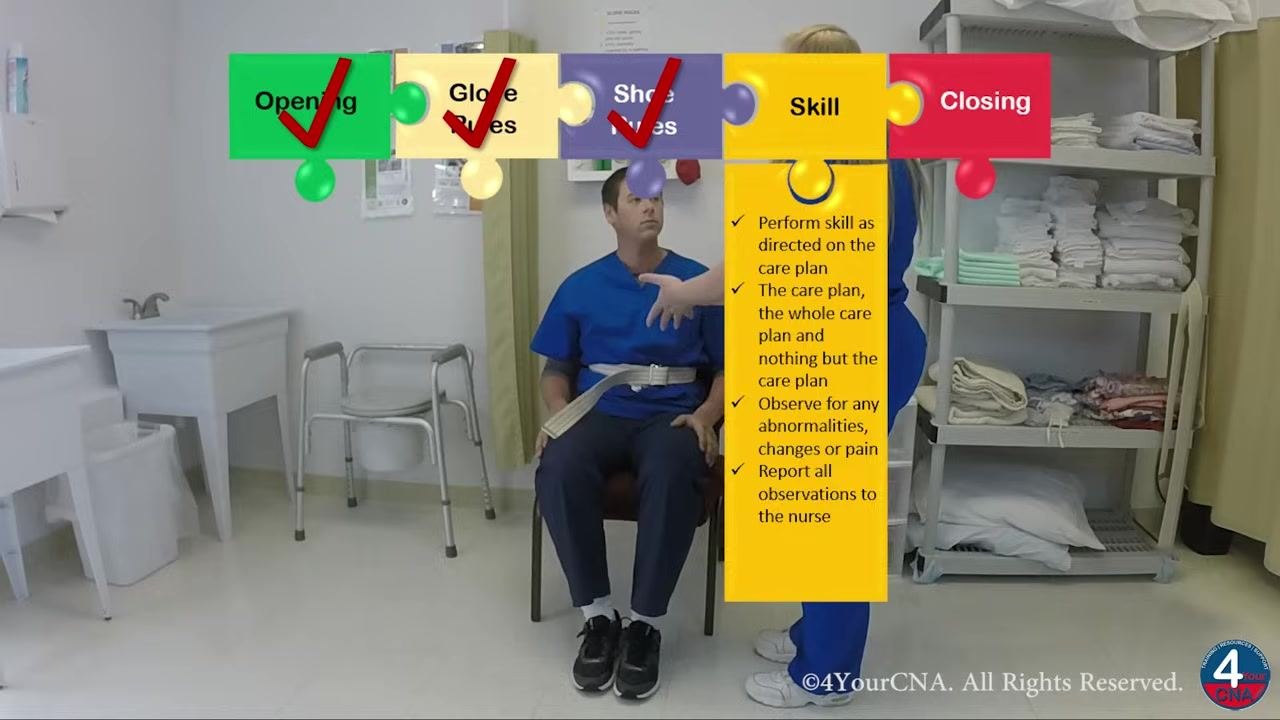
Assist the resident to stand
- Count aloud: "One, two, three."
- Use the gait belt to help the resident rise to a standing position.
- Confirm the resident feels stable and is not dizzy by asking, "Feel okay?" and "Are you dizzy at all?"
- Confirm the resident is ready to begin walking before proceeding.
Safety note: Do not begin walking until the resident has confirmed they feel stable and are not dizzy.
Ambulate the resident and return to the chair
- Tell the resident where you will walk, for example, "We'll walk to that bed."
- Walk alongside the resident, supporting them with the gait belt as needed.
- Check in frequently by asking, "Are you comfortable?" and "Feeling okay?" to monitor for pain or dizziness.
- Upon reaching the destination, instruct the resident to turn around safely.
- Walk back to the chair together, maintaining support and continuing to monitor the resident's condition.
- As you approach the chair, instruct the resident to turn around and back up until the back of their legs touch the chair, so they know it is there.
Safety note: Continuously observe for abnormalities, changes, or signs of pain throughout the walk, and report any observations to the nurse as required by the care plan.
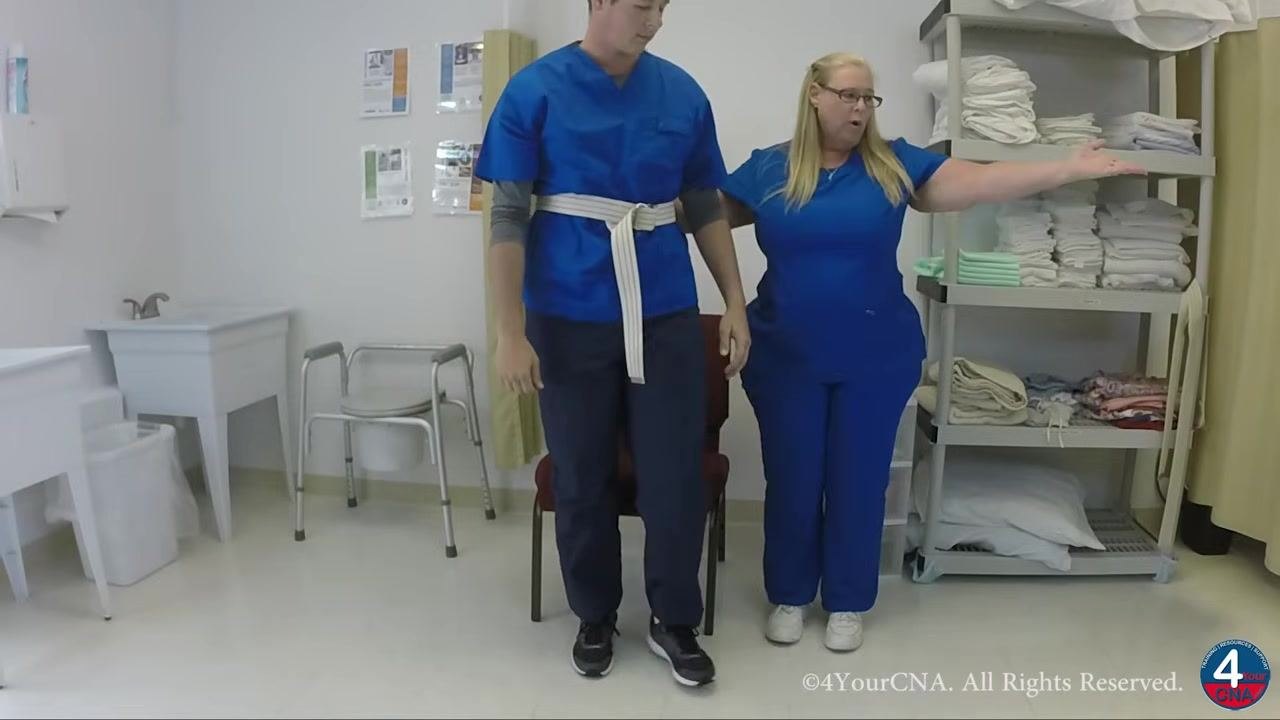
Assist the resident to sit safely
- Instruct the resident to put their hands on your shoulders and explain they will sit down the same way they stood up.
- Confirm the resident's legs are touching the chair before sitting.
- On the count of three, assist the resident to sit down slowly and safely.
- Confirm the resident is seated comfortably by asking, "Are you comfortable?" and "Dizzy at all?"
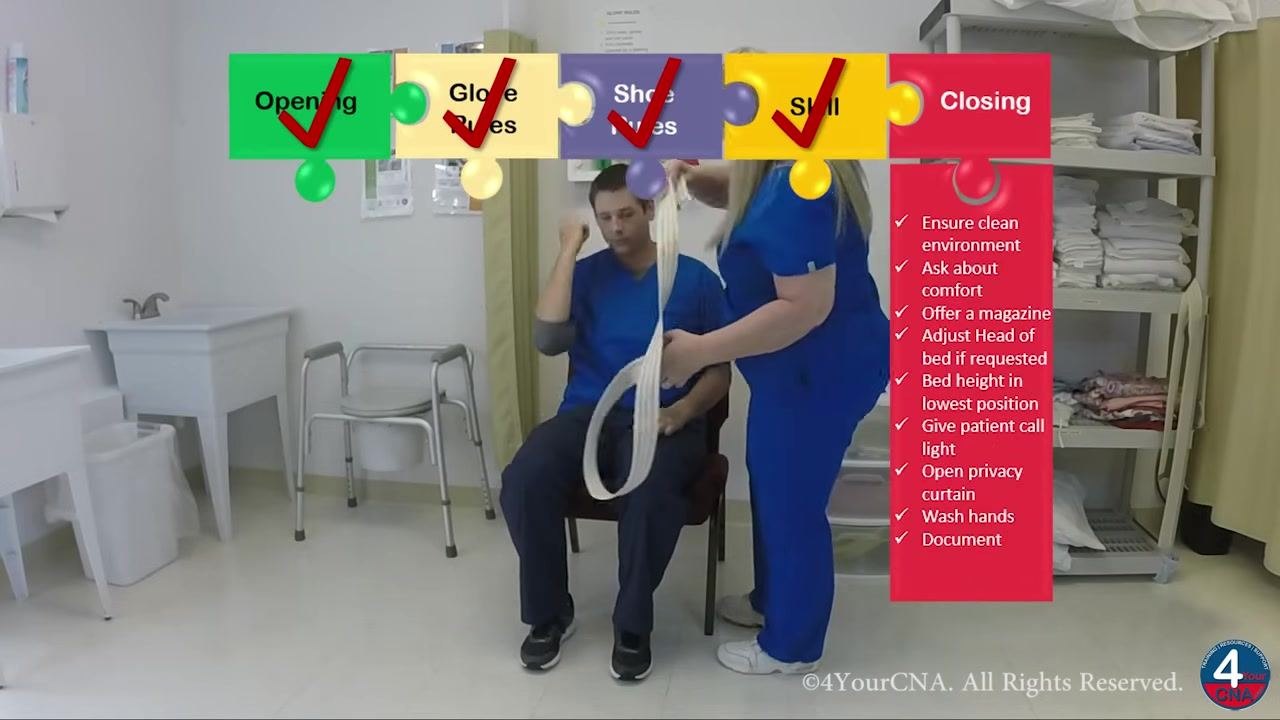
Remove the gait belt and complete closing procedures
- Inform the resident that you are going to remove the gait belt, then remove it carefully.
- Offer additional comfort, such as a magazine or other items the resident may want.
- Provide the call light and explain its use, letting the resident know to use it if they need anything.
- Open the privacy curtain.
- Wash your hands thoroughly.
- Mentally review the steps of the procedure and make any necessary corrections.
- Inform the evaluator that the skill is complete.
Verification and summary
After washing your hands, mentally review the entire procedure to confirm every step was completed correctly, and make corrections if needed before declaring the skill finished. Throughout the procedure, watch for any abnormalities, changes, or signs of pain, and report all observations to the nurse as required by the care plan.
By following these steps, you will know how to use a gait belt to safely and effectively ambulate a resident, complete all required opening and closing procedures, and support the resident's comfort and safety throughout the process.

Generation details: cost, quality tiers
Docsie billed 1,500 credits ($1.05) to analyze this 3-minute video at standard quality. The rewrite, template fill and Word/PDF exports were included. The same video at each quality tier:
| Quality | Frames sampled | Credits | Approx. cost |
|---|---|---|---|
| Draft | every 16-30 s | 750 | $0.52 |
| Standard (this guide) | every 8-15 s | 1,500 | $1.05 |
| Detailed | every 4-7 s | 3,000 | $2.10 |
| Ultra | every 1-3 s | 6,000 | $4.20 |
Credits priced at $0.70 per 1,000; plans include a monthly allowance. Enterprise customers on on-premise or bring-your-own-model deployments run this on their own inference and pay no per-video credits.
Generated by Docsie Video-to-Docs on 2026-09-09 from a 2-minute video. Screenshots are frames from the source video and belong to their creator, 4yourCNA, whose original is embedded above. If you own this video and want the guide removed or credited differently, contact us and we will act within one business day.