
How to Use a CPR Mask
This guide explains how to use a CPR mask, also known as a pocket mask, to deliver safe and effective ventilations to a victim during a breathing or cardiac emergency. It covers how to identify the mask, achieve a proper seal, apply the push-pull technique, and deliver breaths correctly while prioritizing chest compressions throughout the CPR cycle.
Video: How to Use a Pocket Mask | How to Use PPE for CPR by Tri-State Training and Fire Protection (2023). All credit for the demonstration goes to the creator; watch the original on YouTube. The written guide below was generated from this video by Docsie. Creator? Request a change or removal.
This guide explains how to use a CPR mask, also known as a pocket mask, to deliver safe and effective ventilations to a victim during a breathing or cardiac emergency. It covers how to identify the mask, achieve a proper seal, apply the push-pull technique, and deliver breaths correctly while prioritizing chest compressions throughout the CPR cycle.
Purpose
A pocket mask is a piece of personal protective equipment (PPE) commonly found in first aid kits and AED machine kits. It allows a rescuer to provide ventilation to a victim during CPR cycles (30 compressions followed by 2 breaths) while protecting both the rescuer and the victim by minimizing direct contact.
Scope
This procedure applies to any rescuer performing CPR who needs to deliver rescue breaths using a pocket mask, whether working alone or as part of a team. It covers standard CPR ventilation as well as special situations such as suspected choking.
Required equipment and PPE
- Pocket mask with a one-way valve
- First aid or AED kit containing the pocket mask
- Gloves for all rescuers involved
- CPR manikin or victim requiring ventilation
Identify the pocket mask
Locate the pocket mask in your first aid or AED kit and familiarize yourself with its appearance and structure before use.

Position the mask and create a seal
Place the mask over the victim's face, covering from the bridge of the nose to the base of the chin. Hold the mask using the webbing between your index finger and thumb, then use both hands to create a tight seal with no gaps around the edge.
A poor seal causes air loss, allowing air to escape from the sides instead of entering the lungs.
Apply the push-pull technique
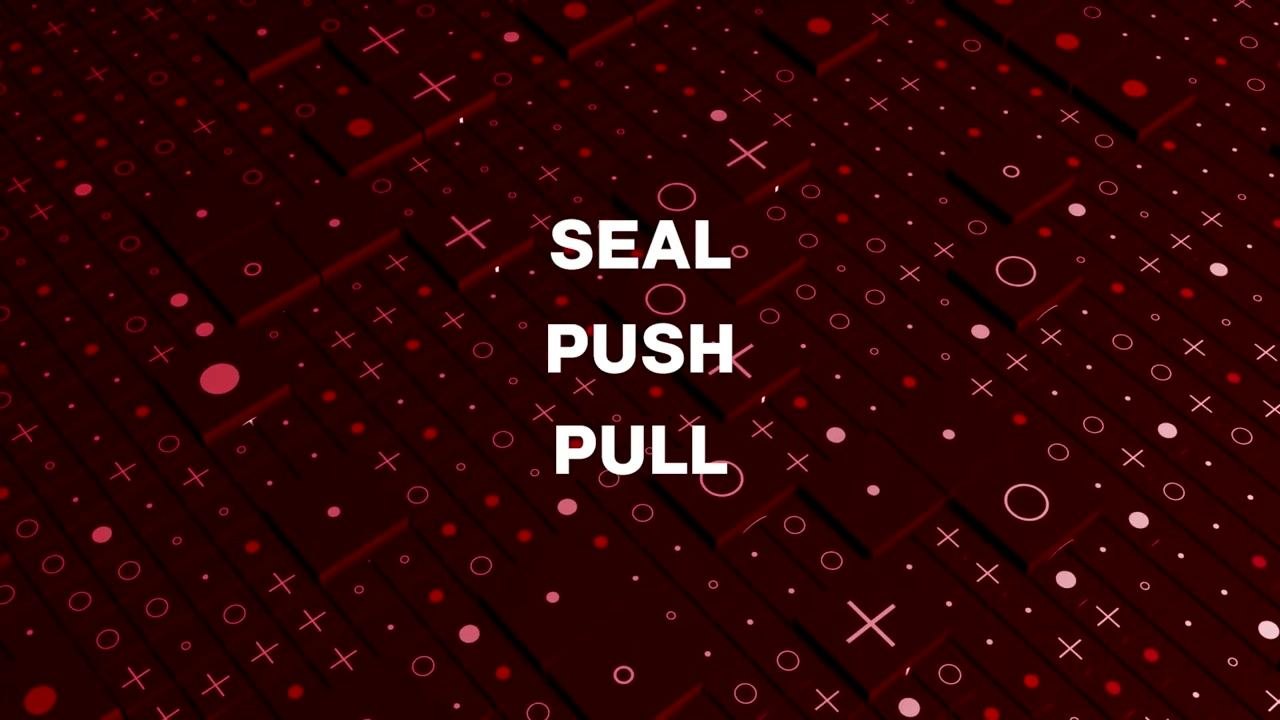
With one hand, press down on the mask to maintain the seal. With the other hand, pull the victim's jaw upward to open the airway. This combined motion is known as the "push-pull" technique: seal, push, and pull.
Deliver ventilations
Give two breaths, each lasting about one second, and watch for the victim's chest to rise and fall to confirm that air is entering the lungs.
- If the chest does not rise, reposition and readjust the mask, then attempt a second breath.
- If the chest still does not rise after the second attempt, immediately resume chest compressions.
Follow the seal-push-pull sequence
Keep the sequence in mind for every ventilation attempt: SEAL, PUSH, PULL. Each breath should be delivered about one second apart.
Limit breaths to two per cycle
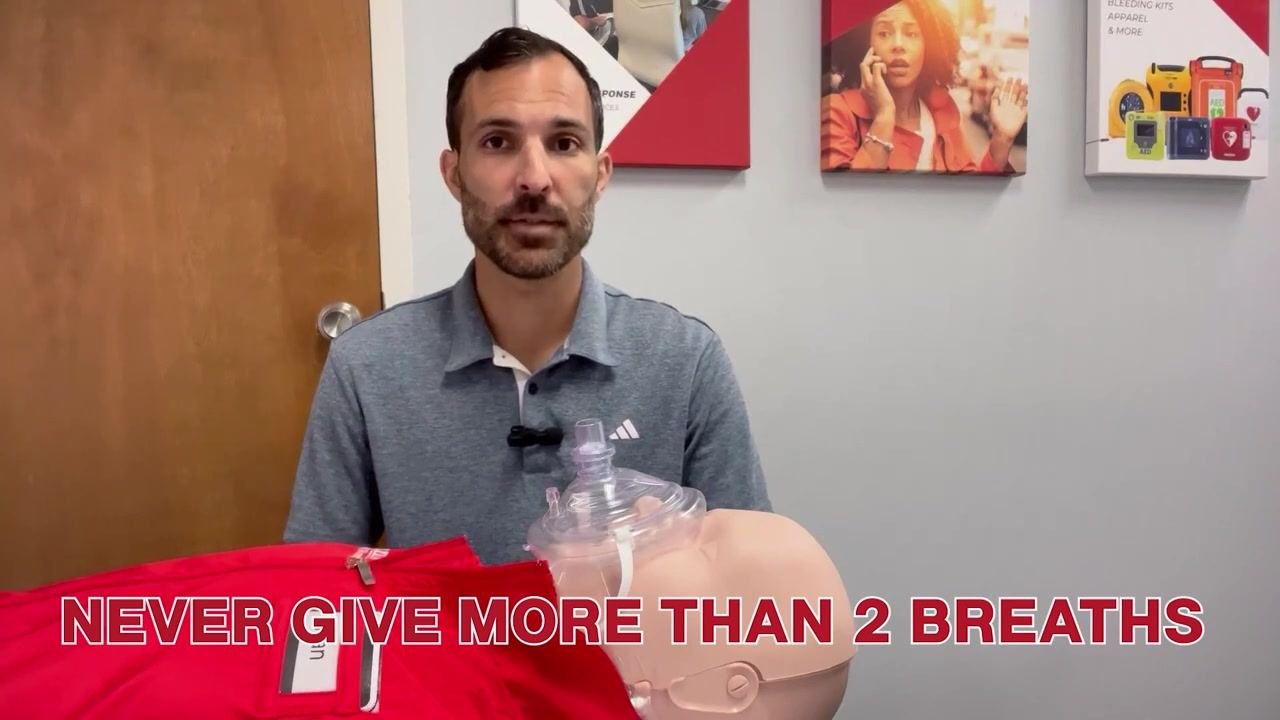
Never give more than two breaths at any point during a CPR cycle. Each interruption for breaths should last less than 10 seconds.
If you do not see the chest rise after the first breath, retilt and reposition the mask, then give a second breath. If the chest still does not rise, go right back to compressions.

Prioritize chest compressions
Chest compressions are the most important part of CPR because they circulate the remaining oxygen-rich blood in the victim's body. Do not delay compressions for more than 10 seconds, even while attempting to provide breaths.
Recognize special situations
Be aware that airway obstructions, such as choking, may be the cause of the emergency. If the victim was choking and is now unresponsive and not breathing, follow the same protocol: attempt two breaths, but do not exceed this number before returning to compressions.

Review the conditions requiring mask use
Various conditions, such as airway obstruction or cardiac arrest, may require the use of a pocket mask. Regardless of the underlying cause, always adhere to the guideline of no more than two breaths per cycle.
Reinforce the two-breath rule
Even if the chest does not rise after the first breath, only attempt one more breath after repositioning the mask. Never give more than two breaths before returning to compressions.
Coordinate roles in team CPR
In a team setting, one rescuer should perform compressions while another manages the airway and delivers breaths using a pocket mask or bag-valve mask. Ensure all rescuers are wearing gloves and using proper PPE throughout the procedure.
Check pocket mask features and availability
Pocket masks are included in many first aid and AED kits and come with a one-way valve that plugs into the top of the mask for safe and effective ventilation. If your kit does not include a pocket mask, equip it with one to ensure you are prepared for emergencies.
Verification and summary
Confirm effective mask use by monitoring for chest rise and fall with each breath delivered. Successful ventilation is indicated by visible chest movement in response to the breath.
Follow this sequence every time you use a pocket mask:
- SEAL the mask over the nose and chin with no gaps.
- PUSH down to maintain the seal while PULLING the jaw upward to open the airway.
- Limit ventilations to two breaths per cycle, each about one second apart.
- Resume chest compressions immediately if the chest does not rise after two attempts, keeping any interruption under 10 seconds.
By following these steps, you can ensure effective and safe use of a pocket mask during CPR or rescue breathing situations, while always prioritizing chest compressions and minimizing interruptions.

Generation details: cost, quality tiers
Docsie billed 2,000 credits ($1.40) to analyze this 4-minute video at standard quality. The rewrite, template fill and Word/PDF exports were included. The same video at each quality tier:
| Quality | Frames sampled | Credits | Approx. cost |
|---|---|---|---|
| Draft | every 16-30 s | 1,000 | $0.70 |
| Standard (this guide) | every 8-15 s | 2,000 | $1.40 |
| Detailed | every 4-7 s | 4,000 | $2.80 |
| Ultra | every 1-3 s | 8,000 | $5.60 |
Credits priced at $0.70 per 1,000; plans include a monthly allowance. Enterprise customers on on-premise or bring-your-own-model deployments run this on their own inference and pay no per-video credits.
Generated by Docsie Video-to-Docs on 2026-09-09 from a 3-minute video. Screenshots are frames from the source video and belong to their creator, Tri-State Training and Fire Protection, whose original is embedded above. If you own this video and want the guide removed or credited differently, contact us and we will act within one business day.