
How to Use a Blood Glucose Meter
This standard operating procedure explains how to use a blood glucose meter to test your blood glucose levels safely and accurately. Following these steps will help you obtain a reliable reading, dispose of sharps safely, and maintain accurate records for ongoing diabetes management.
Video: How to test your blood glucose (sugar) levels by Diabetes.co.uk (2010). All credit for the demonstration goes to the creator; watch the original on YouTube. The written guide below was generated from this video by Docsie. Creator? Request a change or removal.
This standard operating procedure explains how to use a blood glucose meter to test your blood glucose levels safely and accurately. Following these steps will help you obtain a reliable reading, dispose of sharps safely, and maintain accurate records for ongoing diabetes management.
Purpose
This procedure describes the correct method for using a blood glucose meter, from preparing your equipment to recording your results in a monitoring diary.
Scope
This procedure applies to anyone who needs to test their blood glucose levels using a blood glucose meter, test strips, and a lancing device.
Required equipment
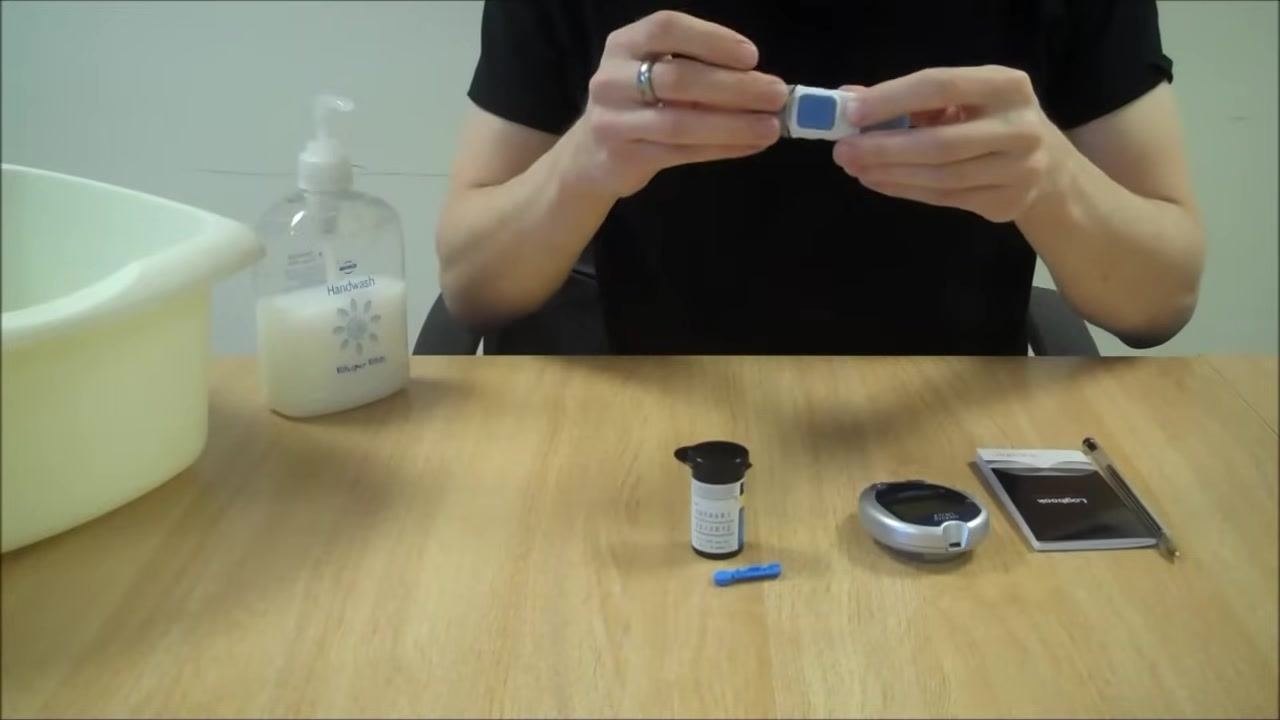
Before you begin, gather the following items:
- Blood glucose meter
- Test strips
- Finger pricker or lancing device
- Lancet
- Cotton wool
- Monitoring diary and pen to record results
- Handwash or soap
- Paper towels or tissue
- A clean bowl (optional, for handwashing)

Wash your hands
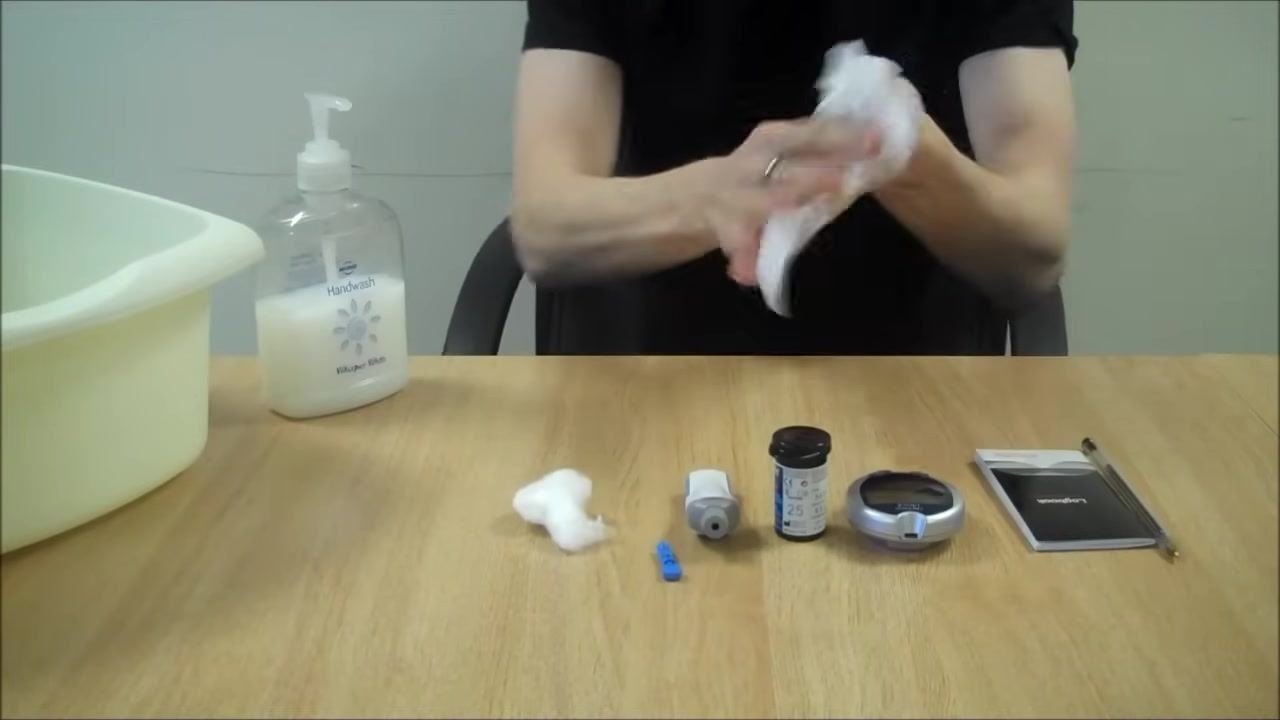
Wash your hands thoroughly with soap and water, using the handwash and bowl if available. Dry your hands completely with a paper towel or tissue before proceeding.
Confirm your hands are dry
Rub your hands together with the towel to remove all moisture. Your hands must be thoroughly dry before you start the test.
Load the lancet
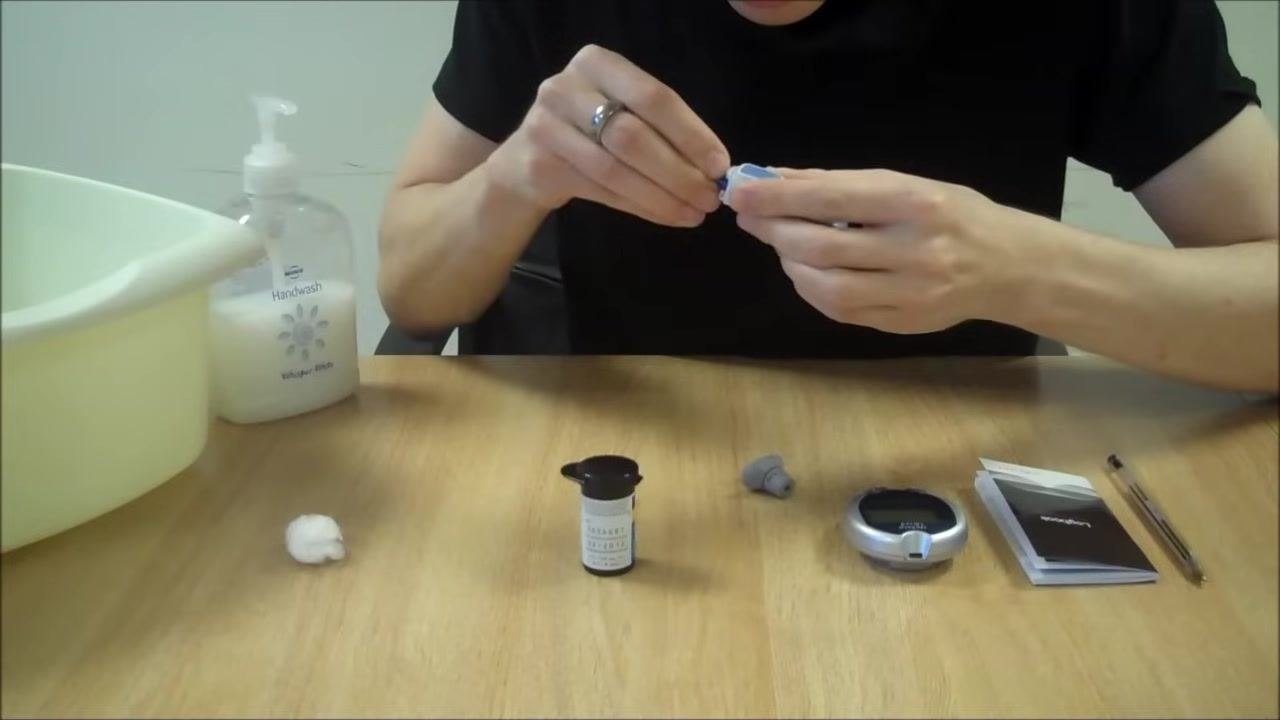
Remove the cap from the lancing device and insert the lancet firmly until it snaps into place. Replace the cap on the lancing device once the lancet is loaded.
Prepare the blood glucose meter
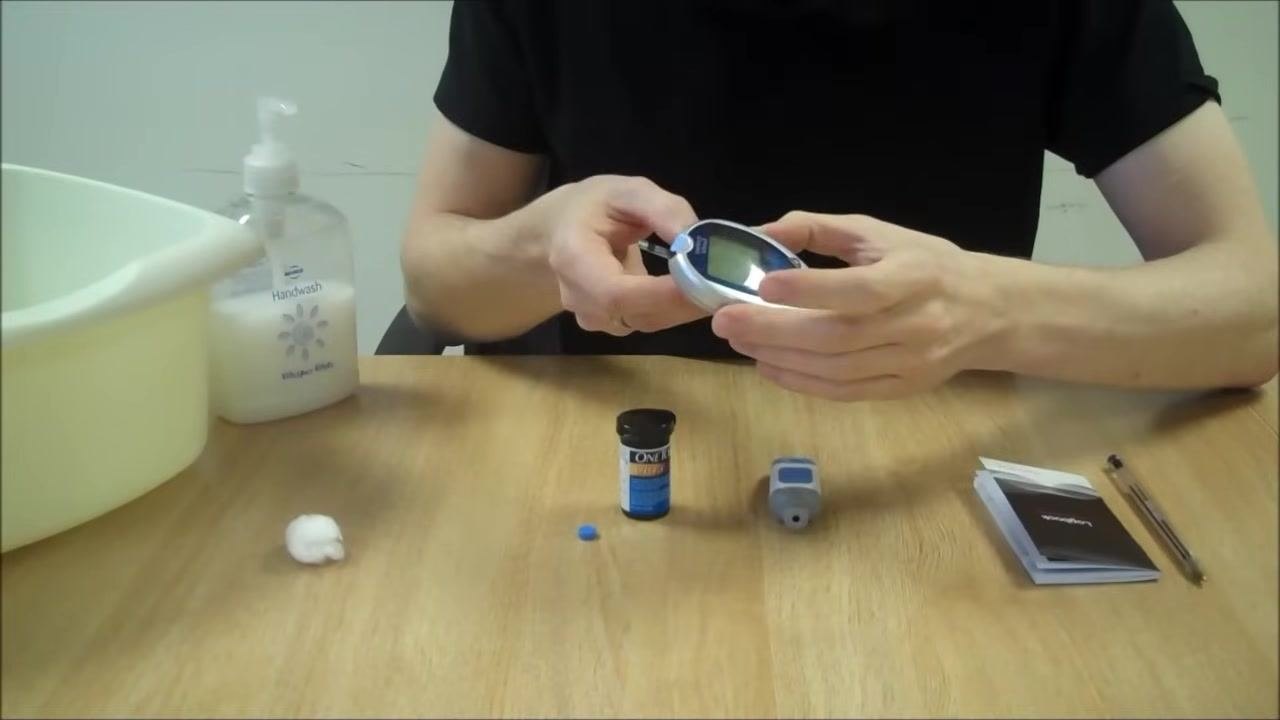
Open the test strip container and remove one test strip. Insert the test strip into the blood glucose meter; the meter should automatically switch on when the strip is inserted.
Choose a finger for testing
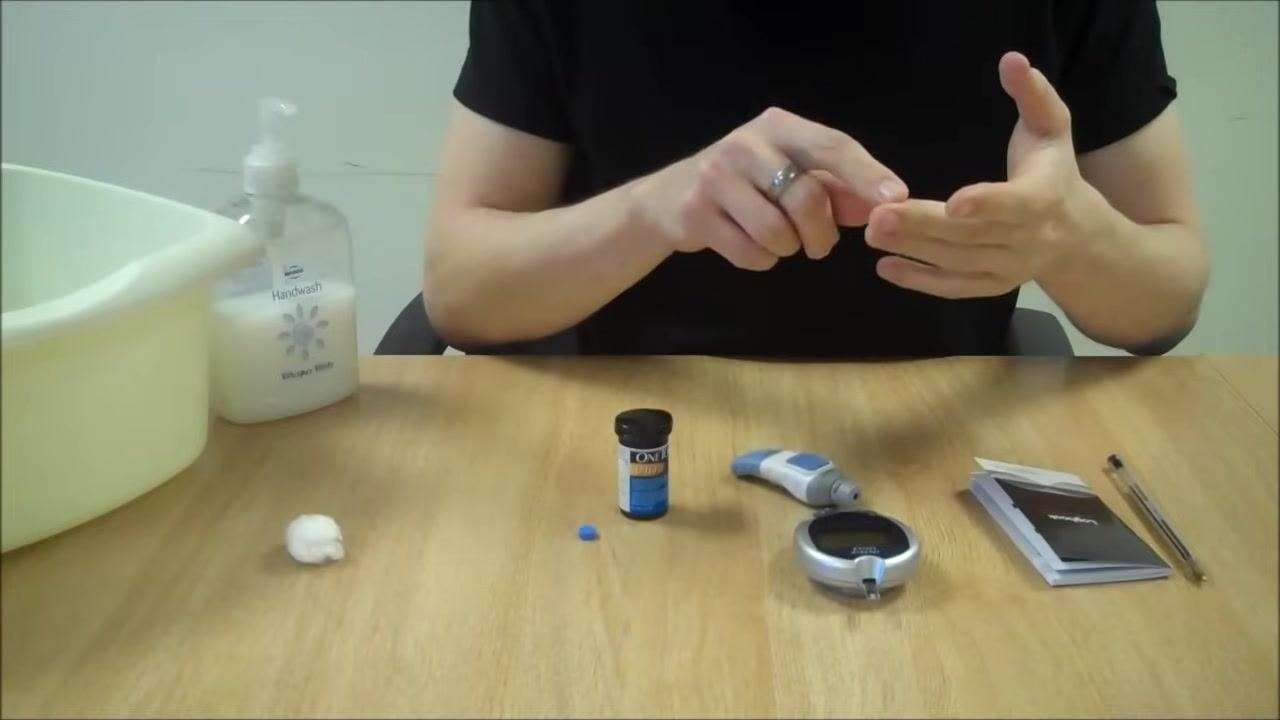
Select the side of your fingertip, not the pad or tip, for pricking, as this is less painful. Hold your hand steady and position the lancing device on the side of your chosen finger.
Prick your finger
Prick the side of your finger with the lancing device. If necessary, gently squeeze your finger to obtain a drop of blood.
Safety note: If you need to squeeze too hard to get a blood drop, repeat the test with a new lancet and a different finger.
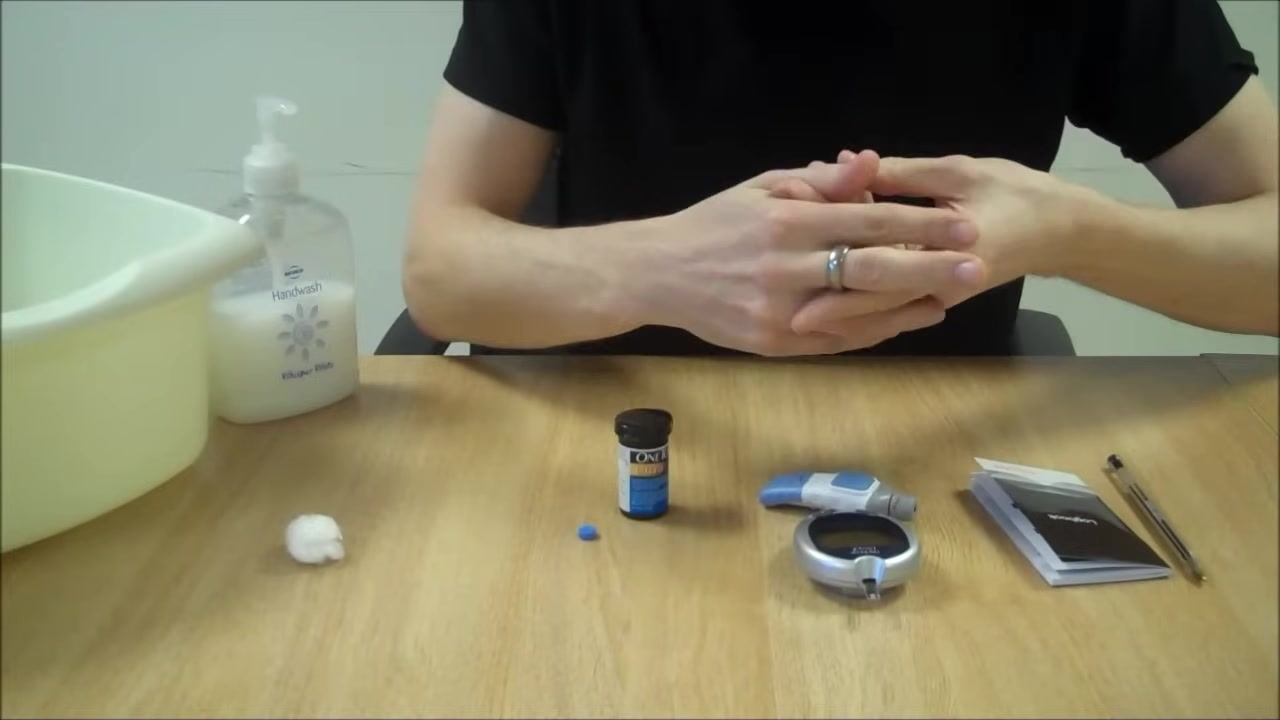
Apply blood to the test strip
Apply the drop of blood to the test strip in the meter, ensuring the meter is on and ready to read the sample. The result should appear on the meter within a few seconds.
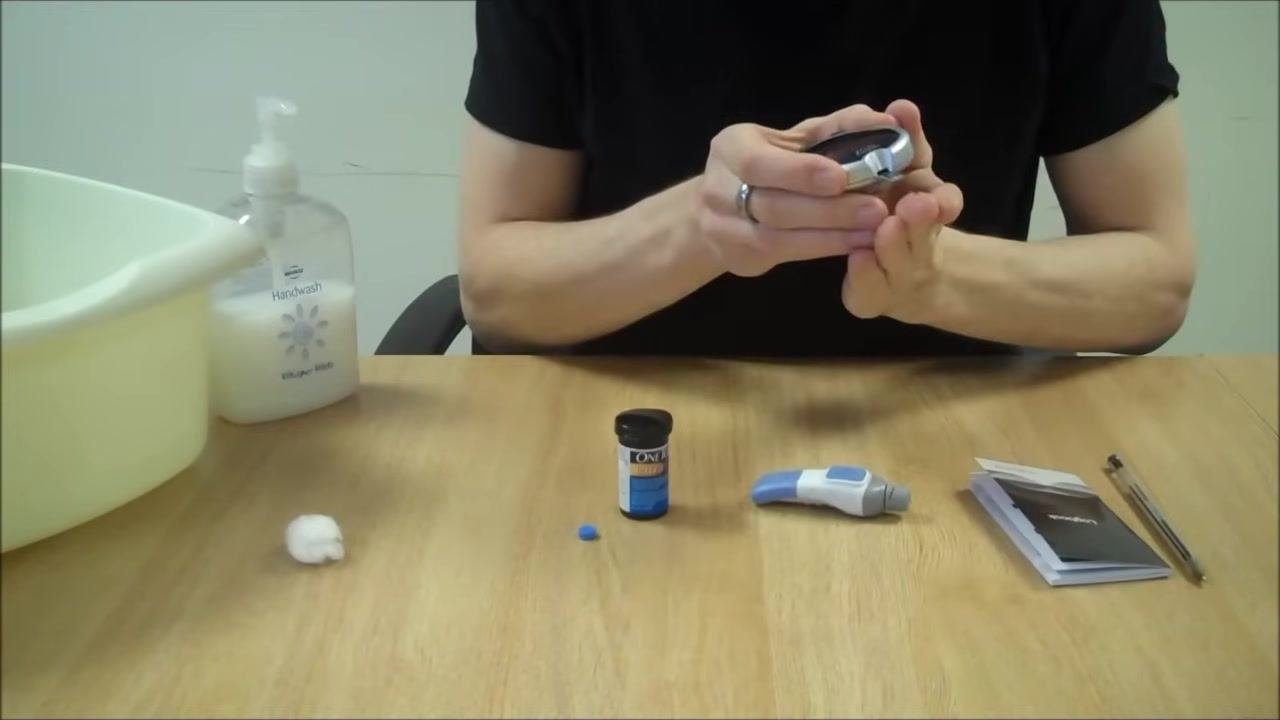
Read your result
Observe the meter screen for your reading. In this example, the result shown is 3.6 mmol/L.
Safety note: If your reading is low (such as 3.6 mmol/L), treat immediately with glucose tablets or another fast-acting carbohydrate as recommended by your healthcare provider.
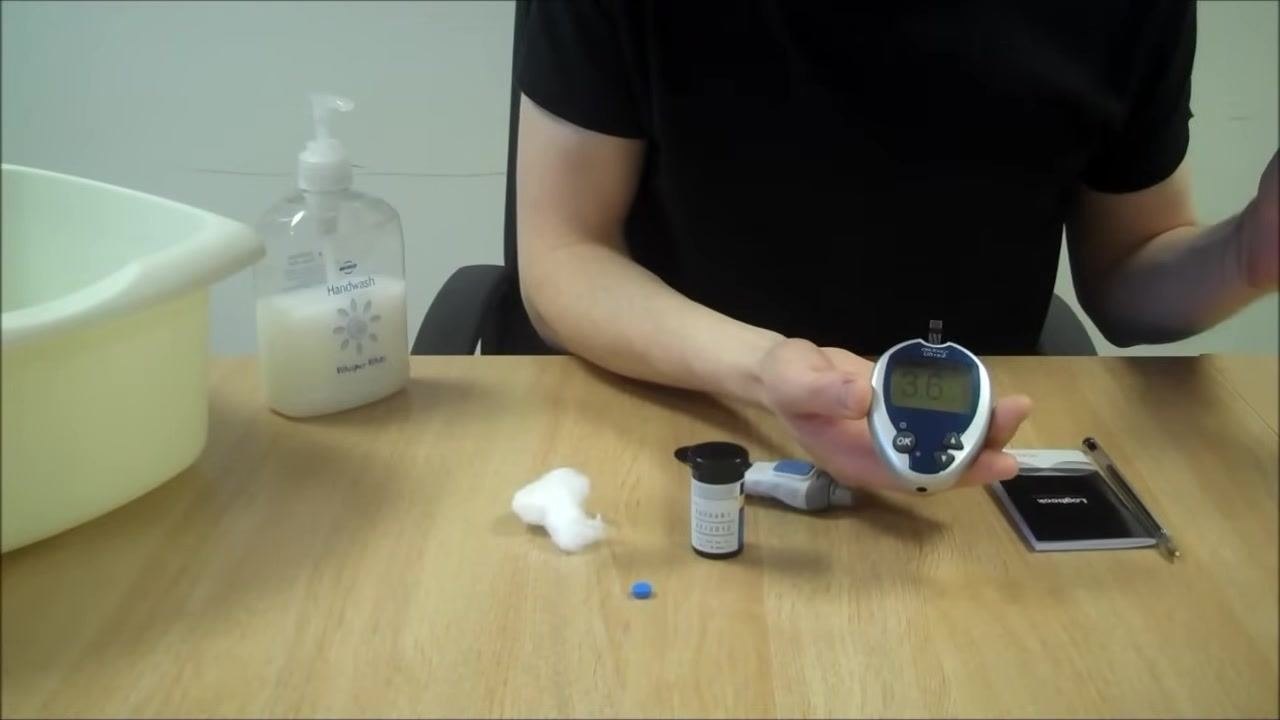
Clean your finger
Use a piece of cotton wool or tissue to gently wipe away any remaining blood from your fingertip.
Dispose of the test strip
Remove the used test strip from the meter and dispose of it in the regular trash.
Safely dispose of the lancet
Remove the lancet from the lancing device and place it into a designated sharps bin for safe disposal.
Safety note: Always dispose of used lancets in a sharps bin, never in regular trash.
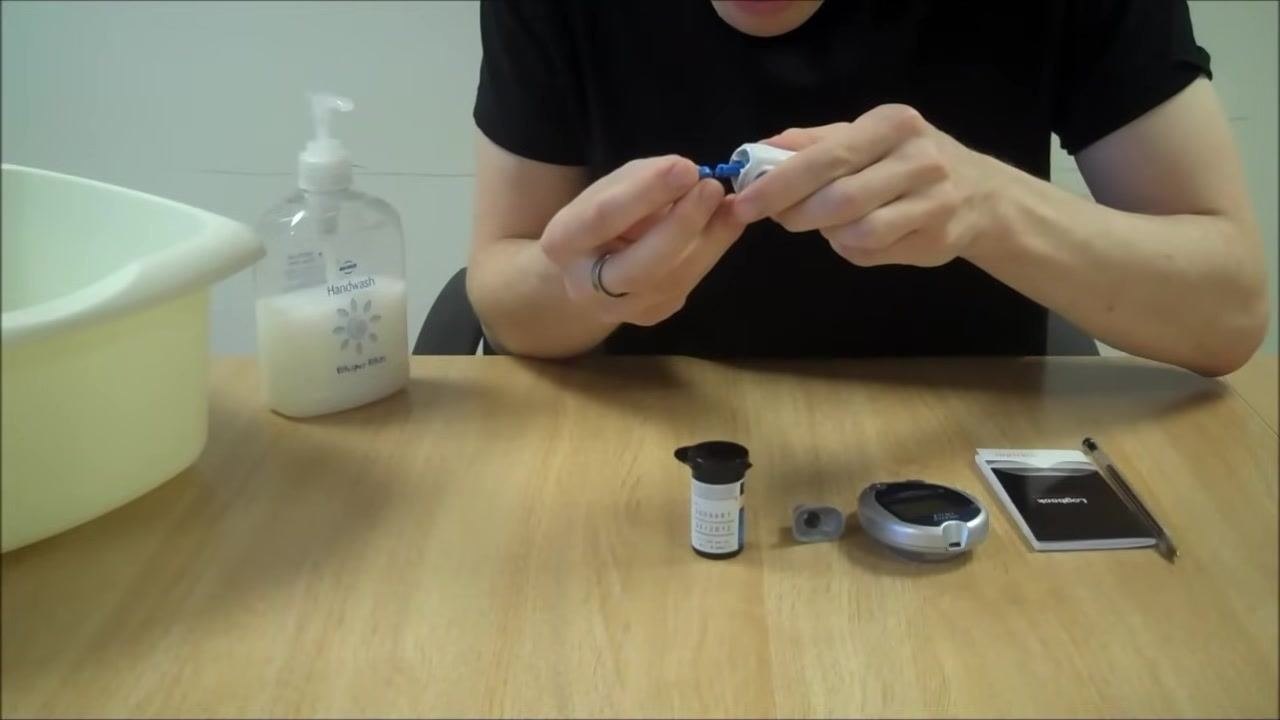
Record your result
Write down the value shown on the meter (for example, 3.6 mmol/L) in your monitoring diary. Note the time of the test and any relevant details, such as "after lunch."
Summary
By following these steps, you will complete your blood glucose test accurately, ensure safe disposal of sharps, and maintain accurate records for ongoing diabetes management.
Generation details: cost, quality tiers
Docsie billed 1,500 credits ($1.05) to analyze this 3-minute video at standard quality. The rewrite, template fill and Word/PDF exports were included. The same video at each quality tier:
| Quality | Frames sampled | Credits | Approx. cost |
|---|---|---|---|
| Draft | every 16-30 s | 750 | $0.52 |
| Standard (this guide) | every 8-15 s | 1,500 | $1.05 |
| Detailed | every 4-7 s | 3,000 | $2.10 |
| Ultra | every 1-3 s | 6,000 | $4.20 |
Credits priced at $0.70 per 1,000; plans include a monthly allowance. Enterprise customers on on-premise or bring-your-own-model deployments run this on their own inference and pay no per-video credits.
Generated by Docsie Video-to-Docs on 2026-09-09 from a 2-minute video. Screenshots are frames from the source video and belong to their creator, Diabetes.co.uk, whose original is embedded above. If you own this video and want the guide removed or credited differently, contact us and we will act within one business day.