
How to Take Blood Pressure Manually
This standard operating procedure describes how to accurately measure a patient's blood pressure using a manual cuff (sphygmomanometer) and stethoscope. It covers patient preparation, cuff placement, estimation of systolic pressure to avoid the auscultatory gap, auscultation and recording of readings, and interpretation of results according to current clinical guidelines.
Video: Blood Pressure Measurement: How to Check Blood Pressure Manually by RegisteredNurseRN (2019). All credit for the demonstration goes to the creator; watch the original on YouTube. The written guide below was generated from this video by Docsie. Creator? Request a change or removal.
Purpose
This standard operating procedure describes how to accurately measure a patient's blood pressure using a manual cuff (sphygmomanometer) and stethoscope. It covers patient preparation, cuff placement, estimation of systolic pressure to avoid the auscultatory gap, auscultation and recording of readings, and interpretation of results according to current clinical guidelines.
Scope
This procedure applies to any clinical staff member responsible for performing manual blood pressure measurements on patients in a seated or bedside setting.
Required equipment
- Stethoscope
- Manual blood pressure cuff (sphygmomanometer), correctly sized for the patient's arm
- Hand sanitizer or handwashing facilities
- Documentation materials to record the reading
Procedure
Step 1: Perform hand hygiene
Wash your hands thoroughly or use hand sanitizer before beginning the procedure.
Step 2: Gather your supplies
Obtain a stethoscope and a manual blood pressure cuff before approaching the patient.
Step 3: Prepare the patient
- Ensure the patient is sitting down.
- Position the patient's arm at heart level, resting comfortably on a table or armrest.
- Make sure the patient's legs are uncrossed.
- If the patient is lying in bed, adjust the arm so it remains at heart level.
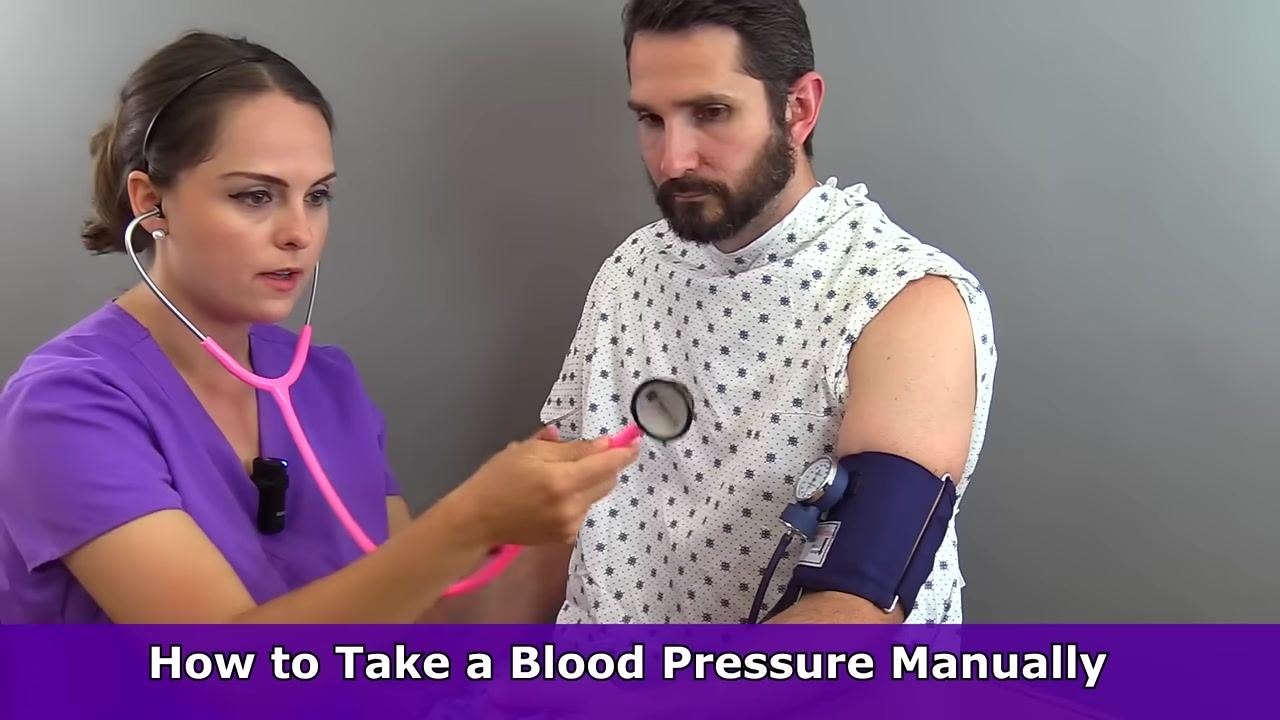
Step 4: Select the correct cuff size
Choose a blood pressure cuff that fits the patient's arm properly. Safety note: Avoid using a cuff that is too large or too small, as this can result in inaccurate readings.
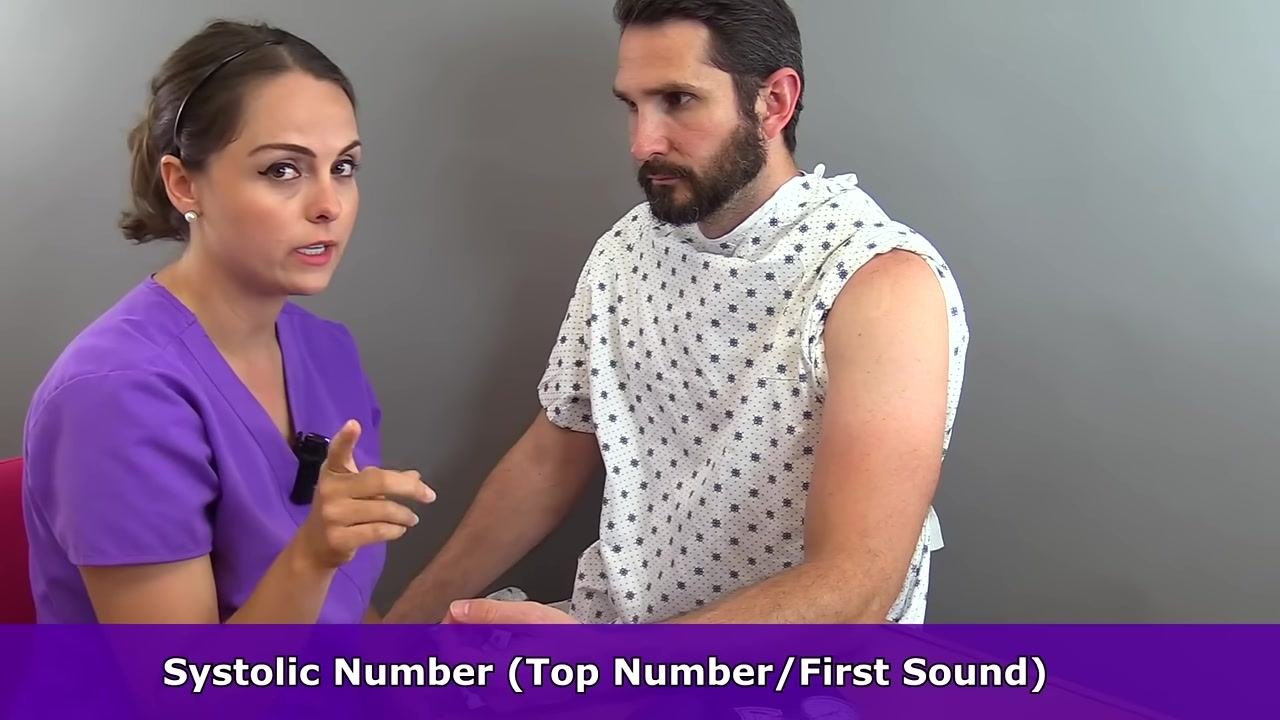
Step 5: Identify the brachial artery
Palpate (feel for) the brachial artery, located in the bend of the arm (antecubital fossa). This is the artery you will use to measure blood pressure.
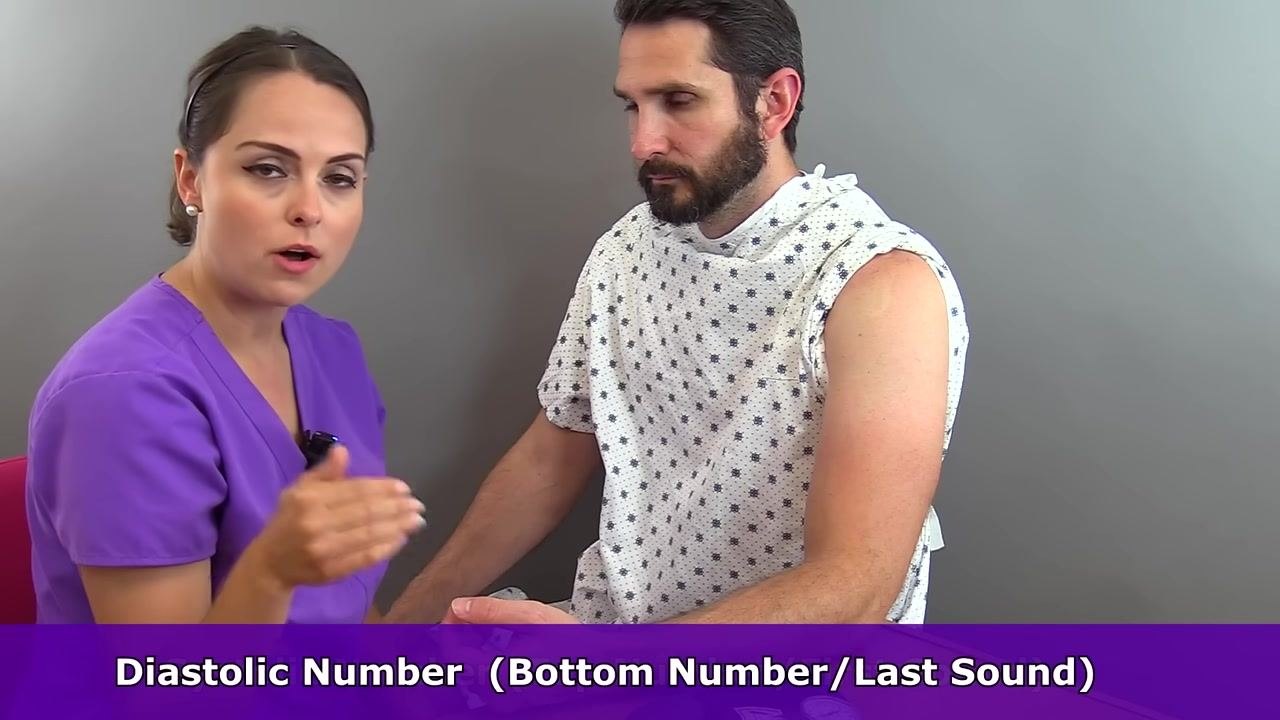
Step 6: Understand the blood pressure readings
- The systolic number (top number) is the first sound you hear as you release air from the cuff.
- The diastolic number (bottom number) is the point where you no longer hear the sound.
Step 7: Apply the blood pressure cuff
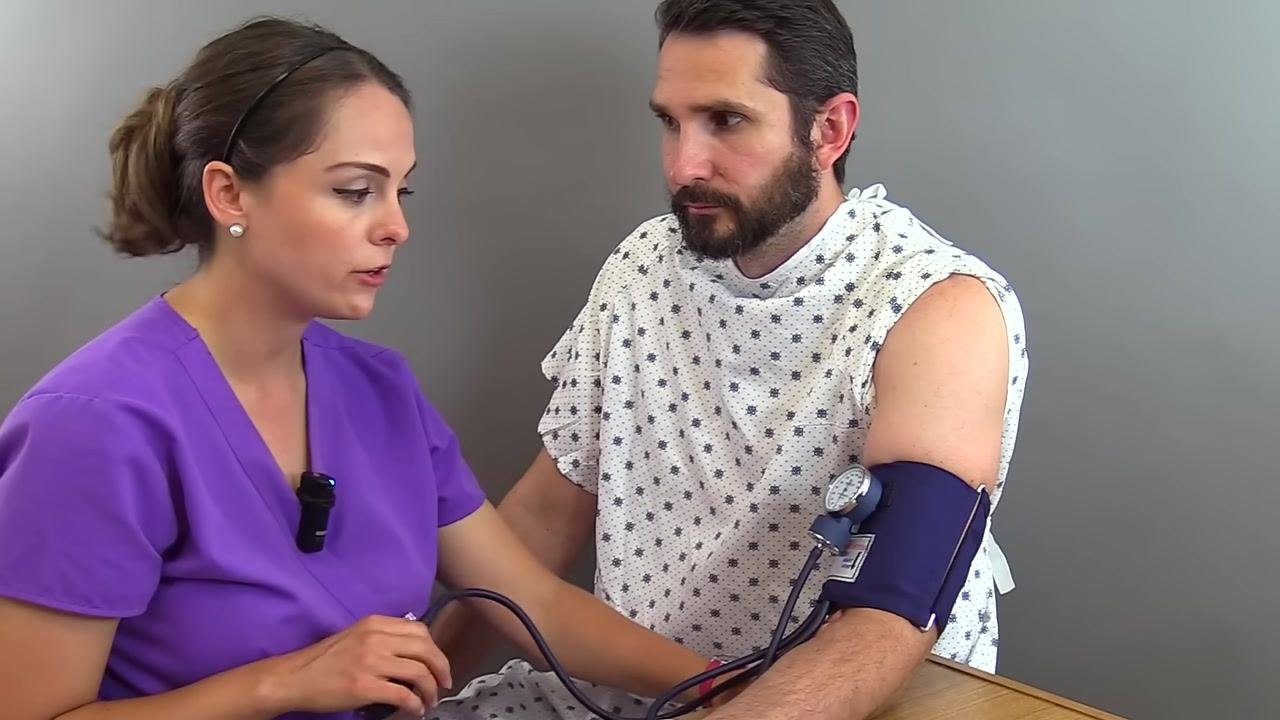
Wrap the cuff snugly around the patient's upper arm, aligning the artery marker (arrow) on the cuff with the brachial artery. Ensure the gauge and tubing are positioned for easy access and visibility.
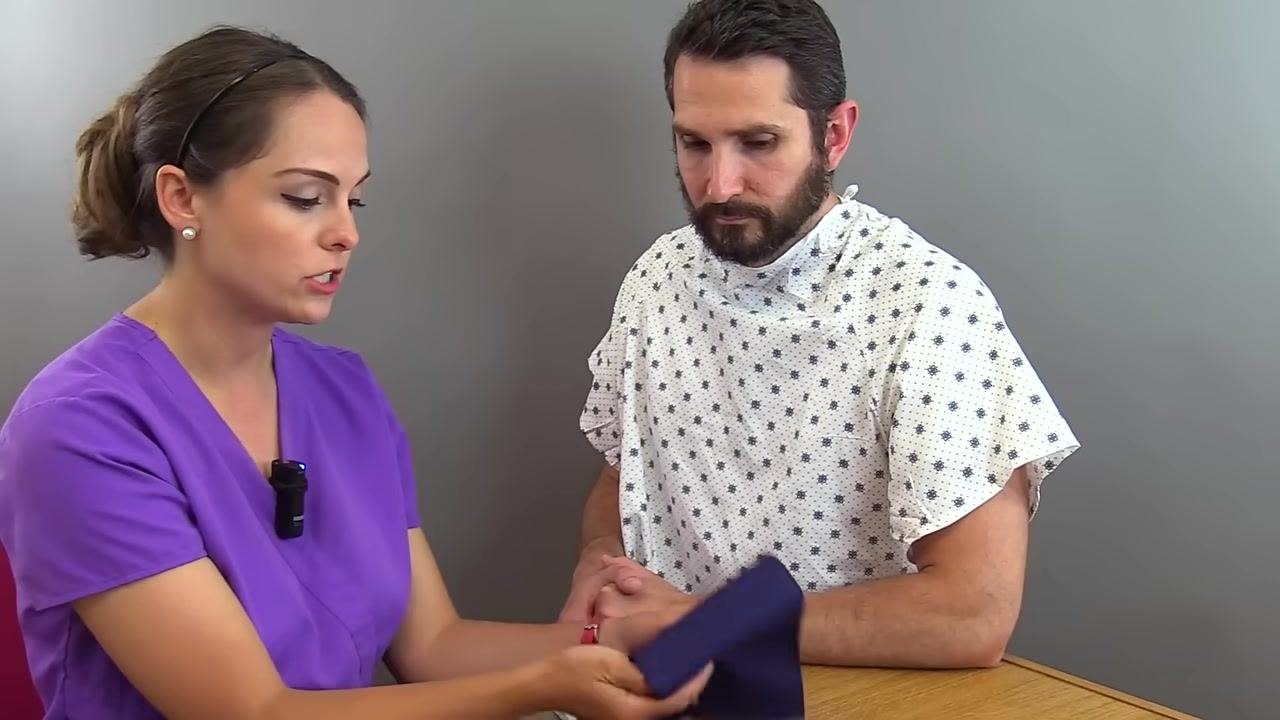
Step 8: Position the cuff correctly for measurement
- Place the blood pressure cuff on the patient's upper left arm.
- Ensure the arrow on the cuff points toward the brachial artery.
- Position the cuff approximately two inches above the bend of the arm (antecubital fossa).
Step 9: Estimate the systolic pressure by palpation
- Palpate (feel) the brachial artery with your fingers.
- Inflate the cuff while palpating the artery.
- Continue inflating until you can no longer feel the pulse in the brachial artery.
- Observe the gauge at the exact point when the pulse disappears — this value is your estimated systolic pressure.
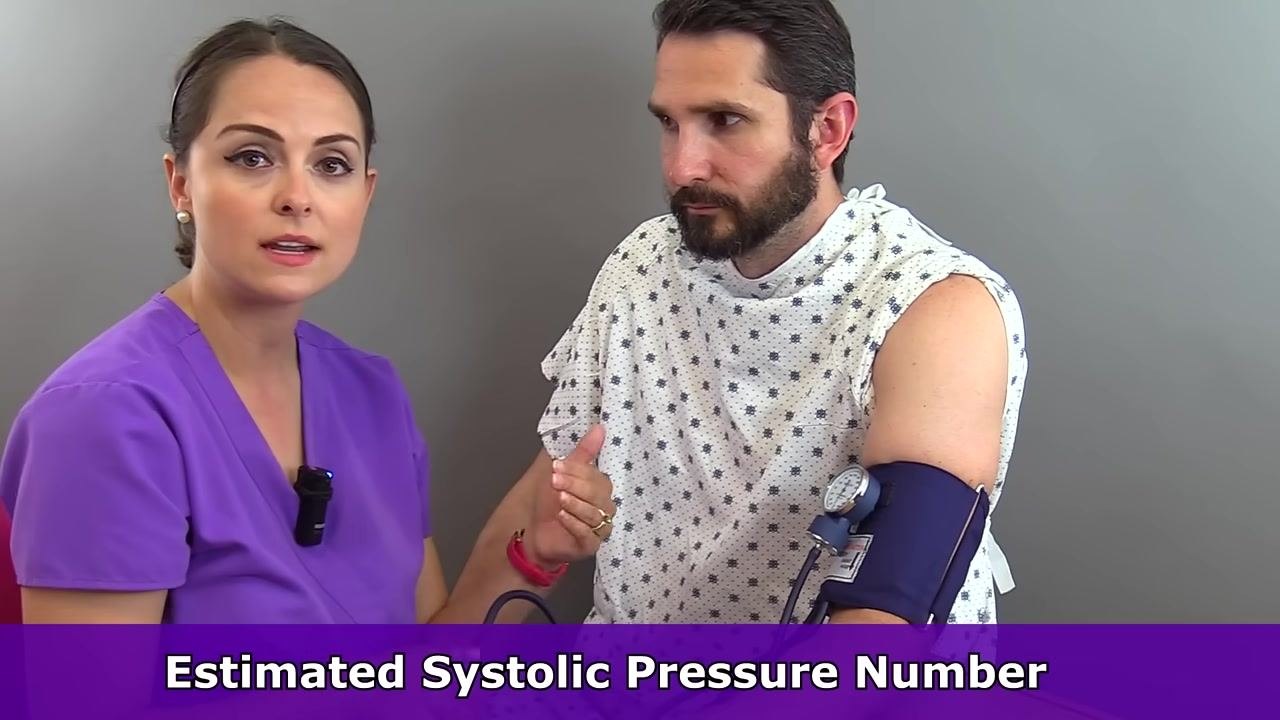
Step 10: Record the estimated systolic pressure
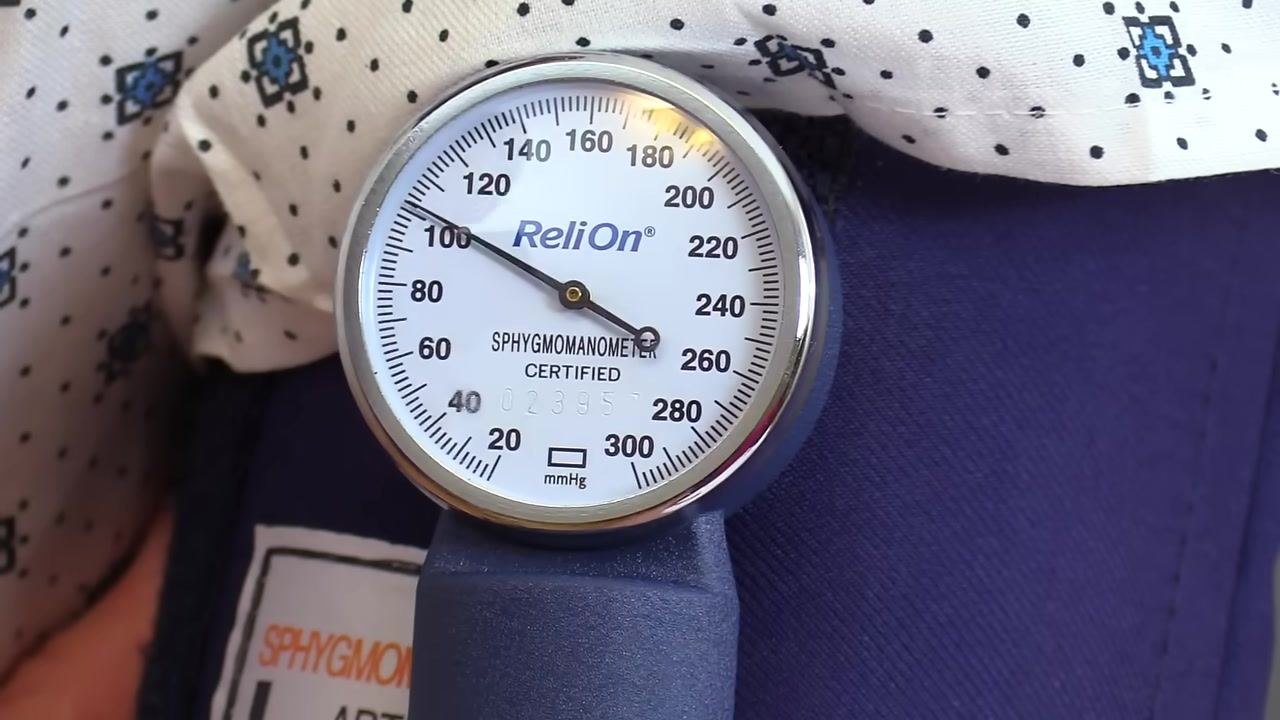
Note the reading on the gauge at the moment the pulse disappears. For example, if the pulse disappears at 100 mmHg, record this as the estimated systolic pressure.
Step 11: Deflate the cuff completely
Release all air from the cuff after noting the estimated systolic pressure. Wait 30 to 60 seconds before proceeding to the next step to allow blood flow to return to normal.
Step 12: Prepare to take the actual blood pressure reading
Re-inflate the cuff to a value 30 mmHg higher than your estimated systolic pressure. For example, if your estimated systolic pressure is 100 mmHg, inflate the cuff to 130 mmHg.
Safety note: This step helps avoid missing the auscultatory gap, a period of abnormal silence that can occur (especially in patients with hypertension) and may cause you to miss the true systolic reading.
Example: If the estimated systolic pressure is 100 mmHg, inflate the cuff to 130 mmHg for the actual measurement.
Step 13: Select the appropriate side of the stethoscope
Use either the bell or the diaphragm of your stethoscope. Prefer the bell for blood pressure measurement, as it is best at picking up low-pitched Korotkoff sounds.
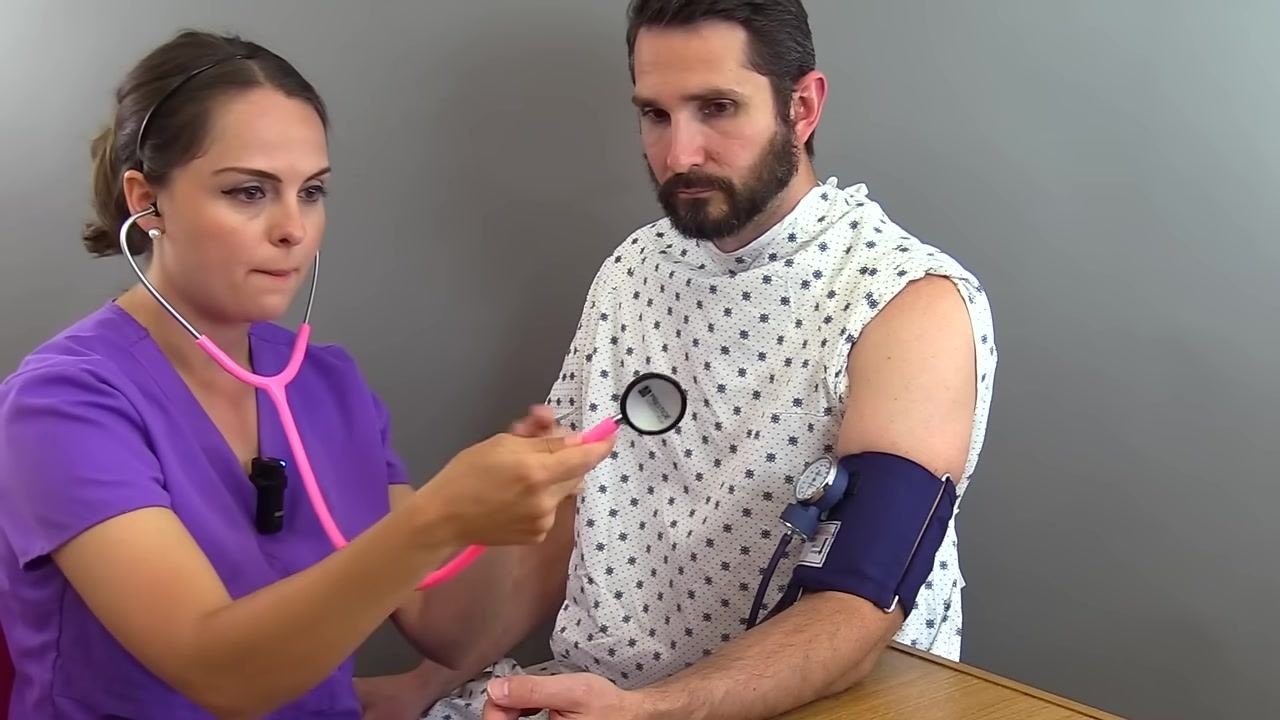
Step 14: Place the stethoscope over the brachial artery
Position the bell (or diaphragm) of the stethoscope lightly over the brachial artery, just below the cuff. Safety note: Do not press too hard, as fully compressing the artery can occlude it and prevent you from hearing the sounds.
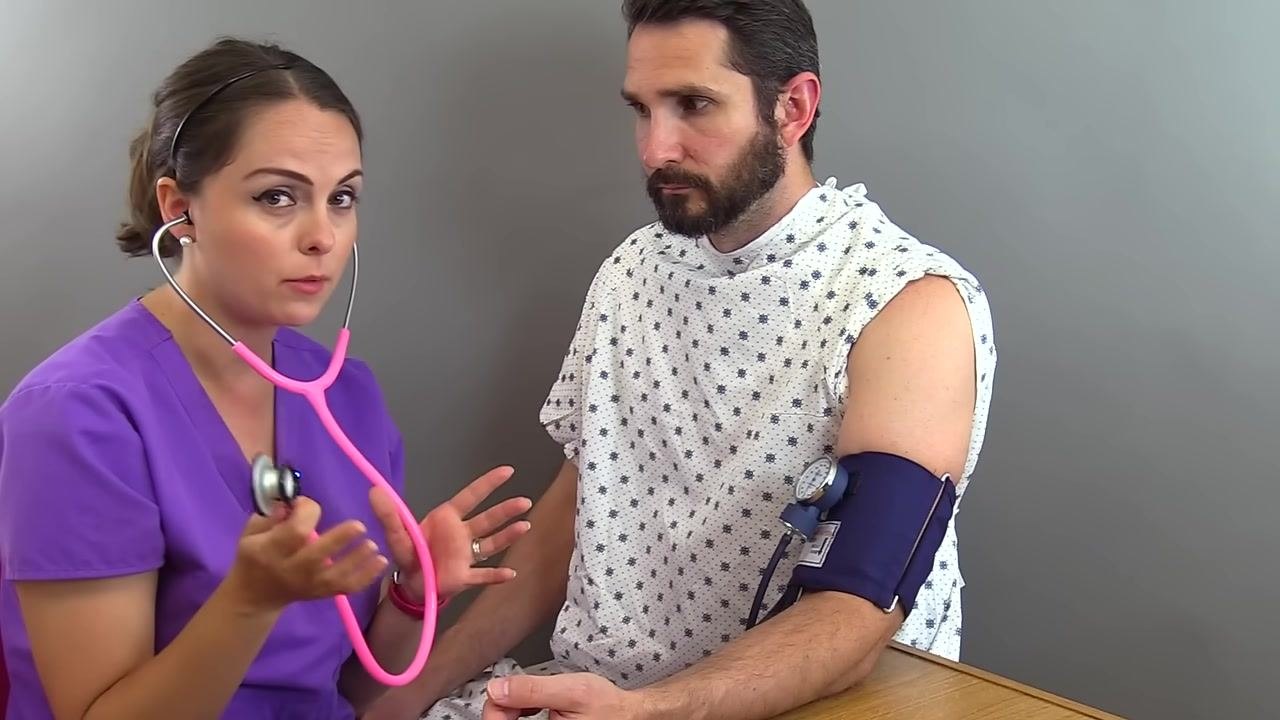
Step 15: Inflate the cuff to the correct pressure
Inflate the cuff to 130 mmHg (30 mmHg above the previously estimated systolic pressure of 100 mmHg). Ensure the gauge reads 130 mmHg before beginning to deflate.
Step 16: Deflate the cuff at the proper rate
Slowly release the air from the cuff at a rate of about 2 mmHg per second. Listen carefully for the Korotkoff sounds through the stethoscope.
Step 17: Identify the systolic and diastolic readings
- Note the gauge reading at the first appearance of repetitive tapping sounds (systolic pressure). In this example, the first sound is heard at 104 mmHg.
- Continue to listen as the pressure drops. Note the gauge reading at the last sound you hear (diastolic pressure). In this example, the last sound is heard at 78 mmHg.
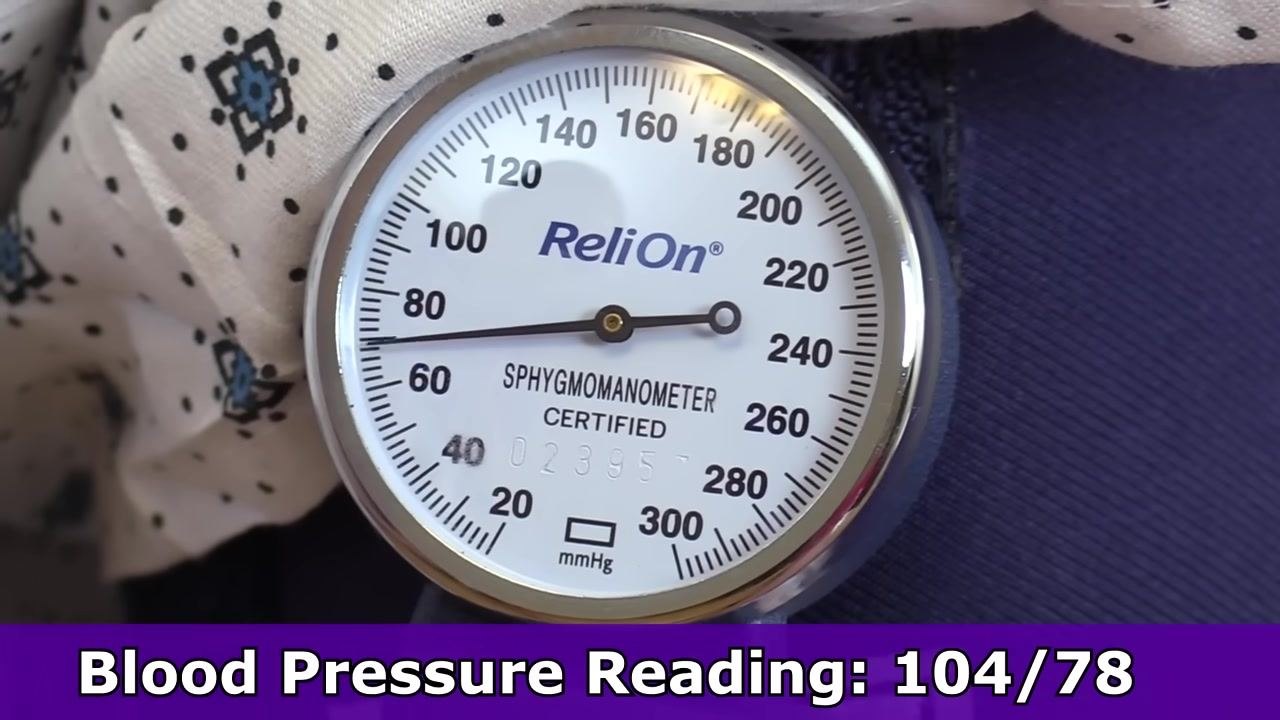
Step 18: Record the blood pressure reading
- Document the blood pressure as systolic over diastolic (e.g., 104/78 mmHg).
- Note which arm was used for the measurement.
- If the cuff is not disposable, clean it according to facility protocol.

Step 19: Remove the cuff and stethoscope
Fully deflate the cuff and remove it from the patient's arm. Remove the stethoscope from the patient's arm.
Verification: Interpreting blood pressure categories
Use the following categories, based on the 2017 American College of Cardiology guidelines, to interpret the recorded reading:
- Normal blood pressure: Systolic less than 120 mmHg; Diastolic less than 80 mmHg.
- Elevated blood pressure: Systolic 120–129 mmHg; Diastolic less than 80 mmHg.
- Hypertension Stage 1: Systolic 130–139 mmHg; Diastolic 80–89 mmHg.
- Hypertension Stage 2: Systolic greater than 140 mmHg; Diastolic greater than 90 mmHg. See a doctor for a proper diagnosis if readings fall within this range. (Reference: 2017 Guideline for High Blood Pressure in Adults – American College of Cardiology.)


Summary
To complete the manual blood pressure check:
- Confirm you have recorded the blood pressure reading and cleaned any reusable equipment.
- Ensure the patient is comfortable and explain the results if appropriate.
- Compare the reading against the blood pressure categories above.
- Advise the patient to consult a healthcare provider for further evaluation if their reading falls into the hypertension range.
What's next
For additional educational resources, visit RegisteredNurseRN.com to access more tutorials, watch further videos, subscribe to the channel for updates on new content, and like and share videos to support the channel.
Generation details: cost, quality tiers
Docsie billed 3,000 credits ($2.10) to analyze this 6-minute video at standard quality. The rewrite, template fill and Word/PDF exports were included. The same video at each quality tier:
| Quality | Frames sampled | Credits | Approx. cost |
|---|---|---|---|
| Draft | every 16-30 s | 1,500 | $1.05 |
| Standard (this guide) | every 8-15 s | 3,000 | $2.10 |
| Detailed | every 4-7 s | 6,000 | $4.20 |
| Ultra | every 1-3 s | 12,000 | $8.40 |
Credits priced at $0.70 per 1,000; plans include a monthly allowance. Enterprise customers on on-premise or bring-your-own-model deployments run this on their own inference and pay no per-video credits.
Generated by Docsie Video-to-Docs on 2026-09-08 from a 5-minute video. Screenshots are frames from the source video and belong to their creator, RegisteredNurseRN, whose original is embedded above. If you own this video and want the guide removed or credited differently, contact us and we will act within one business day.