
How to Suction a Tracheostomy
This procedure describes how to suction a tracheostomy safely, using sterile technique from initial patient assessment through post-procedure documentation. It is intended for nursing and allied health staff caring for a patient with a tracheostomy tube who requires airway clearance. Follow each phase in order to protect the sterile field, minimize patient discomfort, and maintain accurate records of the intervention.
Video: How To Suction A Trach (Tracheostomy Suctioning) - Weber State University by Weber State University (2024). All credit for the demonstration goes to the creator; watch the original on YouTube. The written guide below was generated from this video by Docsie. Creator? Request a change or removal.
This procedure describes how to suction a tracheostomy safely, using sterile technique from initial patient assessment through post-procedure documentation. It is intended for nursing and allied health staff caring for a patient with a tracheostomy tube who requires airway clearance. Follow each phase in order to protect the sterile field, minimize patient discomfort, and maintain accurate records of the intervention.
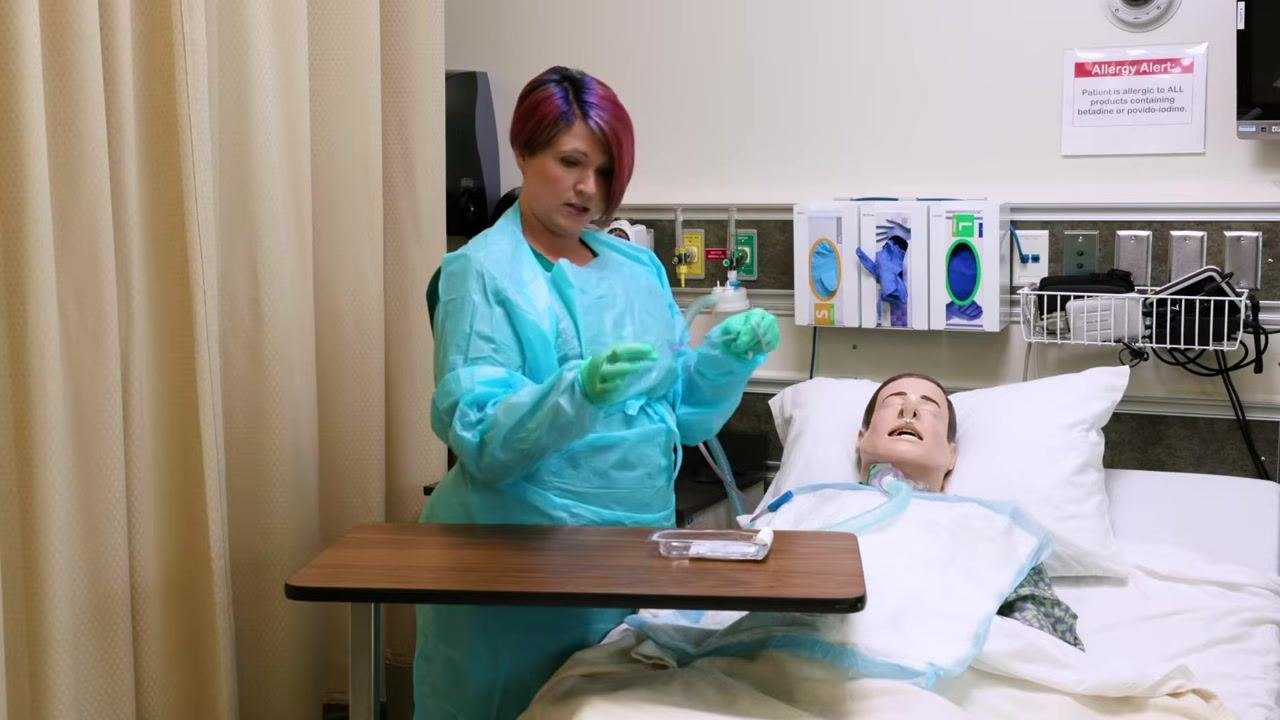
Purpose & Scope
Clinical context: Tracheostomy suctioning removes secretions from the airway of a patient who cannot clear them independently. It is performed at the bedside in an inpatient care setting, using a wall-mounted suction unit, sterile catheter kit, and standard Personal Protective Equipment (PPE).
Patient population: Adult patients with an established tracheostomy who show signs of airway secretions, reduced oxygen saturation, or audible respiratory congestion.
Care setting: Hospital bedside, with the patient positioned in bed and equipment (suction canister, oxygen flow meter, overbed table) mounted or placed within reach.
Required supplies: - Gown, mask with attached face shield, non-sterile gloves, and sterile gloves - Sterile suction kit (catheter, container) and sterile water - Wall-mounted suction canister and tubing - Chucks pad or towel for moisture protection - Stethoscope and pulse oximeter - Oxygen source with flow meter
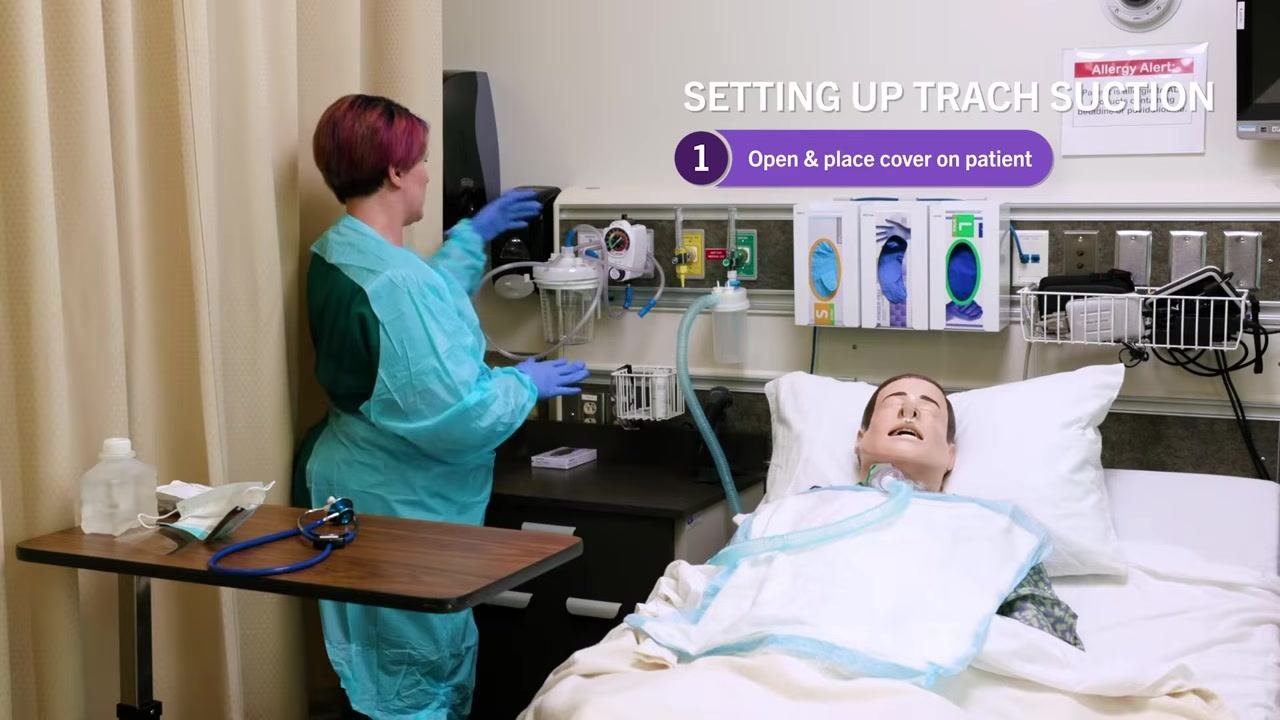
Patient Assessment
Complete the following checks before beginning the procedure and again immediately afterward to confirm the intervention was effective.
| Assessment step | What to check |
|---|---|
| Hand hygiene | Wash hands thoroughly at the sink before any patient contact |
| PPE | Gown, mask with face shield, then non-sterile gloves, donned in that order |
| Patient position | Bed raised to a 30–45 degree angle; bed height adjusted for the clinician; bed rail lowered on the working side |
| Lung sounds | Auscultate with a stethoscope before suctioning |
| Respiration rate | Count and record (example observed: 22 breaths per minute) |
| Oxygen saturation | Check with a pulse oximeter; low saturation is an indication for suctioning |
| Patient communication | Inform the patient of the upcoming procedure and its purpose |
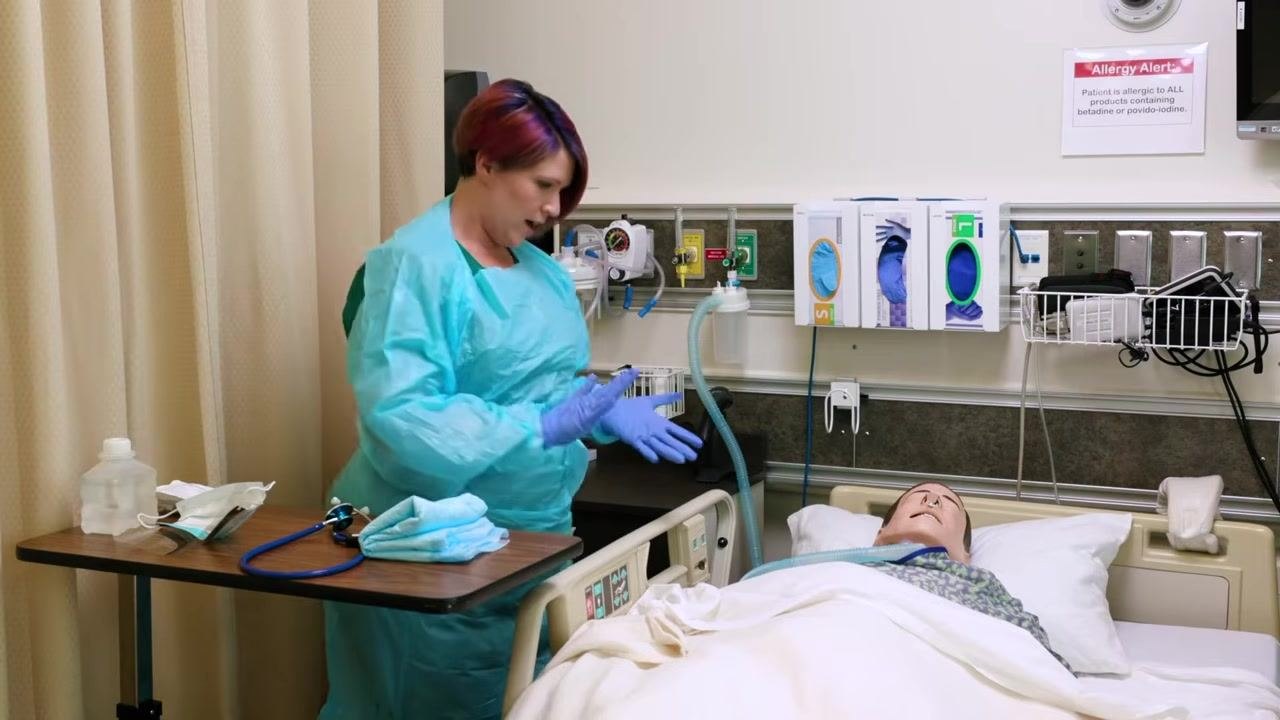
Inform the patient before you start, for example: "Before I start, I'm going to listen to your lung sounds really quick here." If the patient cannot be repositioned to sitting, complete the assessment as best as possible in the current position.
Care Protocol
The procedure for how to suction a tracheostomy is organized into five phases: preparation, sterile setup, the suctioning itself, post-procedure cleanup, and documentation.
Phase 1: Preparation
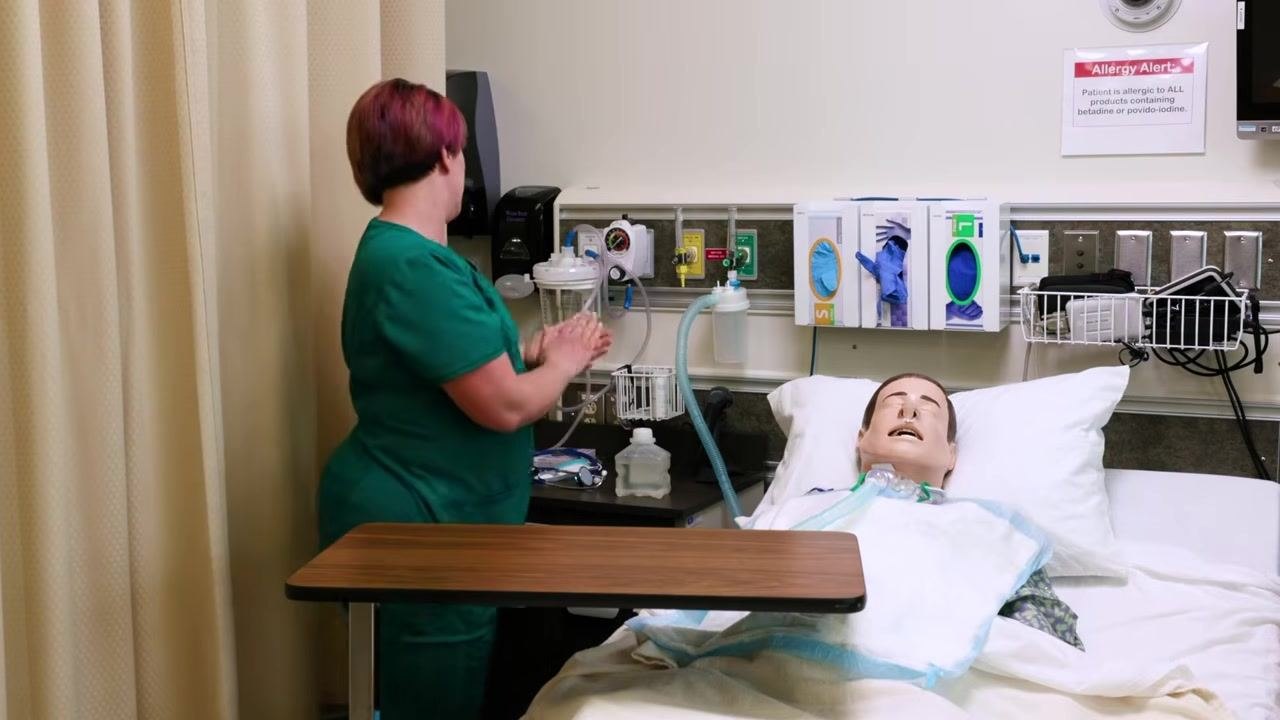
- Wash hands at the sink following standard hand hygiene protocol.
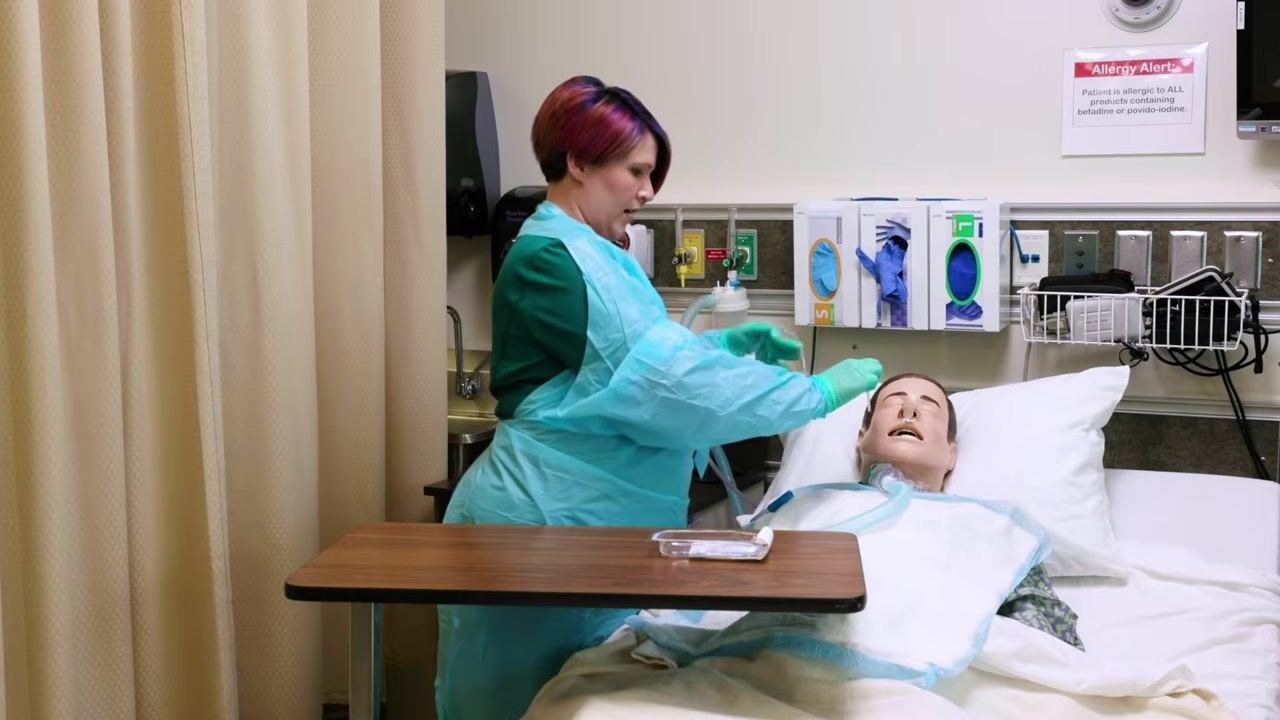
- Don PPE in order: gown (tied behind or in front, whichever is easier), mask with face shield (positioned so the gap faces away from your face, so mucus does not run onto your skin), then non-sterile gloves.
- Adjust the bed to a 30–45 degree angle and a comfortable working height, then lower the rail.
- Assess lung sounds and respiration rate, and inform the patient of your actions.
- Check oxygen saturation with a pulse oximeter; low saturation supports the need for suctioning.
- Complete patient education about the procedure before proceeding.
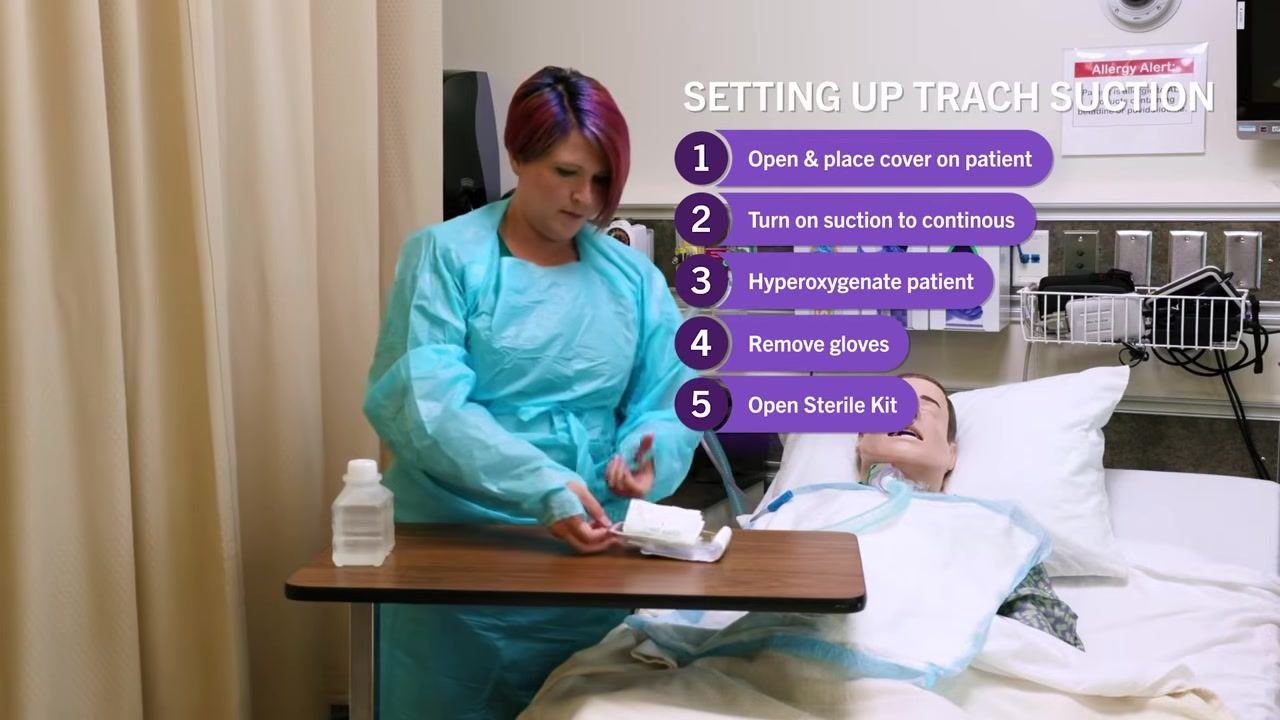
- Set up all non-sterile items before opening the sterile kit, to avoid breaking the sterile field later.
- Open and place a chucks pad or towel across the patient's chest to protect gown and linens.

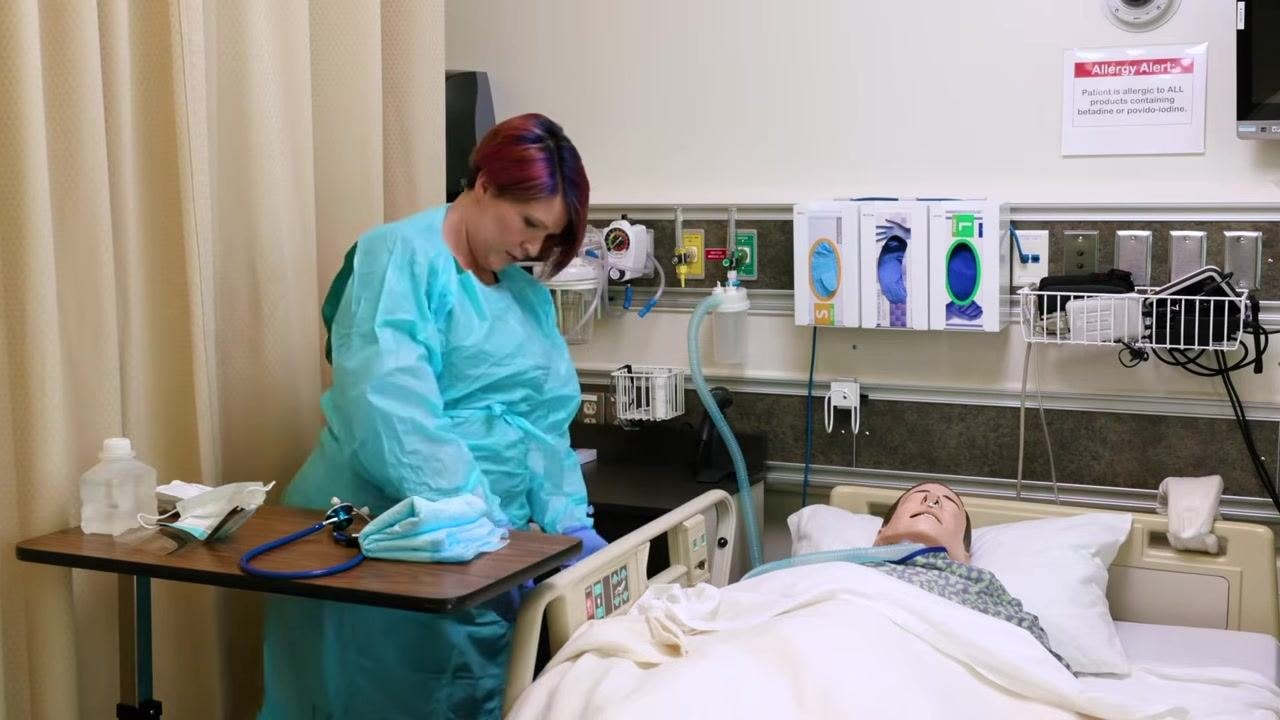
- Turn the suction regulator to the CONT (continuous) setting.
-
Set suction pressure between 100 and 150 mmHg for adults, confirming the reading on the gauge while occluding the tubing.
-
Position the suction tubing within easy reach, avoiding placement that would require turning your back on the sterile field.
- Prepare to hyperoxygenate the patient before suctioning begins.
Phase 2: Sterile setup
-
Increase the patient's oxygen flow for hyperoxygenation (example: from 2 liters to 4 liters) and confirm the patient is receiving it.
-
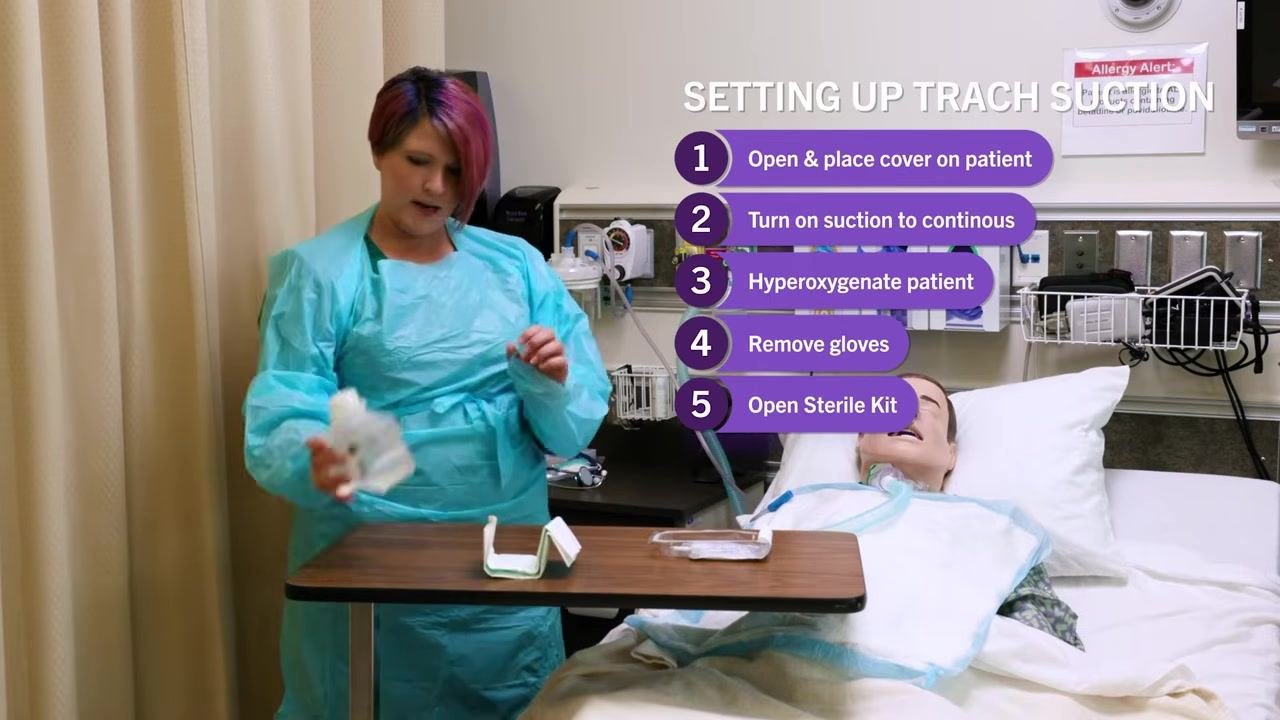
Remove non-sterile gloves before opening the sterile kit.
-
Place the sterile kit on a clean, dry surface such as the overbed table, and open the packaging without touching the inside contents.
-
Perform "lipping" of the sterile water bottle by pouring a small amount into a waste container to clear the opening before use.
-
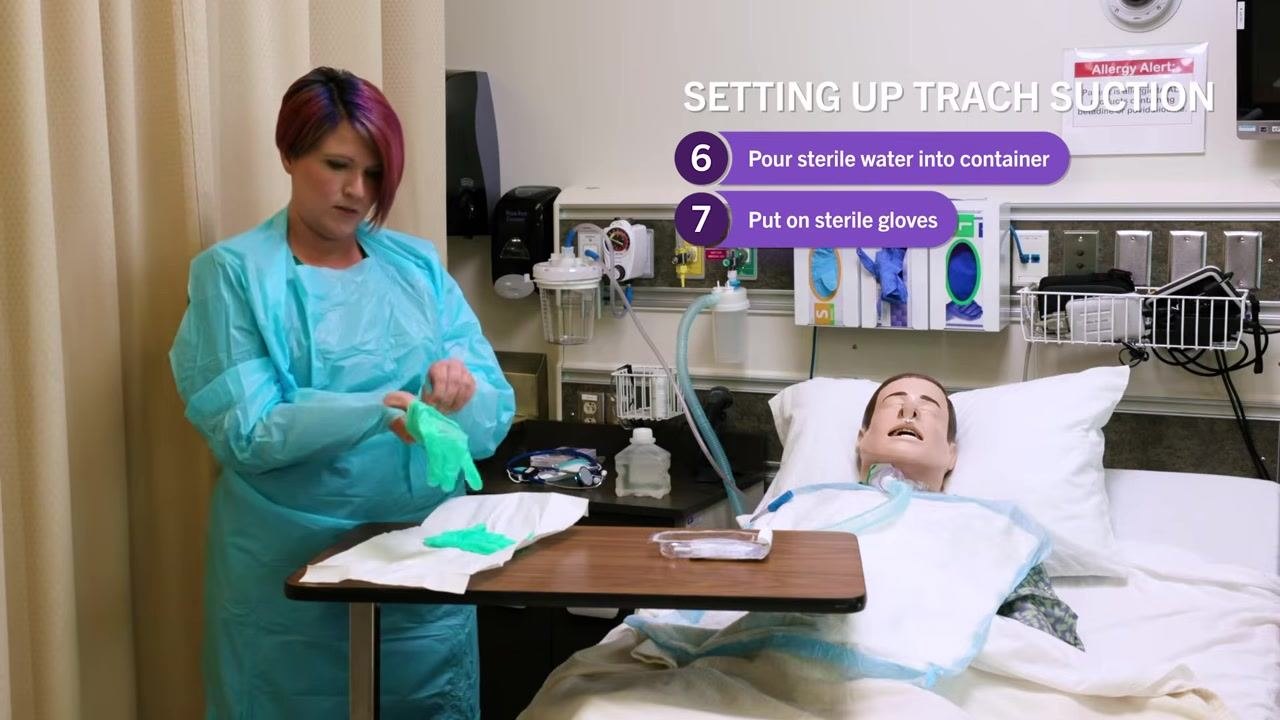
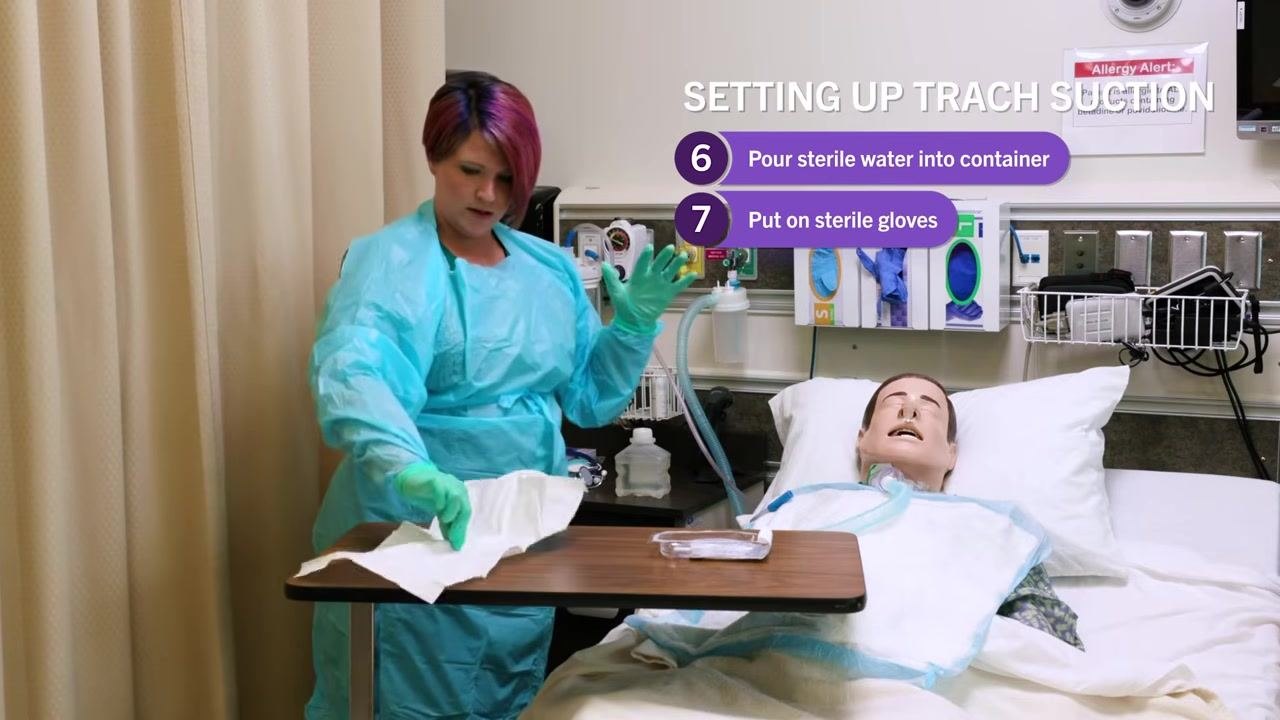
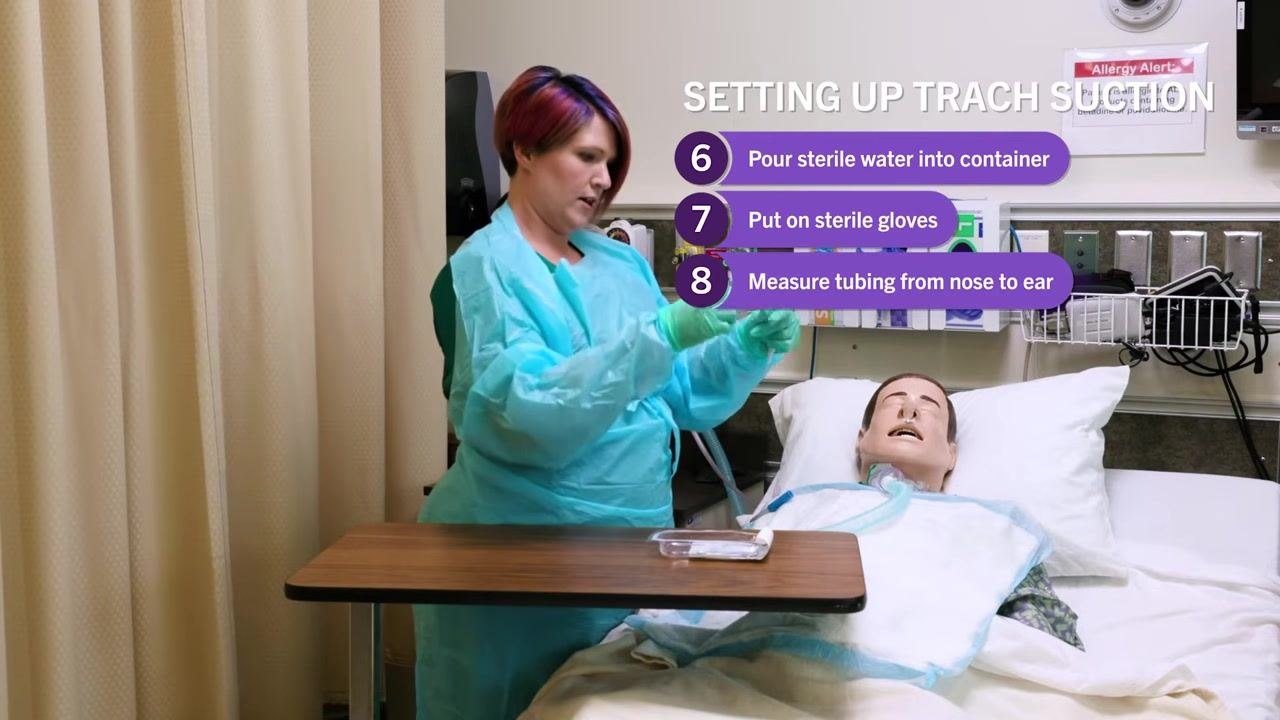
Hold the bottle approximately 6 inches above the sterile field and pour sterile water into the container within the kit. It is acceptable if the catheter becomes wet, as it will be used wet during suctioning.
-
Open the sterile glove package and don sterile gloves, keeping gown sleeves clear of contamination.
-
Clear any packaging away from the sterile field to keep the workspace accessible.
-
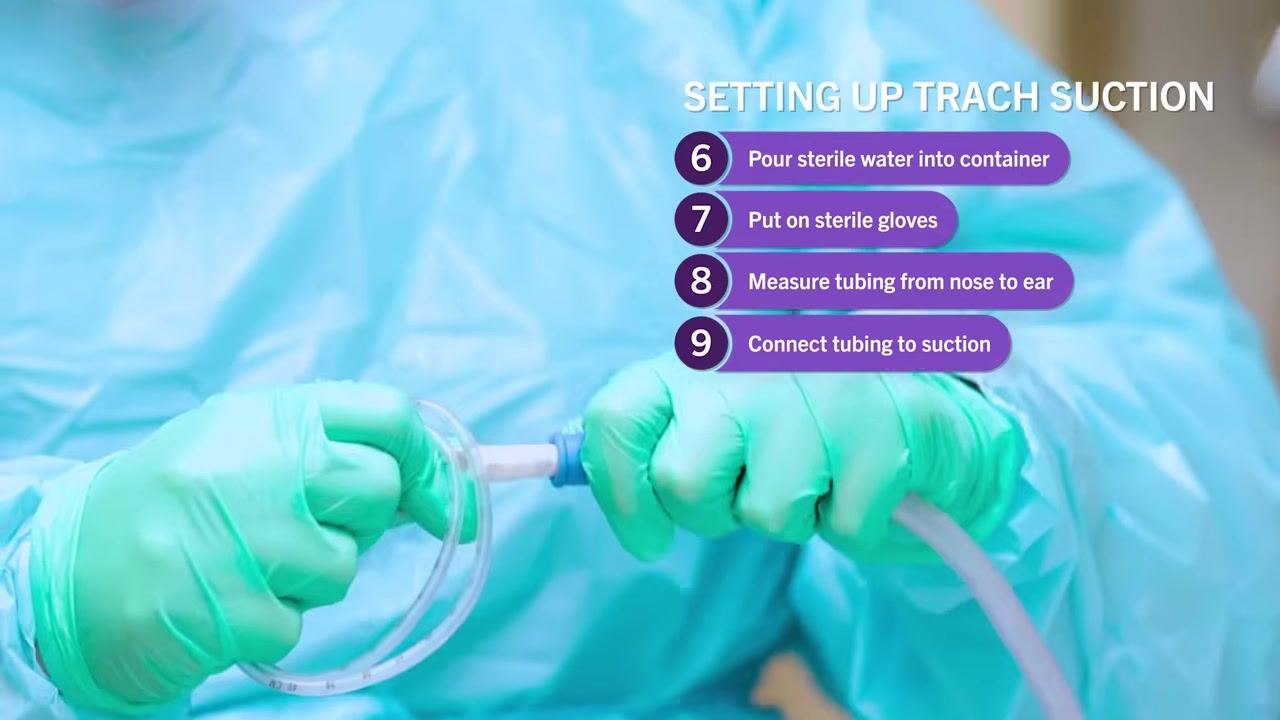
Measure the suction catheter from the tip of the patient's nose to the tip of the ear to determine insertion depth, using the centimeter markings on the catheter (markings shown from 4 cm to 40 cm).
Phase 3: Suctioning the tracheostomy
-
Identify the measurement markings on the catheter and confirm the insertion depth needed.
-
Maintain a sterile field: do not touch the patient directly with sterile gloves or the catheter except at the intended insertion point.
-
Stand beside the patient with all supplies within reach, and confirm the trach area is accessible.
-
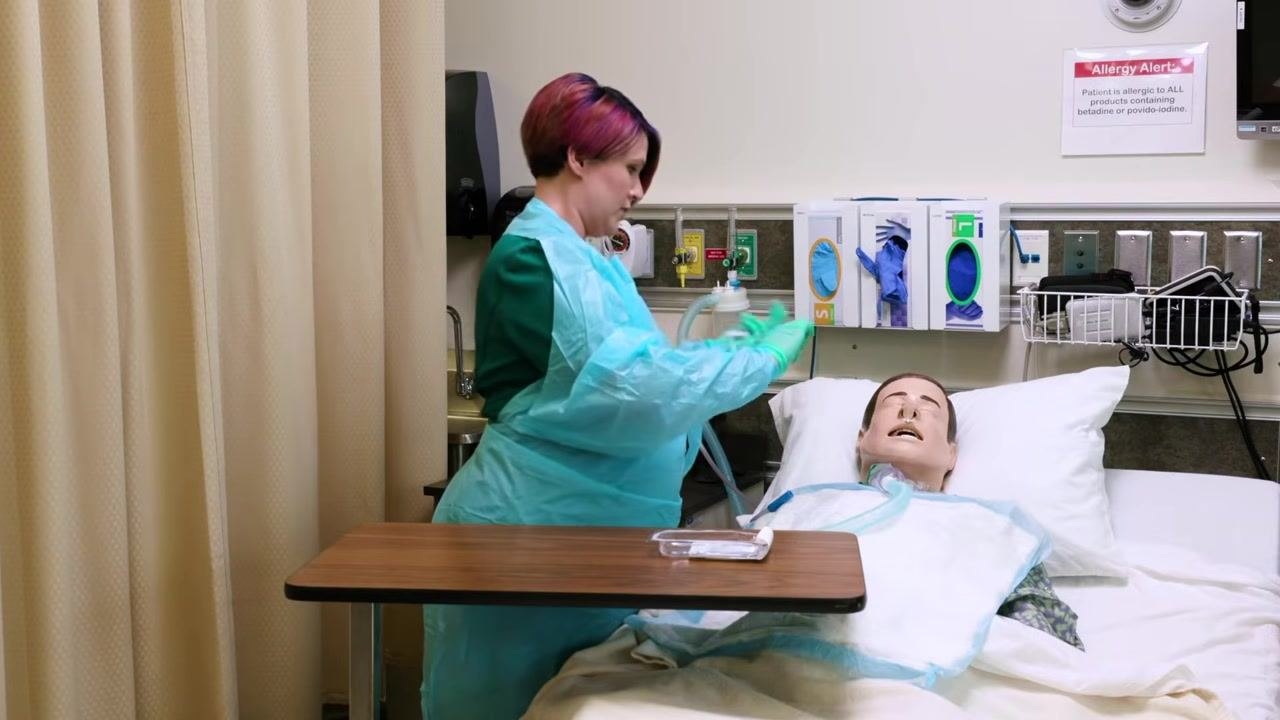
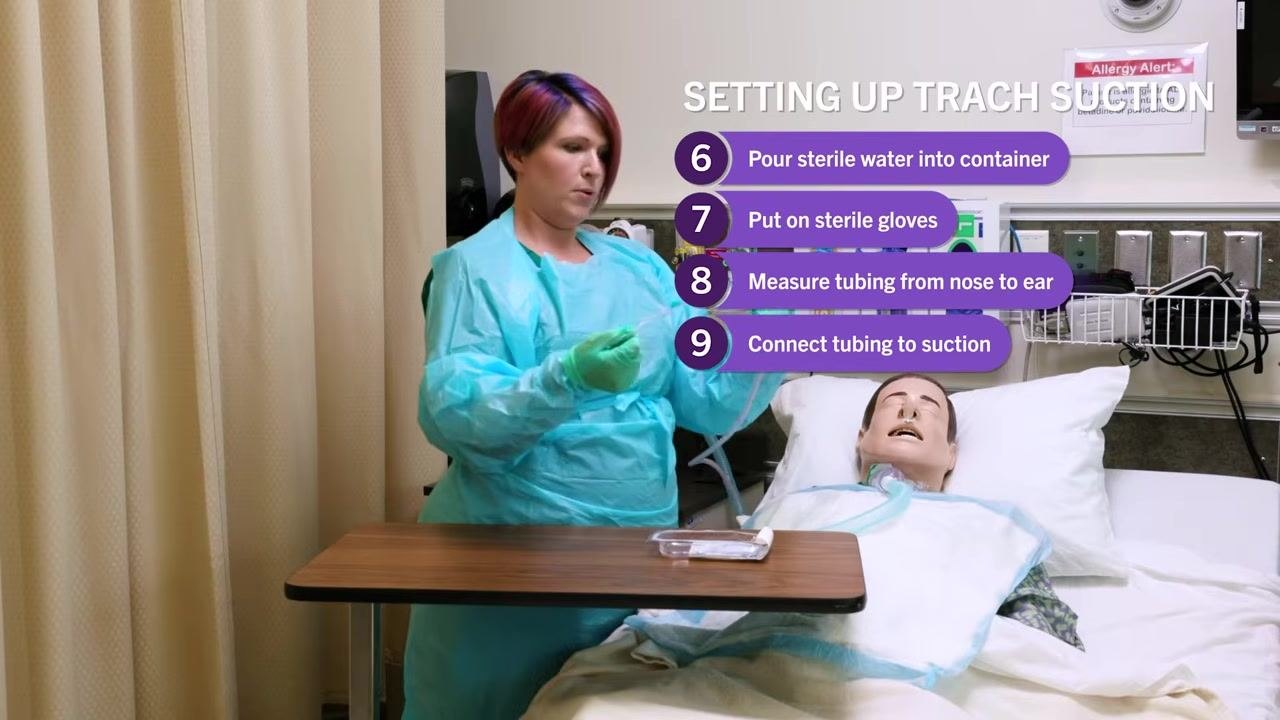
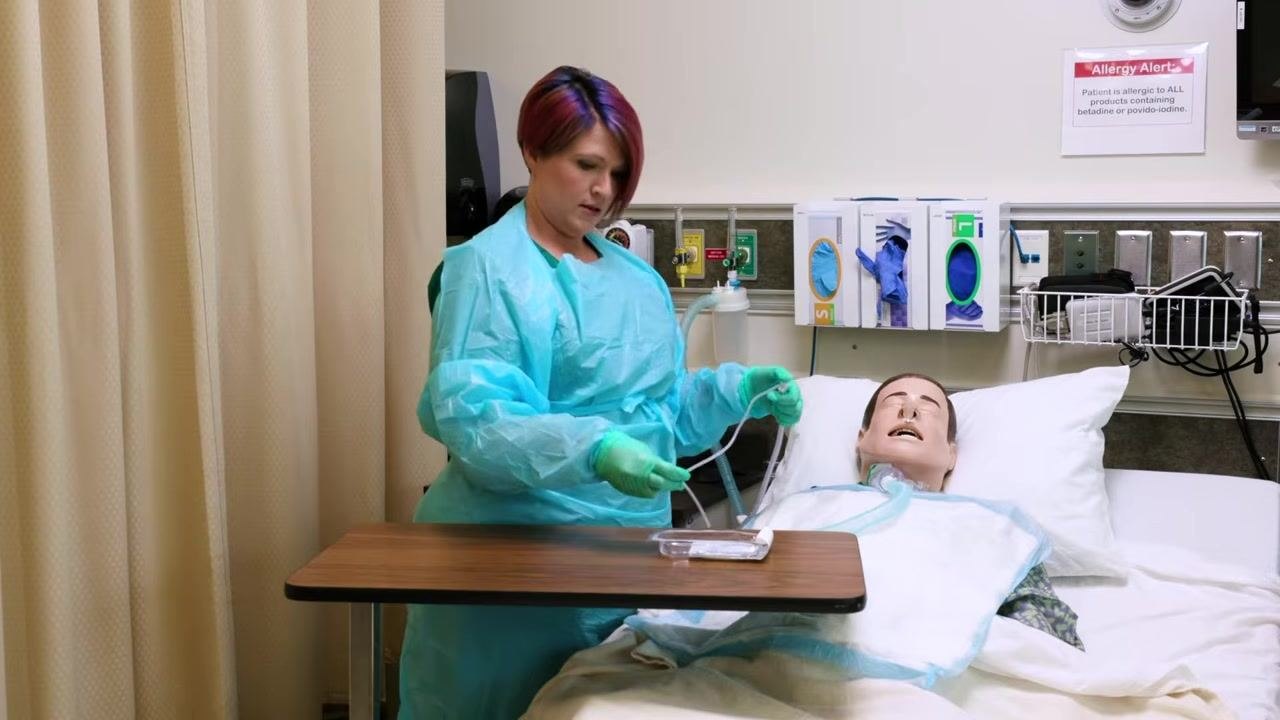
Before connecting to suction, control the catheter tubing by wrapping it around your hand to manage excess length and maintain sterility.
-
Wrap the tubing around your non-dominant hand to keep it organized and prevent contamination.
-
Review the on-screen setup checklist: pour sterile water, put on sterile gloves, measure tubing from nose to ear, connect tubing to suction.
-
Using your non-dominant (non-sterile) hand, test the suction by aspirating a small amount of sterile fluid to confirm it functions before touching the patient.
-
Verify suction functionality by observing fluid move through the tubing before proceeding.
-
Inform the patient that you are about to insert the tubing into the trach, and remind them to communicate any discomfort.
-
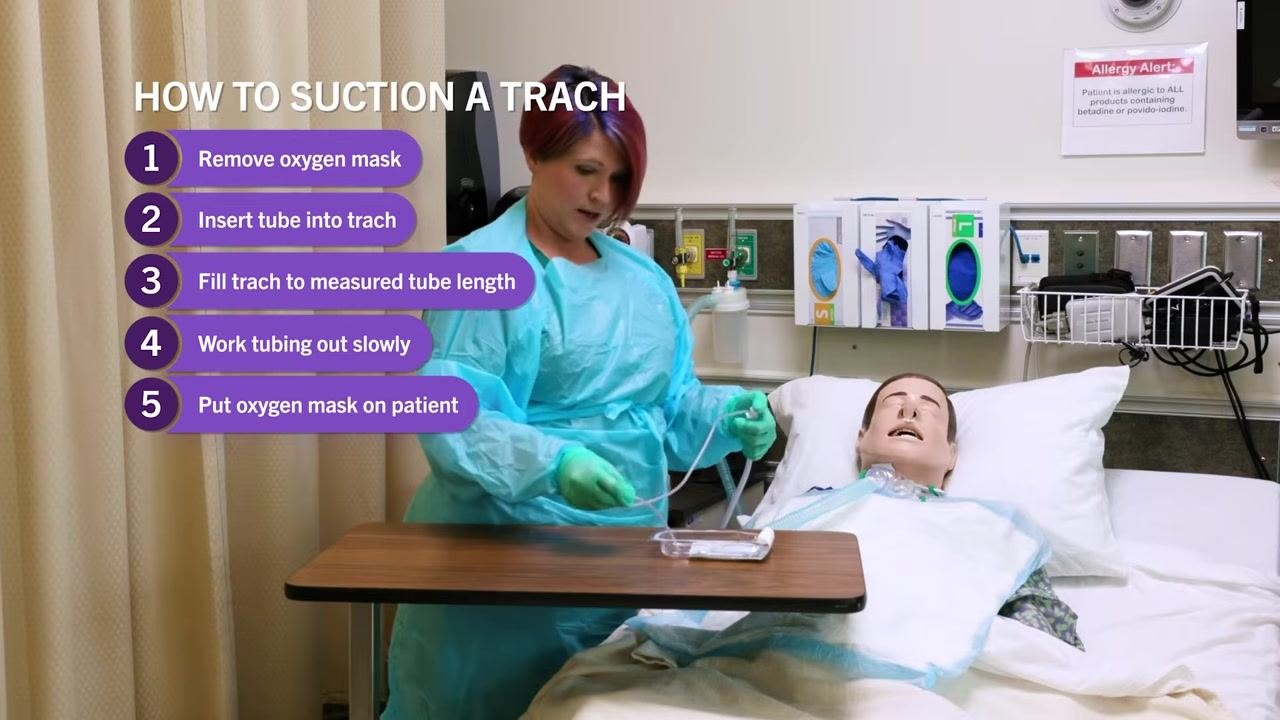
Remove the oxygen mask to access the tracheostomy site, holding the catheter in your dominant (sterile) hand, ready for insertion.
-
Insert the catheter into the tracheostomy tube to the pre-measured depth (example: 15 centimeters) without applying suction during insertion.
-
Once the catheter reaches the correct depth, begin applying suction only as you withdraw it, never during insertion.
-
Withdraw the catheter slowly and steadily while maintaining suction, so secretions are effectively removed from the airway.
-
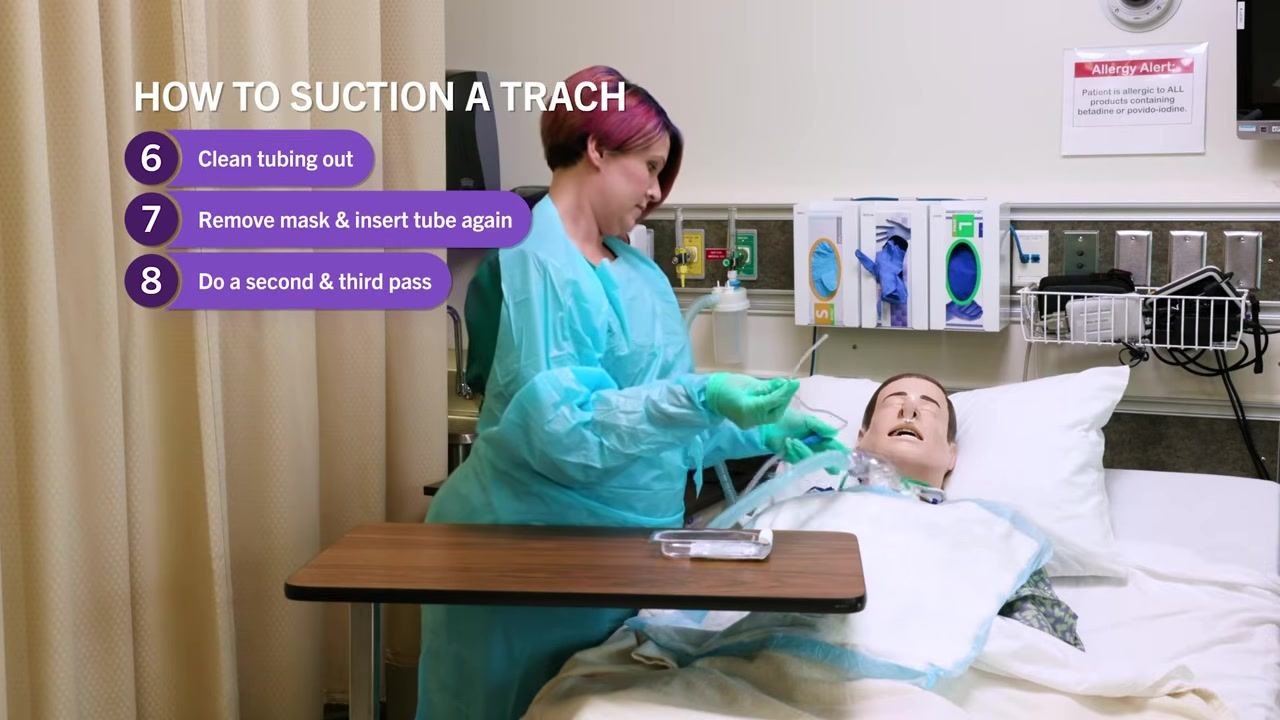
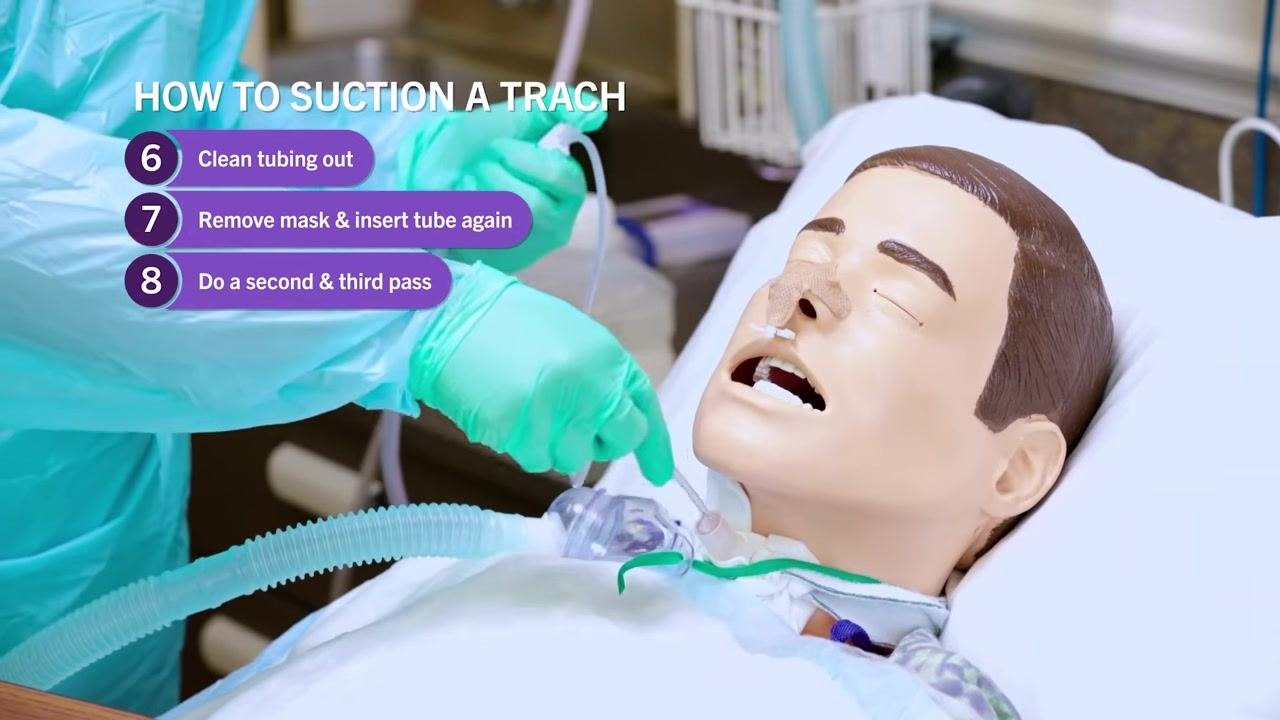
After removing the catheter, aspirate sterile water or saline through the tubing to clear remaining mucus and maintain equipment hygiene.
-
If additional suctioning is required, remove the oxygen mask and reinsert the catheter as before.
-
Perform a second and third pass if secretions persist, allowing the patient to recover and reapplying the oxygen mask between passes.
-
After suctioning, ensure the patient receives supplemental oxygen and observe for signs of distress or continued need for suctioning.
-
If the patient still shows signs such as audible secretions or respiratory distress, repeat suctioning as necessary while prioritizing comfort and safety.
-
Once the airway is clear, secure the oxygen mask, dispose of used supplies per infection control protocol, remove gloves, and perform hand hygiene.
Phase 4: Post-procedure cleanup and reassessment
-
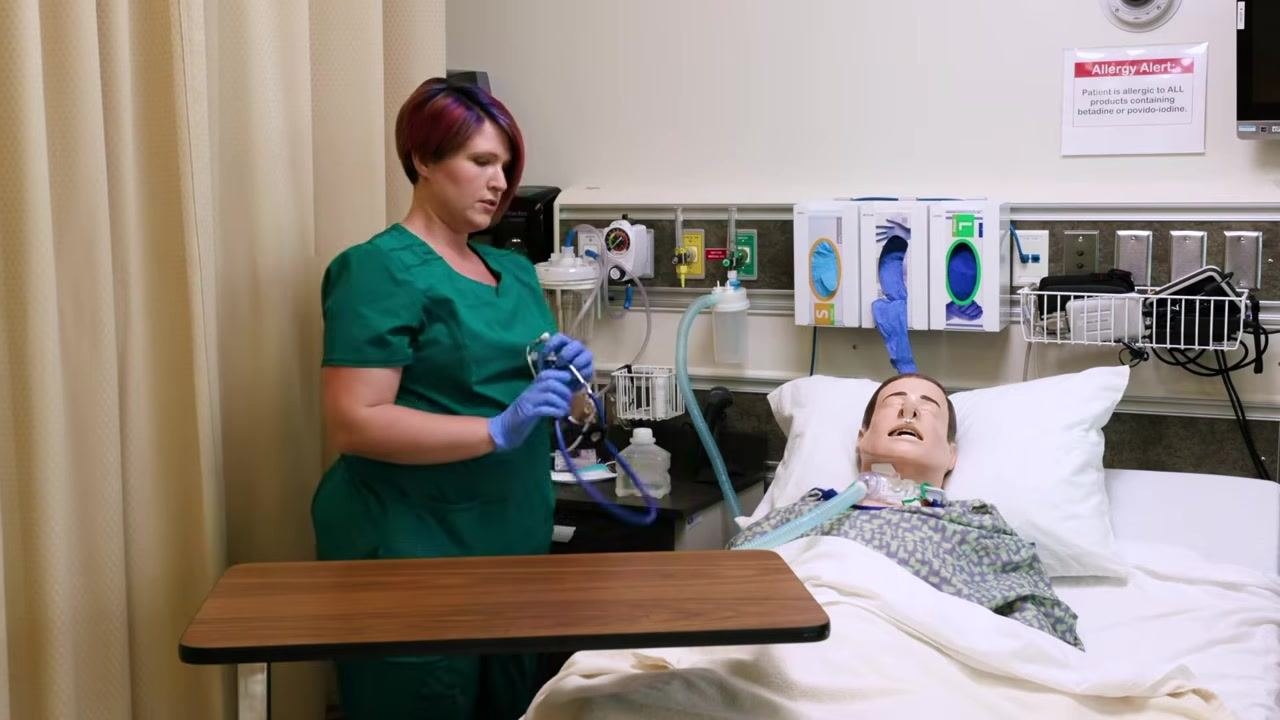
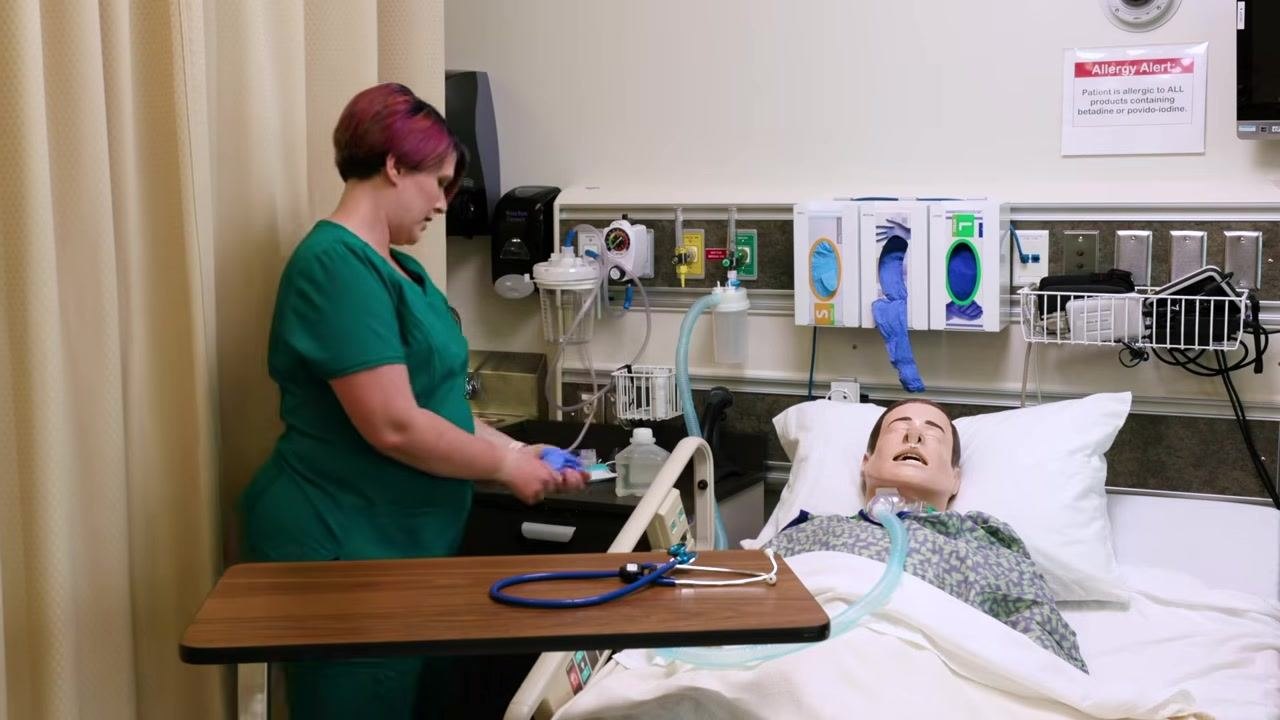
Move to the overbed table to begin disposal of used suctioning materials while remaining in full PPE.
-
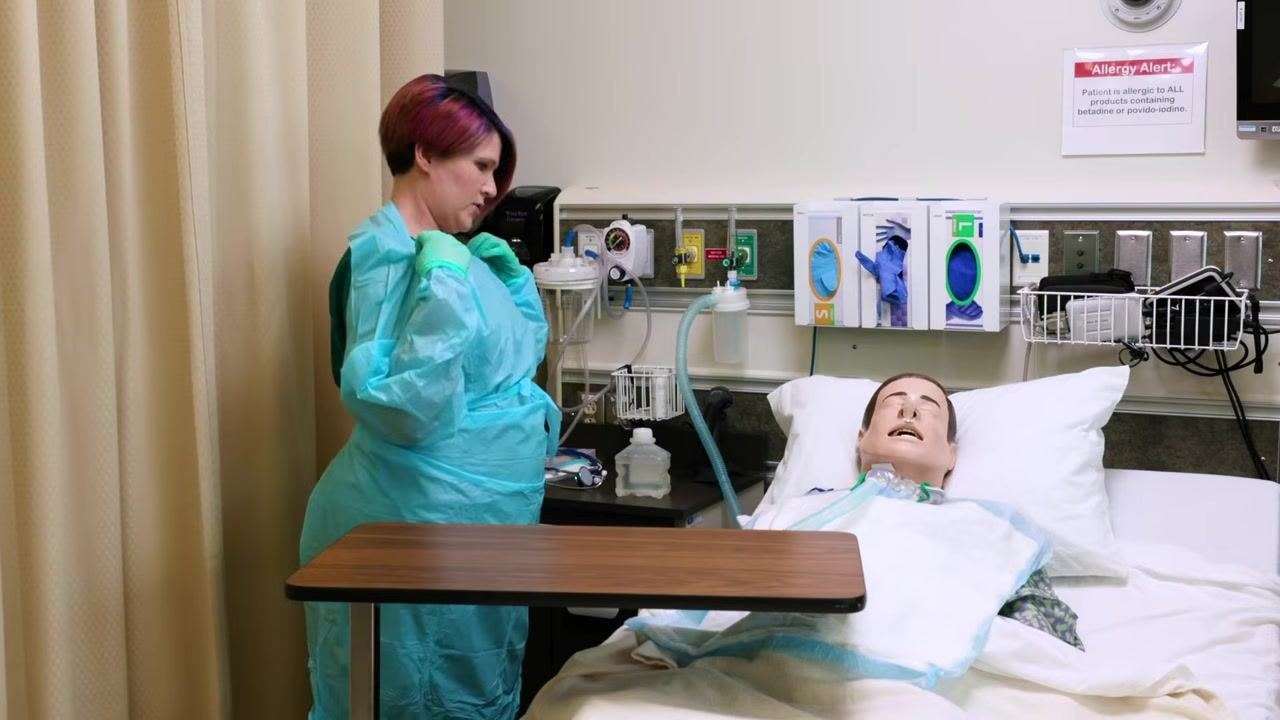
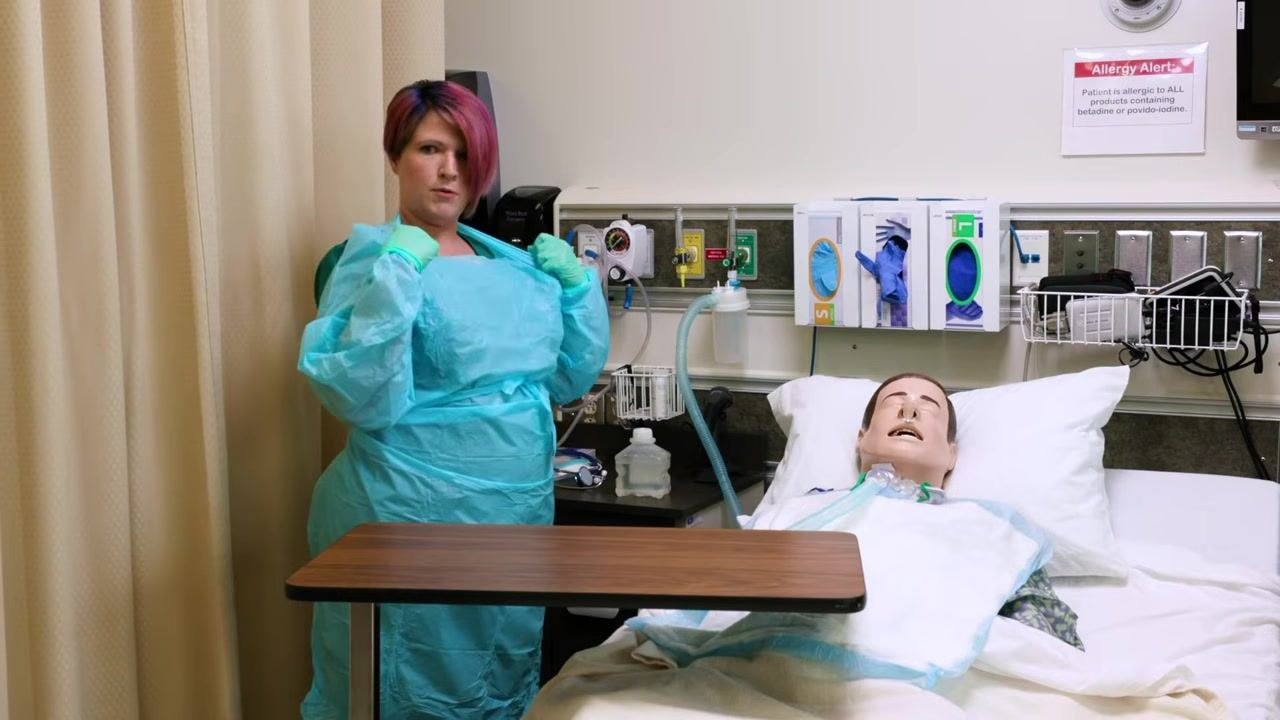
Allow the patient to receive oxygen briefly, then begin removing PPE by loosening the gown at the shoulders while still holding the used tubing.
-
Remove gown and gloves together, rolling them inside out, dispose of them appropriately, and perform hand hygiene immediately.
-
Remove any soiled bed pads or protective drapes and dispose of them appropriately to maintain a clean environment.
-
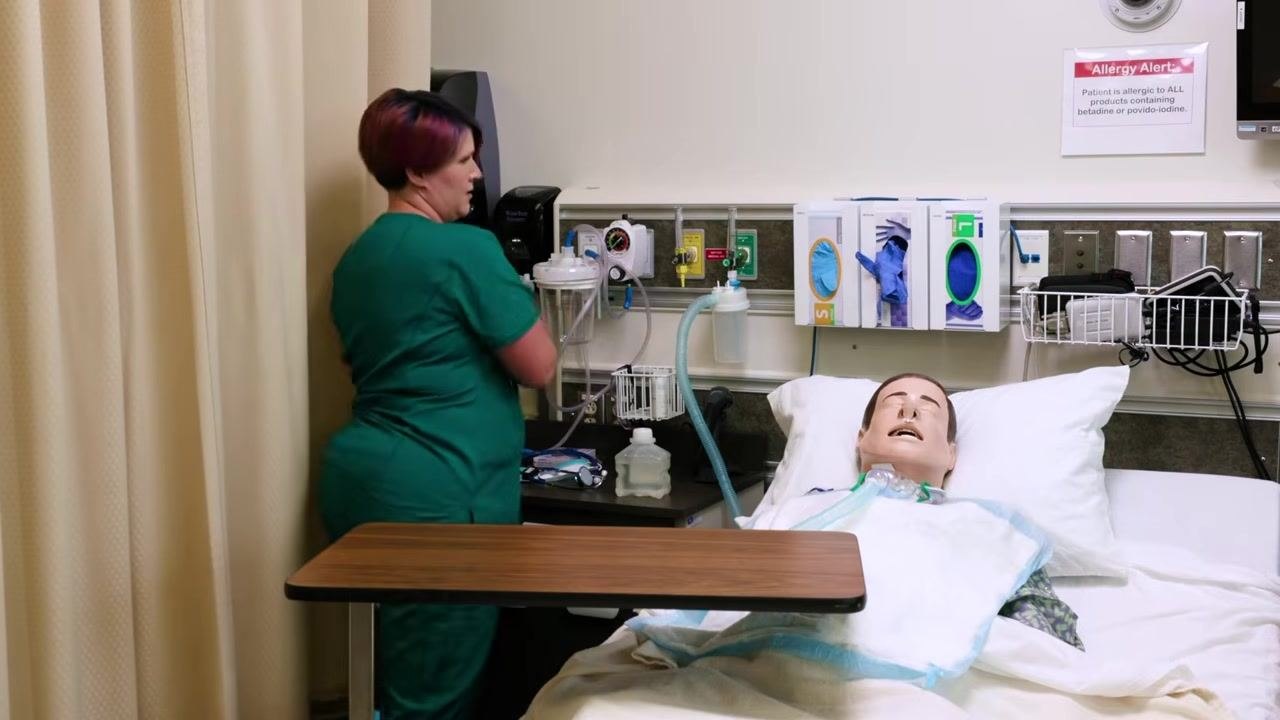
Don a new pair of clean gloves before further patient contact or assessment.
-
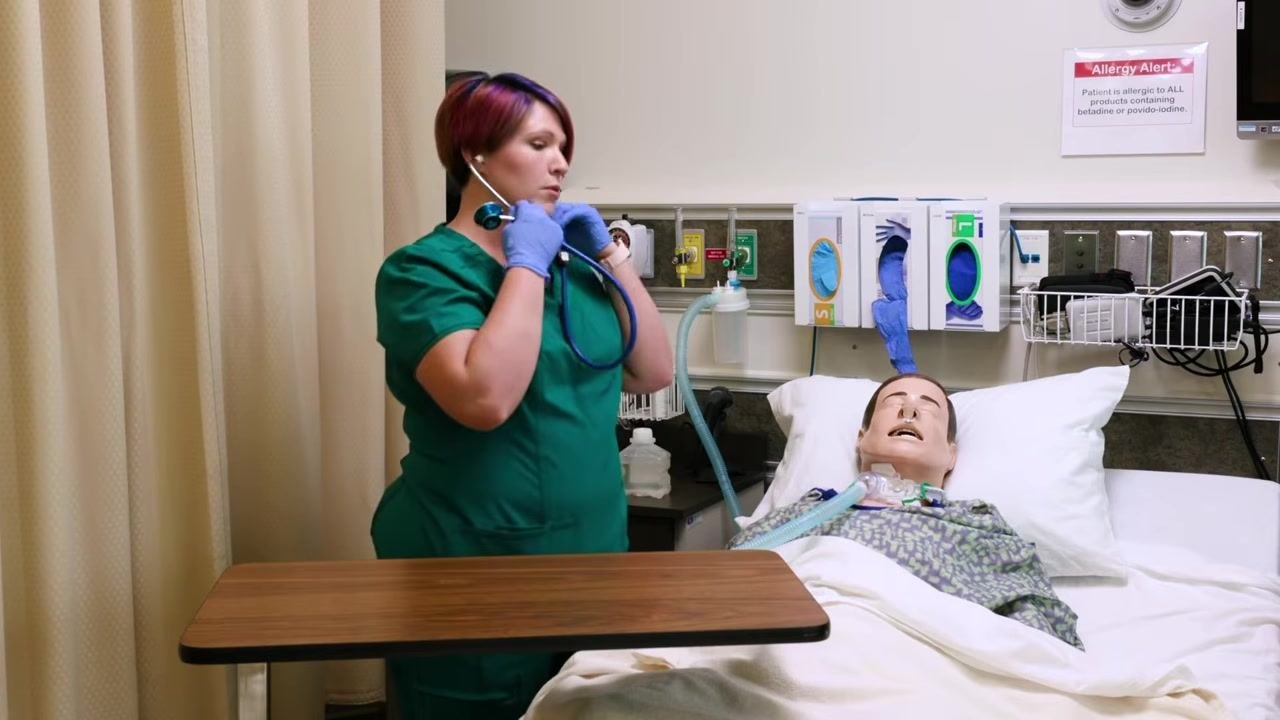
Reassess the patient's respiratory status with a stethoscope, confirming breath sounds have improved and the airway is clear.
-
Ask the patient if they are comfortable and need anything, then adjust the gown and bedding, and place the stethoscope on the overbed table.
-
Raise the bed rails and return the bed to a safe, low height.
-
Remove gloves using proper technique, dispose of them appropriately, and perform hand hygiene for the final time before leaving the room.
Phase 5: Documentation
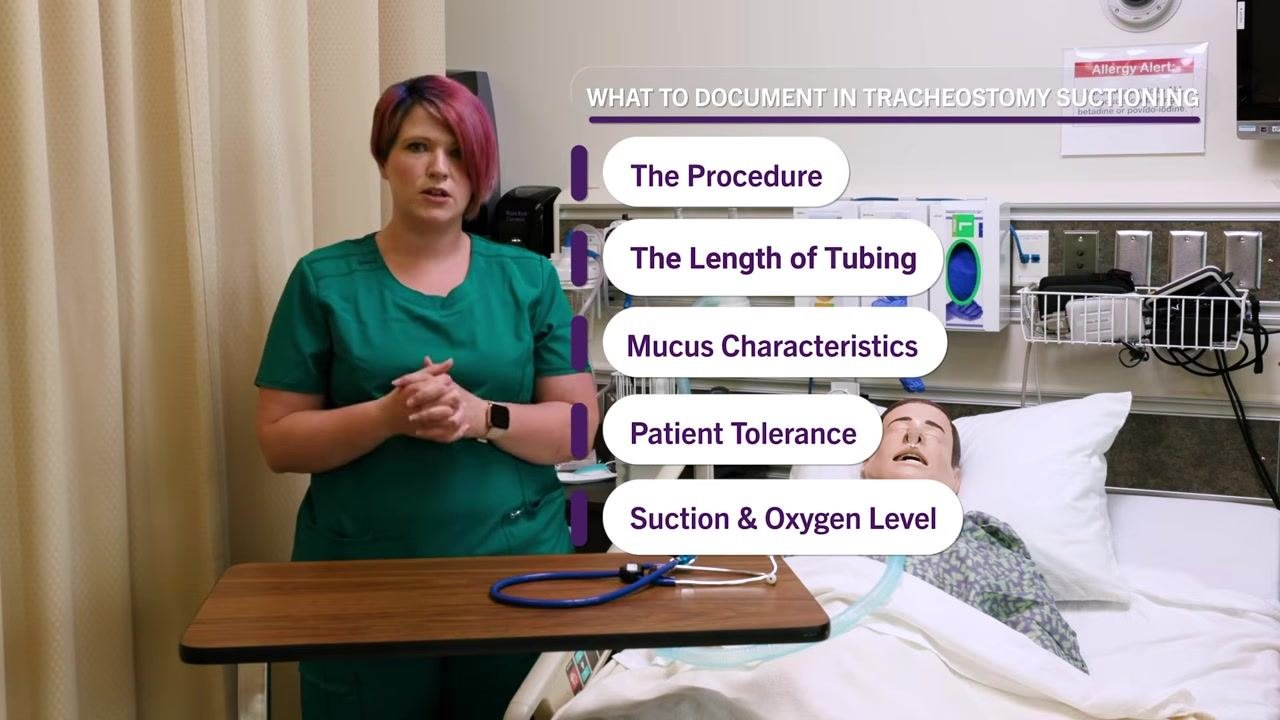
Document the following elements immediately after completing the procedure:
| Documentation element | What to record |
|---|---|
| The procedure | That tracheostomy suctioning was performed, including any specific techniques or precautions taken |
| Length of tubing | The depth to which the catheter was inserted (example: 15 centimeters) |
| Mucus characteristics | Color (e.g., green, yellow, brown), consistency (e.g., thick, thin), and amount (e.g., copious, scant, moderate) |
| Patient tolerance | Signs of discomfort, distress, or complications (example: "Patient tolerated suctioning well, no signs of distress") |
| Suction & oxygen level | Suction pressure used, oxygen level provided before, during, and after suctioning, and confirmation the patient returned to baseline oxygen level (example: "Suction pressure: 100 mmHg. Oxygen increased to 4 L/min during procedure, returned to 2 L/min post-procedure") |
Review the notes to confirm all required elements are included, then submit or file the documentation according to facility policy.
Pain Management
This procedure does not include a medication or pain-scoring protocol; a full pain management plan for the patient's overall care would document a multimodal medication schedule (drug, dose, route, frequency), a target pain score, and an escalation pathway per facility policy.
Mobility Milestones
This procedure does not include a mobility progression; a complete mobility plan would document day-by-day goals such as bed exercises, chair transfer, and ambulation with an assistive device as appropriate to the patient's overall condition.
Complication Monitoring
Monitor the patient for the following during and after suctioning:
- Oxygen saturation levels before, during, and after the procedure
- Respiration rate and lung sounds compared to baseline
- Signs of discomfort or distress during catheter insertion or withdrawal
- Audible secretions or continued respiratory distress after suctioning, indicating the need for an additional pass
- Mucus characteristics that may signal infection or other complications (color, consistency, amount)
If the patient continues to show signs of respiratory distress or audible secretions after suctioning, repeat the procedure as necessary, prioritizing patient comfort and safety at each pass. A specific escalation contact and threshold beyond repeating suctioning is not detailed in this procedure and should follow facility protocol.
Discharge Criteria
This procedure covers a single suctioning intervention rather than a full inpatient stay, so specific discharge criteria are not part of this content; discharge readiness would instead be determined by the patient's overall respiratory status and care plan per facility policy.
Patient Education
Throughout the procedure, communicate clearly with the patient:
- Explain each step before performing it, for example telling the patient you will listen to their lung sounds or insert the suction tubing.
- Remind the patient to communicate if they feel discomfort during insertion or suctioning.
- After the procedure, ask the patient if they are comfortable and whether they need anything before you leave.
- Confirm the patient's education about the purpose of suctioning was completed as part of the pre-procedure assessment.
What's Next
After completing suctioning and documentation, continue routine respiratory monitoring per facility protocol and repeat the procedure as clinically indicated based on ongoing assessment of secretions and breath sounds.
Generation details: cost, quality tiers, downloads
Docsie billed 5,500 credits ($3.85) to analyze this 11-minute video at standard quality. The rewrite, template fill and Word/PDF exports were included. The same video at each quality tier:
| Quality | Frames sampled | Credits | Approx. cost |
|---|---|---|---|
| Draft | every 16-30 s | 2,750 | $1.92 |
| Standard (this guide) | every 8-15 s | 5,500 | $3.85 |
| Detailed | every 4-7 s | 11,000 | $7.70 |
| Ultra | every 1-3 s | 22,000 | $15.40 |
Credits priced at $0.70 per 1,000; plans include a monthly allowance. Enterprise customers on on-premise or bring-your-own-model deployments run this on their own inference and pay no per-video credits.
Generated by Docsie Video-to-Docs on 2026-09-14 from a 10-minute video. It was generated straight into Docsie's Patient Care Procedure template, so every section of that template is filled from the video. Screenshots are frames from the source video and belong to their creator, Weber State University, whose original is embedded above. If you own this video and want the guide removed or credited differently, contact us and we will act within one business day.