
How to Start an IV
This standard operating procedure explains how to start an IV, from initial preparation and site disinfection through catheter insertion, flushing, cap management, and securement with a transparent dressing. Follow each step in sequence to maintain aseptic technique and reduce the risk of infiltration, infection, or accidental dislodgement.
Video: How to Start an IV | IV Catheter Insertion & Flush Technique in Hand | Nursing Skill by RegisteredNurseRN (2021). All credit for the demonstration goes to the creator; watch the original on YouTube. The written guide below was generated from this video by Docsie. Creator? Request a change or removal.
This standard operating procedure explains how to start an IV, from initial preparation and site disinfection through catheter insertion, flushing, cap management, and securement with a transparent dressing. Follow each step in sequence to maintain aseptic technique and reduce the risk of infiltration, infection, or accidental dislodgement.
Purpose
This SOP provides a consistent, step-by-step method for performing peripheral IV insertion, connecting the access device, flushing the catheter, and securing the site with a transparent dressing. It is intended to support safe, standardized practice during IV starts.
Scope
This procedure applies to any clinical setting where peripheral IV insertion is performed. It covers site preparation, disinfection, catheter insertion, device connection, flushing, cap management, dressing application, and disposal of used supplies.
Prerequisites and safety notes
- Always follow your hospital's protocols and the latest clinical guidelines before performing any nursing skill.
- Confirm you are up to date on any changes to insertion or securement procedures.
- This documentation is for educational reference only and is not a substitute for facility-specific medical guidance. Always verify your facility's protocols before practicing IV insertion.
- Maintain aseptic technique throughout the entire procedure.
Required equipment and PPE
- IV insertion kit (catheter, extension set or saline lock, dressing)
- Syringe and saline for flushing
- Chloroprep or antiseptic swab
- Tourniquet
- Clean gloves
- Trimmers (not a straight razor), if needed for excessive hair at the site
- Transparent dressing with notched area (e.g., labeled "33CNPL")
- Curos cap or similar protective cap
- Secondary securement tape
- Labeling system for documentation
- Clean white towel
- SHARPS container and appropriate medical waste container
Gather supplies and perform initial hand hygiene
Collect all IV insertion supplies required by your facility before starting the procedure. Perform hand hygiene thoroughly before handling any equipment.
Prepare your supplies
Open all IV supply packages and prime the flush by removing air from the syringe. Flush the extension set with saline to confirm patency, and rotate and reseat the IV catheter if the manufacturer recommends it. Prepare your labeling system for documentation and complete any other preparatory steps your facility requires.
Perform hand hygiene again and don gloves
Wash your hands thoroughly with soap and water, dry them, and put on clean gloves before proceeding to the patient.
Prepare the insertion site
If the patient has excessive hair at the insertion site, use trimmers—never a straight razor—to trim the area. This helps tape adhere better and reduces discomfort during removal. Confirm the trimmed area is clean and ready for insertion.

Apply the tourniquet and select a vein
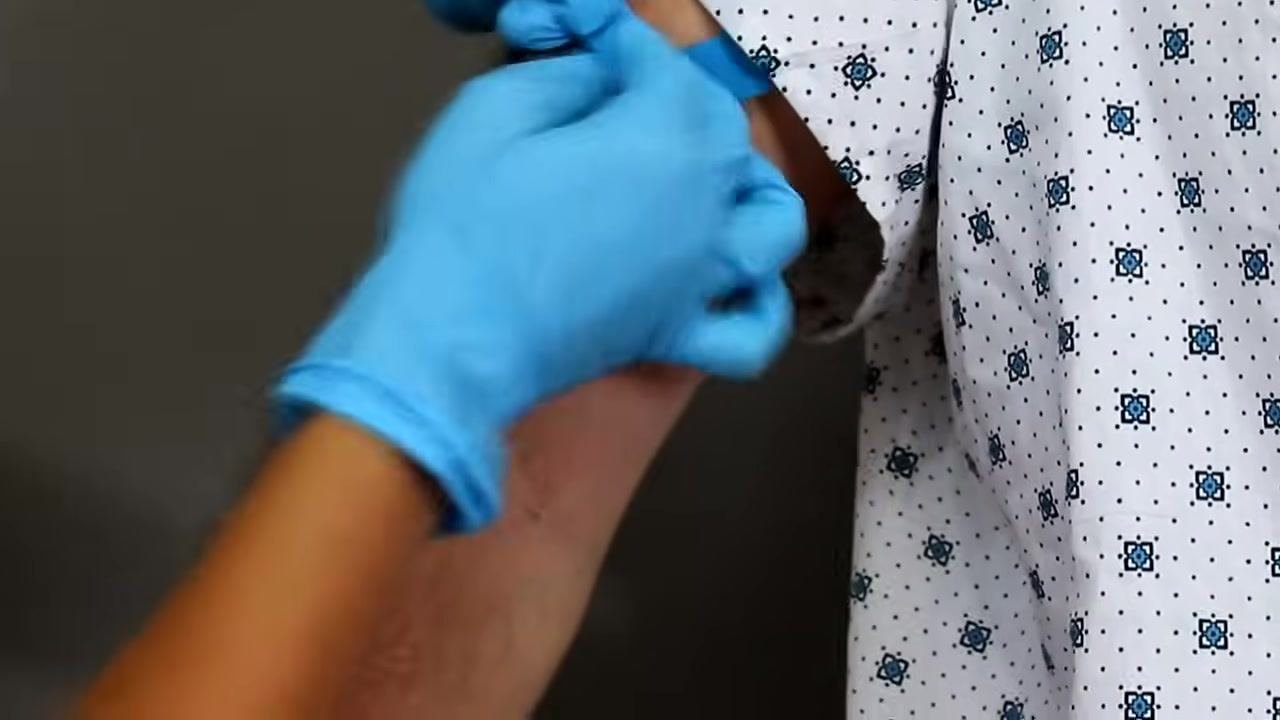
Apply a tourniquet above the intended insertion site to engorge the veins, then identify a suitable vein—commonly on the hand or forearm.
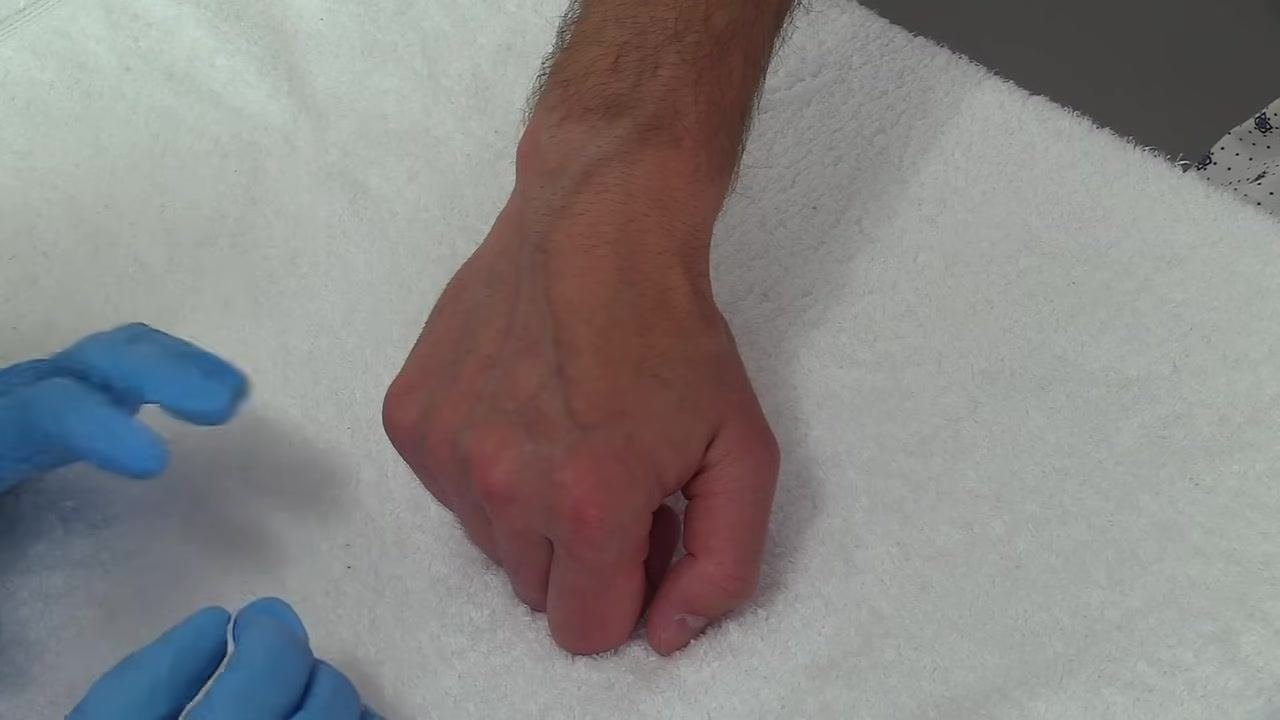
Disinfect the insertion site
Use the chloroprep or antiseptic swab provided in your IV kit and activate it per the manufacturer's instructions (for example, squeezing until you hear a crack to release the solution). Start cleaning at the center of the site and work outward in a circular motion, scrubbing for at least 30 seconds. Allow the site to air dry completely before proceeding.
Safety note: Do not insert the catheter until the site has fully air-dried.
Stabilize the vein
Once the site is dry, use your non-dominant hand to gently pull the skin below the cleaned area. This stabilizes the vein and prevents it from rolling during insertion. Keep your gloved hands positioned to maintain control and visibility.
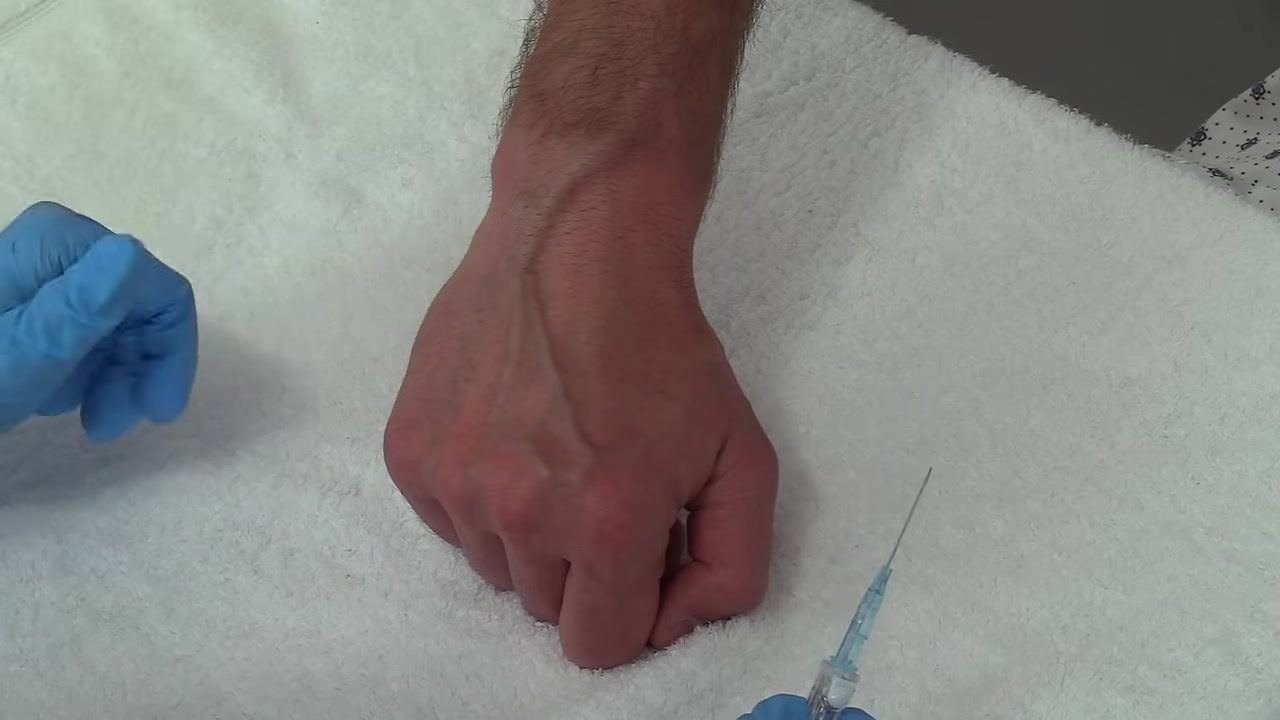
Insert the IV catheter at the correct angle
Grasp the catheter with your dominant hand using your thumb and index finger, positioning it with the bevel facing up. Align the catheter with the vein's natural path and insert the needle at approximately a 20-degree angle to the skin.
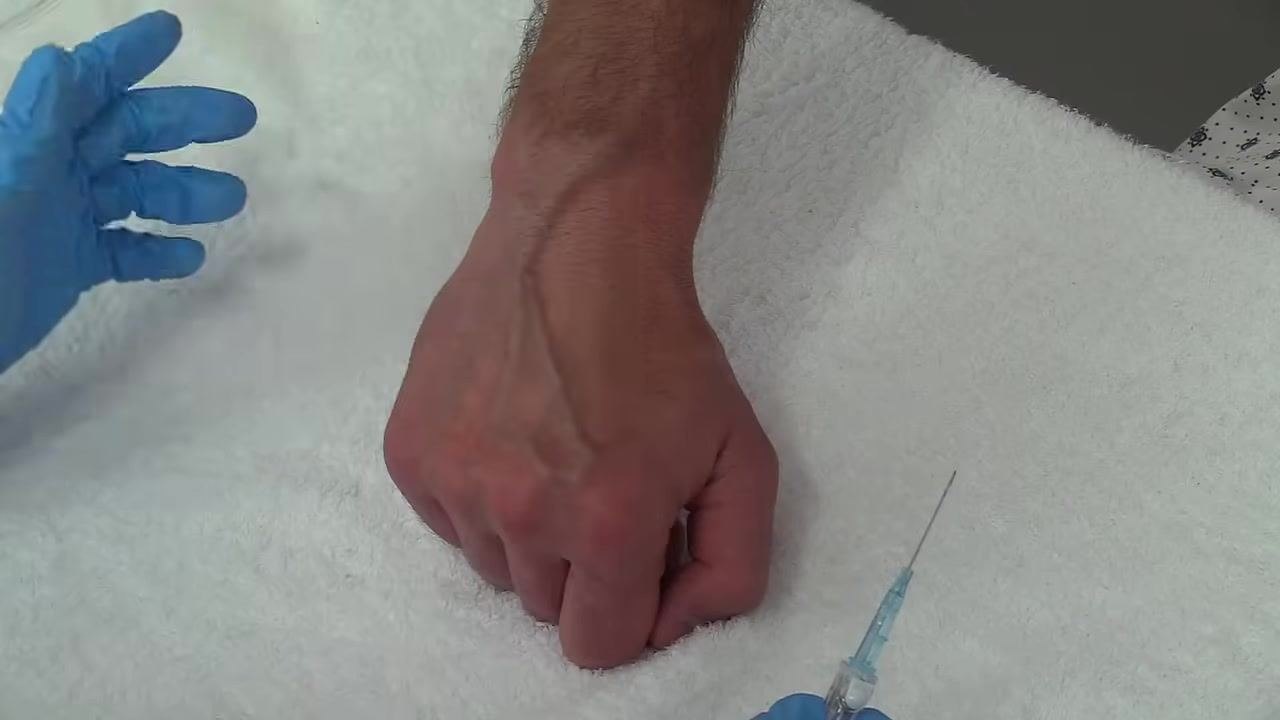
Advance the catheter into the vein
Gently advance the catheter, following the vein's natural direction, and watch for blood return in the flashback chamber, which indicates successful vein entry.
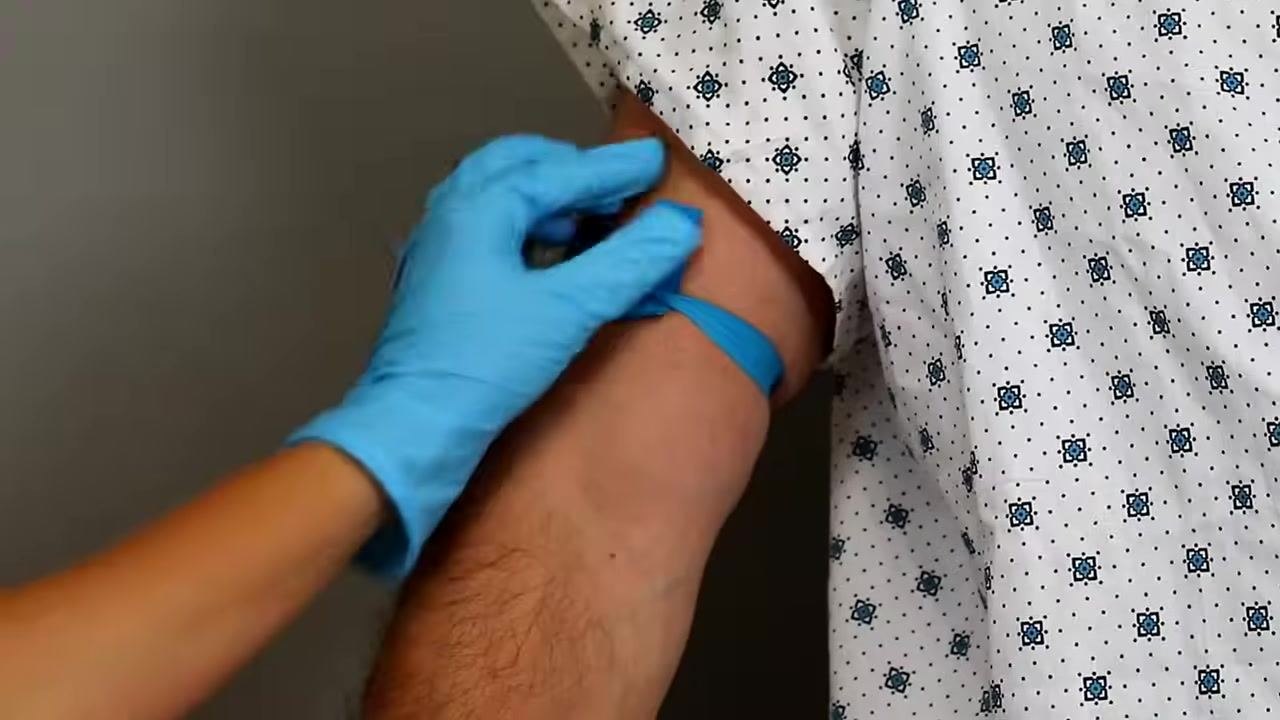
Advance slightly further after blood return
Once you observe blood return, advance the catheter just a small amount further to ensure the tip is fully within the vein.
Release the tourniquet
Remove the tourniquet from the patient's arm to restore normal blood flow.
Safety note: Use a gloved finger to apply firm pressure just above the insertion site to prevent blood from leaking out of the vein, then activate the needle safety mechanism by pressing the safety button on the catheter device per the manufacturer's instructions.
Connect the access device
Attach the prepared access device—such as an extension set or saline lock—to the catheter hub and twist the connection securely so it will not loosen during use.
Check for blood return and flush the catheter
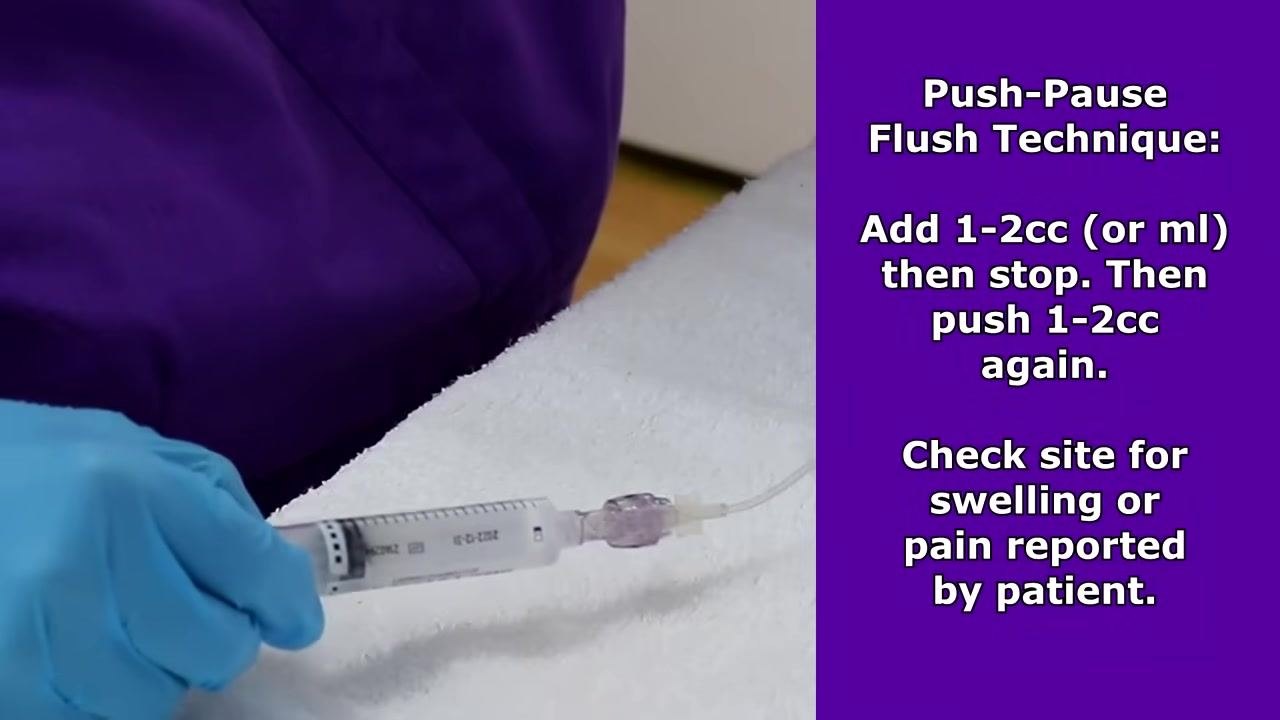
Confirm blood return is present to verify correct placement, then attach a syringe with saline to the catheter hub. Use the push-pause flush technique: inject 1–2 cc (or ml) of saline, pause, inject another 1–2 cc, pause again, and continue until you have flushed a total of 3–5 cc. Observe the insertion site for swelling or bubbling, which could indicate infiltration, and ask the patient how the site feels to confirm there is no pain or discomfort.
Clamp the line and manage the cap correctly
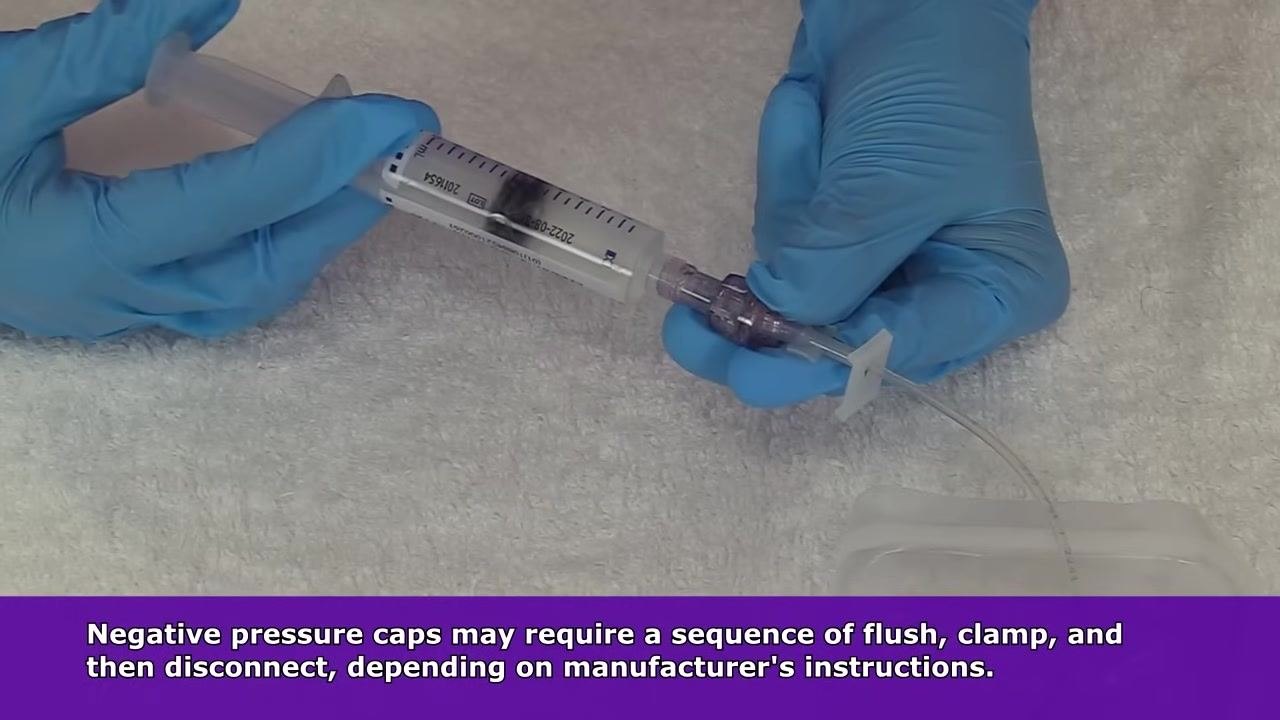
If using a neutral displacement cap, no specific clamping sequence is required—simply clamp the IV line after flushing per the manufacturer's instructions, then disconnect the syringe.
Safety note: Different cap types require different sequences: - Neutral displacement cap: Clamp after flushing; disconnect the syringe in any order. - Positive pressure cap: Flush, disconnect the syringe, then clamp. - Negative pressure cap: Flush, clamp, then disconnect the syringe.
Always follow the manufacturer's instructions for the specific cap type in use.
For negative pressure caps specifically, follow the sequence of flush, clamp, then disconnect.

Place the initial dressing and protective cap
Place a sterile dressing over the IV insertion site to secure the catheter and prevent infection. Apply a Curos cap, or similar protective cap, to the end of the extension set to protect against contamination. Apply the dressing according to your facility's protocol and the kit's instructions. Review your specific IV kit's contents beforehand, as kits vary between facilities and manufacturers.
Align the transparent dressing over the site
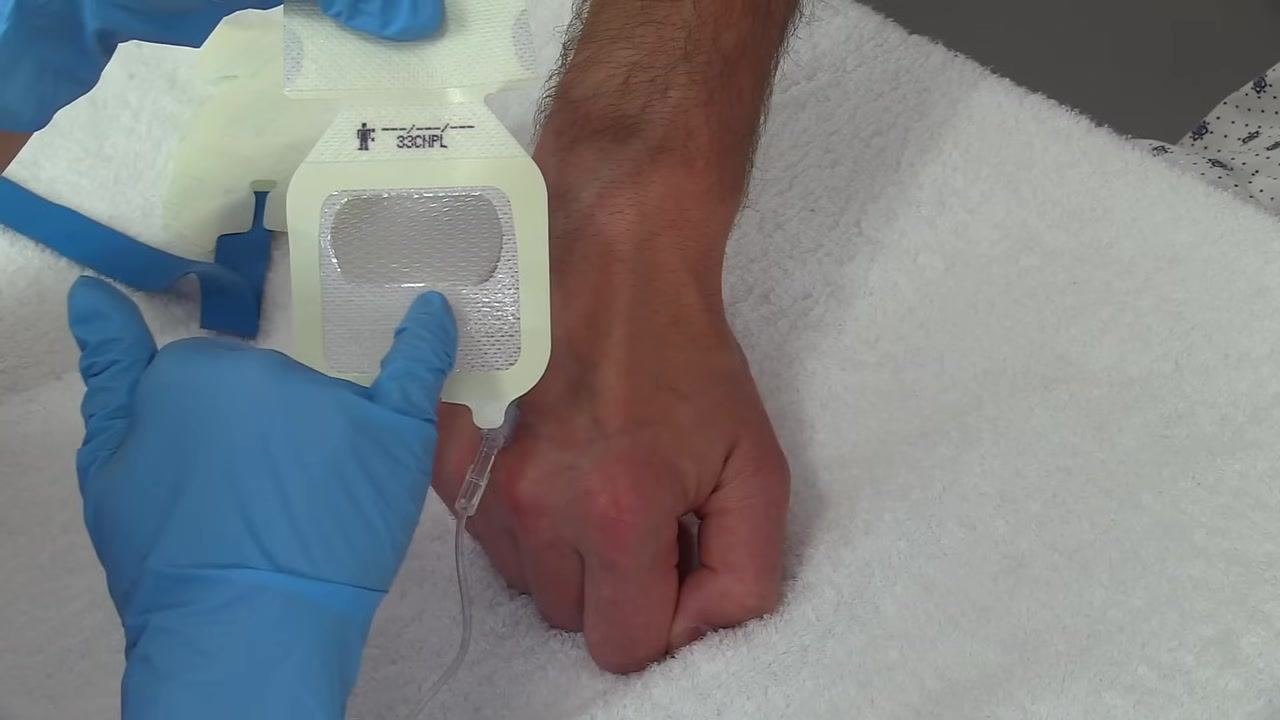
Identify the transparent dressing with a notched area (labeled "33CNPL" in this example). Hold it above the IV insertion site on the back of the patient's hand so the notched part will lay directly over the top of the IV cap. Keep the patient's hand resting on a clean, white towel and wear gloves throughout.
Lay the dressing over the IV site
Gently lay the dressing down so the notched area fits around the IV cap. Center the dressing so it completely covers the insertion site.
Press the dressing to secure it
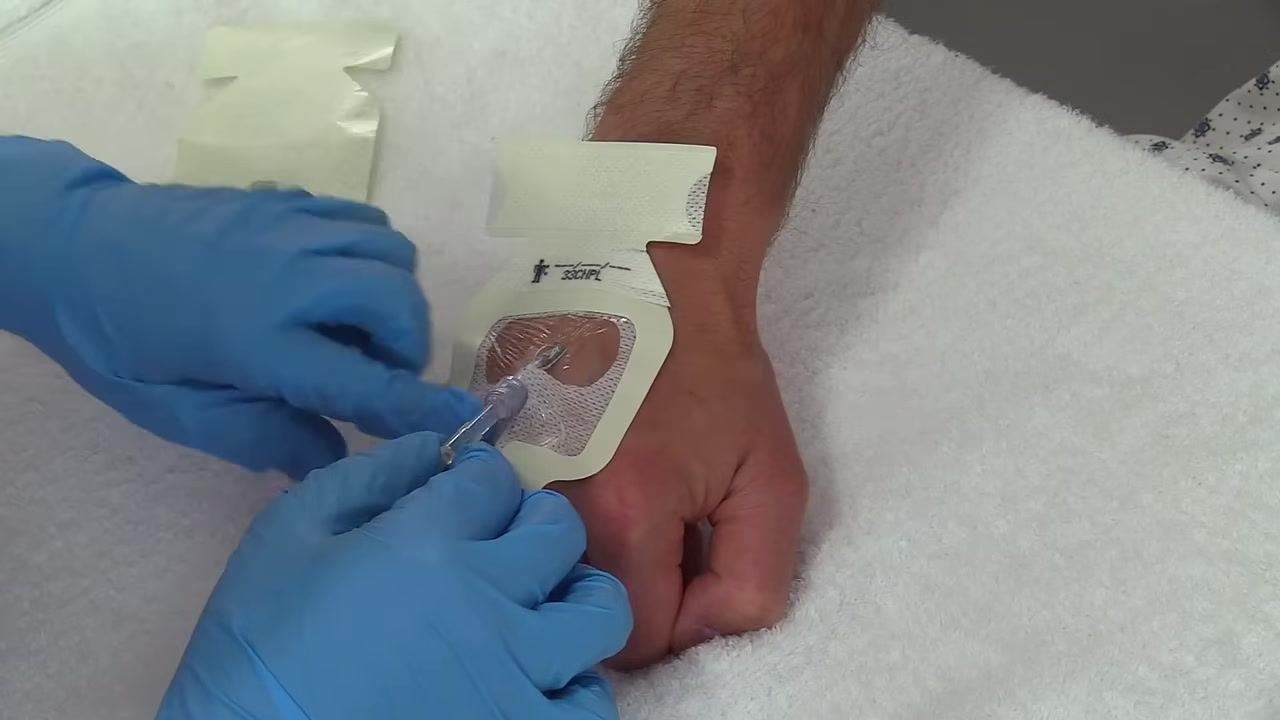
Use your gloved fingers to press down on the dressing, securing it to the skin. Smooth out any air bubbles or wrinkles to ensure full contact with the skin.
Lift the tubing and fit the notch
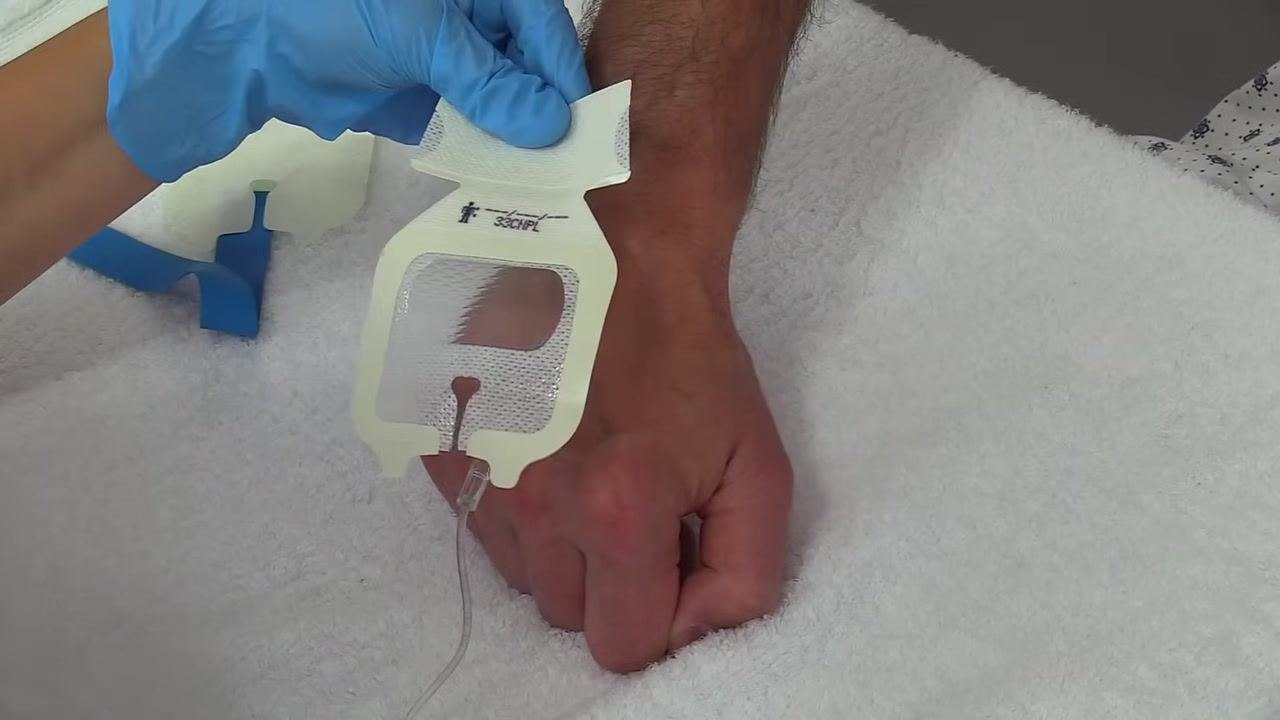
Carefully lift the IV tubing just enough to allow the notched parts of the dressing to slide underneath it, ensuring the dressing fits snugly around the base of the catheter.
Adjust the dressing around the catheter
Confirm the notched area is properly positioned around the catheter and tubing, then continue pressing the dressing down to secure it in place.
Remove the dressing backing edges
Tear off the small edges of the dressing backing around the perimeter one at a time, pressing the dressing down after each removal to ensure it adheres well to the skin. Continue until all edges are removed and the dressing is fully secured.
Confirm the dressing is firmly adhered
Press down on the dressing to make sure it sticks securely to the skin, and double-check that it is smooth and fully sealed around the IV site.
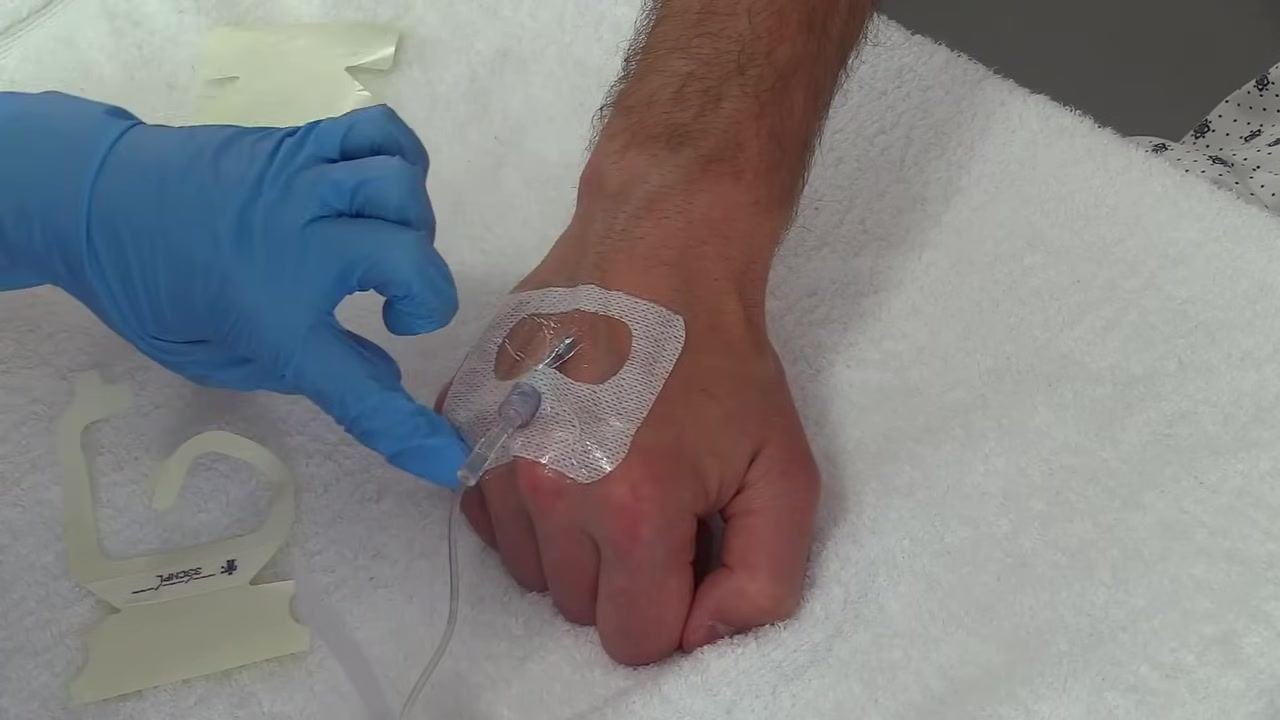
Apply the secondary securement strip
Take the larger remaining piece of the dressing backing and lay it across the IV tubing and dressing to provide extra securement. Apply gentle pressure to adhere the strip firmly.
Press the strip for final securement
Press down on the newly applied strip to ensure it is firmly attached, and confirm the IV site is stable with no dressing edges lifting.
Arrange the tubing in a "J" shape
Arrange the IV tubing in a gentle "J" shape as you secure it down with the dressing. This helps prevent accidental pulling or dislodgement of the IV.
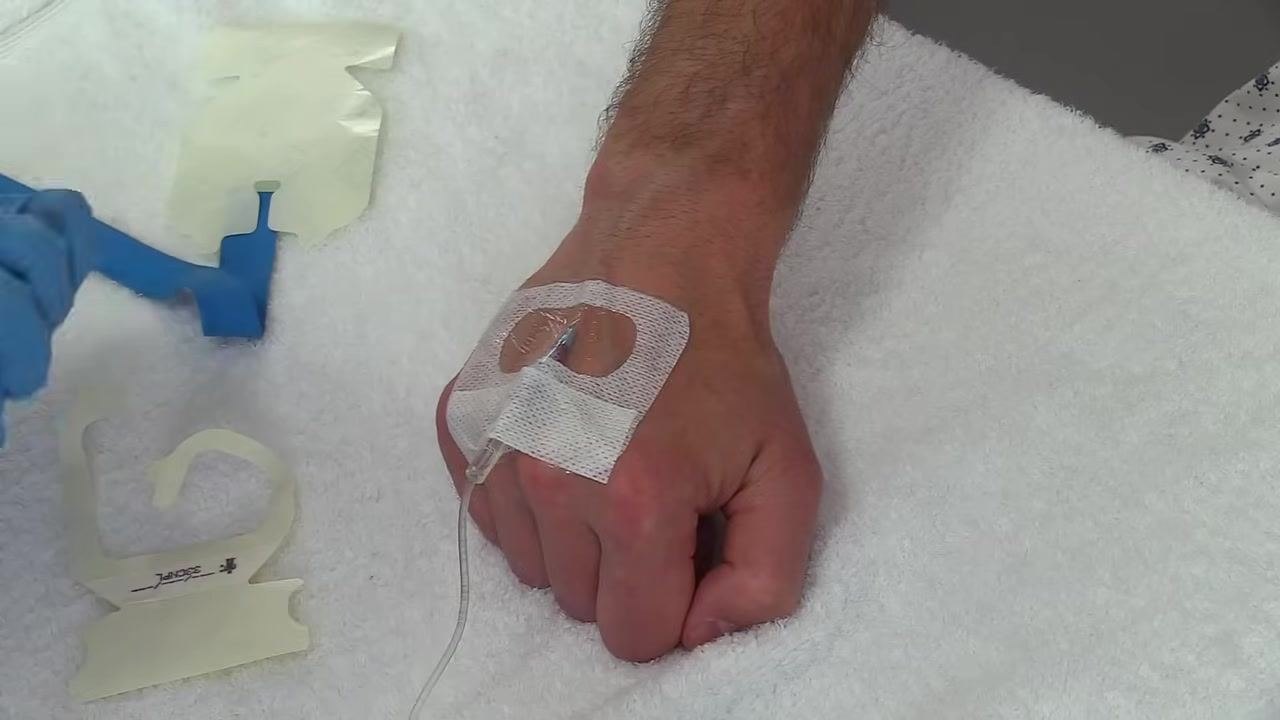
Check tubing arrangement and securement
Inspect the IV site to confirm the tubing remains in a gentle "J" shape and that the transparent dressing is fully adhered with a stable catheter. Gently hold the extension set and check for slack or tension in the tubing.
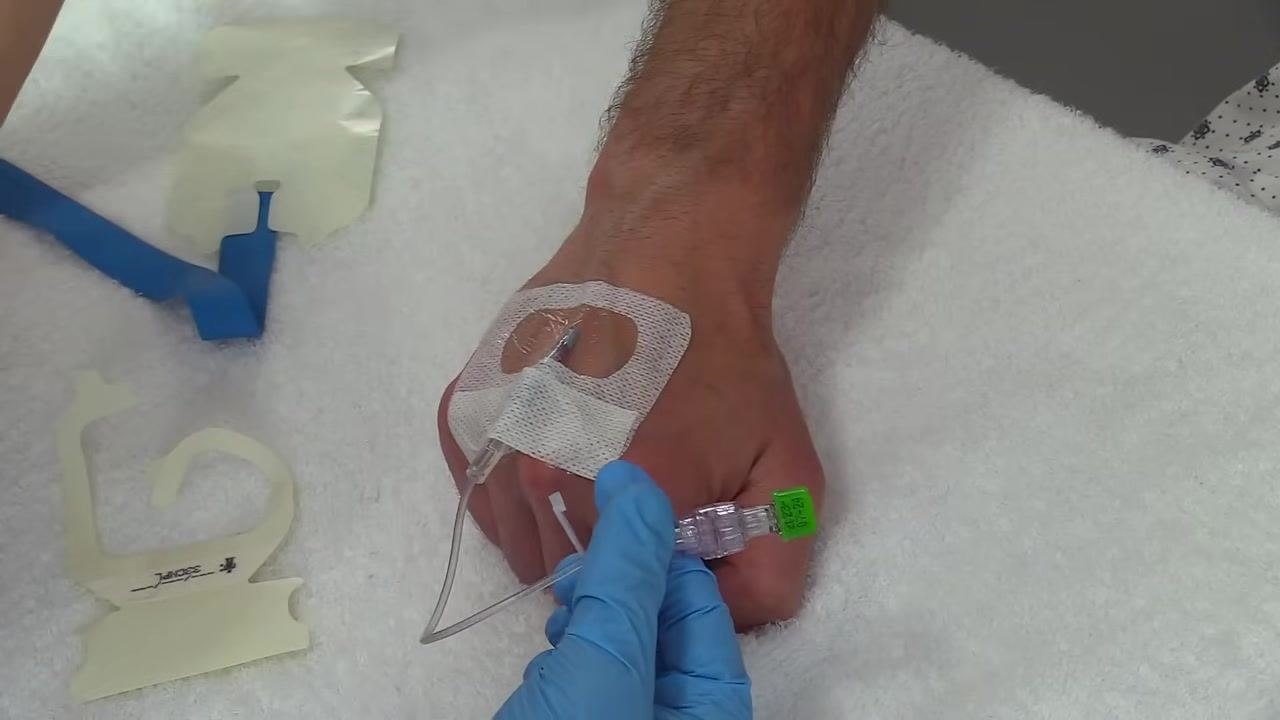
Prepare the secondary securement tape
Identify the additional piece of securement tape provided in the dressing kit. Note any facility-required information, such as date or initials, written on the tape, and hold it above the IV site ready to apply.
Peel and position the tape
Peel the securement tape from its backing while maintaining the "J" shape of the tubing. Position the tape so it will hold the tail of the tubing in place.
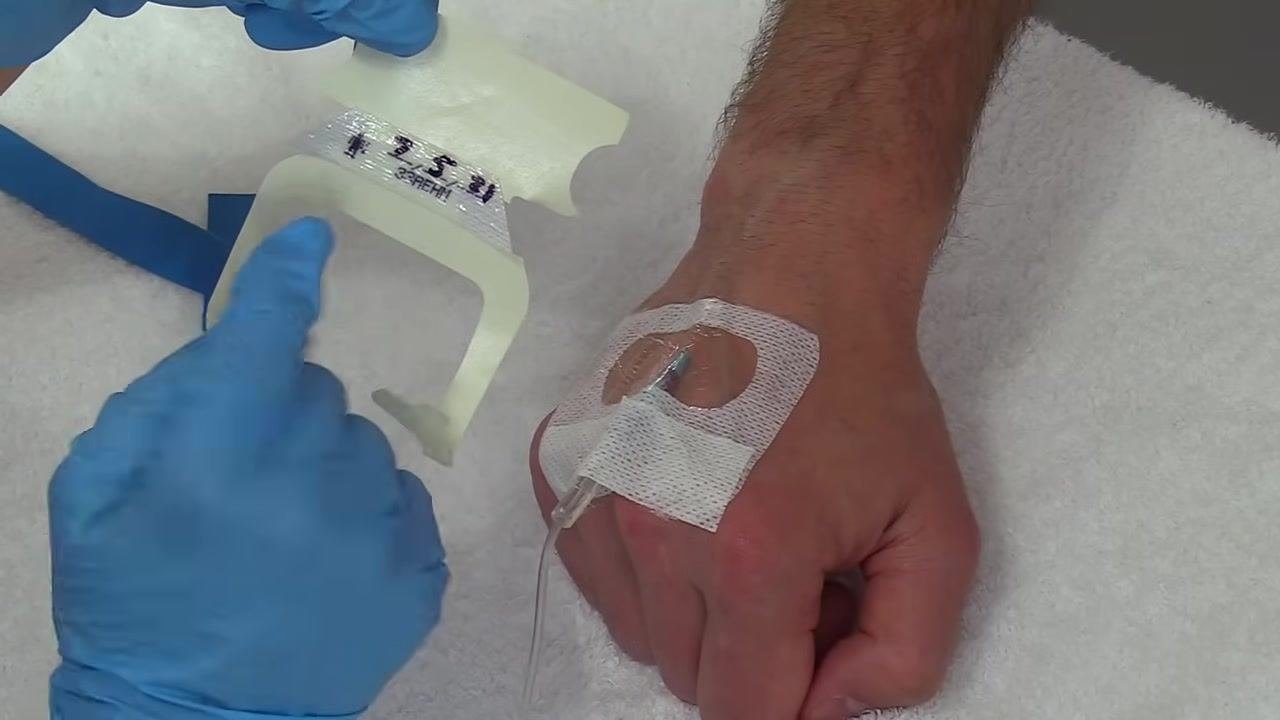
Apply the securement tape
Lay the tape over the IV tubing, securing it to the patient's hand while maintaining the "J" shape. Press the tape down gently but firmly to ensure adhesion.
Smooth the tape edges
Smooth the edges of the securement tape to ensure full contact with the skin and dressing. Double-check that all edges are sealed and the IV site is stable.
Dispose of used supplies
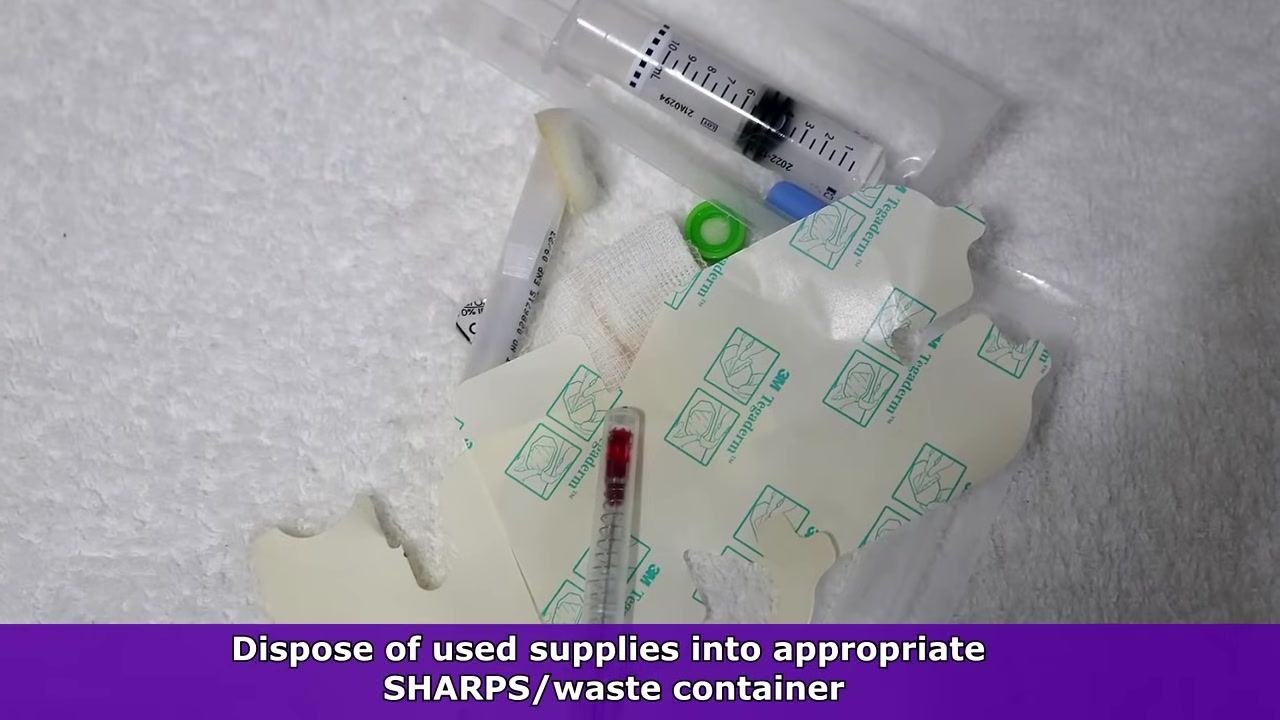
Gather all used supplies, including dressing backings, syringes, and other disposable materials. Dispose of sharps, such as needles, in an approved SHARPS container, and place all other waste in the appropriate medical waste container as required by your facility. Always refer to your facility's protocols for specific disposal instructions.
Verification and summary
- Confirm the IV site is free of swelling, bubbling, or reported pain during and after flushing.
- Confirm the transparent dressing is fully adhered with no lifting edges, and the notched area sits correctly around the catheter and tubing.
- Confirm the tubing is arranged in a "J" shape and secured with the secondary securement tape to prevent tension on the insertion site.
- Confirm all sharps and used materials have been disposed of in the correct SHARPS or medical waste containers per facility protocol.
- Document the procedure according to your facility's guidelines.
What's next
Continue to follow your facility's specific protocols for ongoing IV site care and maintenance, and familiarize yourself with the contents and instructions of your facility's specific IV kit, as kits and cap types may vary between manufacturers. Always maintain aseptic technique for any subsequent access, flushing, or dressing changes at the site.
Generation details: cost, quality tiers
Docsie billed 4,000 credits ($2.80) to analyze this 8-minute video at standard quality. The rewrite, template fill and Word/PDF exports were included. The same video at each quality tier:
| Quality | Frames sampled | Credits | Approx. cost |
|---|---|---|---|
| Draft | every 16-30 s | 2,000 | $1.40 |
| Standard (this guide) | every 8-15 s | 4,000 | $2.80 |
| Detailed | every 4-7 s | 8,000 | $5.60 |
| Ultra | every 1-3 s | 16,000 | $11.20 |
Credits priced at $0.70 per 1,000; plans include a monthly allowance. Enterprise customers on on-premise or bring-your-own-model deployments run this on their own inference and pay no per-video credits.
Generated by Docsie Video-to-Docs on 2026-09-09 from a 7-minute video. Screenshots are frames from the source video and belong to their creator, RegisteredNurseRN, whose original is embedded above. If you own this video and want the guide removed or credited differently, contact us and we will act within one business day.