
How to Set Up an IV Infusion
This standard operating procedure explains how to set up an IV infusion safely, from patient preparation through to documentation. Follow each step in sequence to maintain sterility, confirm the correct prescription, and ensure the patient receives fluids safely and comfortably.
Video: Setting up an intravenous Infusion by UCL Clinical Skills (2019). All credit for the demonstration goes to the creator; watch the original on YouTube. The written guide below was generated from this video by Docsie. Creator? Request a change or removal.
This standard operating procedure explains how to set up an IV infusion safely, from patient preparation through to documentation. Follow each step in sequence to maintain sterility, confirm the correct prescription, and ensure the patient receives fluids safely and comfortably.
Purpose
This SOP provides a consistent, safe method for preparing, priming, and connecting an intravenous (IV) infusion to a patient, while maintaining aseptic technique throughout the process.
Scope
This procedure applies to any healthcare professional responsible for administering IV fluids to a patient, from initial patient confirmation through to final documentation of the infusion.
Required equipment and PPE
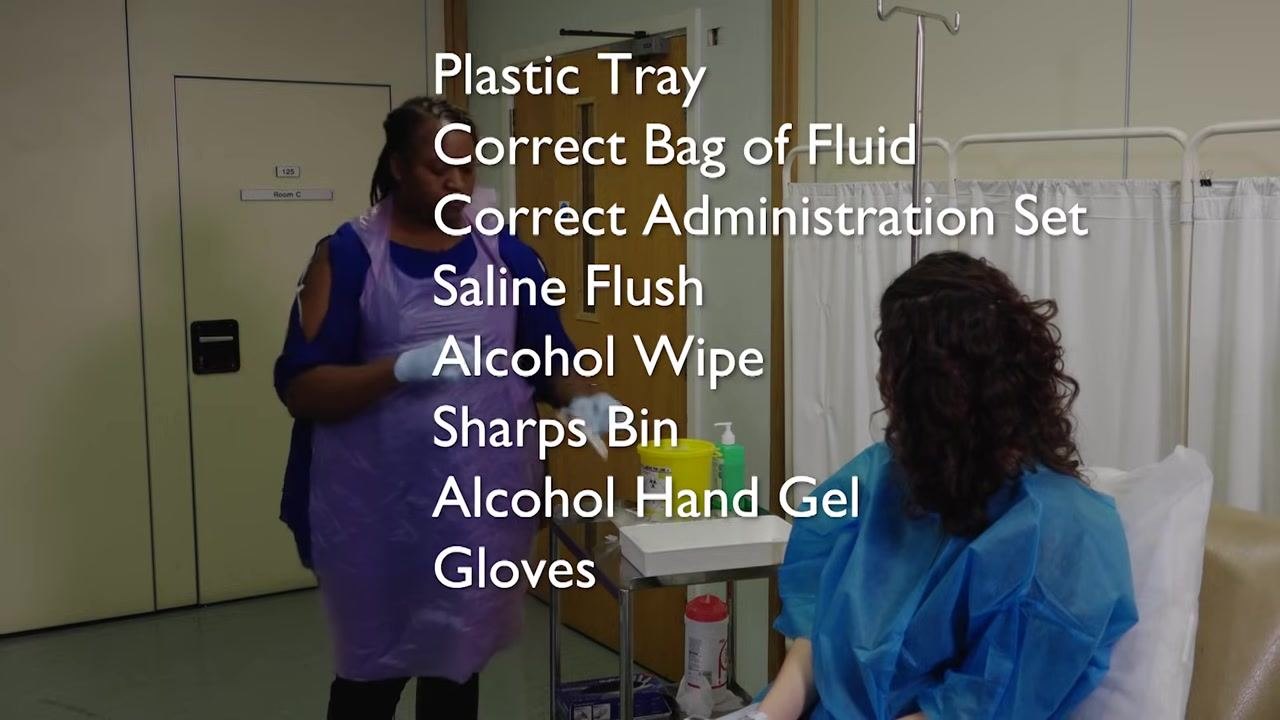
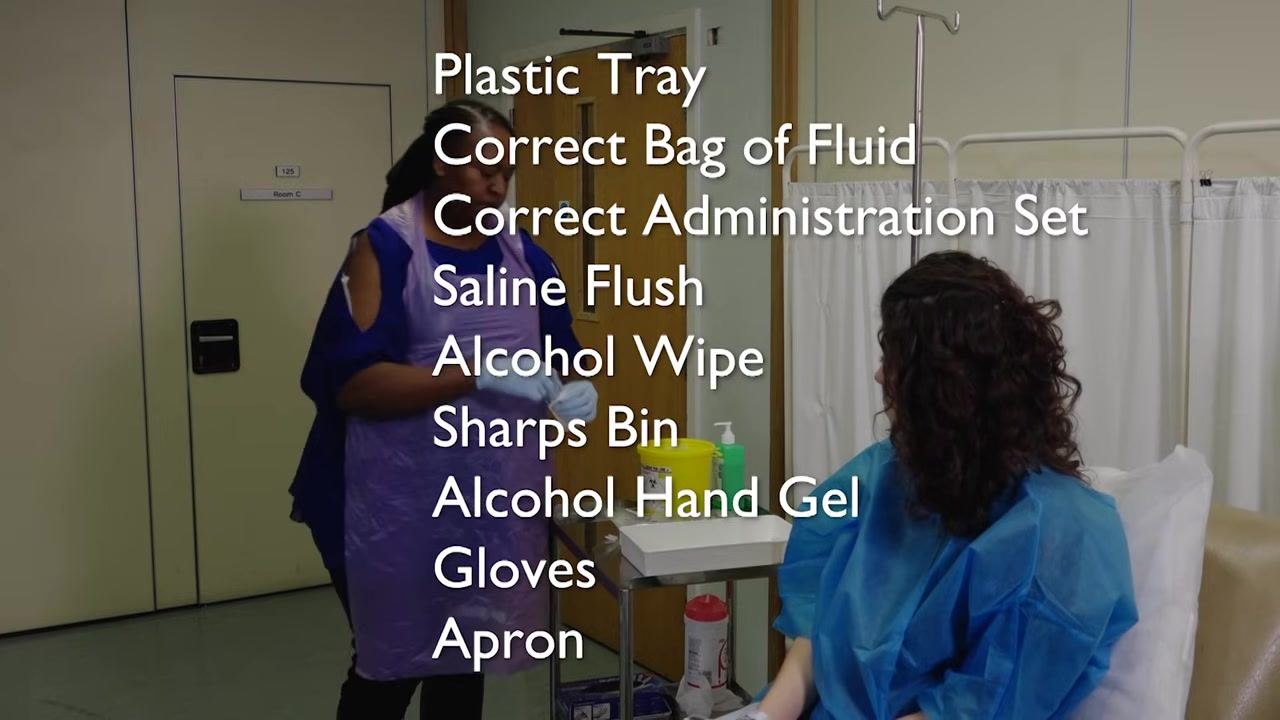
Before you begin, clean a dressing trolley with an alcohol wipe and gather the following equipment, checking expiry dates as you go:
- Plastic tray
- Correct bag of fluid
- Correct administration set
- Saline flush
- Alcohol wipe
- Sharps bin
- Alcohol hand gel
- Gloves
- Apron
Confirm and introduce yourself to the patient
Confirm with the patient that IV fluids are to be administered, then welcome the patient and introduce yourself and any assisting staff.
Perform the WIPER protocol – wash hands and introduce yourself
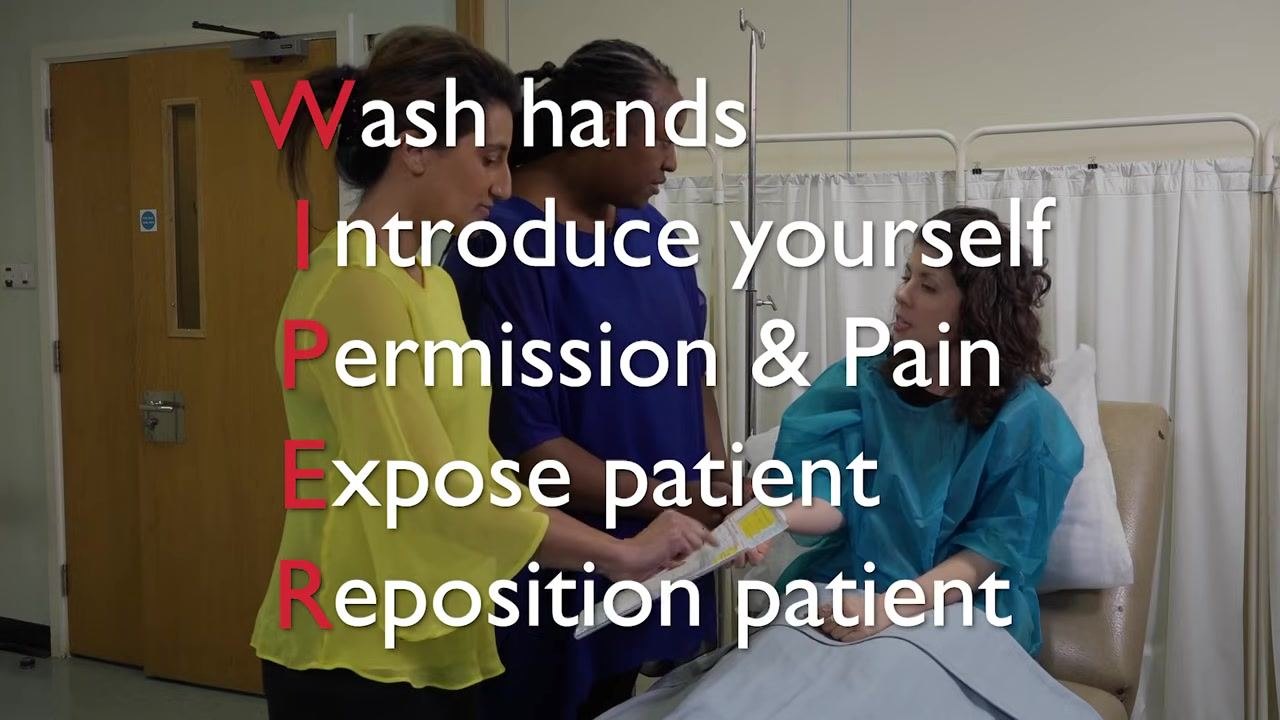
Start the WIPER protocol by washing your hands thoroughly using appropriate hand hygiene technique, then introducing yourself to the patient.
- Wash your hands thoroughly using appropriate hand hygiene technique
- Introduce yourself to the patient
Complete the WIPER protocol – permission, exposure, and repositioning
Continue the WIPER protocol by confirming permission and completing patient preparation.
- Permission & Pain: Confirm the patient's name, date of birth, and check for any allergies. Explain the procedure and seek permission to proceed.
- Expose the patient's arm as needed for the procedure.
- Reposition the patient for optimal access to the cannula site.
Assess the cannula site
Inspect the cannula site for any signs of inflammation or misplacement. Depending on your professional role, you may need to double-check the prescription and patient details with a second qualified staff member.
Verify the prescription using the Five Rights
Ensure the IV fluids are prescribed correctly by checking:
- Right Patient
- Right Drug/Fluid
- Right Dose
- Right Route
- Right Time
Check the fluid bag before use
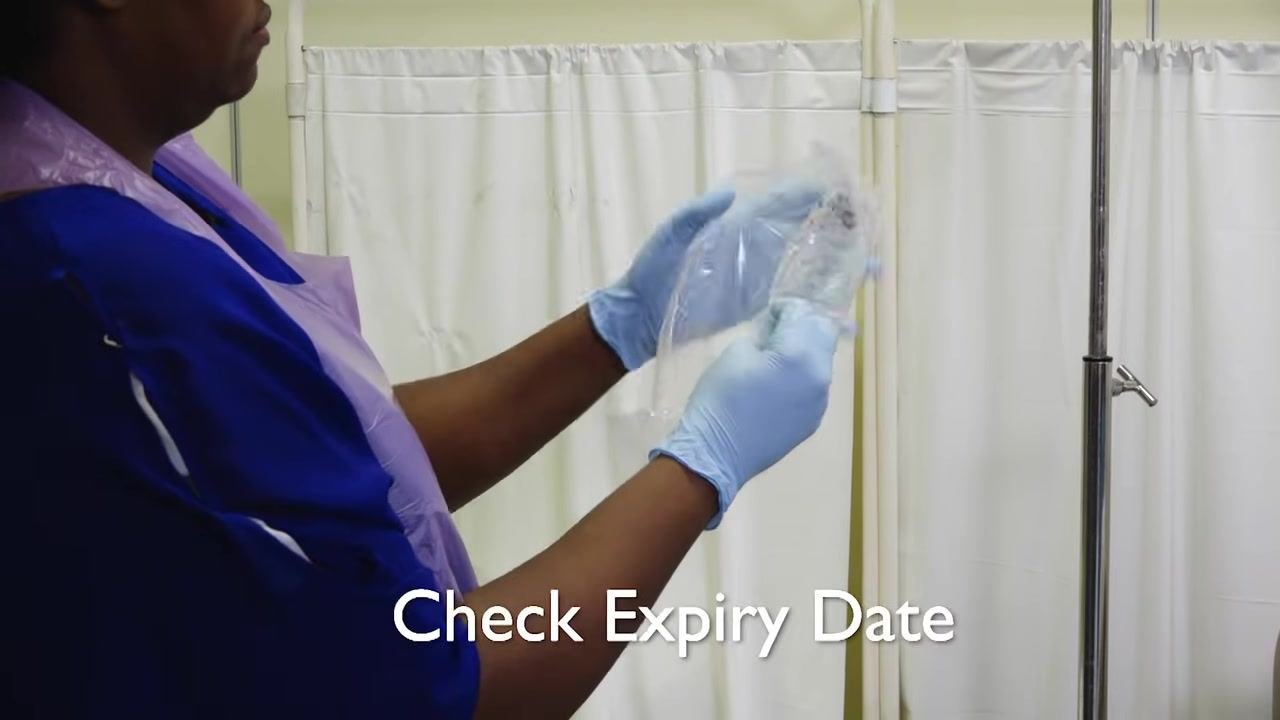
Remove the outer wrapper from the fluid bag and inspect the fluid for transparency, ensuring there are no particulates or discoloration. Check the expiry date on the fluid bag and all equipment to confirm they are in date.
Hang the fluid bag
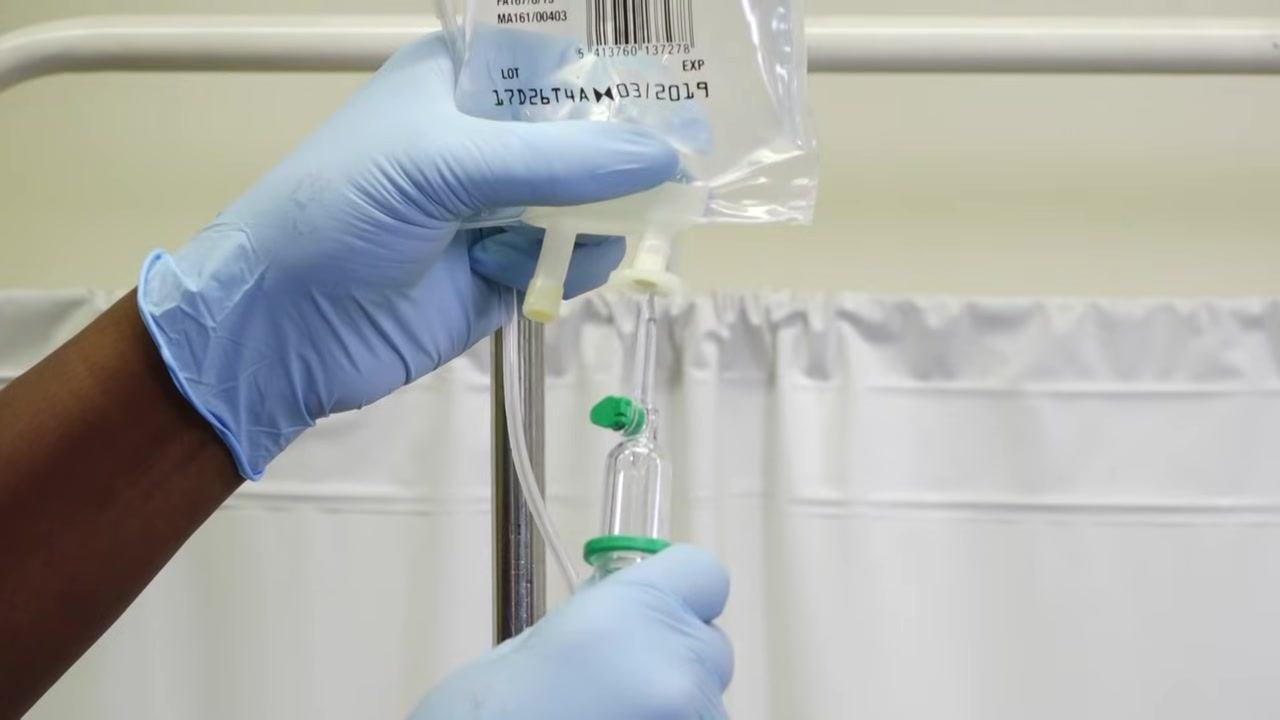
Hang the fluid bag securely on the drip stand.
Open the administration set
Open the sterile packaging of the fluid administration set, taking care not to touch any key parts.
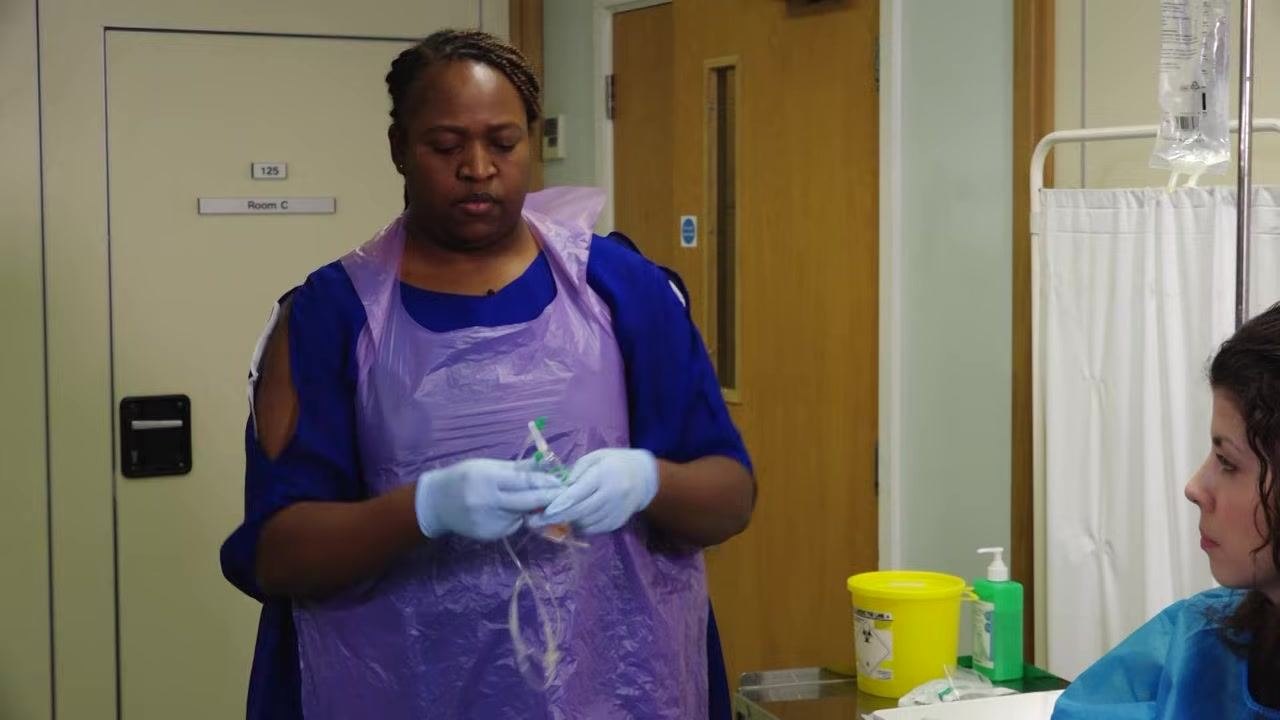
Unravel the administration tubing
Unravel the administration tubing, keeping hold of both ends. These ends are key parts and must remain sterile at all times.
Safety note: Use the roller clamp on the administration set to clamp the tube before proceeding. Roll the wheel downwards to prevent fluid from flowing prematurely.
Remove the protective cap from the spike
Remove the protective cap from the spike of the administration set. This is a key part and must remain sterile.
Insert the spike into the fluid bag
Insert the spike firmly into the port of the fluid bag using a twisting motion. Ensure the opposite end of the tube remains safely in your hand and does not touch any non-sterile surfaces.
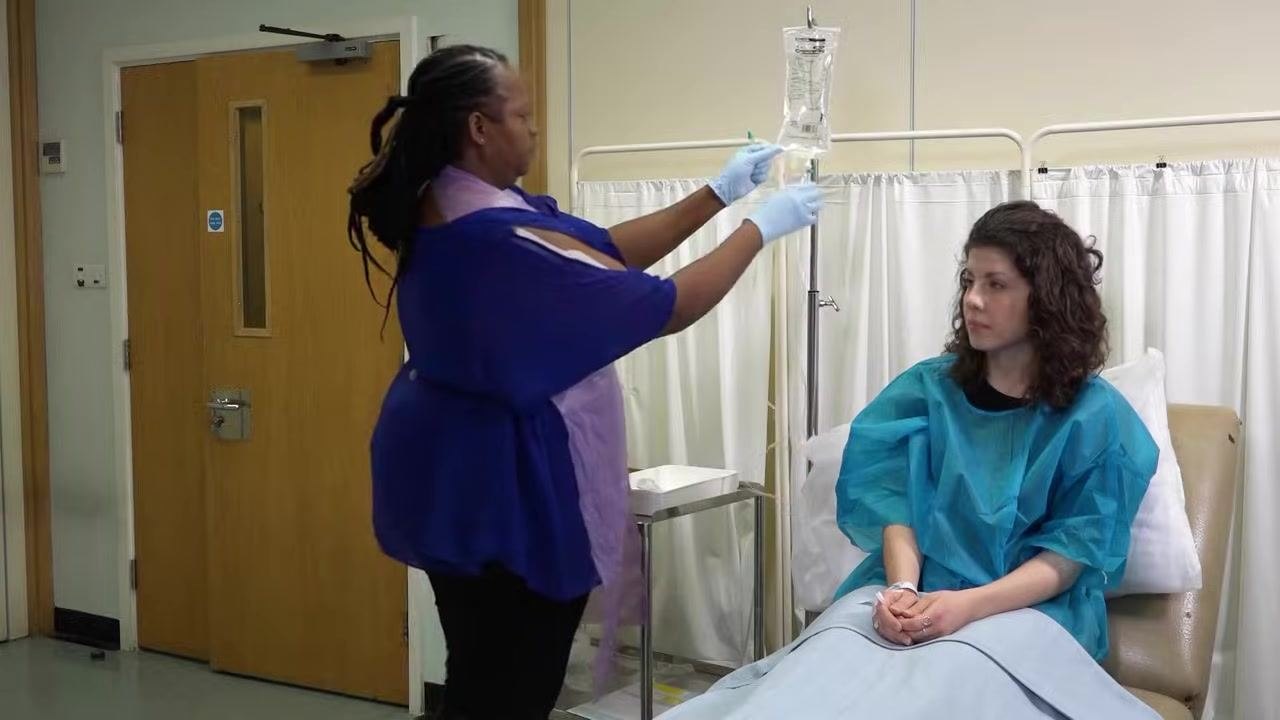
Prime the drip chamber
Squeeze the drip chamber several times until it fills halfway with fluid.
Prime the administration line
Slowly open the roller clamp to allow fluid to flow through the tubing, priming the line and removing any air bubbles.
Allow fluid to reach the end of the tube
Open the roller clamp slightly to allow the IV fluid to flow slowly along the tube until it reaches the distal end. Hold the end of the tubing, ensuring it remains sterile and does not touch any surfaces.
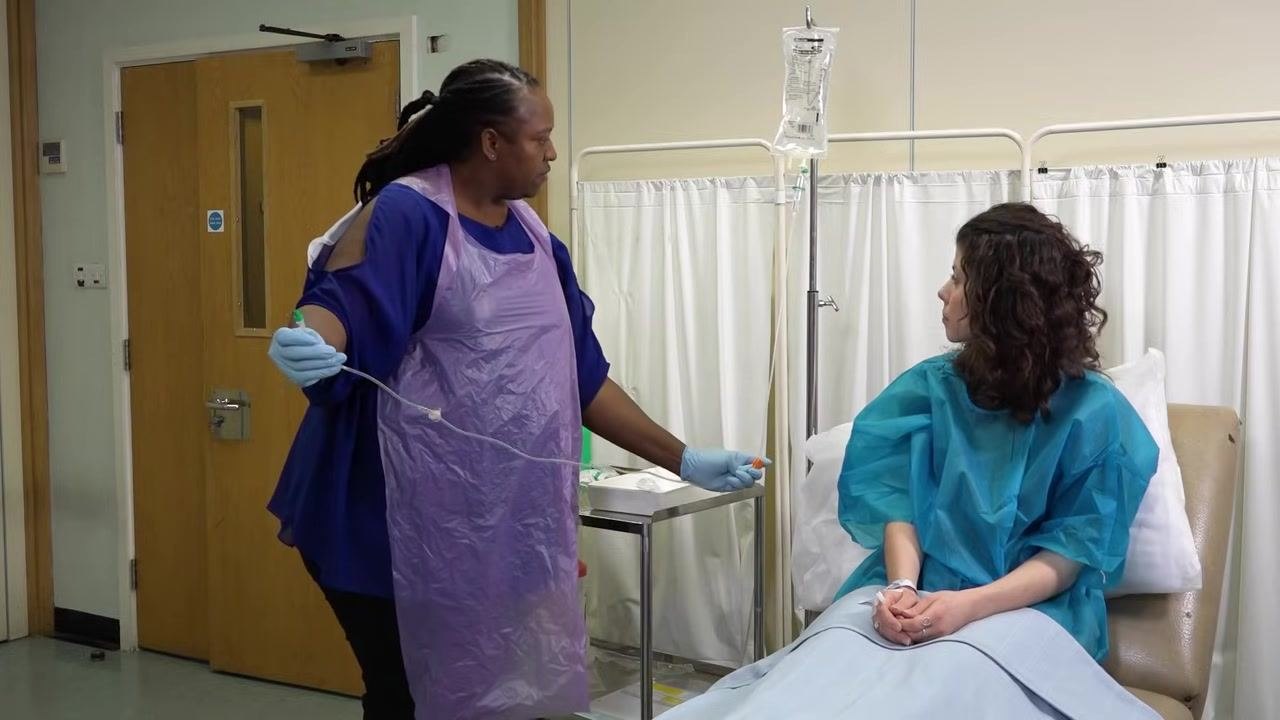
Inspect the line for air bubbles
Carefully observe the IV tubing for any air bubbles as the fluid moves through.
Safety note: Air bubbles must not be infused into the patient.
Remove small air bubbles
If small air bubbles are present, stretch the tube tightly and flick it with your finger. This encourages the bubbles to rise to the end of the tube.
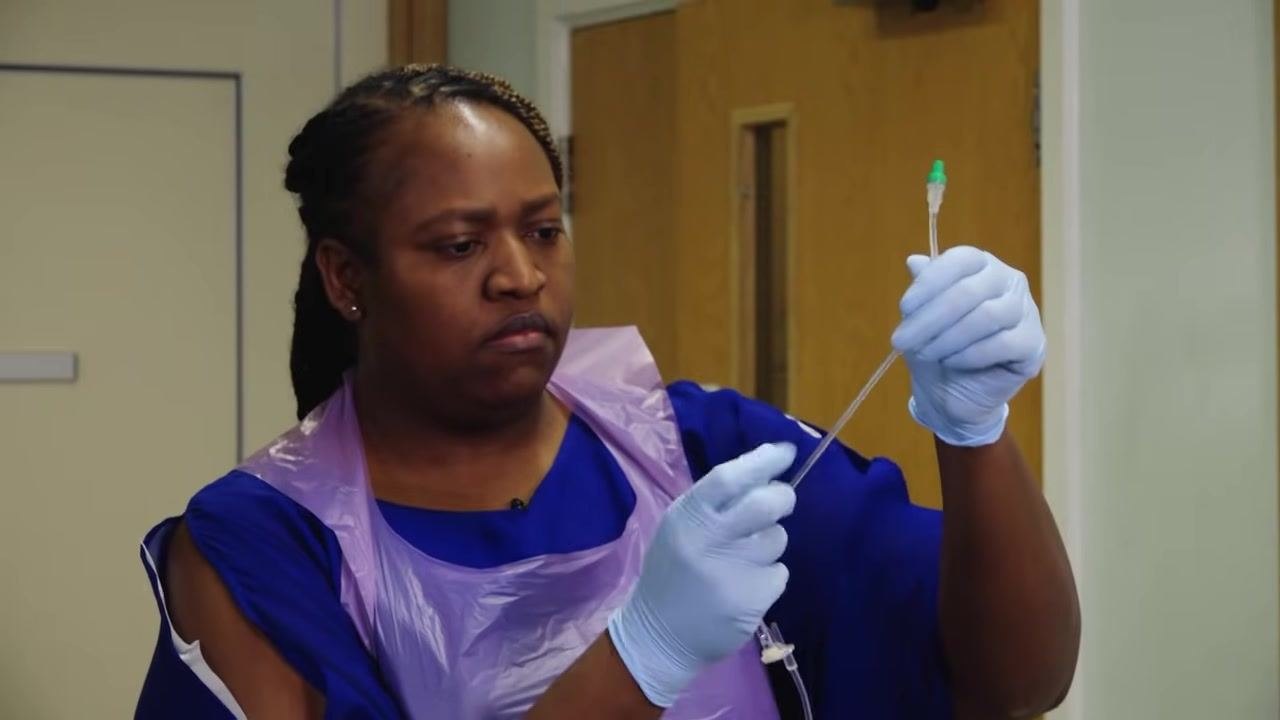
Clear large air bubbles and close the clamp
For large air bubbles, allow some saline to drain into a sink or pot until the bubbles are cleared. Once all bubbles are removed, close the roller clamp to stop the flow of fluid.
Remove gloves and wash your hands
Remove your gloves and dispose of them appropriately, then wash your hands thoroughly according to clinical guidelines.
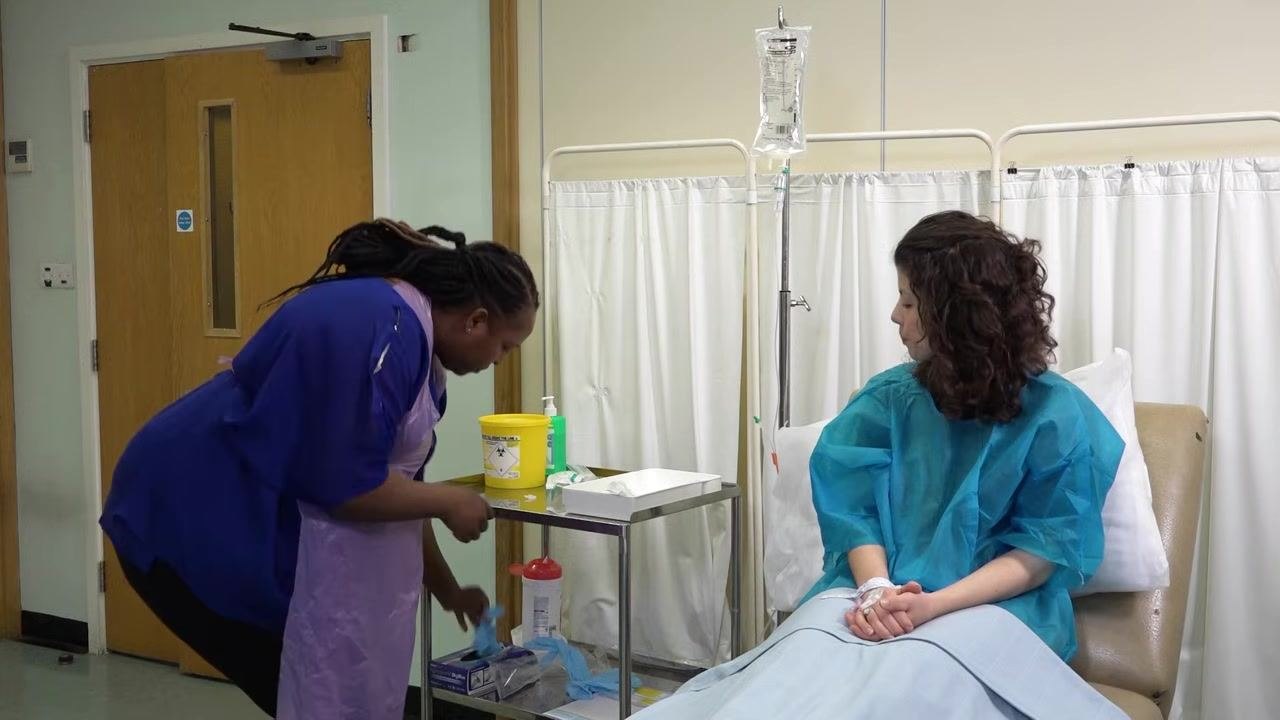
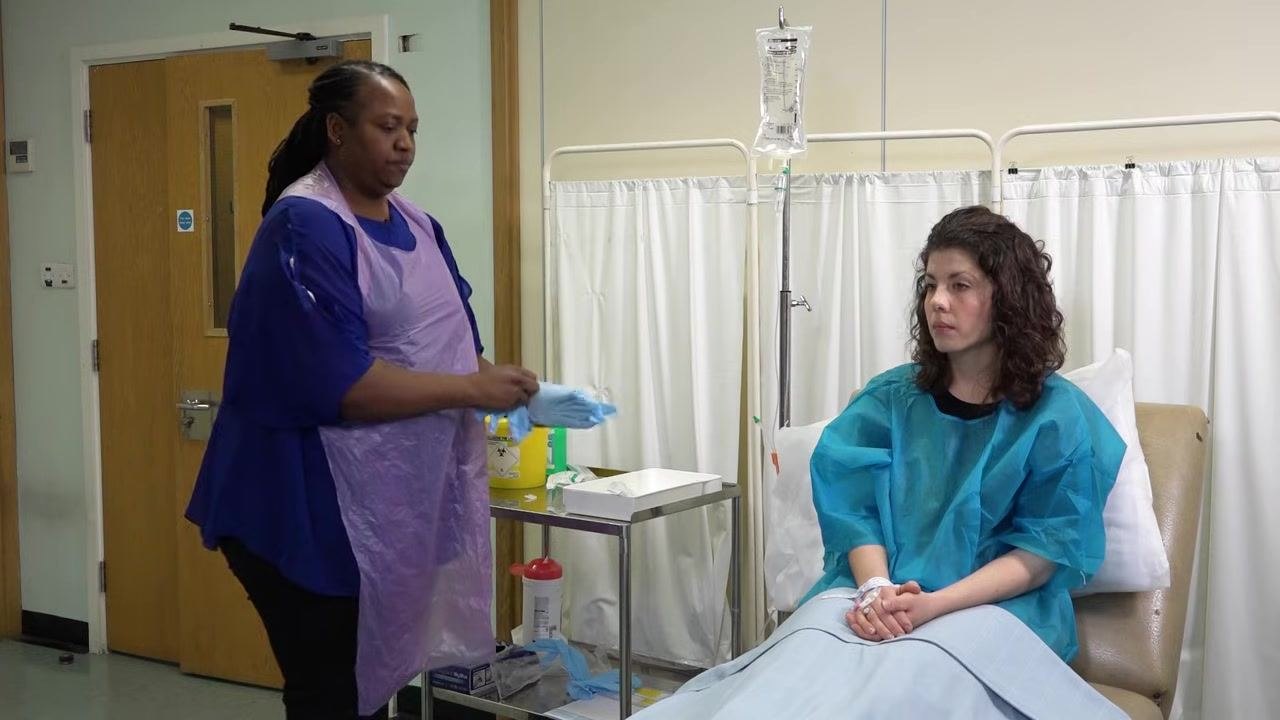
Prepare to put on clean gloves
Put on a clean pair of gloves before proceeding to connect the IV line to the patient's cannula.
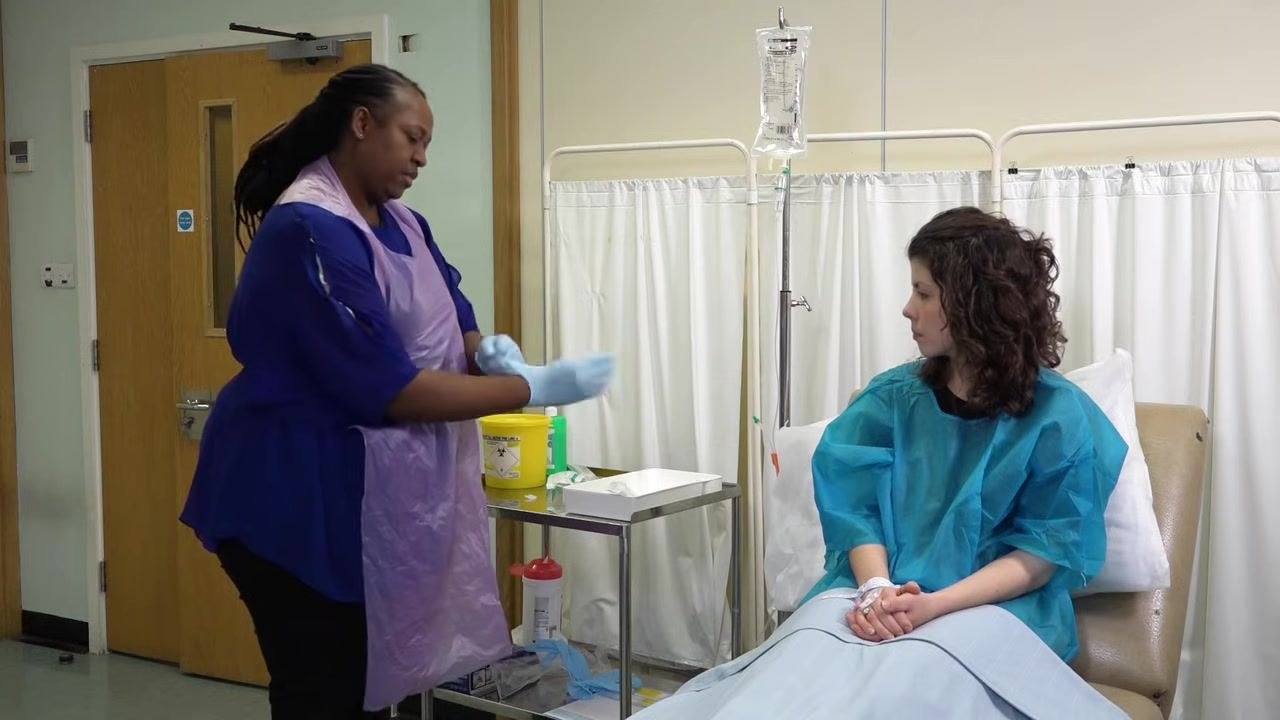
Put on clean gloves
Complete putting on the new pair of gloves before handling any patient-connected equipment.
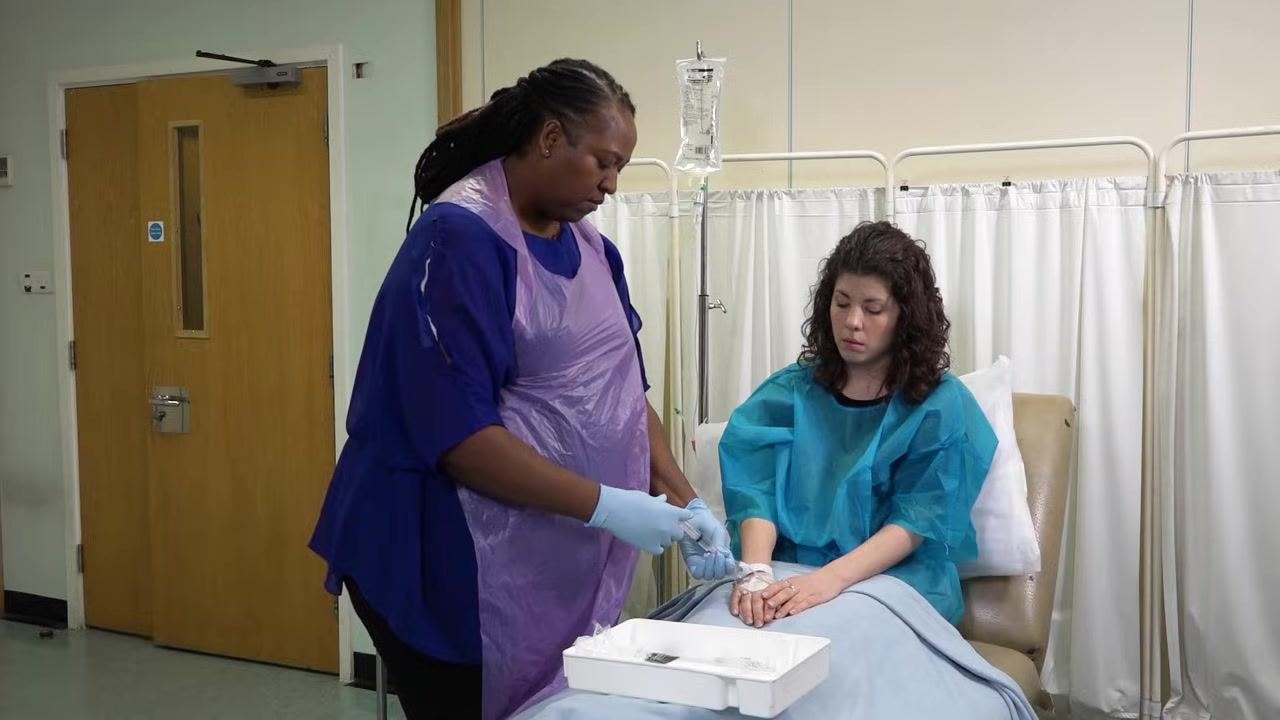
Bring your supplies to the patient
Bring your tray containing an alcohol wipe and saline flush closer to the patient for easy access.
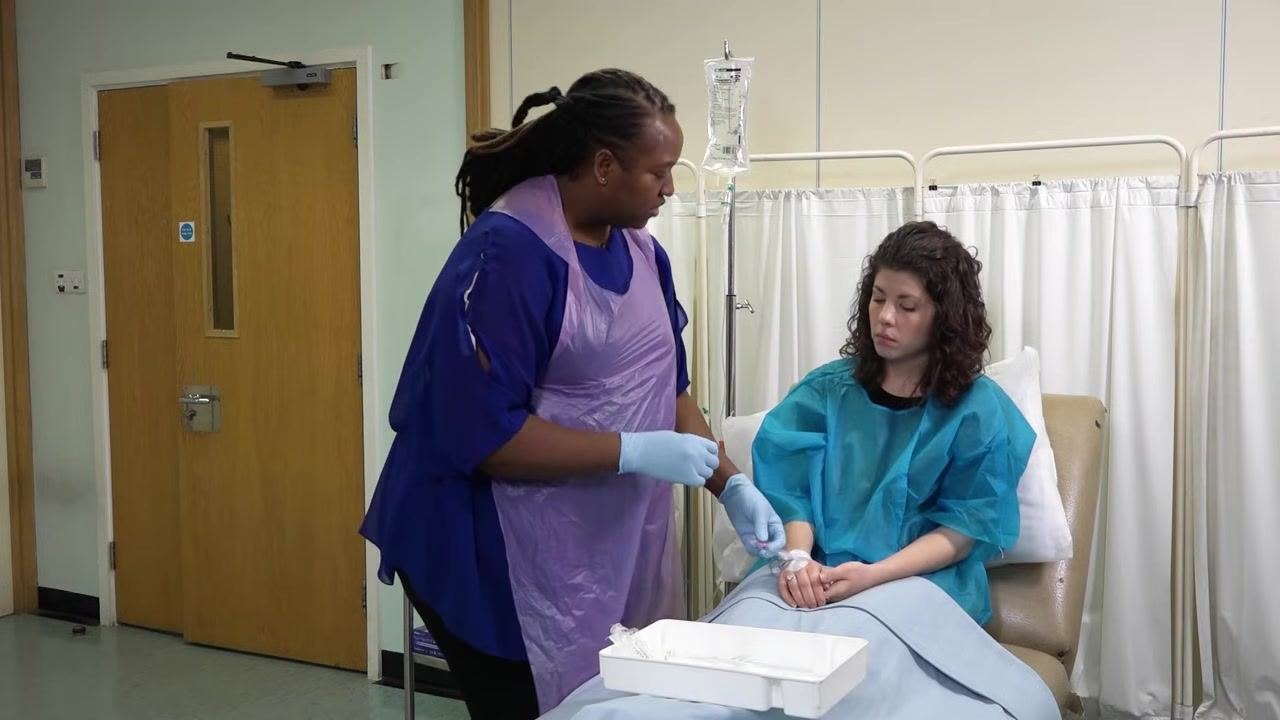
Clean the cannula cap
Clean the cap on the patient's cannula thoroughly with an alcohol wipe to ensure sterility before connecting the IV line.
Disinfect the cannula cap thoroughly
Take an alcohol wipe from the prepared tray and thoroughly clean the cap on the patient's cannula, using a firm, circular motion to ensure all surfaces are disinfected. Maintain sterility by avoiding contact between the cleaned cap and any non-sterile surfaces, and confirm that the patient's arm and cannula remain steady during cleaning.
Check for air bubbles in the syringe
Inspect the syringe carefully before proceeding to ensure there are no air bubbles present, which could cause an air embolism. If air bubbles are detected, expel them safely before continuing.
Close the clamp
Locate the clamp on the IV administration set and close it to temporarily stop the flow of fluids. This step is necessary before connecting or disconnecting any components to prevent spillage or air entry.

Remove the cap from the administration tube
Identify the administration tube connected to the IV setup and carefully remove the protective cap from its end, exposing the key part for connection. Maintain aseptic technique throughout to avoid contamination.
Open the clamp to start the infusion
Once the administration tube is connected and ready, open the clamp again to allow the IV fluids to begin infusing into the patient. Monitor the flow to ensure it is running at the prescribed rate.
Document the procedure
Sign the drug chart to confirm administration and record the following details in the patient's notes:
- Name & Strength: SODIUM CHLORIDE 0.9%
- Volume: 500mls
- Duration: 4°
- Rate: 125mls/h
- Prescriber's signature and any other required checks
Ensure all documentation is clear and complete.
Verification summary
Before considering the IV infusion complete, confirm the following:
- The patient's identity and prescription were verified using the Five Rights.
- All equipment was checked for expiry and sterility throughout preparation.
- The administration line was fully primed and free of air bubbles.
- The cannula cap was disinfected before connection.
- The clamp was closed and reopened correctly during connection to prevent spillage or air entry.
- The procedure was fully documented on the drug chart and in the patient's notes.
What's next
For more information and detailed clinical skills resources, visit the Clinical and Professional Skills Centre at ucl.ac.uk/medicalschool/cpsc.
Generation details: cost, quality tiers
Docsie billed 3,500 credits ($2.45) to analyze this 7-minute video at standard quality. The rewrite, template fill and Word/PDF exports were included. The same video at each quality tier:
| Quality | Frames sampled | Credits | Approx. cost |
|---|---|---|---|
| Draft | every 16-30 s | 1,750 | $1.22 |
| Standard (this guide) | every 8-15 s | 3,500 | $2.45 |
| Detailed | every 4-7 s | 7,000 | $4.90 |
| Ultra | every 1-3 s | 14,000 | $9.80 |
Credits priced at $0.70 per 1,000; plans include a monthly allowance. Enterprise customers on on-premise or bring-your-own-model deployments run this on their own inference and pay no per-video credits.
Generated by Docsie Video-to-Docs on 2026-09-09 from a 6-minute video. Screenshots are frames from the source video and belong to their creator, UCL Clinical Skills, whose original is embedded above. If you own this video and want the guide removed or credited differently, contact us and we will act within one business day.