
How to Set Up a Sterile Field
This protocol explains how to set up a sterile field for a wound care dressing change, from gathering supplies to donning sterile gloves and maintaining sterility throughout the procedure. It applies to healthcare professionals performing dressing changes in a clinical setting, including clinical skills labs and bedside patient care areas. Following these steps in order helps you avoid contaminating your supplies and protects the patient from wound infection.
Video: setting up a Sterile Field by Nursing Arts ACC Parkland Campus (2020). All credit for the demonstration goes to the creator; watch the original on YouTube. The written guide below was generated from this video by Docsie. Creator? Request a change or removal.
This protocol explains how to set up a sterile field for a wound care dressing change, from gathering supplies to donning sterile gloves and maintaining sterility throughout the procedure. It applies to healthcare professionals performing dressing changes in a clinical setting, including clinical skills labs and bedside patient care areas. Following these steps in order helps you avoid contaminating your supplies and protects the patient from wound infection.
Purpose & Scope
This procedure covers the preparation, inspection, and sterile setup of a dressing tray used for wound cleaning and dressing changes. It applies to any healthcare professional performing a sterile dressing procedure at a patient's bedside or in a clinical skills lab. The scope includes supply verification, sterile field establishment, sterile gloving, and ongoing maintenance of sterility during the procedure.
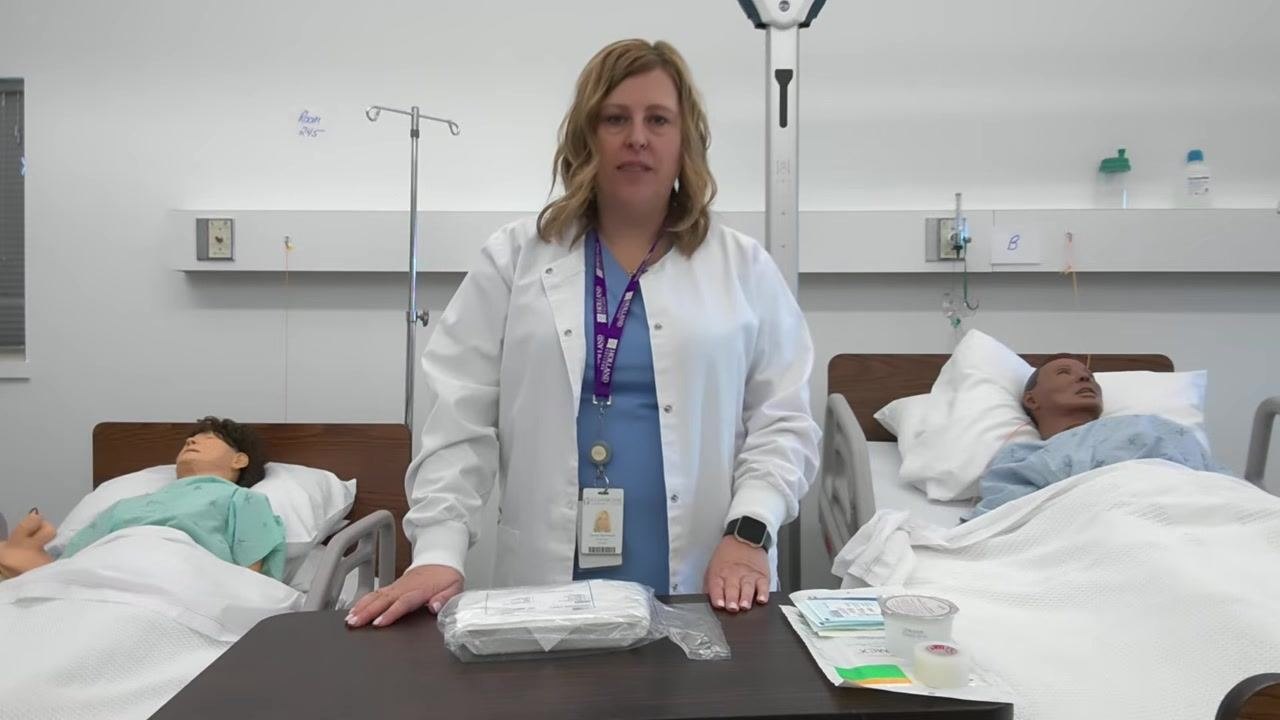
Before you begin, gather all necessary supplies and place them on a clean, flat surface at waist height. You will need:
- A sealed dressing tray
- Cleaning solution for the wound
- Medical tape
- Extra supplies as needed, such as scissors or forceps
- Duoderm dressing
- 2x2 and 4x4 gauze pads for cleaning and drying the wound
- Sterile gloves
Procedure Overview
The core principle behind setting up a sterile field is separating sterile items from non-sterile surfaces to prevent transmission of contaminants to the wound. A 1-inch (2.5 cm) border around the entire tray is always considered non-sterile; only the center area of the tray and drape is sterile. Risk factors for contamination include touching instrument handles and allowing them to cross into the sterile center, letting hands or packaging drop below waist level, and using expired or damaged supplies. Maintaining this boundary throughout the procedure is clinically significant because it directly reduces the risk of introducing pathogens into an open wound during dressing changes.
Supply Verification & Inspection
Before opening any sterile packaging, perform hand hygiene thoroughly. Then visually inspect the dressing tray and all supplies to confirm you have everything required, adding any missing items such as scissors or an extra pair of forceps.
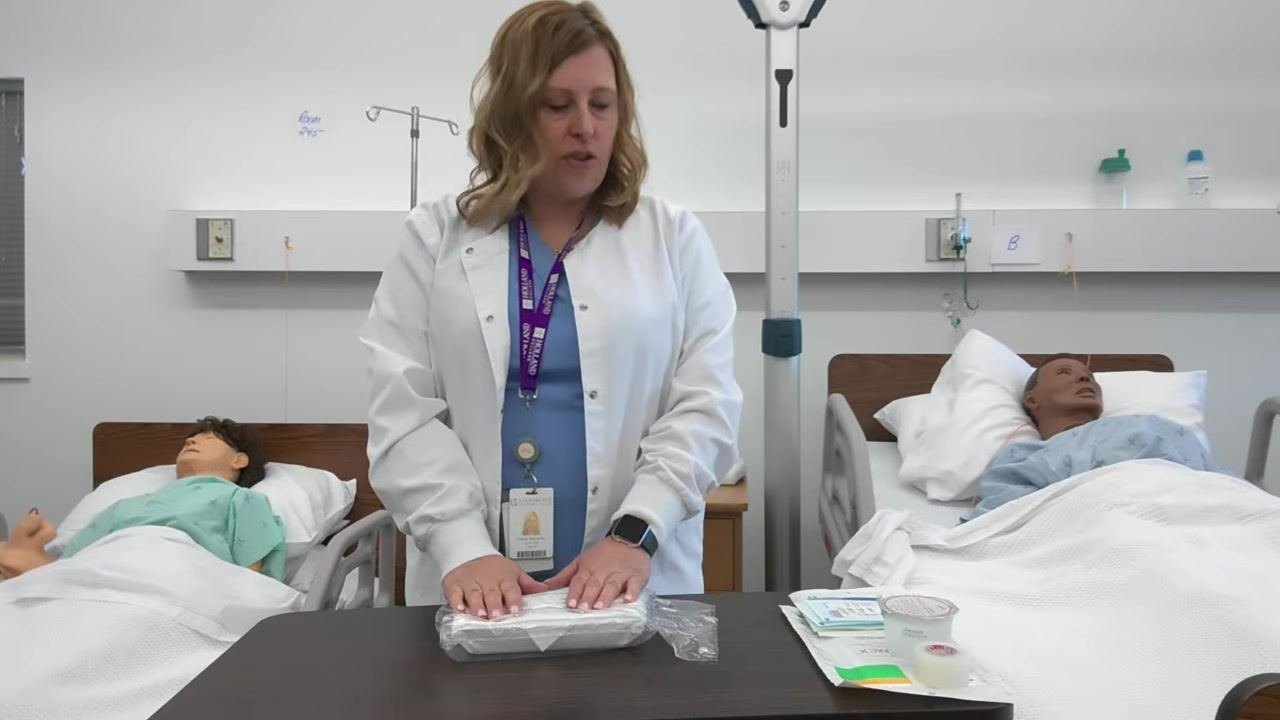
Check the expiry date on the dressing tray and all sterile supplies, and confirm that none of the items have expired.
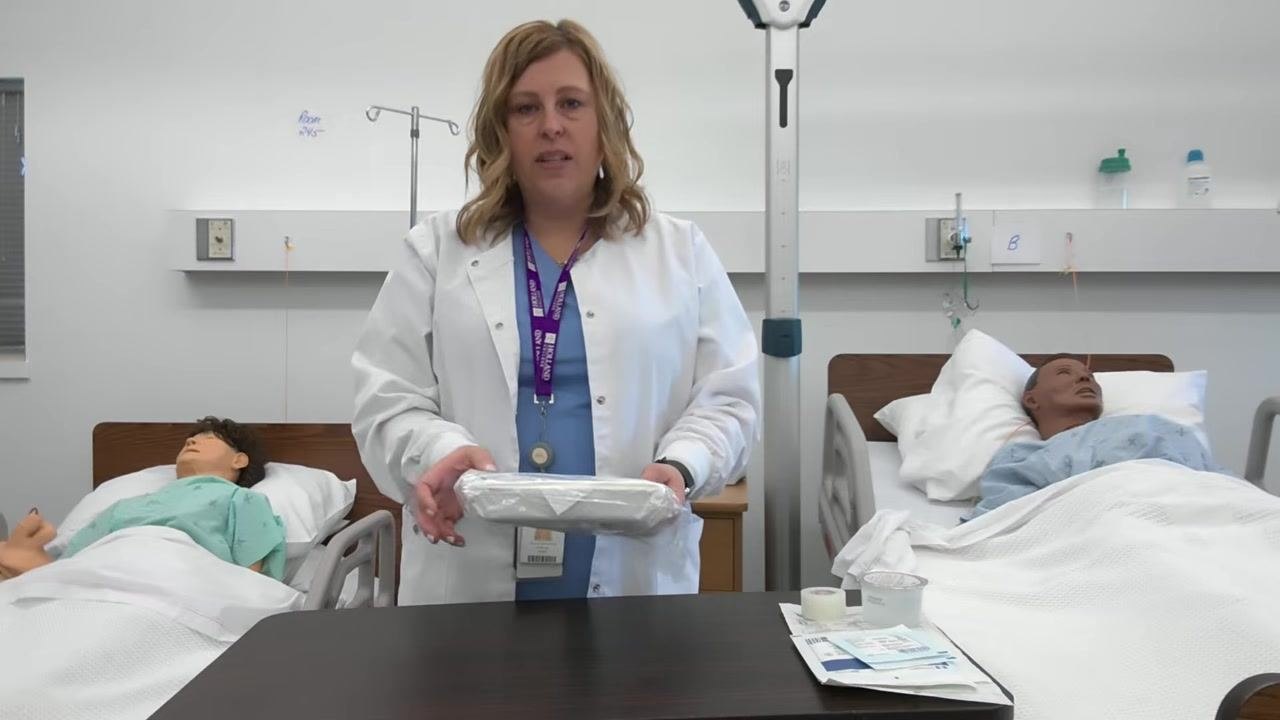
Examine all packaging for tears, breaks, or other signs of compromise. If any packaging is damaged, discard the affected item and replace it with a new, intact package.
Isolation Precautions: How to Set Up a Sterile Field
Opening the tray
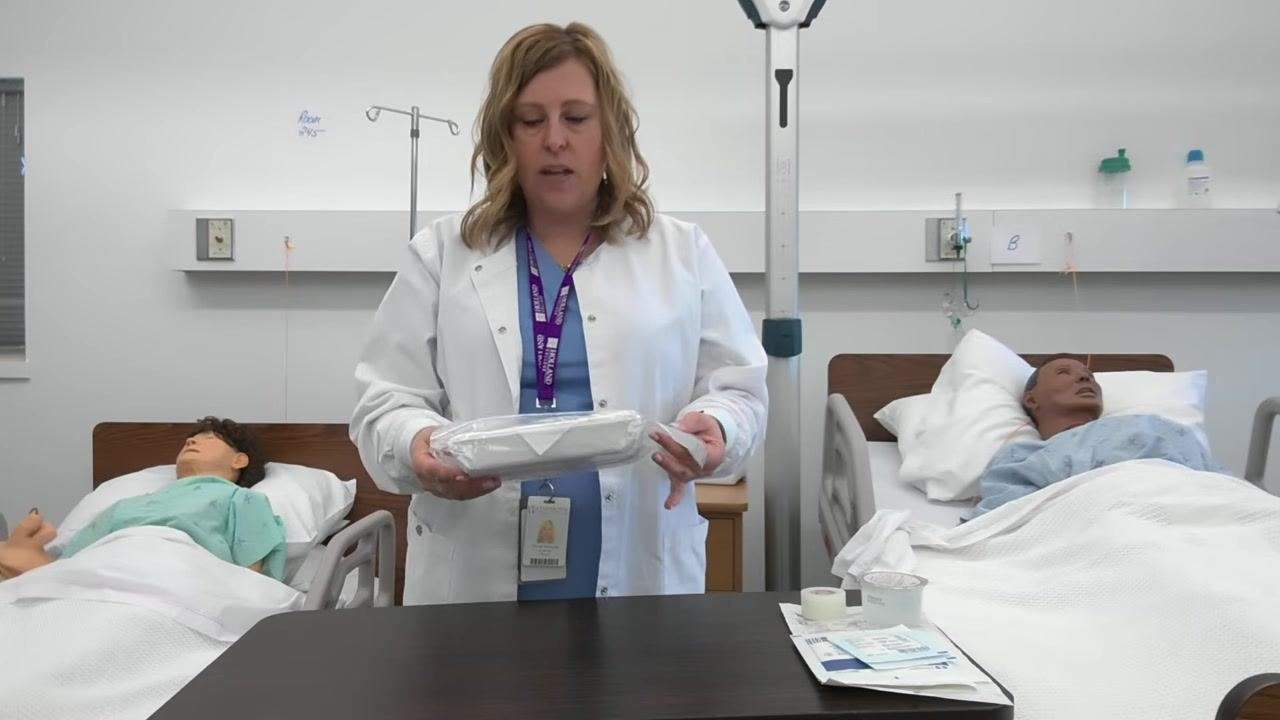
With the tray positioned at waist height, identify the flap on the tray packaging. Remove the outer plastic and plan to open the tray by moving the packaging flap away from your body to maintain sterility.
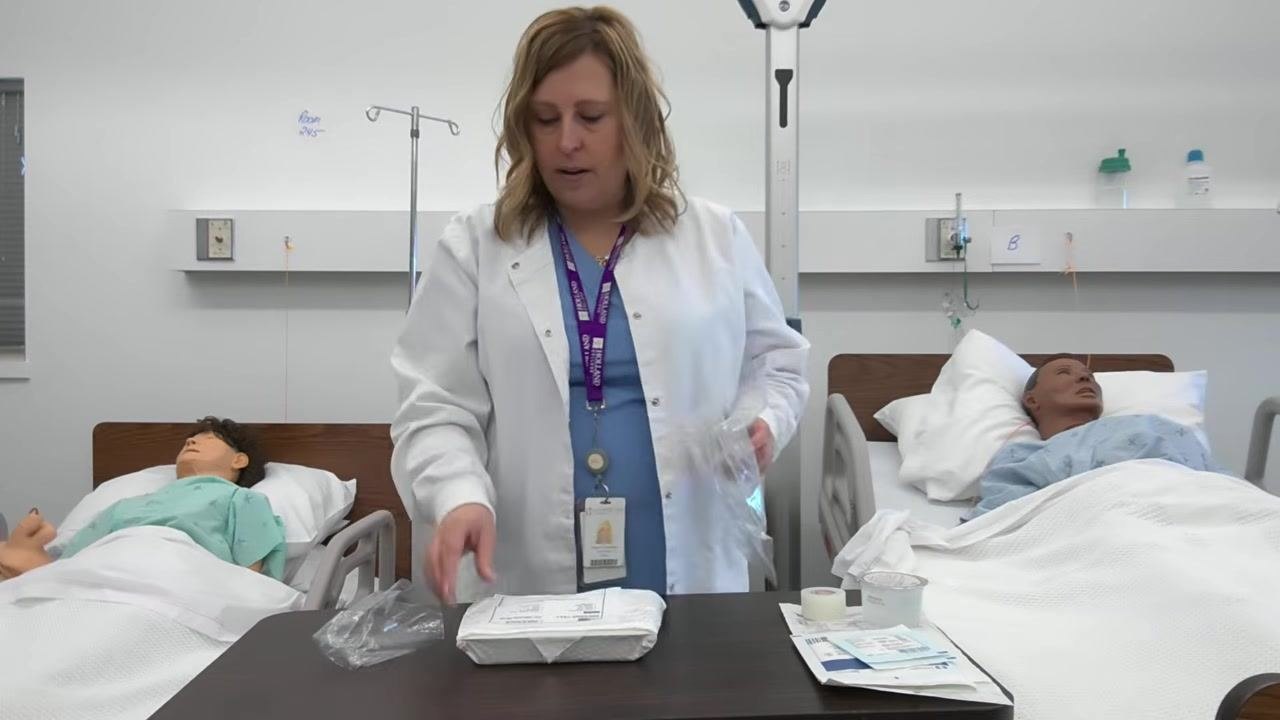
Reconfirm that the tray is at waist height and that you have already performed hand hygiene before proceeding.
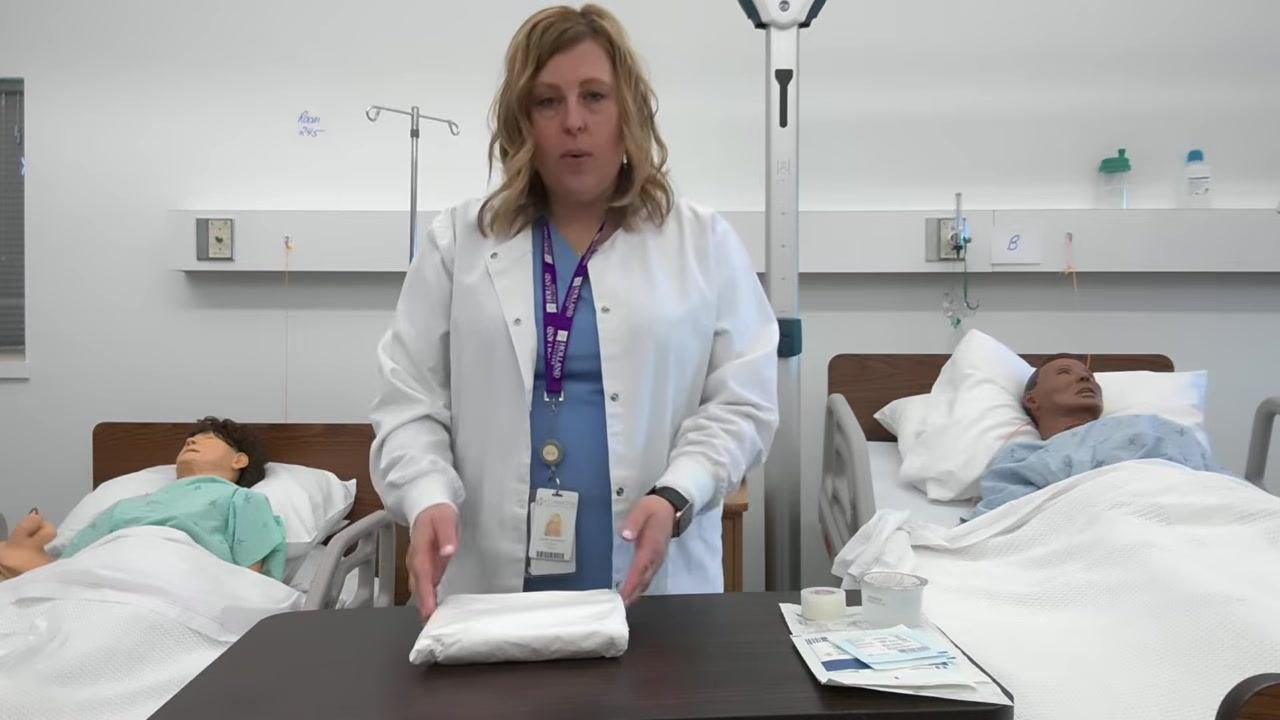
Open the tray by grasping the flap and moving it away from yourself, ensuring you do not contaminate the sterile field.
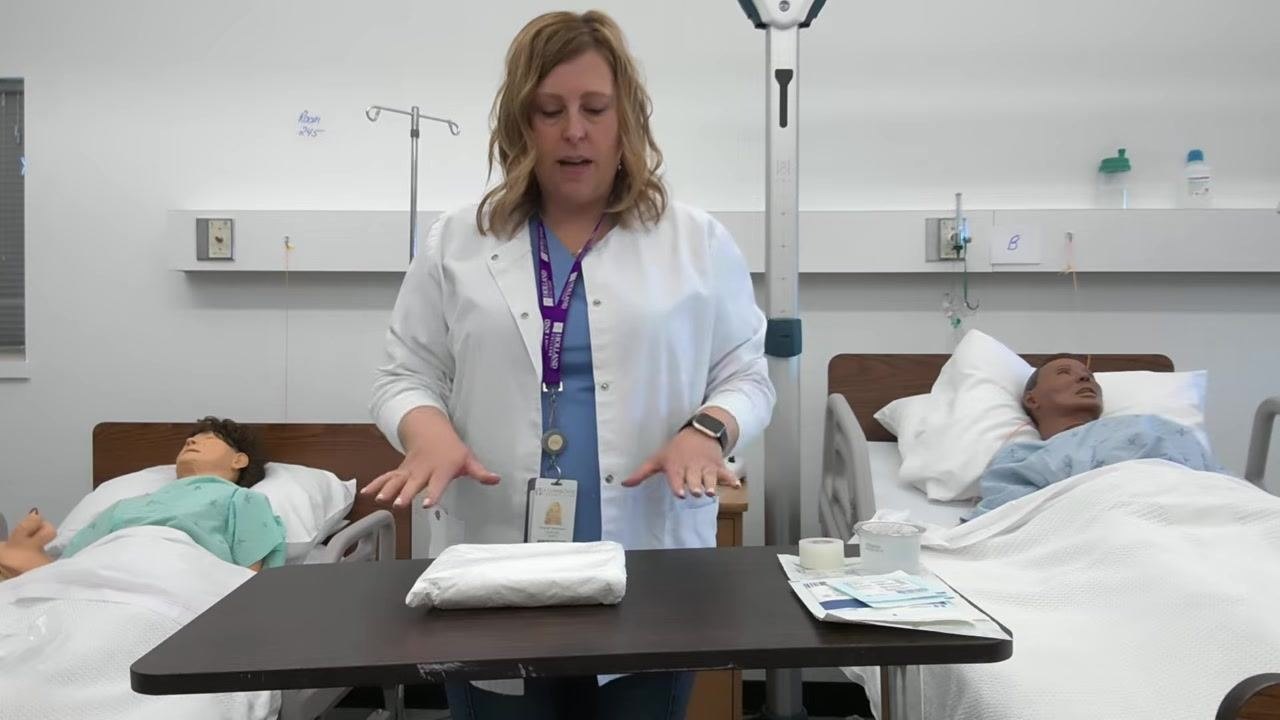
Establishing the sterile field
Locate the forceps inside the opened tray. Grasp them by the handle only, ensuring you do not touch the sterile tips.
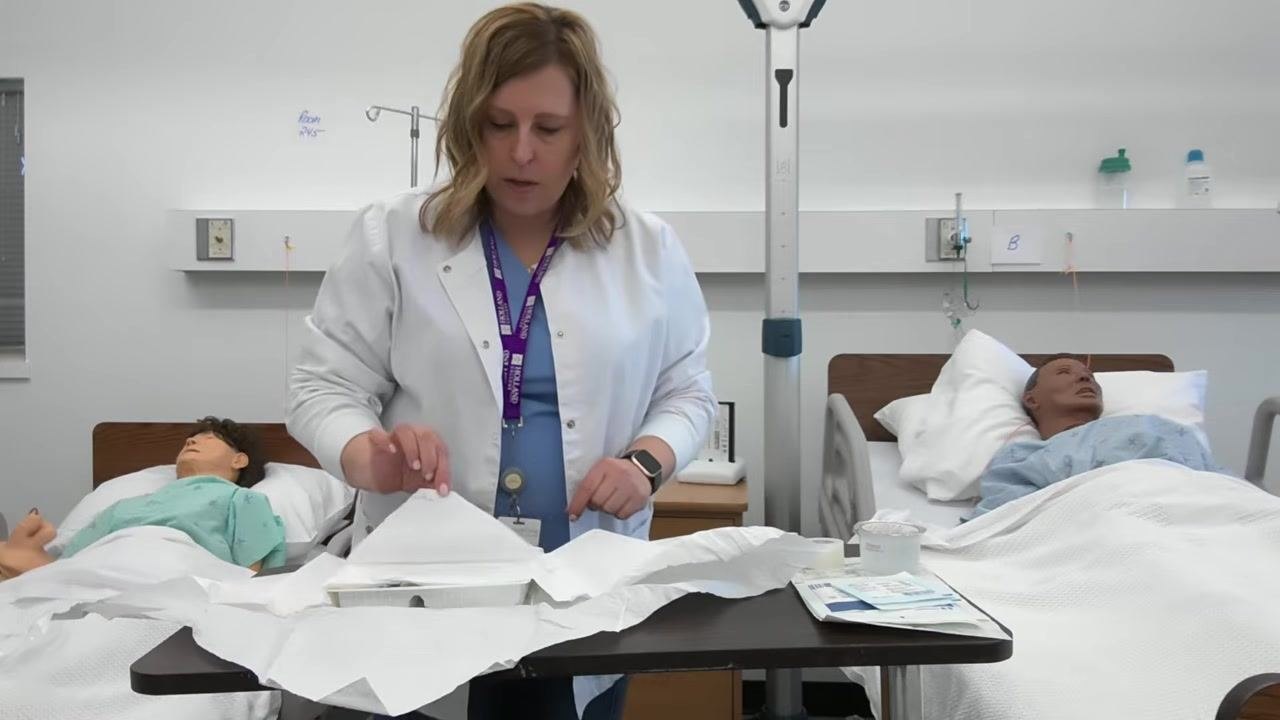
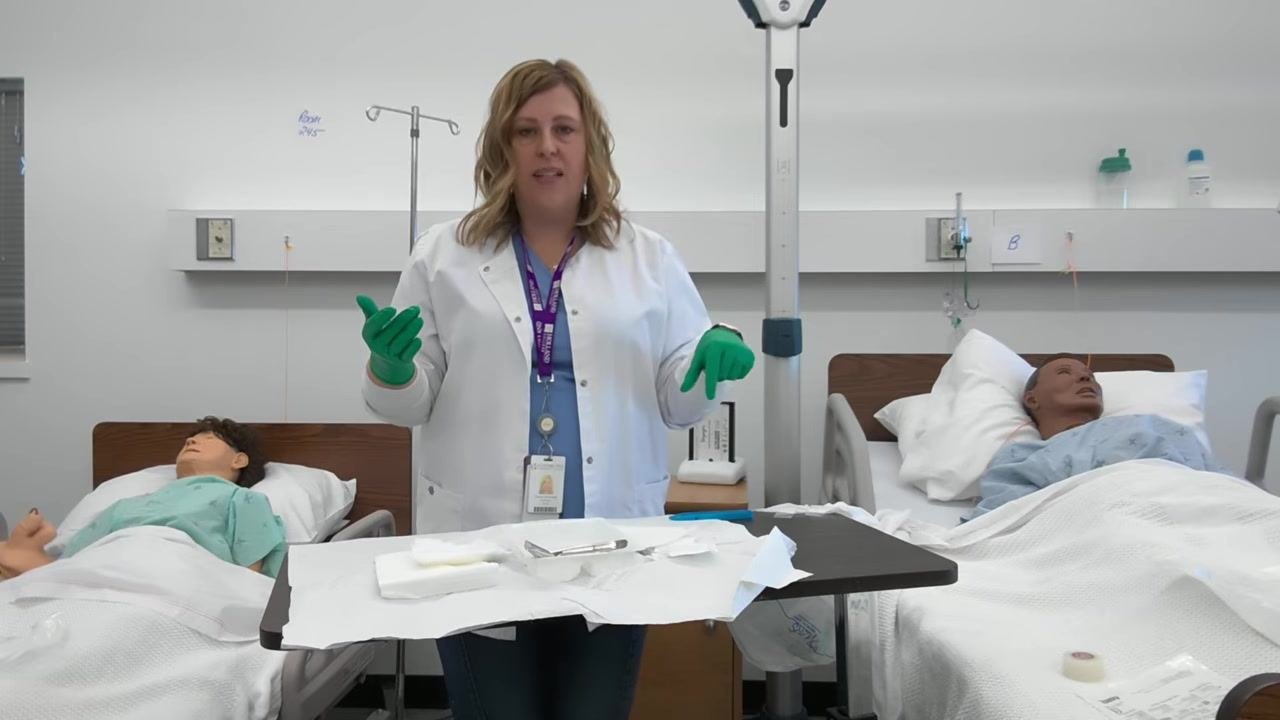
"Square off" the tray using the drape included at the top of the tray. Remember that a 1-inch border around the entire tray is non-sterile, and only the center area is sterile. Remove any included items, such as a small garbage bag, and set them aside away from the sterile field. Place the forceps inside the tray so the tips stay within the sterile center; if you have scissors, place them to the side of the tray unless needed.
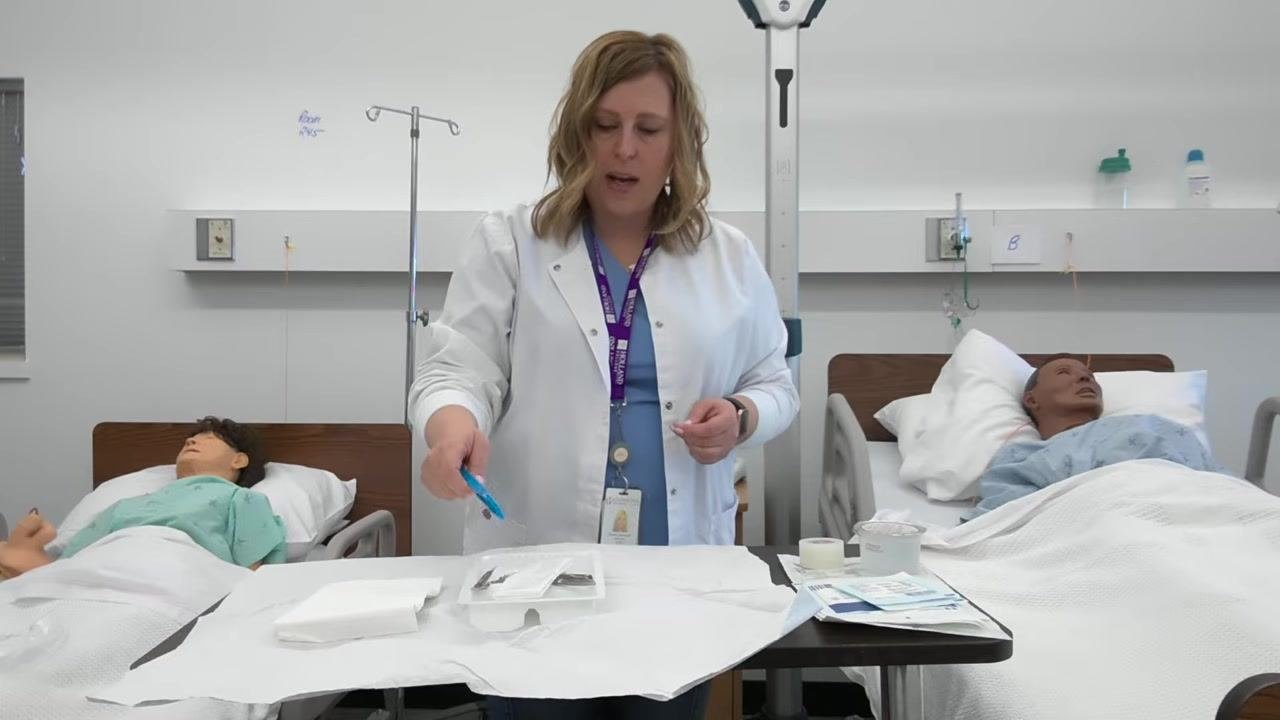
Organize the gauze pads by placing 2x2 and 4x4 gauze to the side of the tray if not immediately needed. If you touch the handle of an instrument, keep that part on the 1-inch non-sterile border and never let it enter the sterile center. Continue arranging supplies while observing this border at all times.
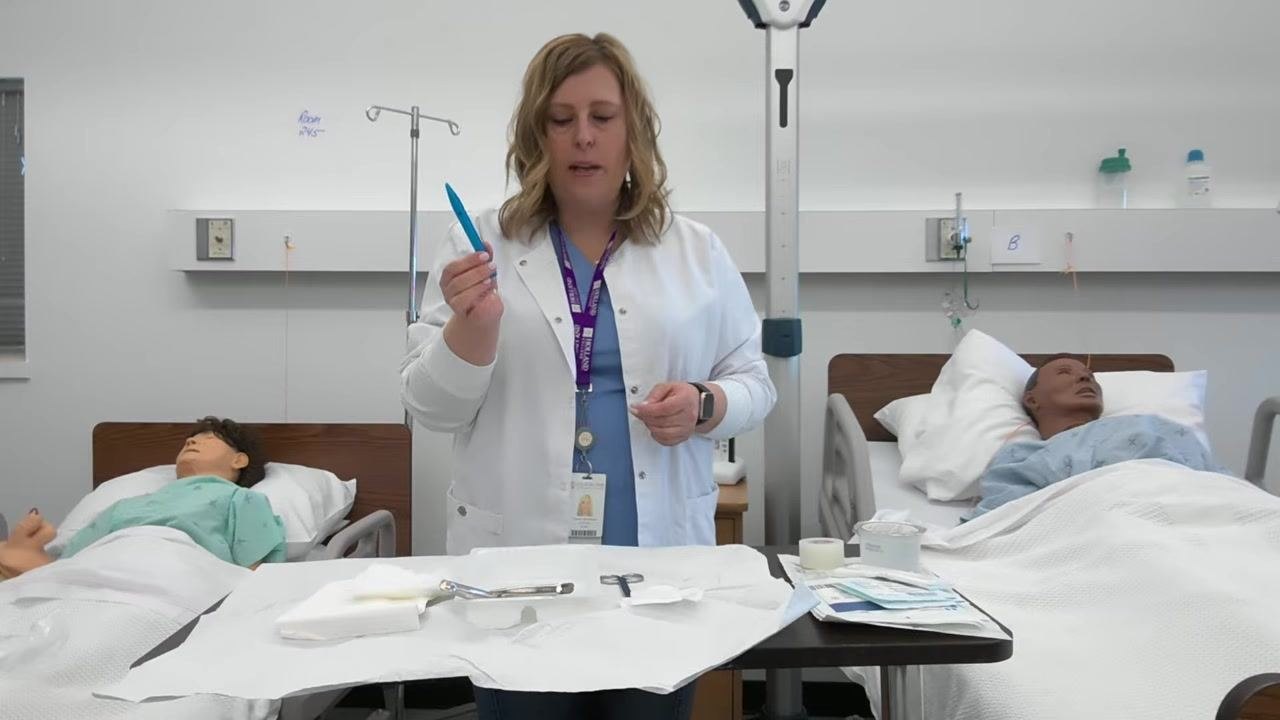
Ensure the tips of the forceps remain on the sterile part of the tray, holding the instrument so only the sterile tips touch the sterile field while the handles stay on the non-sterile border.
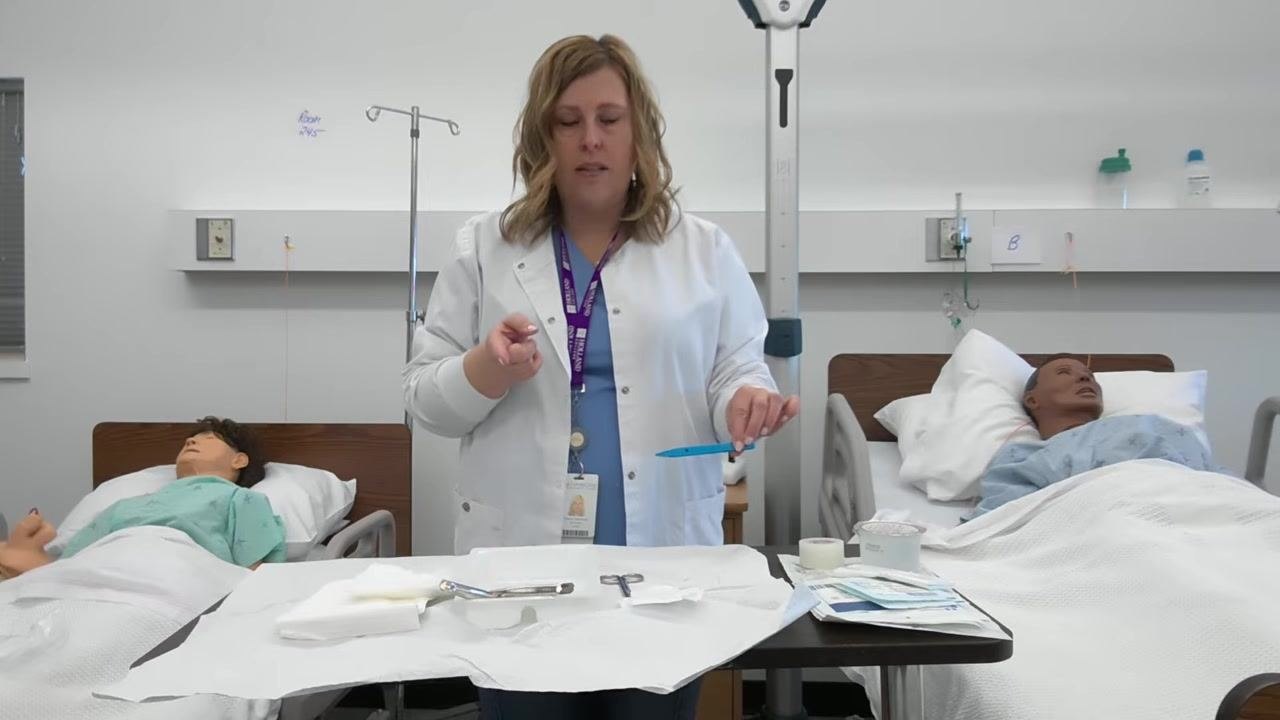
Adding supplies to the sterile field
Peel back the packaging of your gauze with both hands, exposing the sterile gauze without touching the inside of the package or the gauze itself.
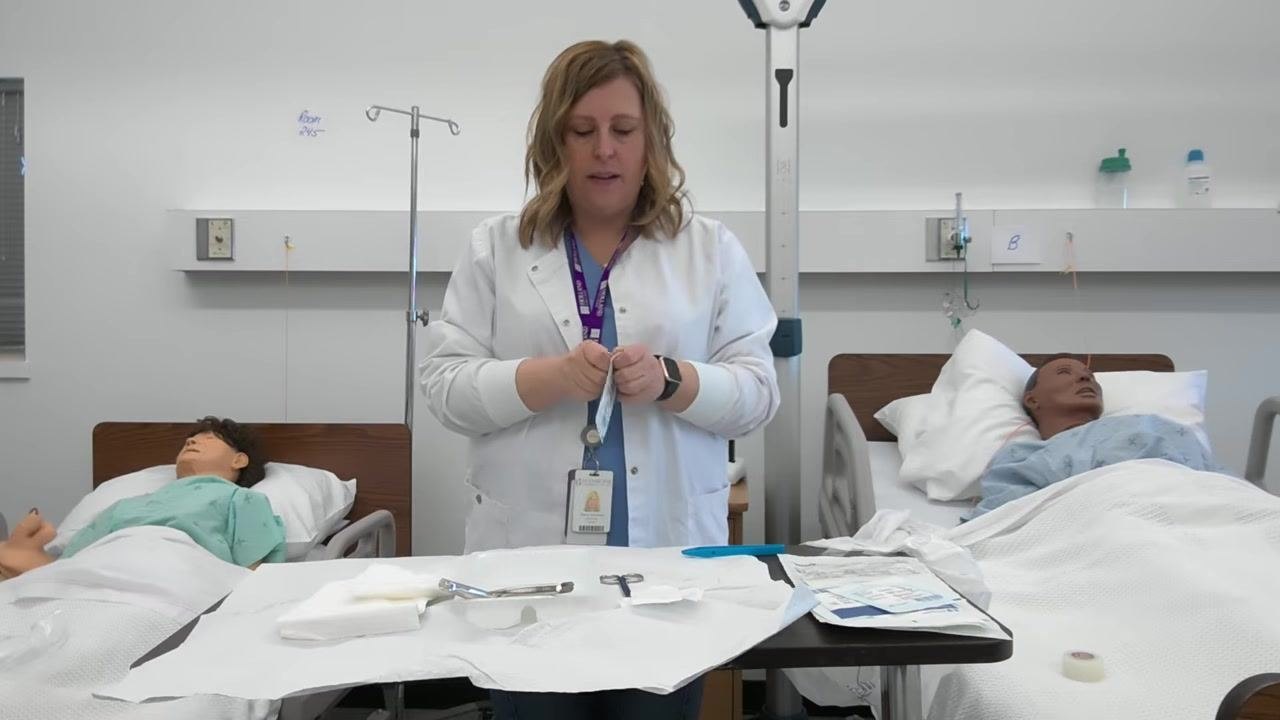
Gently drop the sterile gauze onto the sterile field, ensuring it lands within the sterile area and that your hands or the packaging never touch the field.
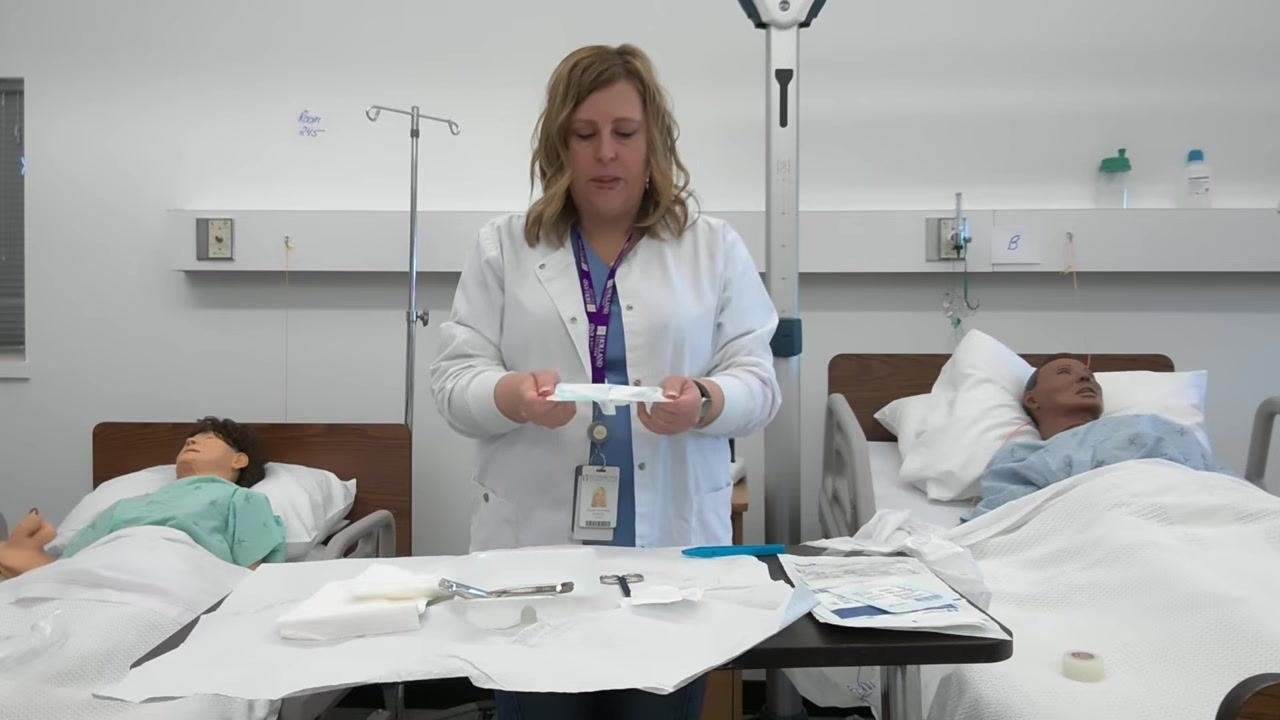
Confirm that every item you add is placed entirely within the sterile drape area, with nothing hanging over the edge or resting within the one-inch non-sterile border.
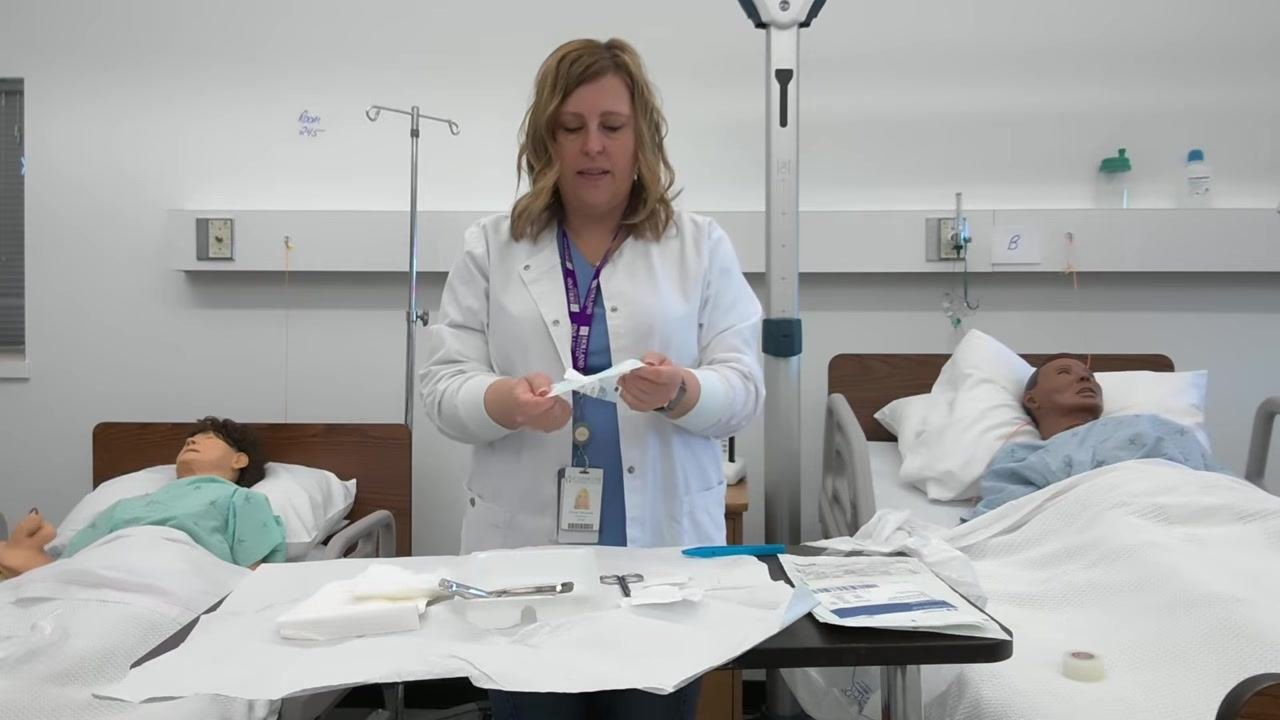
Keep all items within the central sterile area, away from the one-inch border, and make sure no supplies or wrappers hang over the edge of the field.
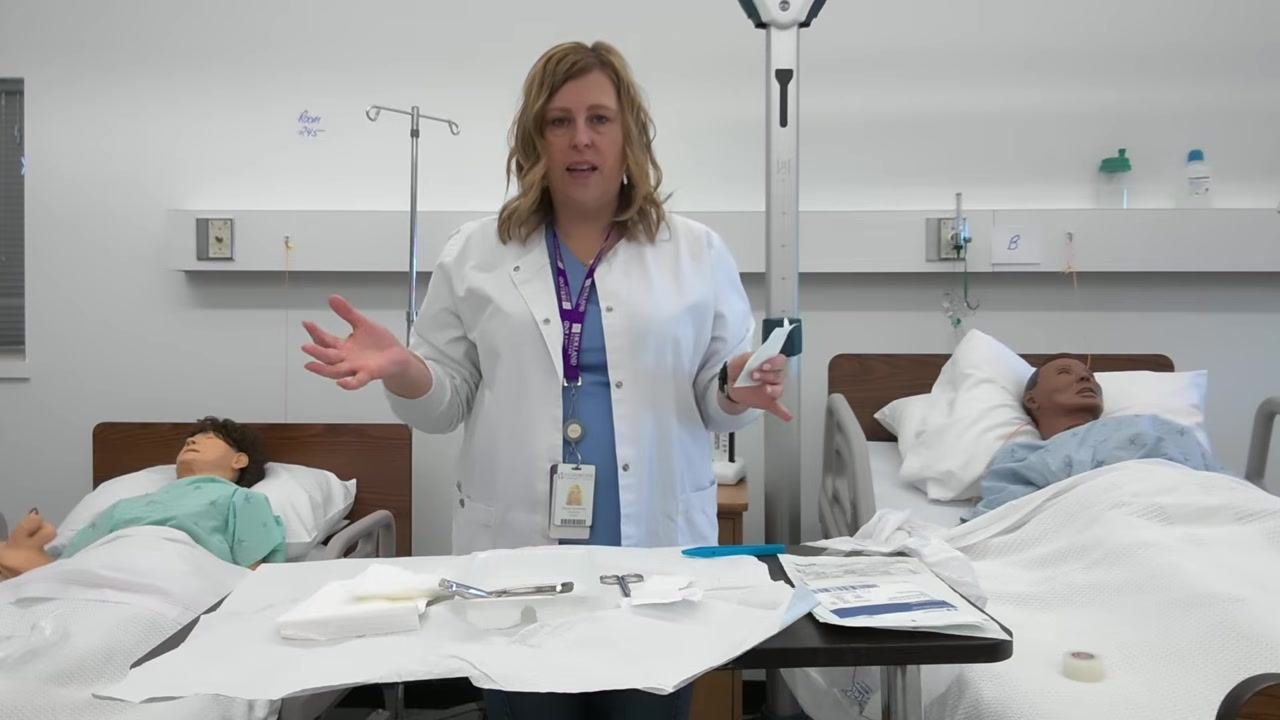
Open additional gauze packages in the same manner as needed, preparing to use forceps to handle the gauze while maintaining sterility.
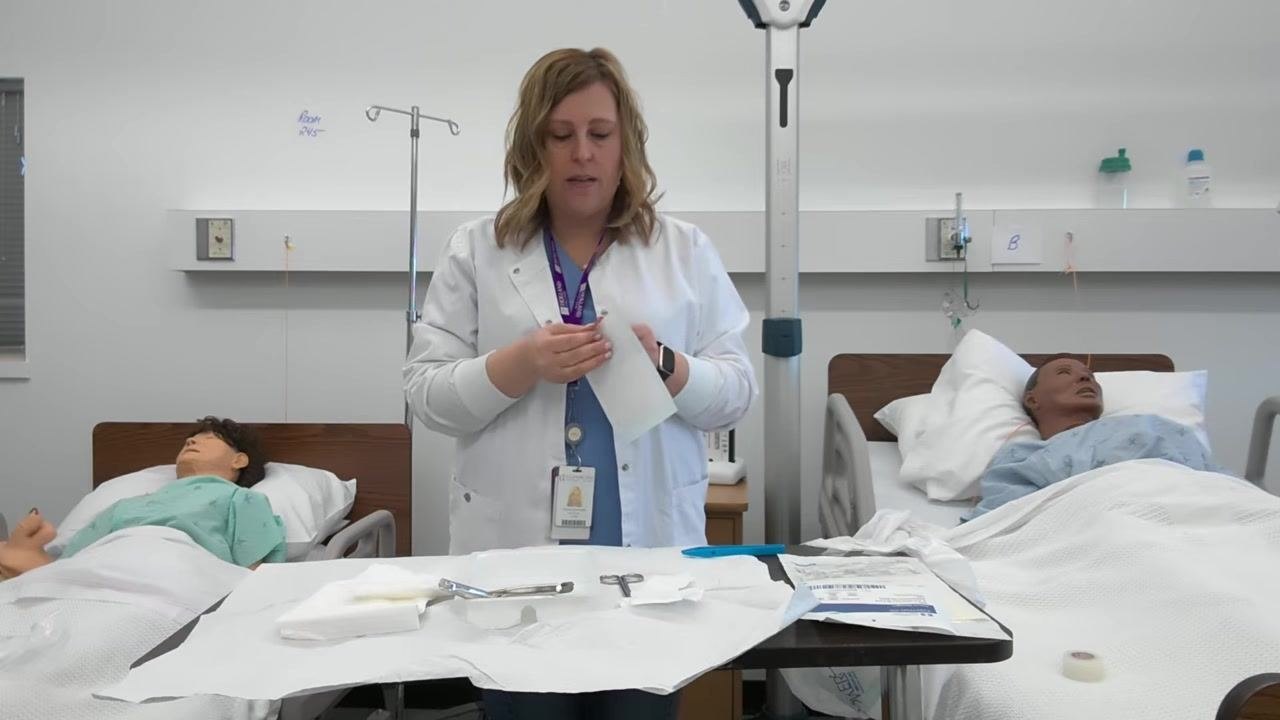
Use sterile forceps by picking them up at the handles, keeping the tips sterile, and use them to transfer gauze from the packaging to the sterile field if needed.
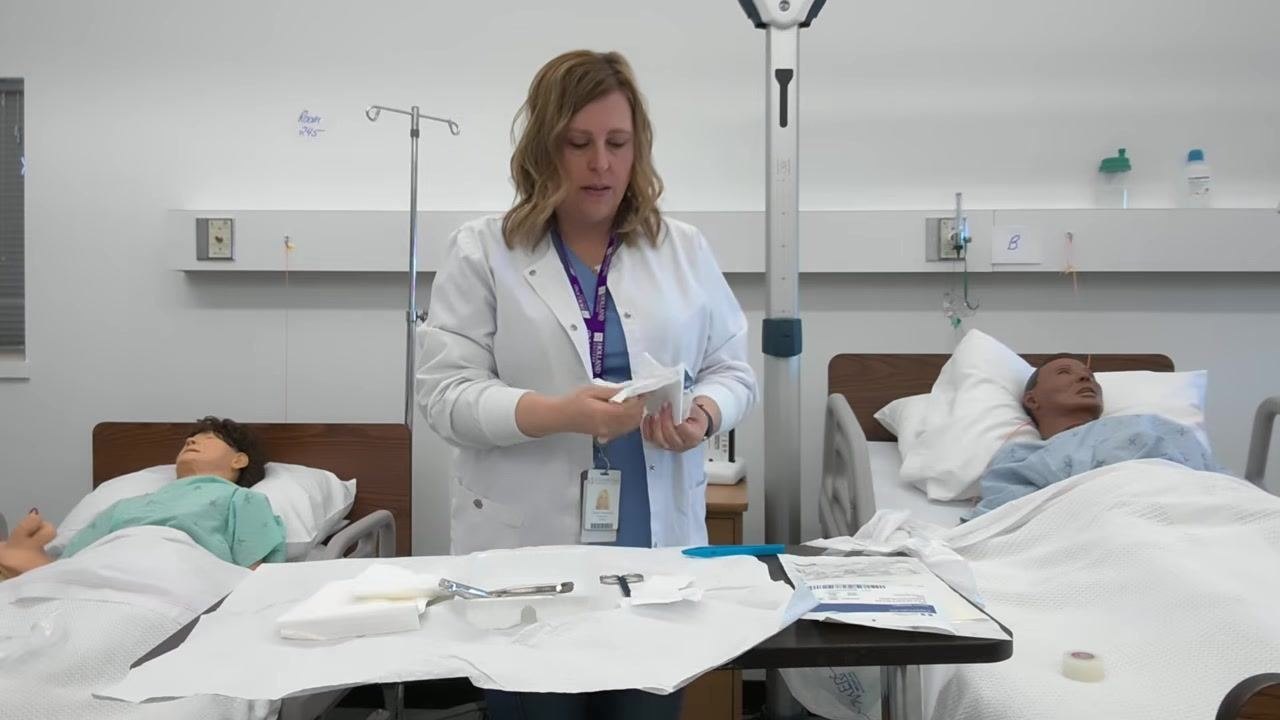
Limit the supplies on your sterile field to only those required for the procedure, keeping the field uncluttered and organized.
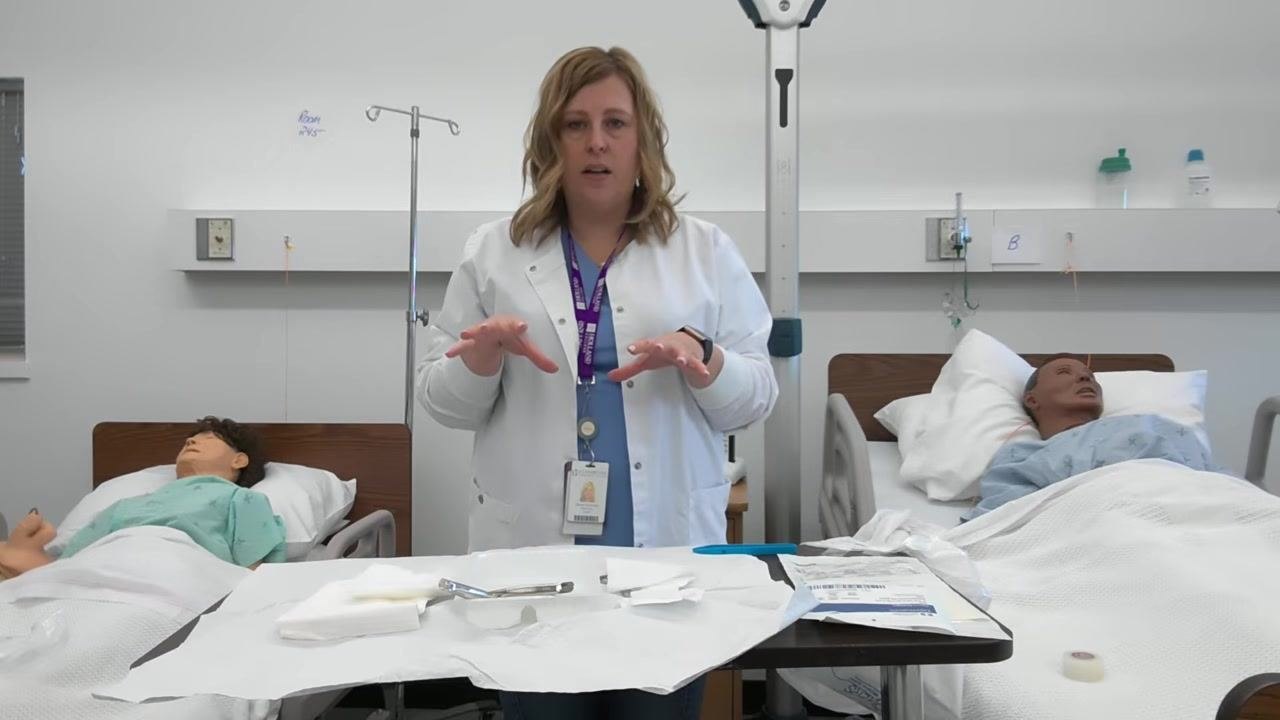
PPE requirements
| Item | Role | Requirement |
|---|---|---|
| Sterile gloves | Healthcare professional performing dressing change | Select correct size from sealed package; don using sterile technique |
| Sterile forceps | Healthcare professional | Handle only by handles, keep tips within sterile field |
| Dressing tray and drape | Healthcare professional | Sealed, unexpired, and inspected for intact packaging before use |
| Gauze (2x2 and 4x4) | Healthcare professional | Transferred to sterile field without touching packaging interior |
| Saline solution | Healthcare professional | Single-use, checked for expiration before opening |
Donning sterile gloves
Retrieve your sterile gloves from their sealed package and select the correct glove size for your hands.
Grasp the tray with one hand and gently slide it to a position that allows easy access to your sterile glove package, ensuring the sterile field remains undisturbed.
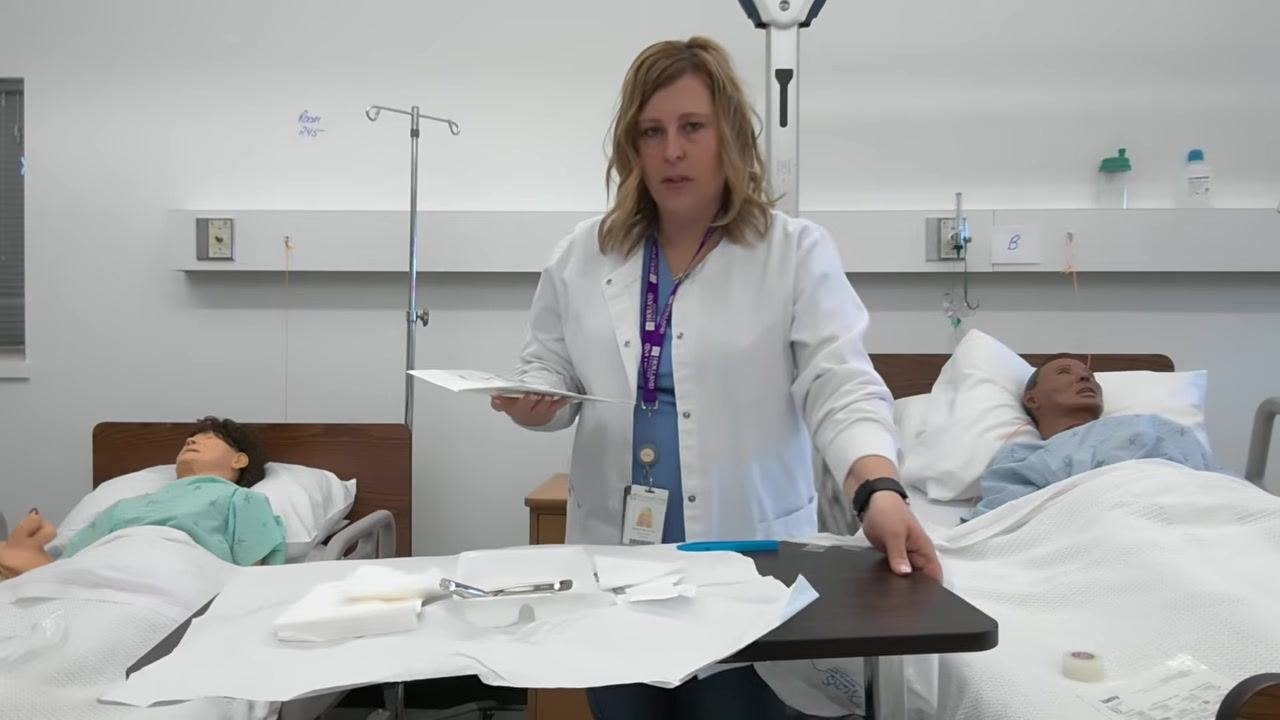
Place the glove package on the sterile field and carefully peel open the outer wrapper, exposing the inner sterile glove packaging without touching the gloves themselves.
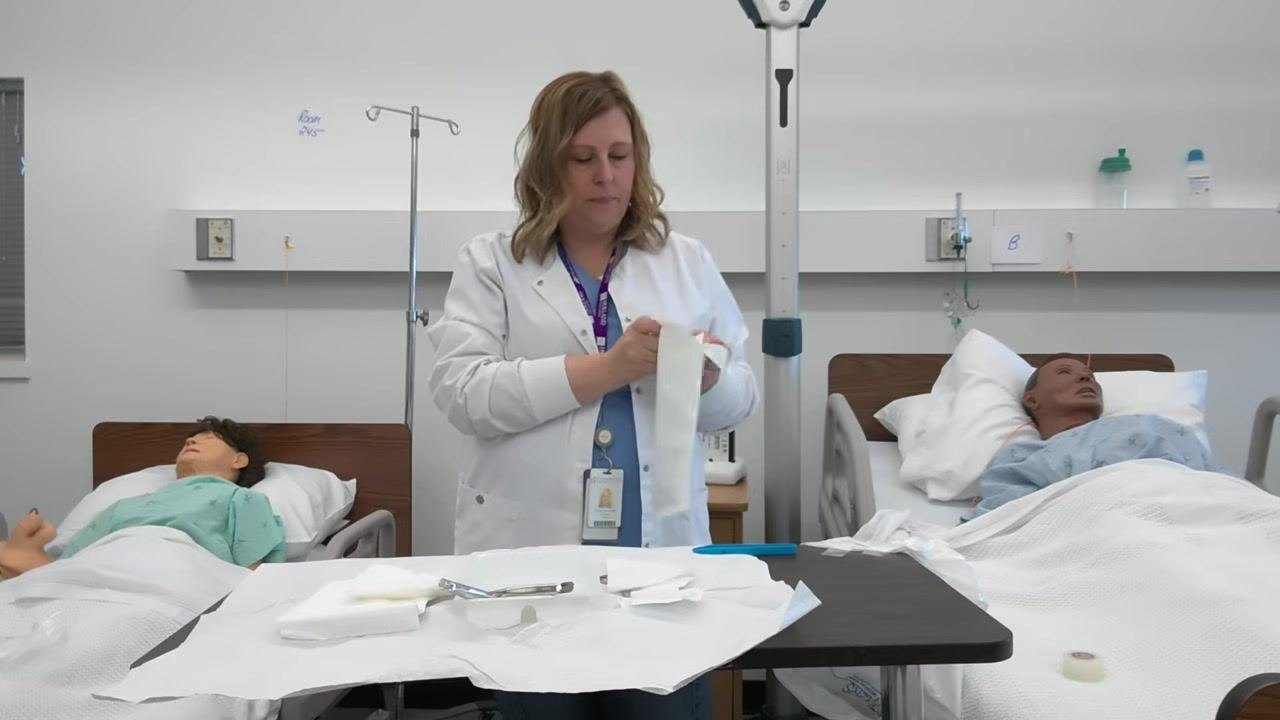
Using your non-dominant hand, pick up the first glove by the inside of the cuff only, and hold the glove open with the cuff facing you.
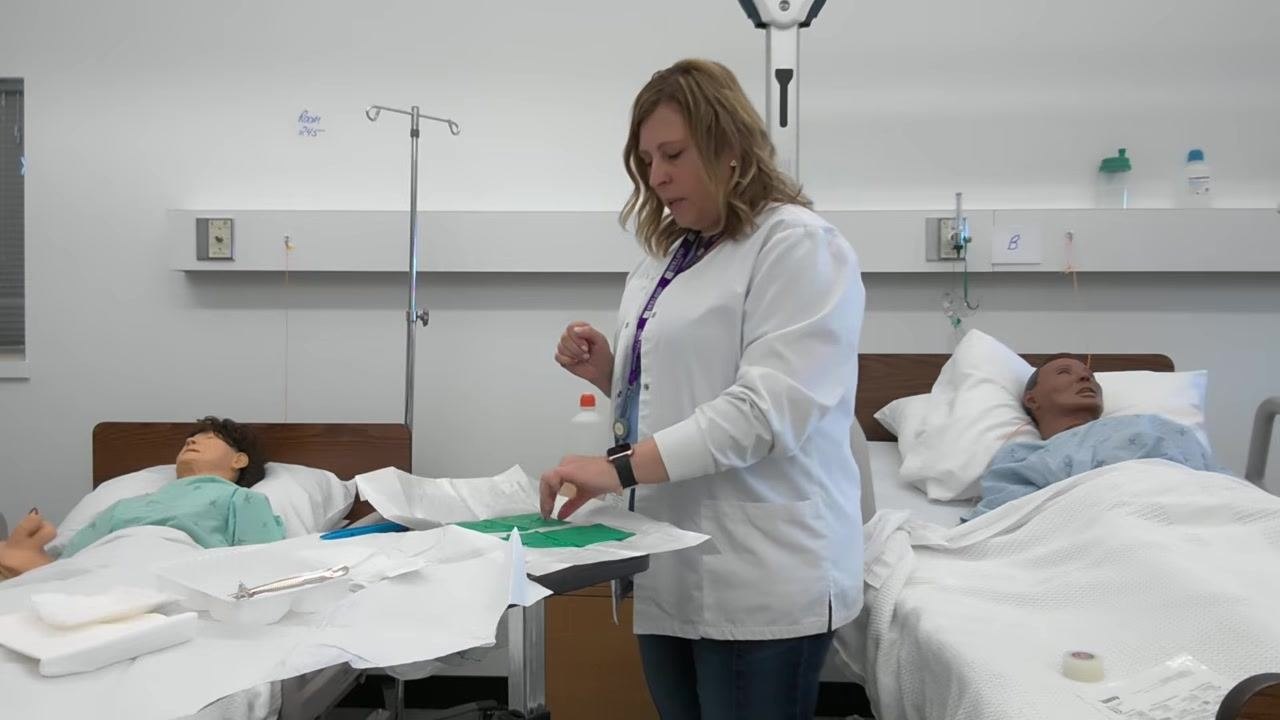
Slip your dominant hand into the glove, touching only the inside of the cuff with your non-dominant hand. The glove does not need to be perfectly straight at this point.
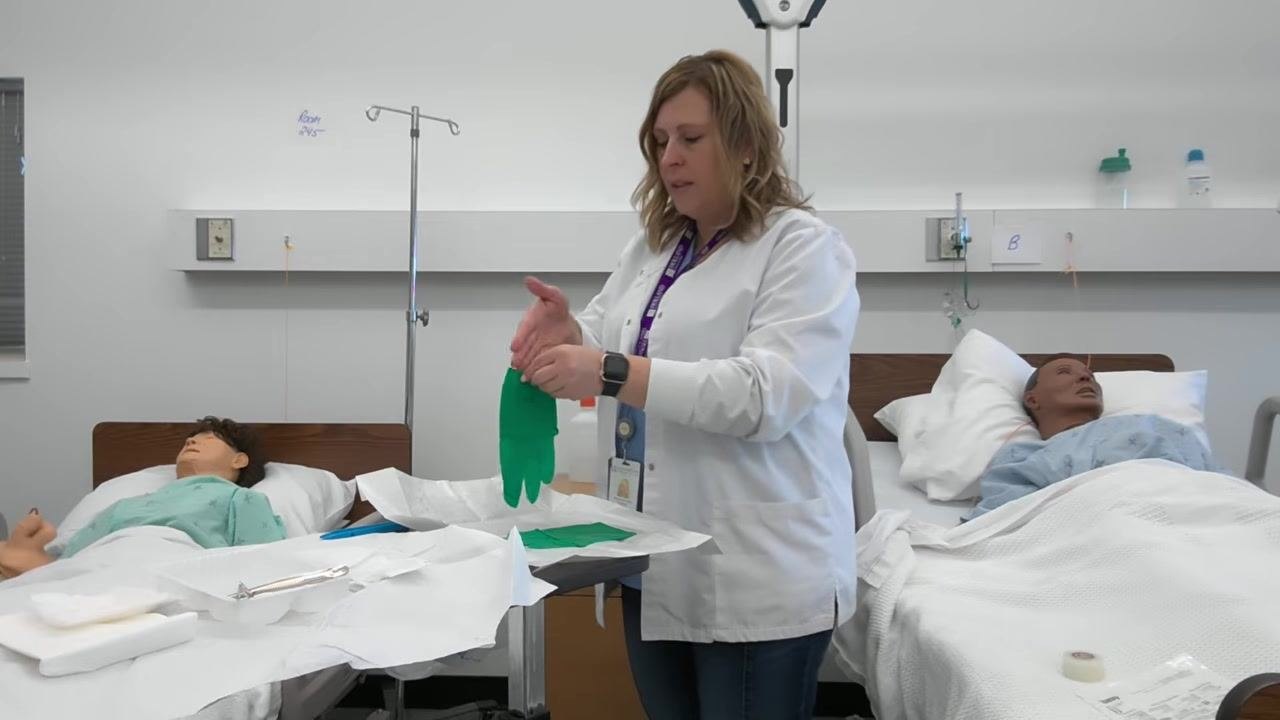
Once your dominant hand is gloved, hold it up and away from non-sterile surfaces, touching only the sterile glove packaging and the second glove.
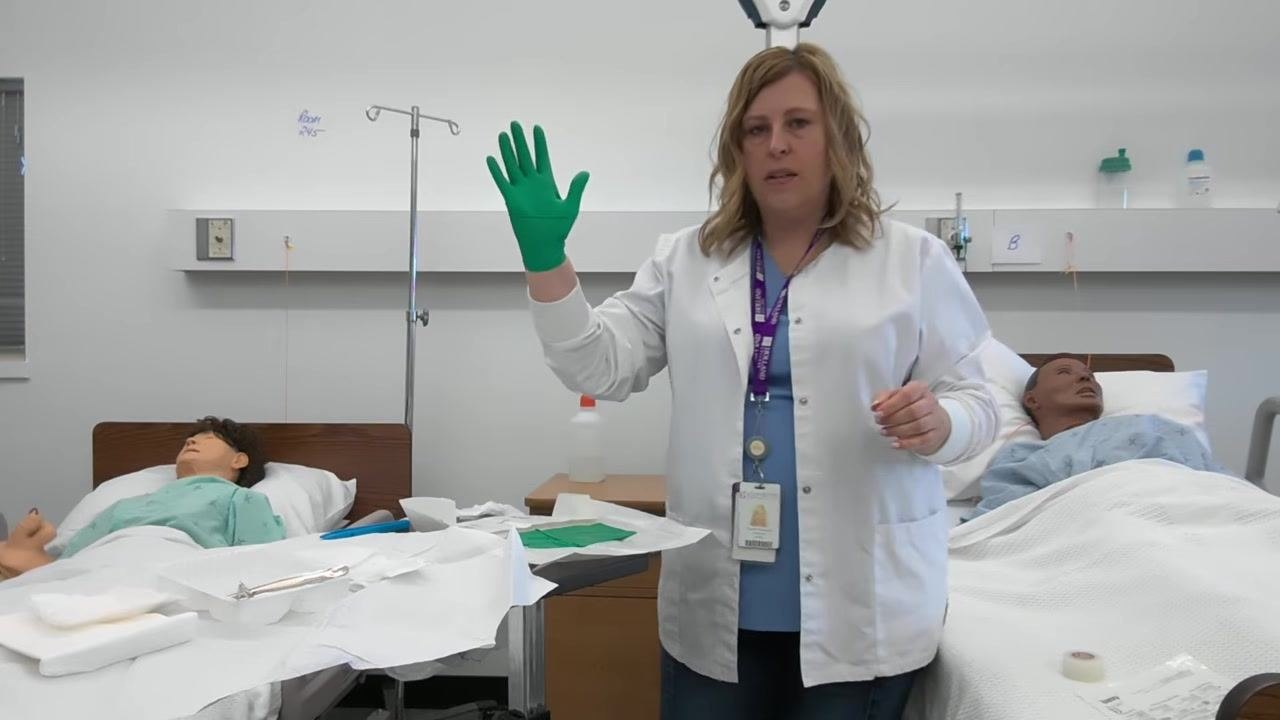
With your gloved dominant hand, slide your fingers under the cuff of the second glove and lift it, holding it open for your non-dominant hand.
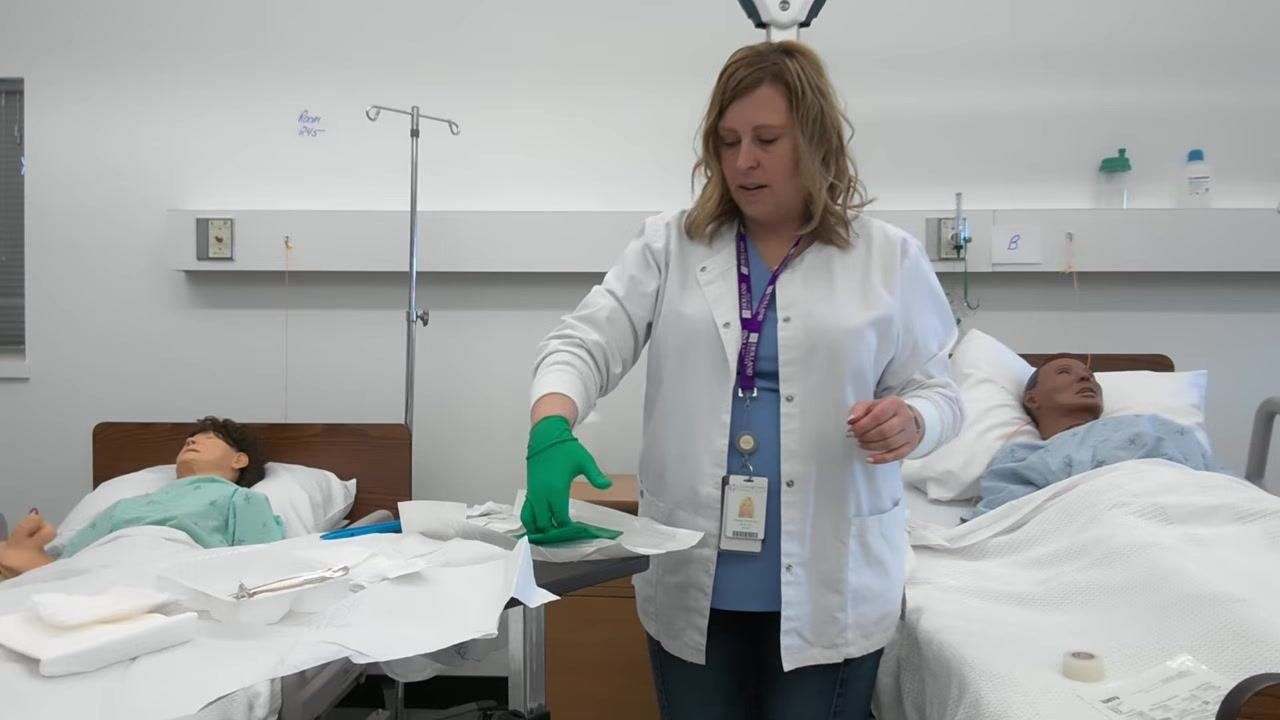
Carefully slip your non-dominant hand into the glove, touching only the inside of the cuff. Again, the glove does not need to be perfectly straight yet.
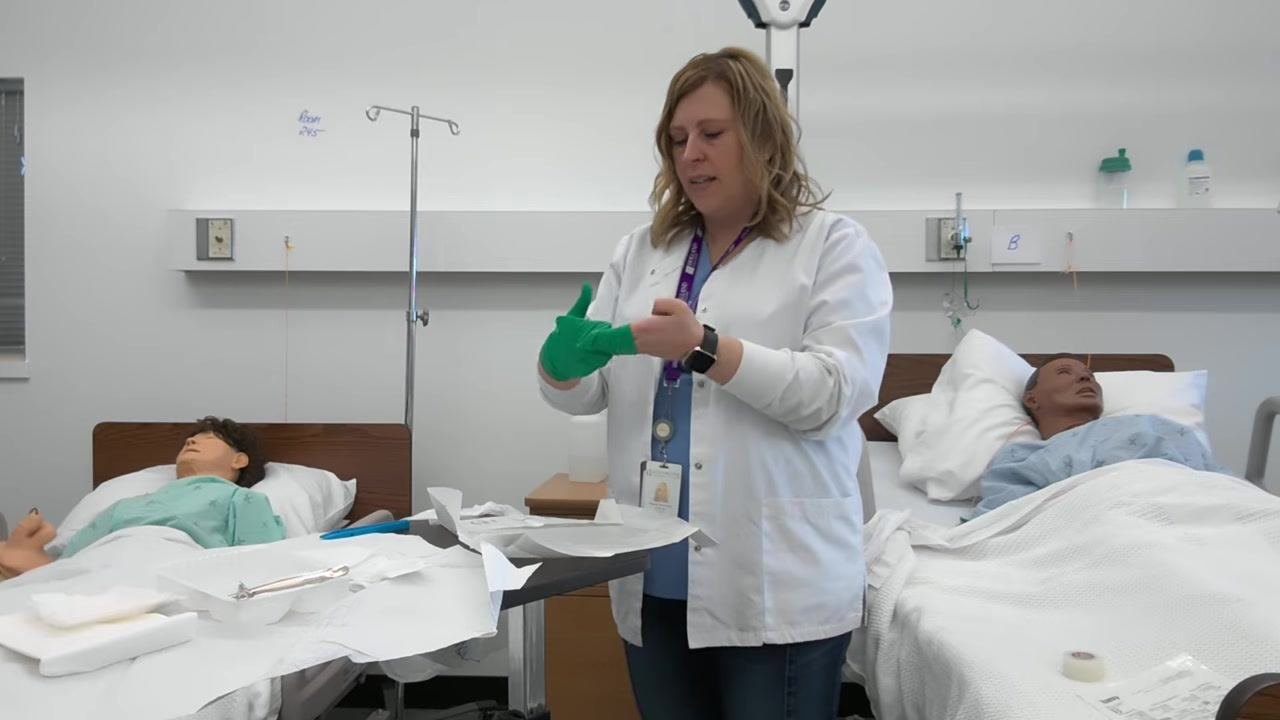
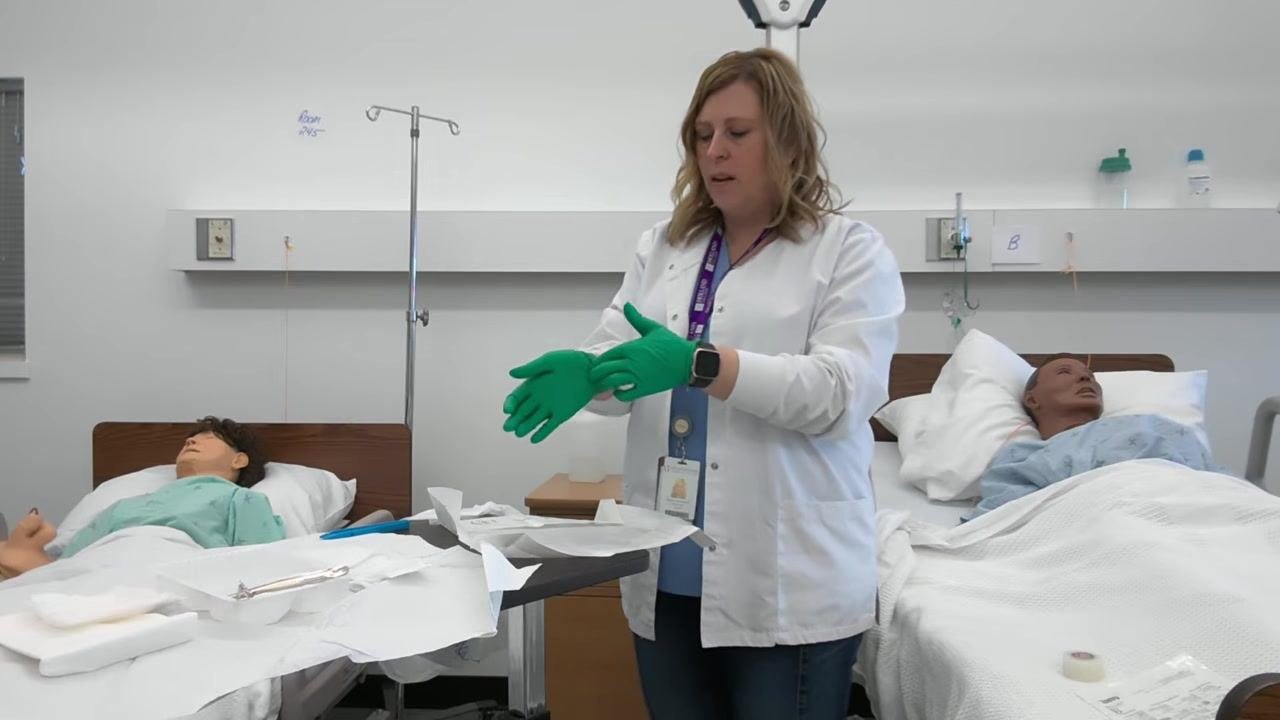
Once both gloves are on, use your gloved fingers to adjust the cuffs and straighten the gloves, ensuring a snug fit without contaminating them.
Hand Hygiene Protocol
Perform hand hygiene thoroughly before starting the procedure and reconfirm that you have done so before opening the tray. The source procedure does not specify a particular product (soap versus alcohol-based hand rub) or a compliance monitoring method; document your facility's approved hand hygiene product and monitoring process here.
Throughout the procedure, keep your gloved hands above waist level at all times to preserve sterility. Never allow your hands to drop below the waist, since this increases the risk of contamination.
Environmental Cleaning
Waste management during the procedure
Remove the small garbage bag from the dressing tray, open it fully, and tape it to the corner of the table or tray to keep it accessible for disposing of used materials.
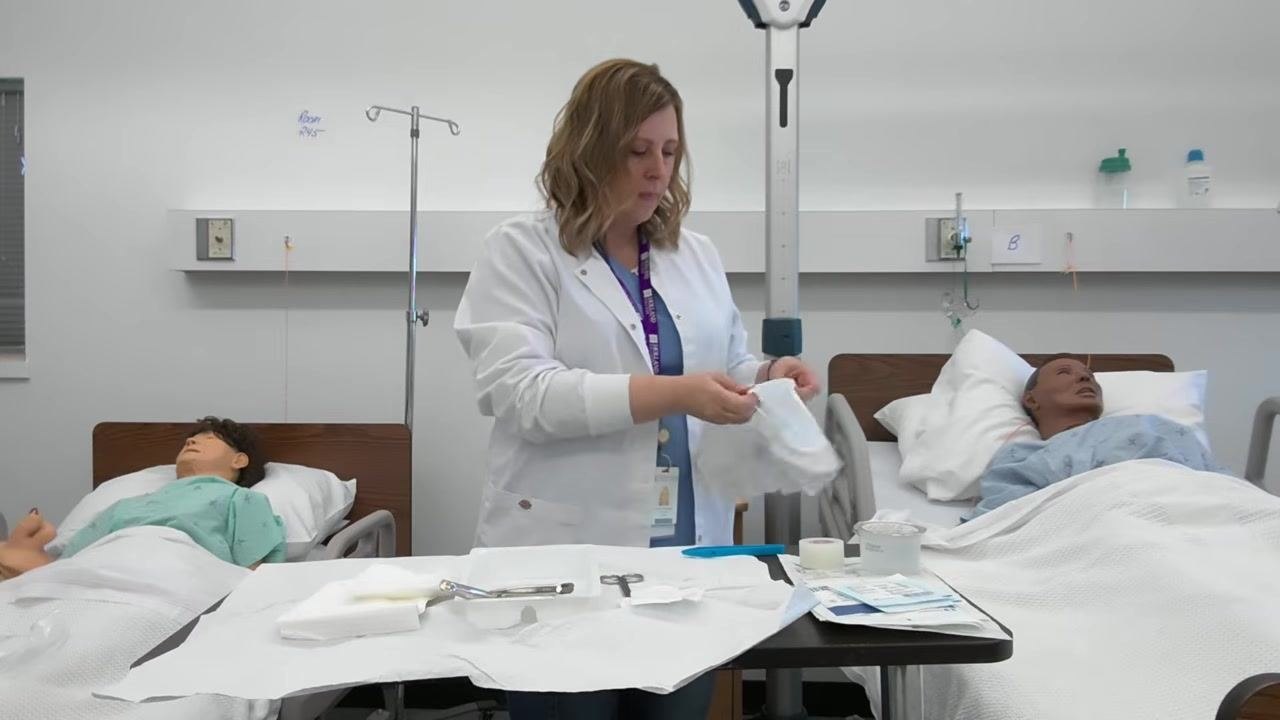
Use the attached garbage bag to dispose of non-sterile or used items, placing any packaging, used gauze, or other waste directly into the bag to maintain a clean workspace.
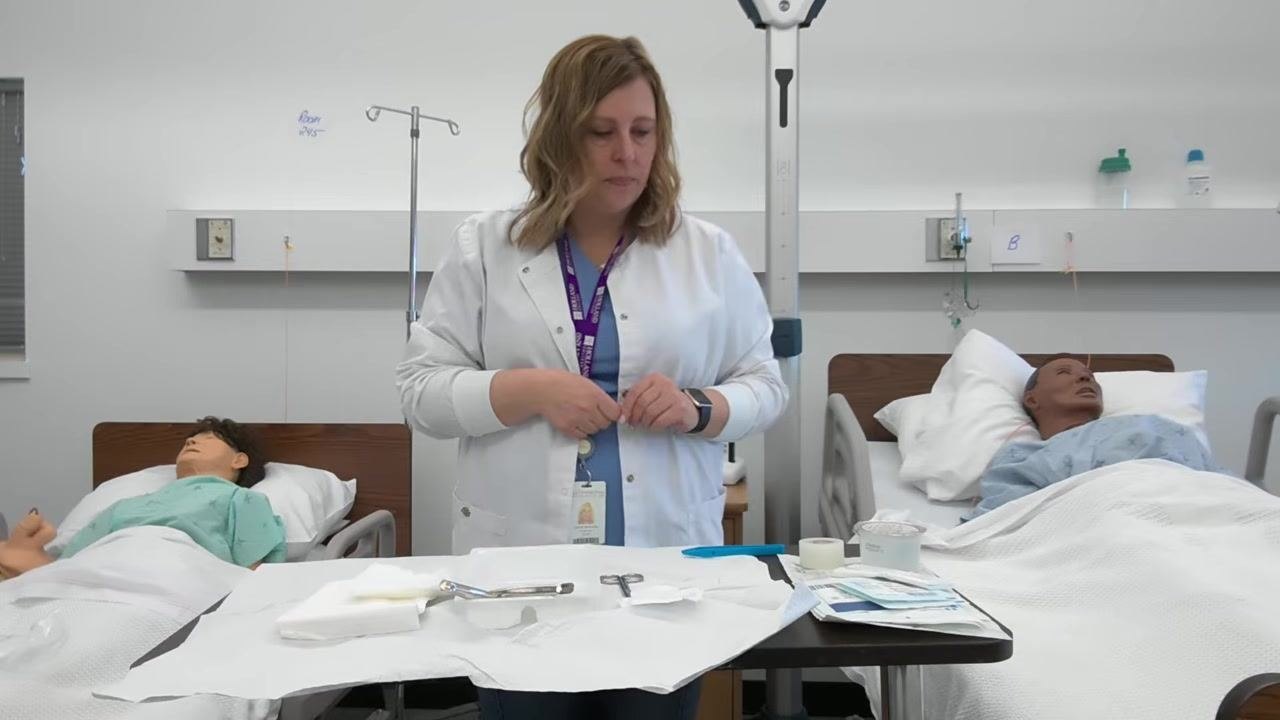
Handling sterile fluid
Retrieve the saline solution container and check the expiration date to confirm it is still valid. Confirm the saline is a single-use container and plan to discard any unused portion after the procedure.
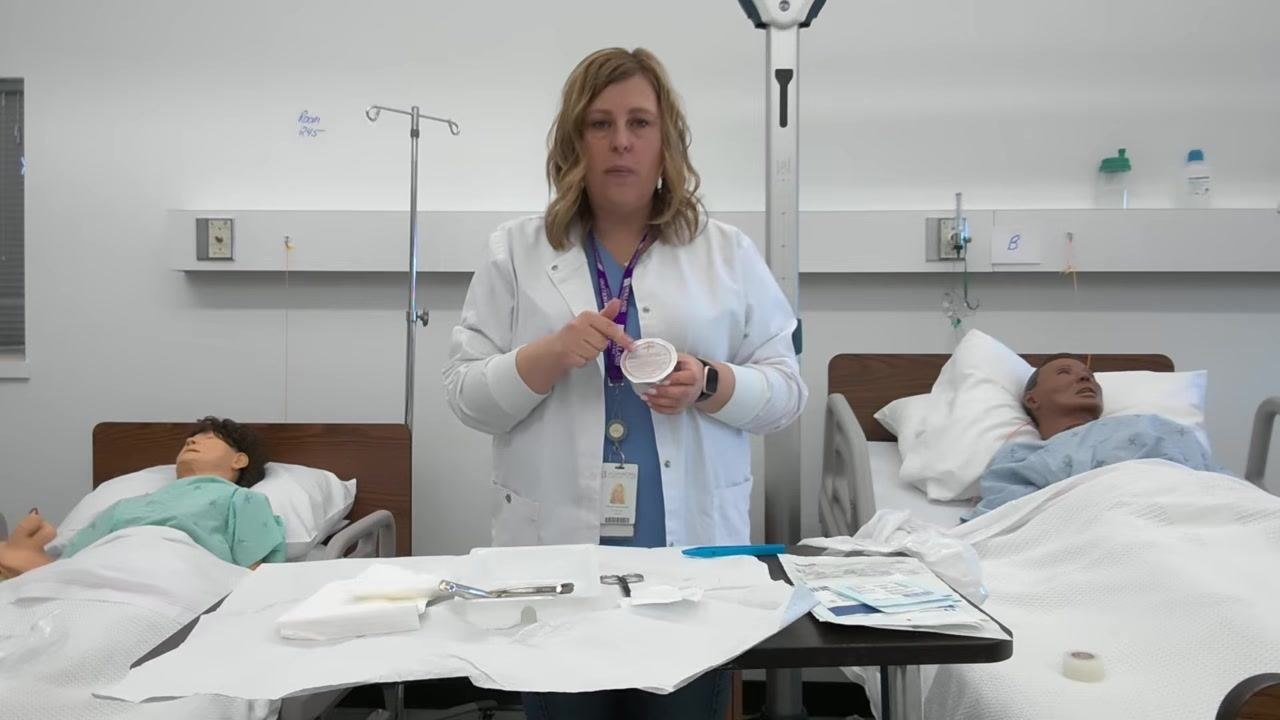
Remove the cap or seal from the saline container without contaminating the spout, then "lip" the container by pouring a small amount into the garbage bag to rinse and sterilize the spout before use.
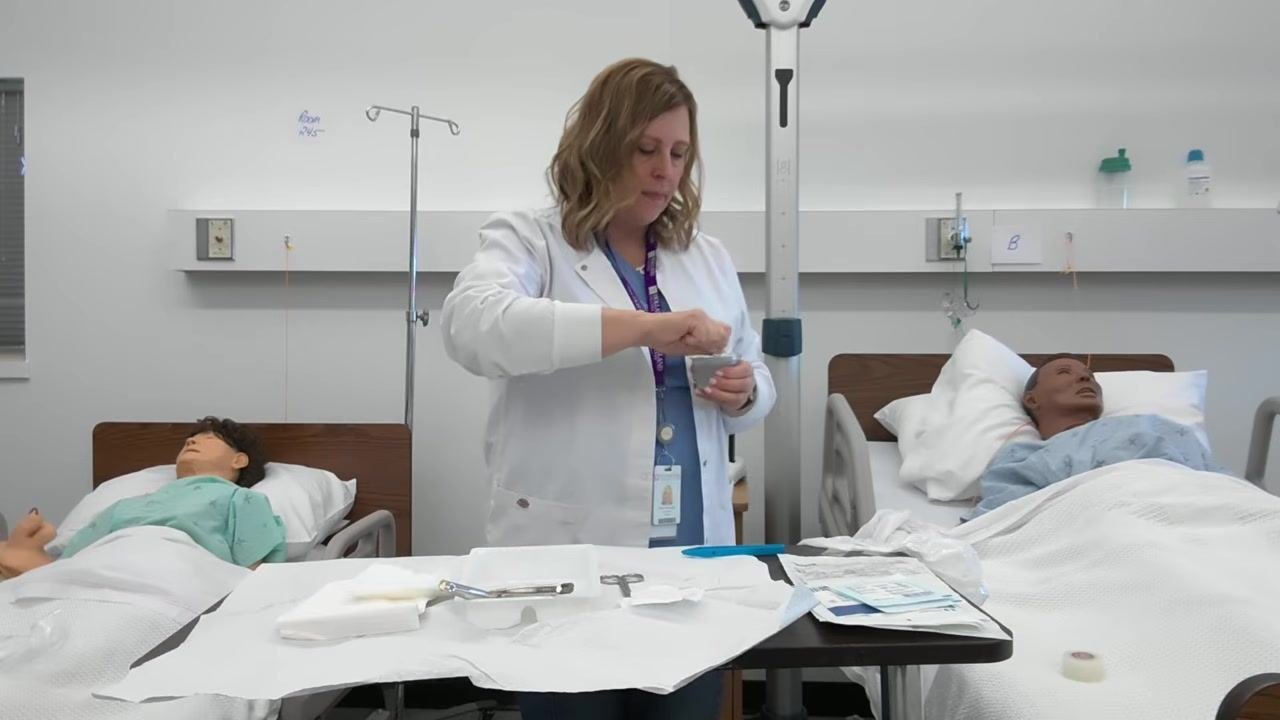
Hold the saline container close to the tray to avoid splashing and pour the required amount into the designated sterile area. Discard the used container into the garbage bag immediately after use.
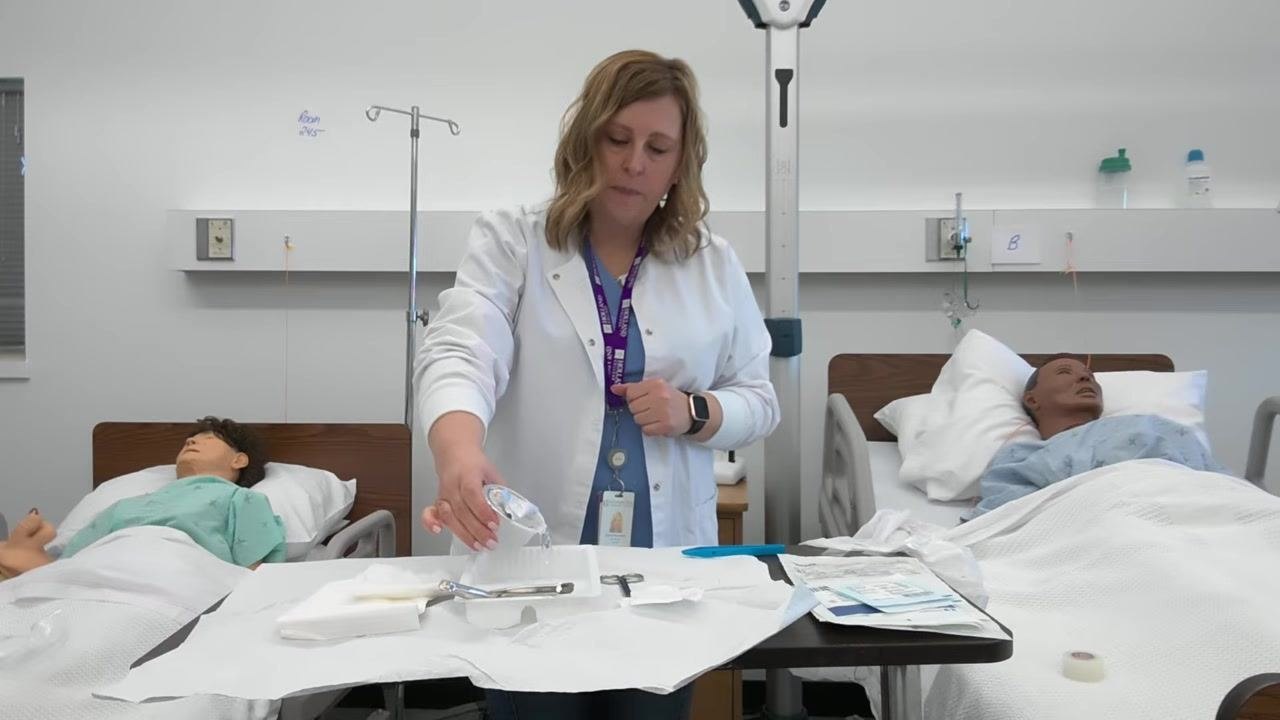
Hold the empty or used saline container above the garbage bag attached to the corner of the table and drop it directly in. Ensure no part of the used container touches the sterile tray or supplies.
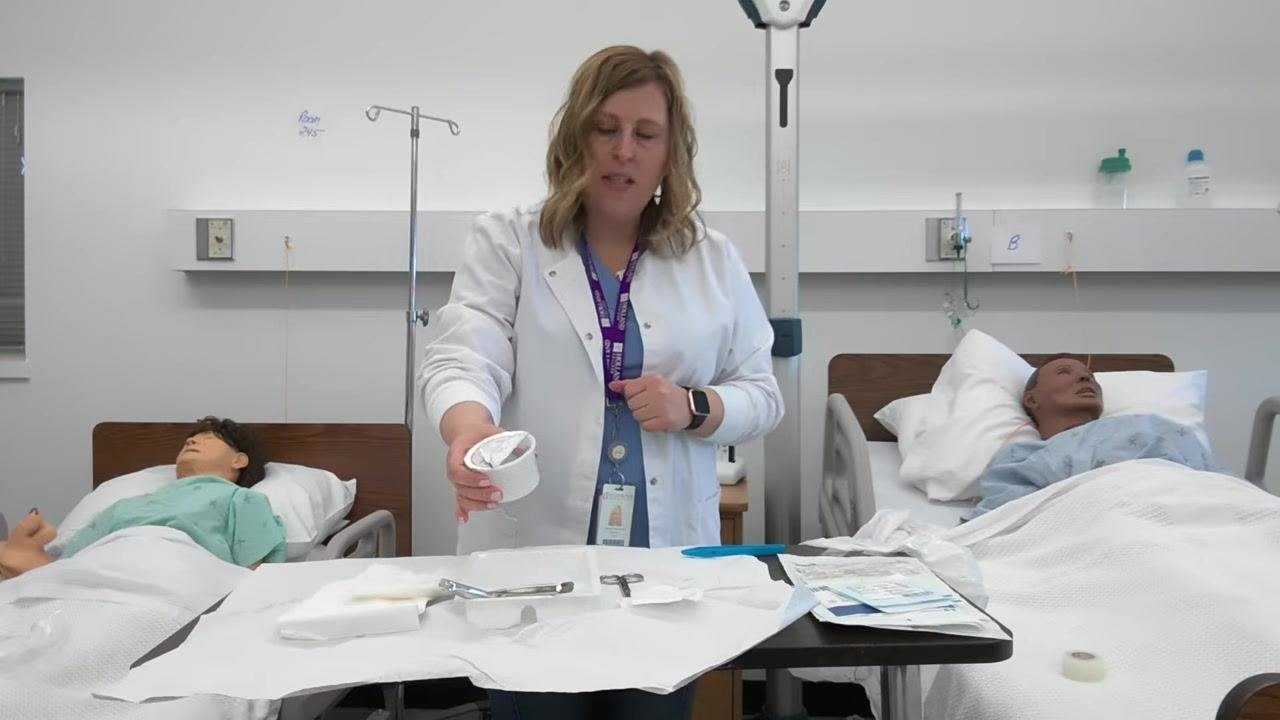
Managing used and contaminated items
Grasp any used or contaminated items, such as wrappers or packaging, by the center and move them away from the sterile field. Slide the sterile tray forward to keep your working area organized and accessible.
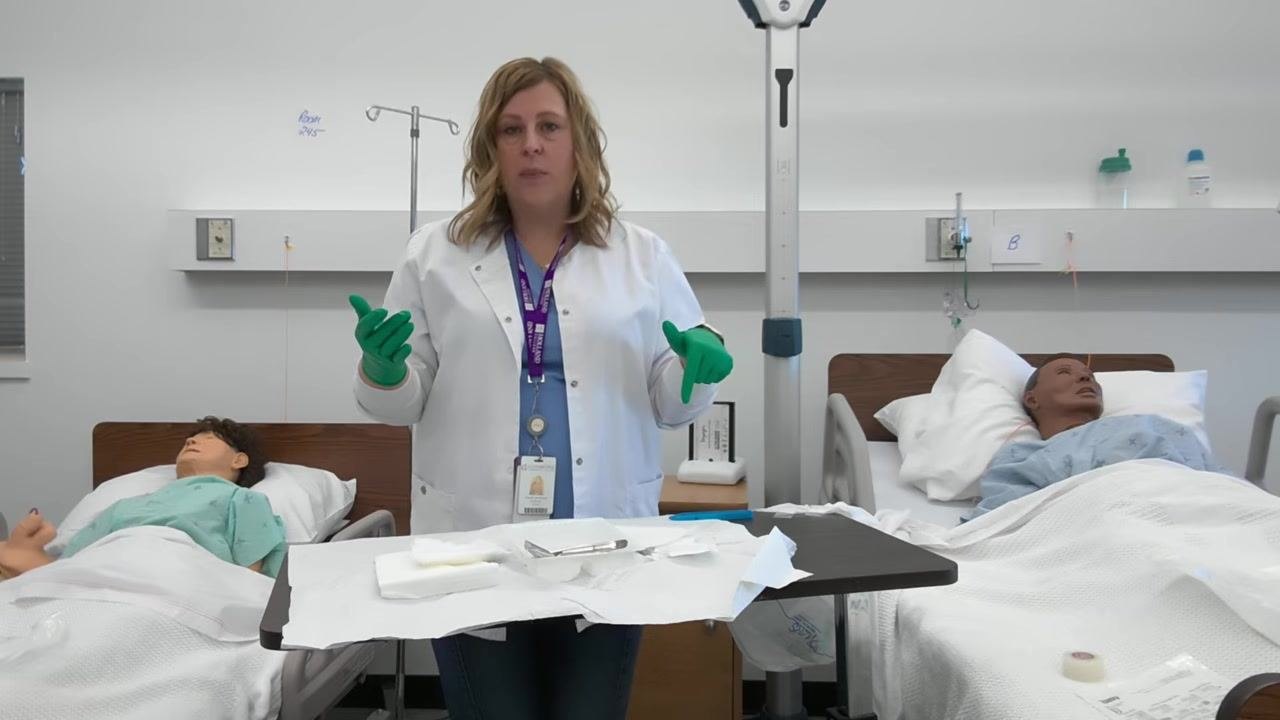
If an instrument, such as blue forceps, becomes contaminated by touching a non-sterile surface or being grabbed by the tip end, do not use it further. Remove contaminated instruments from the tray immediately.
Use your sterile gloves to arrange items such as gauze, forceps, and bowls on the tray, keeping all items within easy reach and not overlapping.
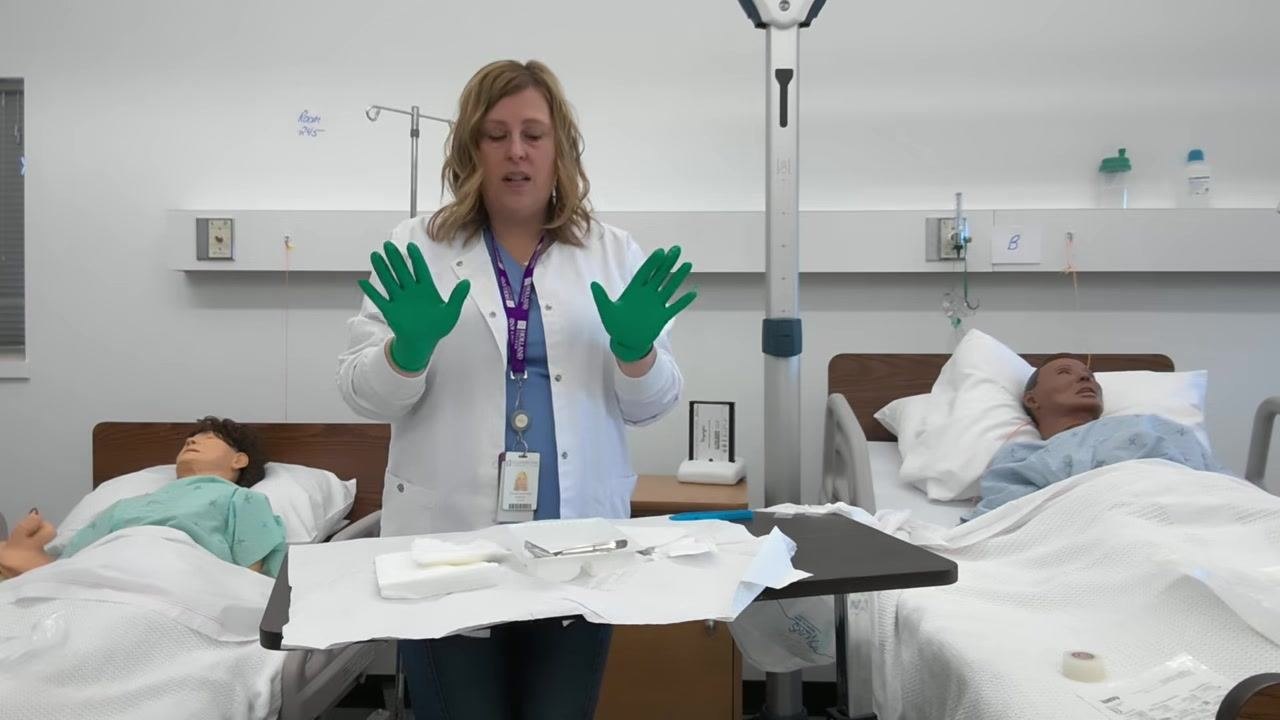
When performing a dressing procedure, always return only clean, unused items to the sterile tray, and never place used or dirty items back onto the sterile field.
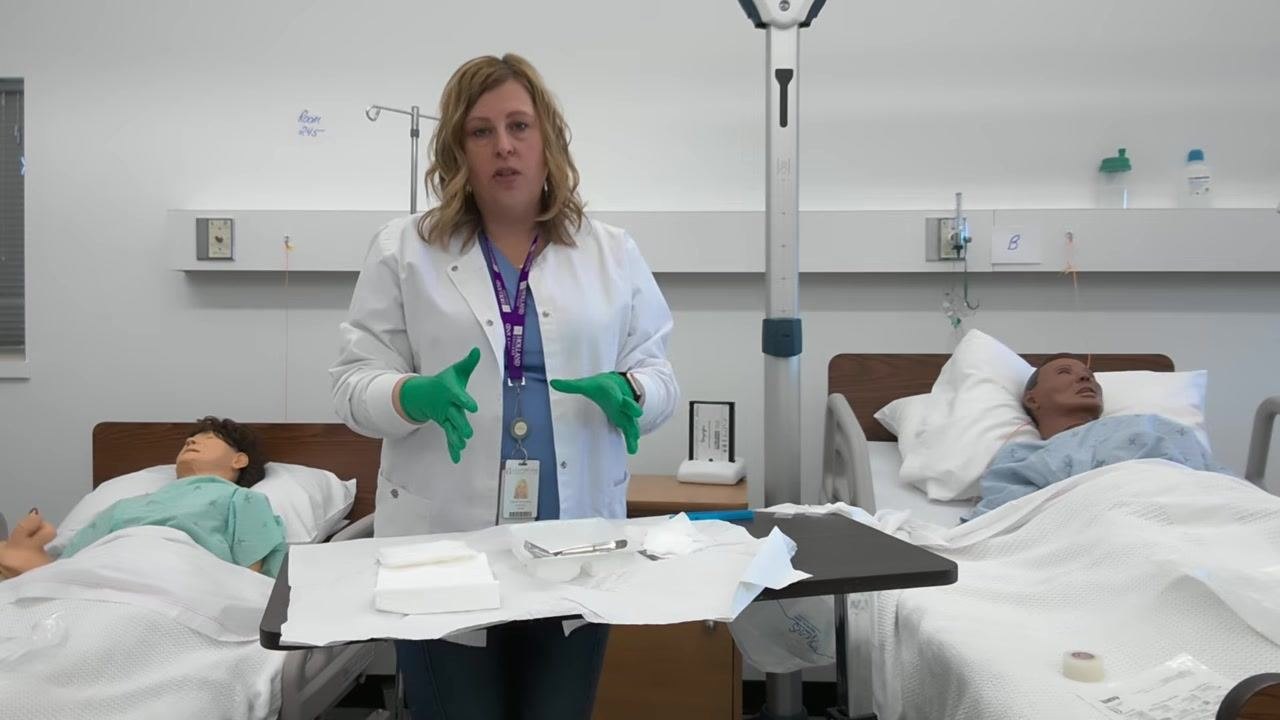
After using an item, such as a swab for wound cleaning, dispose of it in the garbage immediately rather than returning it to the sterile tray.
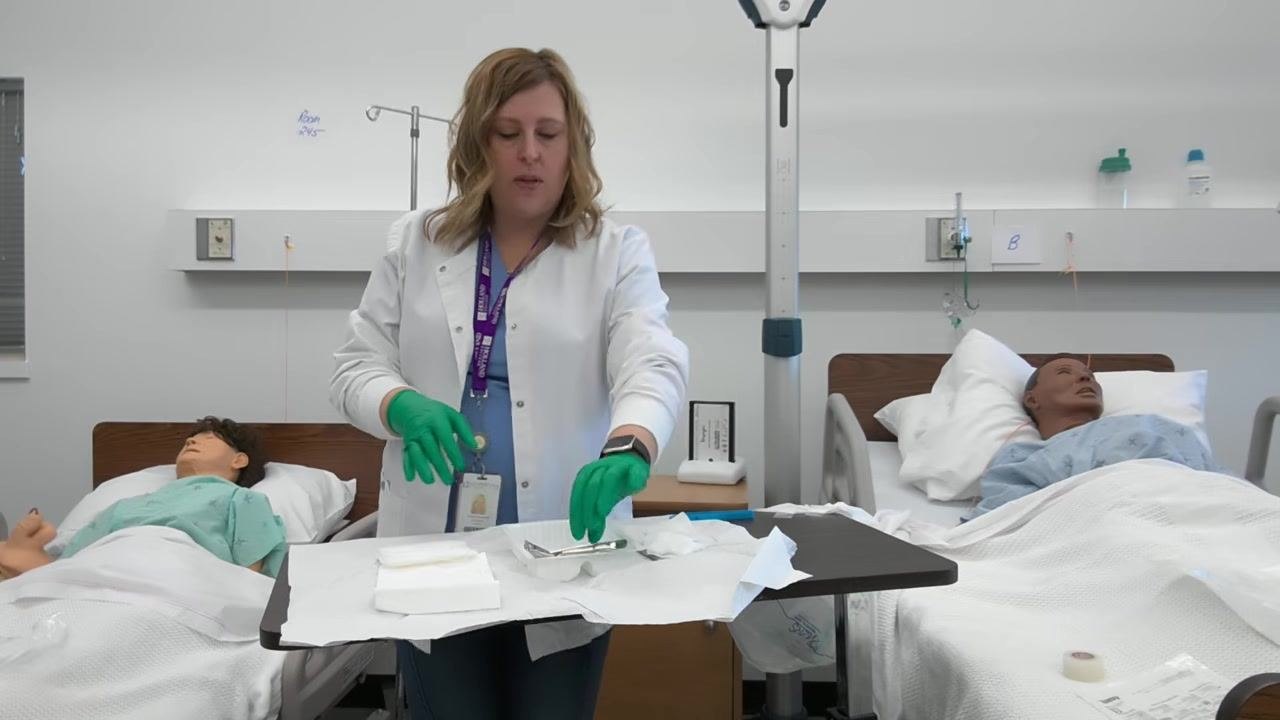
| Item | When to discard | Disposal method |
|---|---|---|
| Opened packaging and wrappers | Immediately after removing sterile contents | Place into garbage bag taped to table |
| Used saline container | Immediately after pouring | Drop into garbage bag without touching sterile tray |
| Contaminated instruments | As soon as contamination occurs | Remove from tray and discard |
| Used swabs or gauze | Immediately after use on the wound | Dispose in garbage bag; never return to tray |
Surveillance & Reporting
The source procedure does not include outbreak thresholds, mandatory reporting requirements, or a line listing template; this section should document your facility's surveillance criteria and reporting workflow for wound infections related to dressing procedures.
Staff Education
Leave only clean, necessary supplies on the tray in preparation for dressing changes, which are demonstrated as a separate step; this stage focuses on tray setup and maintaining sterility.
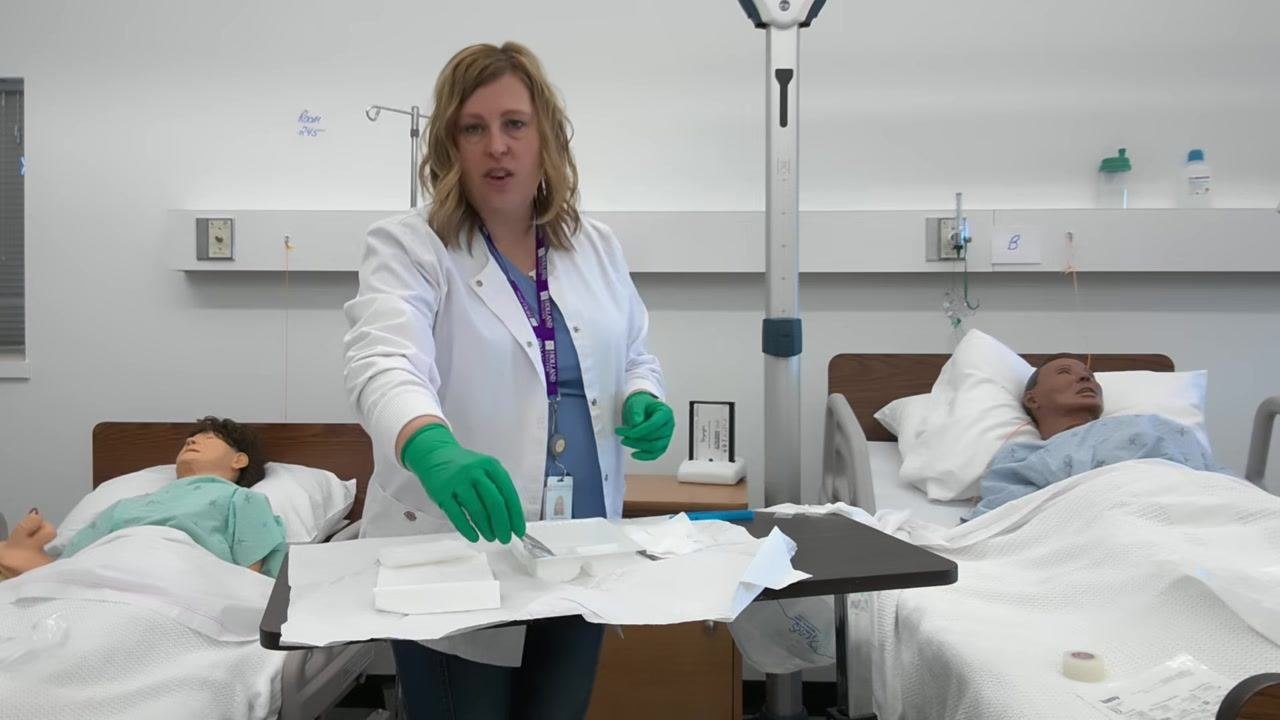
Review that all steps for maintaining sterility and proper glove technique have been followed, confirming that the tray is organized, hands remain sterile, and contaminated items have been properly discarded.
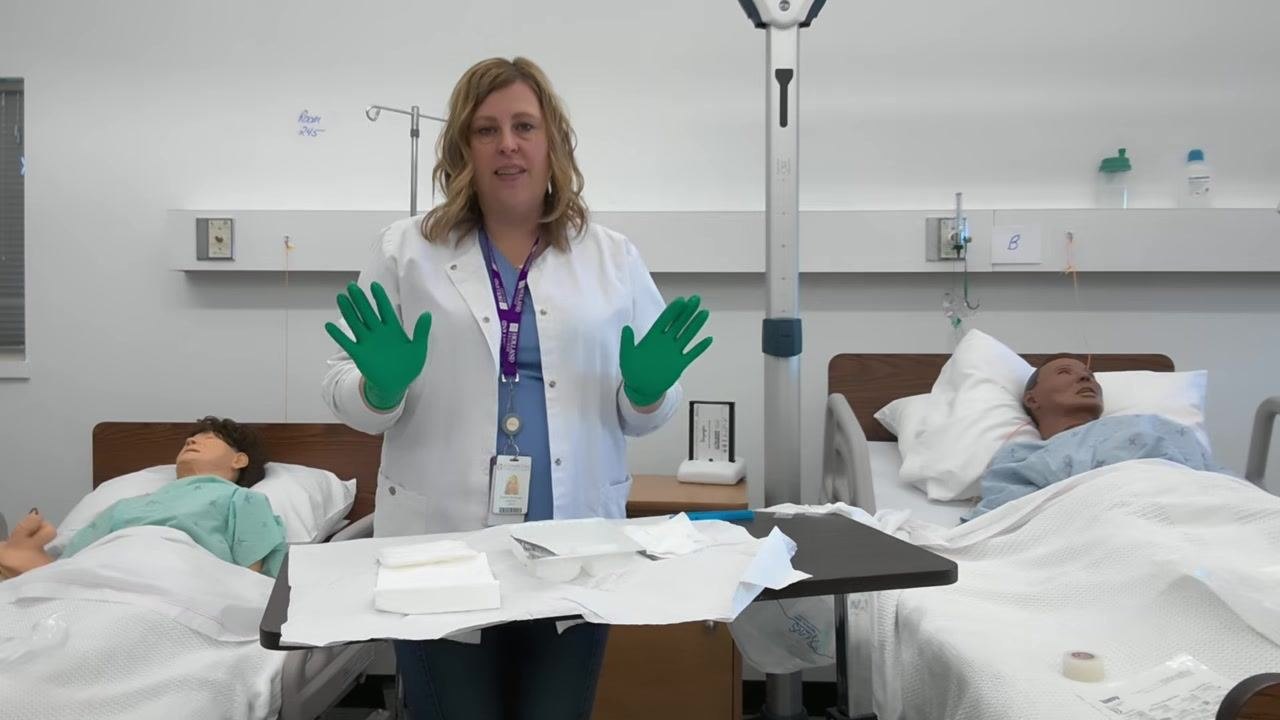
The source material does not specify formal training requirements, competency assessment criteria, or an annual refresher schedule; these should be defined according to your facility's clinical education policy, using this procedure as the basis for competency verification on sterile field setup and sterile gloving.
Generation details: cost, quality tiers, downloads
Docsie billed 5,000 credits ($3.50) to analyze this 10-minute video at standard quality. The rewrite, template fill and Word/PDF exports were included. The same video at each quality tier:
| Quality | Frames sampled | Credits | Approx. cost |
|---|---|---|---|
| Draft | every 16-30 s | 2,500 | $1.75 |
| Standard (this guide) | every 8-15 s | 5,000 | $3.50 |
| Detailed | every 4-7 s | 10,000 | $7.00 |
| Ultra | every 1-3 s | 20,000 | $14.00 |
Credits priced at $0.70 per 1,000; plans include a monthly allowance. Enterprise customers on on-premise or bring-your-own-model deployments run this on their own inference and pay no per-video credits.
Generated by Docsie Video-to-Docs on 2026-09-14 from a 9-minute video. It was generated straight into Docsie's Infection Control Protocol template, so every section of that template is filled from the video. Screenshots are frames from the source video and belong to their creator, Nursing Arts ACC Parkland Campus, whose original is embedded above. If you own this video and want the guide removed or credited differently, contact us and we will act within one business day.