
How to Remove PPE in Order
This document explains how to remove PPE in order, following the removal sequence demonstrated in CDC Example One. Removing personal protective equipment (PPE) in the correct order prevents cross-contamination between contaminated surfaces and your skin, clothing, or the surrounding environment. Follow each step below in sequence to complete a safe PPE removal.
Video: How to Remove PPE Correctly (Doffing PPE) | CDC Guidelines by atDove (2020). All credit for the demonstration goes to the creator; watch the original on YouTube. The written guide below was generated from this video by Docsie. Creator? Request a change or removal.
This document explains how to remove PPE in order, following the removal sequence demonstrated in CDC Example One. Removing personal protective equipment (PPE) in the correct order prevents cross-contamination between contaminated surfaces and your skin, clothing, or the surrounding environment. Follow each step below in sequence to complete a safe PPE removal.
Purpose
The purpose of this procedure is to guide healthcare personnel through the correct, step-by-step method for removing PPE in order, based on CDC guidance, so that contaminated items never contact exposed skin, clean surfaces, or other people.
Scope
This procedure applies to any staff member who has worn a gown, gloves, mask, and goggles or a face shield during patient care and must now remove that equipment safely before leaving the clean area.
Required equipment and PPE
Before beginning removal, confirm the following are available:
- Full PPE currently worn: gown, gloves, mask, and goggles or face shield
- A designated waste/trash container for disposal
- Hand hygiene supplies: a sink with soap and water, or alcohol-based hand sanitizer
- A copy of the CDC PPE removal guide, if available, for reference
Step-by-step removal procedure
Step 1: Prepare to remove PPE
Stand in a clean area, away from patient care zones. Confirm you have access to a trash bin and hand hygiene supplies (sink or alcohol-based hand sanitizer). Review the CDC PPE removal guide if one is available before you begin.
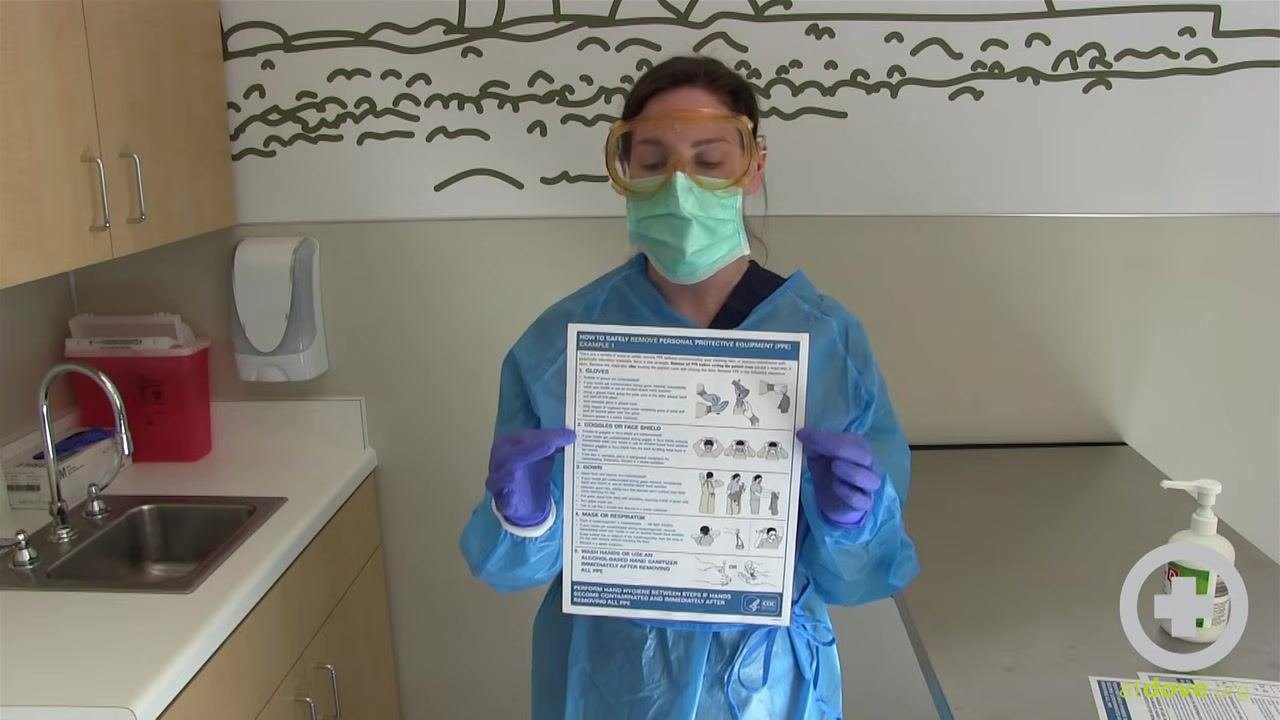
Step 2: Review the removal steps
Hold the CDC instruction sheet in front of you and read through the steps for Example One before starting the physical removal process.
Step 3: Remove the first glove
Hold your palm out. Using your opposite gloved hand, carefully pinch the outside of one glove near the wrist. Work the glove down, turning it inside out as you pull it off. Avoid touching your exposed skin with the contaminated glove.
Step 4: Dispose of the first glove
Hold the removed glove in your still-gloved hand. At this point, your ungloved hand is clean and your gloved hand remains dirty. If you accidentally touch a contaminated surface, immediately wash your hands or use alcohol-based hand sanitizer.
Step 5: Loosen the second glove
With your clean, ungloved hand, slide a finger under the cuff of the remaining glove, touching only the inside, clean part of the glove.
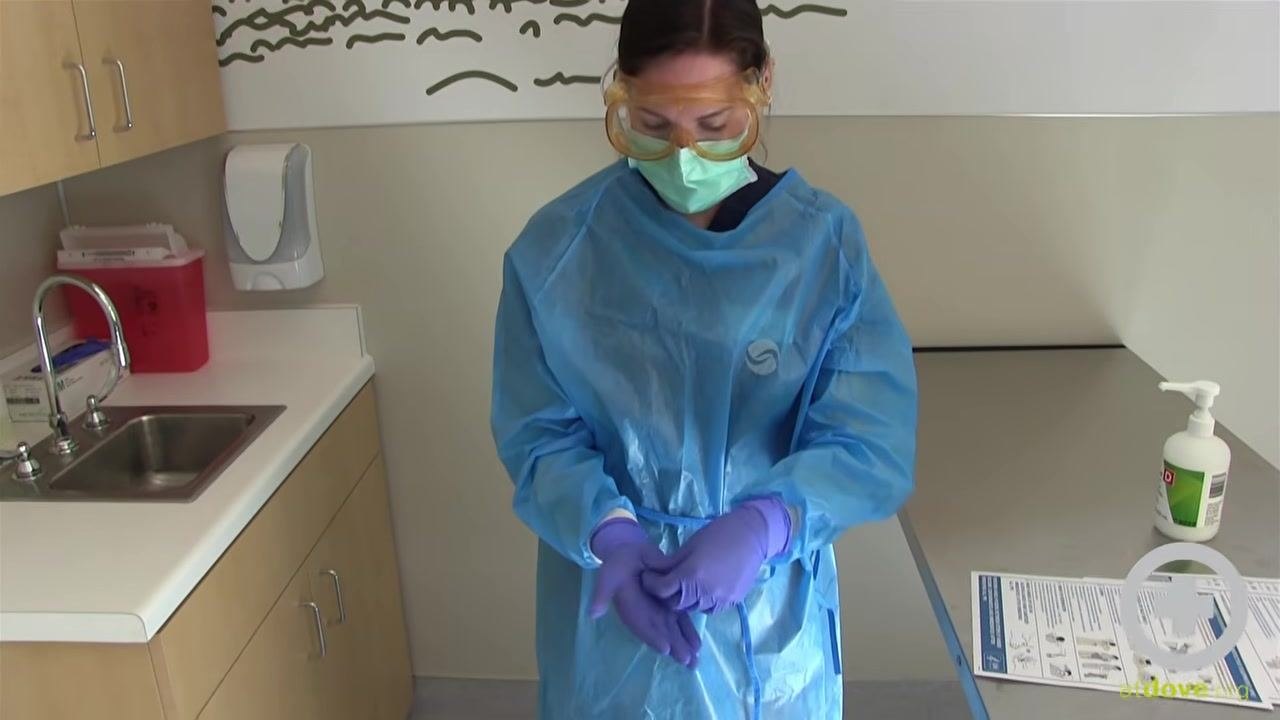
Step 6: Remove the second glove
Carefully work the glove off, turning it inside out so that the first glove is trapped inside it.
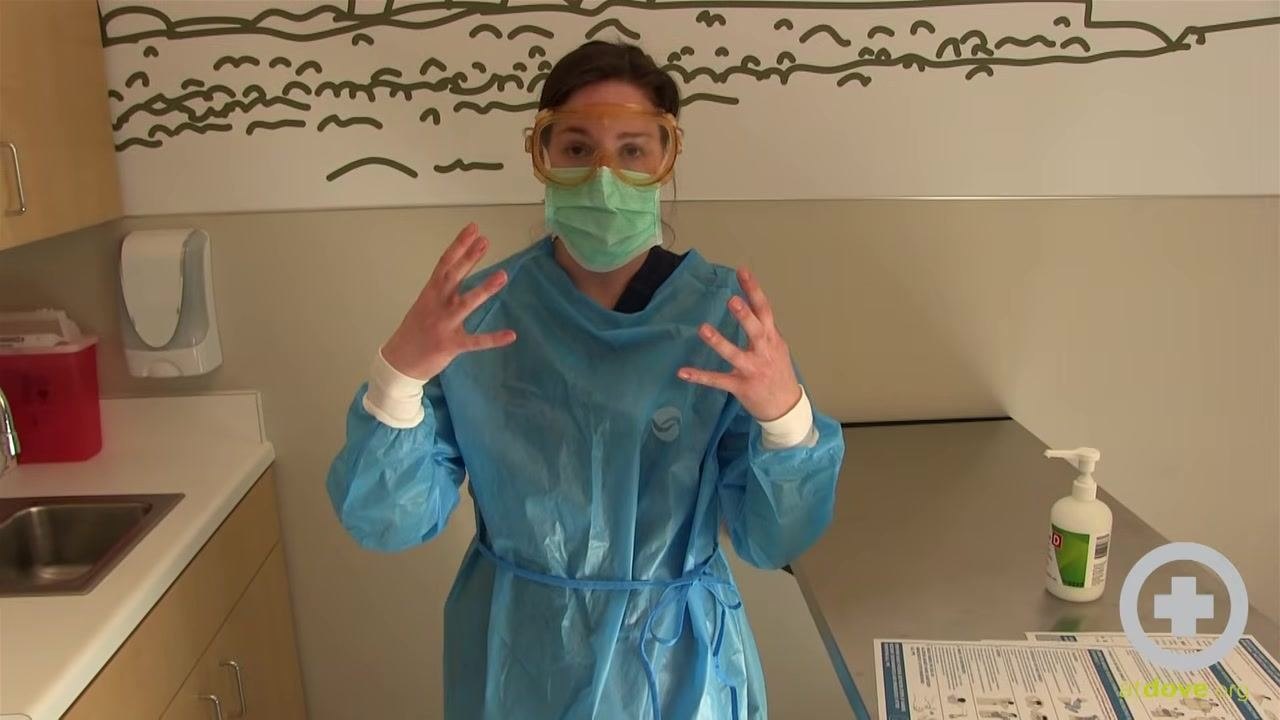
Step 7: Discard both gloves
Confirm both gloves are now inside out, one nested inside the other, and discard them in the appropriate waste container.
Step 8: Remove goggles or face shield
Remember that the front of goggles or a face shield is considered contaminated. Remove them by handling only the strap or earpieces at the back, then place them in a designated area for disinfection.
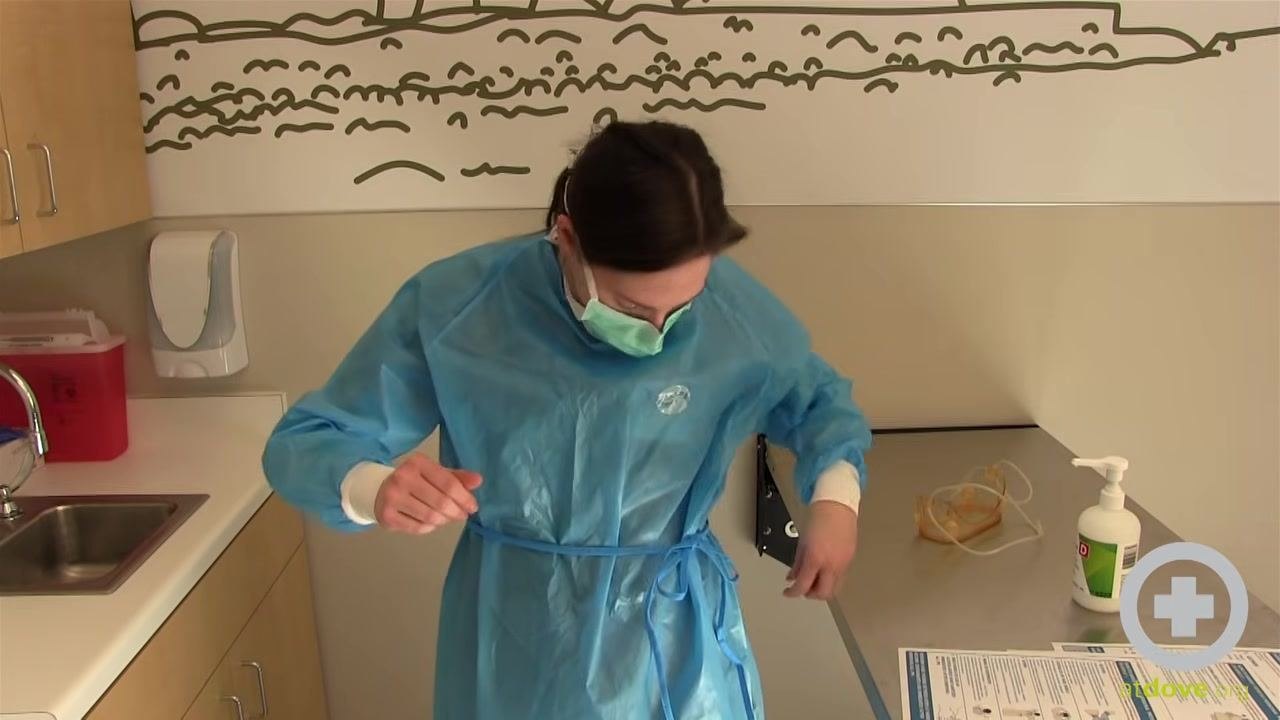
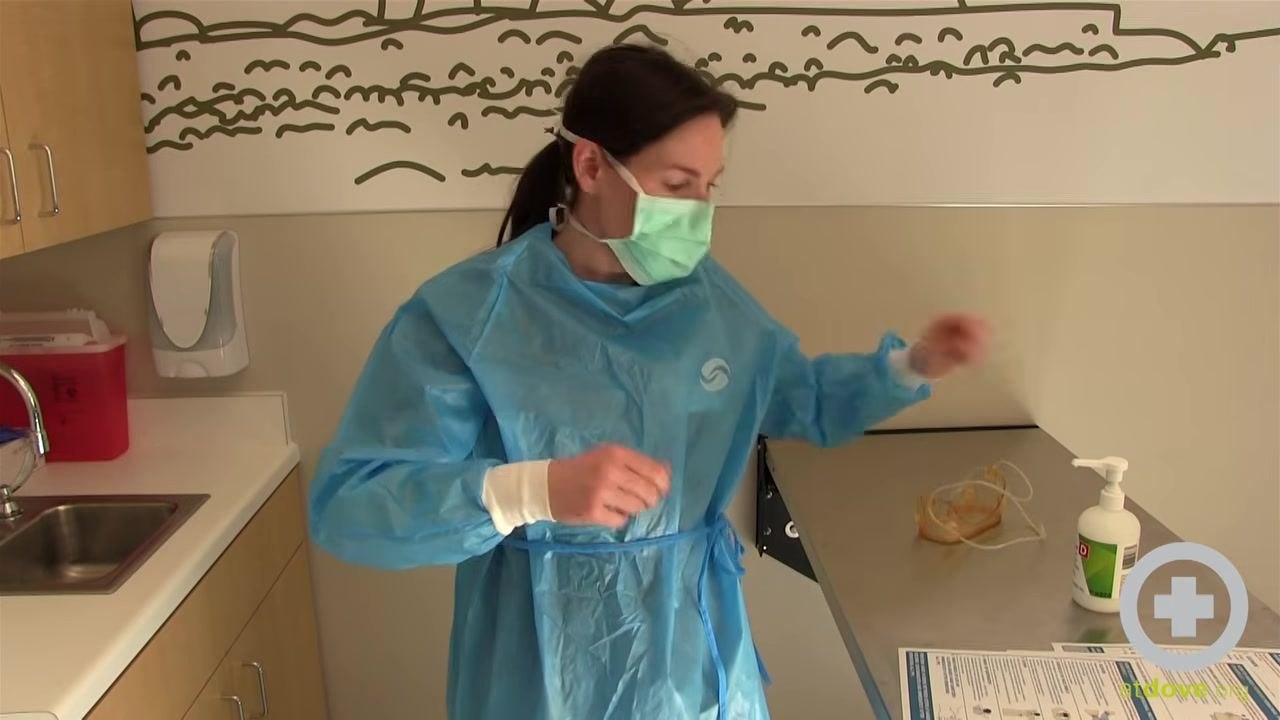
Step 9: Untie the gown
Untie or break the gown ties at the back, starting with the waist tie and then the neck tie.
Step 10: Undo remaining fasteners
Undo any remaining Velcro fasteners at the back of the gown, which are considered clean.
Note: Always perform hand hygiene immediately after removing all PPE. If a clean hand touches a contaminated surface at any point, stop and clean your hands before proceeding.
Step 11: Slide the gown off your arms
Pull the gown away from your body, sliding it down your arms. Pull on the cuff of your sleeve, since this area was inside your glove and is considered clean. Work the gown down, turning it inside out to avoid touching the contaminated outer layer.
Step 12: Bundle and dispose of the gown
Bundle the gown so that the clean inside faces outward, then dispose of the bundled gown in the appropriate garbage container.
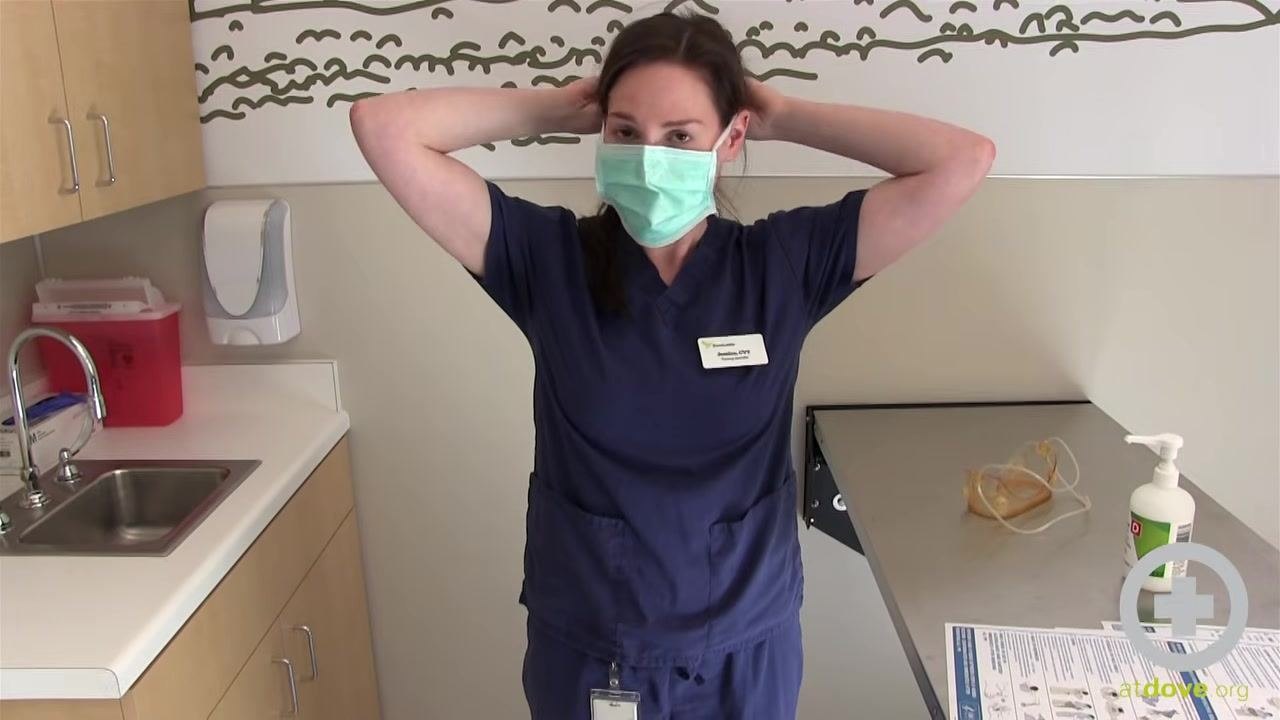
Step 13: Begin removing the face mask
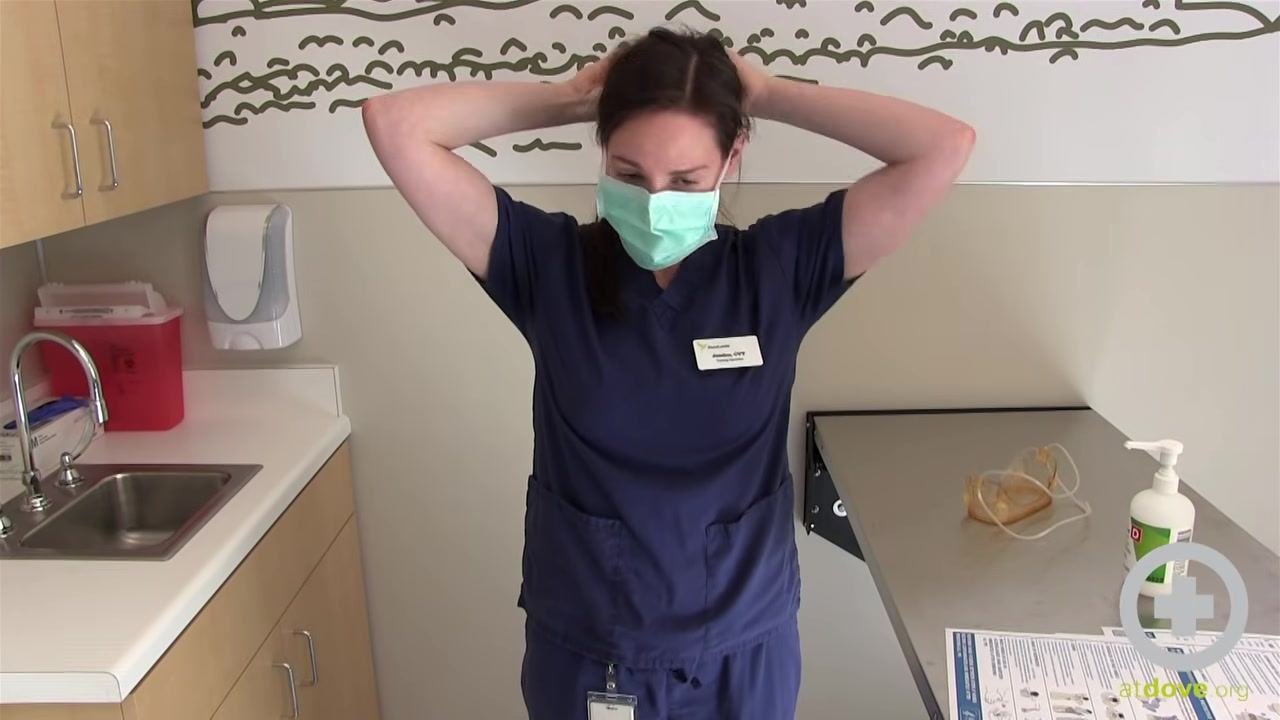
Do not touch the front of the mask, since it is considered contaminated. Reach behind your head and grasp the ties or elastic bands.
Step 14: Finish removing the face mask
Carefully pull the straps away from your head to remove the mask, ensuring it does not touch your face or clothing. Dispose of the mask in the appropriate waste container.
Step 15: Perform hand hygiene
Immediately wash your hands thoroughly with soap and water at the sink, or use alcohol-based hand sanitizer. Ensure all surfaces of your hands and fingers are cleaned. This step is critical for removing any contaminants that may have transferred during PPE removal.
Verification and completion
Once all steps are complete, you have properly removed all PPE according to CDC Example One. Confirm that hand hygiene has been performed and that all PPE has been discarded in the designated containers.
Safety notes:
- Never touch the front of any PPE item during removal.
- If you suspect contamination at any point, stop and perform hand hygiene before continuing.
- Always follow your facility's protocols for PPE disposal and disinfection.
Generation details: cost, quality tiers
Docsie billed 1,500 credits ($1.05) to analyze this 3-minute video at standard quality. The rewrite, template fill and Word/PDF exports were included. The same video at each quality tier:
| Quality | Frames sampled | Credits | Approx. cost |
|---|---|---|---|
| Draft | every 16-30 s | 750 | $0.52 |
| Standard (this guide) | every 8-15 s | 1,500 | $1.05 |
| Detailed | every 4-7 s | 3,000 | $2.10 |
| Ultra | every 1-3 s | 6,000 | $4.20 |
Credits priced at $0.70 per 1,000; plans include a monthly allowance. Enterprise customers on on-premise or bring-your-own-model deployments run this on their own inference and pay no per-video credits.
Generated by Docsie Video-to-Docs on 2026-09-09 from a 2-minute video. Screenshots are frames from the source video and belong to their creator, atDove, whose original is embedded above. If you own this video and want the guide removed or credited differently, contact us and we will act within one business day.