
How to Remove a Foley Catheter
This procedure describes how to remove a Foley catheter from a female patient safely, in line with facility protocol and infection-control standards. It covers assessment before removal, the step-by-step removal technique, monitoring after removal, and the patient education needed to support a smooth recovery. Follow every step in sequence and use the exact supplies listed below.
Video: How to Remove a Foley Catheter (Female) Nursing | Indwelling Foley Catheter Removal by RegisteredNurseRN (2023). All credit for the demonstration goes to the creator; watch the original on YouTube. The written guide below was generated from this video by Docsie. Creator? Request a change or removal.
This procedure describes how to remove a Foley catheter from a female patient safely, in line with facility protocol and infection-control standards. It covers assessment before removal, the step-by-step removal technique, monitoring after removal, and the patient education needed to support a smooth recovery. Follow every step in sequence and use the exact supplies listed below.
Purpose & scope
This procedure applies to female patients with an indwelling Foley catheter who have a physician's order for catheter removal. It is intended for use on a hospital ward or comparable inpatient care setting where a nurse performs catheter removal, monitors the patient's first void, and provides post-removal patient education.
Patient assessment
Before touching any equipment, complete the following checklist.
- Obtain a doctor's order confirming that catheter removal is authorized.
- Verify the patient by confirming you have the correct patient.
- Explain the procedure to the patient, letting her know that removal is a simpler procedure than insertion, and obtain her verbal consent. Reassure her and answer any questions.
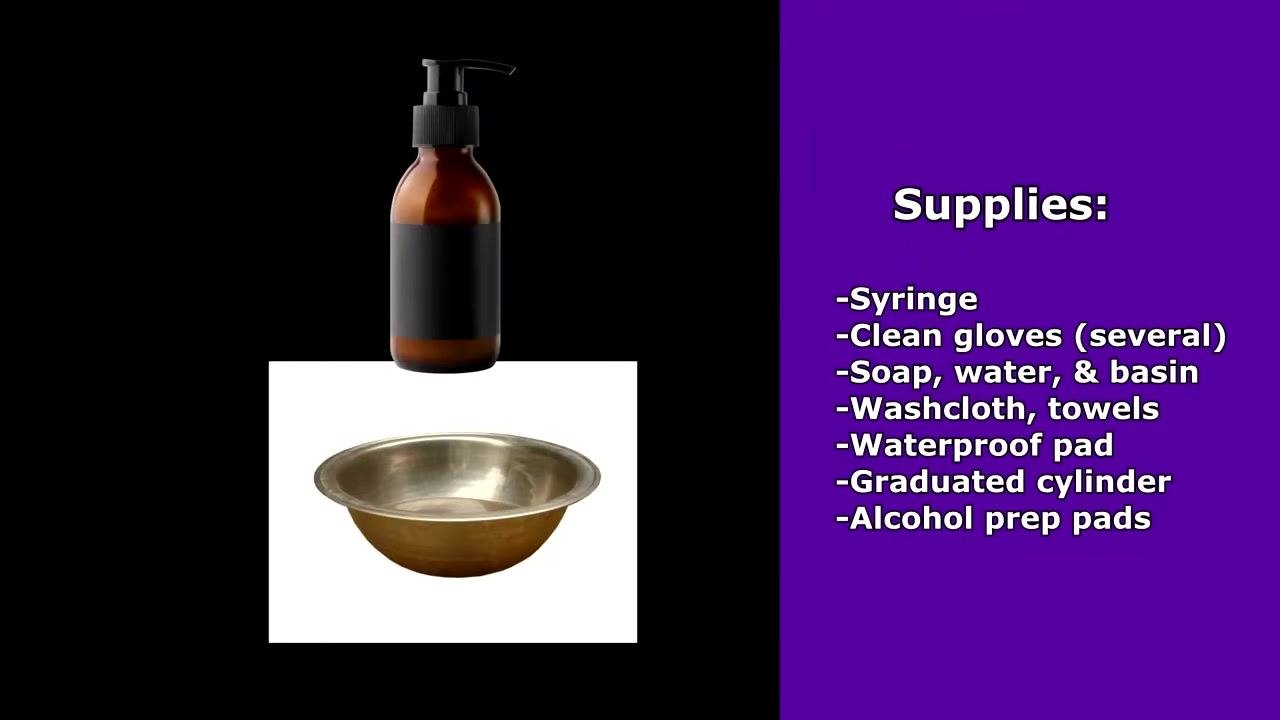
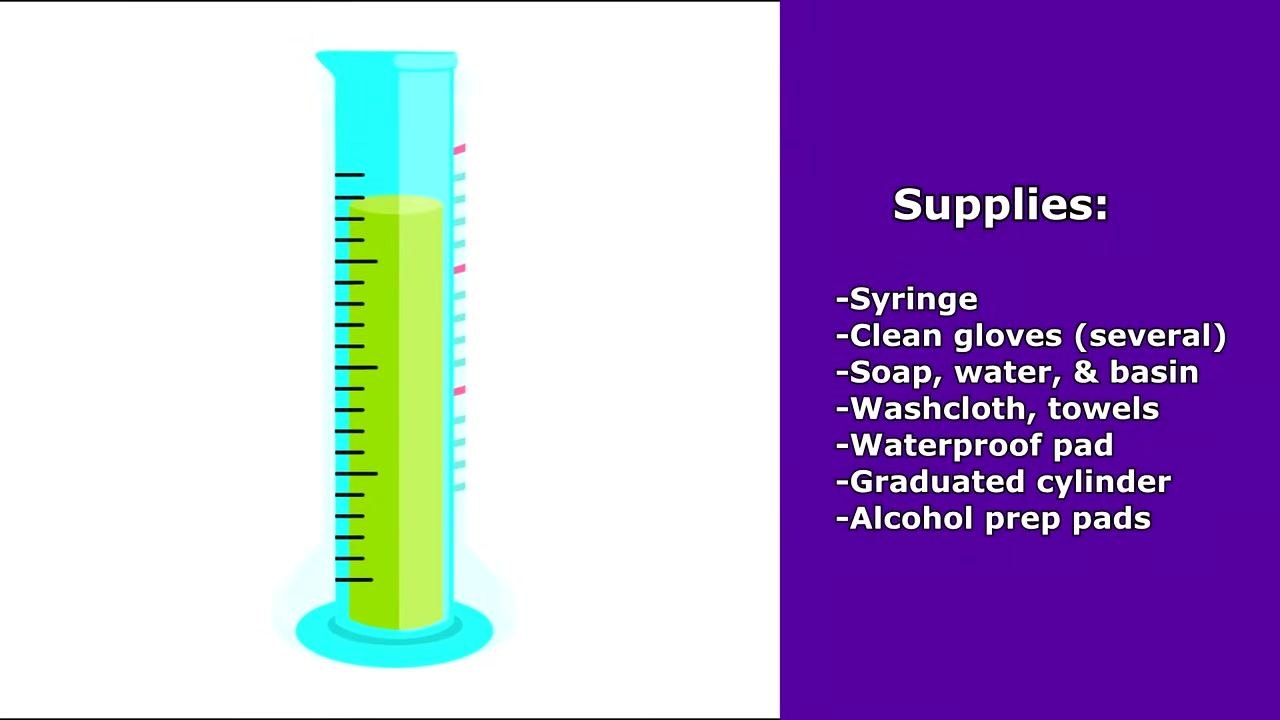
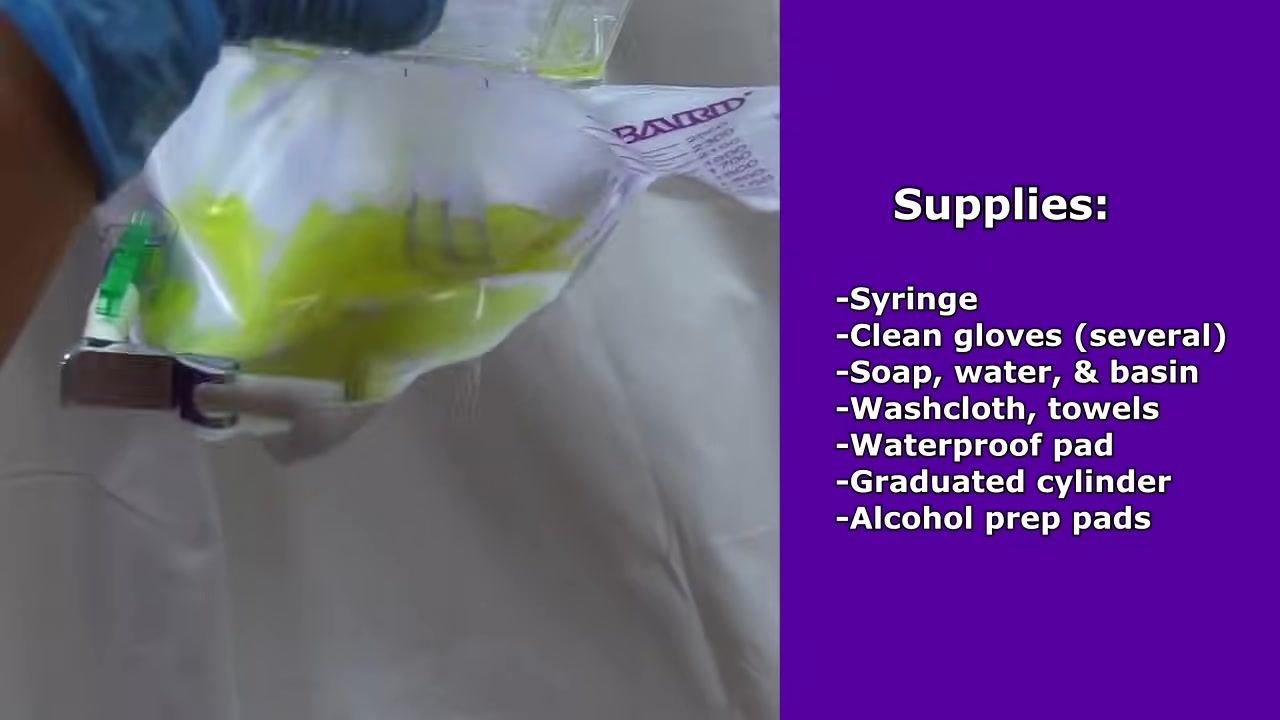
Gather all supplies within reach before you begin:
| Supply | Purpose |
|---|---|
| Syringe | Removes water from the retention balloon |
| Clean gloves (several pairs) | Hand protection at each stage of the procedure |
| Soap, water, and basin | Hand hygiene and perineal care |
| Washcloth and towels | Perineal care and drying |
| Waterproof pad | Protects bedding during peri-care and removal |
| Graduated cylinder | Measures urine output |
| Alcohol prep pads | Dissolves the adhesive of the securement device |
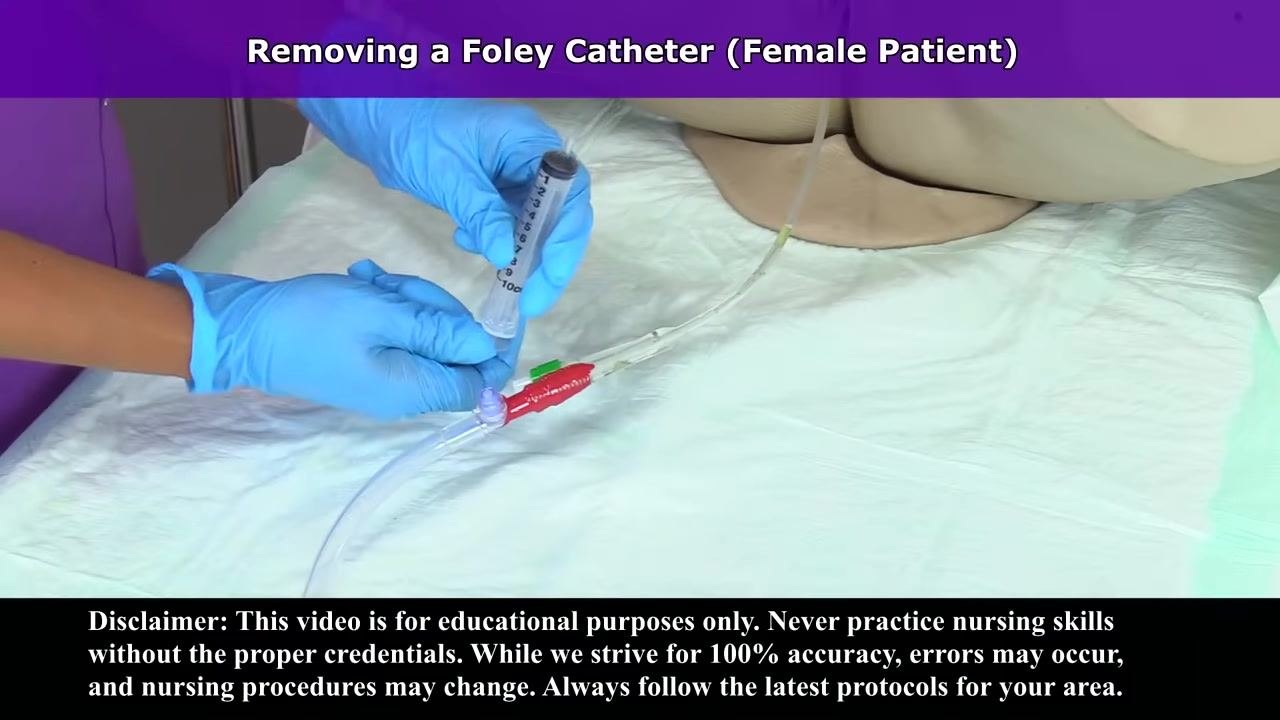
As part of your initial assessment, check the balloon port for the catheter's balloon-volume information (for example, "14 French, inflated with 10 ml of water") and prepare a syringe matching that volume for deflation.
Care protocol
Phase 1: Hand hygiene and gloving
Wash your hands thoroughly with soap and water, or use hand sanitizer, and don a pair of clean gloves before handling any equipment or the patient.

Phase 2: Empty and measure the Foley bag
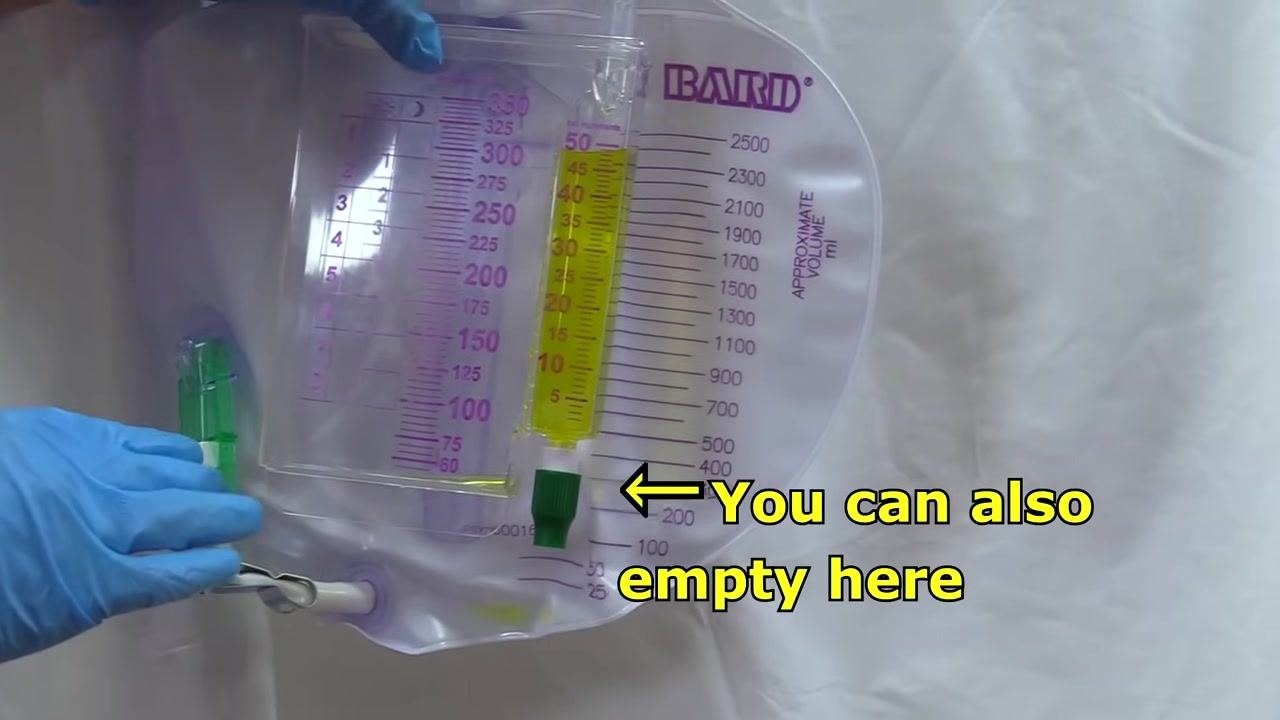
If urine remains in the tubing, unclamp or unclip it as needed and gently lift the tubing so gravity drains the urine into the collection bag.
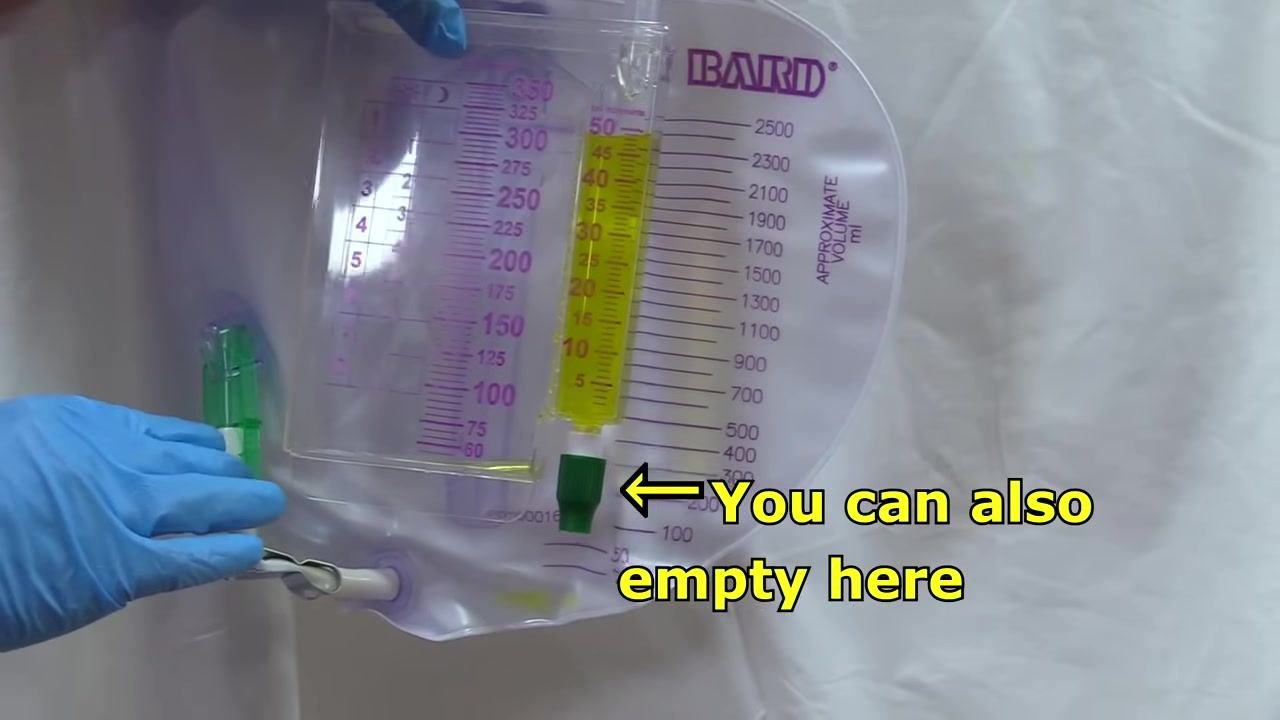
Unhook the drainage port on the collection bag, drain the urine into a graduated cylinder, and record the measured volume in the patient's chart.
Tip the bag if necessary so all urine reaches the main compartment, then empty and measure the full output again before recording the final total.
Remove your gloves and wash your hands again, or use hand sanitizer, before donning a new pair of clean gloves.
Phase 3: Position the patient and remove the securement device
Slide a waterproof pad under the patient's hips to catch fluids during peri-care and catheter removal.
Instruct the patient to lie on her back with knees bent and legs apart (dorsal recumbent position) to expose the genital area, keeping her covered as much as possible for privacy.
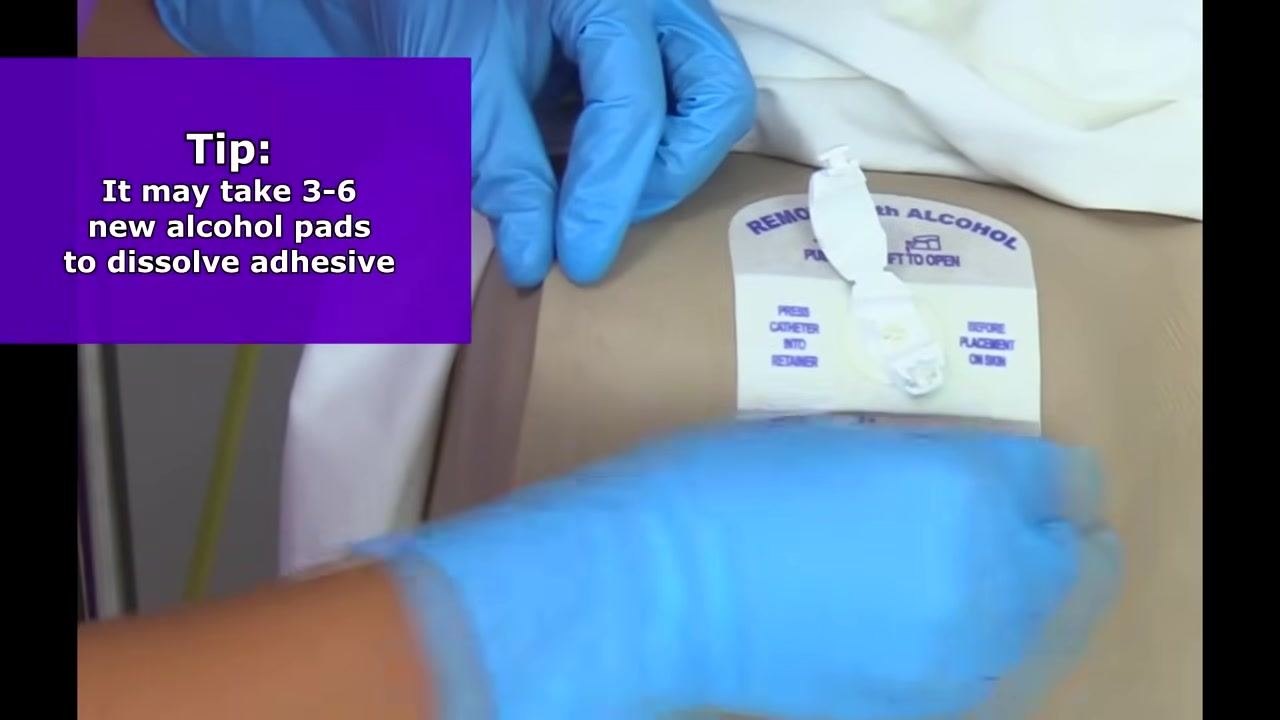
Locate the securement device (such as a StatLock) on the patient's thigh and read its instructions, which typically state "REMOVE with ALCOHOL." Gather several alcohol prep pads, since it may take 3–6 pads to dissolve the adhesive.
Push the sides of the clip on the securement device to release the catheter, then gently lift it out and lay it securely to the side.
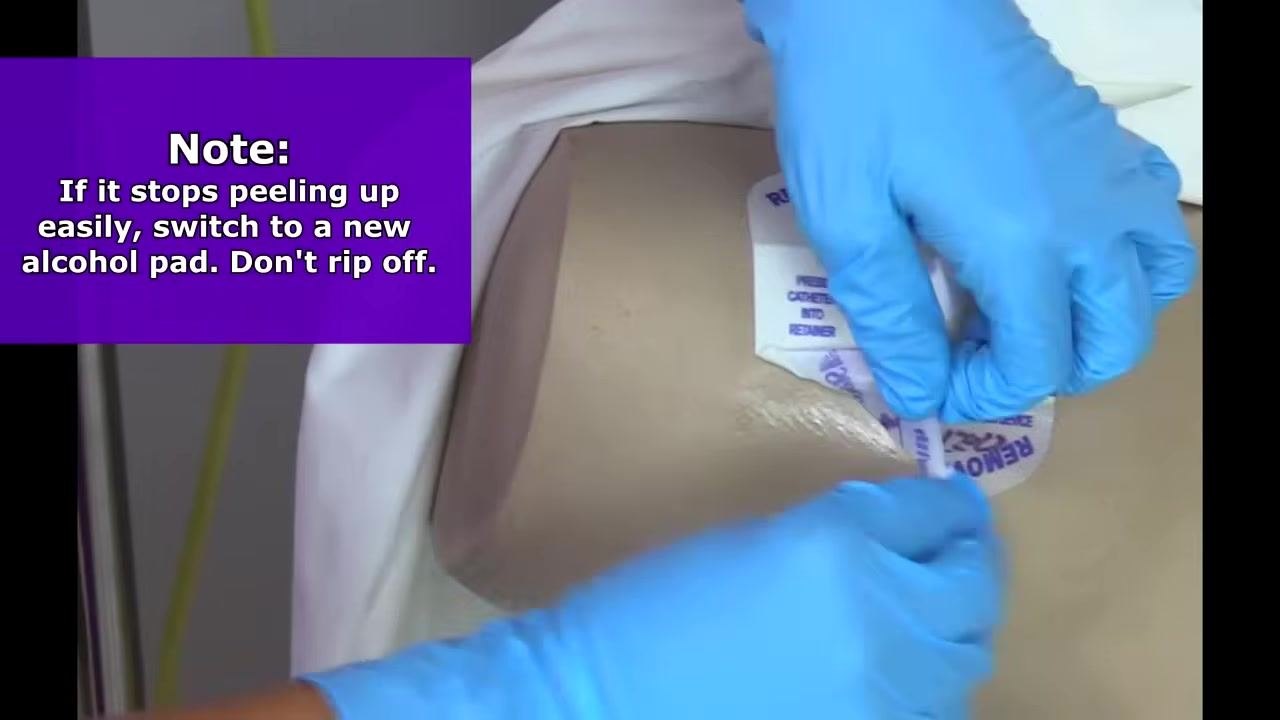
Saturate the adhesive with an alcohol prep pad, start at one edge, and gently work the alcohol under the adhesive as you lift. Apply new pads as needed until the device is fully removed.
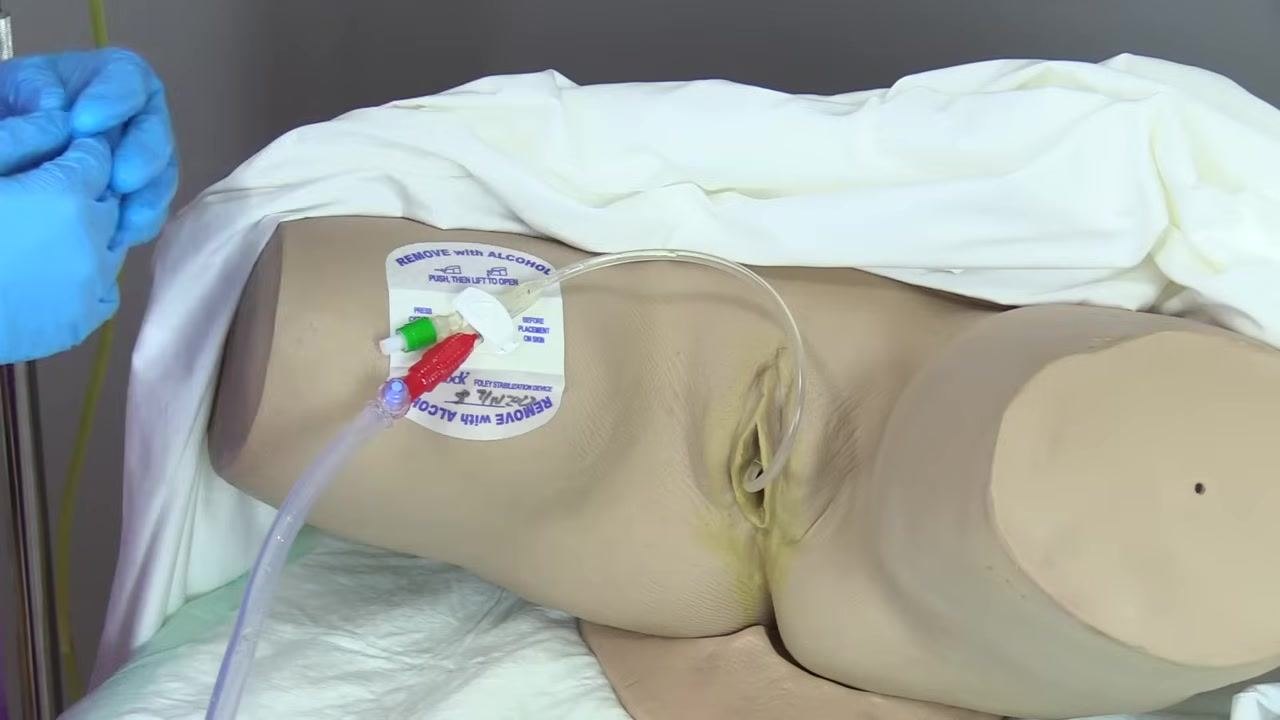
Continue peeling the device up gently while cleaning the patch and skin with alcohol pads. If the adhesive stops lifting easily, switch to a new pad rather than pulling the device off, which can injure the skin.
Keep cleaning the skin and patch until the last of the adhesive comes away smoothly.
Phase 4: Provide perineal and catheter care
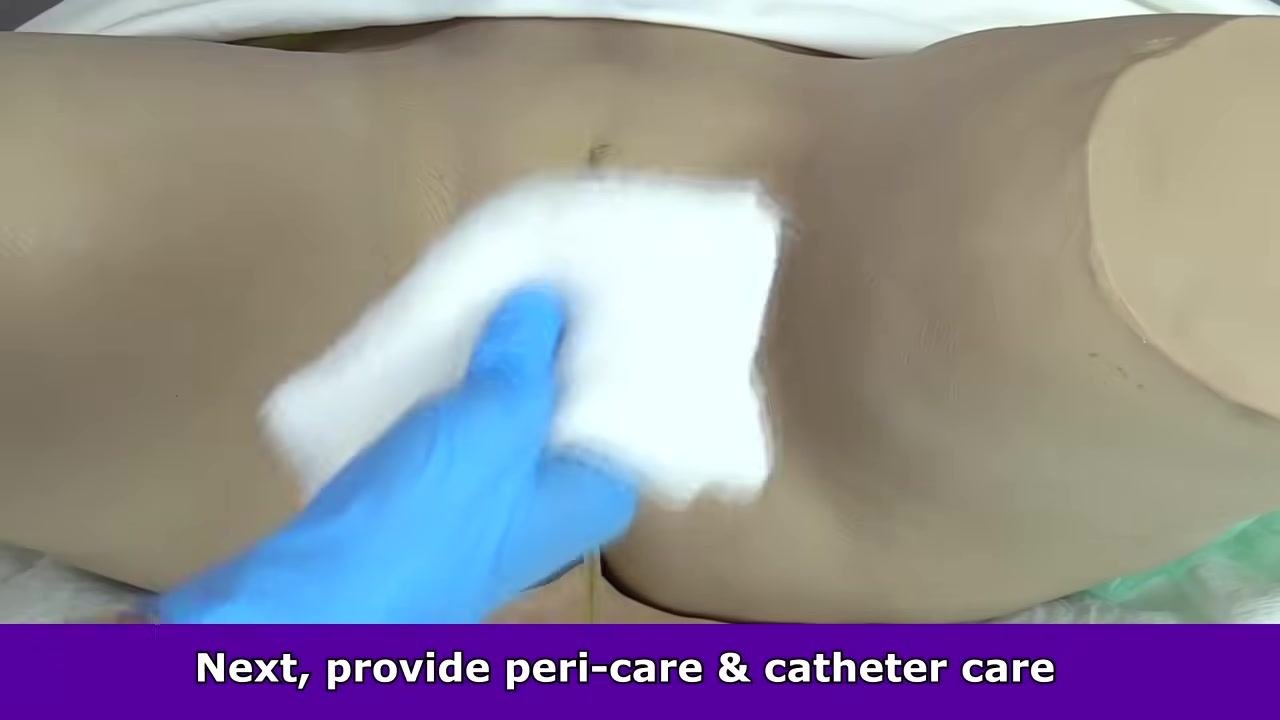
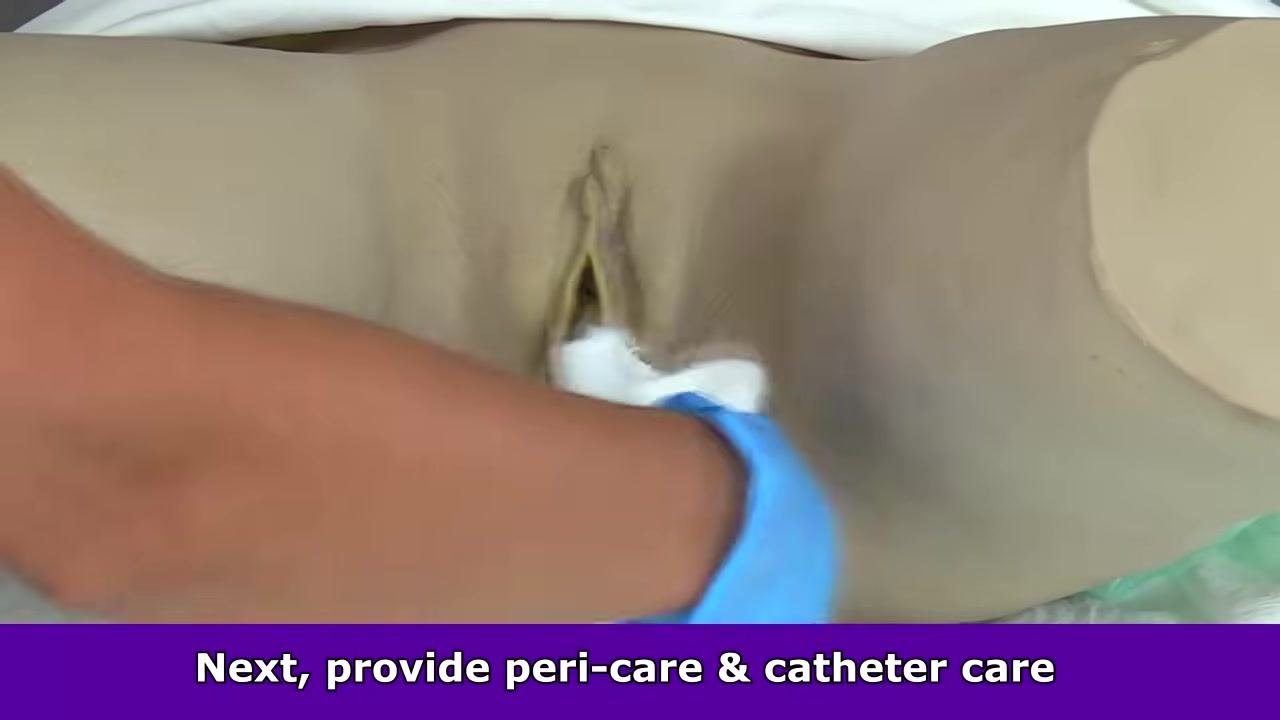
Clean the perineal area and catheter insertion site thoroughly using your facility's peri-care technique.
Remove your gloves, perform hand hygiene again, and don a fresh pair of clean gloves before proceeding to remove the catheter.
Phase 5: Deflate the balloon
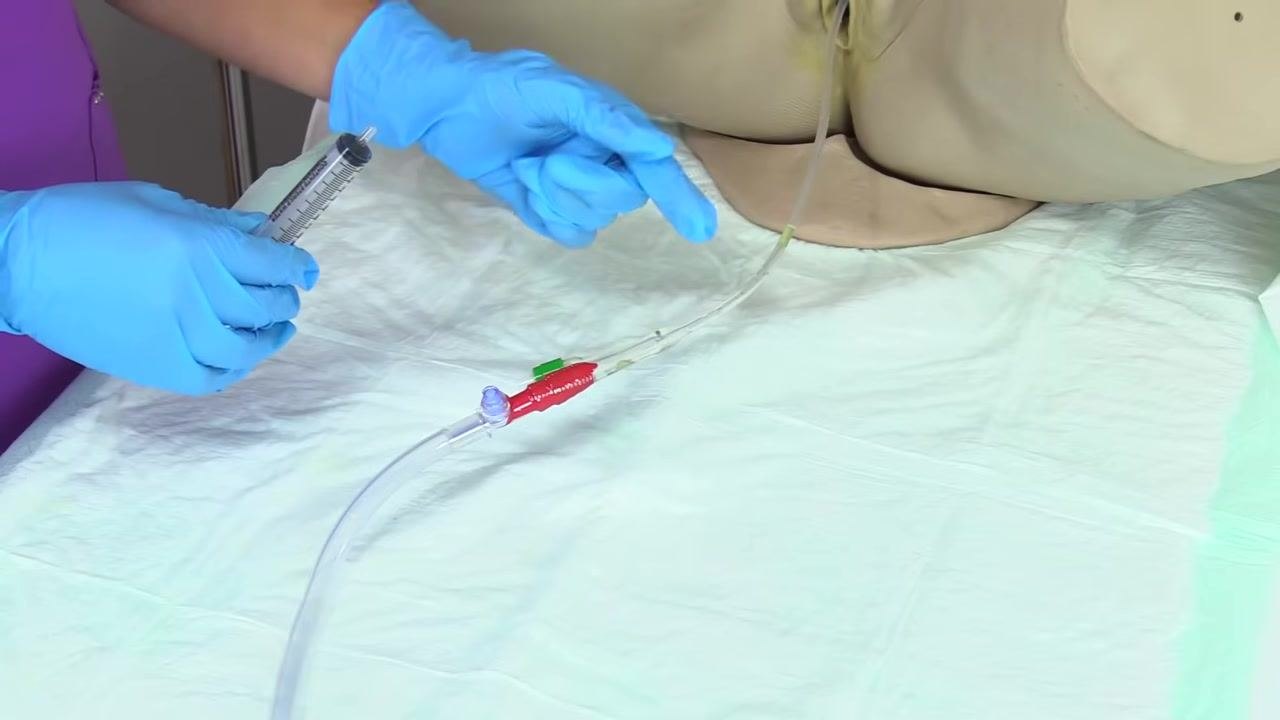
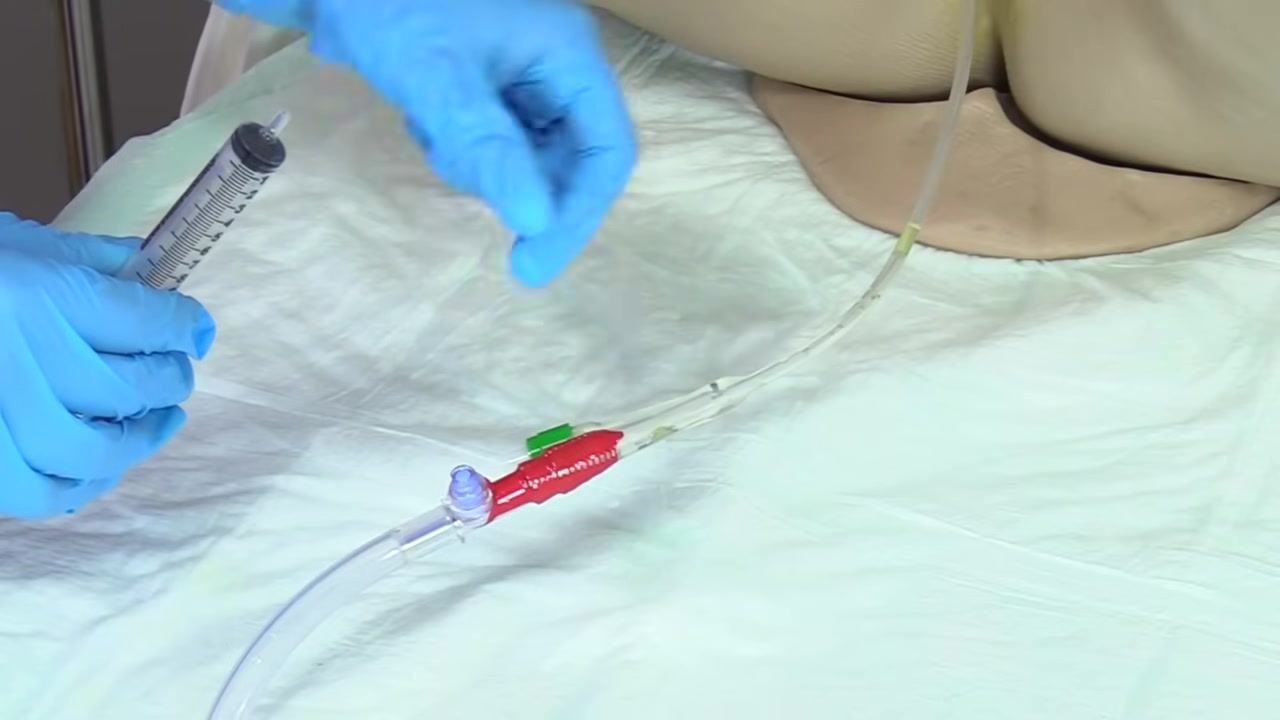
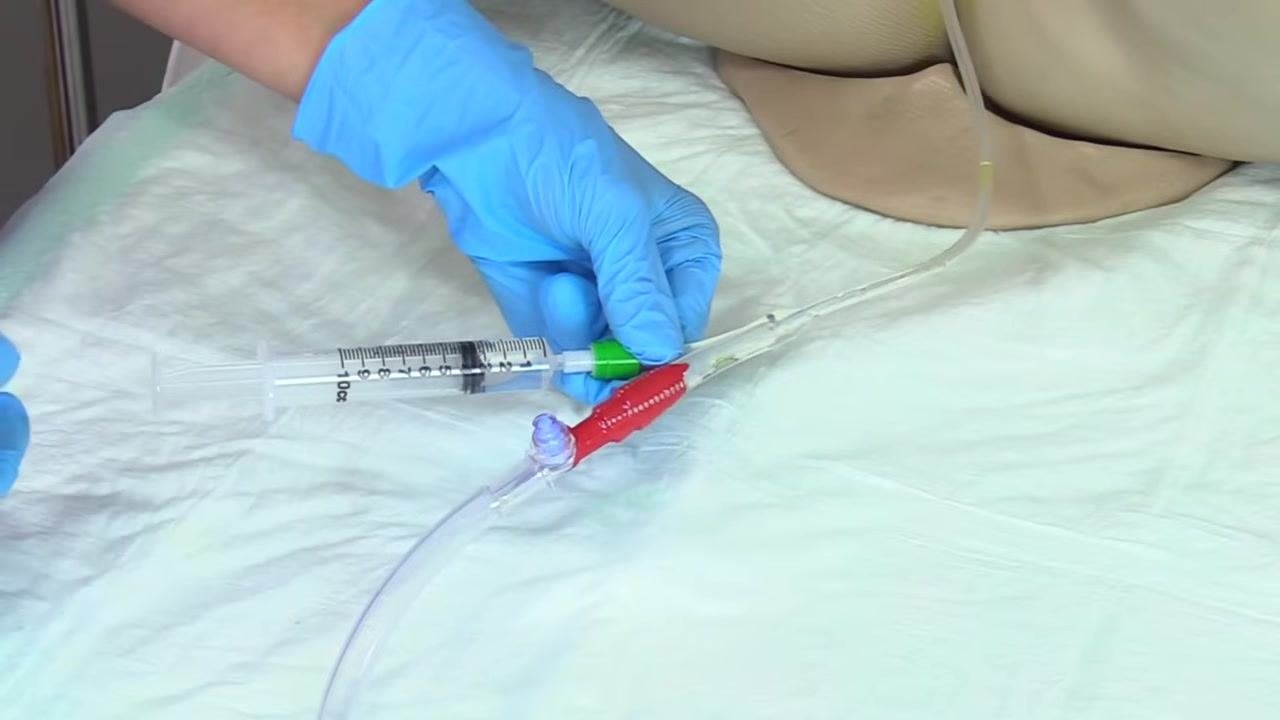
Gather a 10 mL syringe. If it is new, pop the seal by pulling back on the plunger and pushing it back in. Locate the color-coded balloon inflation port (often green) and attach the syringe to it.
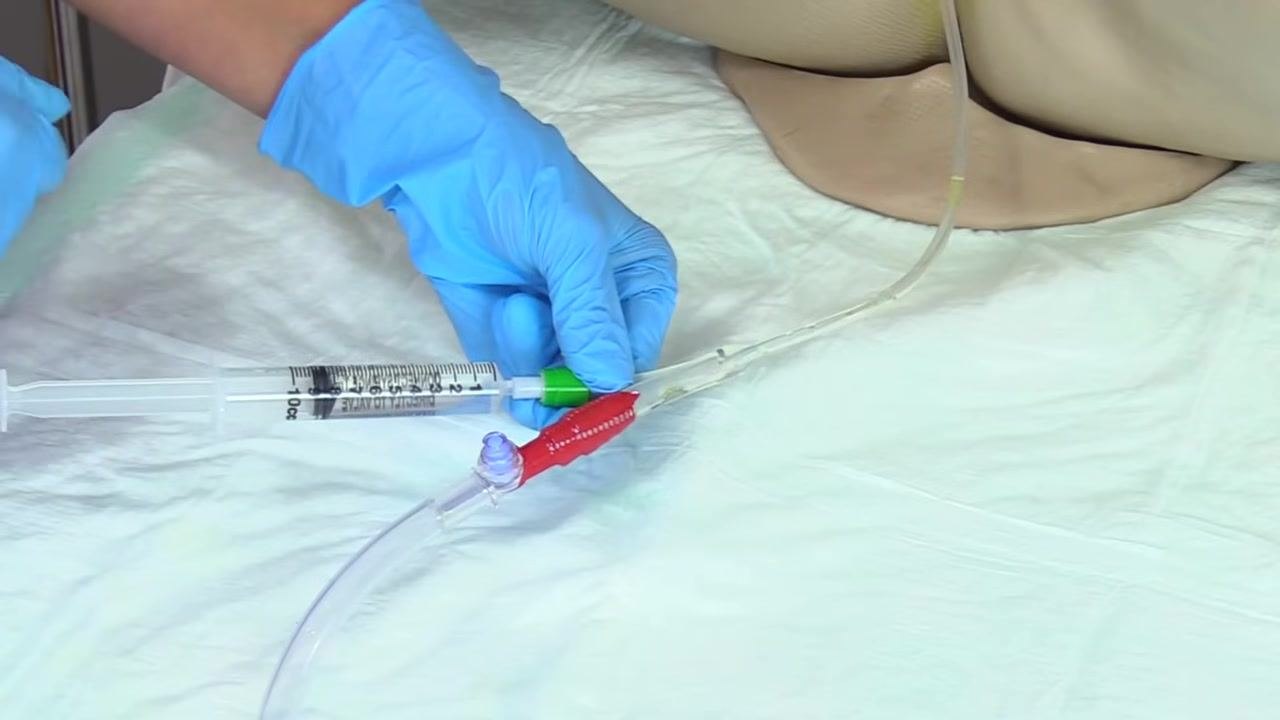
Do not pull back on the plunger. Let the water drain out of the balloon into the syringe on its own; pulling back can distort the balloon and risk urethral injury.
Let the balloon continue deflating until the syringe reads 10 cc, confirming the balloon is fully deflated. This may take a few seconds.
Disconnect the syringe once the balloon is fully deflated.
Phase 6: Remove the catheter
Position your hands to withdraw the catheter smoothly, and instruct the patient to breathe calmly.
As the patient exhales, gently pull the catheter out in one steady, continuous motion. Stop immediately and reassess if you feel any resistance.
Phase 7: Post-removal care
Inspect the removed catheter for breakage, stretching, or missing pieces, and check for any unusual or abnormal drainage.
Wrap the used catheter in a waterproof pad and dispose of it, along with all related materials, in the appropriate biohazard or medical waste container per facility protocol.
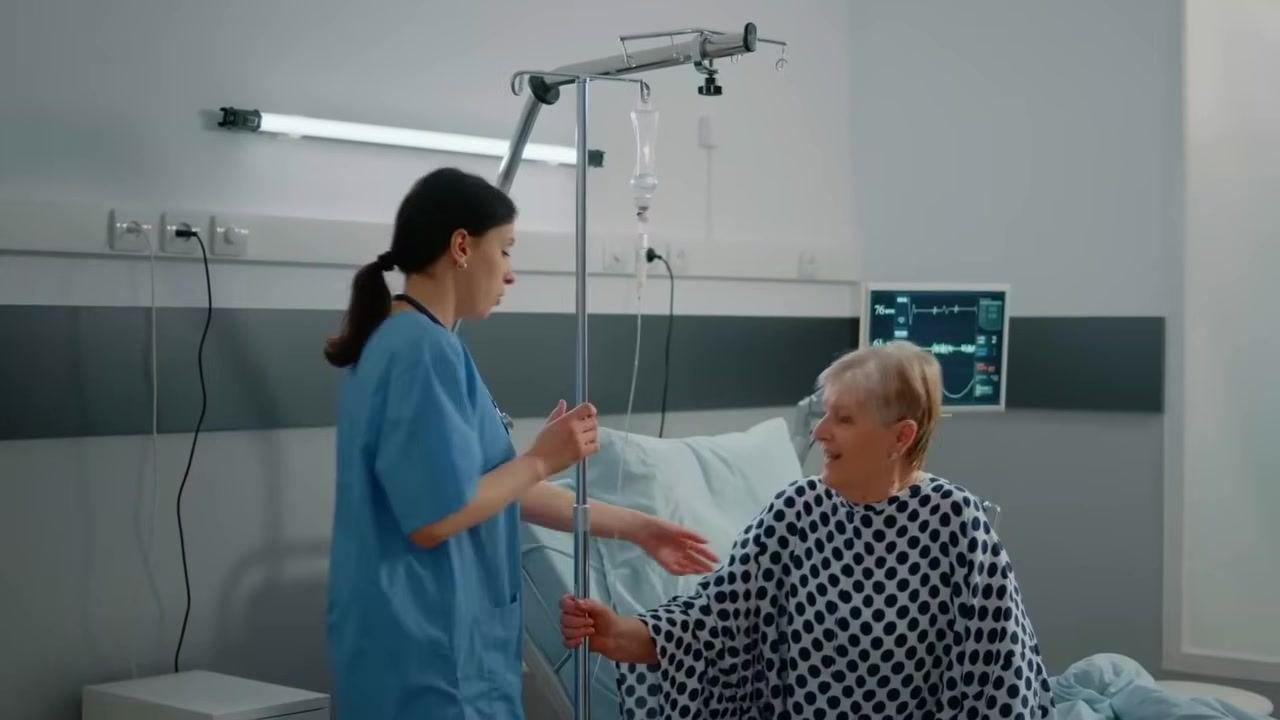
If the patient is able, assist her out of bed and provide support for ambulation or further peri-care as needed.
Remove your gloves carefully to avoid contamination, then wash your hands thoroughly with soap and water or use an alcohol-based hand sanitizer.
Pain management
The procedure identifies expected post-removal sensations rather than a formal medication protocol: mild bladder and urethral irritation or burning, frequent urges to urinate, mild incontinence, or difficulty starting a stream during the first few voids are considered normal and temporary. Advise the patient to notify nursing staff if these symptoms persist. A multimodal medication table with drug, dose, route, and frequency should be added here if the ordering physician prescribes analgesics for this patient.

Mobility milestones
| Timeframe after removal | Goal | Nursing action |
|---|---|---|
| 1–3 hours | Patient begins getting up and attempts to void | Assist the patient to safely ambulate to the bathroom; monitor for dizziness or weakness during initial ambulation |
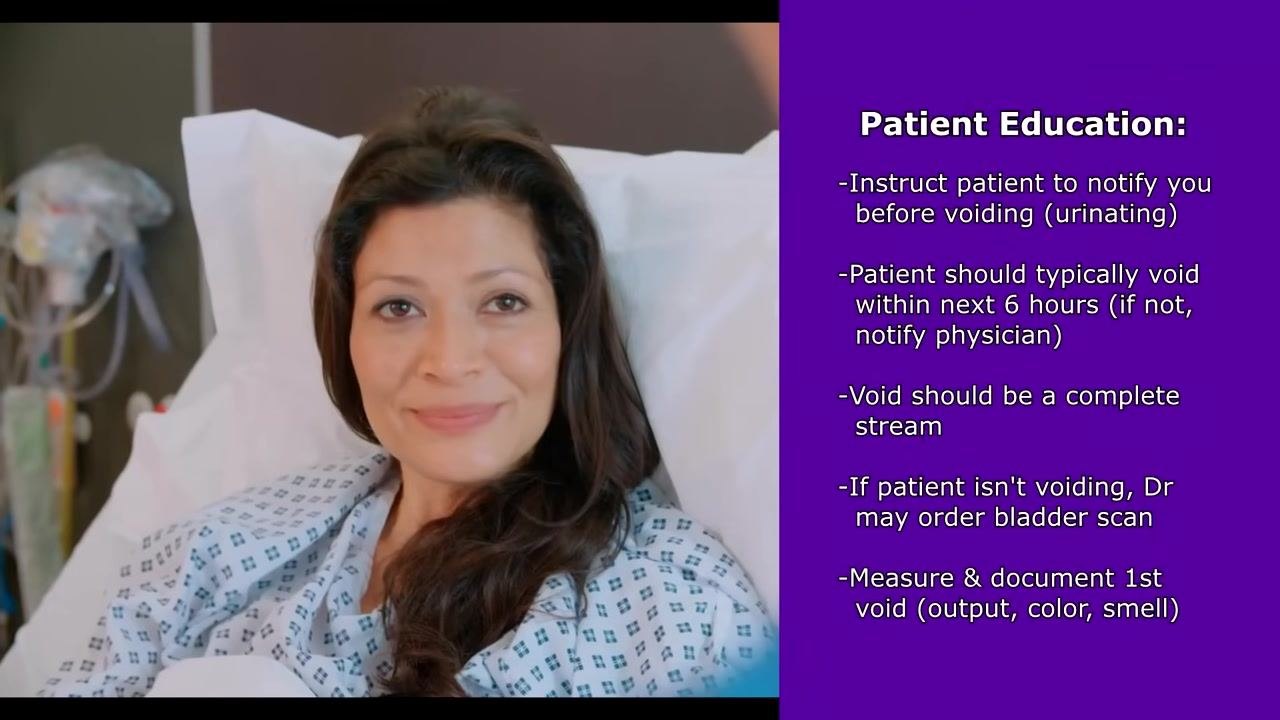
| Up to 6 hours | First complete void achieved | Confirm the patient has voided a complete stream; notify the physician if the patient has not voided within this window |
Complication monitoring
Monitor for the following during and after the procedure:
- Resistance felt while withdrawing the catheter — stop immediately and reassess the situation.
- Breakage, stretching, or missing pieces on the removed catheter, or unusual drainage on it.
- Fever.
- Inability to void.
- Foul-smelling (odorous) urine.
- Excessive bleeding.
- Abnormal urine color.
Instruct the patient that these findings are not normal and must be reported to nursing staff immediately.
Discharge criteria
The following measurable criteria should be met and documented before the patient is considered ready to progress:
- The catheter has been removed intact, with no signs of breakage or abnormal drainage.
- The patient has voided a complete stream within 6 hours of removal; if not, the physician has been notified.
- The first void has been measured in a graduated container and its amount, color, and odor documented in the chart.
- No abnormal symptoms (fever, inability to void, foul-smelling urine, excessive bleeding, abnormal urine color) are present.
Patient education
Before discharge or transfer, review the following points with the patient and family.
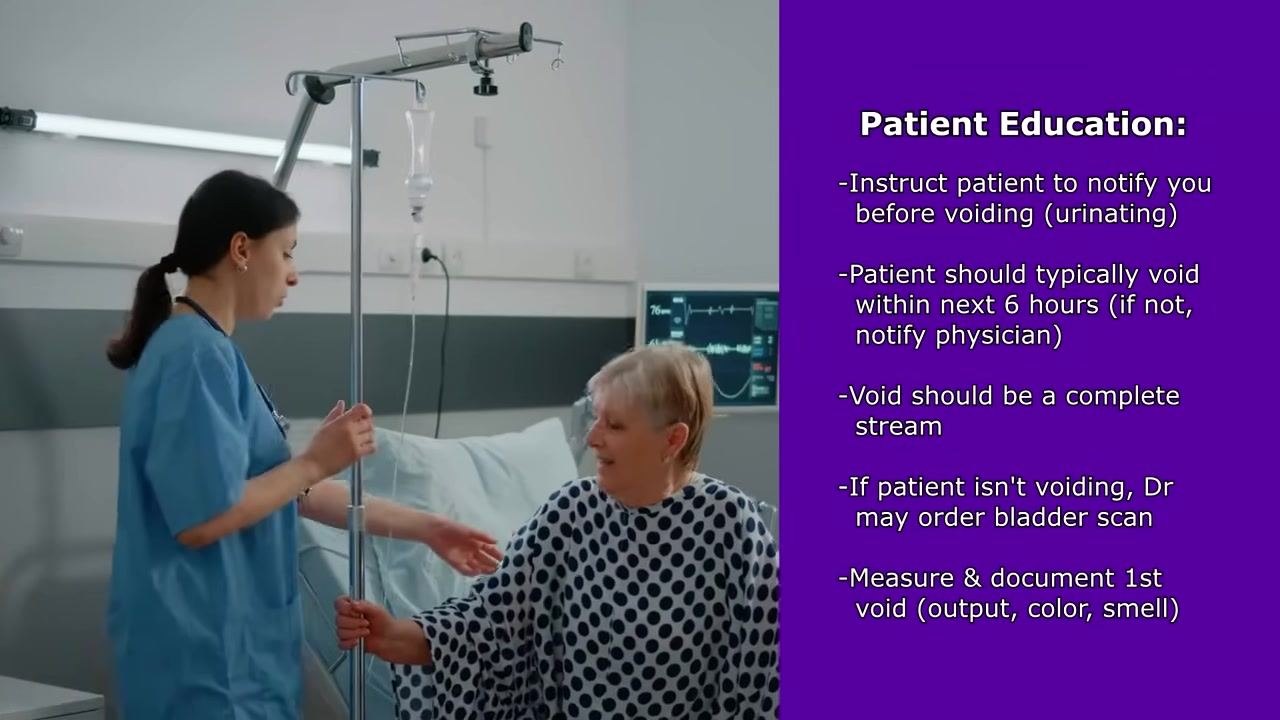
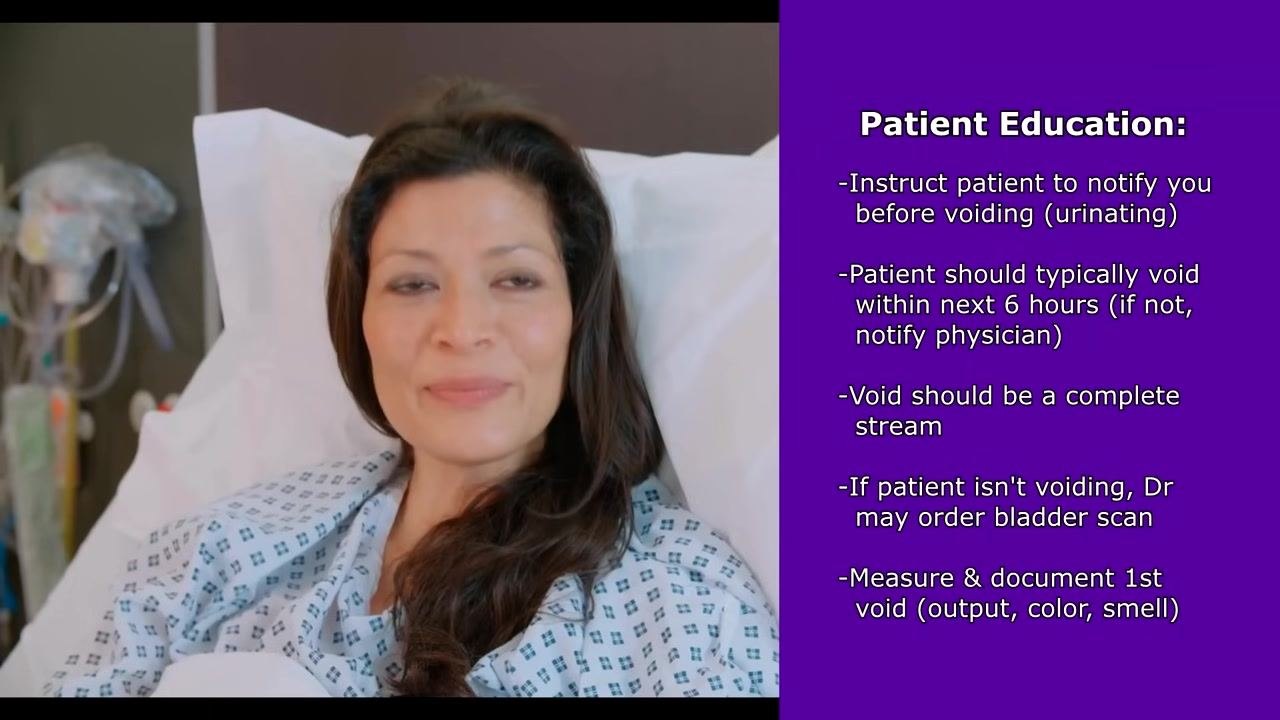
- Notify the nurse before the first void after catheter removal so the first void can be observed and documented.
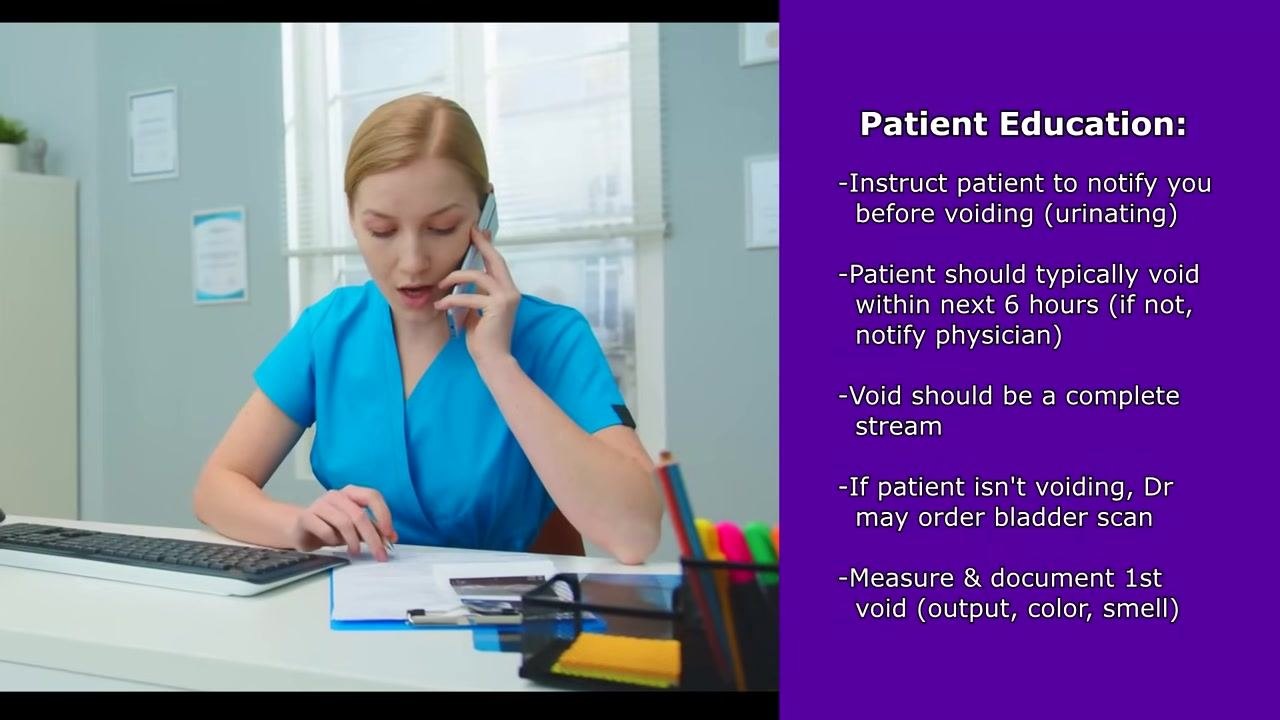
- Use the call light or other facility-approved method to alert staff when it is time to void; note that specific protocols may vary by institution.
-
Begin getting up and attempt to void within 1 to 3 hours after catheter removal, with staff assistance as needed.
-
The first void should be a complete stream; report any difficulty starting the stream or incomplete voiding.
-
Collect the first void in a graduated collection hat or urinal placed in the toilet, rather than voiding directly into the toilet, so the amount can be measured accurately.
-
Document the amount, color, and odor of the first void in the patient's chart according to facility protocol.
-
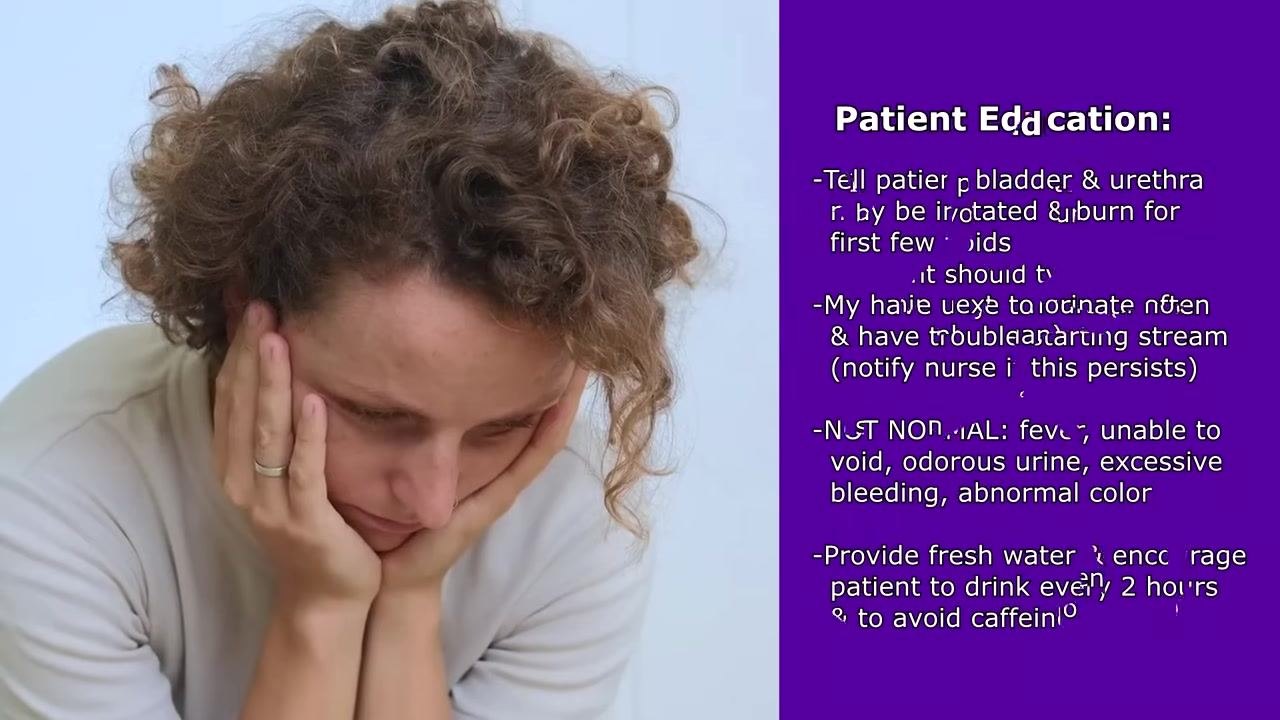
Expect some bladder and urethral irritation or burning, frequent urges, mild incontinence, or difficulty starting the stream during the first few voids; report persistent symptoms to the nurse.
-
Report the following abnormal symptoms immediately: fever, inability to void, foul-smelling urine, excessive bleeding, or abnormal urine color.
-
Drink fresh water every 2 hours and avoid caffeine to support healing and reduce bladder irritation.
Reinforcing these points helps the patient recognize normal recovery sensations, identify warning signs early, and understand the role of hydration and avoiding bladder irritants such as caffeine in a smooth recovery after catheter removal.


Generation details: cost, quality tiers, downloads
Docsie billed 4,500 credits ($3.15) to analyze this 9-minute video at standard quality. The rewrite, template fill and Word/PDF exports were included. The same video at each quality tier:
| Quality | Frames sampled | Credits | Approx. cost |
|---|---|---|---|
| Draft | every 16-30 s | 2,250 | $1.57 |
| Standard (this guide) | every 8-15 s | 4,500 | $3.15 |
| Detailed | every 4-7 s | 9,000 | $6.30 |
| Ultra | every 1-3 s | 18,000 | $12.60 |
Credits priced at $0.70 per 1,000; plans include a monthly allowance. Enterprise customers on on-premise or bring-your-own-model deployments run this on their own inference and pay no per-video credits.
Generated by Docsie Video-to-Docs on 2026-09-14 from a 8-minute video. It was generated straight into Docsie's Patient Care Procedure template, so every section of that template is filled from the video. Screenshots are frames from the source video and belong to their creator, RegisteredNurseRN, whose original is embedded above. If you own this video and want the guide removed or credited differently, contact us and we will act within one business day.