
How to Remove a Central Line Catheter
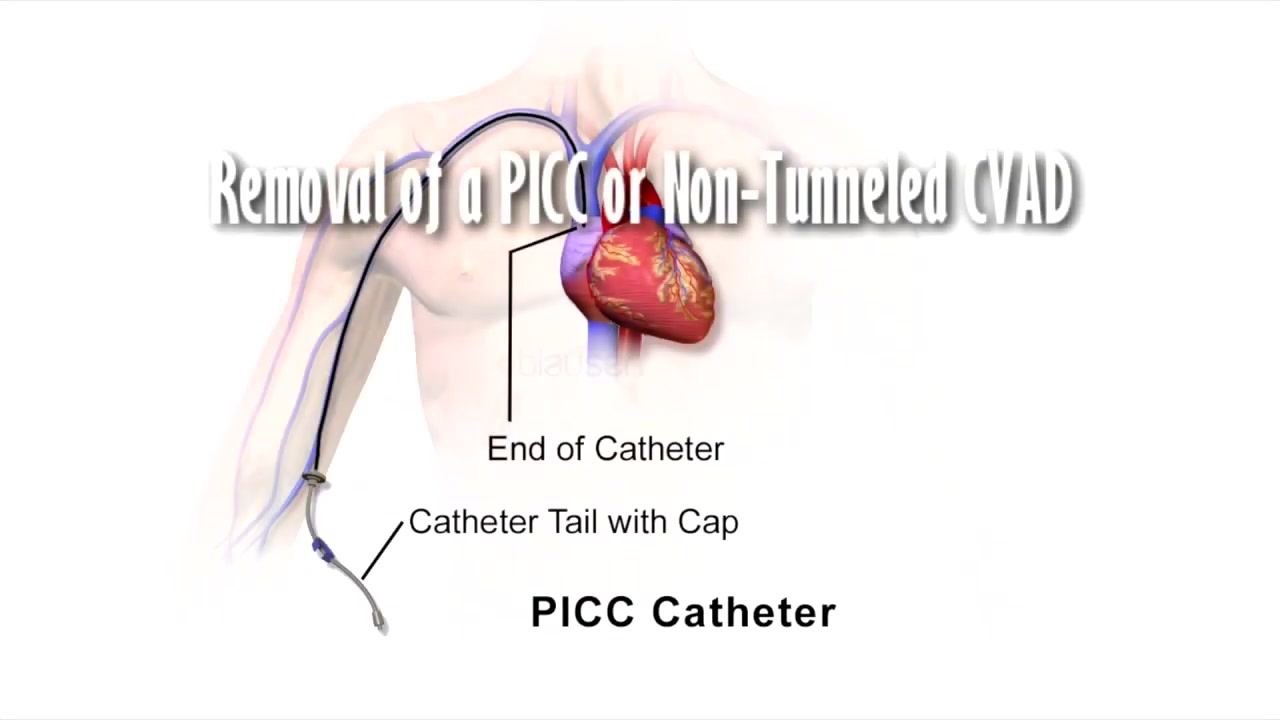
This procedure describes how to remove a central line catheter safely, covering PICC (peripherally inserted central catheter) lines and non-tunneled central venous access devices (CVADs). It outlines supply preparation, patient positioning, the removal technique, wound care, and the emergency measures required if a complication such as catheter breakage occurs. Follow each phase in sequence and escalate to the physician immediately whenever an abnormal finding is noted.
Video: Removing a Central Line by EmpoweRN (2015). All credit for the demonstration goes to the creator; watch the original on YouTube. The written guide below was generated from this video by Docsie. Creator? Request a change or removal.
This procedure describes how to remove a central line catheter safely, covering PICC (peripherally inserted central catheter) lines and non-tunneled central venous access devices (CVADs). It outlines supply preparation, patient positioning, the removal technique, wound care, and the emergency measures required if a complication such as catheter breakage occurs. Follow each phase in sequence and escalate to the physician immediately whenever an abnormal finding is noted.
Purpose & Scope
This procedure applies to nursing staff removing a PICC or non-tunneled CVAD from a patient who no longer requires central venous access. It covers the bedside steps from supply gathering through post-removal monitoring, including the emergency response required if the catheter tip is not intact or the patient becomes symptomatic. The procedure is intended for use wherever the device is in place (e.g., medical-surgical or critical care settings); the source material does not specify a particular unit, so follow local institutional protocol for the exact care setting.
Patient Assessment
Before beginning the procedure, complete the following checks and gather all required supplies.
Supplies checklist:
| Item | Purpose |
|---|---|
| Two face masks | One for the nurse, one for the patient |
| Clean gloves and sterile gloves | Hand protection at each stage of the procedure |
| Suture removal kit | Used only if the line is sutured |
| Sterile gauze | Applied to the exit site after removal |
| Triple antibiotic ointment | Applied to the gauze before dressing |
| Transparent dressing | Covers the gauze completely |
| Extra tape | Secures the dressing |
| Tourniquet (PICC lines only) | Kept available in case of emergency |
Assessment and positioning steps:
- Apply a mask to yourself and to the patient.
- Wash your hands thoroughly, then apply clean gloves.
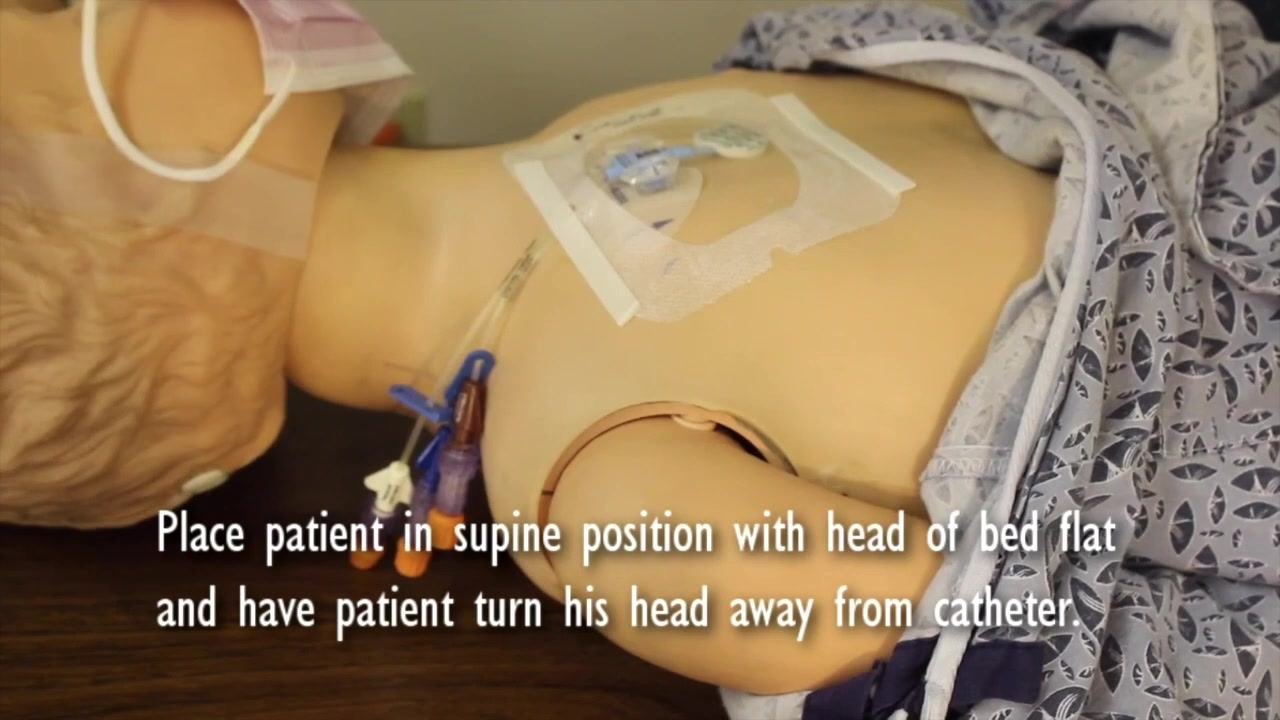
- Place the patient in a supine position with the head of the bed flat, and have the patient turn their head away from the catheter.
Vital sign monitoring: During and after the procedure, check blood pressure, heart rate, respiratory rate, and oxygen saturation at frequent, regular intervals, with particular attention if the patient shows any sign of distress.
Pain assessment tool: The source material does not specify a pain scale for this procedure; use your institution's standard pain assessment tool before and after catheter removal.
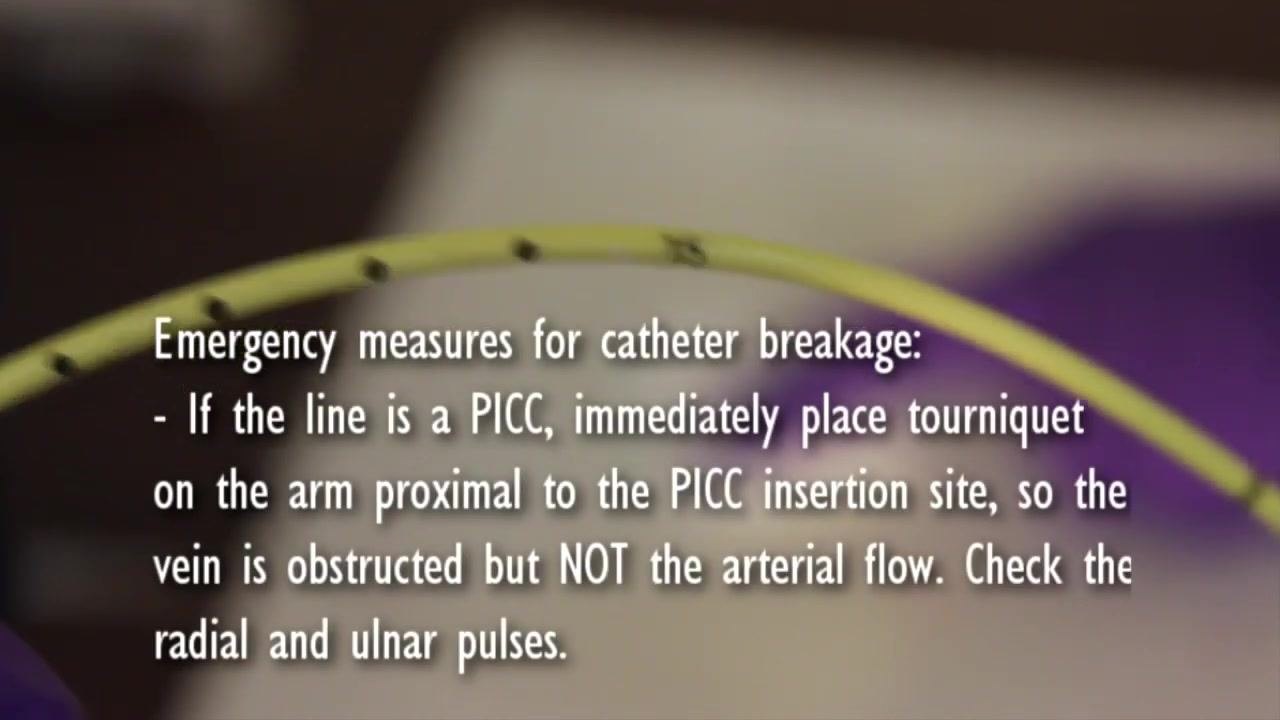
Neurovascular checks: If a tourniquet is applied due to suspected catheter breakage, check for the presence of radial and ulnar pulses to confirm that arterial flow is not compromised while venous flow is obstructed.
Care Protocol
Phase 1: Preparation
- Open the suture removal kit if the line is sutured.
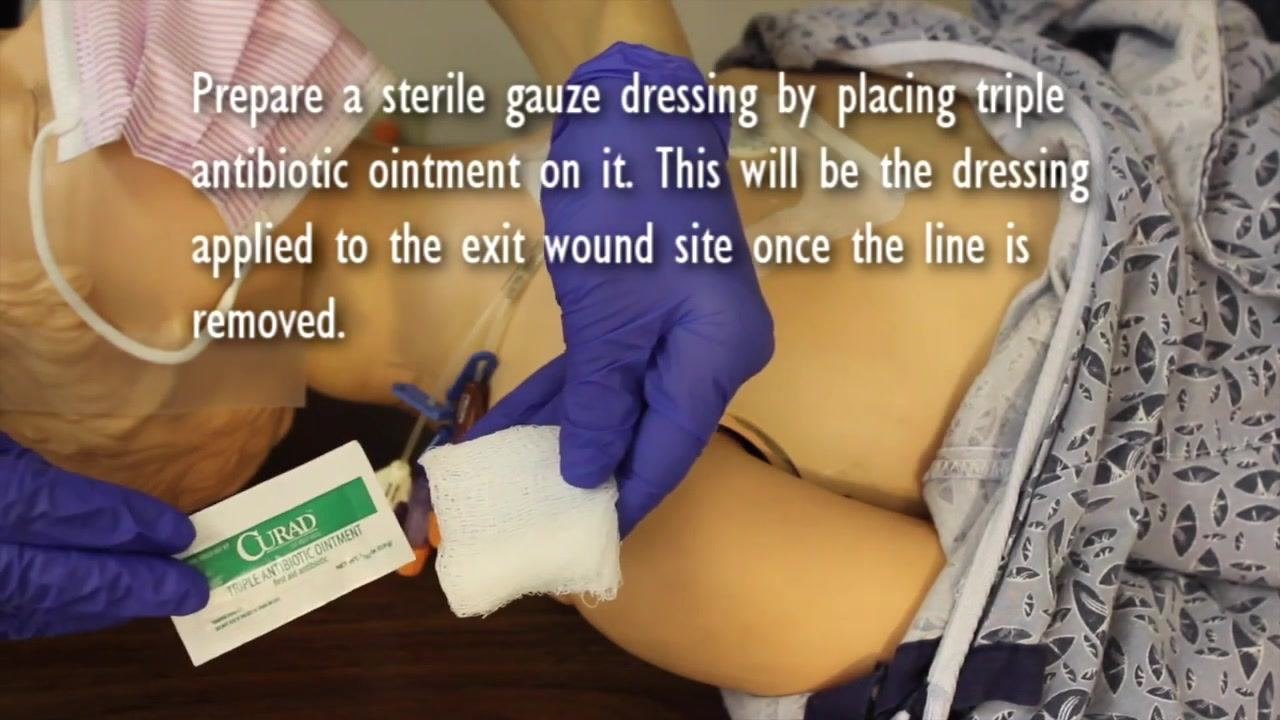
- Prepare a sterile gauze dressing by placing triple antibiotic ointment on the gauze; this will be applied to the exit wound once the catheter is removed.
Phase 2: Line removal
- Remove the dressing and the StatLock securement device from the insertion site.
- Remove your gloves, wash your hands again, and apply sterile gloves.
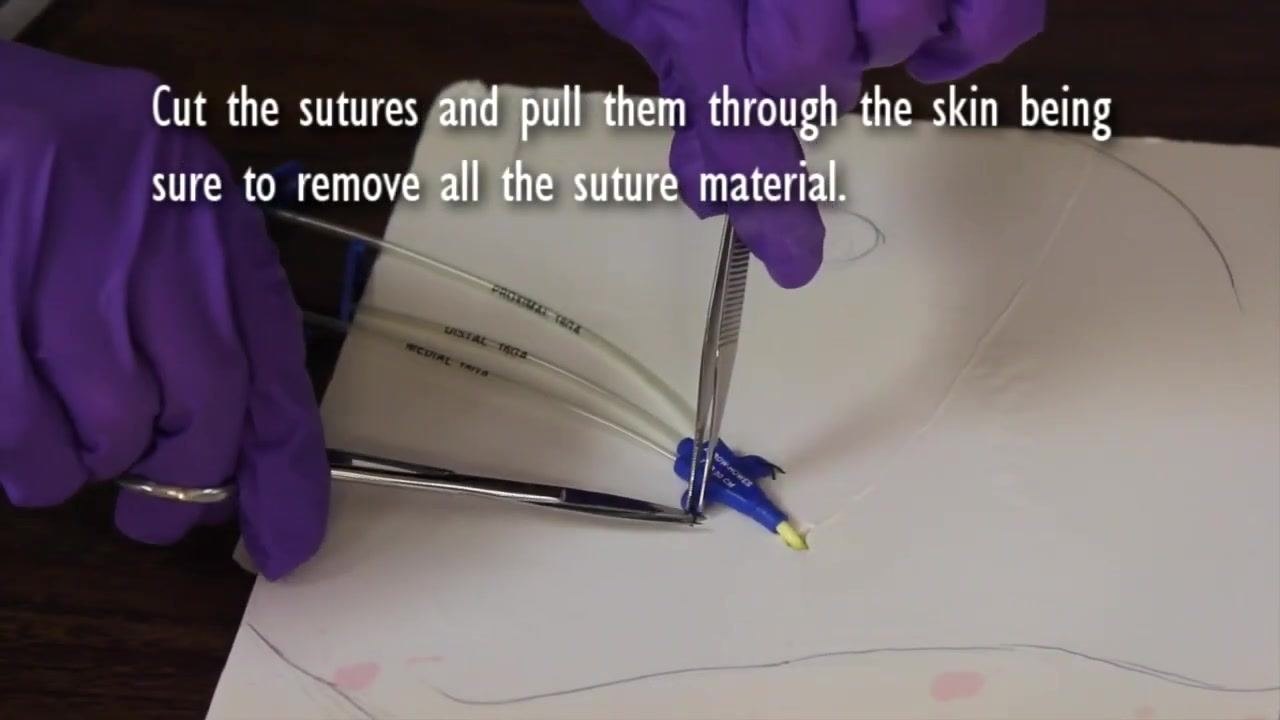
- If the line is sutured, cut the sutures and pull them through the skin, ensuring all suture material is completely removed.
- Instruct the patient to take a deep breath and hold it in; this reduces the risk of air embolism during removal.
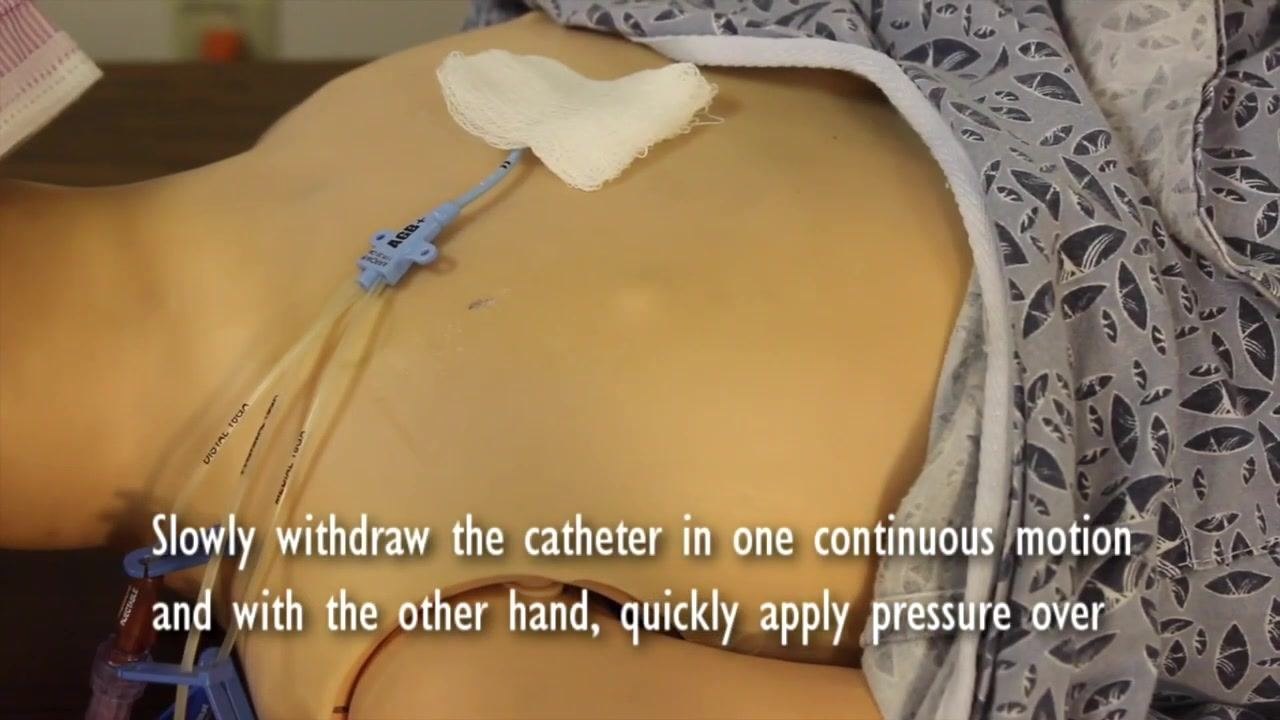
- Slowly withdraw the catheter in one continuous, smooth motion using one hand. If resistance is met, pause and retry; if resistance persists without swelling, massage the arm or apply a warm compress and retry later; if resistance still occurs, stop and notify the physician immediately.
Phase 3: Wound care
- As the catheter is withdrawn, quickly apply the prepared sterile gauze with ointment directly over the insertion site.
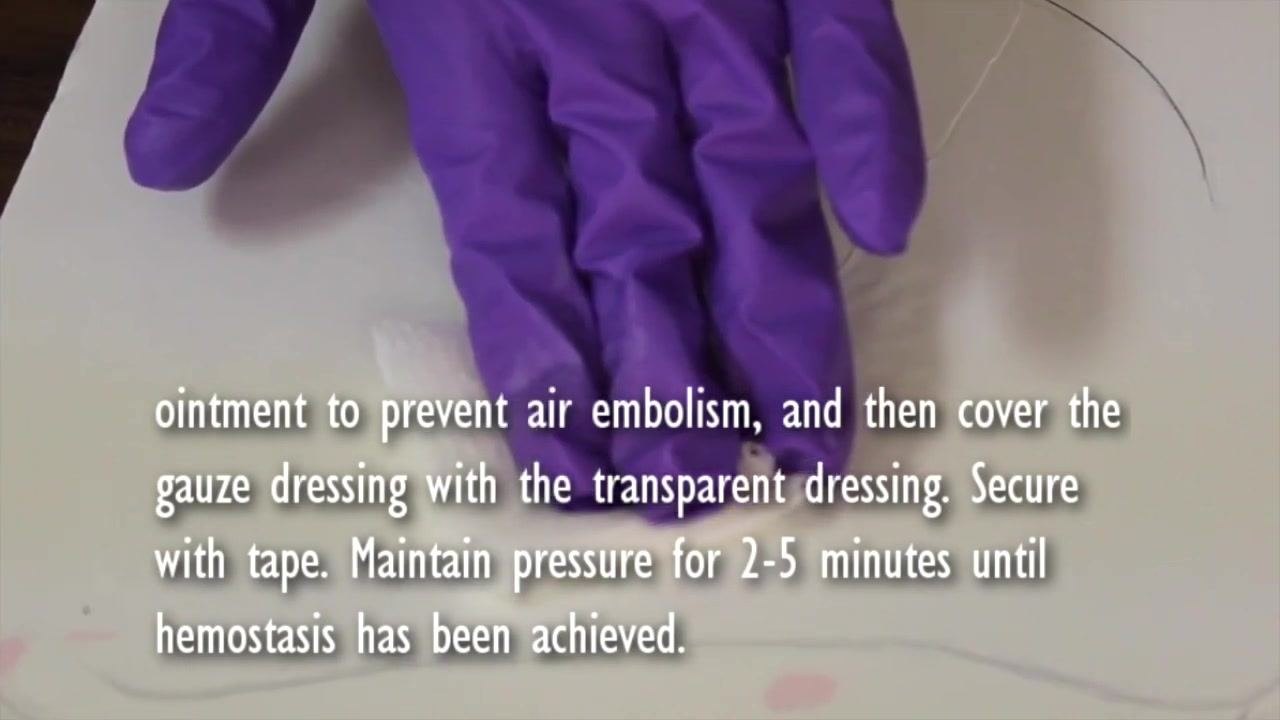
- Once the catheter is fully removed, immediately press the gauze against the wound to create a seal and prevent air embolism.
- Cover the gauze with a transparent dressing large enough to cover it completely, and secure with tape.
- Maintain firm pressure on the site for 2–5 minutes until hemostasis is achieved.
Nutrition: No nutrition-related instructions are included in this procedure; follow the patient's existing diet order.
Pain Management
The source material does not include a medication table, dosing schedule, or target pain score for this procedure. Apply your institution's standard pain management pathway and escalate to the physician if the patient reports uncontrolled pain during or after removal.
| Item | Detail from procedure |
|---|---|
| Topical agent | Triple antibiotic ointment applied to sterile gauze at the wound site |
| Escalation pathway | Notify the physician immediately if resistance during removal cannot be resolved, if the catheter tip is not intact, or if the patient becomes symptomatic |
Mobility Milestones
| Timepoint | Mobility goal |
|---|---|
| During removal | Patient remains supine, head of bed flat, head turned away from the catheter |
| Immediately after removal | Patient remains flat in bed for at least 20 minutes to minimize the risk of air embolism |
| If catheter breakage suspected | Absolute bed rest; do not allow the patient to ambulate |
| If catheter is shorter than expected | Maintain bed rest until a follow-up chest x-ray is reviewed and the physician clears the patient |
| Return to normal activity | Only after physician clearance |
Complication Monitoring
Monitor closely for the following signs and follow the escalation steps described below.
- Catheter tip integrity: Confirm the catheter tip is intact and its length matches the measurement recorded in the patient's chart; document the finding.
- Symptomatic patient: Shortness of breath, chest pain, or distress after removal is an emergent situation requiring immediate physician notification.
- Suspected catheter breakage (PICC): Immediately place a tourniquet on the arm proximal to the insertion site, tight enough to obstruct venous flow without blocking arterial flow, and check radial and ulnar pulses.
If catheter breakage is suspected:
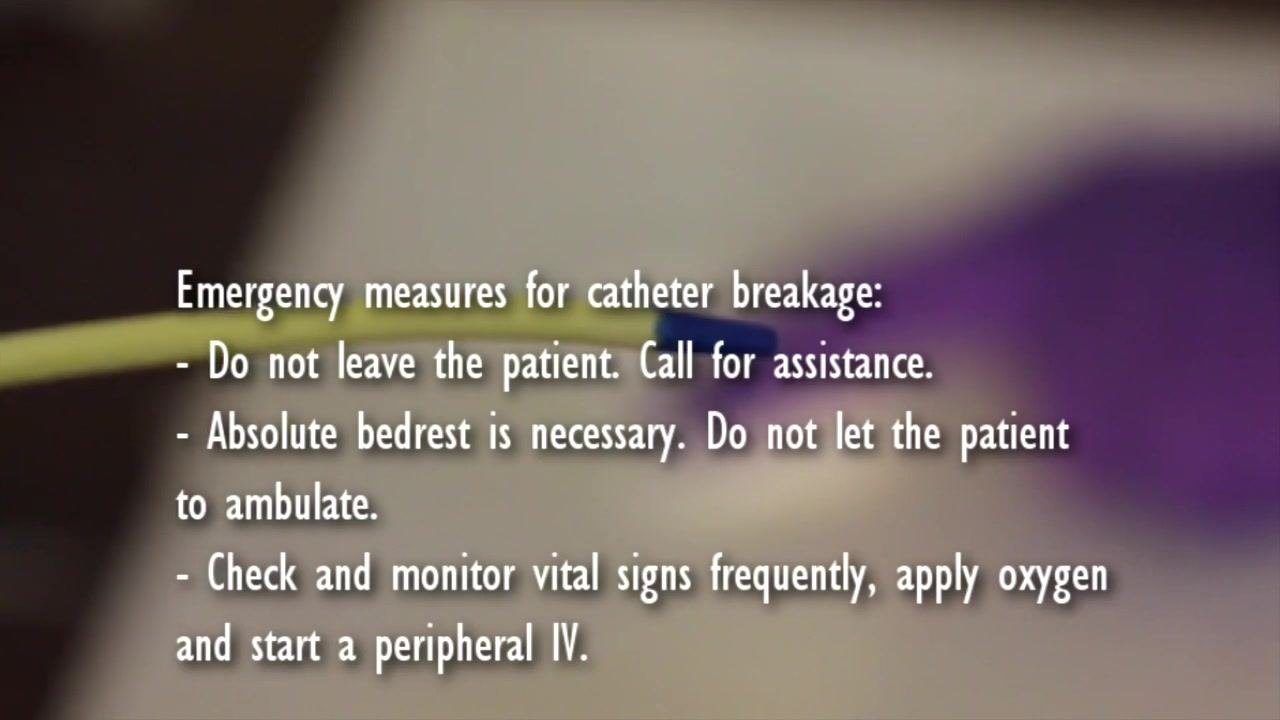
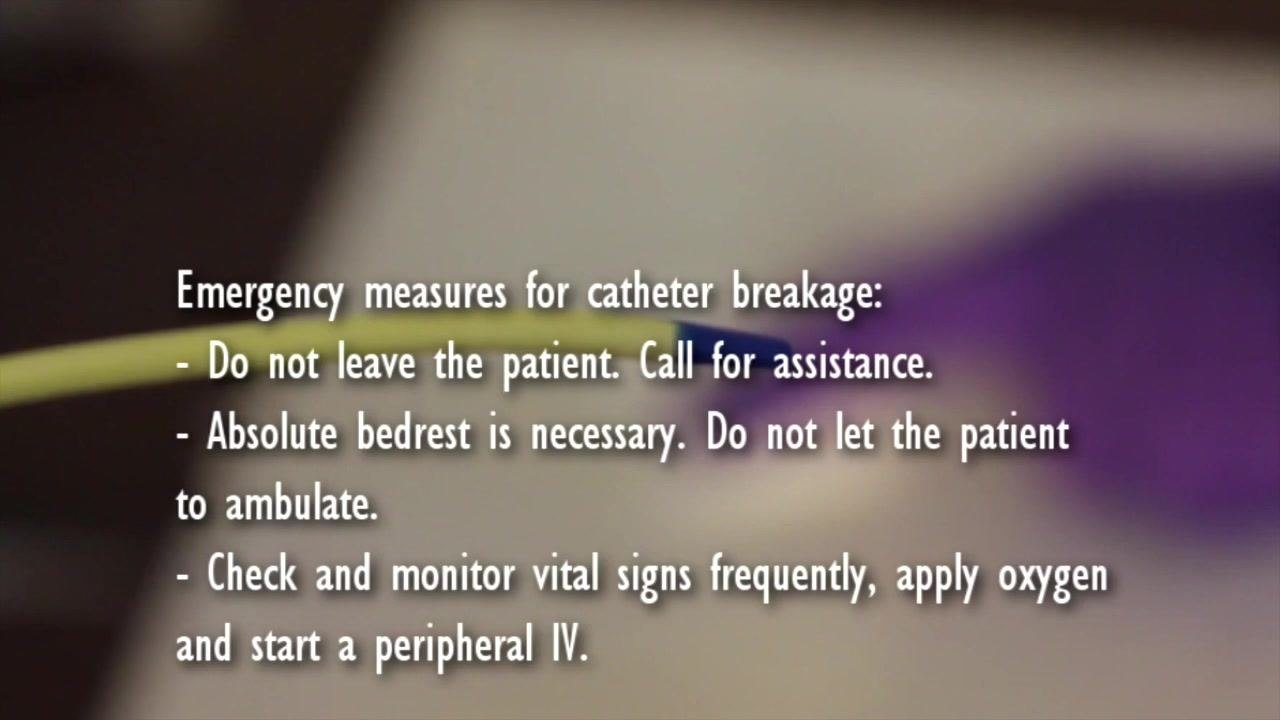
- Do not leave the patient unattended; call for immediate assistance and remain with the patient.
- Enforce absolute bed rest; do not allow the patient to ambulate.
- Monitor vital signs frequently, including blood pressure, heart rate, respiratory rate, and oxygen saturation.
- Apply supplemental oxygen if the patient becomes short of breath.
- Start a peripheral IV line if one is not already in place, to ensure vascular access for medications or fluids.
- If the patient becomes short of breath, turn them onto their left side with the head down (Trendelenburg position) to help keep any catheter fragment in the right ventricle and reduce embolism risk.
- Immediately consult the medical doctor (MD) and the radiology department for assessment and intervention.
If the catheter is shorter than expected:
- Maintain bed rest.
- Contact the physician for a follow-up chest x-ray to locate any retained fragment.
- Do not allow the patient to sit up or ambulate until cleared by the physician.
Discharge Criteria
Before ending monitoring or discharging the patient from this specific care episode, confirm the following:
- The catheter tip is confirmed intact and its length matches the chart measurement, and this has been documented.
- The patient has remained flat for at least 20 minutes after removal without signs of air embolism.
- Hemostasis has been achieved and the occlusive dressing is intact.
- No signs of shortness of breath, chest pain, or distress are present.
- If a chest x-ray was required, results have been reviewed and the physician has cleared the patient.
Patient Education
Before the patient resumes normal activity, review the following points:
- Keep the insertion site covered until a scab has formed; do not remove the dressing early, as this protects against infection and air entry.
- Remain flat in bed for the instructed period immediately after removal to reduce the risk of air embolism.
- Report any shortness of breath, chest pain, or distress immediately.
The source material does not include additional family-facing teaching points beyond dressing care and post-removal positioning; supplement with your institution's standard discharge teaching materials as needed.
What's Next
After completing the procedure, continue to monitor the patient according to institutional protocol and document all steps and patient responses thoroughly in the medical record, including catheter tip integrity, vital sign trends, and any emergency measures taken.
Generation details: cost, quality tiers, downloads
Docsie billed 2,500 credits ($1.75) to analyze this 5-minute video at standard quality. The rewrite, template fill and Word/PDF exports were included. The same video at each quality tier:
| Quality | Frames sampled | Credits | Approx. cost |
|---|---|---|---|
| Draft | every 16-30 s | 1,250 | $0.88 |
| Standard (this guide) | every 8-15 s | 2,500 | $1.75 |
| Detailed | every 4-7 s | 5,000 | $3.50 |
| Ultra | every 1-3 s | 10,000 | $7.00 |
Credits priced at $0.70 per 1,000; plans include a monthly allowance. Enterprise customers on on-premise or bring-your-own-model deployments run this on their own inference and pay no per-video credits.
Generated by Docsie Video-to-Docs on 2026-09-14 from a 4-minute video. It was generated straight into Docsie's Patient Care Procedure template, so every section of that template is filled from the video. Screenshots are frames from the source video and belong to their creator, EmpoweRN, whose original is embedded above. If you own this video and want the guide removed or credited differently, contact us and we will act within one business day.