
How to Put on PPE in Order
This guide explains how to put on PPE in order and how to remove it safely afterward. It covers the recommended sequence for donning a gown, face mask or N95 respirator, eye protection, and gloves, followed by the correct sequence for doffing each item without contaminating yourself or your surroundings. Because PPE protocols vary by facility and can change during a pandemic, always confirm the current sequence and PPE type required by your facility before beginning.
Video: PPE Training Video: Donning and Doffing PPE Nursing Skill by RegisteredNurseRN (2020). All credit for the demonstration goes to the creator; watch the original on YouTube. The written guide below was generated from this video by Docsie. Creator? Request a change or removal.
This guide explains how to put on PPE in order and how to remove it safely afterward. It covers the recommended sequence for donning a gown, face mask or N95 respirator, eye protection, and gloves, followed by the correct sequence for doffing each item without contaminating yourself or your surroundings. Because PPE protocols vary by facility and can change during a pandemic, always confirm the current sequence and PPE type required by your facility before beginning.
Purpose
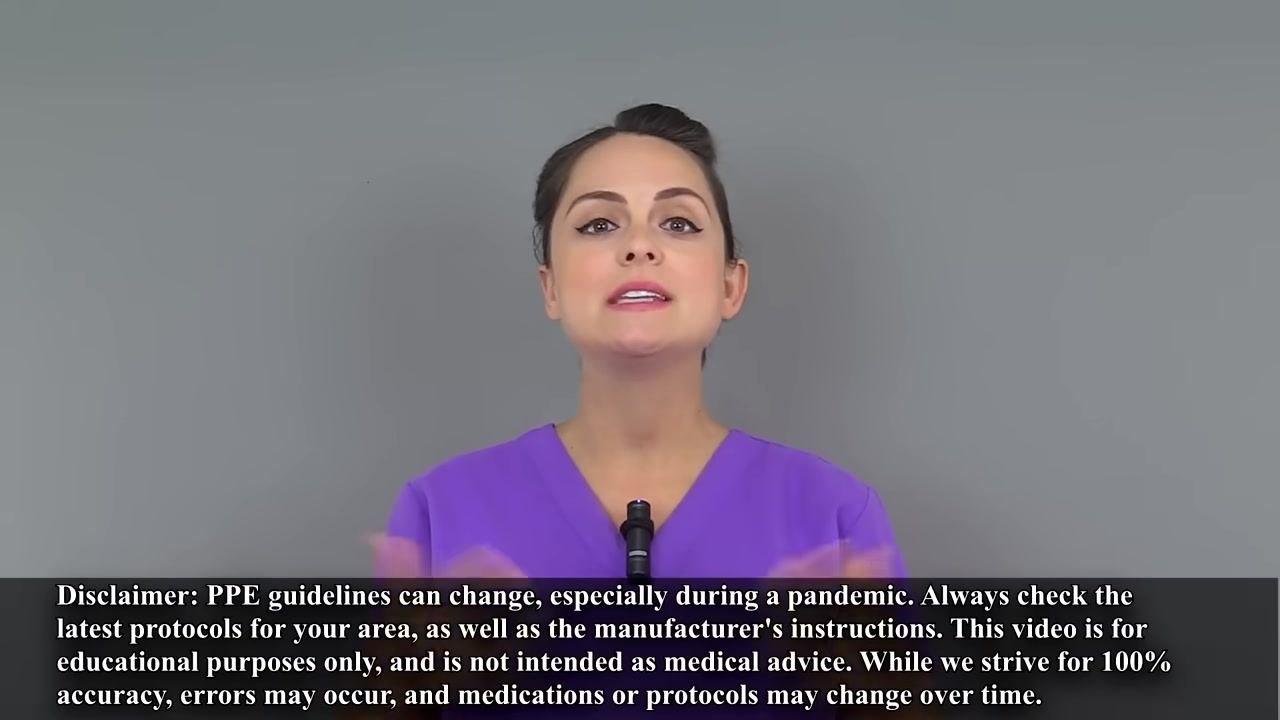
The purpose of this procedure is to protect healthcare workers from exposure to infectious agents by ensuring that personal protective equipment is put on and taken off in a safe, consistent order. Following this sequence reduces the risk of self-contamination during patient care.
Scope
This procedure applies to any healthcare worker who needs to don and doff PPE before and after entering a patient care area where an infectious agent may be present. It covers gowns, face masks, N95 respirators, goggles or face shields, and gloves.
Prerequisites
Before donning PPE, confirm the following:
- You have selected the appropriate PPE based on the specific infectious agent your patient has.
- You have been properly fitted and sized for your PPE, including a fit test for any respirator.
- You are familiar with your hospital's current protocols and sequence for donning and doffing, since guidelines can change, especially during a pandemic.
- You have reviewed the manufacturer's instructions for each piece of equipment.
Note: There are multiple acceptable sequences for donning PPE. This guide demonstrates one recommended sequence, but you should always follow your facility's specific protocol.
Required equipment
- Isolation gown
- Face mask with ear loops, or N95 respirator
- Goggles or face shield
- Gloves
- Soap and water or alcohol-based hand sanitizer
Donning PPE
Step 1: Perform hand hygiene
Before touching any PPE, wash your hands thoroughly or use an alcohol-based hand sanitizer.
Step 2: Put on the gown
Slide the gown up both arms. If the gown has thumb inserts, place your thumbs through them. If it has a loop, place the loop over your head, then secure the gown by tying the ties in the back.
Step 3: Don a face mask with ear loops
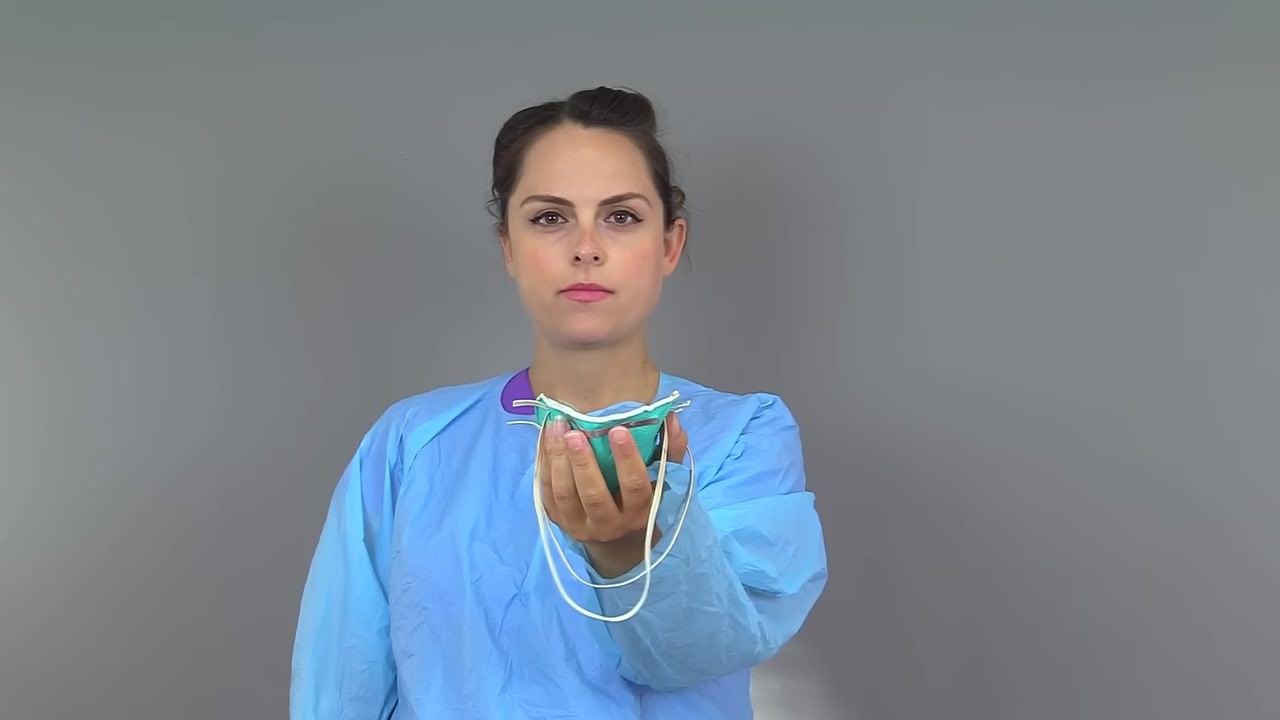
Hold the mask by the ear loops, place each loop over your ears, then grasp the nose piece and bring it to cover the bridge of your nose. Mold the nose piece with the fingertips of both hands, starting at the bridge and working outward toward the cheekbones. Pull the bottom of the mask under your chin.
If you are using an N95 respirator instead of a face mask, continue with the detailed steps below.
Donning an N95 respirator step by step
Step 4: Prepare the respirator
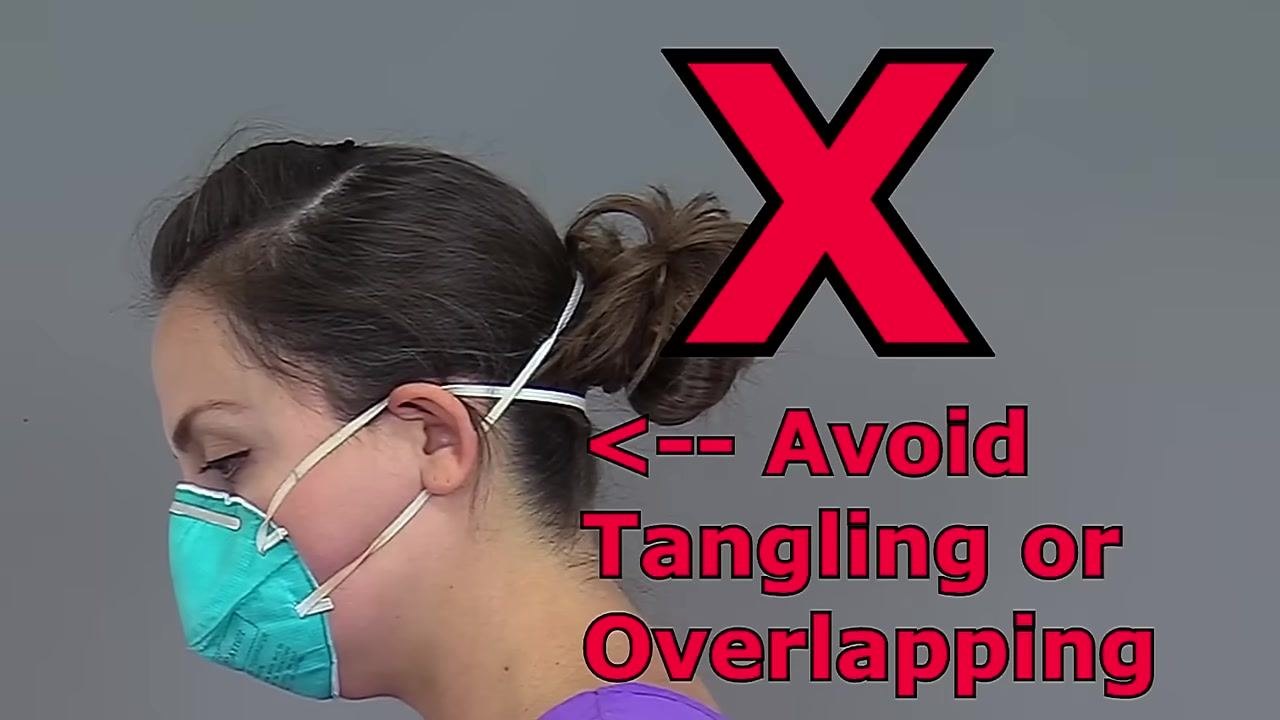
Hold the respirator in one hand with the front touching the inside of your hand and the metal nose piece resting near your fingertips. Let the straps hang freely below your hand and check that the top and bottom straps are not tangled or twisted.
Step 5: Position the respirator on your face
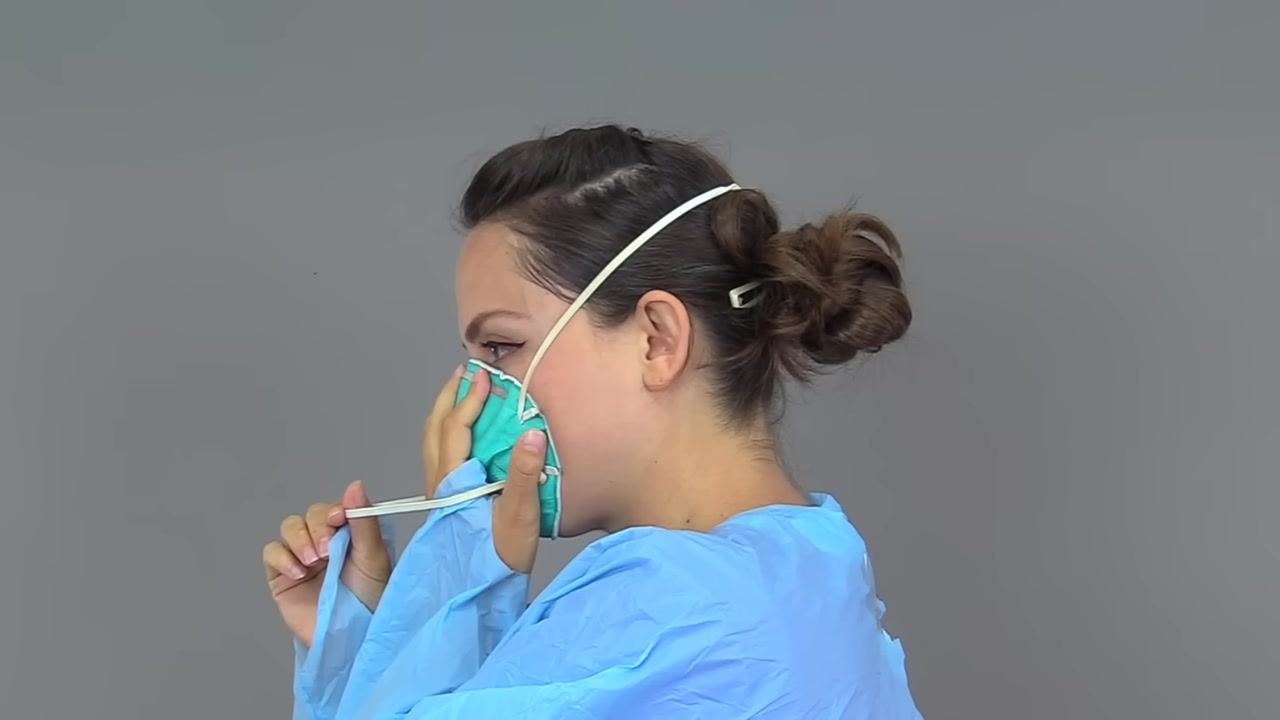
Place the respirator over your nose and mouth and under your chin. Hold it in place with one hand while you secure the straps with your free hand.
Step 6: Secure the straps
With your free hand, take the top strap and place it just past the top of your head, above your ears, making sure it lies flat and is not twisted. Then take the bottom strap and position it around the back of your head, just below your ears.
Safety note: Avoid letting the straps overlap or tangle, as this compromises the fit of the respirator.
Step 7: Mold the nose piece
Using the fingertips of both hands, bend the metal nose piece around your nose. Start at the center of the nose piece and work outward on each side to create a secure fit.
Step 8: Perform a seal check — inhale
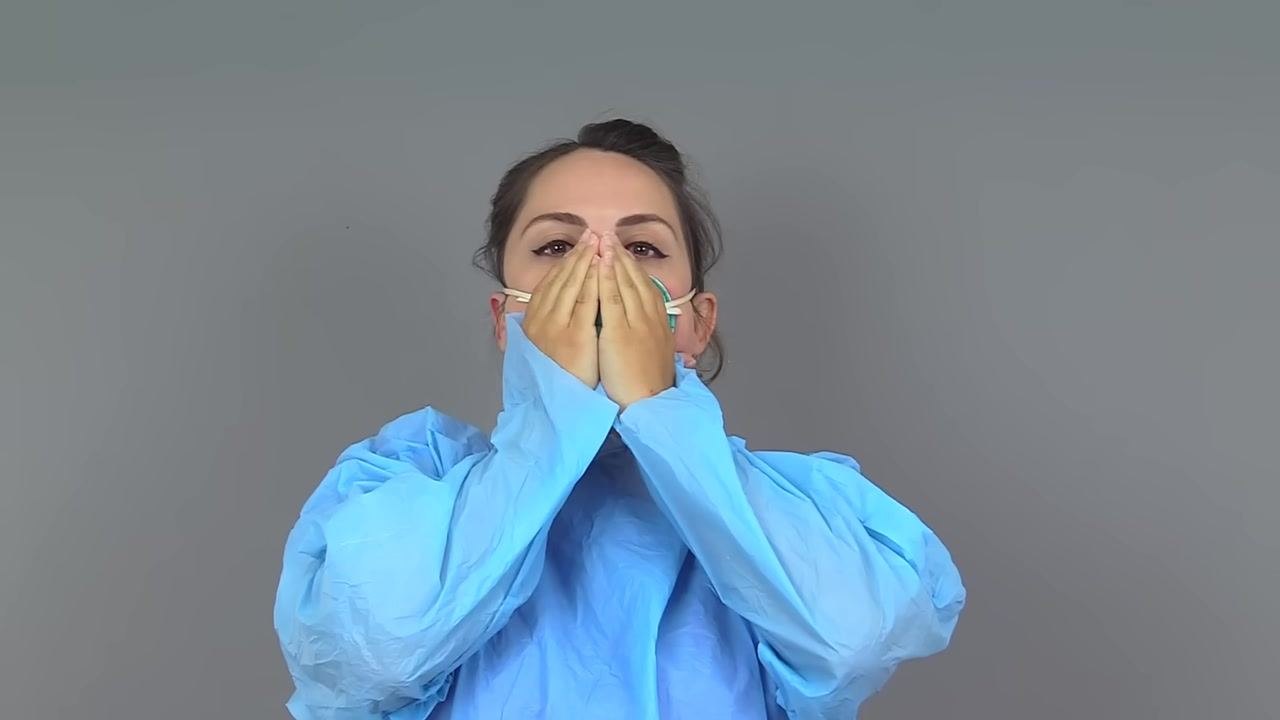
Place both hands over the respirator, take a sharp breath in, and confirm that the respirator seals tightly against your face during inhalation.
Step 9: Perform a seal check — exhale
Keep both hands on the respirator and breathe out. Feel for any air leaking around the nose piece or the perimeter of the respirator.
Step 10: Adjust the fit if needed
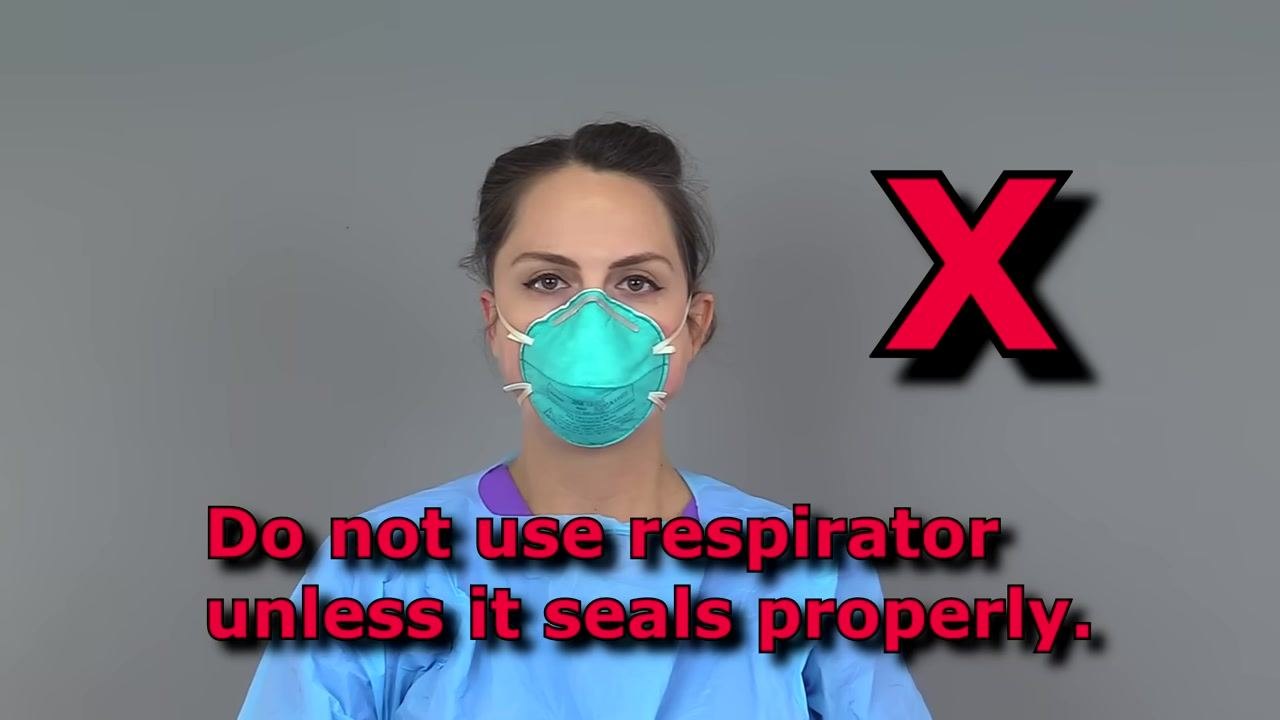
If air leaks around the nose piece, re-bend the nose piece with both hands and repeat the seal check. If air leaks around the perimeter, adjust the straps and recheck, ensuring the fit is not affected by piercings, facial hair, or other obstructions.
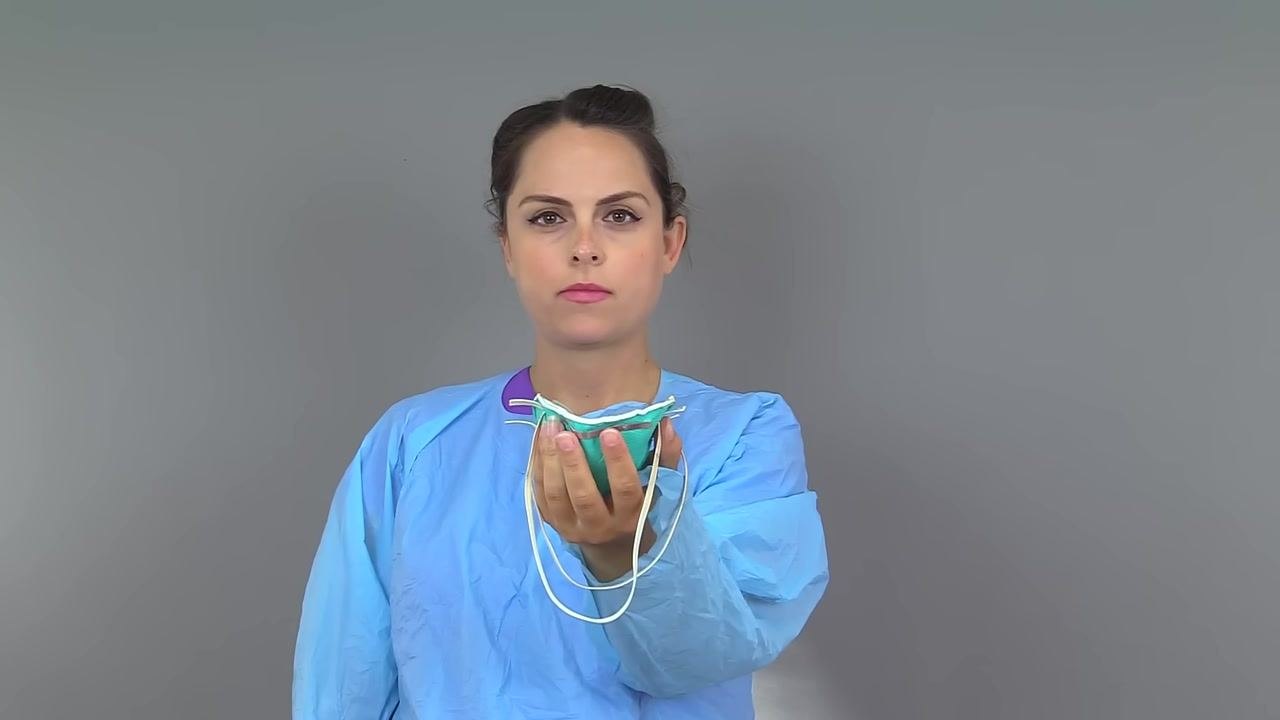
Safety note: If the respirator still leaks after adjustments, try a different size or type. Do not use the respirator unless a proper seal is achieved.
Completing the donning sequence
Step 11: Don eye protection
Place goggles over your eyes and secure the straps or bands around your head. Confirm that they fit snugly but comfortably over the respirator.
Step 12: Perform hand hygiene
Wash your hands thoroughly with soap and water or use an alcohol-based hand sanitizer before putting on gloves.
Step 13: Don gloves
Pull each glove over your hand and extend the cuff of the gloves over the sleeves of your gown to ensure full coverage before entering the patient care area.
Doffing (removing) PPE
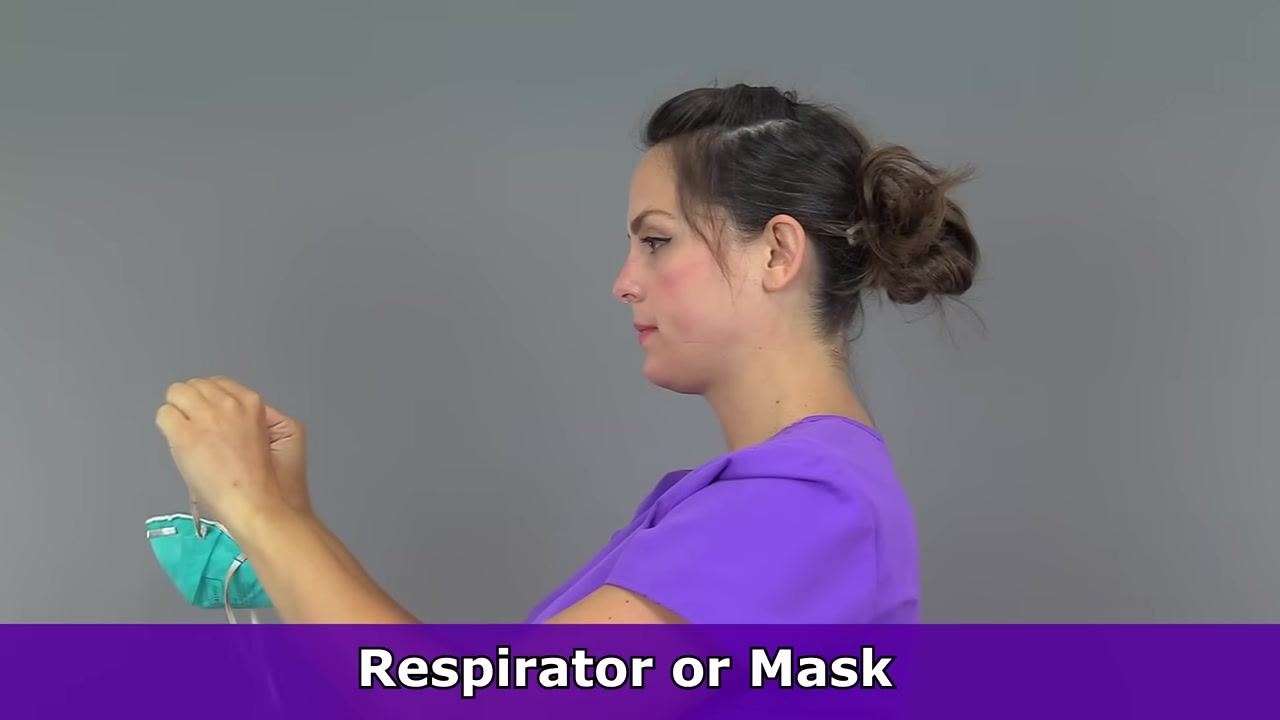
Recommended removal order: gloves, gown, goggles or face shield, and finally the mask or respirator. The respirator is removed only after you have left the patient care area.
Step 14: Remove the first glove
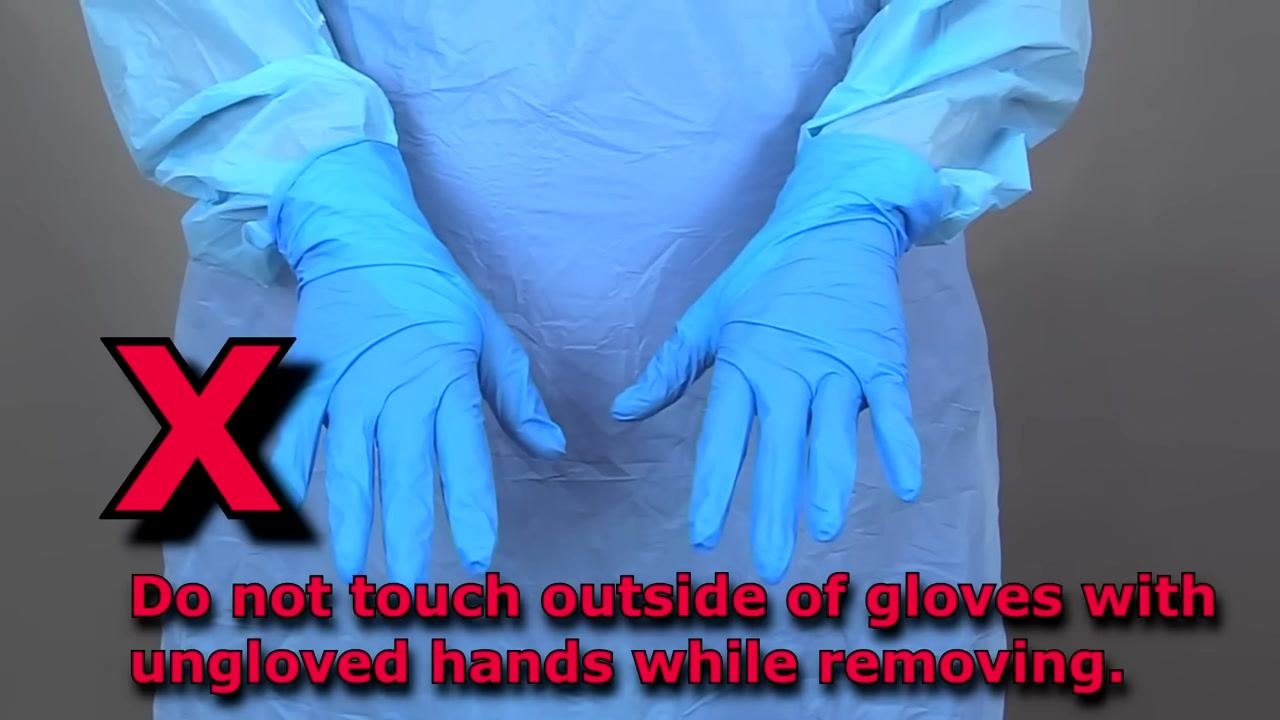
Use your non-dominant gloved hand to pinch the outside of the other glove at the wrist. Peel the glove off, turning it inside out, and hold it in your gloved hand. Do not touch the outside of the gloves with your bare hands, as they are considered contaminated.
Step 15: Remove the second glove
Slide the index finger of your ungloved hand carefully under the cuff of the remaining glove and push forward, turning it inside out over the first glove.
Step 16: Complete glove removal and dispose
Continue pushing your index finger forward along the inside of the glove, peeling it off as it turns inside out. Avoid touching the outside surface of the glove with your bare skin, then dispose of both gloves in the appropriate waste container.
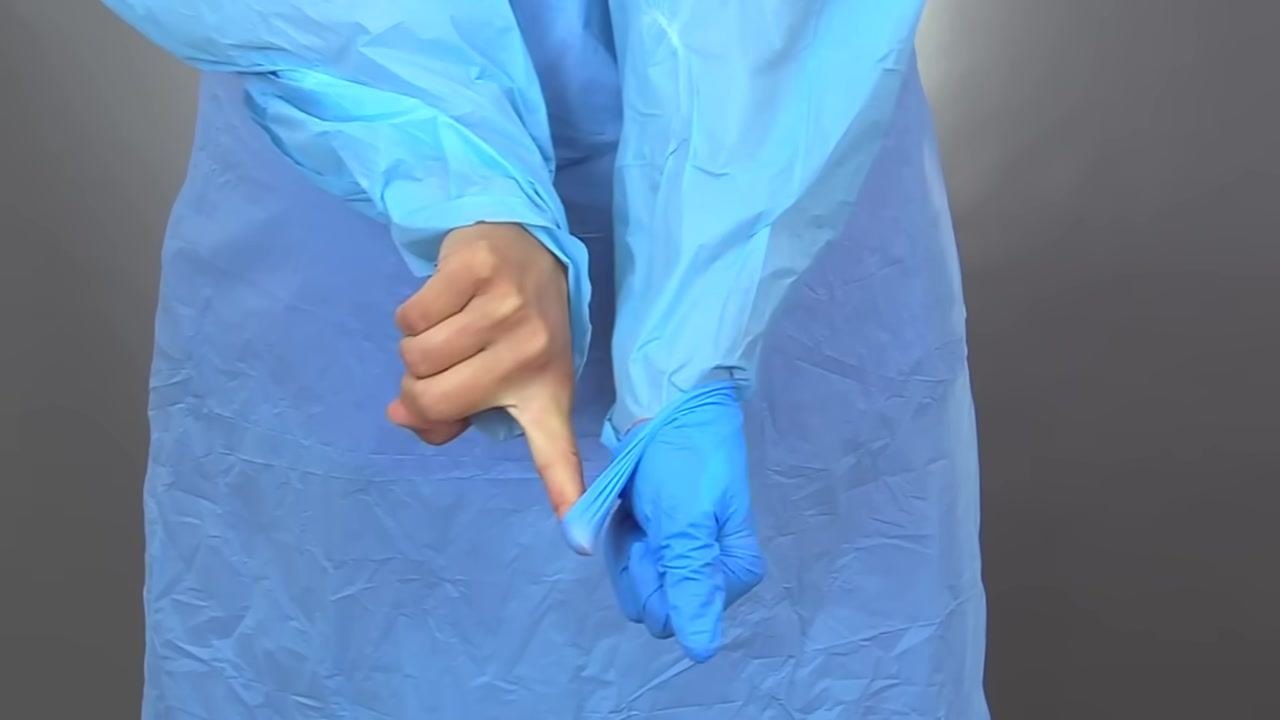
Safety note: Never touch the outside of the gloves with ungloved hands while removing them.
Step 17: Untie the gown
Avoid touching the front of the gown and sleeves, since these areas are considered contaminated. Carefully untie or break the ties at the back of the gown. The ties and the inside of the gown are considered clean.
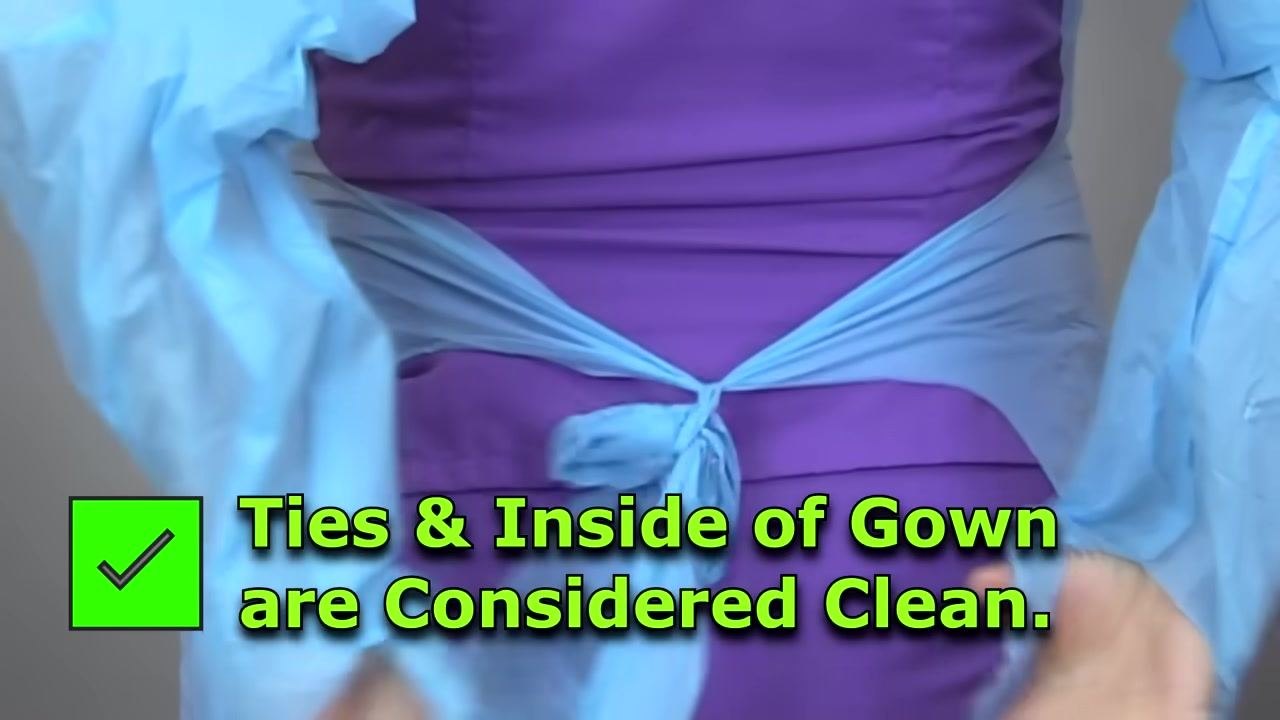
Step 18: Remove the gown
Remove your thumbs from the thumb inserts if present, then move your shoulders and arms up and out through the gown to slide it off your body.
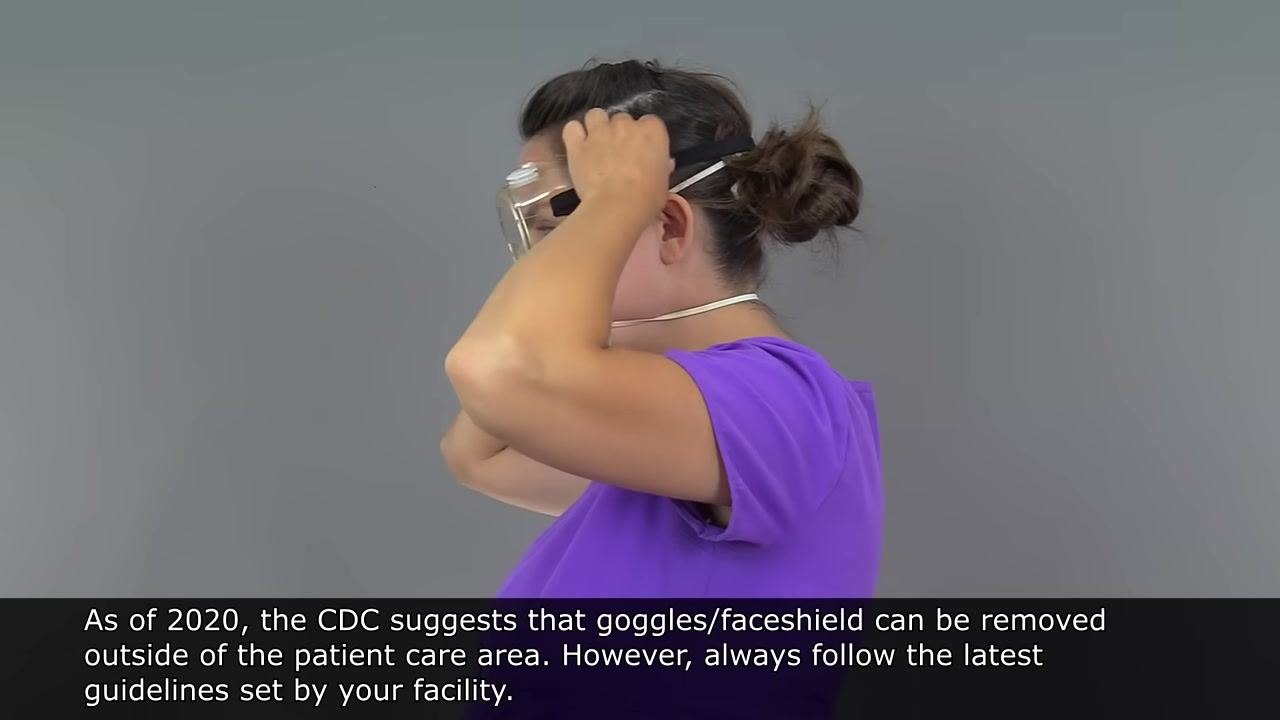
Step 19: Remove goggles or face shield
Do not touch the outside of the goggles or face shield, since this surface is considered contaminated. Grasp and lift the back band carefully, avoiding contact with the front.
Lift the band over your head to remove the goggles, then dispose of or clean them according to your facility's protocol.
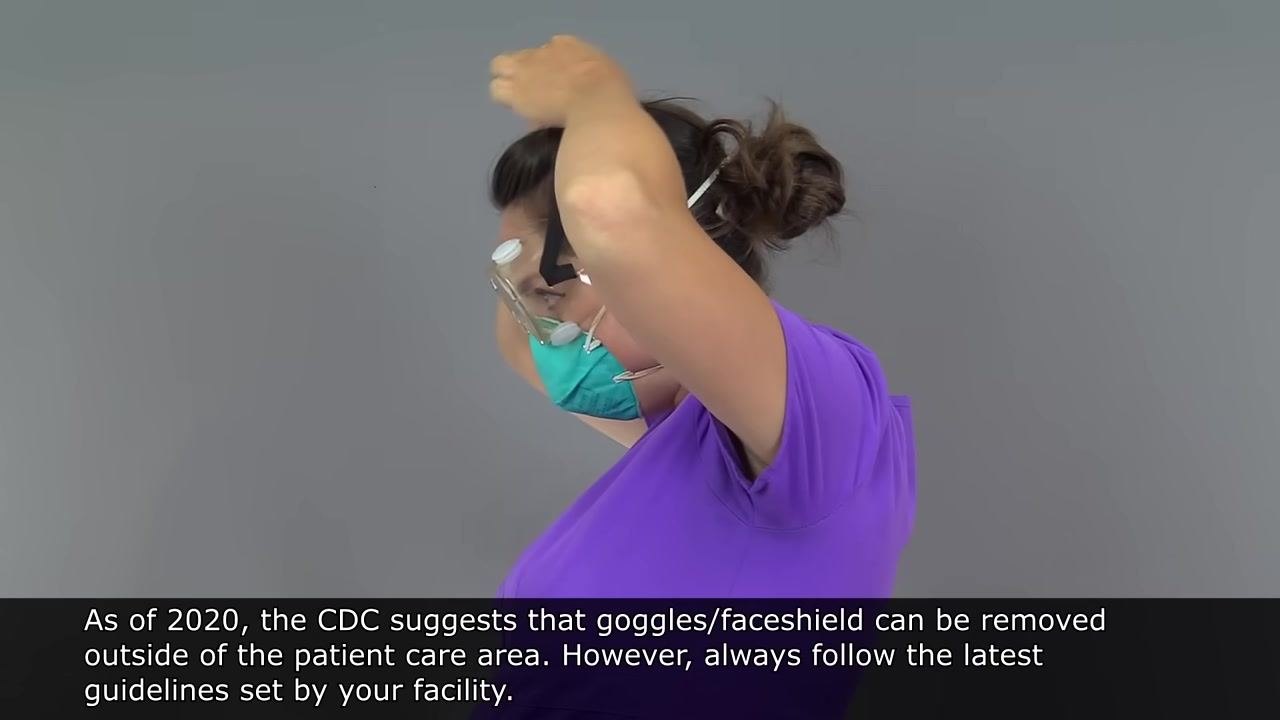
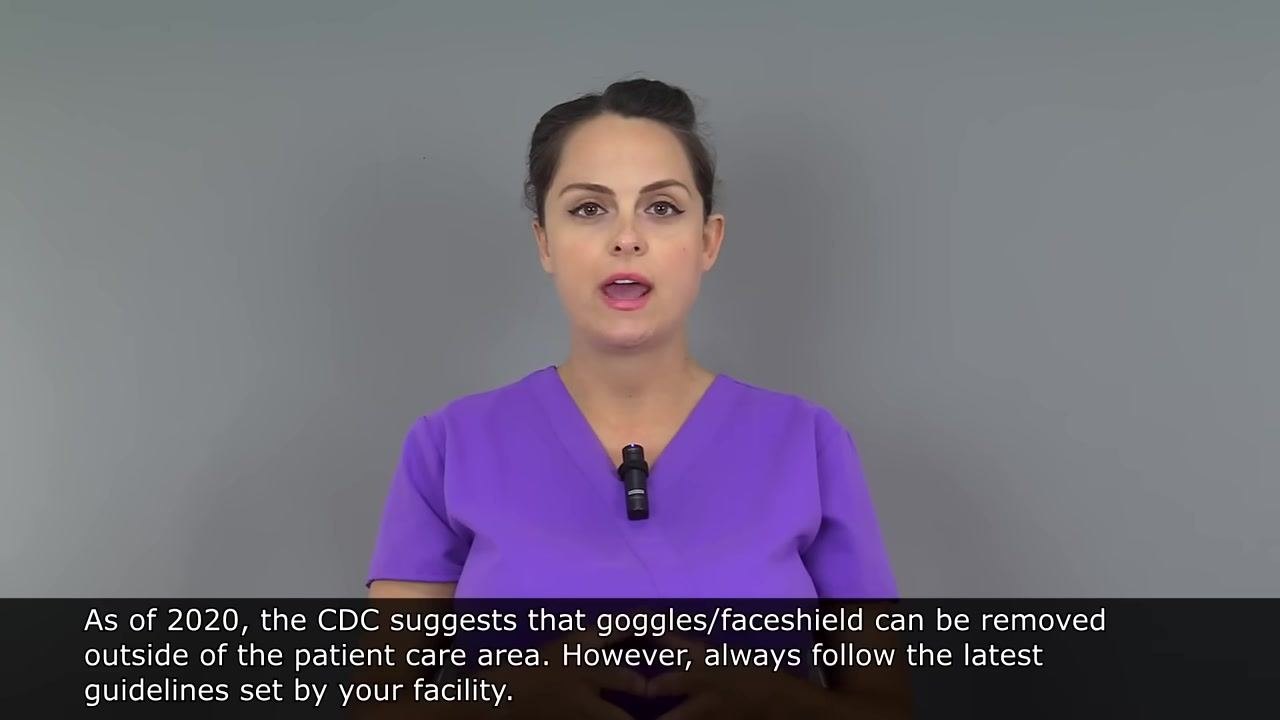
Safety note: As of 2020, the CDC suggests that goggles or a face shield can be removed outside of the patient care area. Always follow the latest guidelines set by your facility.
Step 20: Remove the mask
Grasp the ear loops of the mask with your fingertips and remove it, avoiding contact with the front. The front of the mask is considered contaminated after exposure.
Step 21: Perform hand hygiene
Wash your hands thoroughly with soap and water immediately after removing gloves, gown, goggles, and mask, and before touching your face or any clean surface.
Step 22: Remove the respirator after leaving the patient care area
The front of the respirator is considered contaminated. Remove it by grasping the straps only, and avoid touching the front.
Verification and safety summary
Confirm the following before and after each PPE session:
- PPE was selected based on the specific infectious agent and you were properly fitted.
- The donning sequence followed hand hygiene, gown, mask or respirator, eye protection, hand hygiene, then gloves.
- A seal check was performed and passed before using an N95 respirator; the respirator was not used if it failed to seal.
- The doffing sequence followed gloves, gown, goggles or face shield, then mask or respirator (removed only after leaving the patient care area).
- Hand hygiene was performed immediately after removing gloves and again after removing all PPE.
- The outside of gloves, the front of the gown, and the front of the mask, respirator, goggles, or face shield were never touched with bare or ungloved hands.
What's next
Always refer to your facility's current protocols and the latest CDC guidelines, since PPE requirements can change, especially during a pandemic. Confirm the manufacturer's instructions for any new PPE type before use, and repeat fit testing for respirators as required by your facility.
Generation details: cost, quality tiers
Docsie billed 3,500 credits ($2.45) to analyze this 7-minute video at standard quality. The rewrite, template fill and Word/PDF exports were included. The same video at each quality tier:
| Quality | Frames sampled | Credits | Approx. cost |
|---|---|---|---|
| Draft | every 16-30 s | 1,750 | $1.22 |
| Standard (this guide) | every 8-15 s | 3,500 | $2.45 |
| Detailed | every 4-7 s | 7,000 | $4.90 |
| Ultra | every 1-3 s | 14,000 | $9.80 |
Credits priced at $0.70 per 1,000; plans include a monthly allowance. Enterprise customers on on-premise or bring-your-own-model deployments run this on their own inference and pay no per-video credits.
Generated by Docsie Video-to-Docs on 2026-09-09 from a 6-minute video. Screenshots are frames from the source video and belong to their creator, RegisteredNurseRN, whose original is embedded above. If you own this video and want the guide removed or credited differently, contact us and we will act within one business day.