
How to Perform Orthostatic Blood Pressure
This standard operating procedure describes how to perform orthostatic blood pressure testing to evaluate a patient's cardiovascular function, vasoconstriction ability, and hydration status. Orthostatic blood pressure testing measures blood pressure and heart rate as a patient moves from lying down, to sitting, to standing, allowing you to detect abnormal drops in pressure that may indicate underlying pathology.
Video: How to Perform Orthostatic Hypotension Testing by Med School Made Easy (2014). All credit for the demonstration goes to the creator; watch the original on YouTube. The written guide below was generated from this video by Docsie. Creator? Request a change or removal.
This standard operating procedure describes how to perform orthostatic blood pressure testing to evaluate a patient's cardiovascular function, vasoconstriction ability, and hydration status. Orthostatic blood pressure testing measures blood pressure and heart rate as a patient moves from lying down, to sitting, to standing, allowing you to detect abnormal drops in pressure that may indicate underlying pathology.
Purpose
Orthostatic blood pressure testing is used to assess how well a patient's heart and blood vessels respond to changes in body position. The test evaluates:
- Heart function.
- Vasoconstriction ability.
- Hydration status.
Scope and indications
Perform this test when a patient presents with any of the following:
- Complaints of passing out, syncope, or blacking out.
- A history of heart problems.
Required equipment
- Examination table.
- Blood pressure cuff.
- Stethoscope.
- Sphygmomanometer.
Step-by-step procedure
Step 1: Explain the orthostatic blood pressure test to the patient
Inform the patient that you will be assessing their blood pressure in three different positions: lying down, sitting, and standing. Setting this expectation up front helps the patient understand why quick position changes are needed during the test.
Step 2: Position the patient for the lying-down reading
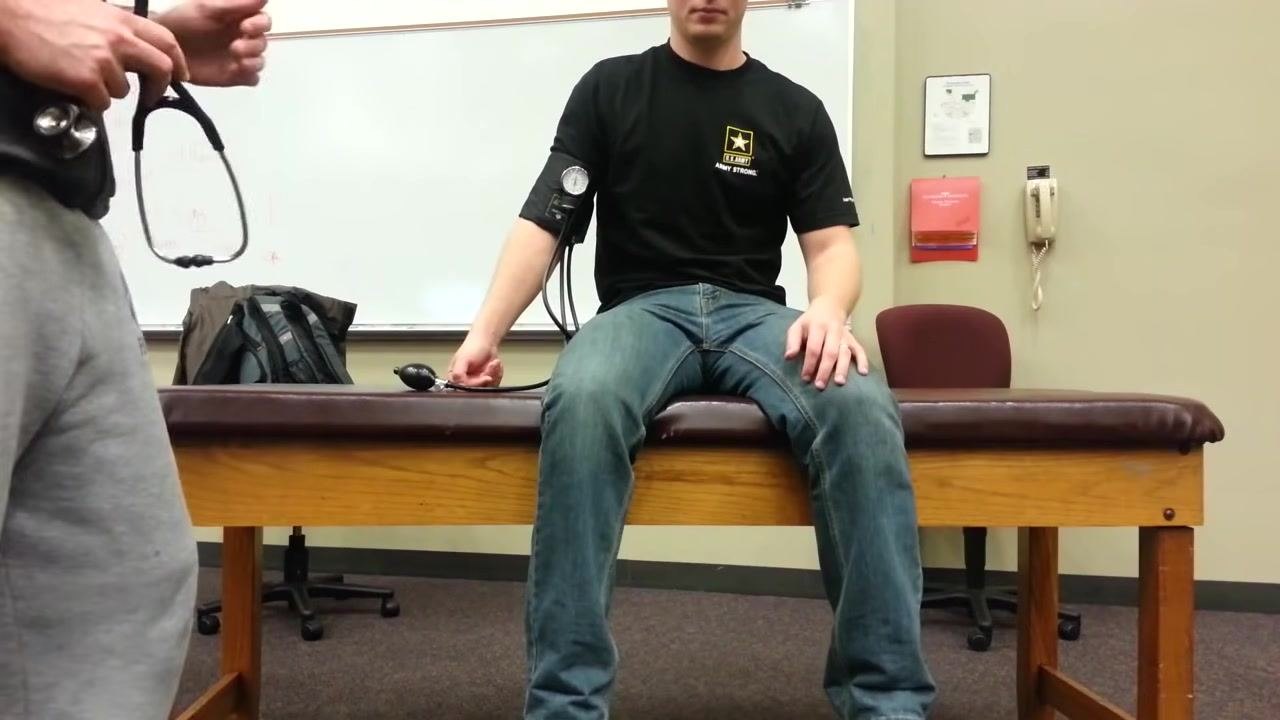
Ask the patient to lie down on the examination table and get comfortable. Ensure the patient remains in this position for several minutes to allow their blood pressure to stabilize before you take the first reading.
Step 3: Measure blood pressure in the lying position
Place the blood pressure cuff securely on the patient's arm if this has not already been done. Use a stethoscope and sphygmomanometer to measure the patient's blood pressure, then record the value. In this example, the reading is approximately 122/80 mmHg (rounded to 120/80 mmHg).
Step 4: Transition the patient to the sitting position
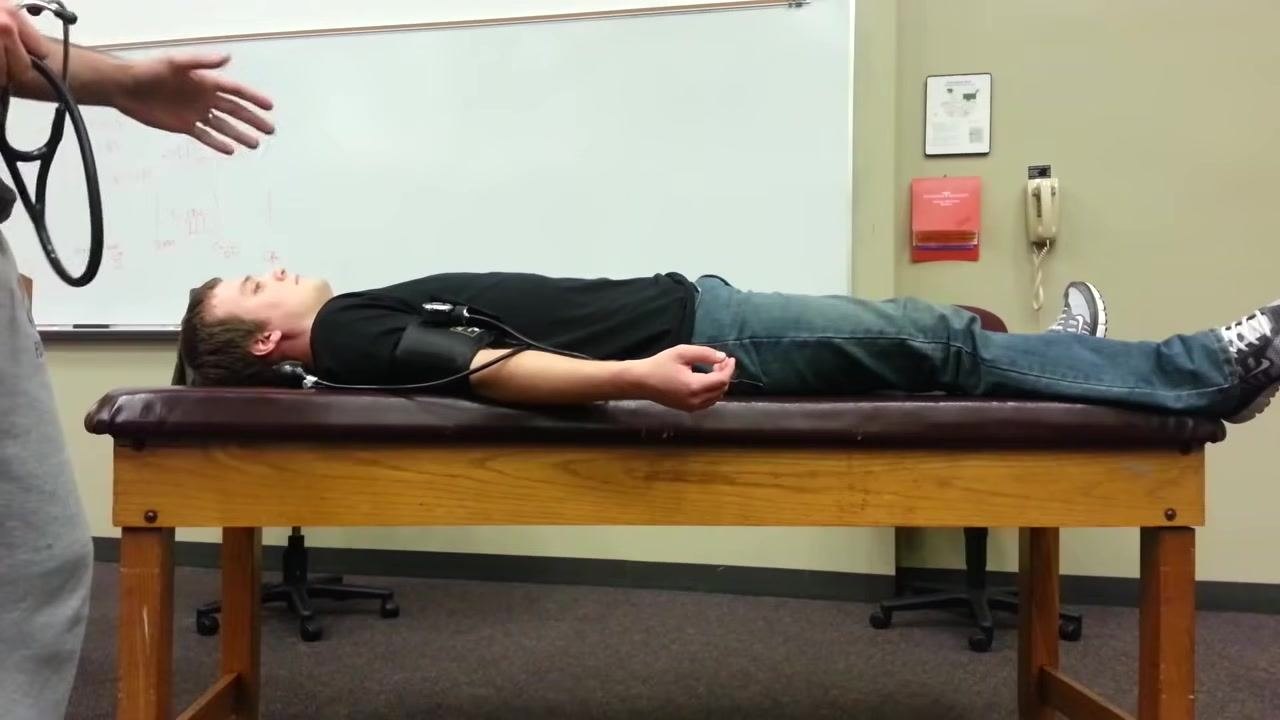
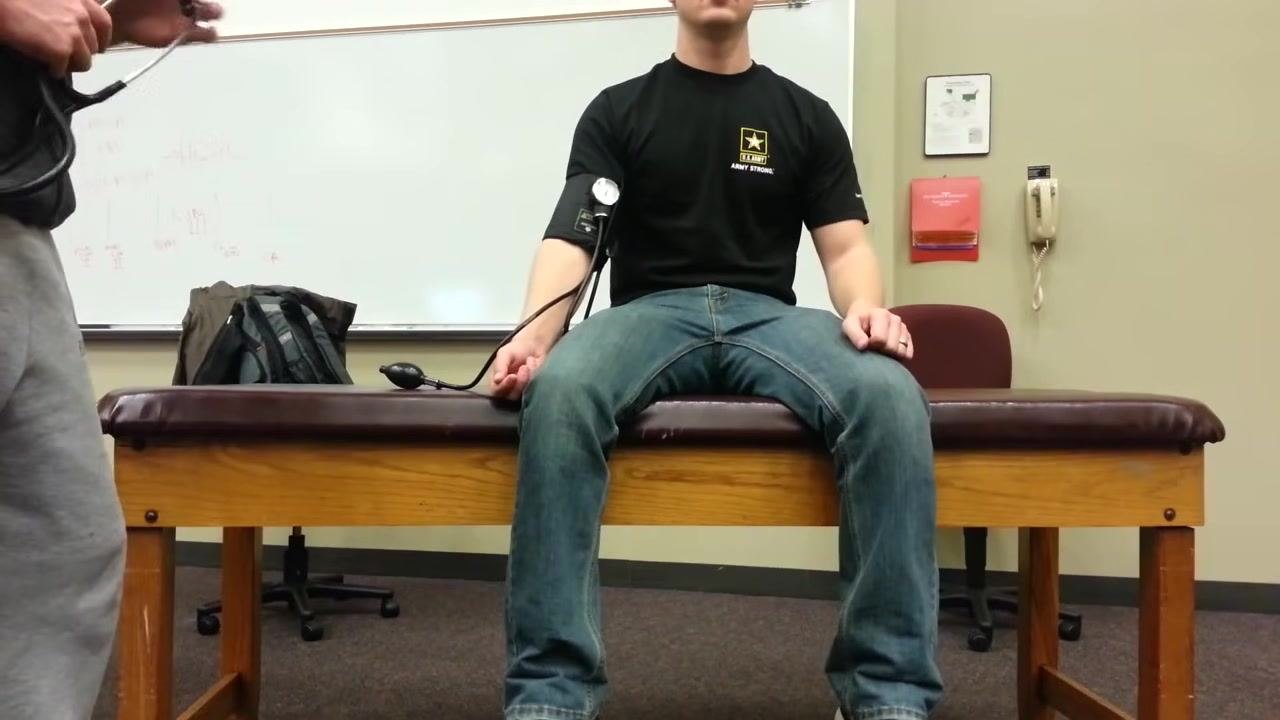
Instruct the patient to move into a sitting position on the side of the table. Remind the patient that the next blood pressure reading is time-sensitive and must be taken as soon as possible after sitting up, since delays can affect measurement accuracy.
Step 5: Measure blood pressure in the sitting position
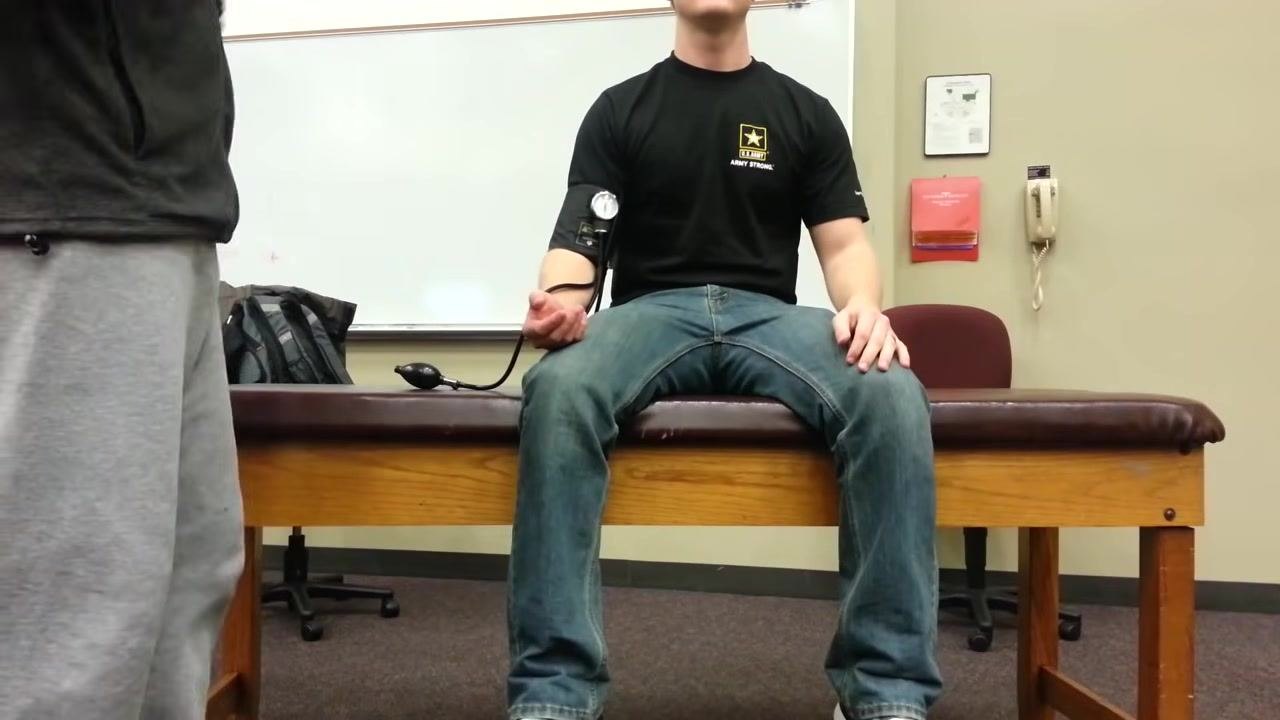
Quickly measure and record the patient's blood pressure while they are sitting. In this example, the reading is approximately 118/78 mmHg. A slight drop from the lying position is expected at this stage.
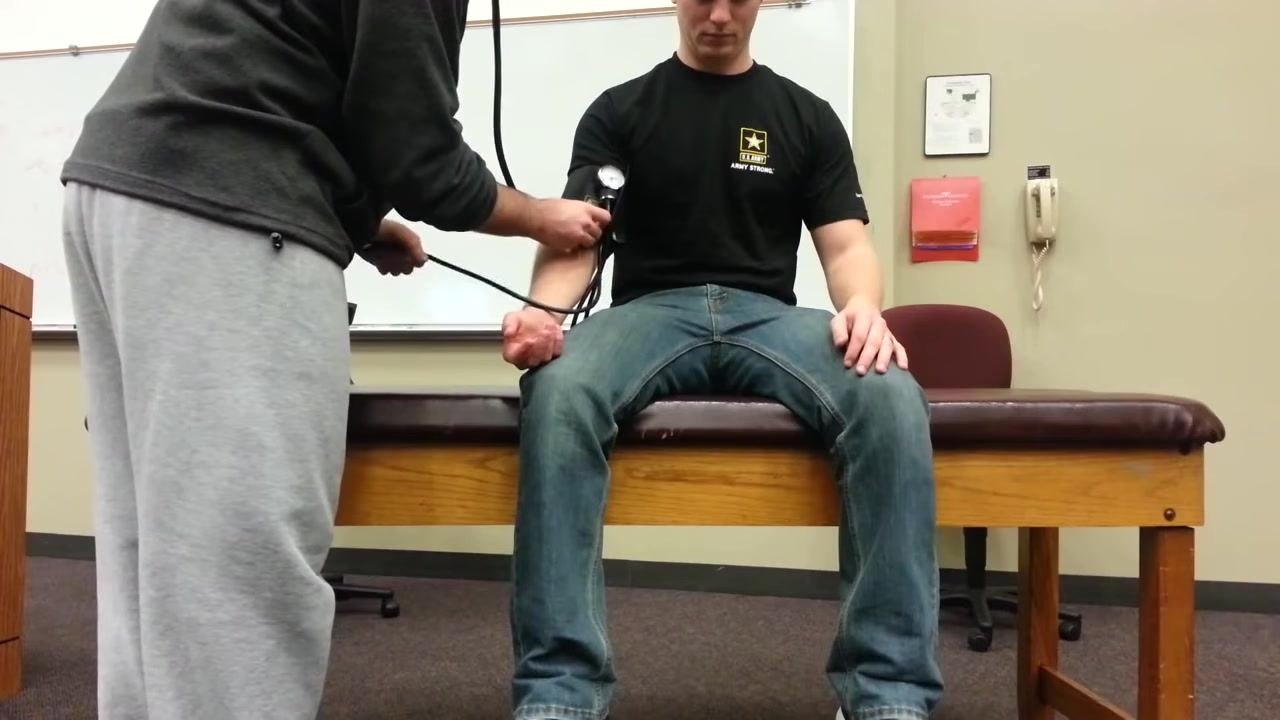
Safety note: Explain to the patient that a slight decrease in blood pressure when moving from lying to sitting is normal. Prepare the patient for the next step, which involves standing.
Step 6: Instruct the patient to stand
Ask the patient to immediately stand up from the sitting position. Ensure the blood pressure cuff remains in place on the patient's arm throughout the transition.
Step 7: Measure blood pressure in the standing position
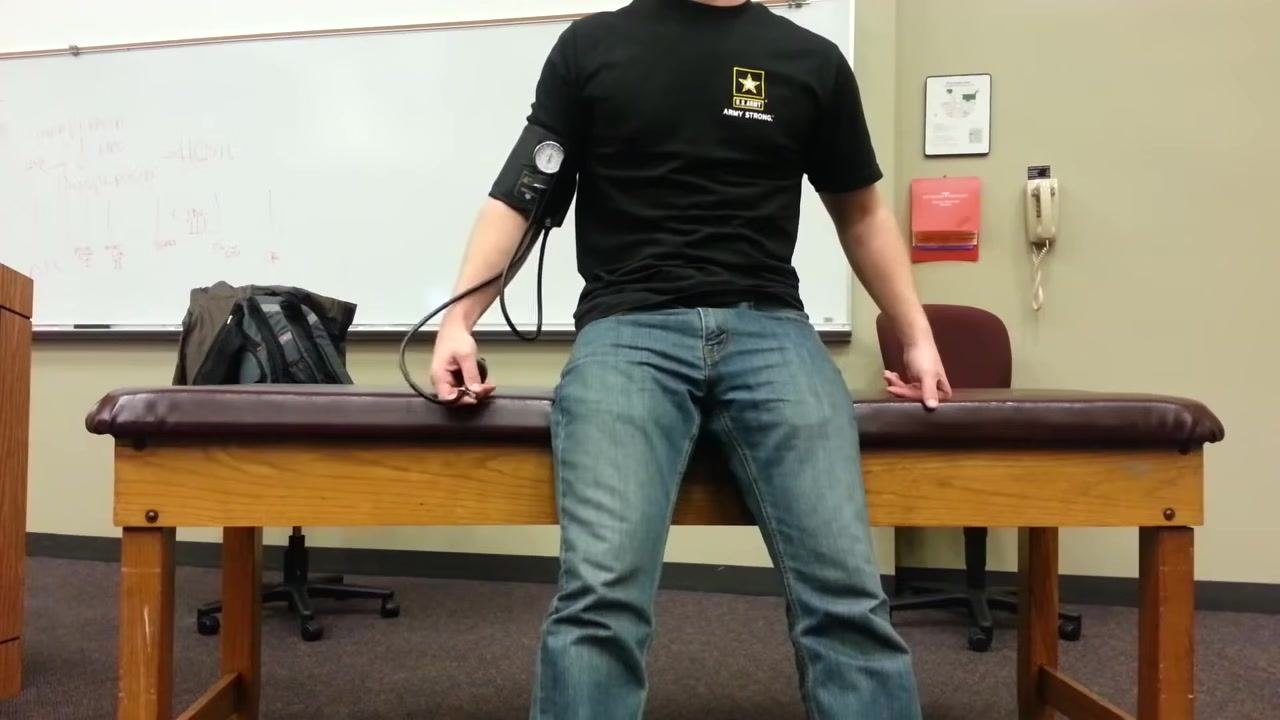
Quickly measure and record the patient's blood pressure while they are standing. In this example, the reading is approximately 115/75 mmHg. Take the reading promptly after the patient stands to accurately capture orthostatic changes.
Understanding the physiological response
Understanding why blood pressure changes with position helps you interpret orthostatic blood pressure results accurately.
- Lying down: The arms and legs are at the level of the heart, allowing optimal venous return. Typical blood pressure in this position is around 120/80 mmHg, and good venous return supports stable pressure and heart function.
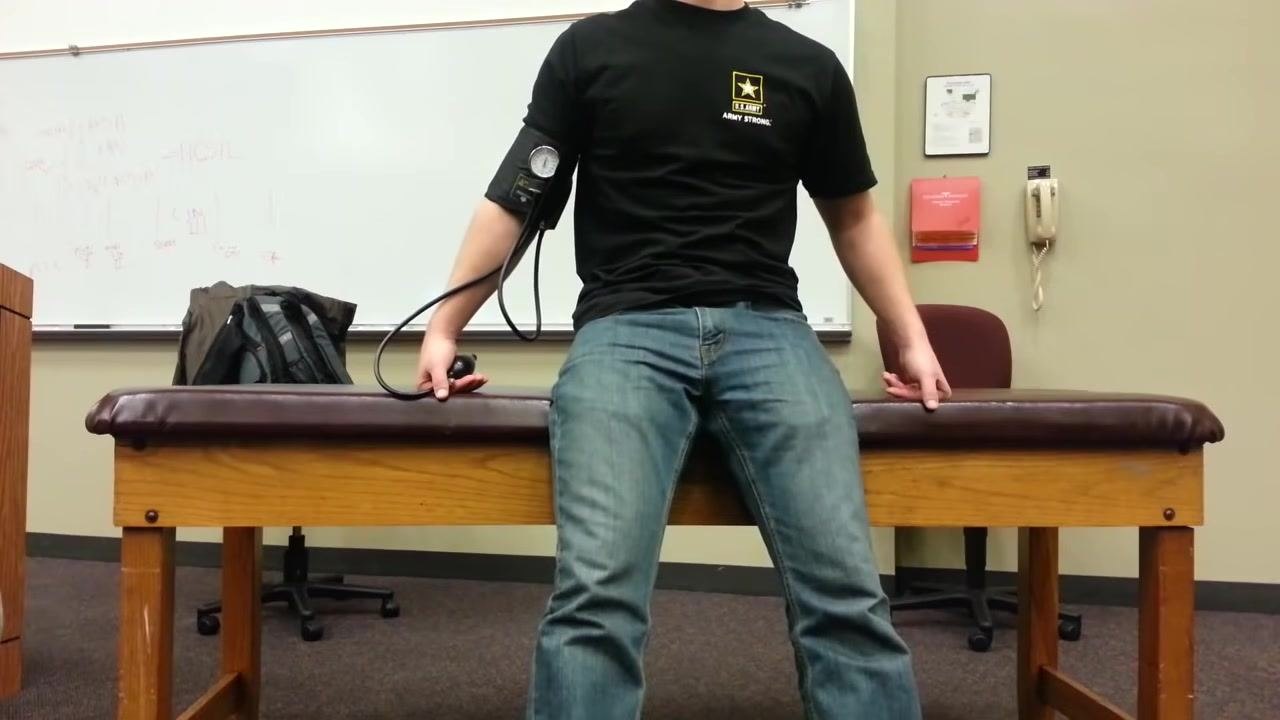
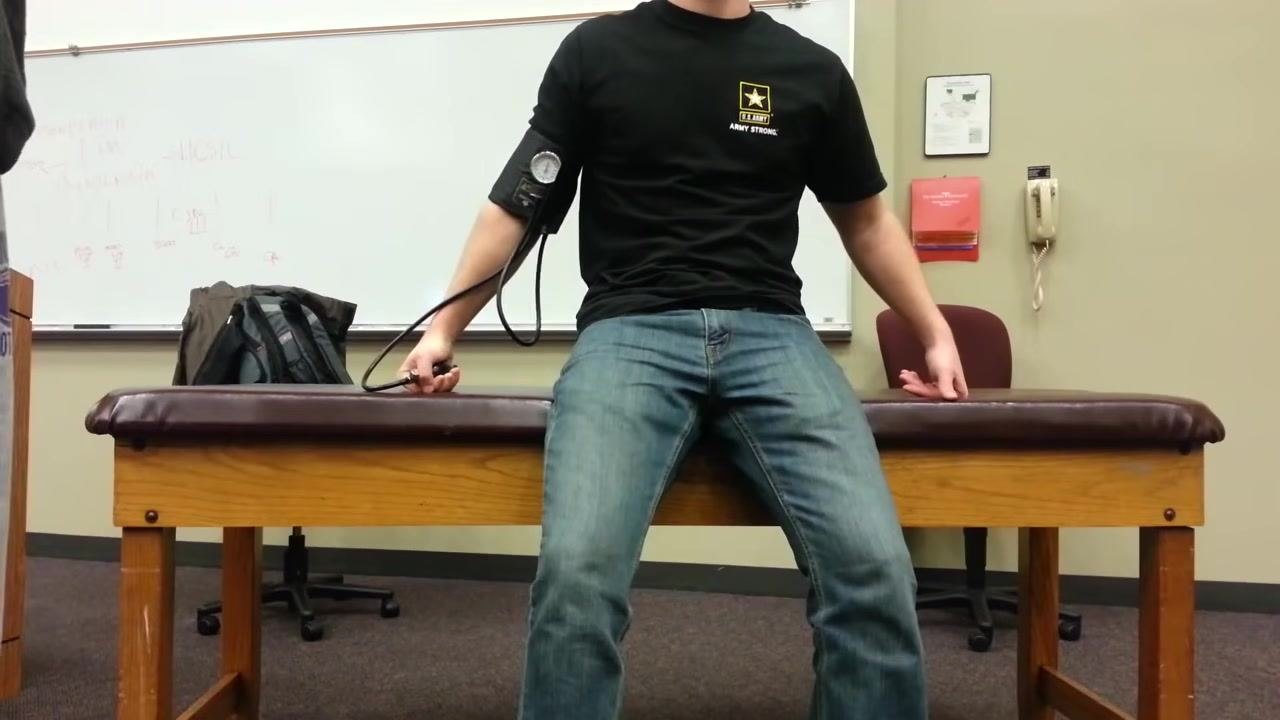
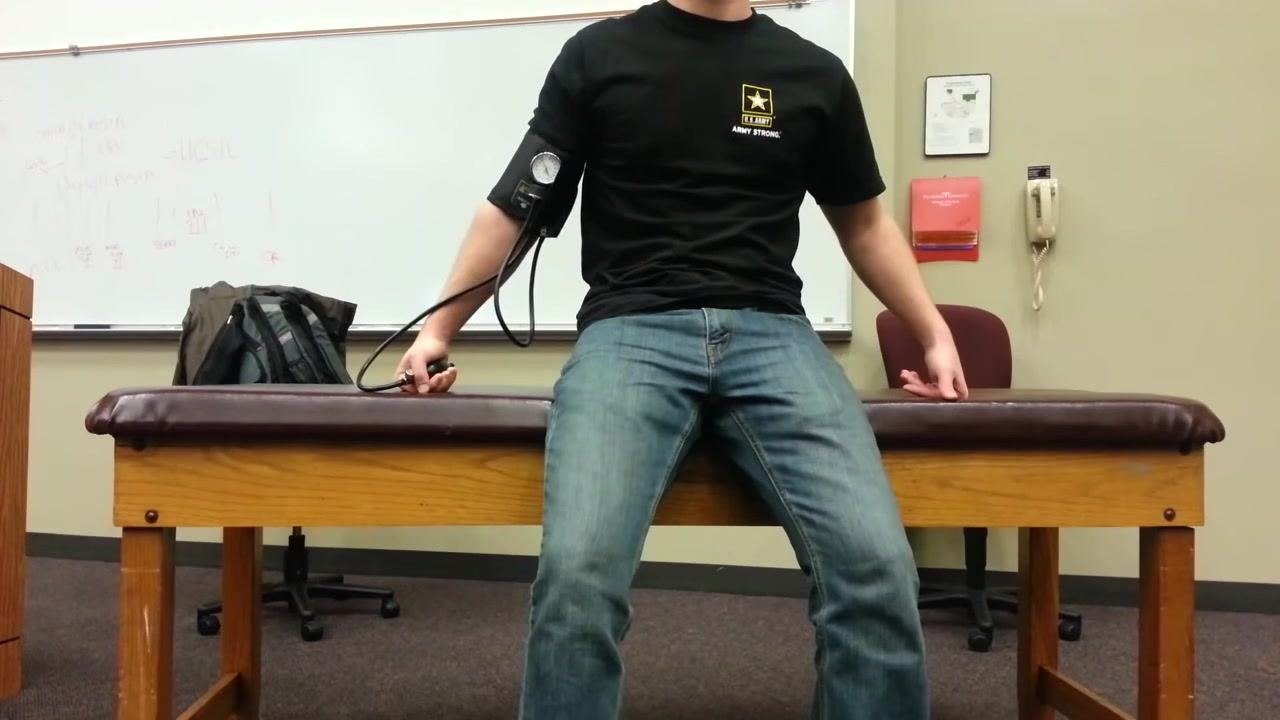
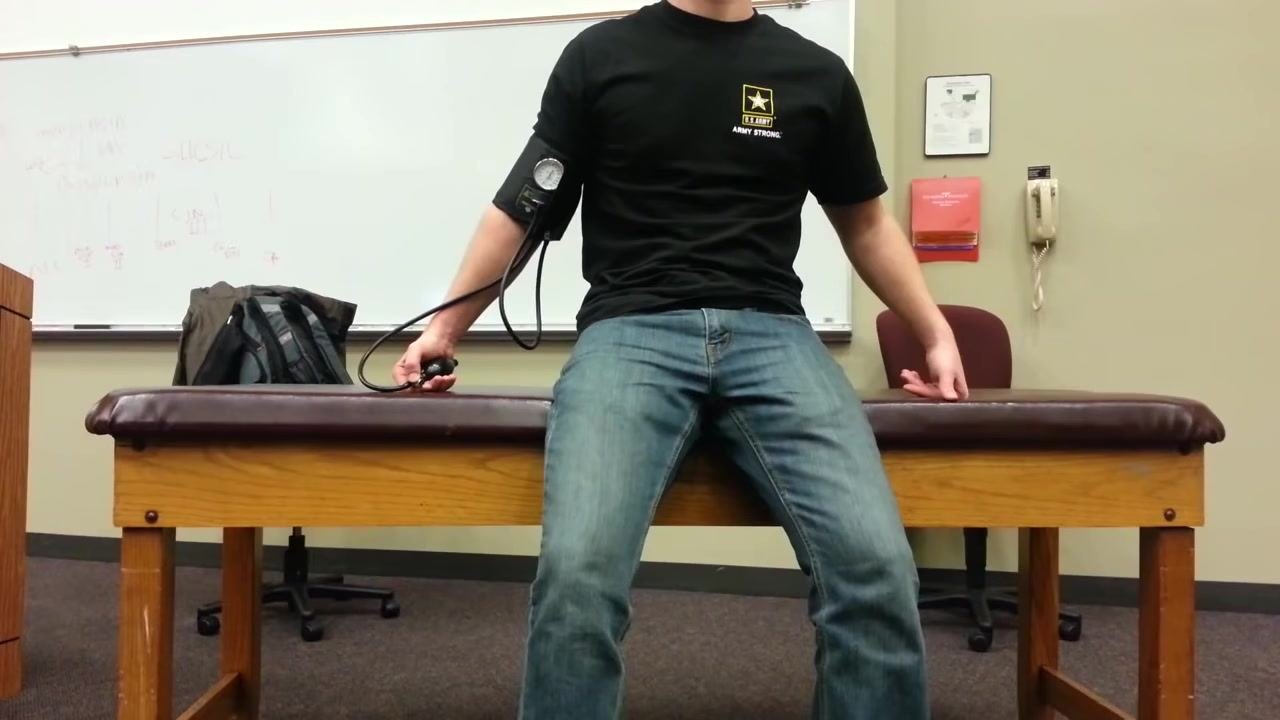
- Sitting: Gravity causes blood to pool in the legs and, to a lesser extent, the arms, reducing venous return to the heart. The heart senses the drop in pressure, and the body compensates through vasoconstriction (via alpha-1 adrenergic receptor stimulation) and increased heart rate. A significant drop in pressure may indicate these mechanisms are not functioning properly.
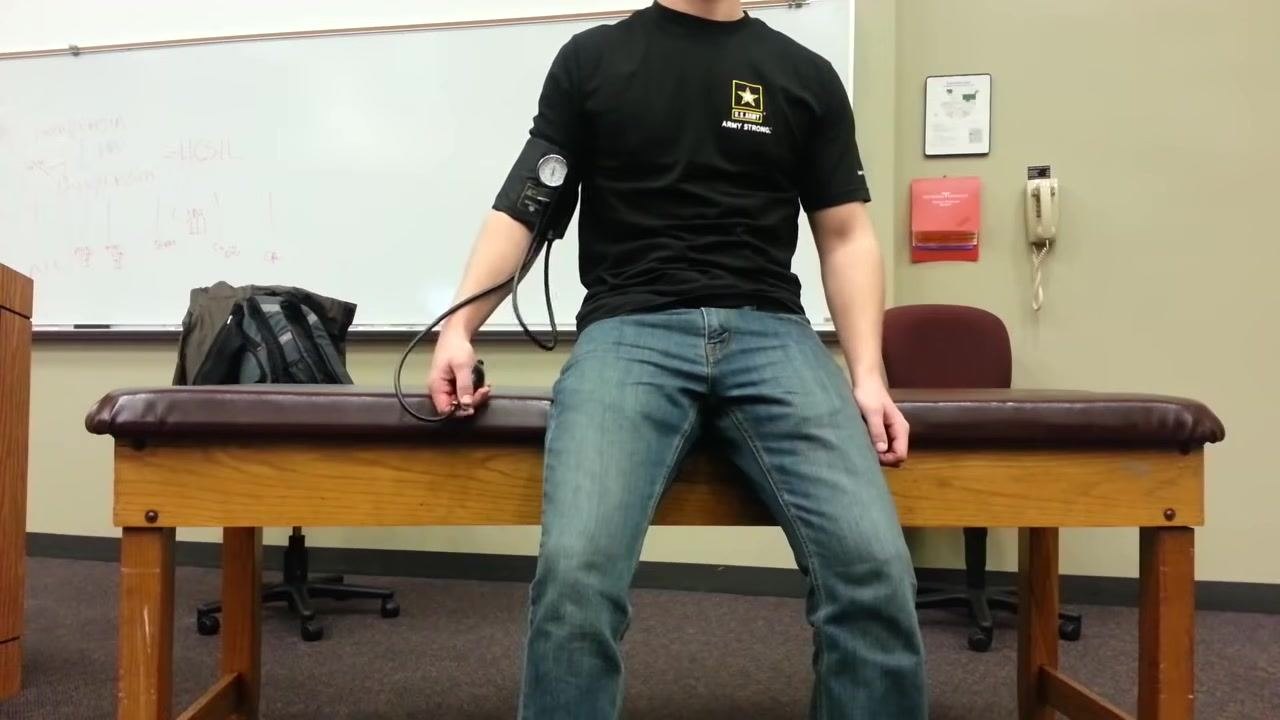
- Standing: Even more blood pools in the legs and extremities, further reducing blood flow to the heart. If the body's compensatory mechanisms work properly, only a slight decrease in blood pressure is observed. A significant drop in blood pressure or a large increase in heart rate indicates impaired compensation.
Verify and interpret the results
Apply the diagnostic criteria
Compare the readings from all three positions against these thresholds:
- A drop in systolic blood pressure of 20 mmHg or more.
- A drop in diastolic blood pressure of 10 mmHg or more.
- An increase in heart rate of more than 15 beats per minute with positional change.
Any of these findings is considered abnormal and suggests the body's compensatory mechanisms are not functioning adequately, which may indicate orthostatic hypotension.
Identify possible causes of abnormal results
If the readings meet the abnormal thresholds, consider the following possible causes:
- Impaired vasoconstriction due to dysfunctional alpha-1 adrenergic receptors.
- Reduced blood volume from blood loss or dehydration.
These conditions can prevent the body from compensating for postural changes, leading to orthostatic hypotension.
Summary of example readings
- Lying: ~122/80 mmHg
- Sitting: ~118/78 mmHg
- Standing: ~115/75 mmHg
A slight drop in blood pressure with each positional change is expected. Significant drops meeting the diagnostic criteria above may indicate orthostatic hypotension and warrant further evaluation.
Communicate findings to the patient
- Explain that lying down allows optimal blood return to the heart and stable blood pressure.
- Explain that sitting and standing cause blood to pool in the legs, requiring the body to compensate.
- Explain that the body compensates by constricting blood vessels and increasing heart rate.
- Advise that significant drops in blood pressure or excessive heart rate increases with position changes may indicate a problem with these compensatory mechanisms.
What's next
If abnormal findings are present, advise the patient that further evaluation may be necessary. Discuss possible next steps, such as additional diagnostic testing or treatment for underlying causes like dehydration or blood loss.
Generation details: cost, quality tiers
Docsie billed 3,000 credits ($2.10) to analyze this 6-minute video at standard quality. The rewrite, template fill and Word/PDF exports were included. The same video at each quality tier:
| Quality | Frames sampled | Credits | Approx. cost |
|---|---|---|---|
| Draft | every 16-30 s | 1,500 | $1.05 |
| Standard (this guide) | every 8-15 s | 3,000 | $2.10 |
| Detailed | every 4-7 s | 6,000 | $4.20 |
| Ultra | every 1-3 s | 12,000 | $8.40 |
Credits priced at $0.70 per 1,000; plans include a monthly allowance. Enterprise customers on on-premise or bring-your-own-model deployments run this on their own inference and pay no per-video credits.
Generated by Docsie Video-to-Docs on 2026-09-08 from a 5-minute video. Screenshots are frames from the source video and belong to their creator, Med School Made Easy, whose original is embedded above. If you own this video and want the guide removed or credited differently, contact us and we will act within one business day.