
How to Insert a Nasogastric Tube
This standard operating procedure explains how to insert a nasogastric tube safely and confirm correct placement before use. Follow each step in sequence to minimize patient discomfort, reduce the risk of complications, and ensure the tube is verified before it is used for feeding or medication administration.
Video: NG (Nasogastric) Tube Insertion Techniques (Nursing Skills) by NURSINGcom (2021). All credit for the demonstration goes to the creator; watch the original on YouTube. The written guide below was generated from this video by Docsie. Creator? Request a change or removal.
This standard operating procedure explains how to insert a nasogastric tube safely and confirm correct placement before use. Follow each step in sequence to minimize patient discomfort, reduce the risk of complications, and ensure the tube is verified before it is used for feeding or medication administration.
Purpose
This procedure guides clinical staff through the safe insertion of a nasogastric (NG) tube, from initial nasal assessment through to placement verification and post-insertion care.
Scope
This procedure applies to nasogastric tube insertion and placement confirmation. NG tube insertion and confirmation is a skill most often performed in acute care settings such as the Emergency Room (ER) or Operating Room (OR).
Required equipment and supplies
- Nasogastric (NG) tube (e.g., a harder plastic Salem sump or a softer tube)
- Towel or protective barrier
- Water-soluble lubricant
- Tape (for marking the tube and for securing it)
- Cup of water
- 60 mL syringe
- pH paper or pH meter
Procedure
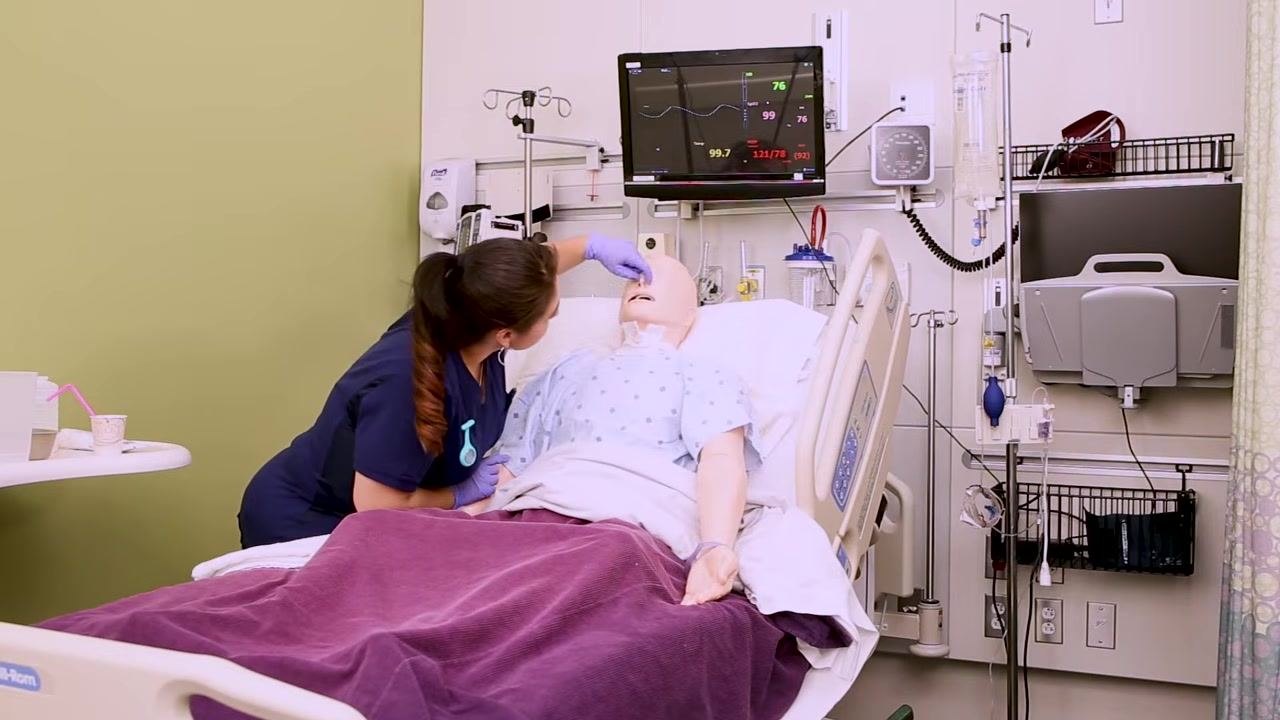
Determine nasal patency and assess for deviated septum
Assess both nares to determine which is more patent (open). Confirm the patient does not have a deviated septum so you can select the appropriate nostril for insertion.
Protect the patient's clothing
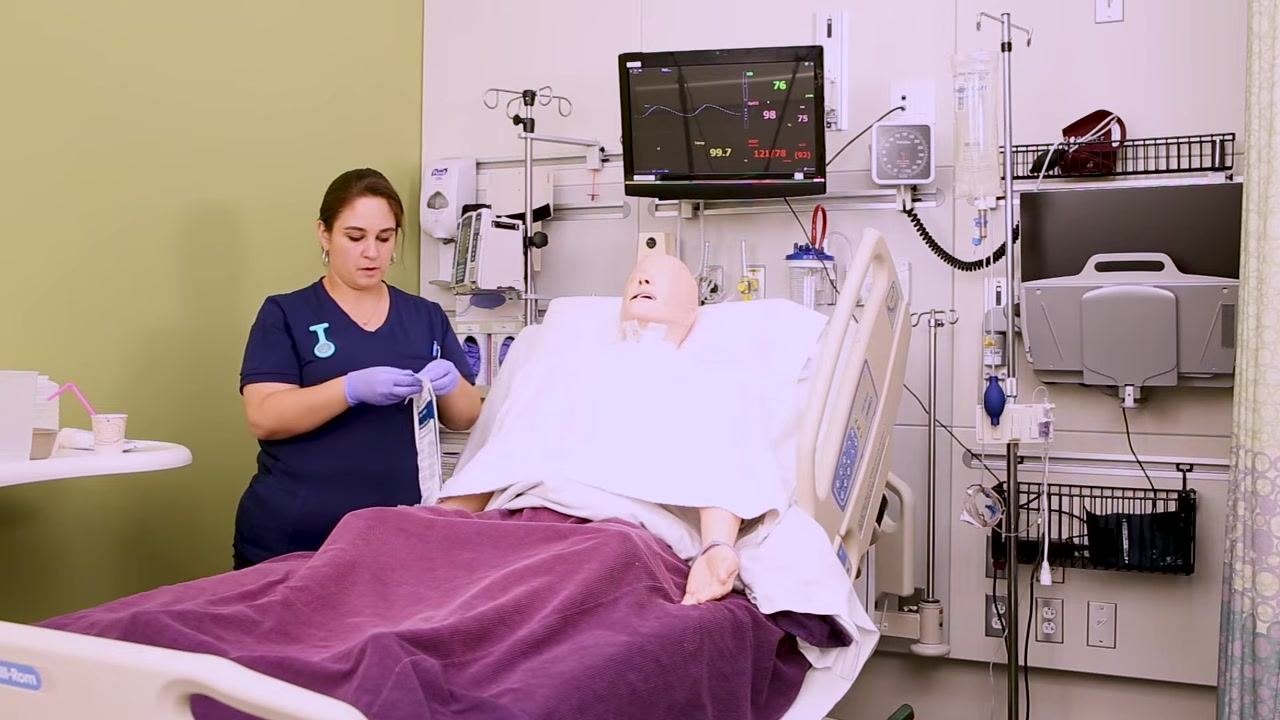
Lay a towel or protective barrier across the patient's chest to prevent soiling in case of vomiting during the procedure.
Prepare the NG tube
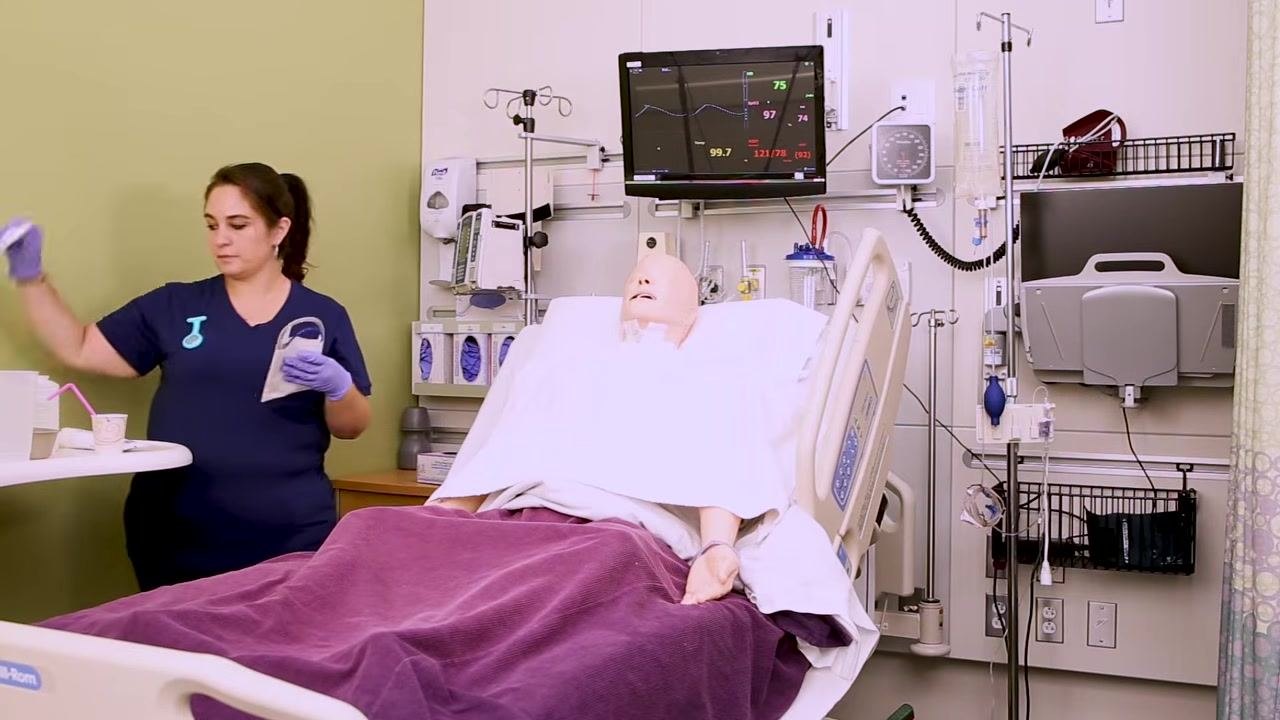
Open the NG tube package and remove the tube. Identify the type of tube you are using, such as a harder plastic Salem sump or a softer tube.
Measure the required length for insertion
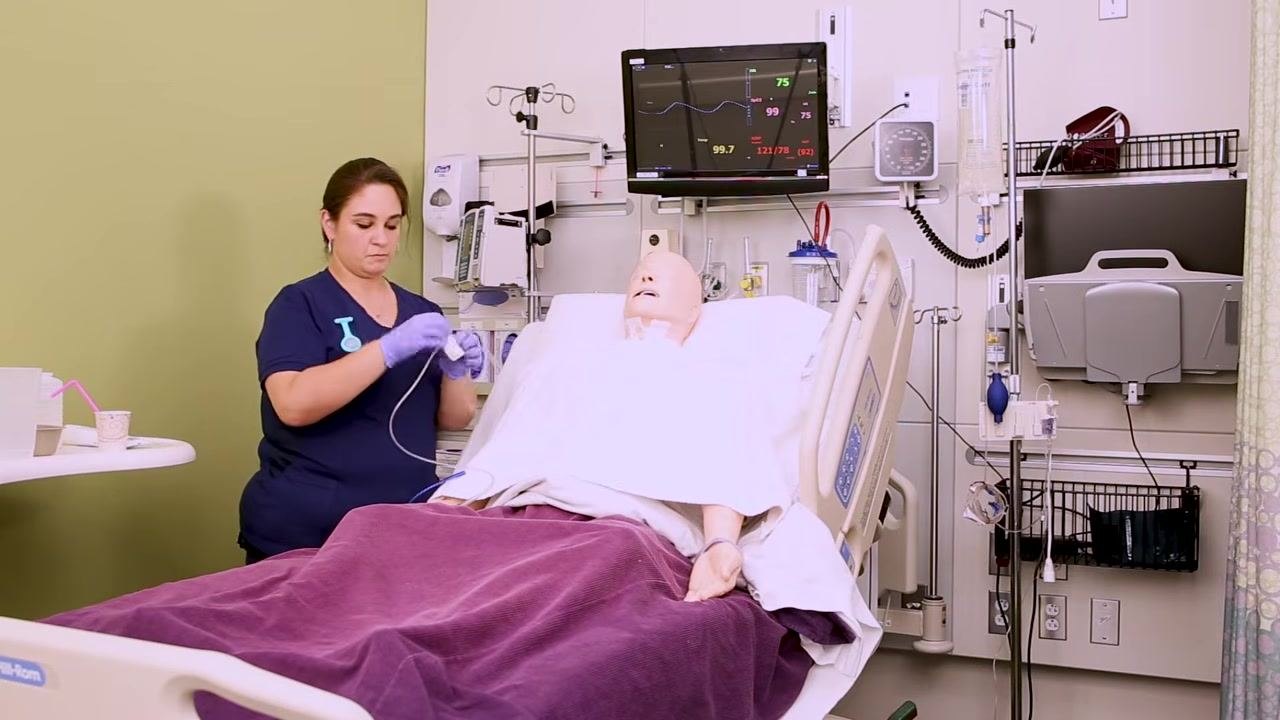
Measure from the tip of the patient's nose to the earlobe, then down to the xiphoid process (the bottom of the sternum). This measurement determines how far the tube should be inserted.
Mark the insertion point
Use a piece of tape or a marker to mark the measured length directly on the NG tube. Make sure the mark is clear and visible.
Prepare tape for securing the tube
Tear off a 3–4 inch piece of tape. Cut a slit in the tape about two-thirds of the way up, creating a "pair of pants" shape. Place the prepared tape on a nearby surface, such as a table or side rail, for easy access during the procedure.
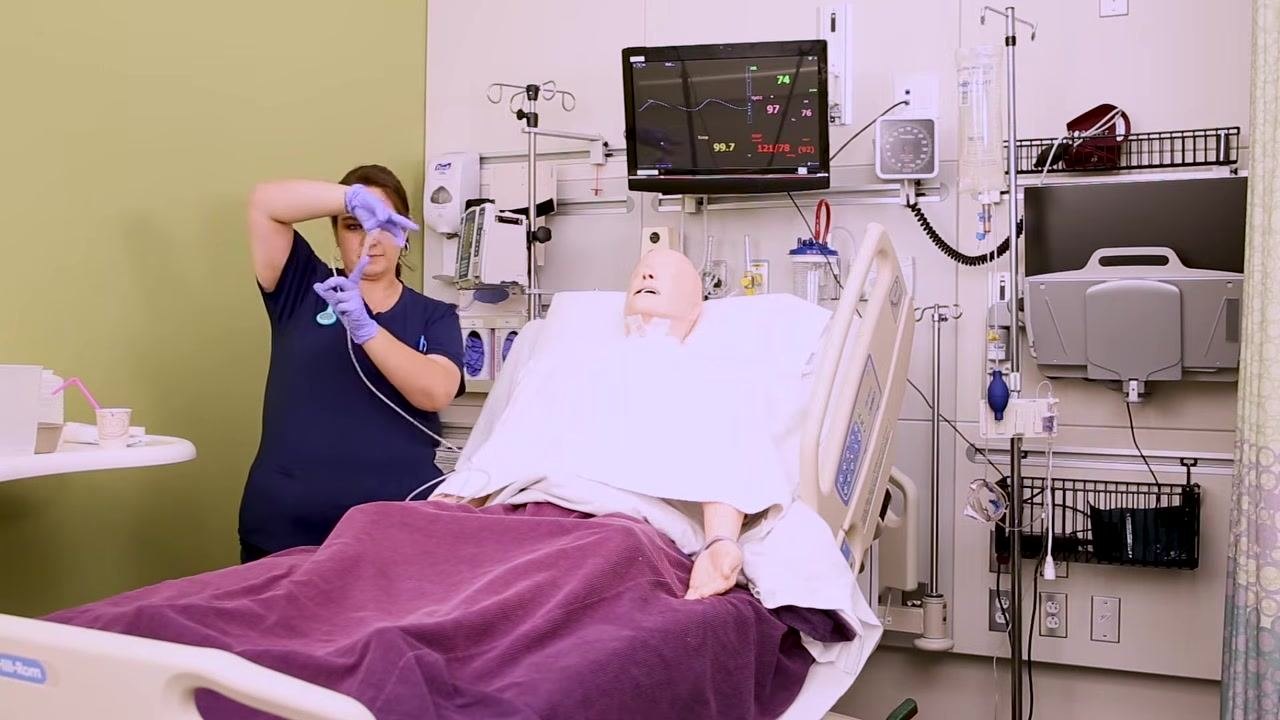
Prepare the patient for insertion
Give the patient a cup of water to sip and swallow during tube insertion, if it is allowed and safe. Make sure the patient is ready to sip water as you insert the tube.
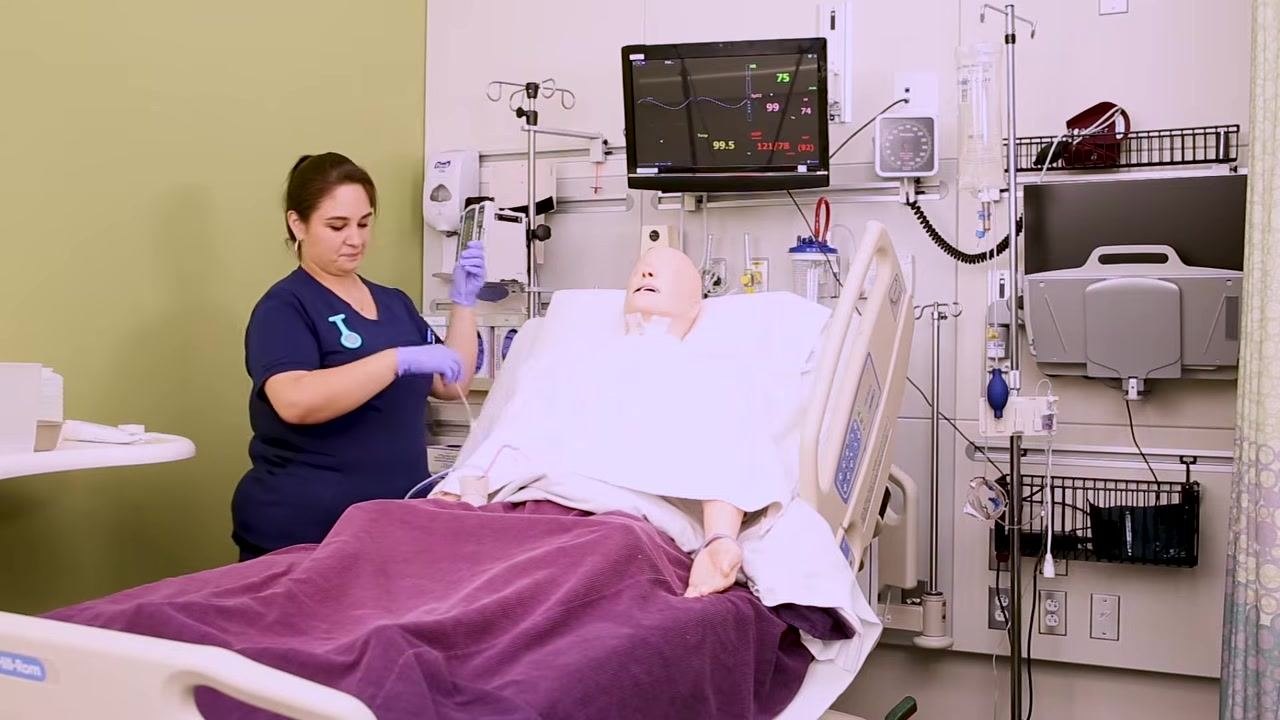
Lubricate the end of the NG tube
Apply water-soluble lubricant to the tip of the NG tube to ease insertion and minimize discomfort.
Explain the procedure and position the patient
Inform the patient about the upcoming insertion of the NG tube to reduce anxiety and ensure cooperation. Have the patient sit straight up in bed, and instruct them to tilt their chin toward their chest to align the nasal passage and esophagus for easier tube passage.
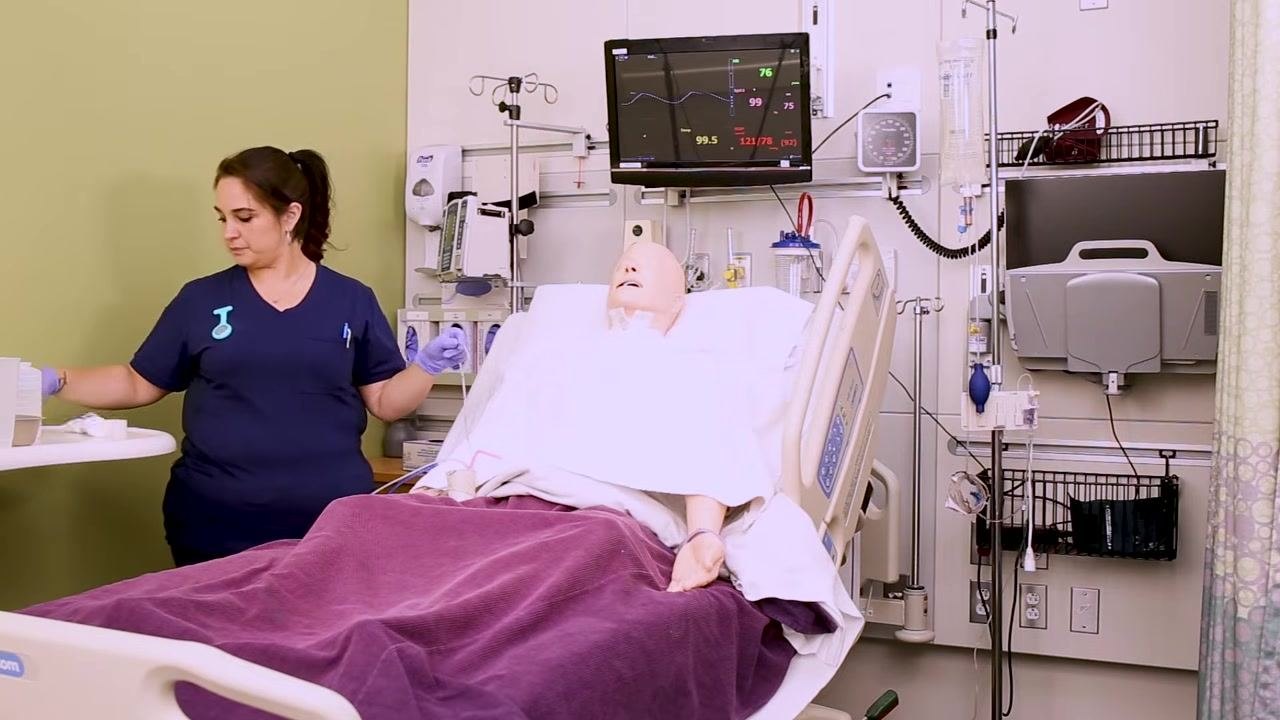
Insert the NG tube
Begin inserting the lubricated NG tube slowly into the selected nostril. Direct the tube straight back and down, not upwards, to avoid the nasal cavity leading toward the brain.
Safety note: If resistance is felt, do not force the tube; instead, gently twist the tube while advancing. If firm resistance is encountered, or if the patient coughs or chokes, stop and withdraw the tube immediately.
Assist the patient with swallowing
When slight resistance is felt, instruct the patient to sip and swallow water from their cup. This helps guide the tube into the esophagus. Continue advancing the tube as the patient swallows, until the pre-measured mark reaches the nostril.
Secure the NG tube at the nose
Hold the tube in place at the measured mark with one hand. Use the pre-cut "pair of pants" tape to secure the tube to the bridge of the nose, wrapping the two "pant legs" of the tape around the tube to hold it securely.
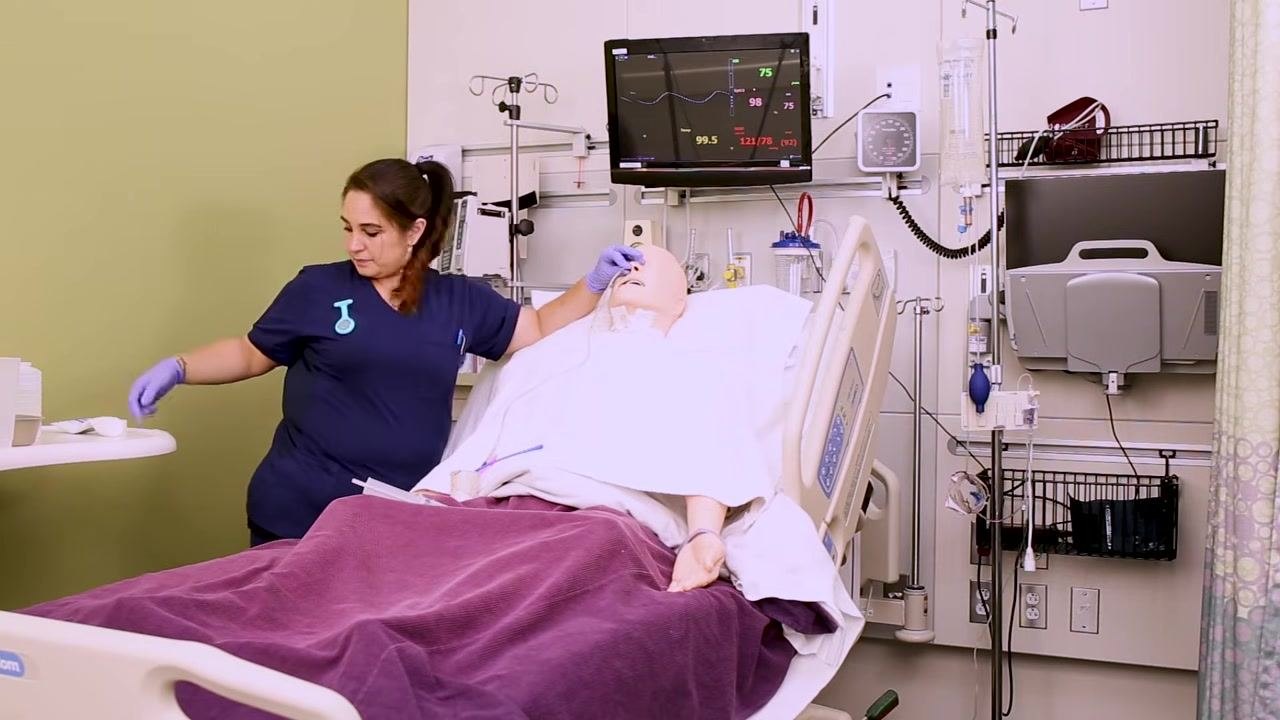
Verify tube placement by aspirating gastric contents
Attach a 60 mL syringe to the end of the NG tube and gently aspirate a small amount of gastric contents.
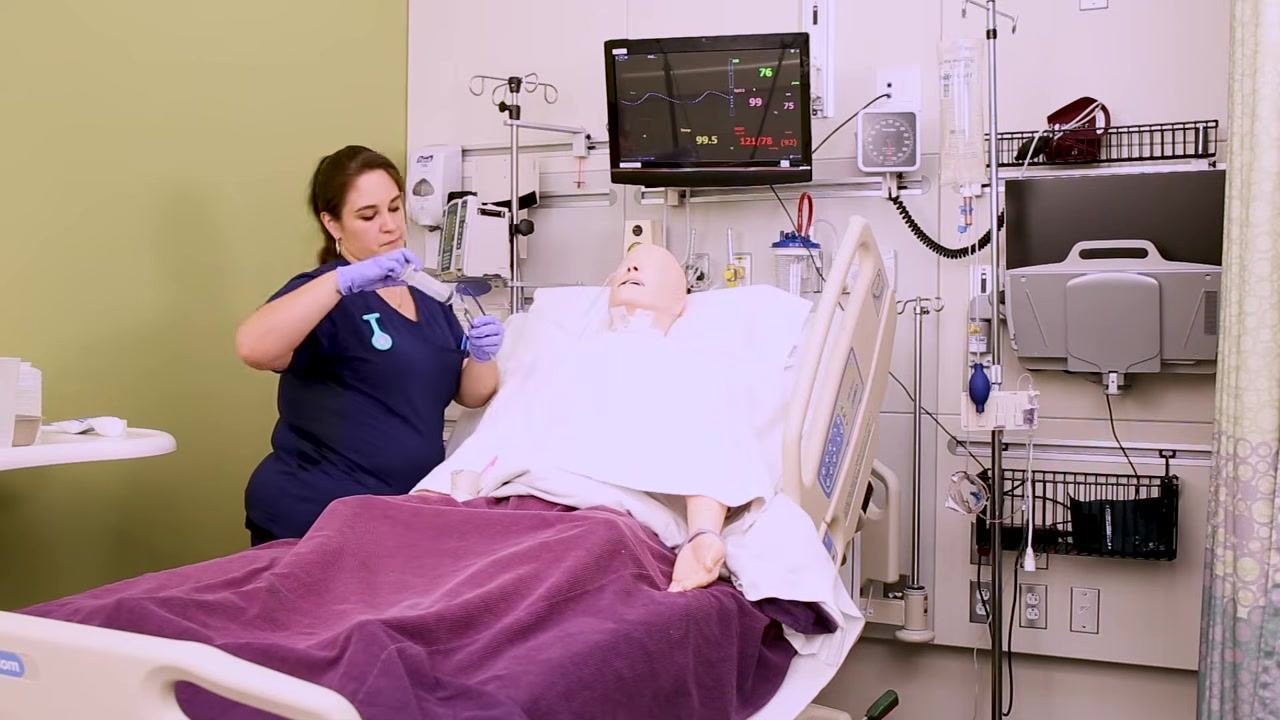
Check the pH of the gastric aspirate
Clamp the NG tube and disconnect the syringe. Test the pH of the aspirated gastric contents using pH paper or a pH meter. Confirm that the pH is less than 4, which indicates correct placement in the stomach.
Safety note: If the pH is greater than 4, or if the patient coughed or choked during insertion, remove the tube and attempt the procedure again.
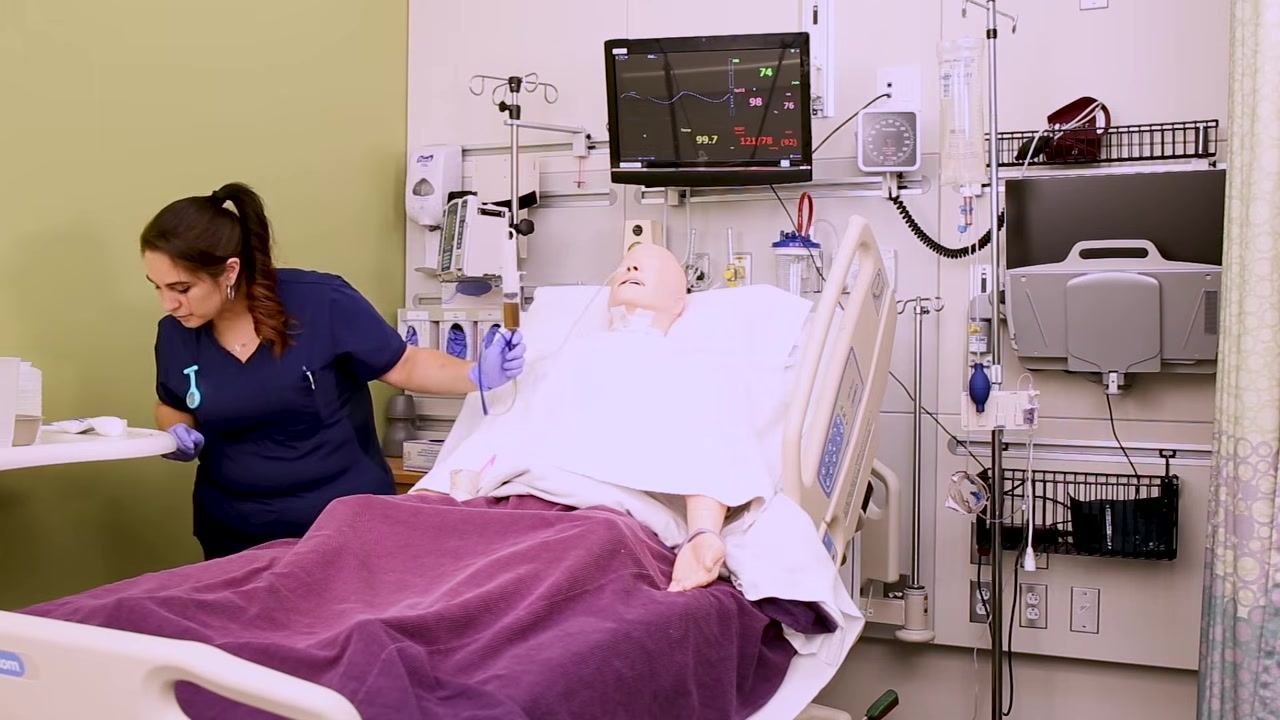
Secure the tube to the patient's gown and await x-ray confirmation
Clamp the NG tube to prevent leakage. Secure the tube to the patient's gown with a piece of tape to prevent accidental dislodgement. Wait for an abdominal x-ray to confirm final tube placement before using the tube for feeding or medication administration.
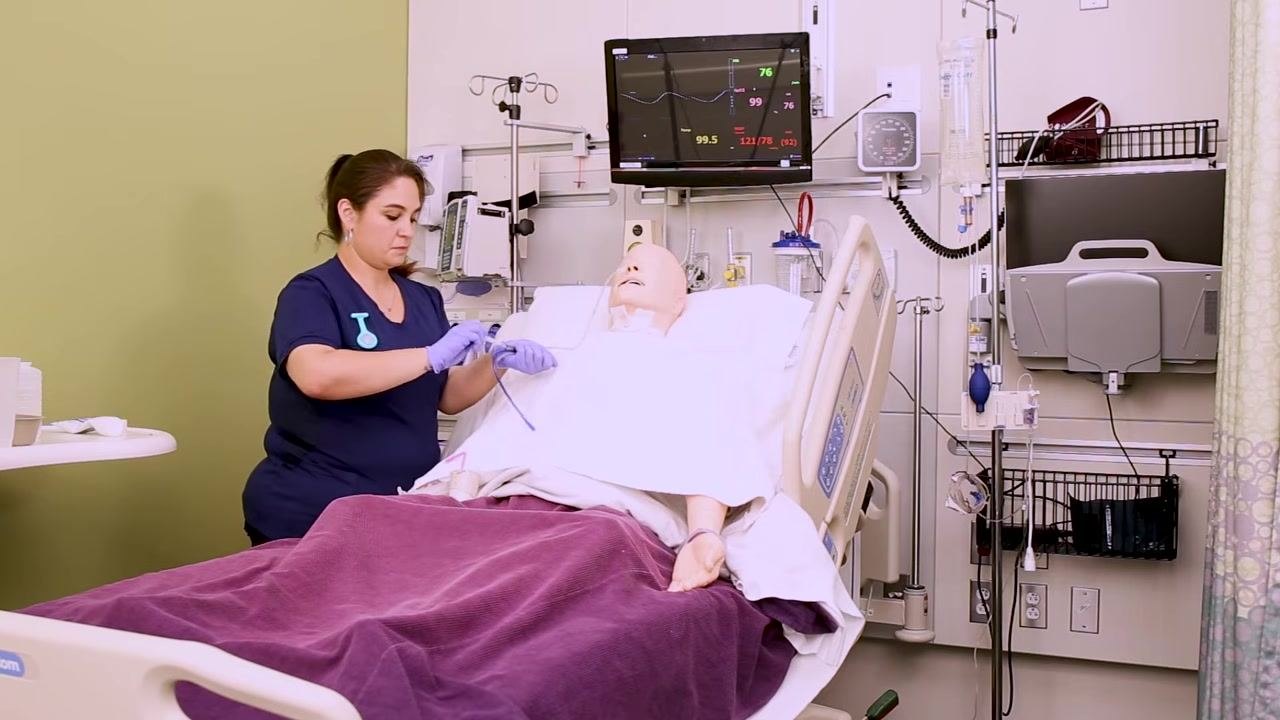
Verification and post-insertion care
Do not use the NG tube until x-ray confirmation
Even if the pH of the gastric aspirate is less than 4, do not administer any fluids, medications, or nutrition through the NG tube until an abdominal x-ray (KUB: Kidneys, Ureters, Bladder) confirms correct placement. X-ray confirmation is the gold standard for verifying NG tube placement.
Place the patient in a comfortable position while you clean up your supplies. Keep the 60 mL syringe at the bedside, as it will be needed later for flushing the tube once placement is confirmed.
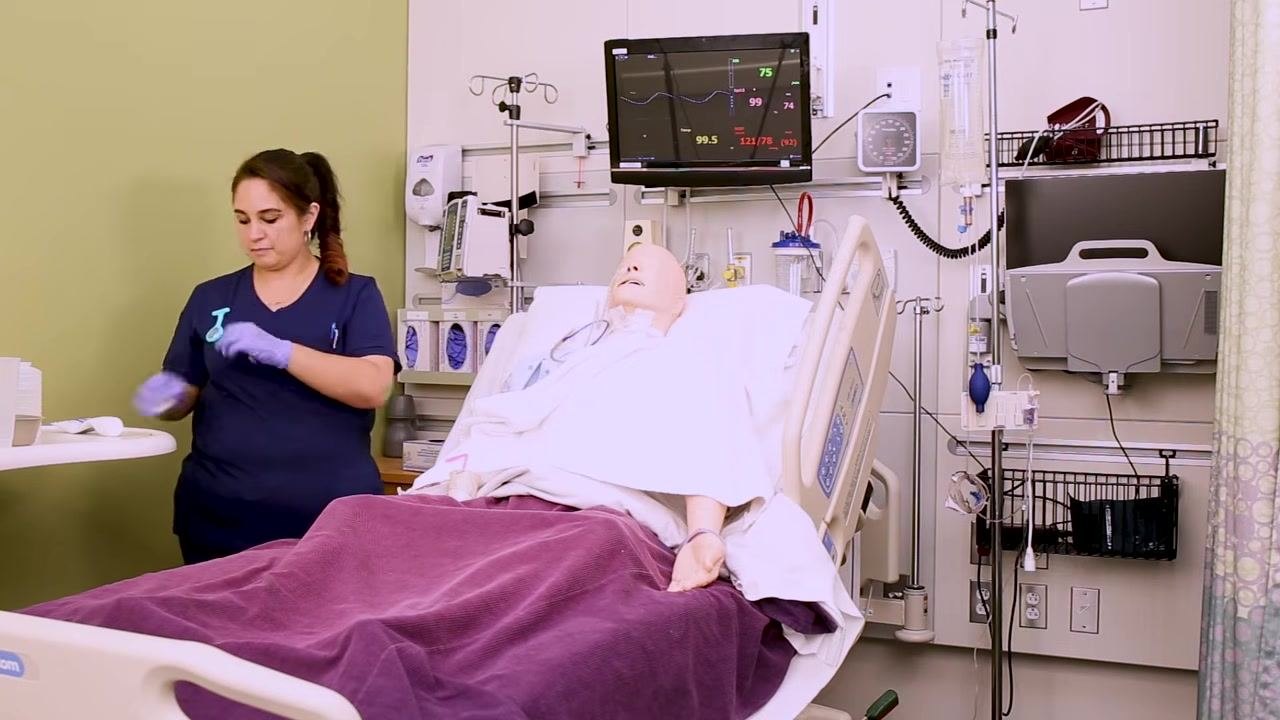
Do not use the air bolus method for placement verification
The air bolus method, which involves injecting air and auscultating the stomach, is no longer recommended for confirming NG tube placement. This method is unreliable and may produce a false positive even if the tube is in the lungs. Always rely on an abdominal x-ray (KUB) for final confirmation.
Flush the tube only after confirmation
Once x-ray confirmation is received, flush the NG tube with the 60 mL syringe to ensure patency before administering any feeds or medications.
Patient comfort and final steps
Ensure the patient remains comfortable and safe while awaiting x-ray results. Dispose of all used supplies according to facility protocol. Document the procedure, including tube size, nostril used, confirmation methods, patient tolerance, and any complications.
Key reminders and best practices
- Always prioritize patient safety by confirming NG tube placement with an abdominal x-ray before use.
- Maintain a clean and organized work area throughout the procedure.
- Keep essential supplies, such as the 60 mL syringe, readily available at the bedside for future use.
- Never rely on the air bolus method as a substitute for x-ray confirmation.
- Document tube size, nostril used, confirmation methods, patient tolerance, and any complications after the procedure is complete.
By following these steps, you ensure a safe, effective, and verified nasogastric tube insertion, minimizing patient discomfort and reducing the risk of complications. Always confirm placement with pH testing and x-ray, and never use the tube until radiographic confirmation is obtained.
Generation details: cost, quality tiers
Docsie billed 2,500 credits ($1.75) to analyze this 5-minute video at standard quality. The rewrite, template fill and Word/PDF exports were included. The same video at each quality tier:
| Quality | Frames sampled | Credits | Approx. cost |
|---|---|---|---|
| Draft | every 16-30 s | 1,250 | $0.88 |
| Standard (this guide) | every 8-15 s | 2,500 | $1.75 |
| Detailed | every 4-7 s | 5,000 | $3.50 |
| Ultra | every 1-3 s | 10,000 | $7.00 |
Credits priced at $0.70 per 1,000; plans include a monthly allowance. Enterprise customers on on-premise or bring-your-own-model deployments run this on their own inference and pay no per-video credits.
Generated by Docsie Video-to-Docs on 2026-09-09 from a 4-minute video. Screenshots are frames from the source video and belong to their creator, NURSINGcom, whose original is embedded above. If you own this video and want the guide removed or credited differently, contact us and we will act within one business day.