
How to Insert a Foley Catheter
This standard operating procedure explains how to insert a Foley catheter in a female patient using sterile technique. Following these steps in order helps protect the patient from infection and ensures the catheter is placed correctly and safely.
Video: Female Foley Insertion (Urinary Catheter) [How to Insert Nursing Skills] by NURSINGcom (2021). All credit for the demonstration goes to the creator; watch the original on YouTube. The written guide below was generated from this video by Docsie. Creator? Request a change or removal.
This standard operating procedure explains how to insert a Foley catheter in a female patient using sterile technique. Following these steps in order helps protect the patient from infection and ensures the catheter is placed correctly and safely.
Purpose
This procedure provides a step-by-step method for inserting an indwelling Foley catheter in a female patient while maintaining a sterile field throughout the process.
Scope
This procedure applies to the insertion of a Foley catheter in adult female patients following a physician's order. It covers preparation, insertion, securement, and post-procedure documentation.
Required equipment and PPE
- Foley catheter kit (includes sterile drapes, tray, lubricant or lubricant syringe, saline syringe, antiseptic swabs, and Foley catheter)
- Sterile gloves
- Securement device (such as a StatLock) or tape
- Drainage bag
- Bedside table
Step-by-step procedure
Verify the order and explain the procedure
Confirm the physician's order for Foley catheter insertion before proceeding. Explain the procedure to the patient so she understands what will happen and can cooperate throughout.
Perform perineal care
Carry out perineal care before starting the procedure. This step reduces the risk of introducing infection during insertion.
Position the patient
Assist the patient into a supine position, lying on her back. Have her bend her knees, place her feet close to her hips, and let her knees fall outward to the sides. If needed, ask a helper to support the patient in this position.
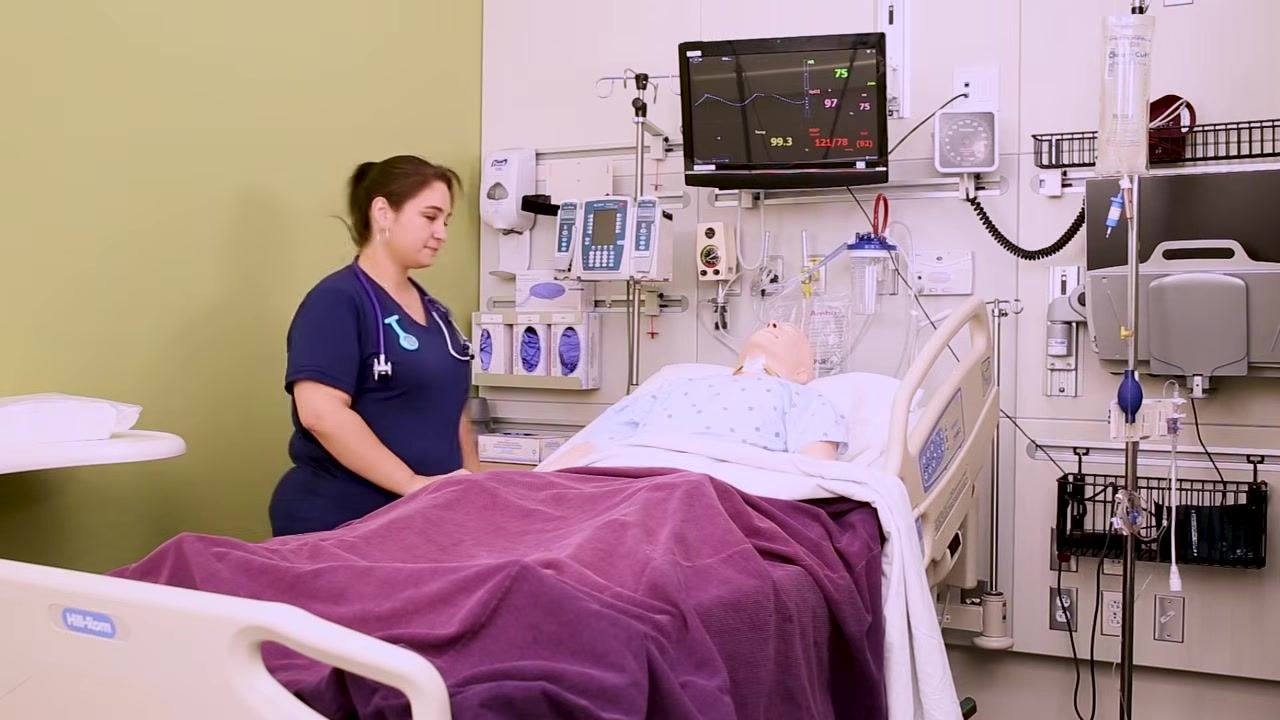
Open the Foley catheter kit
Place the Foley catheter kit on the bedside table and remove it from its plastic bag. Fold the top of the plastic bag over to create a makeshift trash bag, then place it near the patient's hips within easy reach so you can dispose of waste without breaking the sterile field.
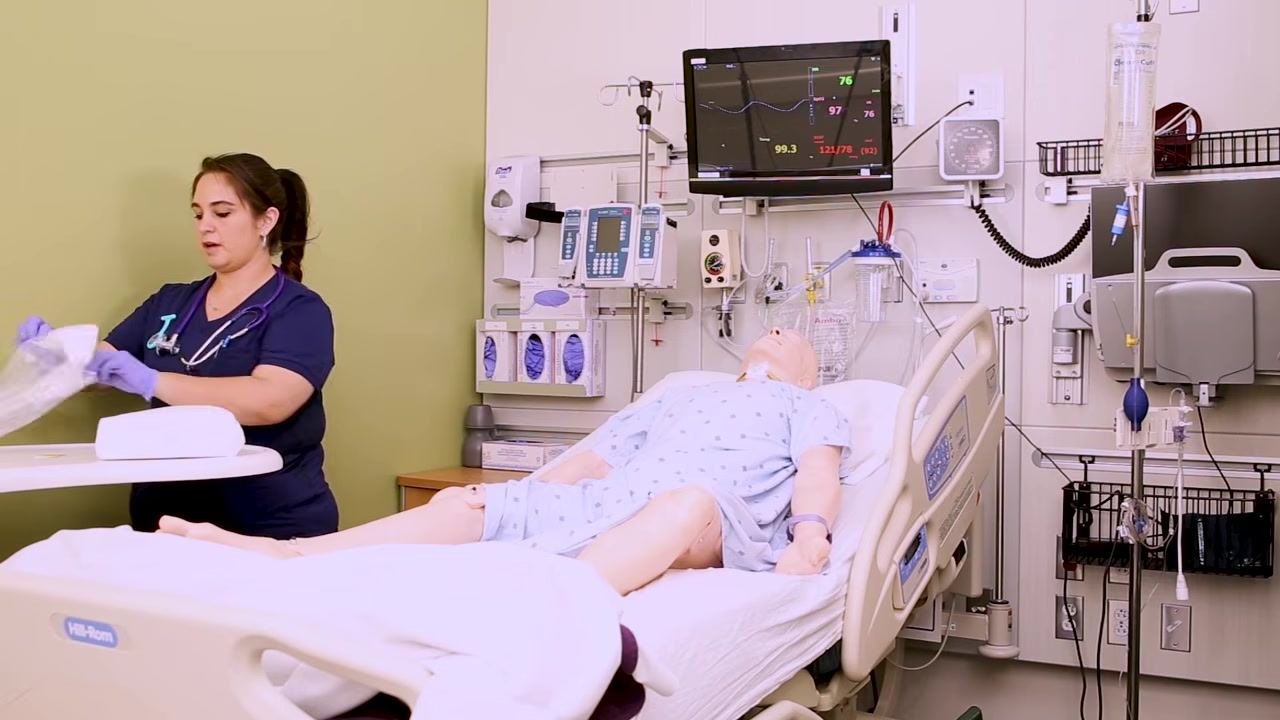
Open the sterile kit
Open the sterile kit on the bedside table by unfolding it away from your body. Pick it up from the bottom and place it between the patient's legs. Remind the patient not to move her legs or touch the kit to maintain sterility.
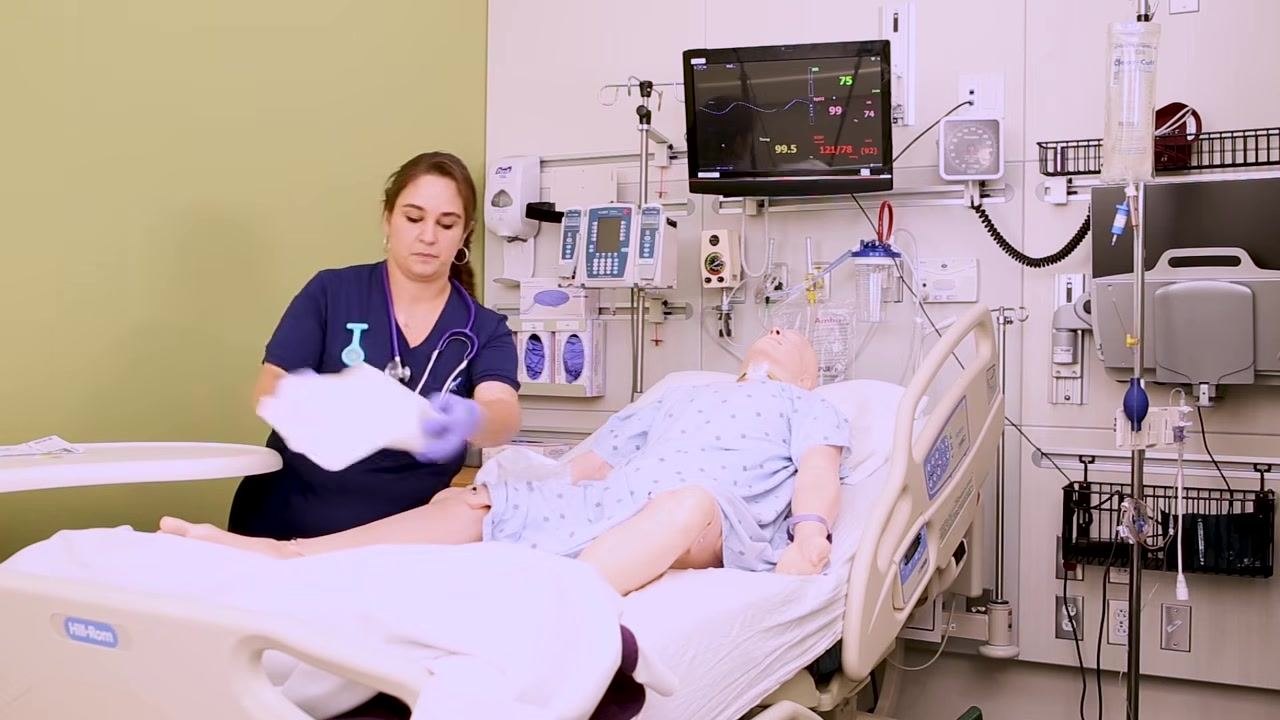
Apply sterile gloves
Carefully grasp the sterile gloves from inside the kit and put them on without turning your back on the sterile field. The gloves included in the kit can be tricky to don; you may substitute a separate pair if preferred.
Safety note: If you need more guidance on donning sterile gloves, refer to a dedicated lesson on the topic before proceeding.
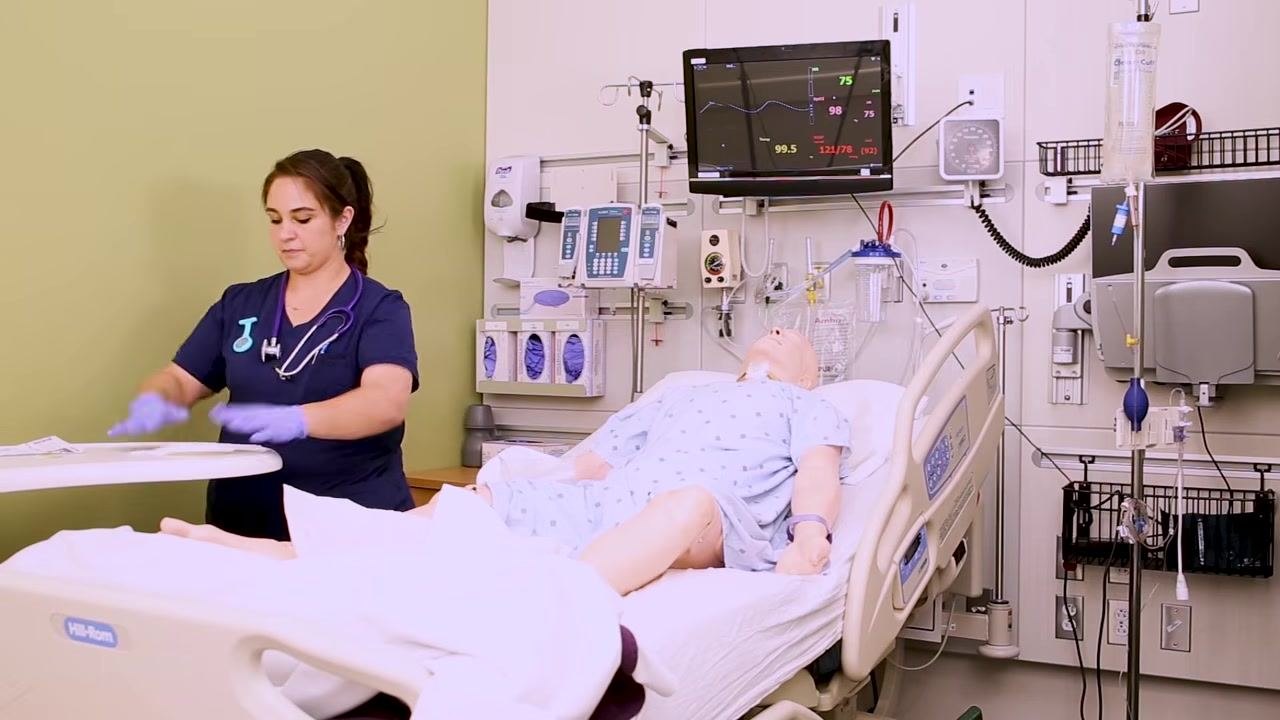
Prepare the sterile drape
Once gloved, pick up the sterile drape from the kit in preparation for the next step of the procedure.
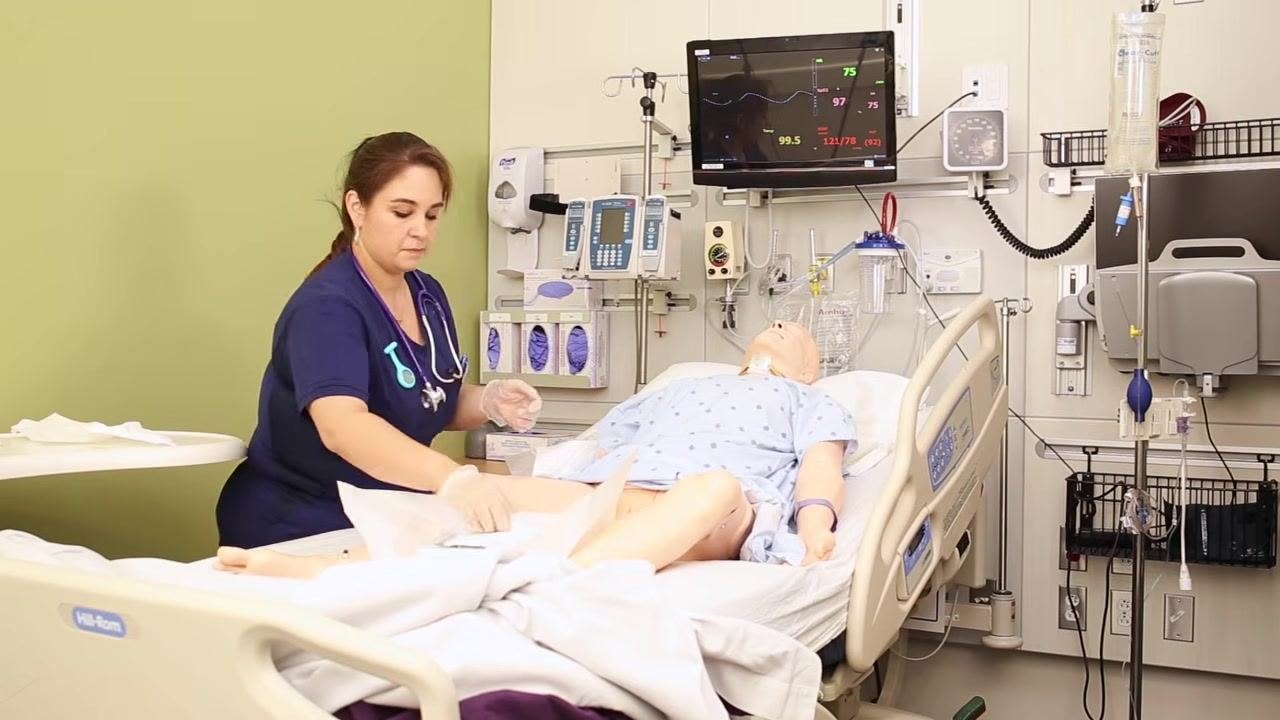
Place the full sterile drape under the perineum
Identify the full sterile drape and hold it shiny side down. Carefully place it under the patient's perineum, making sure your hands do not touch the patient or the bed sheets. Wrap your hands in the drape as you tuck it under so that only the drape contacts the patient and linens.
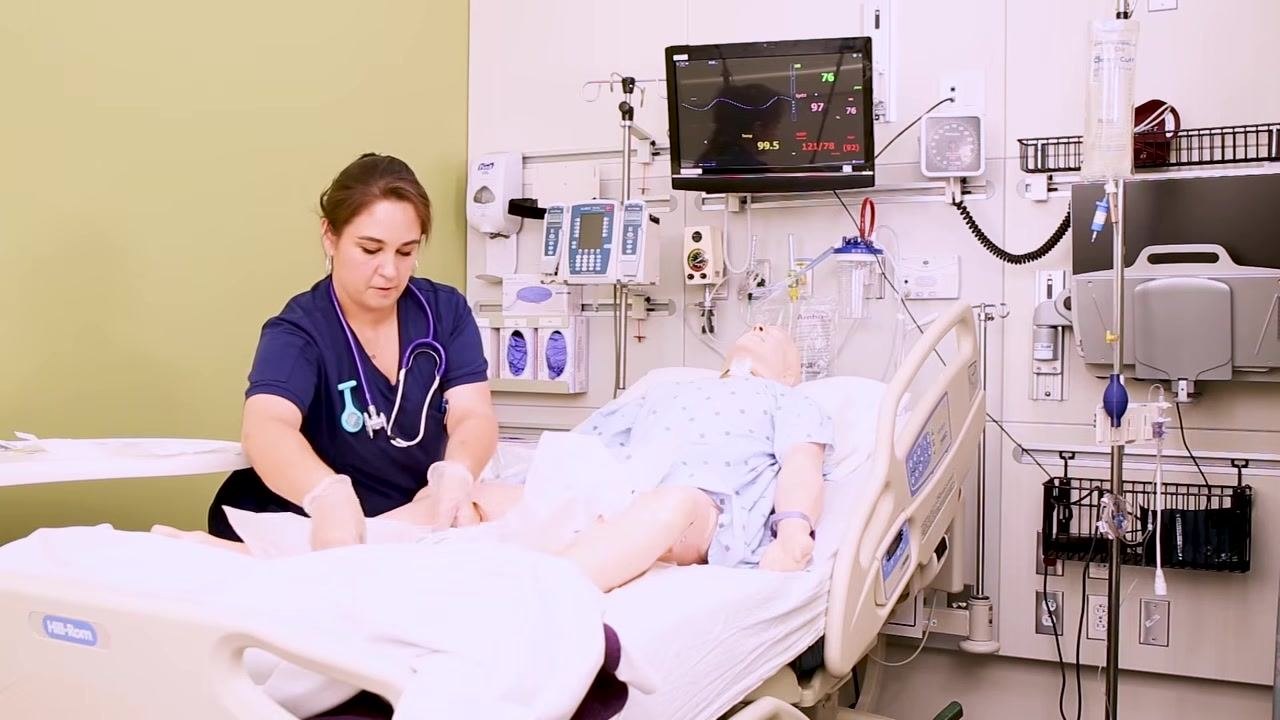
Apply the fenestrated drape
Locate the fenestrated drape (the drape with a hole) and gently place it over the patient's perineum without touching her skin. This creates a sterile working area directly over the insertion site.
Position the sterile kit and tray
Slide the opened sterile kit toward the patient's feet for easier access. Carefully remove the plastic tray from the kit and place it on the sterile field, closer to the patient's perineum. Hook the tray on the side of the cardboard base to keep it steady and prevent spills.
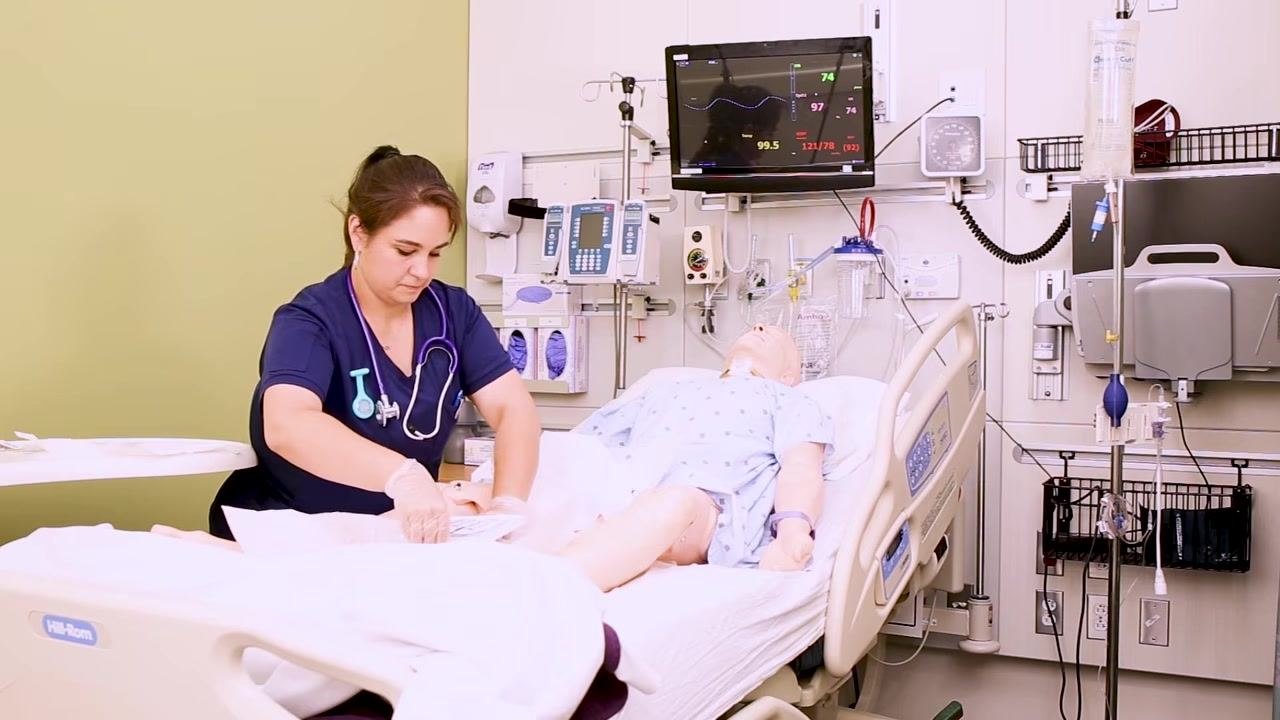
Prepare the remaining kit items
Organize the remaining items in the kit on the sterile field, keeping everything within reach and sterile for use.
Lubricate the catheter
Carefully remove the Foley catheter from its packaging, keeping it under control to prevent it from whipping around. Insert the tip of the catheter directly into the lubrication package to coat it thoroughly, or if using a syringe of lubricant, pull out the plunger and insert the catheter tip into the syringe. Set the lubricated catheter down on the sterile tray until you are ready for insertion.
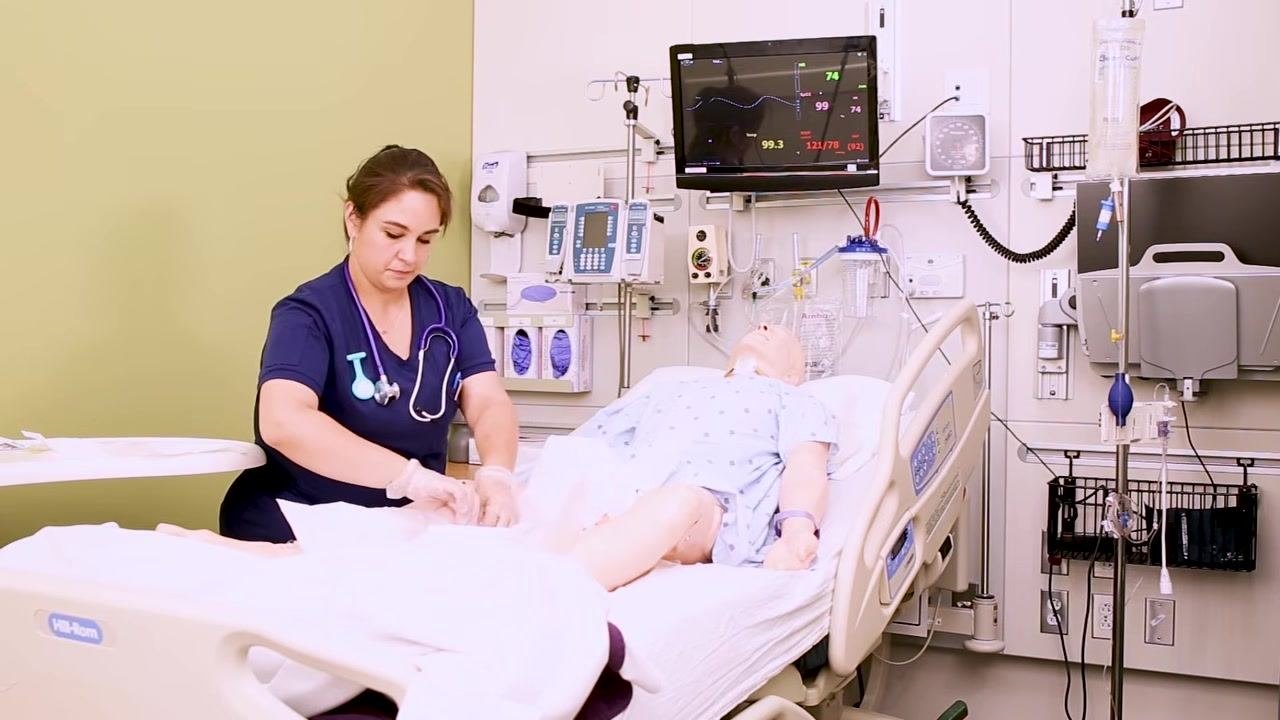
Attach the saline syringe to the balloon port
Take the saline syringe from the kit and attach it to the balloon port of the Foley catheter.
Safety note: Do not inflate the balloon at this stage. Current evidence-based guidelines advise against pre-checking the balloon, which was previous practice.
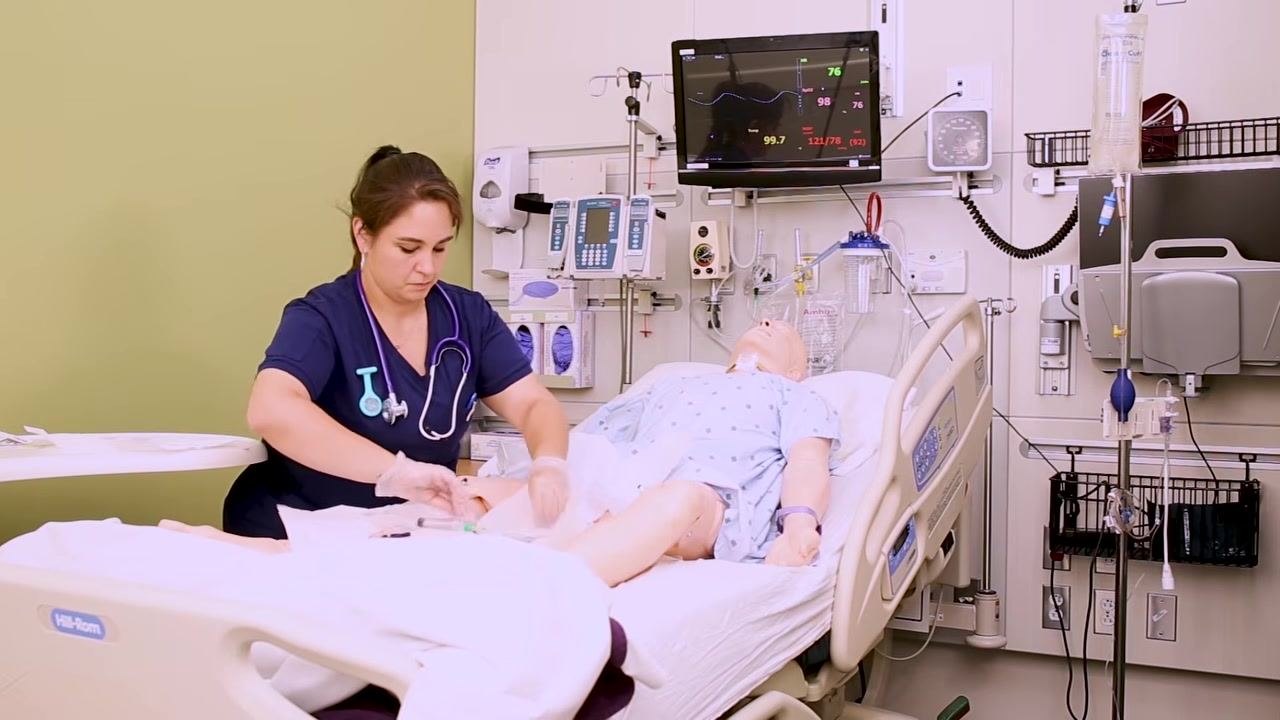
Prepare antiseptic swabs
Apply iodine to cotton swabs, or open the swab package, depending on your kit contents. Let the patient know she may feel your touch or something cold as you prepare to cleanse the area.
Spread the labia and cleanse the urethral area
Use your non-dominant hand to gently spread the labia and hold them open. Once your non-dominant hand is in this position, it is no longer sterile — do not use it to touch any sterile supplies or the sterile field.
Open the swab package and cleanse the area in the following sequence:
- Wipe from front to back on the right side of the meatus
- Wipe from front to back on the left side of the meatus
- Wipe from front to back down the center of the meatus
- If you have an extra swab, repeat the center wipe
Look for the "wink" of the urethral opening as you cleanse, and discard each used swab into the trash bag — do not return swabs to the sterile field.
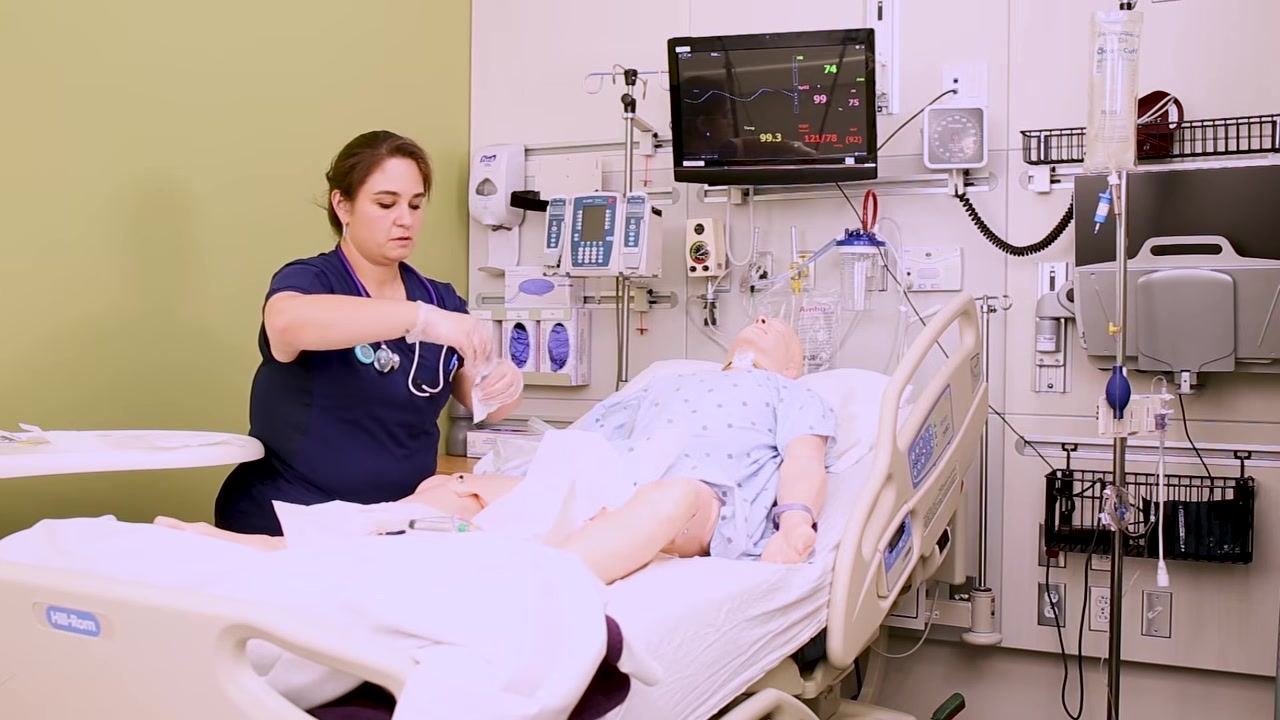
Insert the Foley catheter
With your non-dominant hand still holding the labia open, use your dominant hand to pick up the lubricated catheter from the sterile tray. Warn the patient that she may feel some pressure. Gently insert the catheter into the urethral opening and advance it until you see a flash of urine in the tube. Once urine is visible, advance the catheter about one inch further to ensure proper placement.
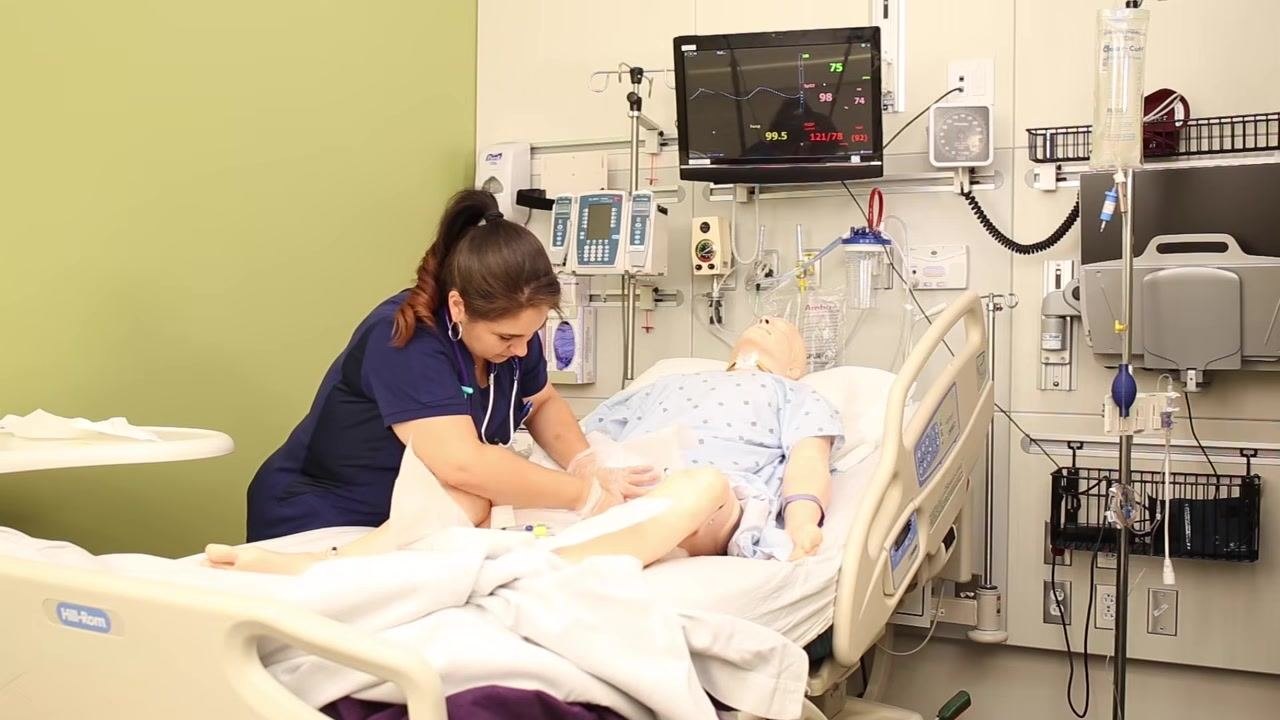
Inflate the balloon
Using your dominant hand, inflate the balloon with the attached saline syringe. The balloon should inflate easily and without causing the patient pain.
Safety note: If you meet resistance while inflating, deflate the balloon, advance the catheter a bit further, and try again. Once the balloon is fully inflated, quickly remove the syringe — if left attached, the balloon may deflate on its own.
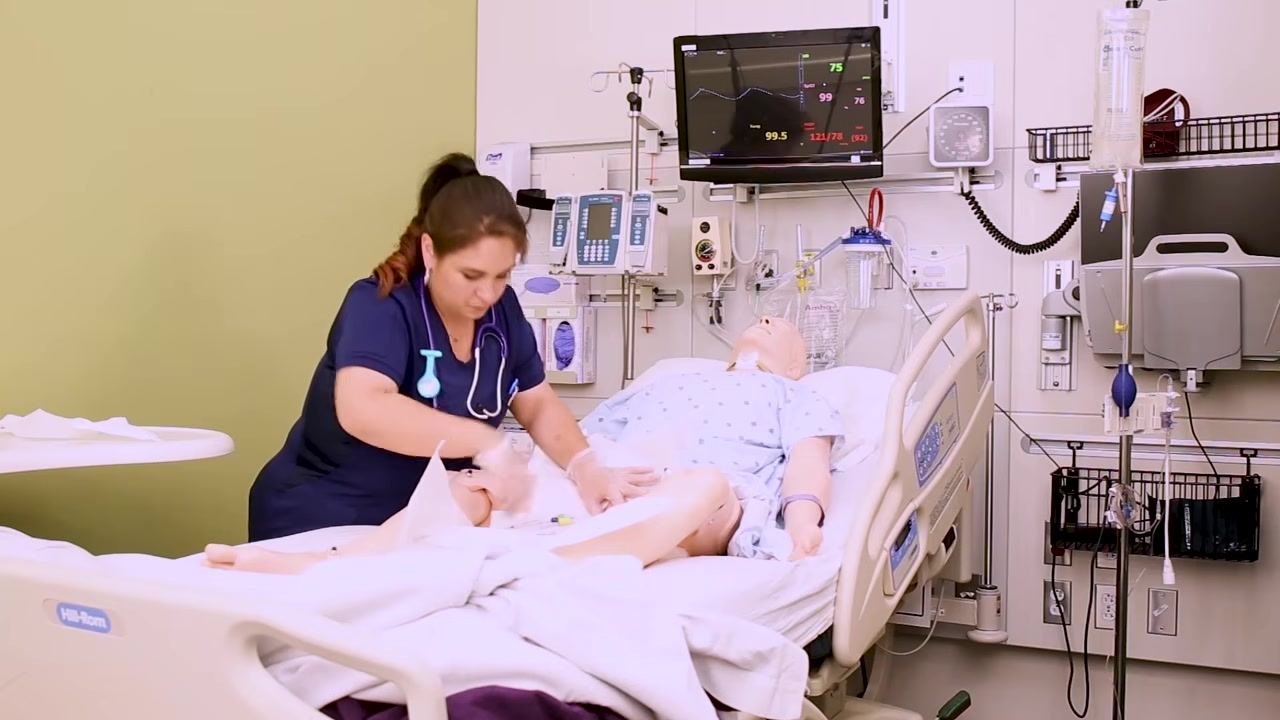
Secure the catheter and complete the procedure
Gently pull the catheter back until you feel slight resistance, indicating it is seated at the base of the bladder. Secure the catheter to the patient's upper thigh using a securement device (such as a StatLock) or tape. Hang the drainage bag on the bed frame below the level of the bladder, ensuring it does not touch the floor. Remove the drape and all supplies from between the patient's legs, cover her with the bed linens, and discard all used supplies appropriately.
Safety note: Always keep the drainage bag below the level of the bladder and off the floor to prevent backflow and infection.
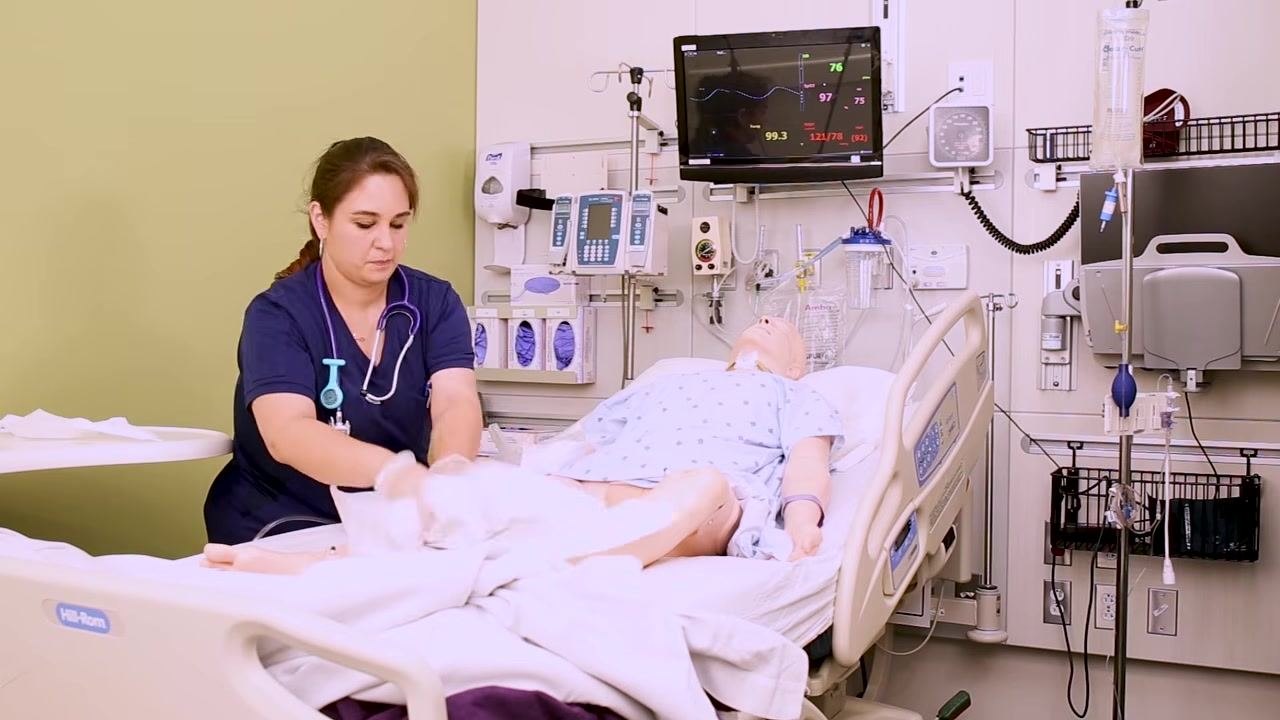
Verification: assess and document urine output
Observe the urine collected in the drainage bag and note the following:
- Color of the urine (for example, pale yellow, amber, clear, or cloudy)
- Clarity of the urine (clear, cloudy, or presence of sediment)
- Amount of urine obtained immediately after insertion
Document the catheter insertion procedure in the patient's medical record, including:
- Date and time of insertion
- Size and type of catheter used
- Patient's tolerance of the procedure
- Characteristics and amount of urine obtained
- Any complications or unusual findings
Maintain sterile technique and ensure all documentation is complete before leaving the patient.
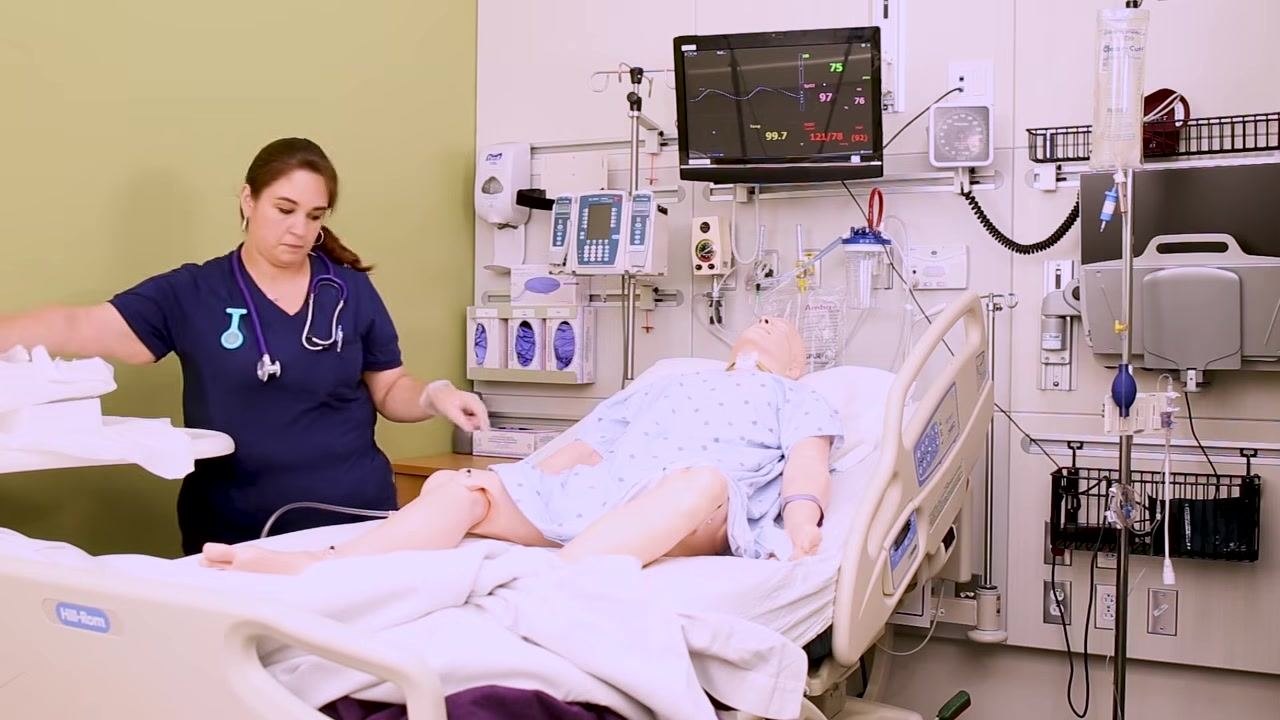
Key reminders
- Maintain sterile technique throughout the entire procedure.
- Communicate with the patient before any contact to ensure comfort and cooperation.
- Keep the drainage bag below the level of the bladder and off the floor at all times.
- Dispose of all supplies according to facility protocol and perform hand hygiene after glove removal.
- Document all relevant details promptly and accurately.
What's next
For inserting a Foley catheter in a male patient, follow the corresponding procedure for male catheterization, which differs in patient positioning and anatomical landmarks.

Generation details: cost, quality tiers
Docsie billed 3,000 credits ($2.10) to analyze this 6-minute video at standard quality. The rewrite, template fill and Word/PDF exports were included. The same video at each quality tier:
| Quality | Frames sampled | Credits | Approx. cost |
|---|---|---|---|
| Draft | every 16-30 s | 1,500 | $1.05 |
| Standard (this guide) | every 8-15 s | 3,000 | $2.10 |
| Detailed | every 4-7 s | 6,000 | $4.20 |
| Ultra | every 1-3 s | 12,000 | $8.40 |
Credits priced at $0.70 per 1,000; plans include a monthly allowance. Enterprise customers on on-premise or bring-your-own-model deployments run this on their own inference and pay no per-video credits.
Generated by Docsie Video-to-Docs on 2026-09-09 from a 5-minute video. Screenshots are frames from the source video and belong to their creator, NURSINGcom, whose original is embedded above. If you own this video and want the guide removed or credited differently, contact us and we will act within one business day.