
How to Give an Intramuscular Injection
This guide shows you how to give yourself an intramuscular (IM) injection at home. An intramuscular injection delivers a small amount of medicine through a needle placed into the muscle beneath the skin. IM injections are commonly used to manage or prevent health problems such as immune disorders, infections, and low vitamin B12 levels.
Video: How to Give Yourself an Intramuscular Injection by Veterans Health Administration (2015). All credit for the demonstration goes to the creator; watch the original on YouTube. The written guide below was generated from this video by Docsie. Creator? Request a change or removal.
This guide shows you how to give yourself an intramuscular (IM) injection at home. An intramuscular injection delivers a small amount of medicine through a needle placed into the muscle beneath the skin. IM injections are commonly used to manage or prevent health problems such as immune disorders, infections, and low vitamin B12 levels.
Purpose
This document walks you through preparing your medication, drawing it into a syringe, administering the injection, and safely disposing of used supplies.
Scope
This procedure applies to self-administered IM injections using auto-injectors/pens, pre-filled syringes, or vials that require drawing up medicine before use. Always follow your healthcare provider's specific instructions, since dosing and technique can vary by medication.
Important: Medications are sourced from multiple manufacturers, so your medication or device may not look exactly like the ones shown in the reference images below. Mention of a manufacturer-specific medicine or device does not imply an endorsement of that product.
Understanding your medication
IM injection medicines come in one of three forms:
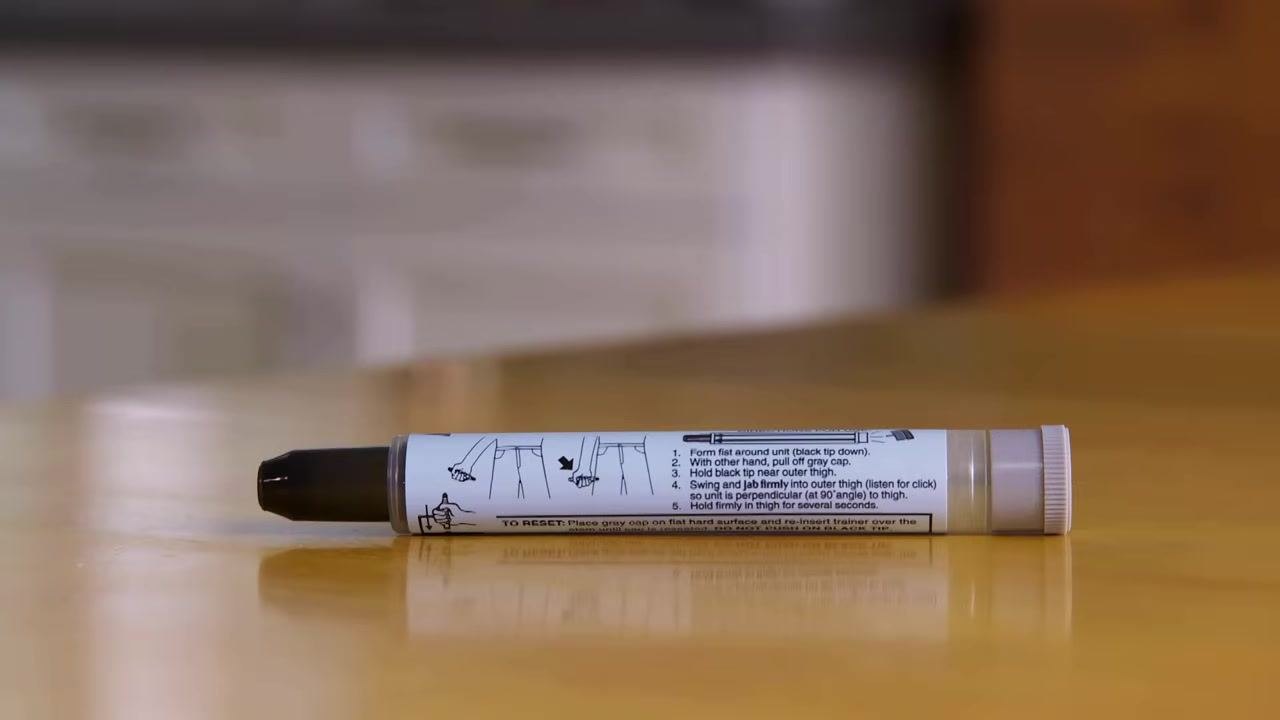
- Auto-injectors or pens
- Pre-filled syringes, ready for immediate use
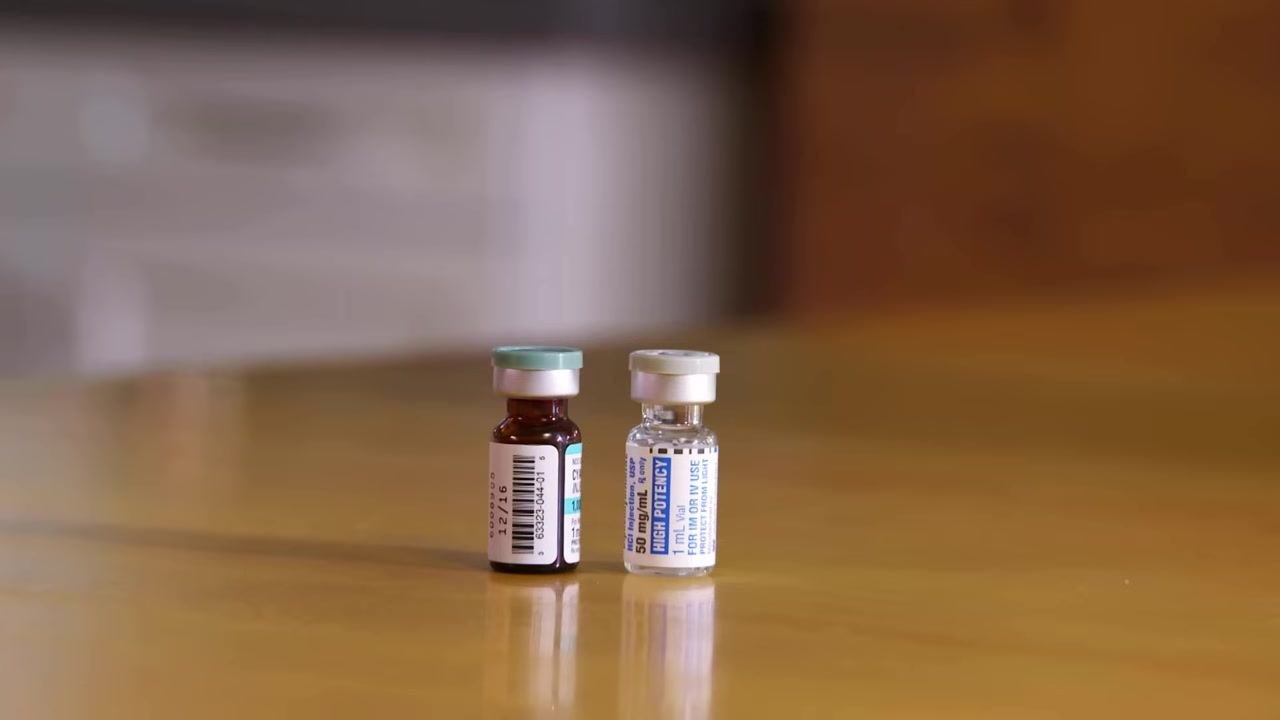
- Vials, from which you draw the medicine using a syringe each time you inject
The injection itself is delivered into the muscle, which sits beneath the skin and the subcutaneous tissue layer.
Auto-injector pens are often labeled with illustrated instructions for use.
Pre-filled syringes come ready to use straight out of their packaging.
If your doctor prescribes a powdered medication, you must mix it with a liquid, such as saline or distilled water, before use.
Some powdered medications come as a two-vial set: one vial holds the powder, and the other holds the liquid used for mixing.
Required equipment
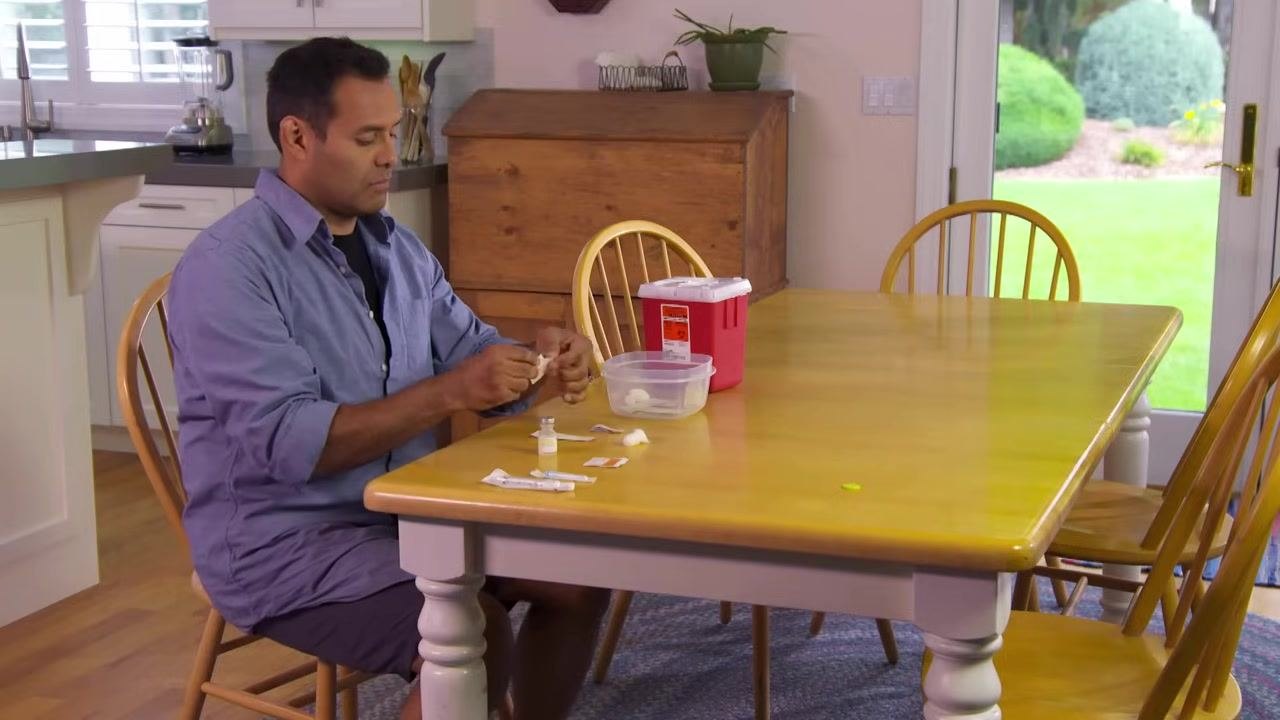
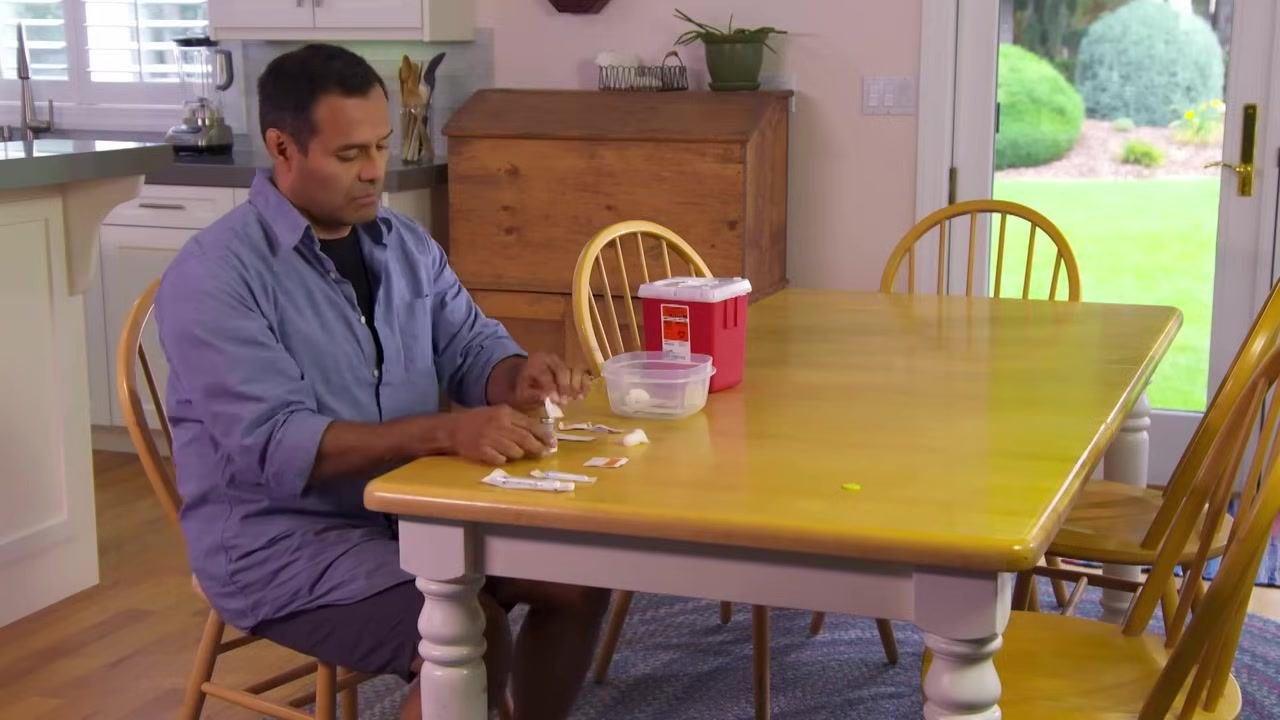
Before you begin, gather the following supplies and place them on a clean, flat surface:
- Alcohol pads or cotton swabs dipped in rubbing alcohol
- A disposable syringe
- The medicine you will be using
- Cotton balls
- Adhesive bandages
- A sharps container or another safe disposal option for the used syringe
Prepare your medication and workspace
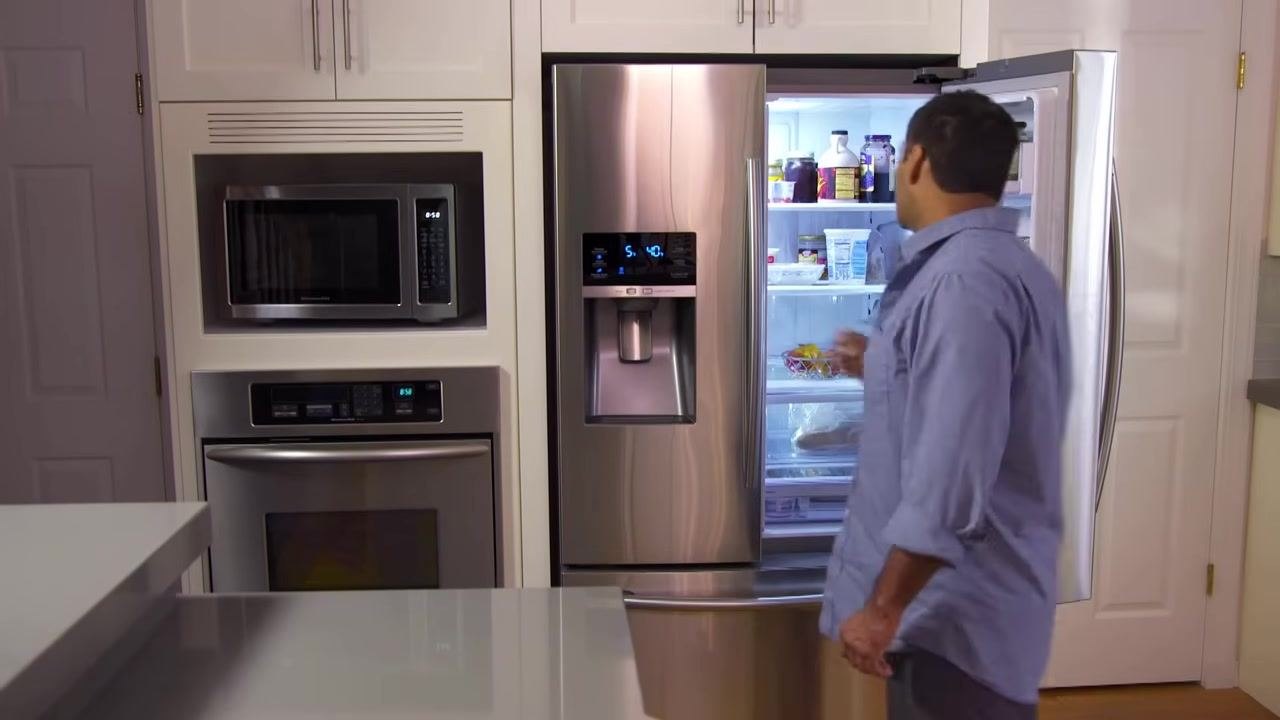
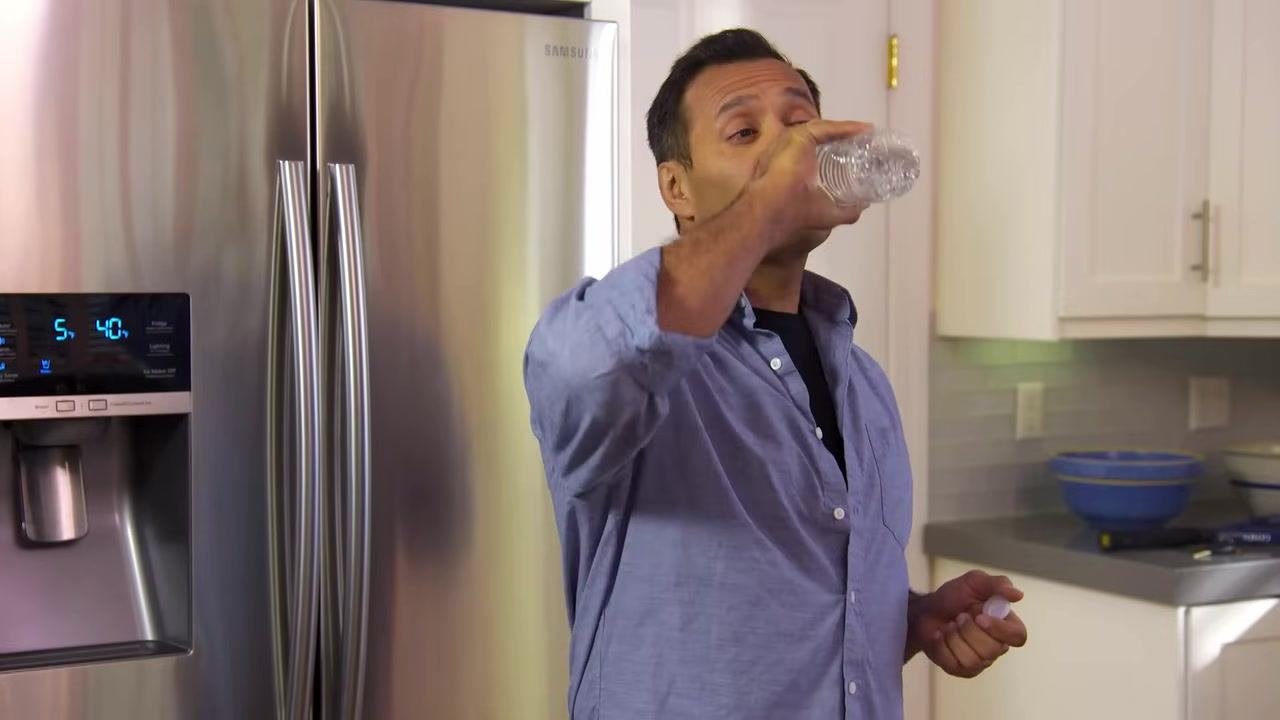
1.1 Bring medication to room temperature. If your medication has been stored in the refrigerator, remove it and let it warm to room temperature before use. Cold medicine can make the injection more painful.
1.2 Wash your hands. Go to a sink and wash your hands thoroughly with soap and warm water. This step is essential to prevent infection.
1.3 Gather your supplies. Collect all the items listed in the Required Equipment section and set them on a clean, flat surface, including your sharps container.
Choose and prepare the injection site
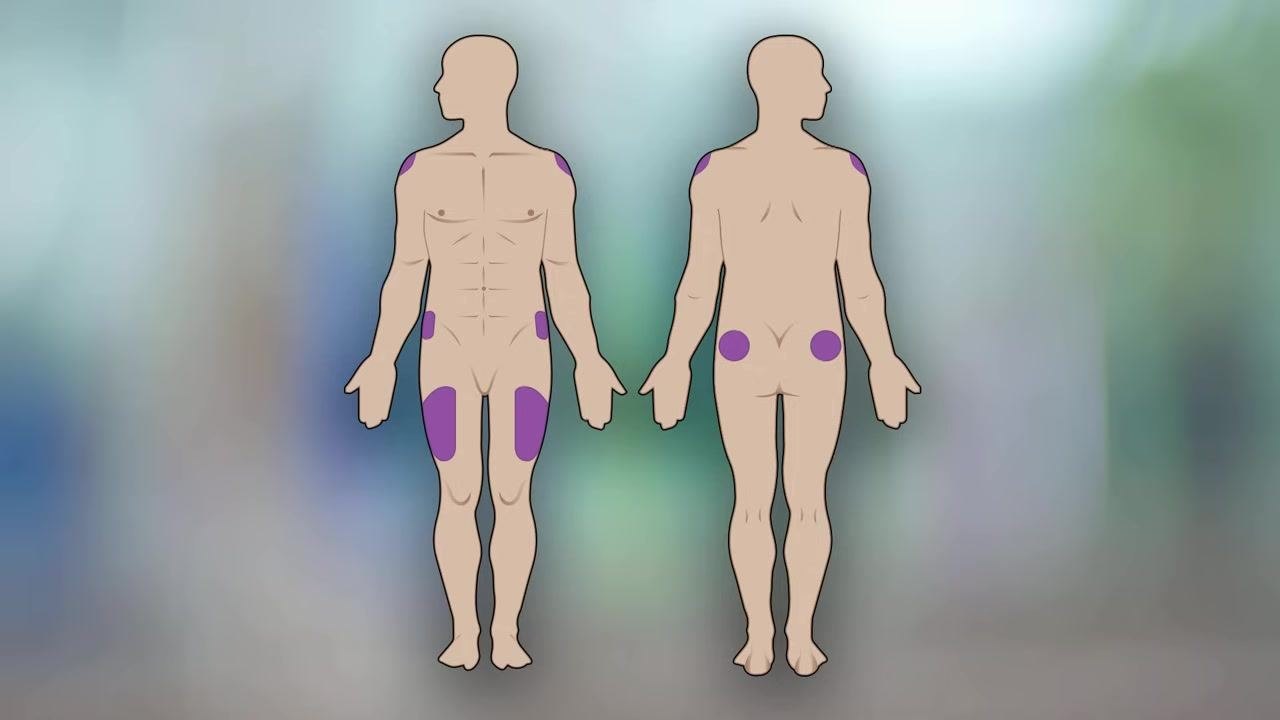
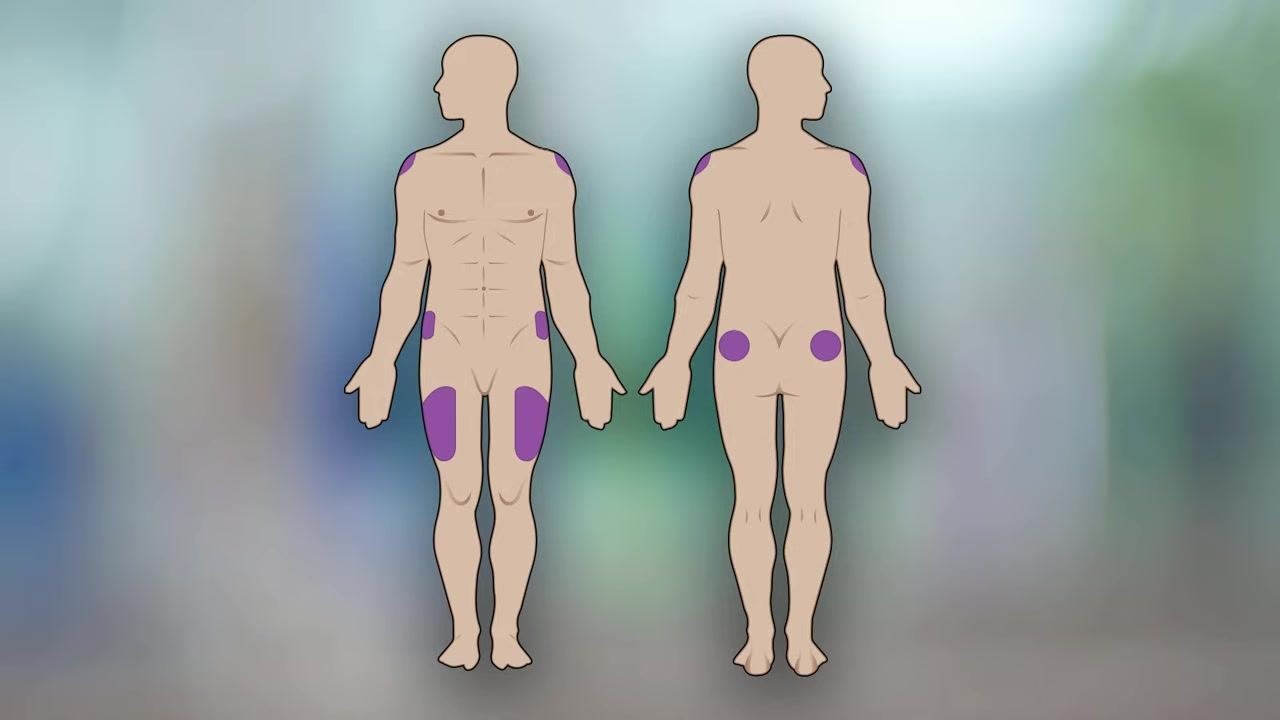
2.1 Select an injection site. IM injections can be given in the following locations:
- Deltoid muscle of the shoulder
- Upper thigh (vastus lateralis)
- Outer hip (gluteal muscle)
Safety note: Rotate your injection site each time you give an injection to avoid tissue damage from repeated use of the same spot. Do not inject into areas that are bruised, tender, or scarred.
2.2 Check the medication. Verify the expiration date on your medicine. If the vial has a plastic cap, pop it off. Wipe the top of the vial with an alcohol pad or swab and let it air dry.
2.3 Clean the injection area. Use a new alcohol pad or swab to clean the skin at your chosen injection site.
Safety note: Allow the skin to air dry completely before proceeding, and avoid touching the cleaned area while it dries.
2.4 Review the syringe parts. Familiarize yourself with the three main components before drawing up your medication:
- Plunger – draws in and pushes out the medication
- Barrel – the tube holding the medication, marked with measurement lines
- Needle – the sharp tip that delivers medication into the muscle
Draw up your medication
3.1 Confirm the dosage markings. Consult your doctor or pharmacist beforehand to make sure you understand how to read the measurement markings on your specific syringe.
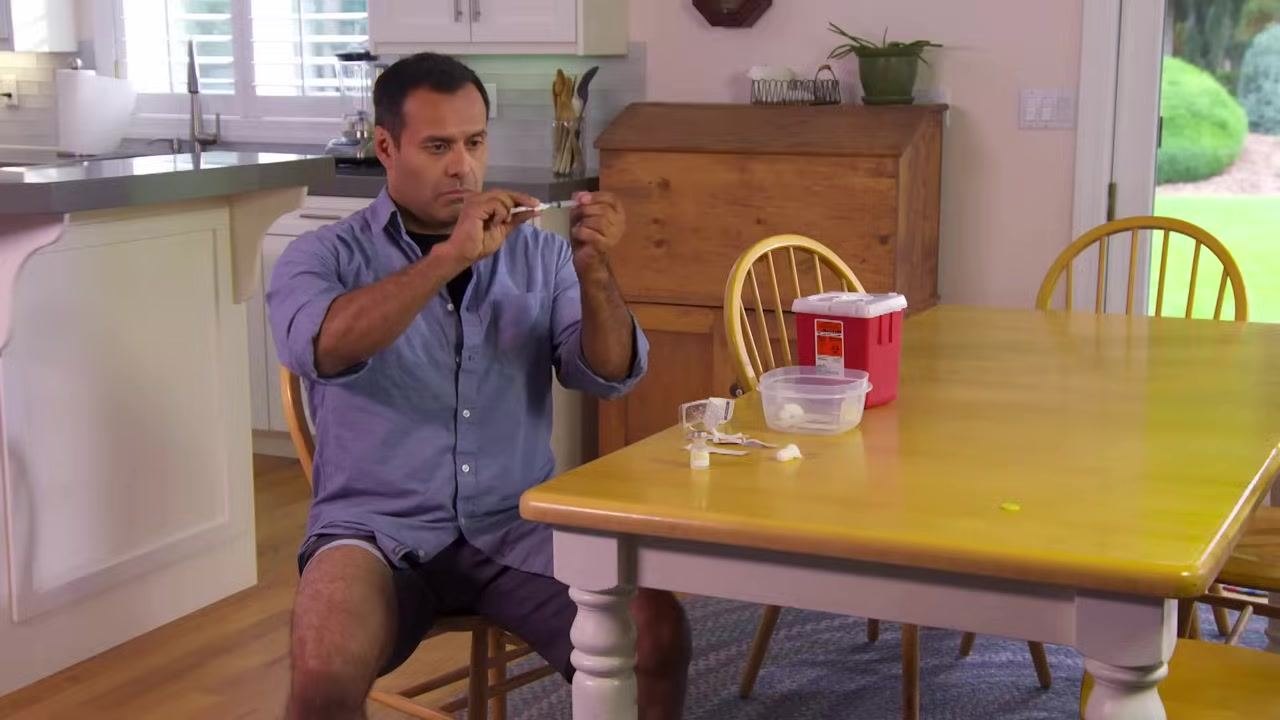
3.2 Open the syringe and needle packaging. Remove the sterile syringe from its package without touching the needle or tip, then remove the sterile needle from its own packaging.
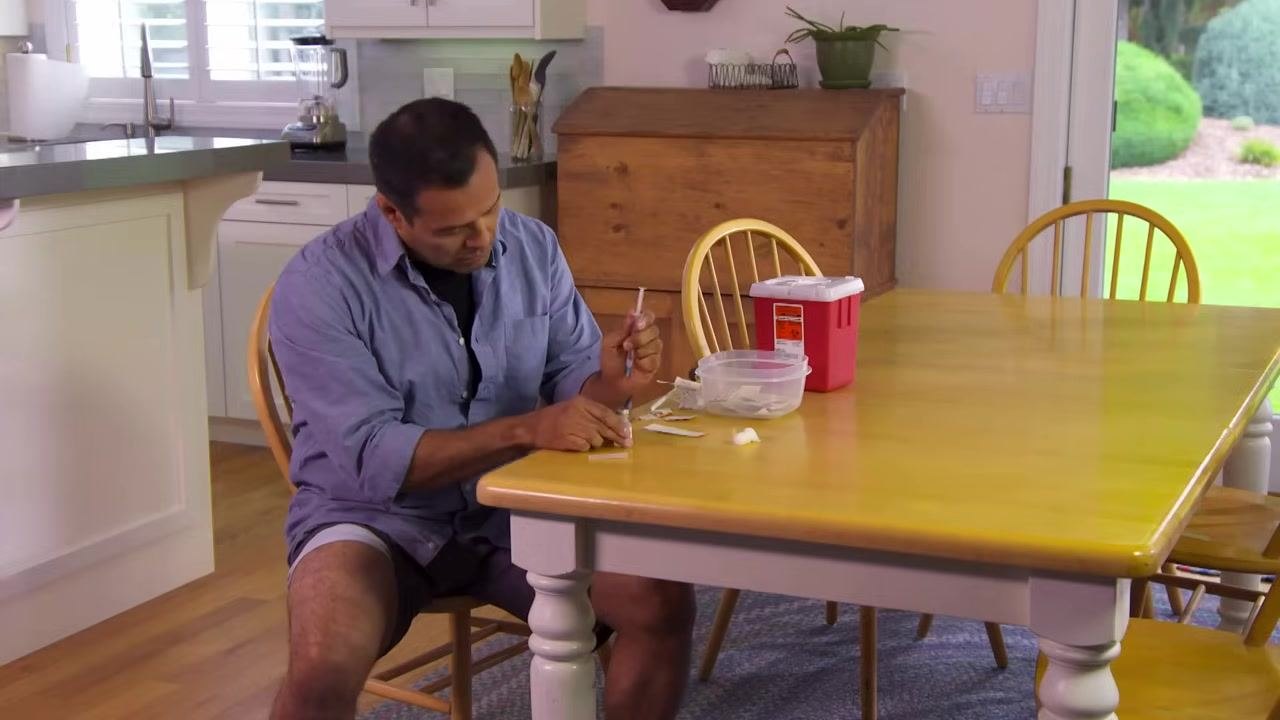
3.3 Attach the needle. If the needle is not pre-attached, screw it securely onto the syringe.
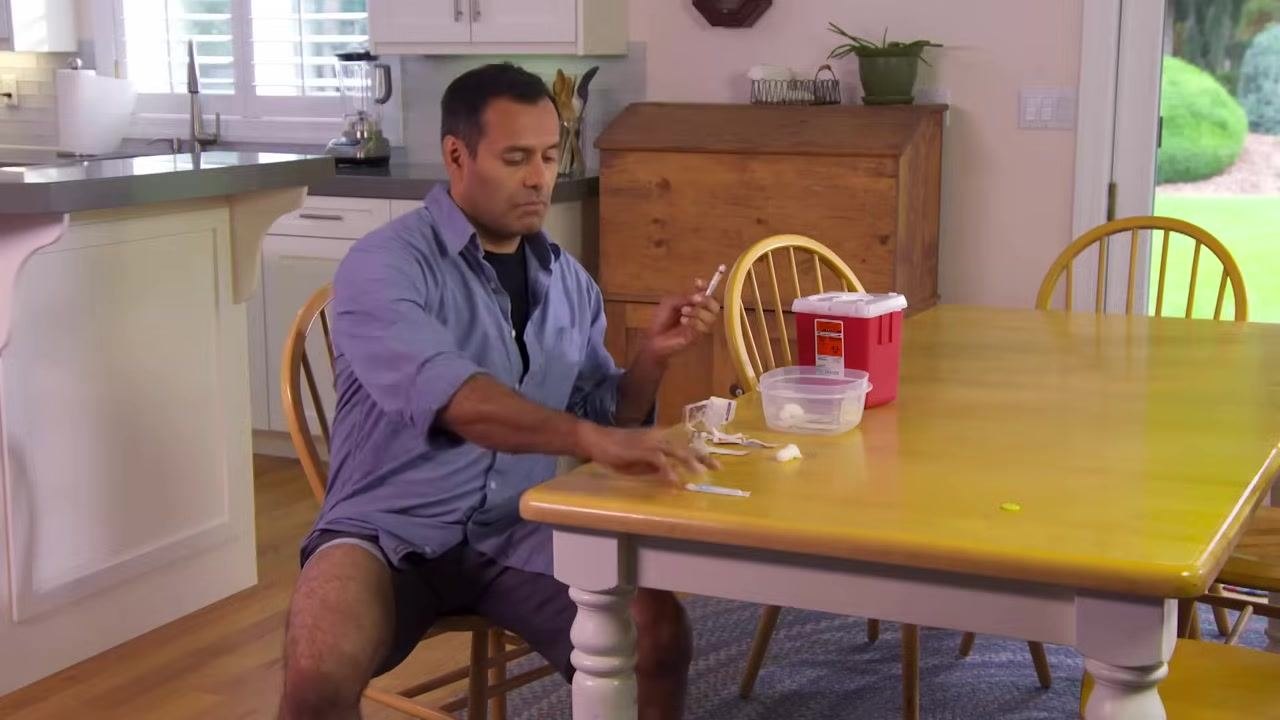
3.4 Draw air into the syringe. Pull the plunger back to draw air into the syringe up to the mark matching your prescribed dosage.
3.5 Uncap the needle. Carefully remove the needle cap and set it aside on a clean surface.
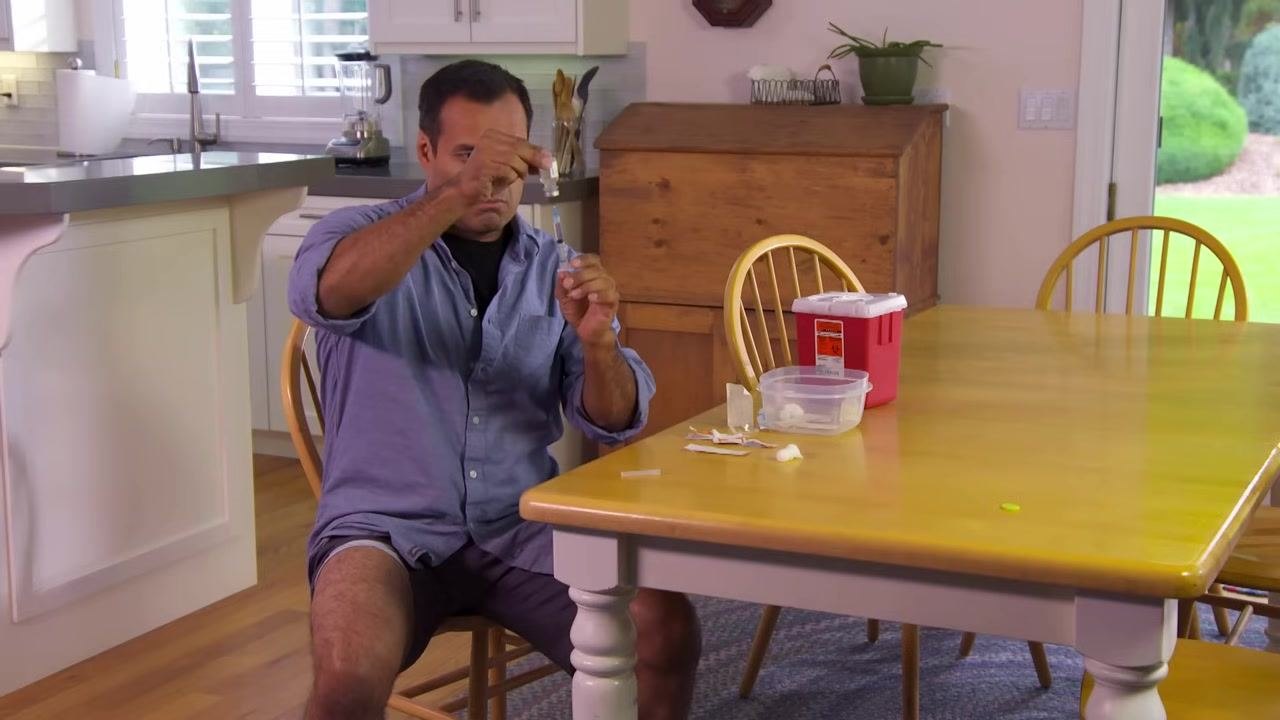
3.6 Insert the needle into the vial. Stick the needle straight through the rubber top of the medication vial.
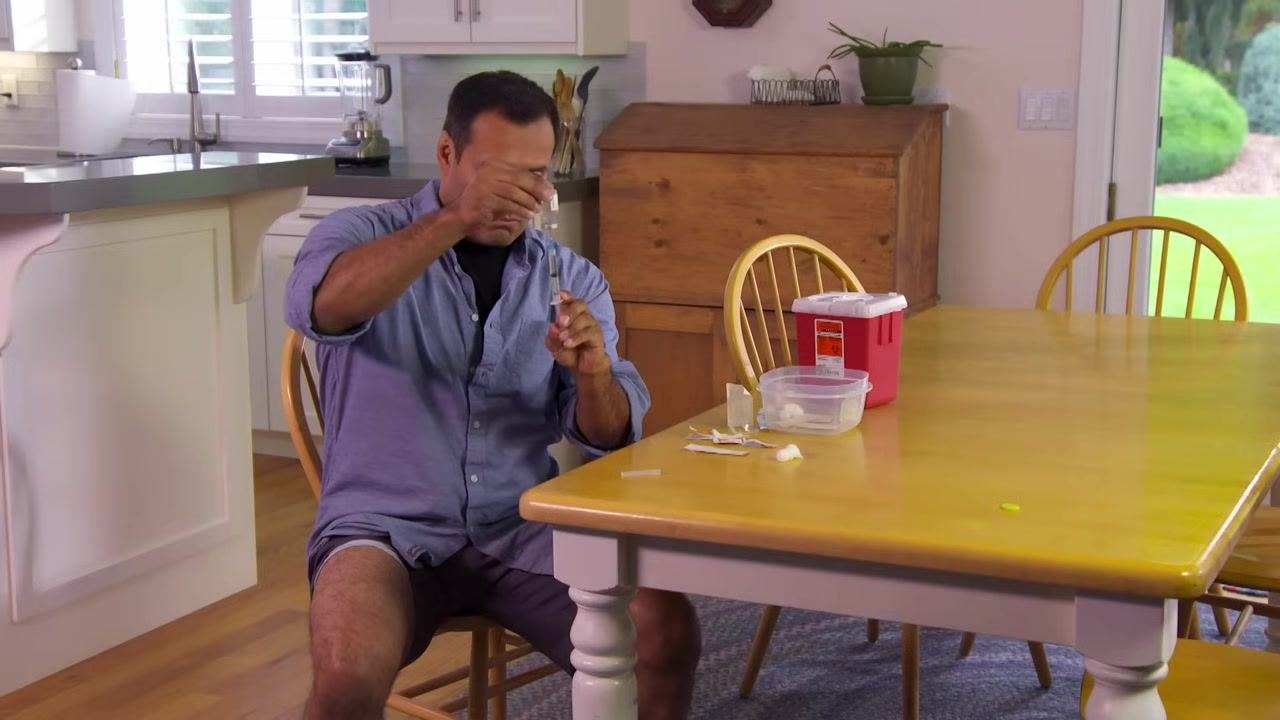
3.7 Inject air and draw medication. Flip the vial and syringe so the vial is on top, then push the plunger to inject air into the vial. This equalizes pressure and makes it easier to draw out the medicine. With the vial still upside down and the needle tip below the liquid surface, slowly pull back the plunger until you reach your prescribed dose.
Safety note: Keep the needle tip under the liquid surface to avoid drawing in air bubbles. If large bubbles appear, push the medication and air back into the vial, then slowly redraw the correct amount.
3.8 Verify the dose. Inspect the syringe to confirm you have the correct amount of medication with no large air bubbles.
Give the injection
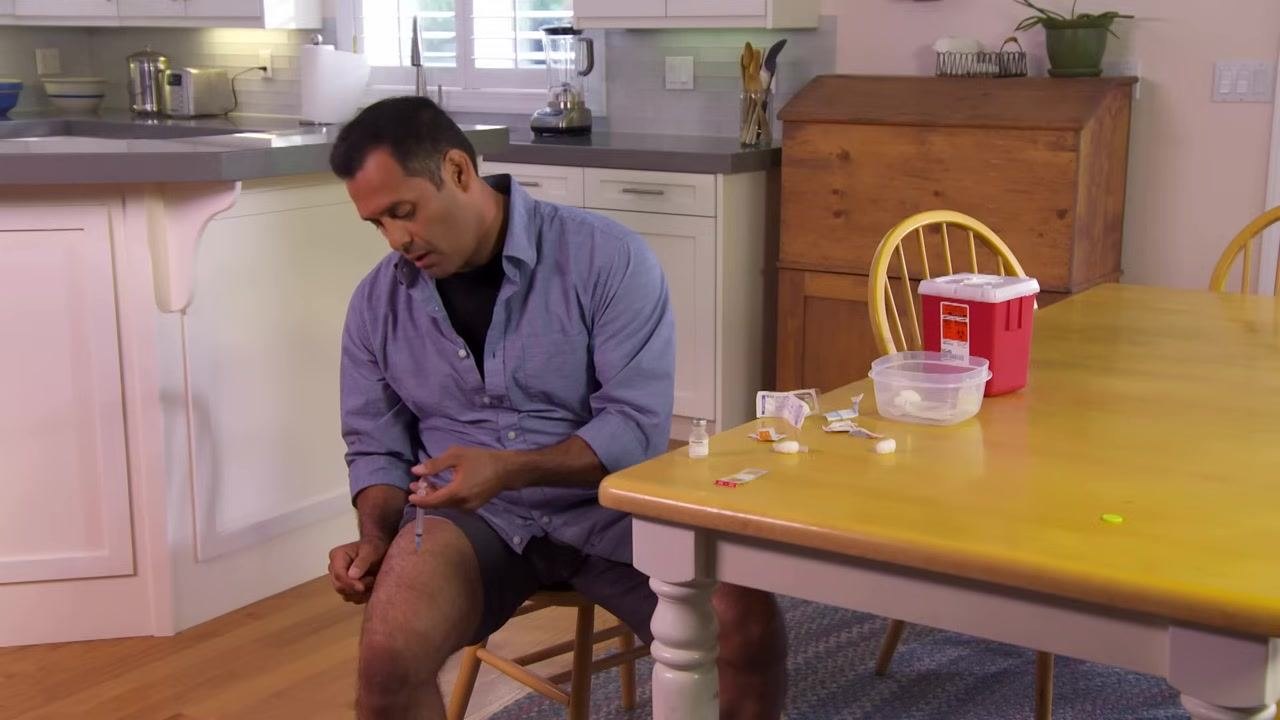
4.1 Insert the needle. Hold the barrel so the needle points straight at the cleaned injection site. With a firm, smooth motion, insert the needle through the skin and into the muscle at a 90-degree angle. Once fully inserted, shift your thumb to the plunger.
4.2 Push the plunger and count to three. Sit comfortably and keep the syringe steady. Slowly push the plunger all the way down, then count to three (aloud or silently) before removing the syringe. This ensures the syringe is completely empty.
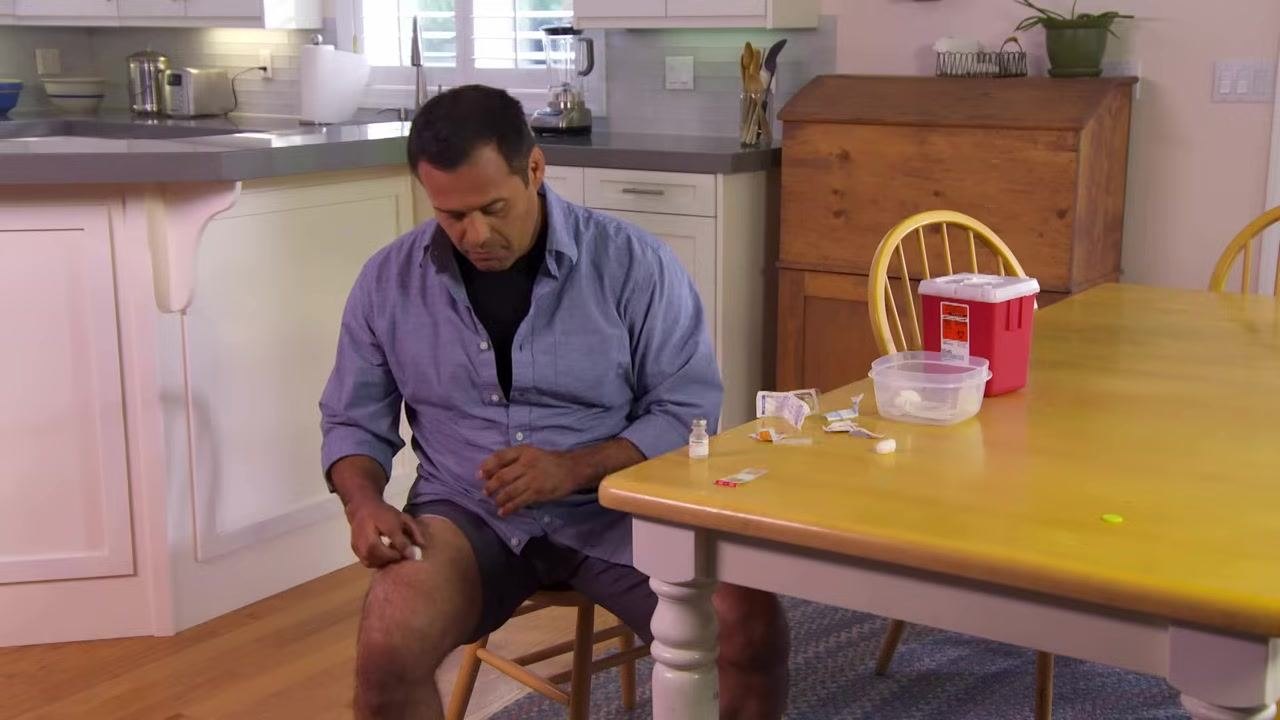
4.3 Remove the needle. Withdraw the needle from your thigh and apply gentle pressure to the injection site with a cotton ball or gauze.
Safety note: Do not attempt to re-cap the needle. Re-capping increases the risk of accidental needle sticks.
Dispose of supplies safely
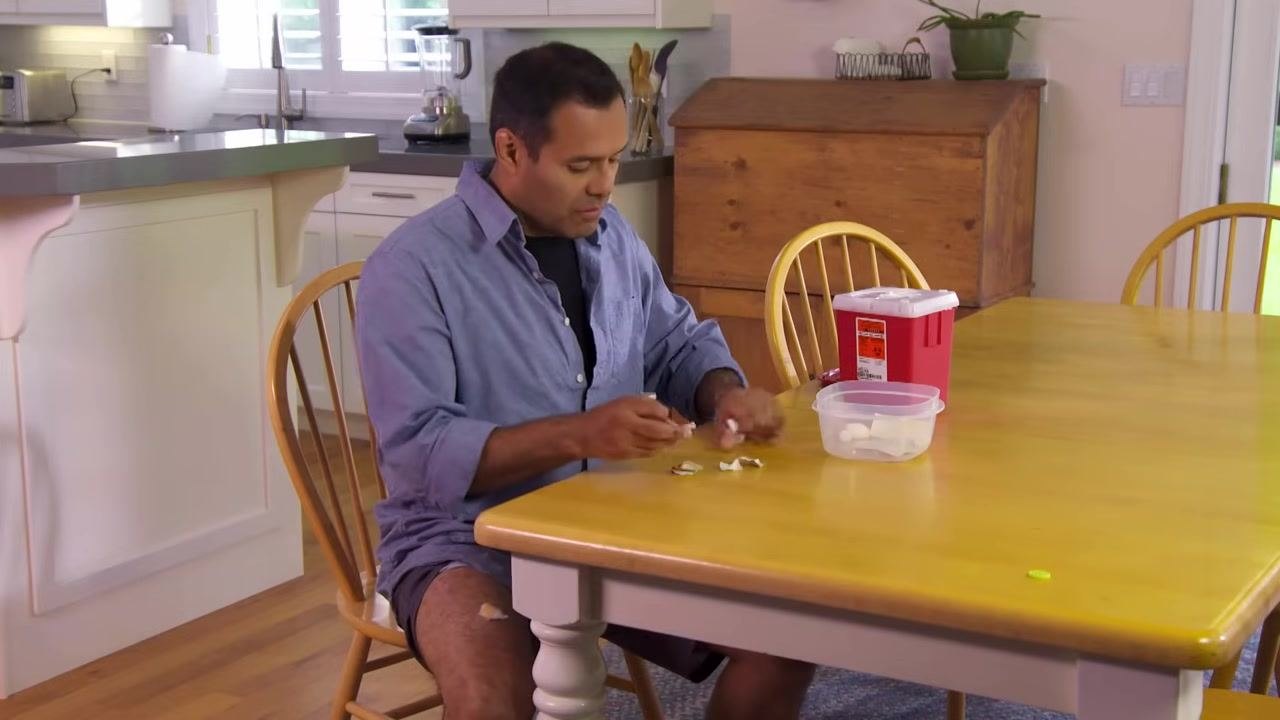
5.1 Dispose of the needle immediately. Place the uncapped needle directly into a red sharps container. Do not leave needles or syringes on the table, and do not attempt to re-cap them.
5.2 Use an alternative container if needed. If you don't have a ready-made sharps container, use a sturdy, heavy-duty plastic container, such as an empty laundry detergent bottle. Label it clearly with "Danger: Used needles" using a permanent marker.
5.3 Dispose of remaining supplies. Throw away alcohol swabs, wrappers, and other non-sharp waste in the regular trash. Discard single-dose vials after use. For multi-dose vials, it's acceptable to leave them uncapped and store as directed.
5.4 Refrigerate medication if required. If your medication needs refrigeration, return it to the refrigerator immediately, storing it at the temperature indicated on the label or by your healthcare provider.
5.5 Finish cleaning your workspace. Place wrappers, cotton balls, and packaging in the regular trash to maintain a safe and sanitary environment.

Verification
Once you've completed the procedure, confirm the following:
- The full prescribed dose was injected and the syringe was empty before removal.
- The used needle was placed in a sharps container or a properly labeled alternative, without re-capping.
- All non-sharp waste was discarded in the regular trash.
- Any medication requiring refrigeration was returned to proper storage.
- Your workspace is clean and free of used supplies.
What's next
Always follow your healthcare provider's instructions for medication administration and disposal. Use only approved sharps containers or clearly labeled, puncture-resistant alternatives for needle disposal. If you have questions about your injection, medication, or disposal process, contact your healthcare provider or local VA facility.

Generation details: cost, quality tiers
Docsie billed 3,500 credits ($2.45) to analyze this 7-minute video at standard quality. The rewrite, template fill and Word/PDF exports were included. The same video at each quality tier:
| Quality | Frames sampled | Credits | Approx. cost |
|---|---|---|---|
| Draft | every 16-30 s | 1,750 | $1.22 |
| Standard (this guide) | every 8-15 s | 3,500 | $2.45 |
| Detailed | every 4-7 s | 7,000 | $4.90 |
| Ultra | every 1-3 s | 14,000 | $9.80 |
Credits priced at $0.70 per 1,000; plans include a monthly allowance. Enterprise customers on on-premise or bring-your-own-model deployments run this on their own inference and pay no per-video credits.
Generated by Docsie Video-to-Docs on 2026-09-09 from a 6-minute video. Screenshots are frames from the source video and belong to their creator, Veterans Health Administration, whose original is embedded above. If you own this video and want the guide removed or credited differently, contact us and we will act within one business day.