
How to Give a Ventrogluteal Im Injection
This procedure describes how to give a ventrogluteal IM injection using correct anatomical landmarking, aseptic technique, and safety precautions. It is intended for nursing and allied health staff who administer intramuscular medications and need a clear, step-by-step reference for locating and using the ventrogluteal site safely.
Video: How to Give an IM Intramuscular Injection Ventrogluteal Buttock Muscle by RegisteredNurseRN (2014). All credit for the demonstration goes to the creator; watch the original on YouTube. The written guide below was generated from this video by Docsie. Creator? Request a change or removal.
This procedure describes how to give a ventrogluteal IM injection using correct anatomical landmarking, aseptic technique, and safety precautions. It is intended for nursing and allied health staff who administer intramuscular medications and need a clear, step-by-step reference for locating and using the ventrogluteal site safely.
Purpose and scope
This procedure covers the technique for administering an intramuscular injection into the ventrogluteal muscle. It applies to nursing staff preparing to give IM medications in a clinical care setting.
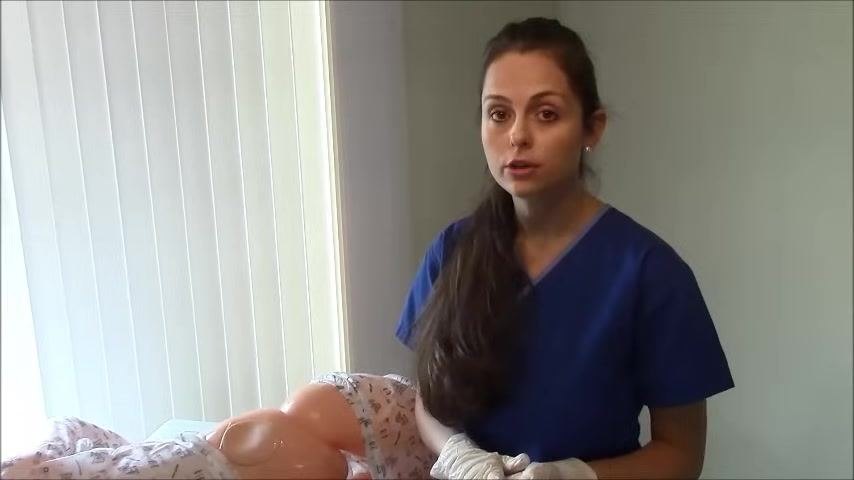
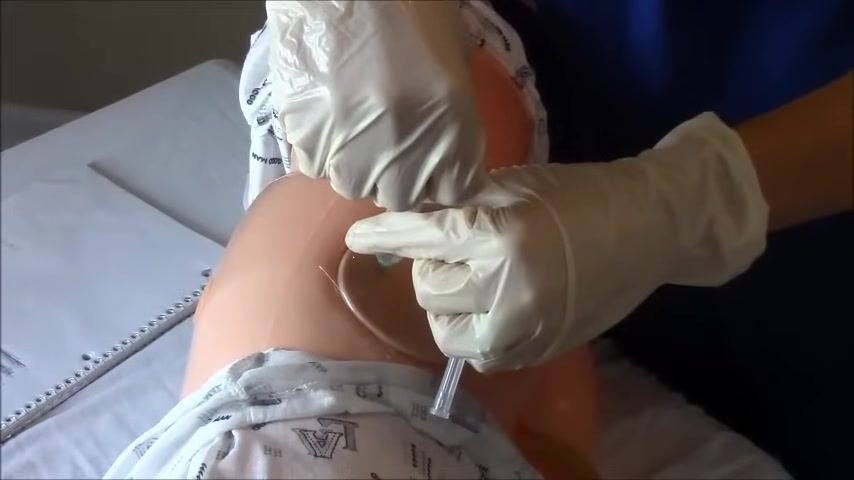
Before performing this procedure, always review your facility's protocol and your State Board of Nursing policies, as technique and permitted practice can vary. The demonstration referenced in this procedure uses a training mannequin patient positioned on her side to illustrate hand placement and landmark identification.
Patient assessment
Assessment for this procedure focuses on correctly positioning the patient and identifying the anatomical landmarks used to locate the ventrogluteal injection site. The source material does not specify a vital sign monitoring frequency, a formal pain assessment tool, or neurovascular checks; these should be added according to your facility's standard pre-injection assessment protocol.
| Assessment step | What to check |
|---|---|
| Patient positioning | Patient is lying on their left or right side, with the injection site accessible |
| Greater trochanter | Locate the bony prominence of the upper thigh/hip using the palm of your hand |
| Anterior superior iliac spine | Point your index finger toward this landmark |
| Iliac crest | Spread your middle finger back along the iliac crest to form a "V" shape |
| Injection site | Confirmed at the center of the "V" formed by your index and middle fingers |

Care protocol
The procedure is carried out in the following phases.
Preparation phase - Draw up the prescribed medication into the syringe. - Perform thorough hand hygiene before donning gloves. - Put on clean gloves to maintain aseptic technique.
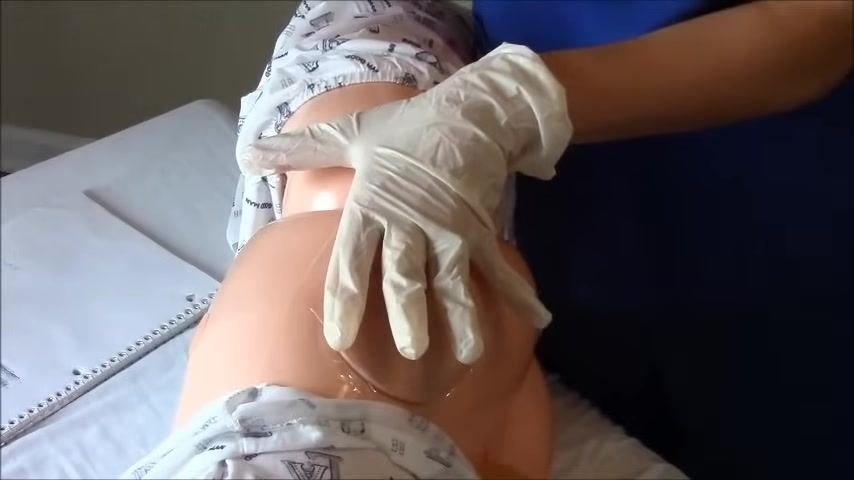
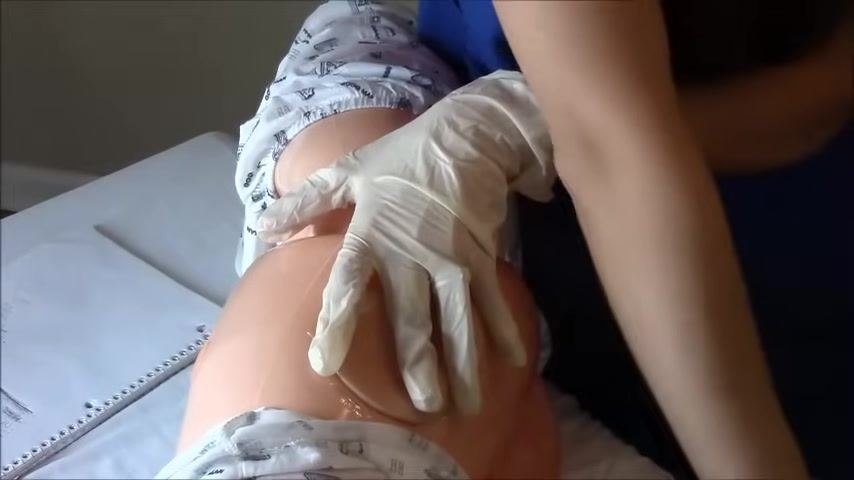
Landmark identification phase - Use the hand closest to the patient and place your palm flat over the greater trochanter of the femur. - Point your index finger toward the anterior superior iliac spine. - Spread your middle finger back along the iliac crest to form a "V" shape with your index and middle fingers. - The injection site is located at the center of this "V."
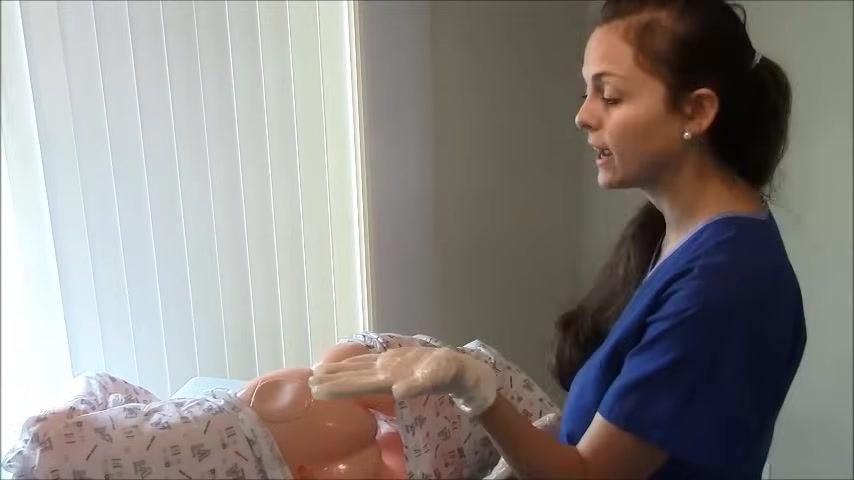
Site preparation phase - Keep your hand in position to maintain the landmark. - Clean the identified injection site thoroughly with an alcohol prep pad. - Use a circular motion, starting at the center and moving outward, for about three to five seconds.
Administration phase - Remove the needle cap, holding it between your fingers. - Insert the needle into the identified ventrogluteal site at a 90-degree angle to the skin. - Ensure the needle is fully inserted into the muscle. - Aspirate by pulling back slightly on the plunger and check for blood return before injecting (see Complication Monitoring below). - If no blood is aspirated, slowly inject the medication into the muscle and hold the syringe in place for a moment to ensure full delivery.
Post-injection phase - Withdraw the needle from the injection site smoothly. - Immediately engage the needle's safety mechanism to prevent accidental needlestick injury. - Apply gentle pressure to the injection site with gauze or a band-aid to prevent bleeding.
Completion phase - Dispose of the needle and syringe in a designated sharps container according to facility protocol. - Remove gloves and perform hand hygiene. - Ensure the patient is comfortable and monitor for any adverse reactions.

Pain management
The source material does not include a multimodal pain management plan, a medication dosing table, pain score targets, or an escalation pathway for this procedure. The only pain-related intervention shown is applying gentle pressure with gauze or a band-aid to the injection site after needle withdrawal to reduce discomfort and bleeding. A full pain management plan for this procedure should be added according to facility protocol.
Mobility milestones
The source material does not include a progressive mobility timeline or mobility goals related to this injection procedure. If mobility considerations apply to your patient population, they should be documented separately according to facility protocol.
Complication monitoring
Aspiration is used to check for blood return before injecting, which confirms the needle is not in a blood vessel.
- Pull back slightly on the plunger and observe for blood in the syringe.
- If no blood appears, proceed with the injection.
- If blood is present, withdraw the needle immediately and prepare a new injection.
After the injection, engage the needle's safety mechanism right away to prevent needlestick injury, and monitor the patient for any adverse reactions. The source material does not specify early warning criteria or escalation contacts; these should be defined per facility protocol.
Discharge criteria
The source material does not provide discharge criteria, as this procedure covers only the injection technique itself rather than a full episode of care. Any discharge criteria relevant to the patient's broader care plan should be documented separately according to facility protocol.
Patient education
The source material does not include specific teaching points for the patient or family related to this injection. It does reference further learning resources for clinicians, including additional instructional material on giving injections in the dorsal gluteal and deltoid muscles, which may support ongoing staff education on injection technique.
What's next
Always follow your facility's protocol for injection technique, medication administration, and patient safety. For further skill development, review additional instructional material on administering injections in the dorsal gluteal and deltoid muscles.
Generation details: cost, quality tiers, downloads
Docsie billed 1,500 credits ($1.05) to analyze this 3-minute video at standard quality. The rewrite, template fill and Word/PDF exports were included. The same video at each quality tier:
| Quality | Frames sampled | Credits | Approx. cost |
|---|---|---|---|
| Draft | every 16-30 s | 750 | $0.52 |
| Standard (this guide) | every 8-15 s | 1,500 | $1.05 |
| Detailed | every 4-7 s | 3,000 | $2.10 |
| Ultra | every 1-3 s | 6,000 | $4.20 |
Credits priced at $0.70 per 1,000; plans include a monthly allowance. Enterprise customers on on-premise or bring-your-own-model deployments run this on their own inference and pay no per-video credits.
Generated by Docsie Video-to-Docs on 2026-09-14 from a 2-minute video. It was generated straight into Docsie's Patient Care Procedure template, so every section of that template is filled from the video. Screenshots are frames from the source video and belong to their creator, RegisteredNurseRN, whose original is embedded above. If you own this video and want the guide removed or credited differently, contact us and we will act within one business day.