
How to Give a Lovenox Injection
This procedure explains how to give a Lovenox injection safely and accurately, covering assessment, preparation, injection technique, and post-procedure documentation. It is intended for nursing staff responsible for administering subcutaneous enoxaparin (Lovenox) to patients at risk of blood clot formation, most commonly following surgery.
Video: Lovenox Injection Subcutaneous: How to Give Enoxaparin in the Belly (Subq Injection) Nursing Skill by RegisteredNurseRN (2025). All credit for the demonstration goes to the creator; watch the original on YouTube. The written guide below was generated from this video by Docsie. Creator? Request a change or removal.
This procedure explains how to give a Lovenox injection safely and accurately, covering assessment, preparation, injection technique, and post-procedure documentation. It is intended for nursing staff responsible for administering subcutaneous enoxaparin (Lovenox) to patients at risk of blood clot formation, most commonly following surgery.
Purpose & scope
Lovenox, also known as enoxaparin, is a low molecular weight heparin. It works as an anticoagulant, slowing clotting factors to help prevent blood clots. This medication is commonly administered to patients after surgery to reduce the risk of clot formation.
Because enoxaparin affects clotting factors, nurses must monitor patients closely for signs of excessive bleeding throughout the course of treatment. This procedure applies wherever subcutaneous enoxaparin is ordered as part of a patient's care plan.
Patient assessment
Before administering the injection, complete the following checks to confirm the medication is appropriate and safe to give.
| Check | Action |
|---|---|
| Right patient | Confirm you have the correct patient before proceeding |
| Right medication | Verify the medication name is enoxaparin (Lovenox) |
| Right dose | Confirm the prescribed dose matches the order |
| Right route | Confirm the route is subcutaneous |
| Right time | Confirm the scheduled administration time |
| Expiration date | Verify the date on the packaging is valid |
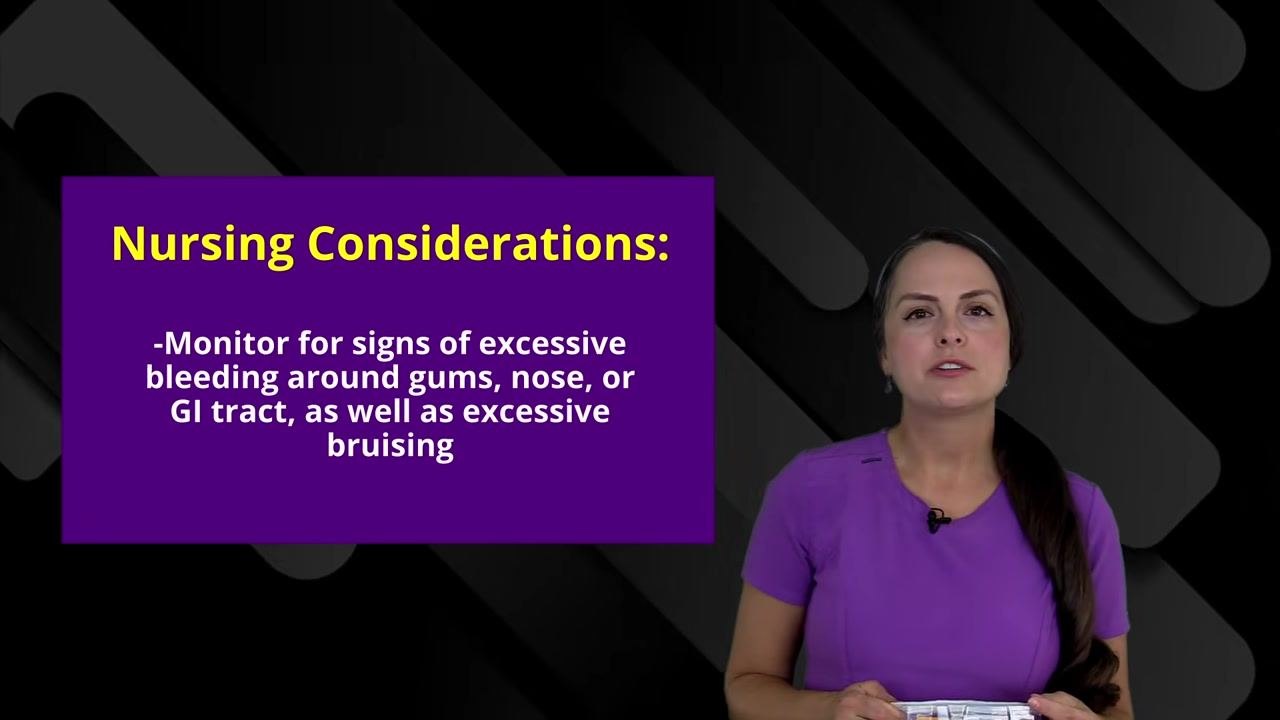
Watch for excessive bleeding around the gums, nose, or gastrointestinal (GI) tract, and for excessive bruising. Note any unusual bleeding or bruising as a critical nursing consideration before and during treatment.
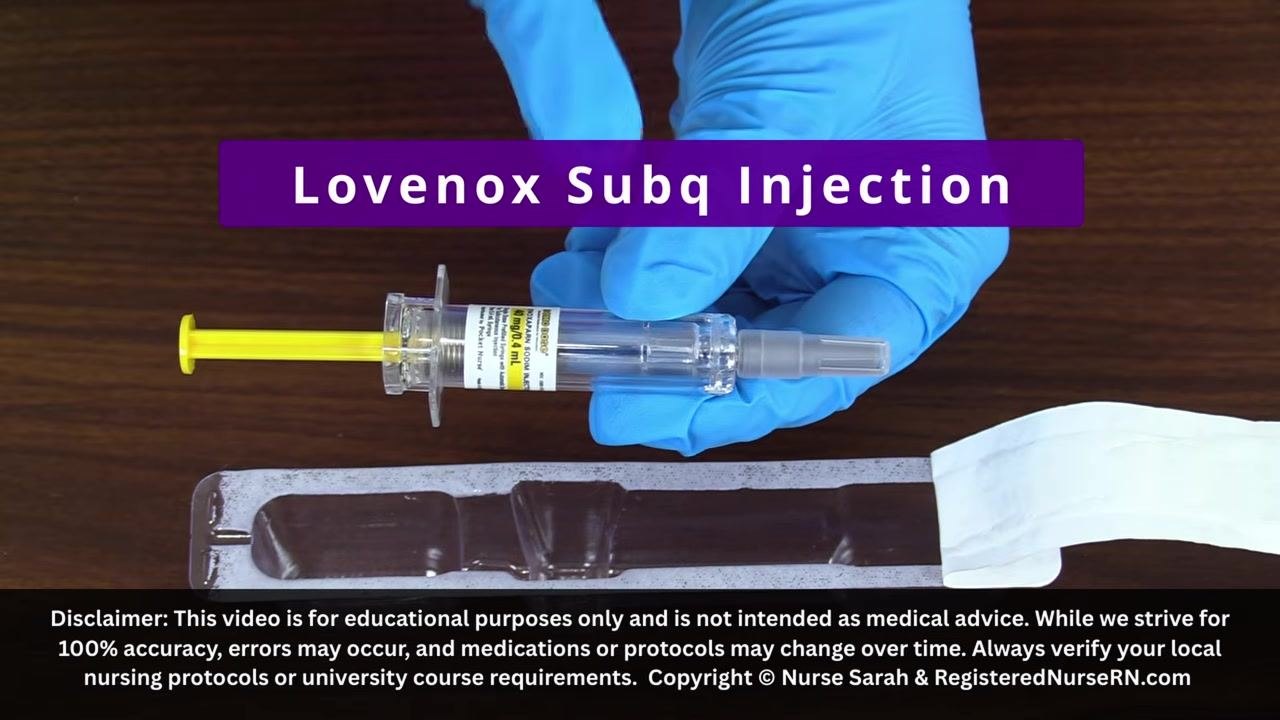
Gather the required supplies before starting:
- Pre-filled enoxaparin (Lovenox) syringe
- Alcohol prep pad
- Clean pair of gloves
- Sharps container
Perform the medication rights check listed above, confirming patient, medication, dose, route, time, and expiration date.
Wash your hands thoroughly and put on a clean pair of gloves to maintain aseptic technique before handling the syringe.
Care protocol
Phase 1: Prepare the syringe
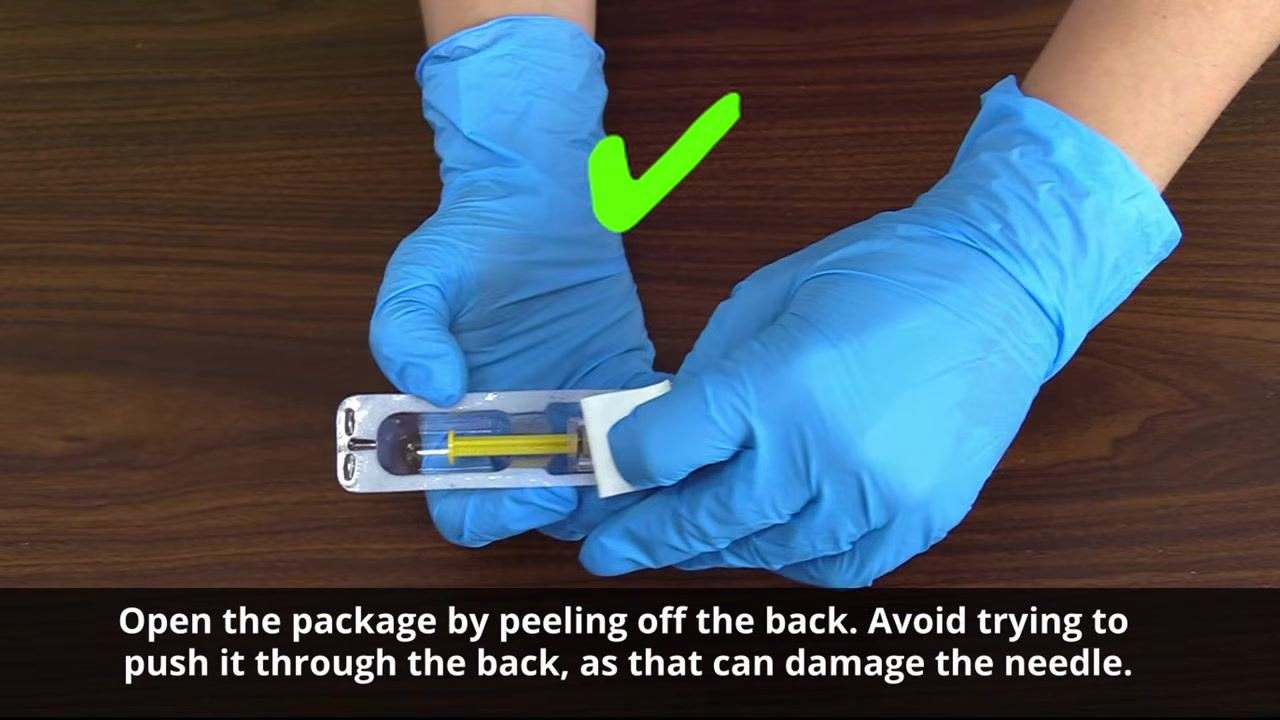
Open the medication packaging by peeling off the back label. Do not push the syringe through the packaging, as this can damage the needle.
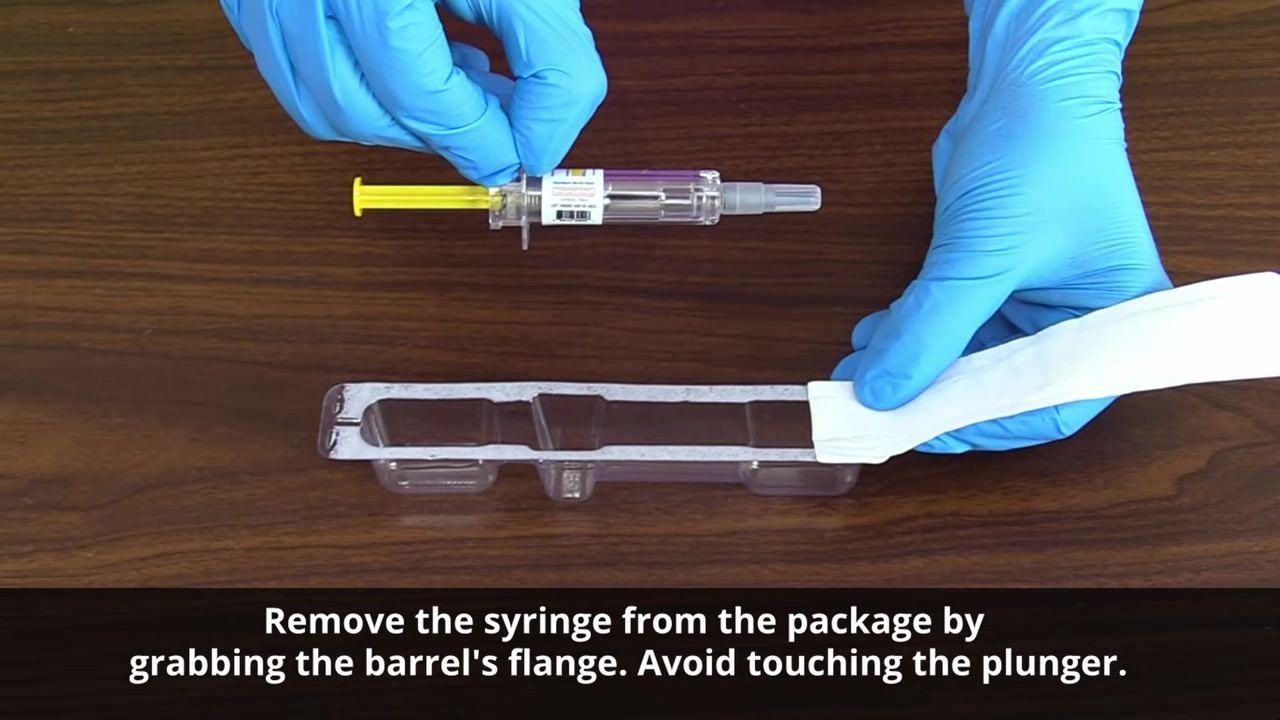
Remove the syringe by grasping the middle of the barrel at the flange. Avoid touching the plunger to prevent contamination or loss of medication.
Inspect the syringe and identify its four parts: the barrel (drug name and dose), the plunger (used only at the time of injection), the needle (kept capped until ready), and the air bubble (present in the barrel and not to be expelled). Double-check the drug name and dose printed on the barrel.
Do not expel the air bubble from the pre-filled syringe. The air bubble helps push all the medication in and reduces bruising for the patient. Keep the needle cap on until you are ready to inject, and handle the syringe only by the barrel or flange.
Confirm all syringe parts are intact — needle cap, barrel, plunger, and flange — and that the medication is correct before setting the syringe aside in a safe, clean area until you are ready to inject.
Phase 2: Select and prepare the injection site
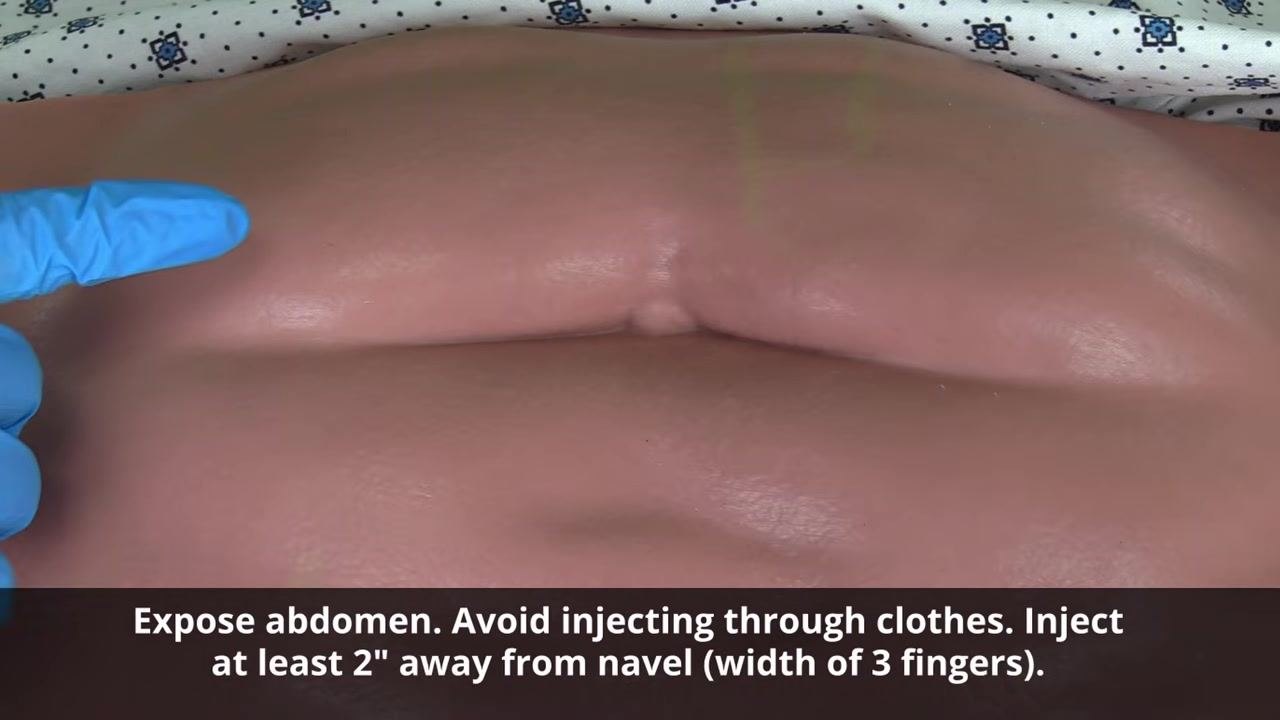
Choose a fatty area on the patient's abdomen. Fully expose the abdomen; never inject through clothing or a gown. Select a site at least 2 inches (about the width of 3 fingers) away from the navel.
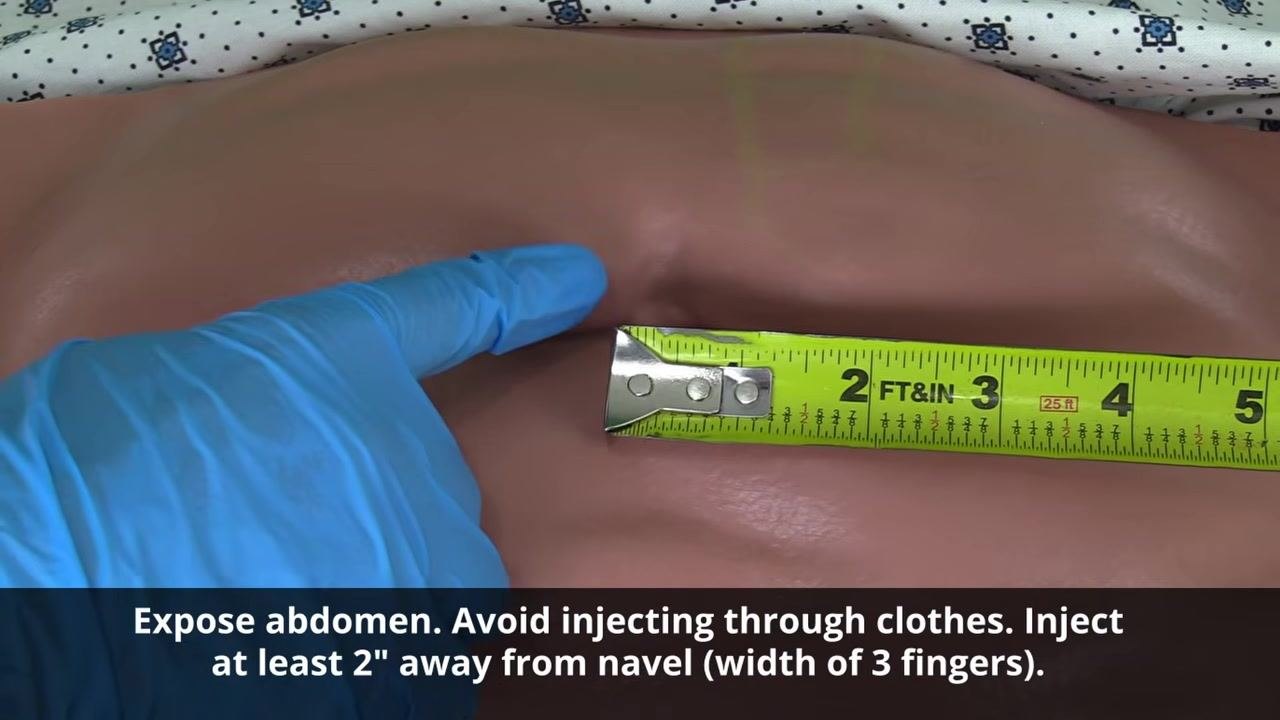
If available, use a measuring tape to confirm the site is at least 2 inches from the navel; otherwise, use the width of three fingers as a guide.
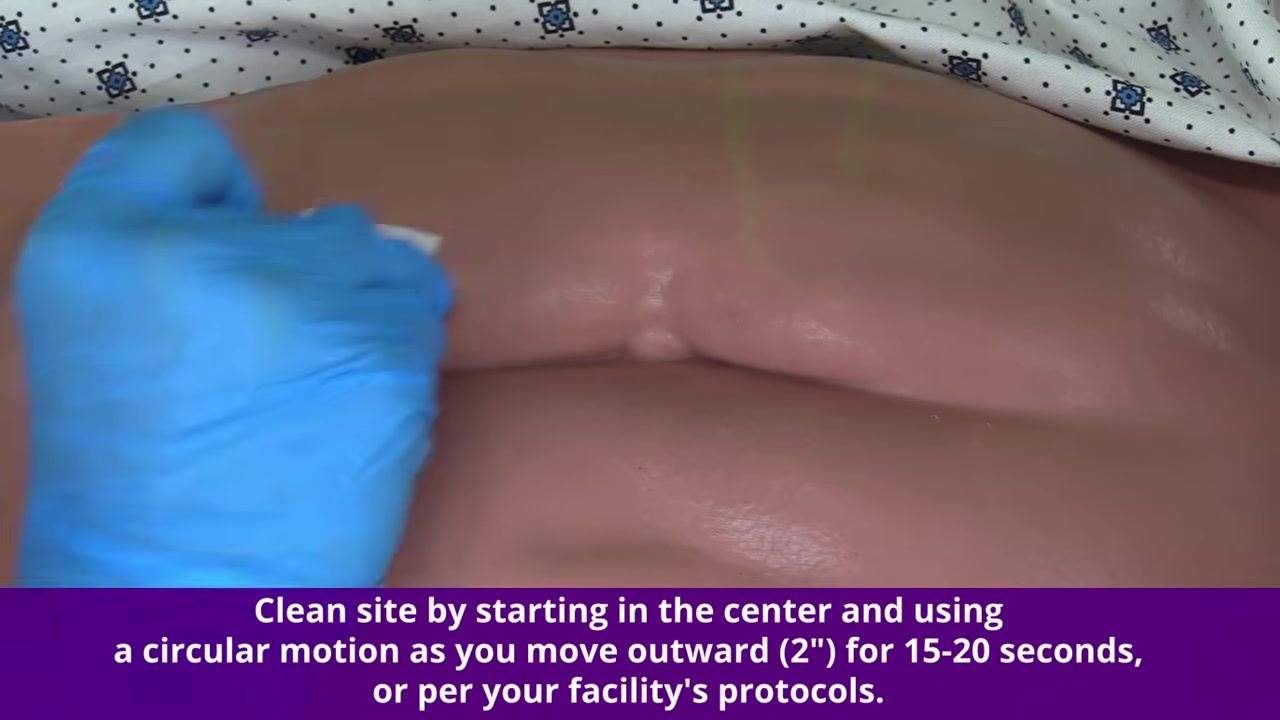
Clean the selected site with an alcohol prep pad, starting at the center and moving outward in a circular motion for about 2 inches. Clean for 15–20 seconds, or according to facility protocol, and allow the site to air dry completely without blowing, waving, or wiping it.
Phase 3: Administer the injection
Once the site is completely dry, use the thumb and fingers of your non-dominant hand to gently grasp a skinfold of fatty tissue, approximately 1 inch. This separates the fat from the underlying muscle so the injection remains subcutaneous.
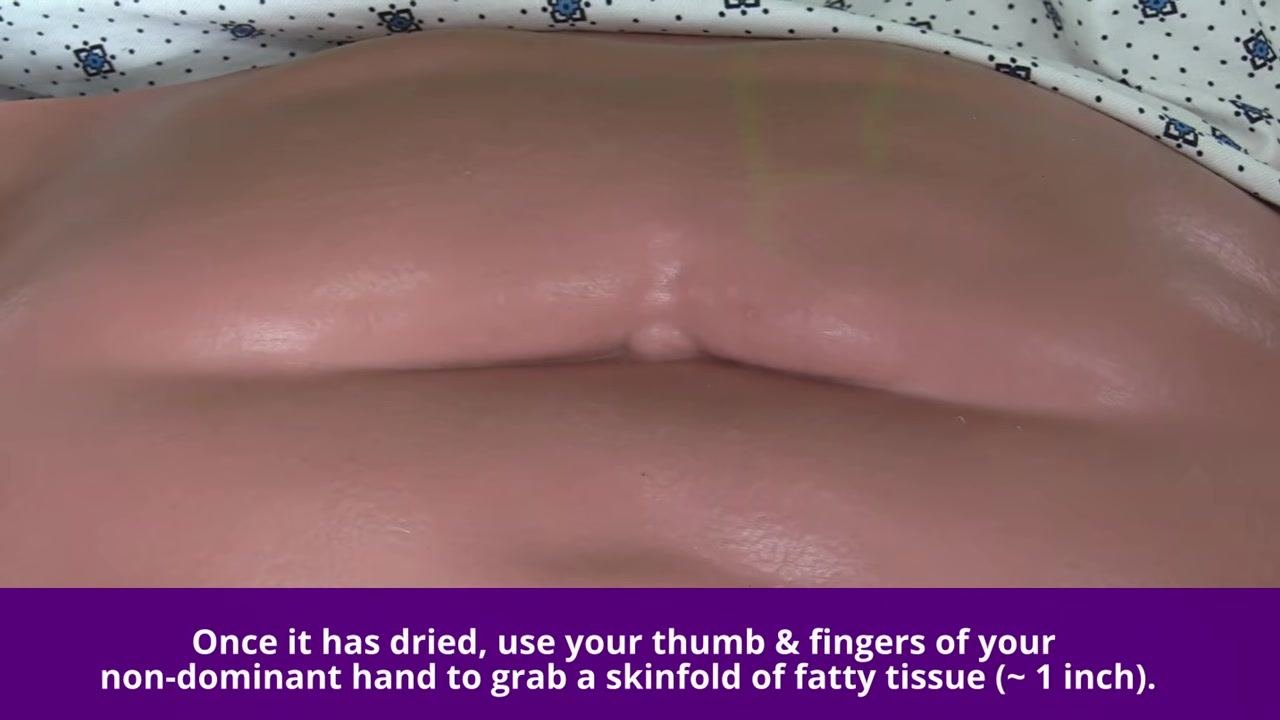
Maintain this pinch throughout the entire injection, releasing it only after the needle has been fully withdrawn, in line with manufacturer instructions for enoxaparin.
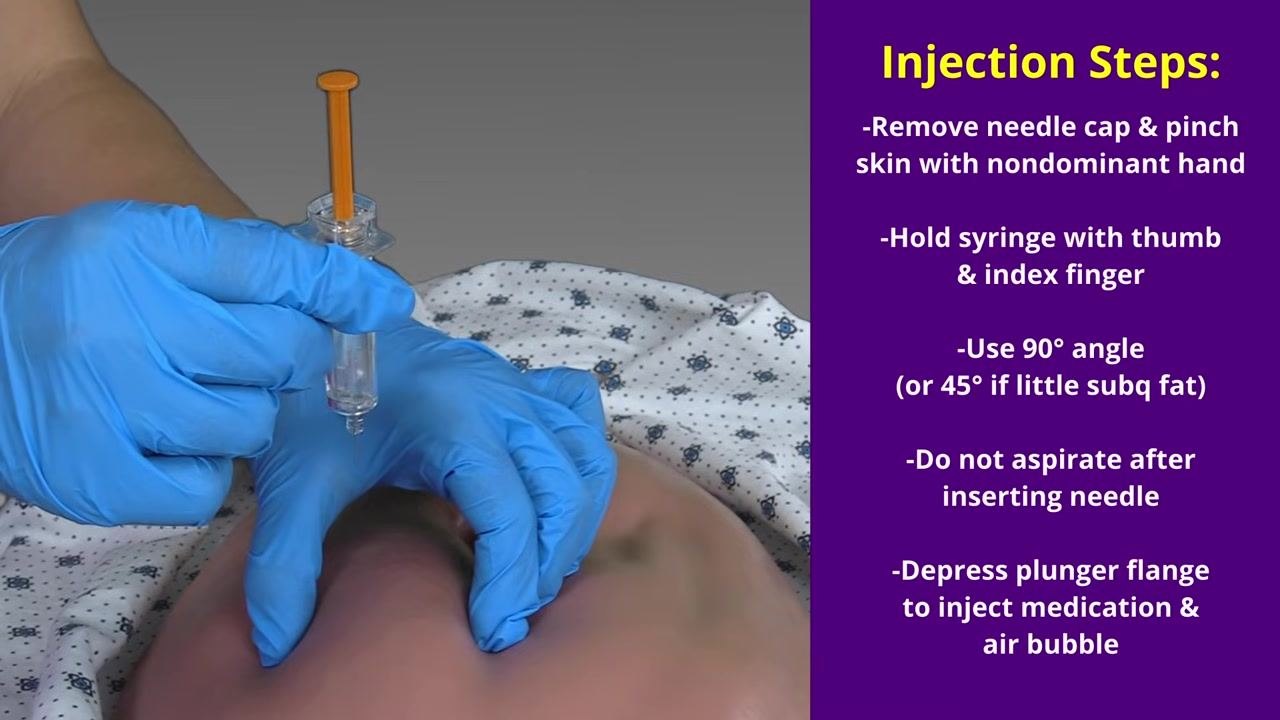
Gently lift the pinched skinfold upward and continue holding it until the medication is injected and the needle is removed.
Remove the needle cap and hold the syringe in your dominant hand as you would a dart, using your thumb and index finger. Position the syringe at a 90-degree angle to the skinfold for most patients, or approximately 45 degrees for patients with very little subcutaneous tissue. Do not aspirate after inserting the needle.
Insert the needle into the pinched skinfold at the appropriate angle, adjusting your grip if needed to stabilize the syringe.
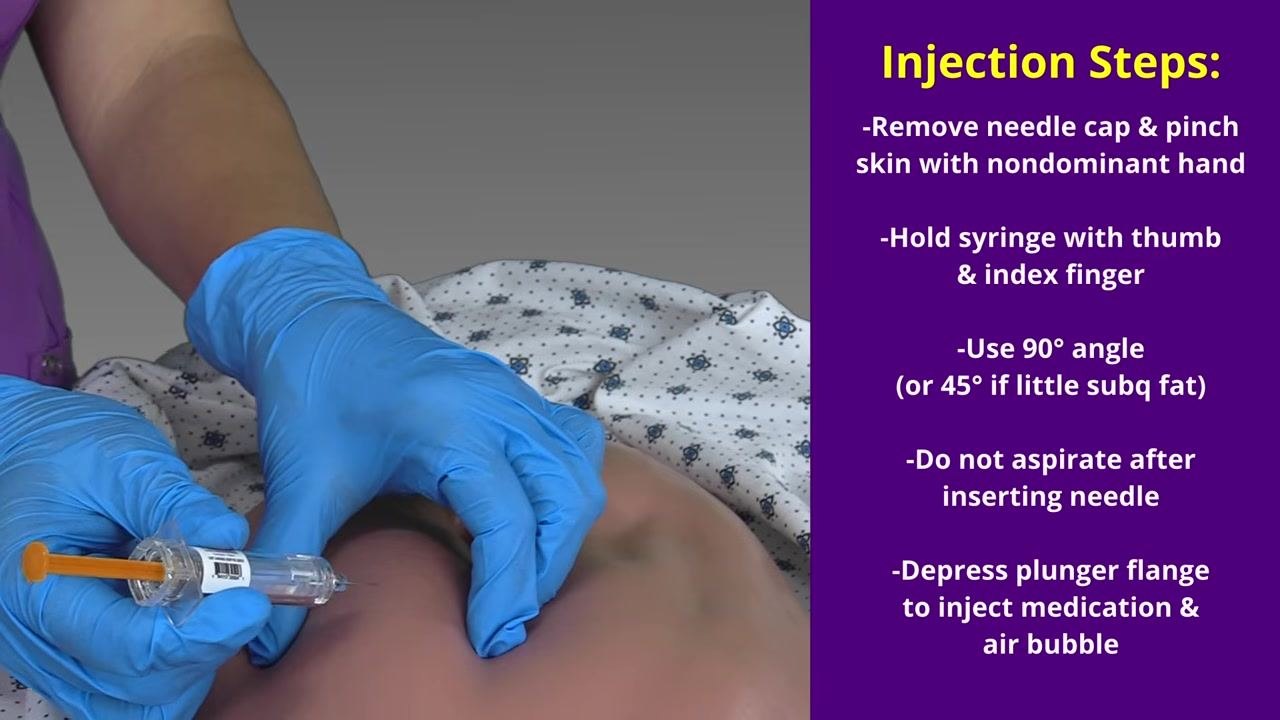
Use your thumb to depress the plunger flange, injecting the entire dose of medication along with the air bubble into the subcutaneous tissue.
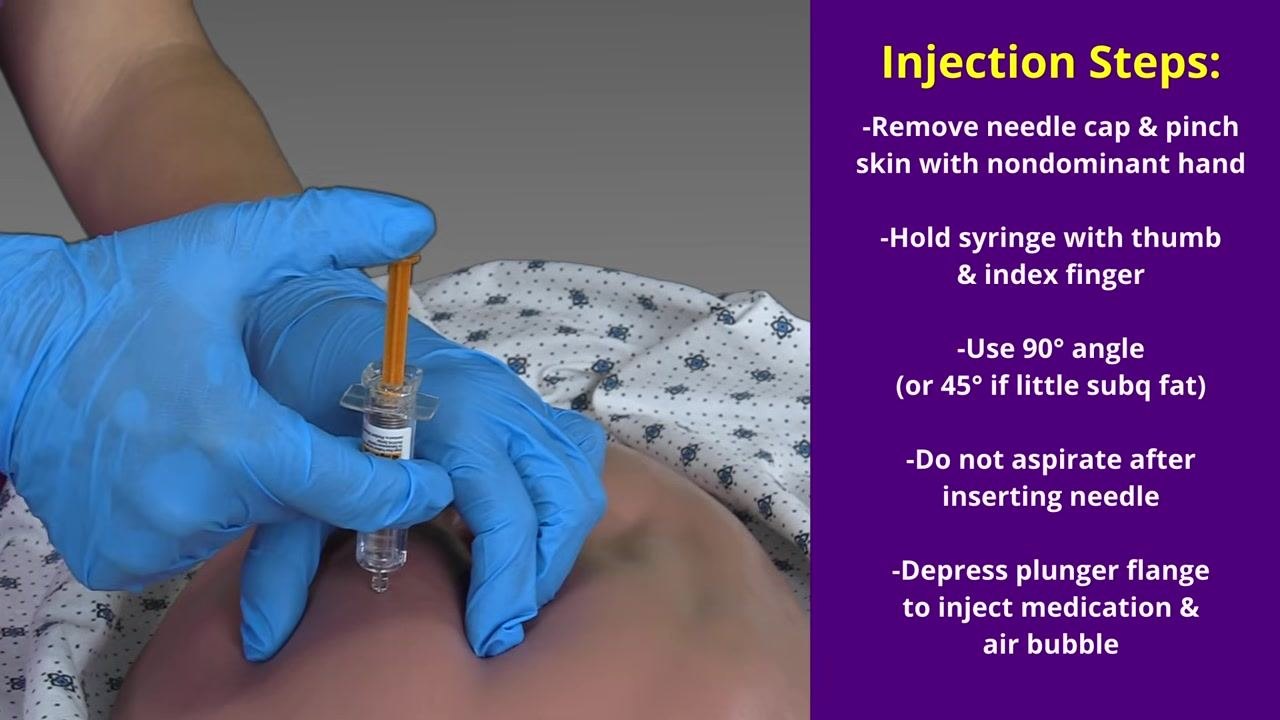
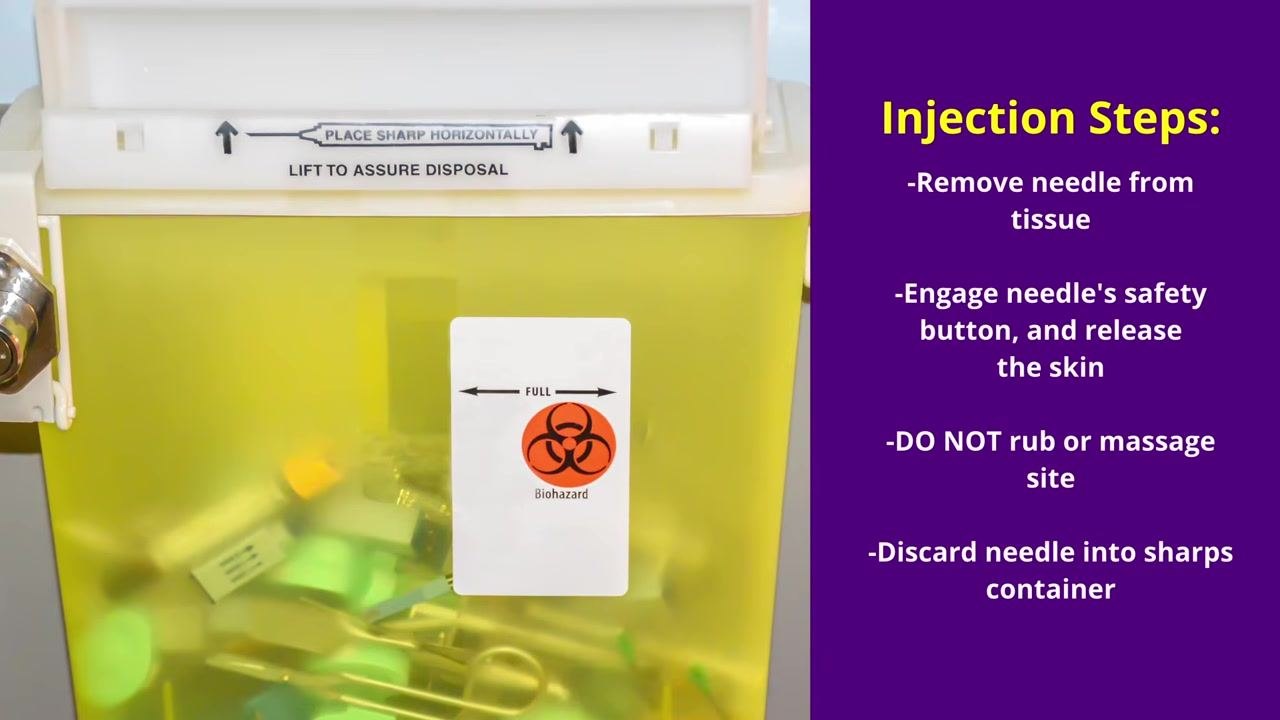
Withdraw the needle at the same angle it was inserted, and immediately engage the needle's safety feature by pressing the plunger flange or activating the safety mechanism per the syringe design. Release the pinched skinfold only after the needle is fully removed and the safety is engaged. Do not rub or massage the injection site afterward.
Phase 4: Complete the procedure
Discard the used syringe and needle immediately into an approved sharps container, ensuring the needle is fully inside and the lid is closed securely. Do not recap the needle or place it anywhere other than the sharps container.
Carefully remove your gloves without touching the outside surface, dispose of them in the appropriate waste container, and perform hand hygiene using soap and water or an alcohol-based hand sanitizer per facility protocol.
Document the administration in the patient's record, including medication name, dose, time, site, and any patient response.
Pain management
The procedure reduces discomfort and bruising through technique rather than medication: keeping the air bubble in the syringe helps push all the medication in and limits bruising, and avoiding rubbing or massaging the site after injection prevents additional tissue irritation. A full multimodal pain management plan with a medication dosing table, pain score targets, and an escalation pathway is not addressed in this procedure and should be defined separately according to the patient's overall care plan and facility pain protocol.
Mobility milestones
This procedure does not describe a mobility progression; a complete mobility milestone plan (such as bed exercises, chair transfer, and ambulation goals by day) would need to be defined as part of the patient's broader post-surgical or care plan.
Complication monitoring
Because enoxaparin affects clotting factors, monitor the patient closely for signs of excessive bleeding around the gums, nose, or GI tract, and for excessive bruising. Treat any unusual bleeding or bruising as a critical finding requiring further nursing assessment. This procedure does not specify formal early warning score criteria or a named escalation contact; these should follow your facility's existing clinical escalation protocol.
Discharge criteria
Specific measurable discharge criteria are not addressed in this procedure. Discharge readiness should be determined separately based on the patient's overall clinical status, response to treatment, and facility discharge protocol.
Patient education
Before concluding the encounter, ensure documentation of the medication name, dose, time, injection site, and any patient response is complete in the medical record. Detailed teaching points for the patient and family regarding self-administration, bruising expectations, or when to seek help are not covered in this procedure and should be provided according to your facility's patient education materials for enoxaparin therapy.
Generation details: cost, quality tiers, downloads
Docsie billed 3,000 credits ($2.10) to analyze this 6-minute video at standard quality. The rewrite, template fill and Word/PDF exports were included. The same video at each quality tier:
| Quality | Frames sampled | Credits | Approx. cost |
|---|---|---|---|
| Draft | every 16-30 s | 1,500 | $1.05 |
| Standard (this guide) | every 8-15 s | 3,000 | $2.10 |
| Detailed | every 4-7 s | 6,000 | $4.20 |
| Ultra | every 1-3 s | 12,000 | $8.40 |
Credits priced at $0.70 per 1,000; plans include a monthly allowance. Enterprise customers on on-premise or bring-your-own-model deployments run this on their own inference and pay no per-video credits.
Generated by Docsie Video-to-Docs on 2026-09-14 from a 5-minute video. It was generated straight into Docsie's Patient Care Procedure template, so every section of that template is filled from the video. Screenshots are frames from the source video and belong to their creator, RegisteredNurseRN, whose original is embedded above. If you own this video and want the guide removed or credited differently, contact us and we will act within one business day.