
How to Give a Bed Bath
This procedure explains how to give a bed bath to a resident who requires full assistance with hygiene. It demonstrates a skill described in the Nursing Assistant OER textbook and covers pre-procedure preparation, washing and rinsing the face, arms, chest, legs, back, and backside, and completing post-procedure room reset and documentation. Always review and follow your agency's policies when performing patient care, since local protocols may differ slightly from the steps described here.
Video: Full Bed Bath by WisTech Open | Open RN (2023). All credit for the demonstration goes to the creator; watch the original on YouTube. The written guide below was generated from this video by Docsie. Creator? Request a change or removal.
This procedure explains how to give a bed bath to a resident who requires full assistance with hygiene. It demonstrates a skill described in the Nursing Assistant OER textbook and covers pre-procedure preparation, washing and rinsing the face, arms, chest, legs, back, and backside, and completing post-procedure room reset and documentation. Always review and follow your agency's policies when performing patient care, since local protocols may differ slightly from the steps described here.
Purpose
The purpose of this SOP is to guide you through giving a complete bed bath to a resident who cannot bathe independently. Following these steps ensures the resident is thoroughly cleaned, kept warm and comfortable, and treated with dignity and privacy throughout the process.
Scope
This procedure applies to caregivers performing a full bed bath for a resident confined to bed. It covers preparation, washing the upper body, washing under the leg and foot, transitioning to backside and perineal care, and the final steps of dressing the resident and resetting the room.
Requirements
Before you begin, gather the following supplies from the clean utility area:
- Four washcloths
- Two towels
- A clean gown (unless the resident prefers to wear their own clothing)
- A basin for water
- Disposable gloves
- Linen bag for soiled items
- Hand sanitizer or access to soap and water
You will need clean gloves throughout the procedure and must change them whenever you move between different body areas or handle soiled linens.
Pre-procedure preparation
Complete the following steps before you begin the bed bath itself.
-
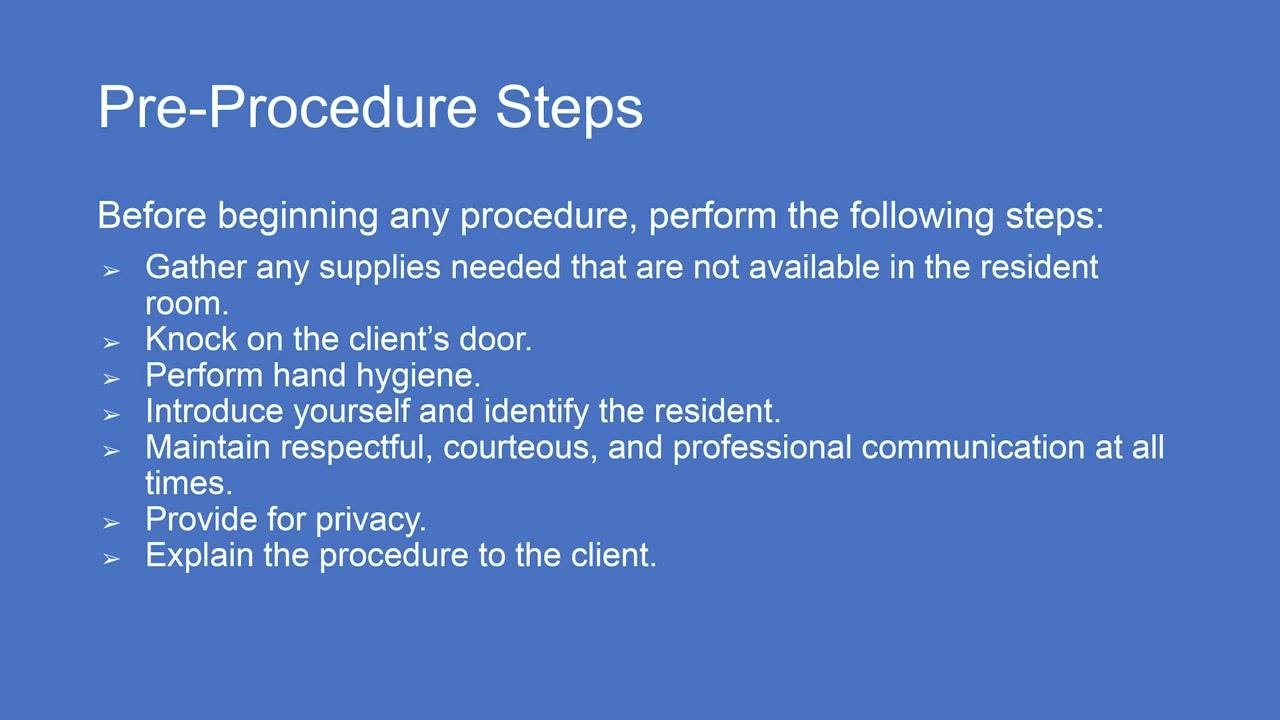
Review pre-procedure steps. Before beginning any procedure, gather any supplies not available in the resident's room, knock on the client's door, perform hand hygiene, introduce yourself and identify the resident, maintain respectful and professional communication, provide for privacy, and explain the procedure to the client.
-
Gather supplies from the clean utility area. Sanitize your hands before leaving the room, then go to the clean utility area and collect four washcloths, two towels, and a clean gown (unless the resident will be putting on their own clothes).
-
Enter the room and greet the resident. Knock on the resident's door, wash your hands upon entering, and greet the resident by name, identifying yourself as their caregiver and confirming they are ready to get up.
-
Provide for privacy. Close the privacy curtain around the resident's bed before continuing.
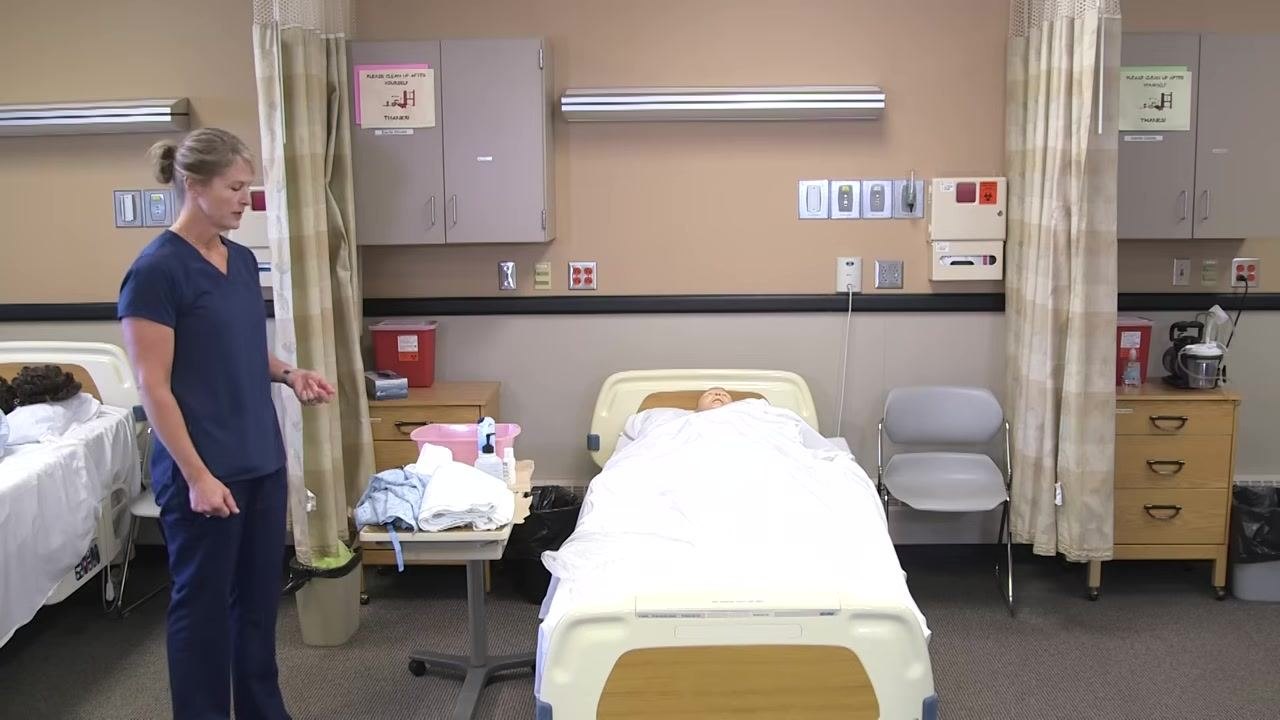
- Prepare the bed and resident. Raise the side rail on the side of the bed you are not working on for safety, tell the resident you will raise the bed to make it easier to work, and adjust the bed height as needed.
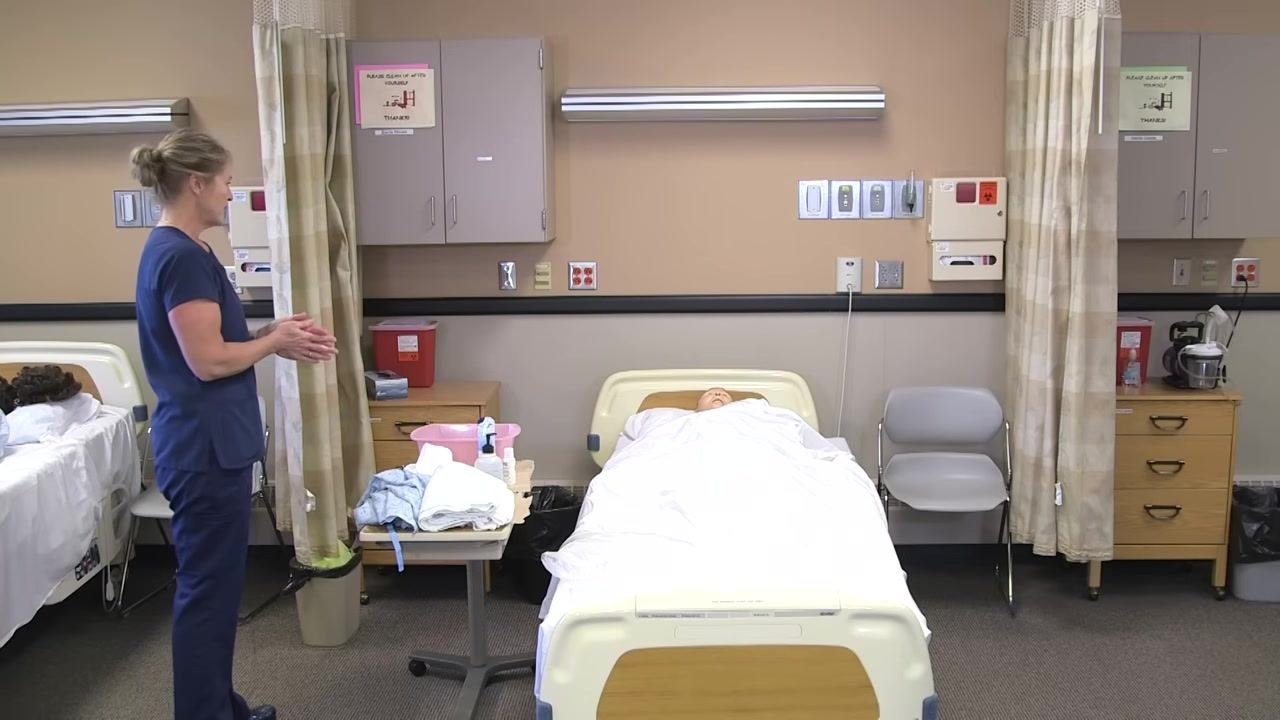
- Put on gloves. Put on a clean pair of gloves before beginning the bed bath.
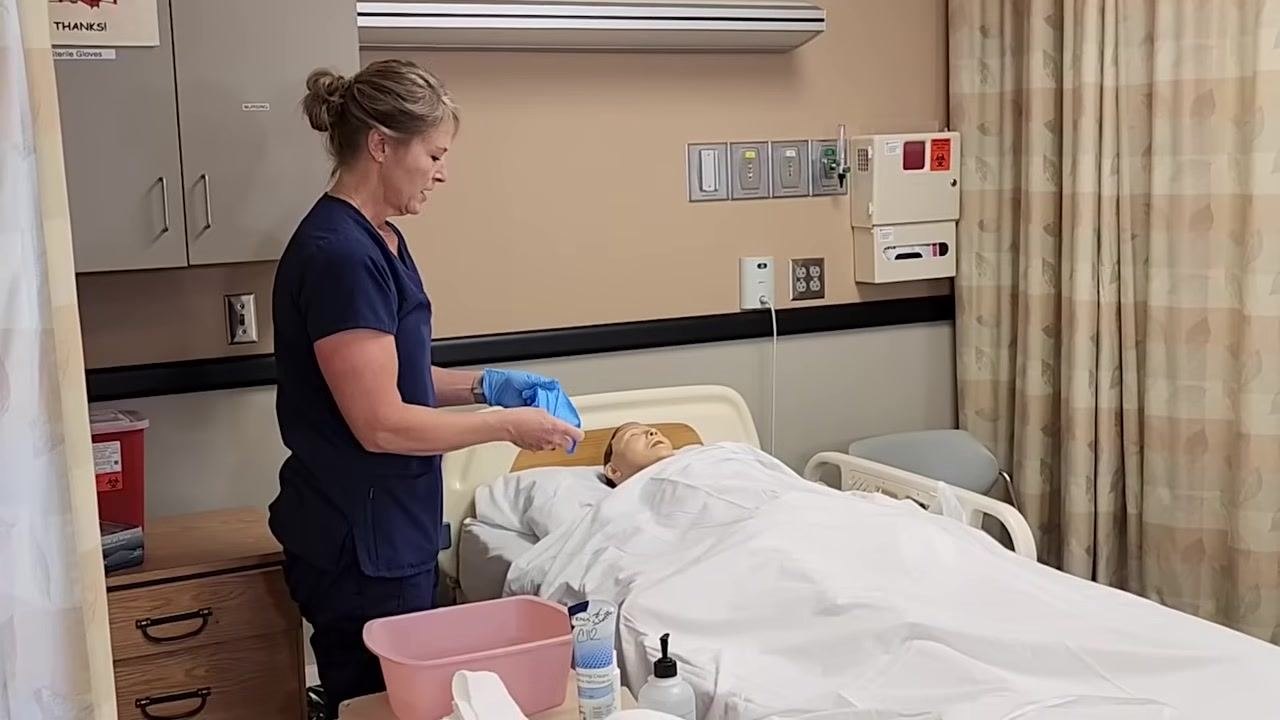
- Explain the procedure and involve the resident. Tell the resident you will begin the full bed bath, starting the same way you would for a partial bed bath, and ask them to test the water temperature to make sure it is comfortable.
Washing the face and arms
Follow these steps to wash, rinse, and dry the resident's face and arms as part of how to give a bed bath.
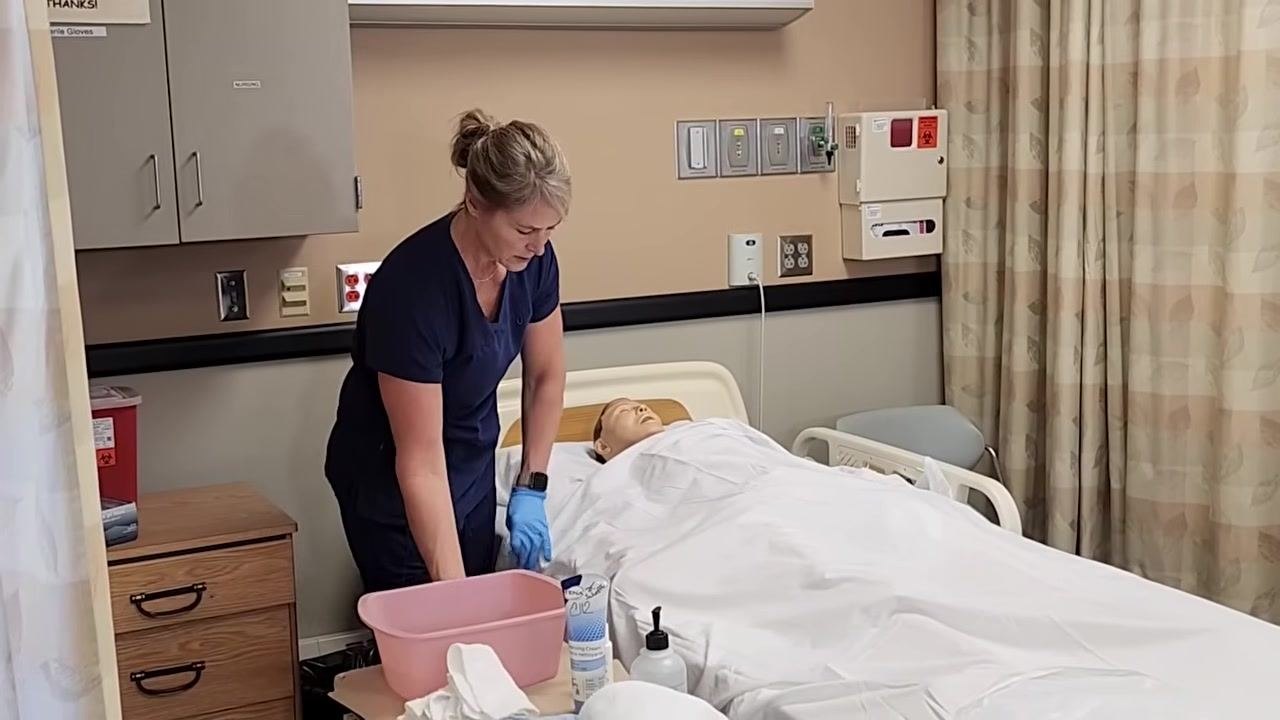
- Let the resident check the water temperature. Offer the resident the option to check the water by placing their hand in the basin or feeling a wet washcloth, and confirm the water is comfortable before proceeding.
-
Soak the washcloths. Place all four washcloths into the basin of water to soak.
-
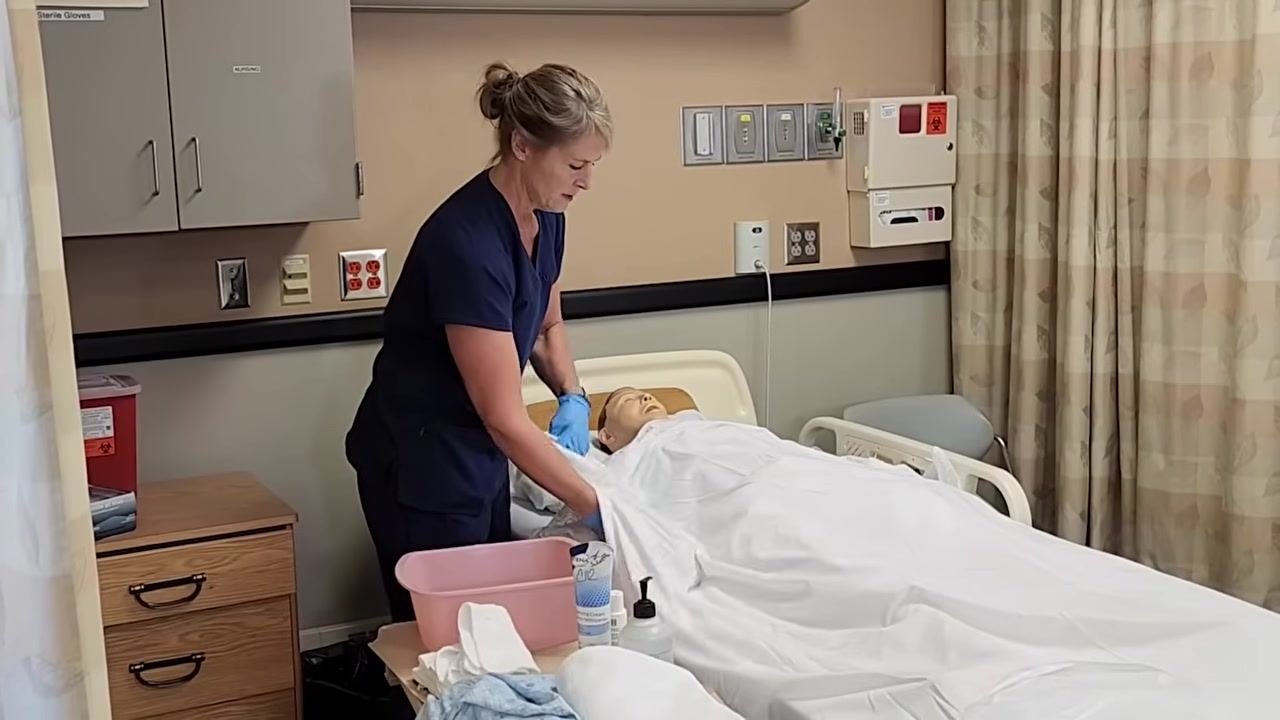
Protect the resident's chest. Place a dry towel over the resident's chest and under the chin to protect the bedding and provide modesty.
-
Wash the face. Use a clean, wet washcloth with no soap to avoid irritating the eyes. Start at the inner corner of one eye and wipe outward, using a different part of the washcloth for each eye, then continue washing the rest of the face with gentle strokes.
-
Pat the face dry. Use a clean, dry towel to gently pat the resident's face dry and ask if everything feels comfortable.
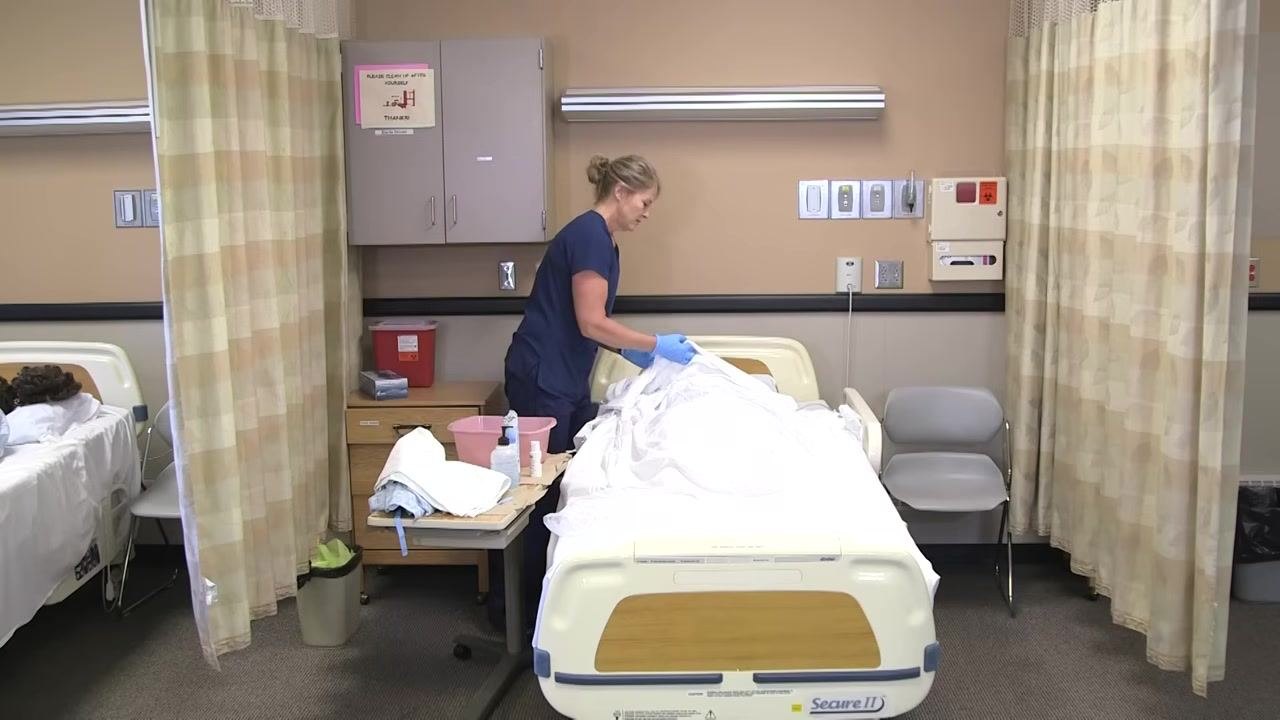
- Prepare to wash the arm. Place a towel underneath the resident's arm to keep the bed dry during washing.
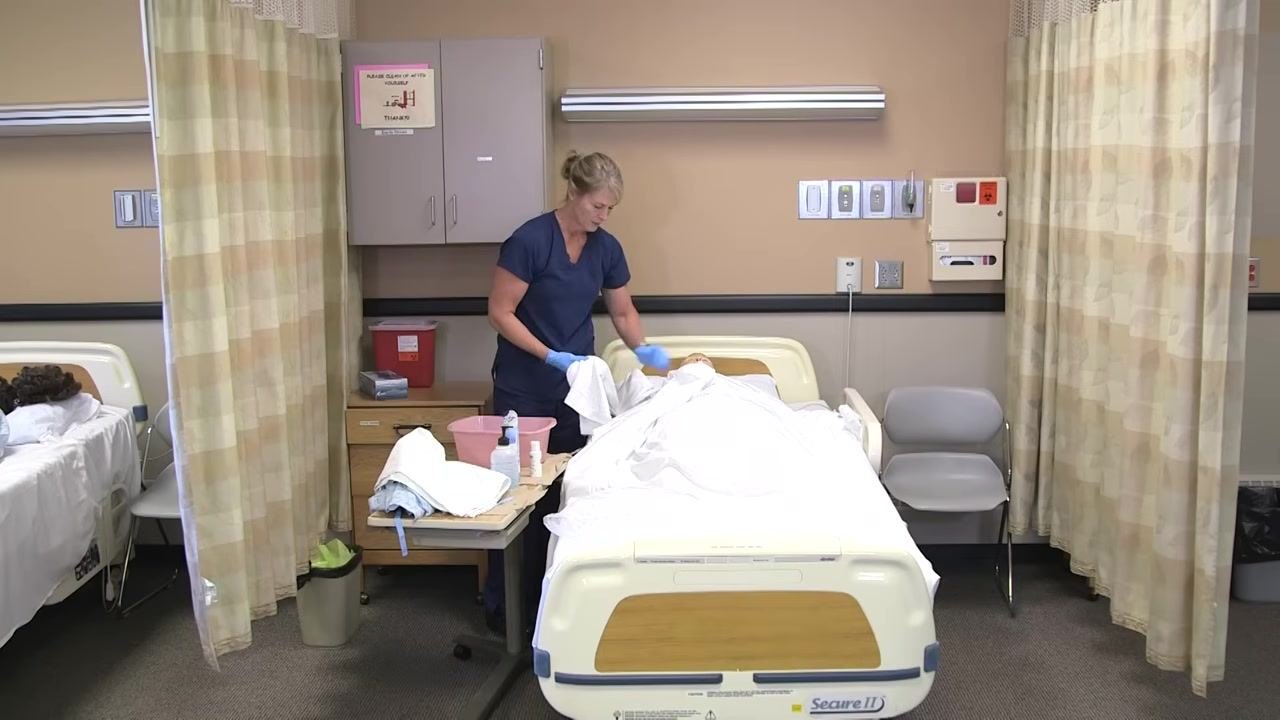
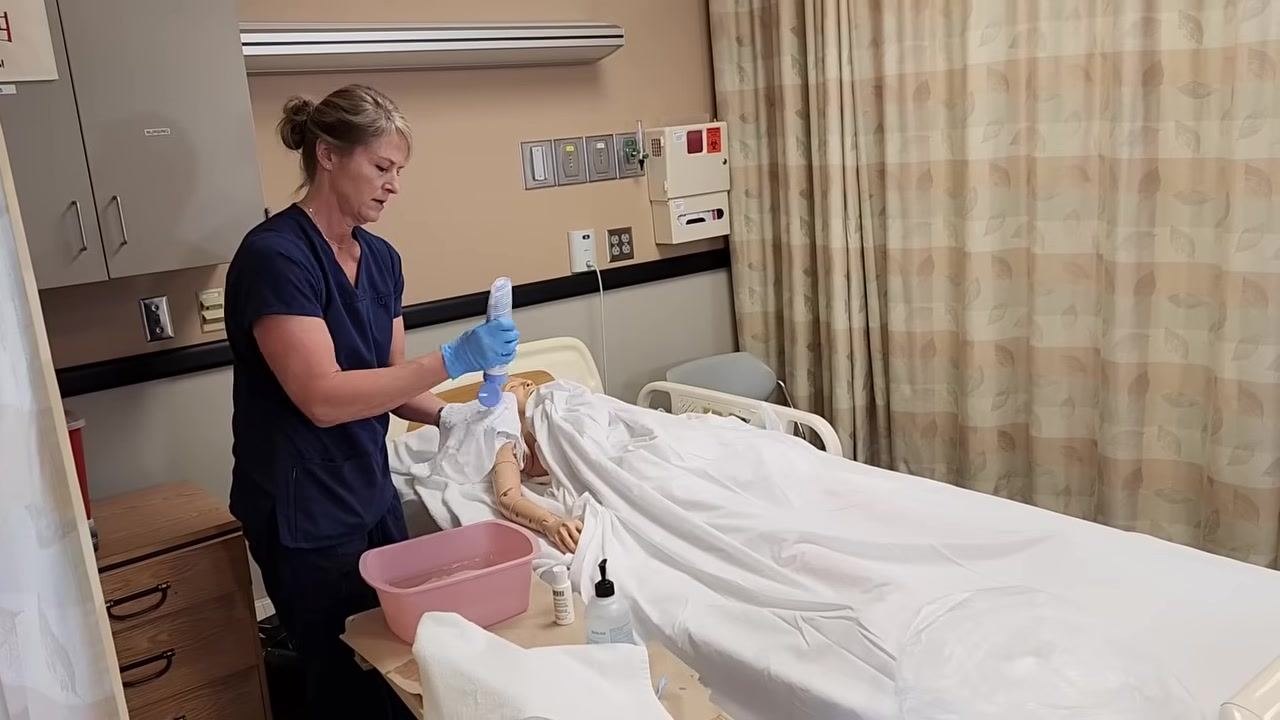
- Remove the gown from the arm. Carefully remove the gown from the arm you are about to wash while keeping the resident covered with the sheet or towel for privacy and warmth. Remind the resident to tell you if they feel cold.
-
Apply soap to a washcloth. Take a clean washcloth and apply soap generously to it.
-
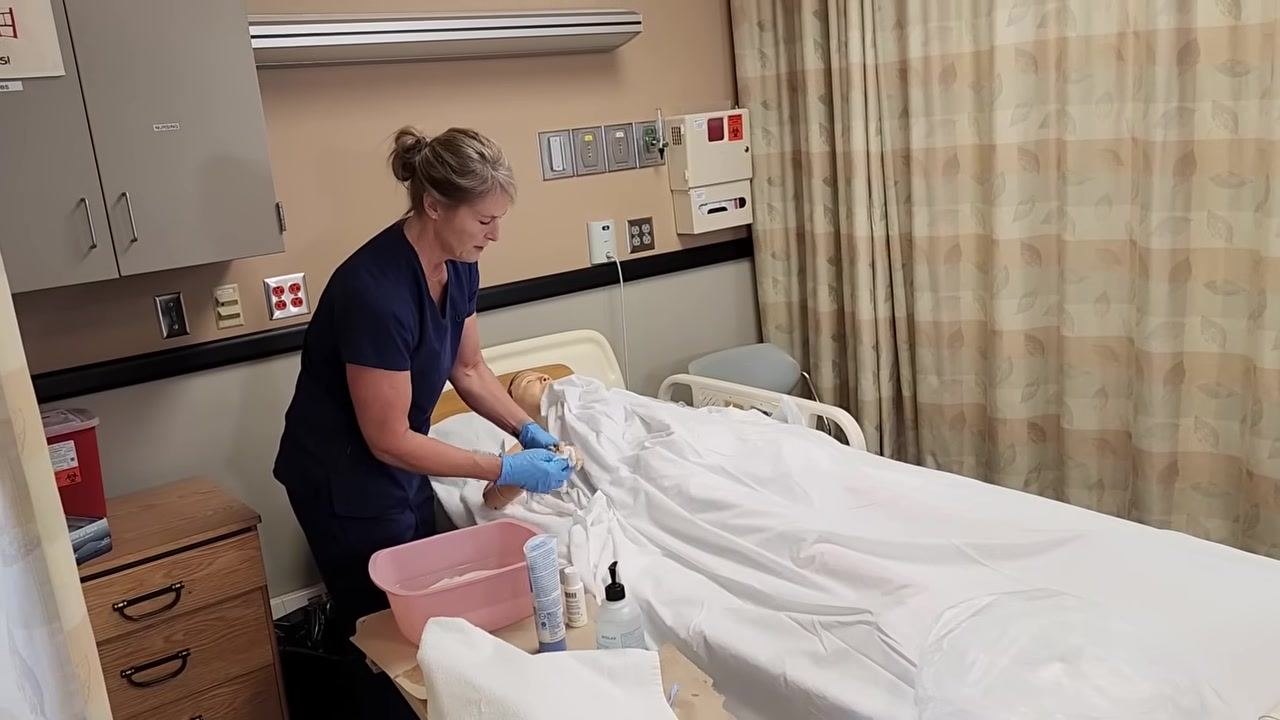
Wash the arm. Wash the upper arm, forearm, and hand thoroughly, paying special attention to cleaning between the fingers, using gentle circular motions to ensure all areas are cleaned.
Rinsing and drying the chest and arm
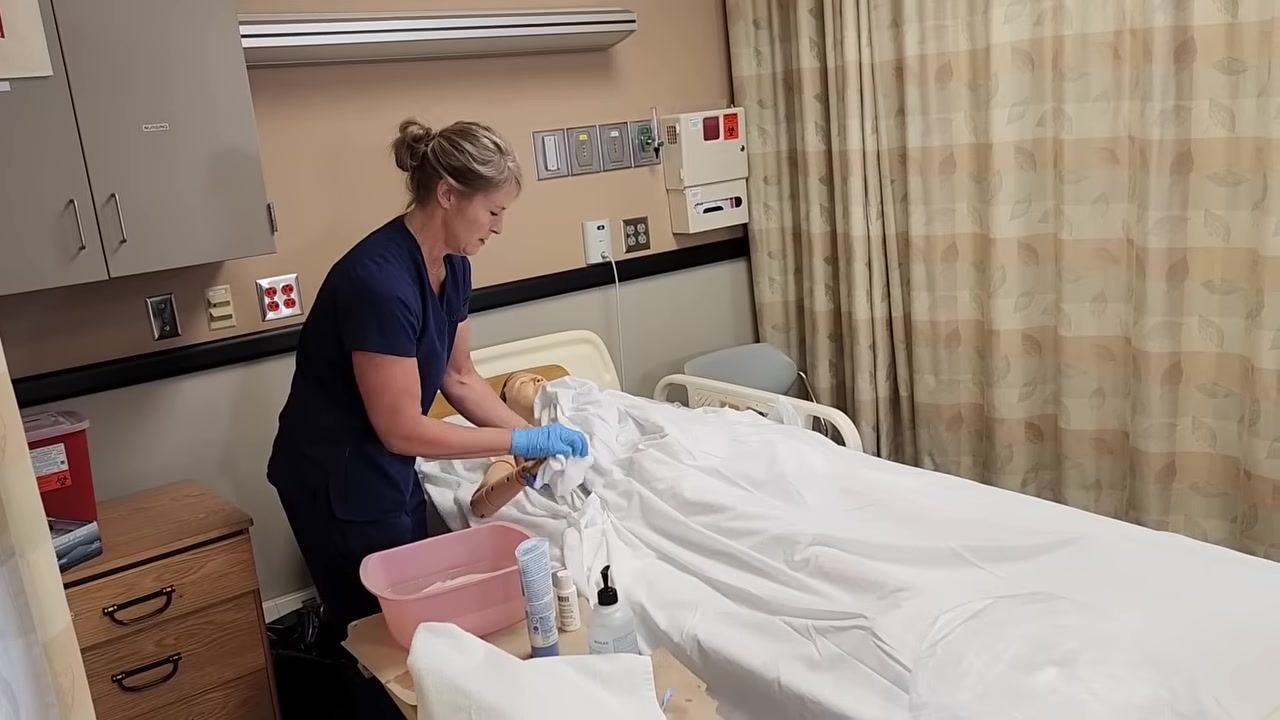
- Wash the chest. Use the clean, soapy washcloth to wash the entire chest area. Keep the resident warm by working under the linens and only exposing the area being washed, holding the linens up to prevent them from getting wet.
-
Set the soapy washcloth aside. Place the soapy washcloth on the side of the basin to avoid contaminating the rinse water with soap.
-
Rinse the chest. Use a clean, wet washcloth with no soap to rinse the chest thoroughly, continuing to hold the linens up to keep them dry.
-
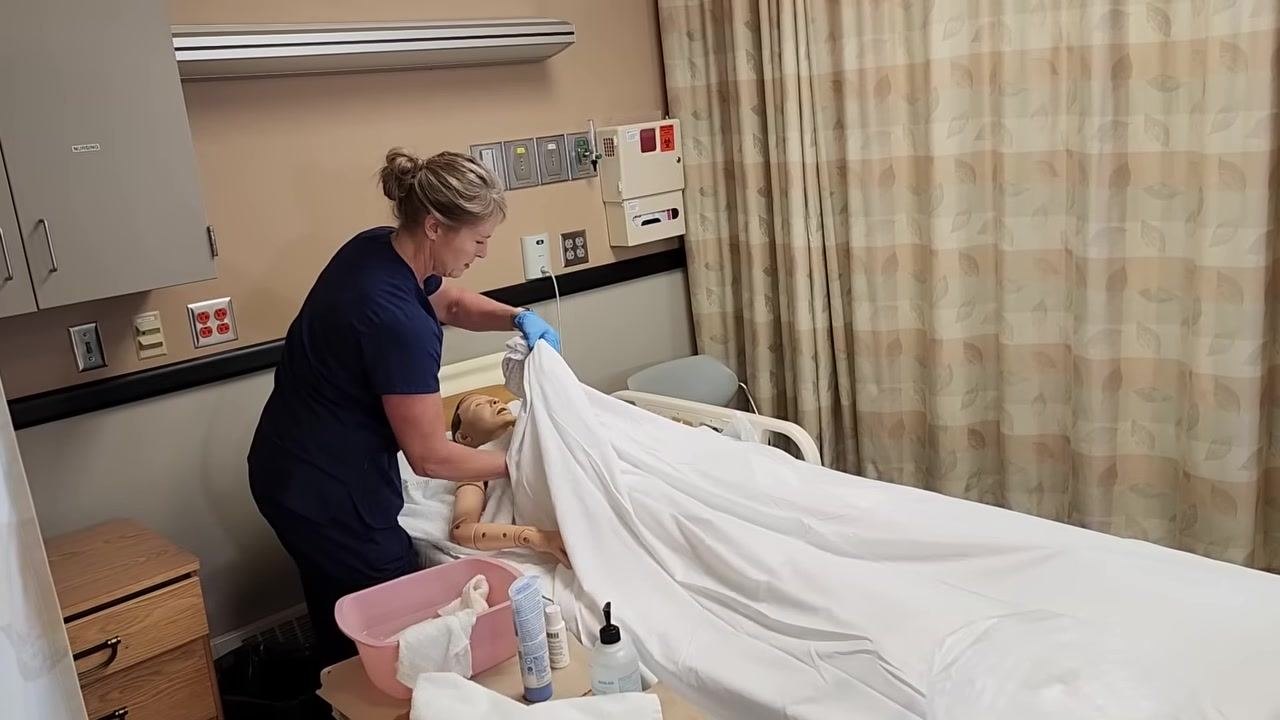
Dry the chest. Use the towel that was placed under the resident's arm to gently pat the chest dry. Ask the resident if everything feels dry and comfortable, and pay special attention to drying under any abdominal folds, breast folds, or skin creases to prevent moisture buildup and irritation.
-
Rinse the arm. Use a clean, wet washcloth with no soap to rinse the upper arm, forearm, and hand. Since this washcloth has no soap on it, you can place it back into the basin after use.
-
Dry the arm. Gently pat the resident's arm dry with a clean towel, making sure all skin folds and creases are thoroughly dried to prevent irritation, and ask the resident if everything feels okay.
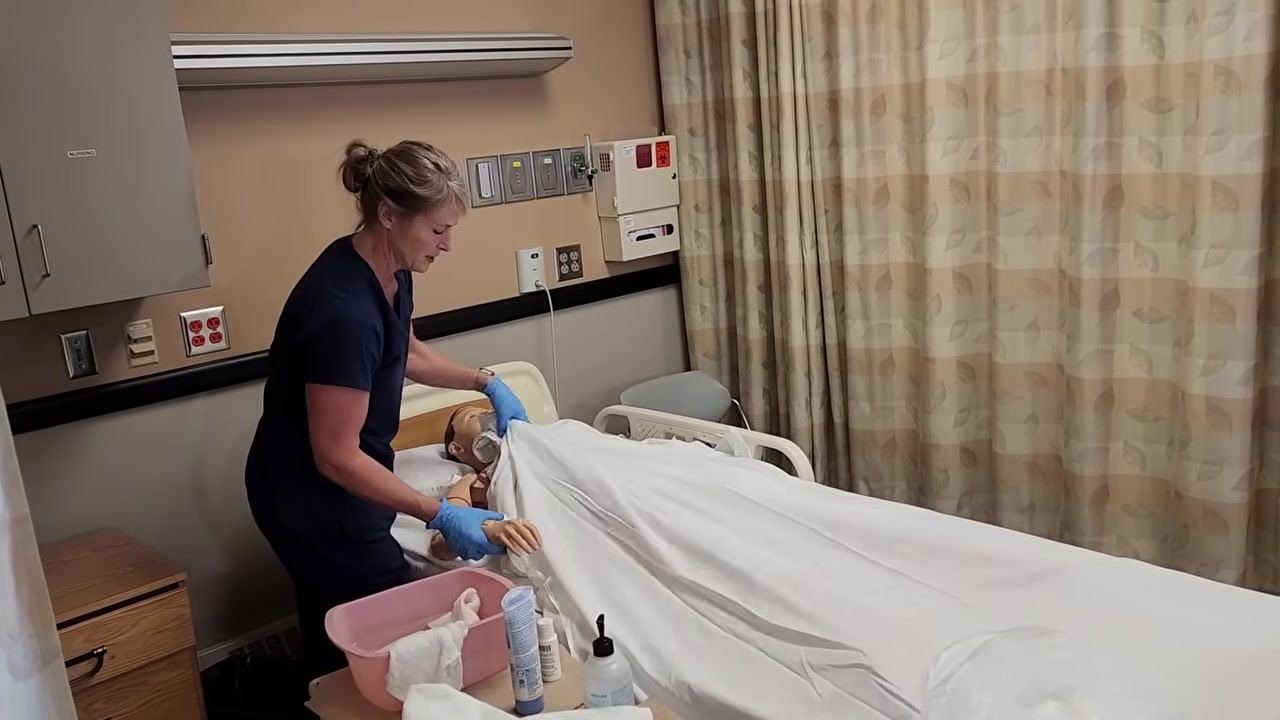
- Cover the resident. Cover the resident back up with the linens to maintain warmth and privacy.
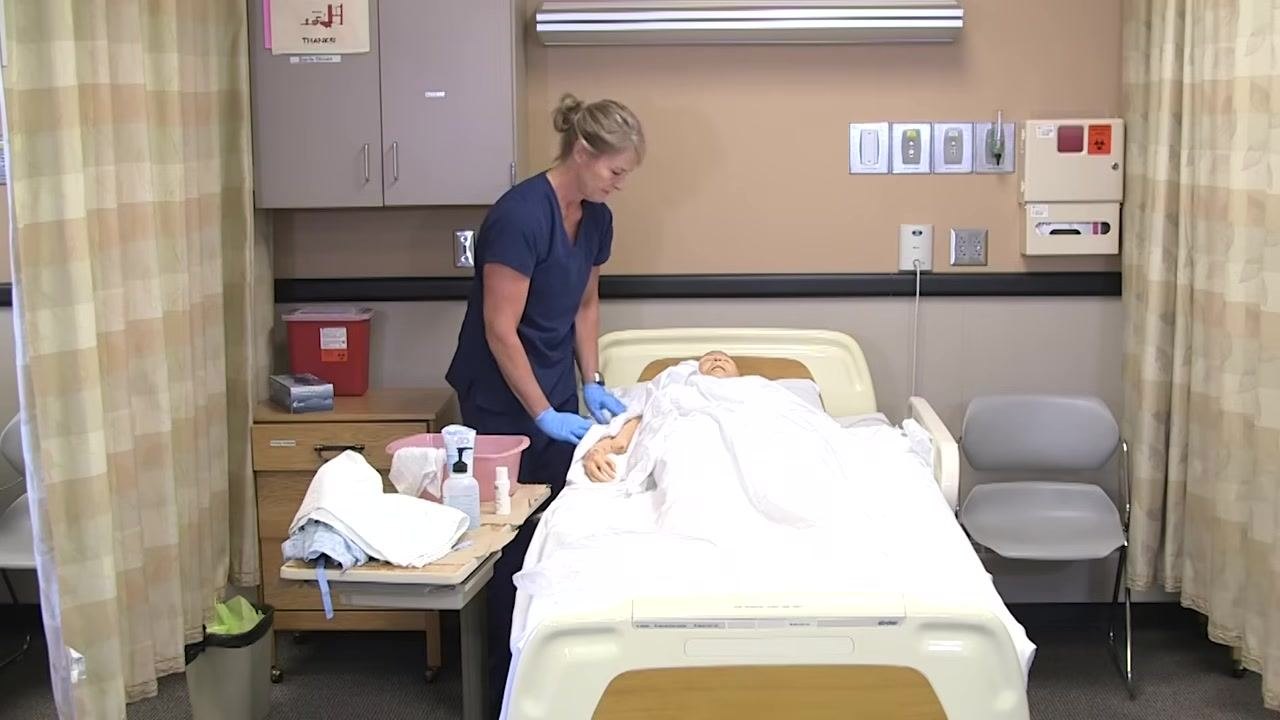
- Prepare to wash the lower body. Move to the lower part of the body, exposing only the leg you will wash next while keeping the resident covered elsewhere for privacy and warmth.
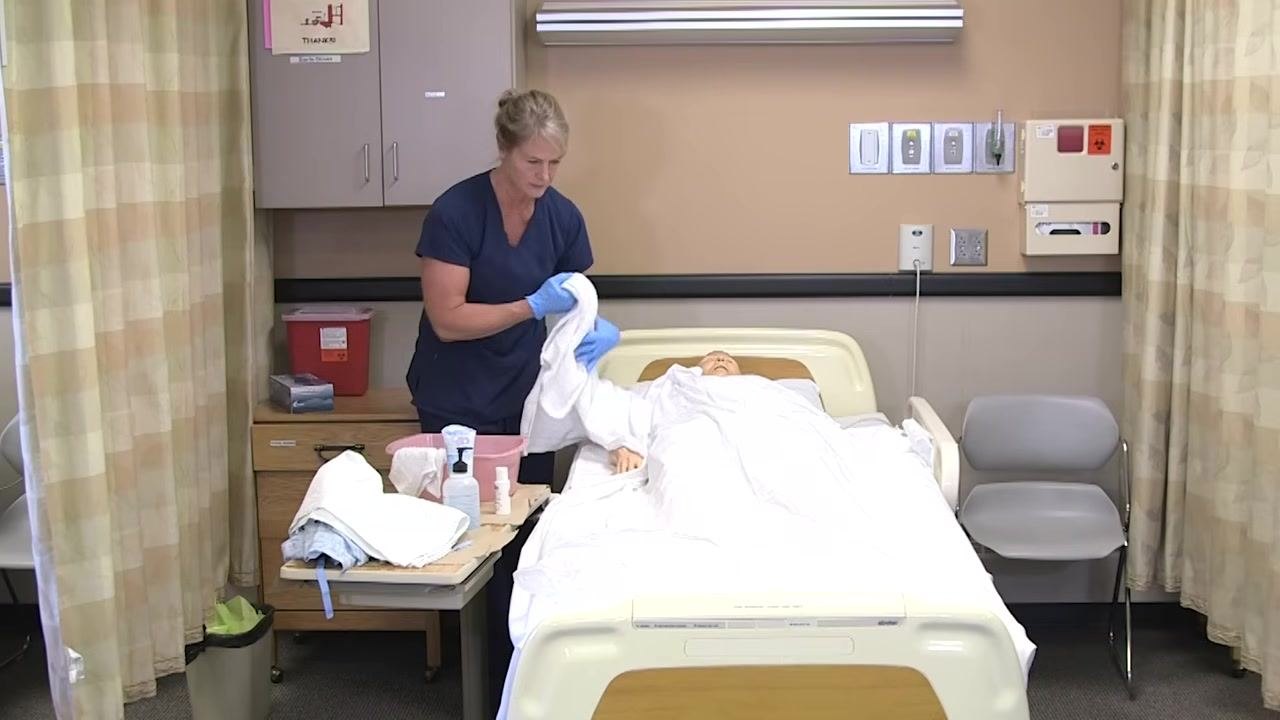
Washing and rinsing under the leg
Follow these steps to wash, rinse, and dry under the leg and foot.
- Position the leg and place a protective towel. Put on disposable gloves, take a soapy washcloth, and gently lift the resident's leg to access the area underneath. Keep the resident covered with a sheet or towel for privacy and warmth, and place a towel or absorbent pad under the leg to protect the bedding.
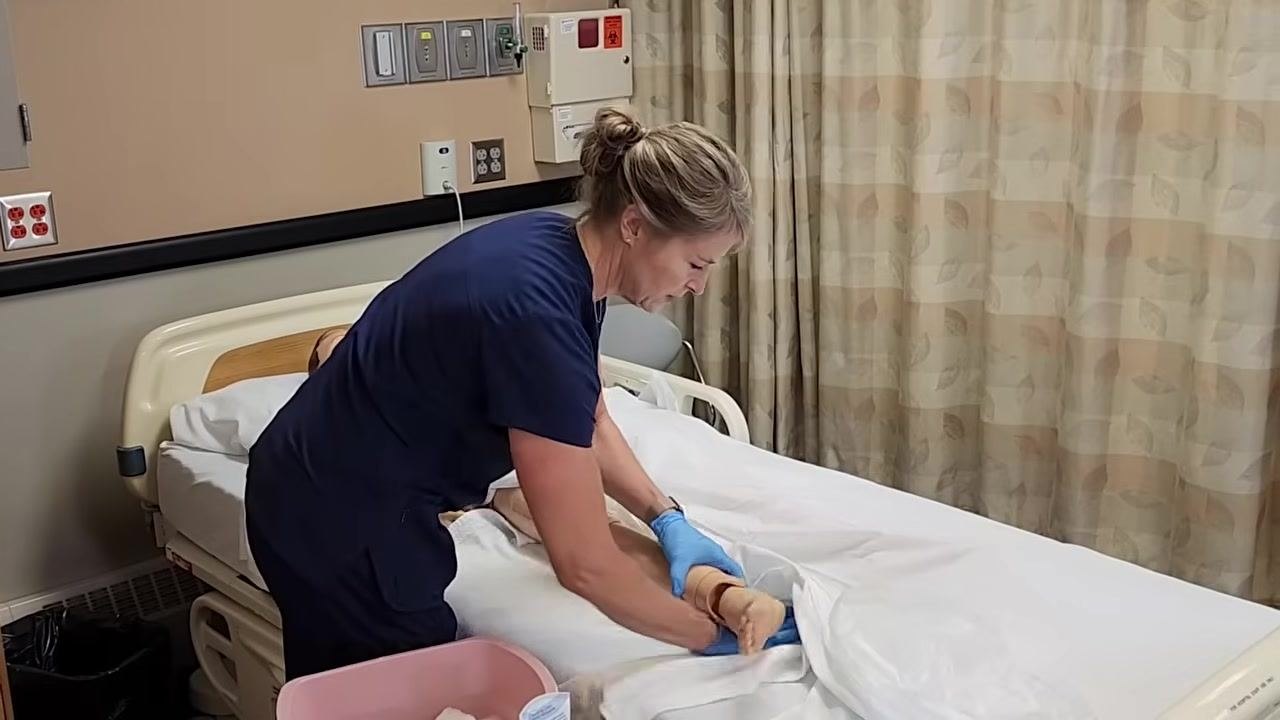
Safety note: If the soapy washcloth becomes cold, take it to the sink to warm it up again. Do not re-dip a used washcloth into the basin, as this will contaminate the clean water.
- Wash the leg and foot. Use the soapy washcloth to gently clean under the leg, moving from the thigh down to the foot and paying special attention to the area between the toes and around the foot. After washing, place the used soapy washcloth on the side of the basin, not inside it.
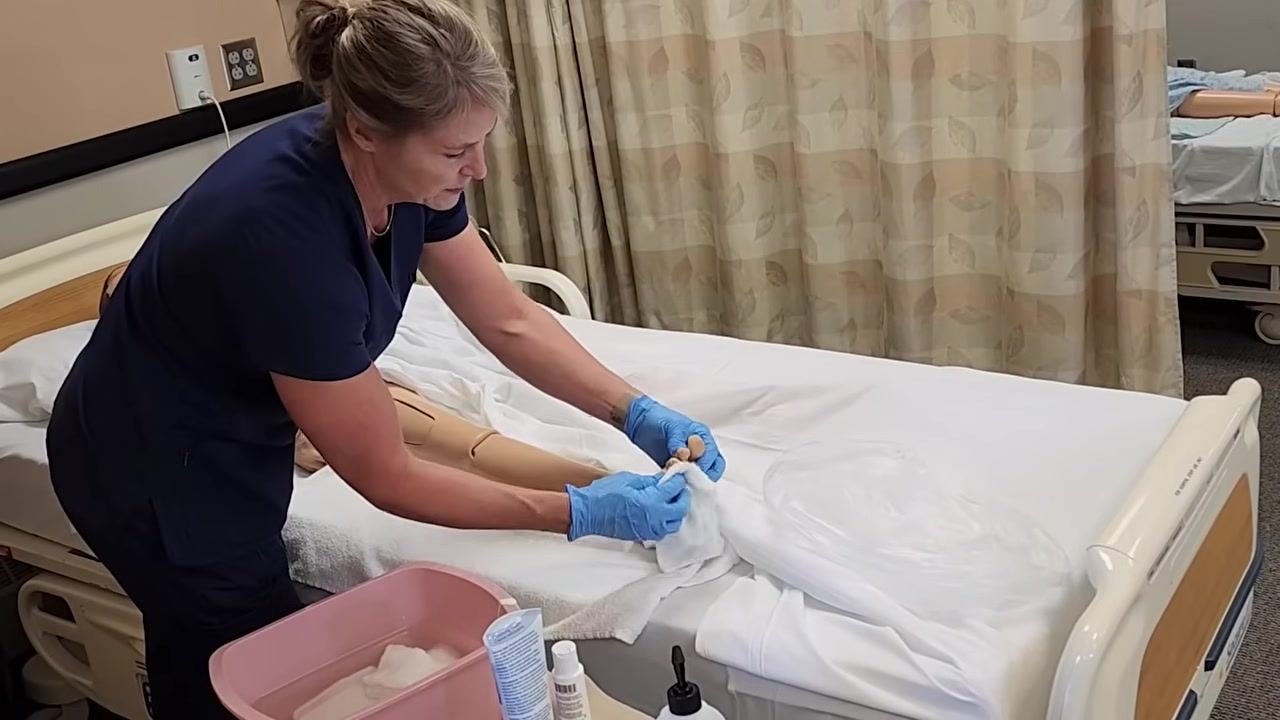
- Rinse the leg and foot. Take a clean, damp washcloth with no soap to rinse the leg and foot, making sure all soap is removed, especially between the toes, and confirm the resident is staying warm enough throughout the process.
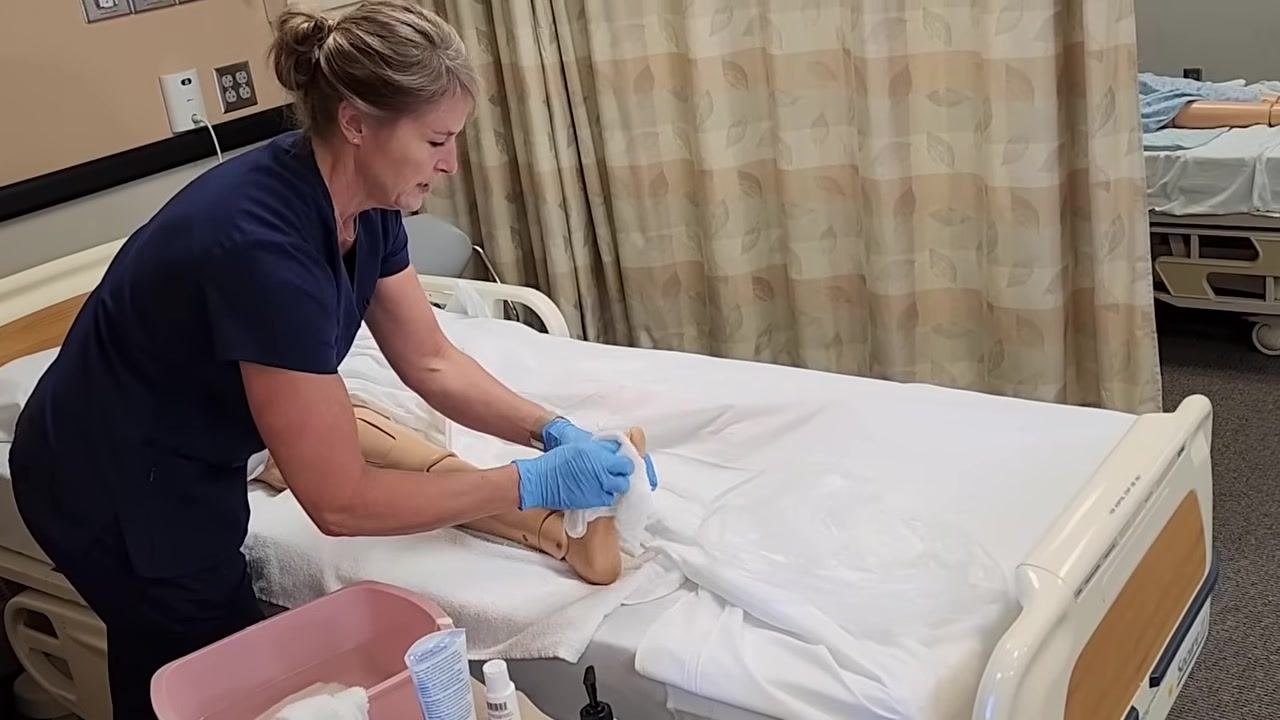
- Dry the leg and foot thoroughly. Use a dry towel to gently pat the leg and foot dry, paying close attention to drying between the toes and in all skin creases to prevent moisture buildup.
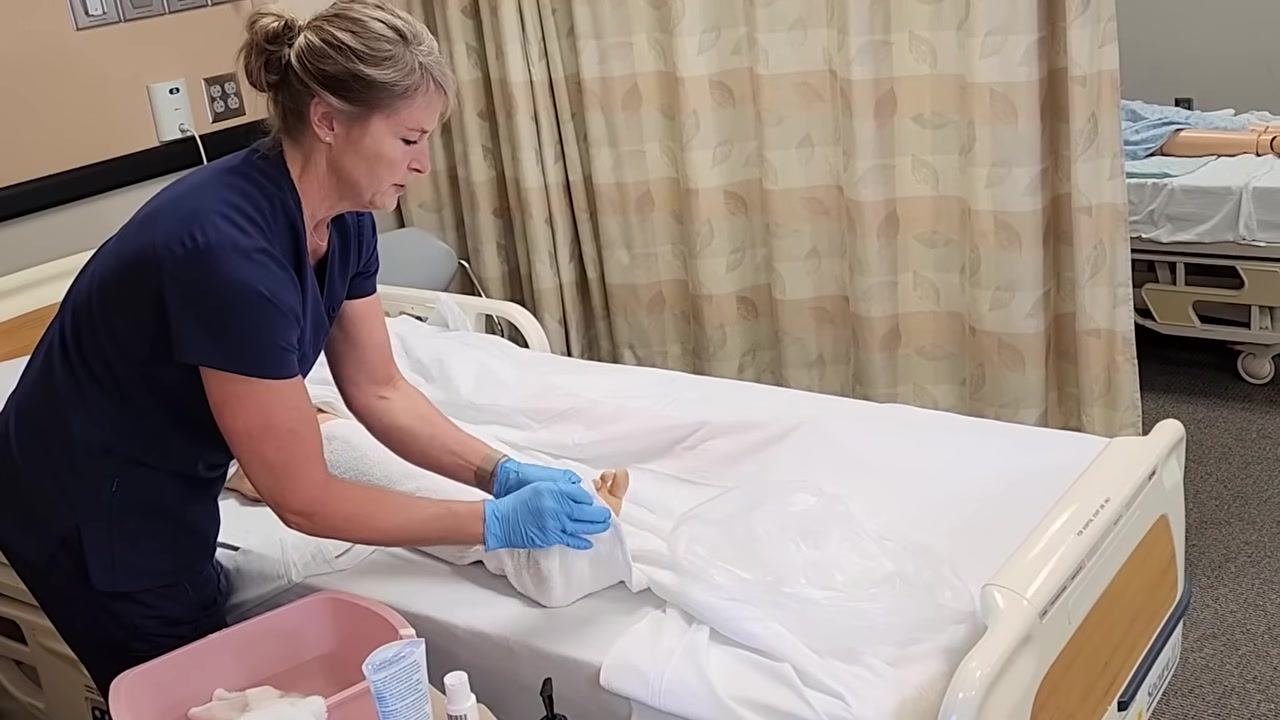
- Take extra care with diabetic residents. If the resident is diabetic, ensure the feet and toes are completely dry, since diabetic patients are more susceptible to infection, especially in moist areas between the toes.
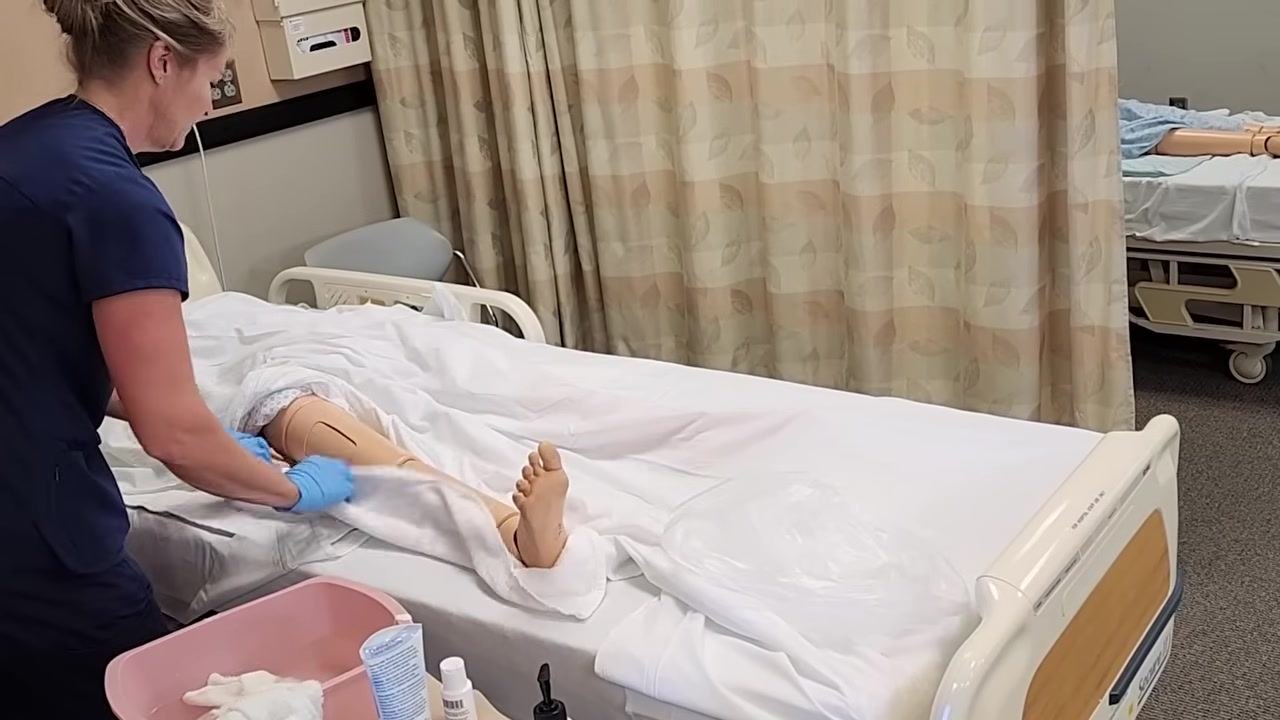
Key points for this section: - Always use a clean washcloth for rinsing; never re-dip a used cloth into the basin. - Maintain resident privacy and comfort throughout the procedure. - Ensure all soap and moisture are removed, especially for diabetic residents, to reduce infection risk.
Transitioning to perineal care and preparing for backside cleaning
After completing the under-the-leg washing and drying, follow these steps to move on to perineal care and prepare the resident for backside cleaning.
- Follow the dedicated perineal care procedure if needed. If you need guidance on perineal care specifically, refer to the dedicated perineal care procedure for detailed instructions. This procedure now moves on to cleaning the resident's backside.
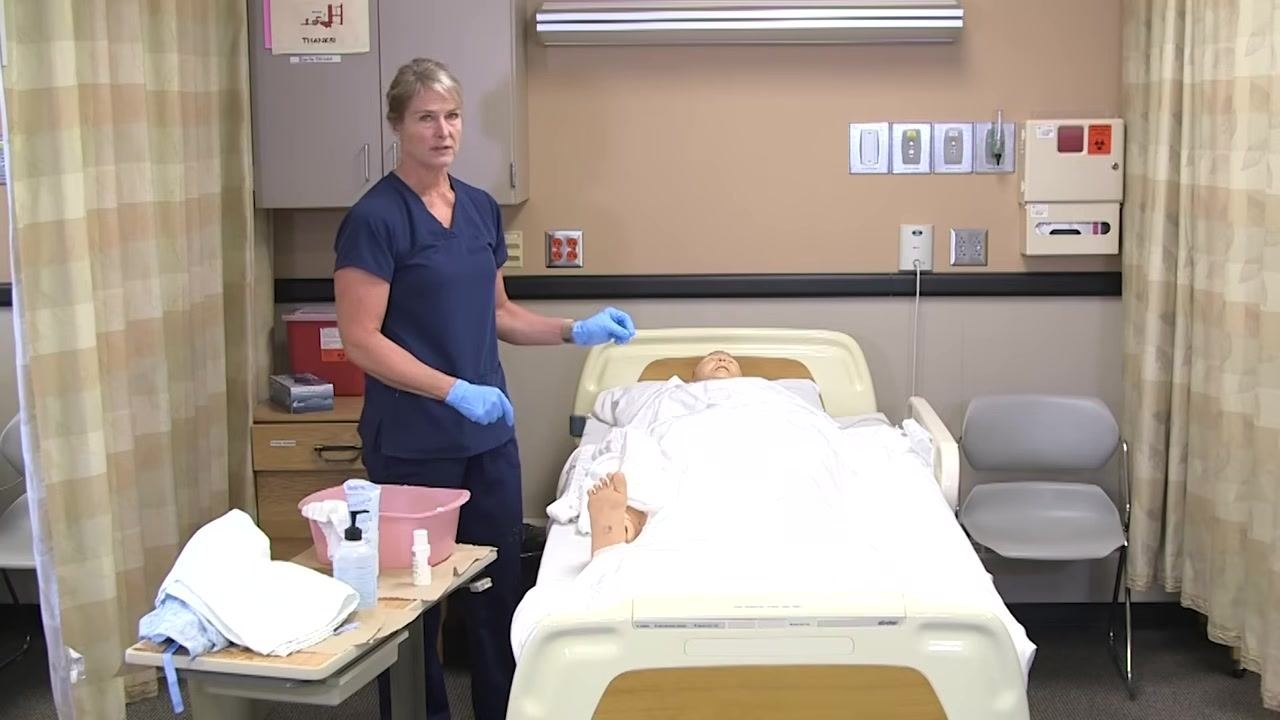
- Prepare to clean the front side and dispose of used linens. Proceed to clean the front side of the resident, then place all used washcloths and towels into the linen bag to prevent cross-contamination. Do not reuse any soiled linens or washcloths.
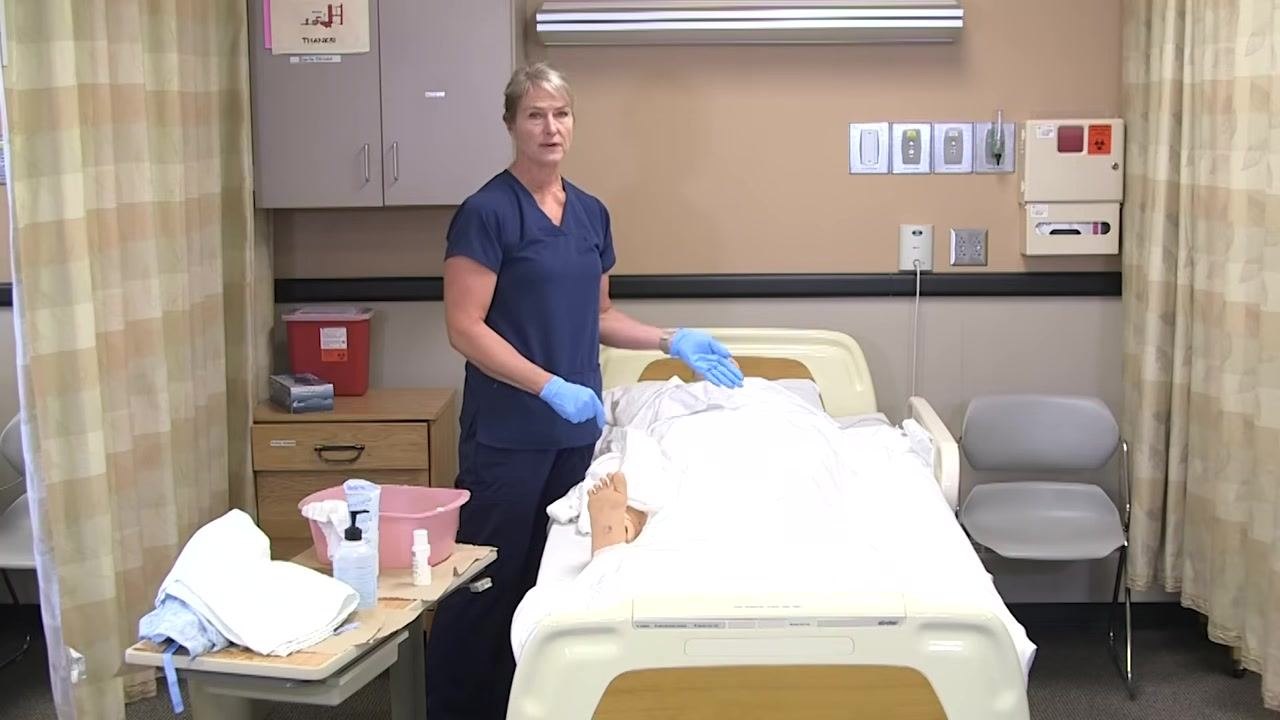
- Change gloves before proceeding. Remove your gloves after handling soiled linens or after completing the front side cleaning, dispose of them in the appropriate waste container, and put on a new pair of gloves before starting the next cleaning procedure.
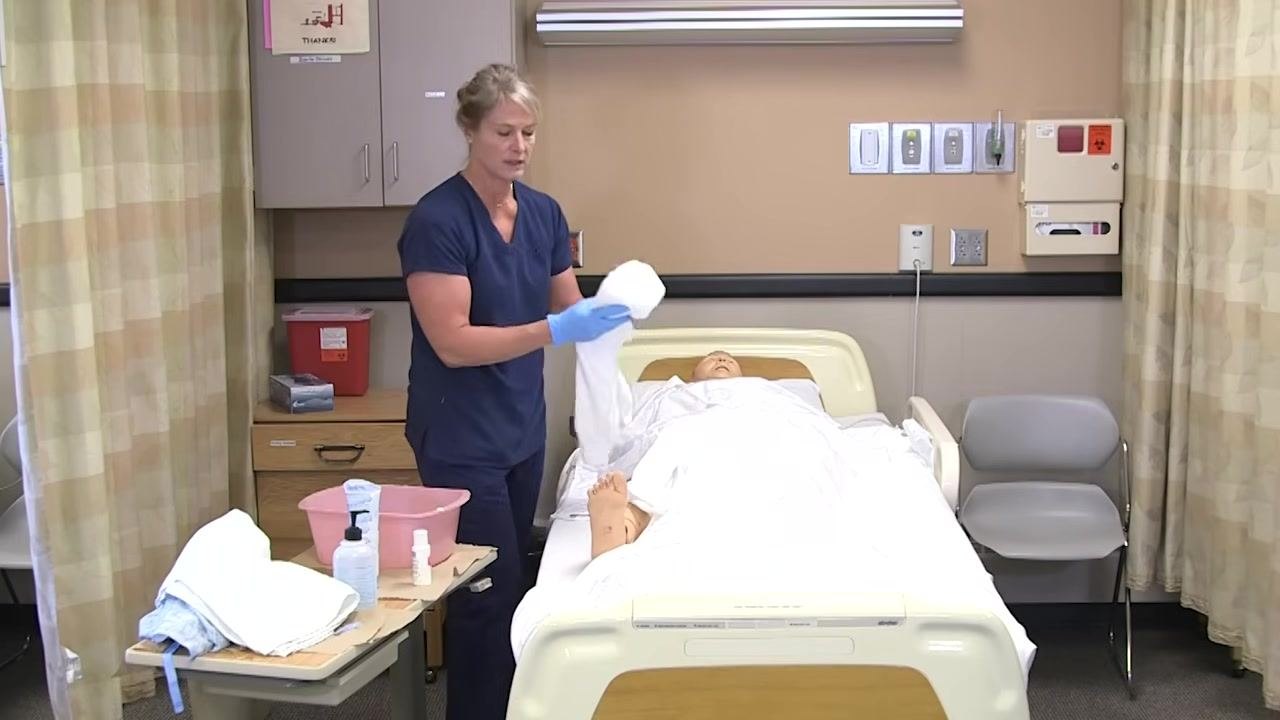
- Dispose of soiled linens and prepare for repositioning. Place soiled towels and washcloths in the linen bag or designated disposal area, ensure the resident is covered and comfortable, and move to the bedside table or linen disposal area as needed.
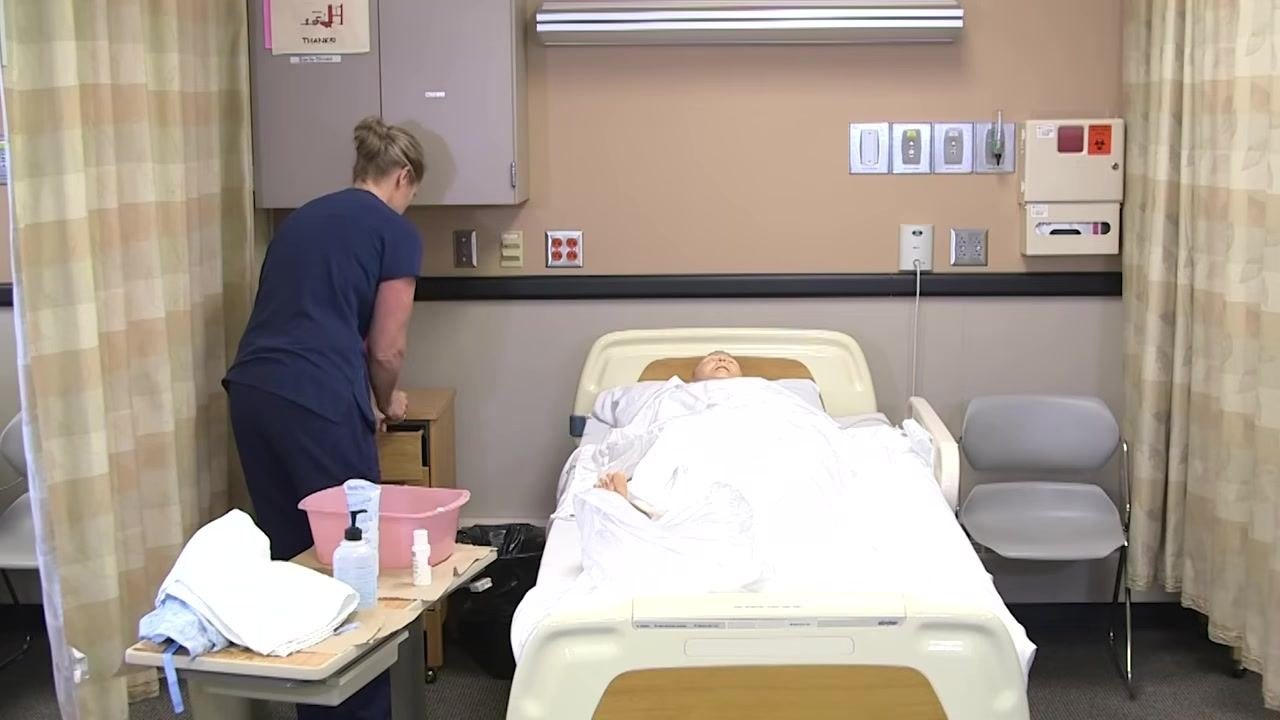
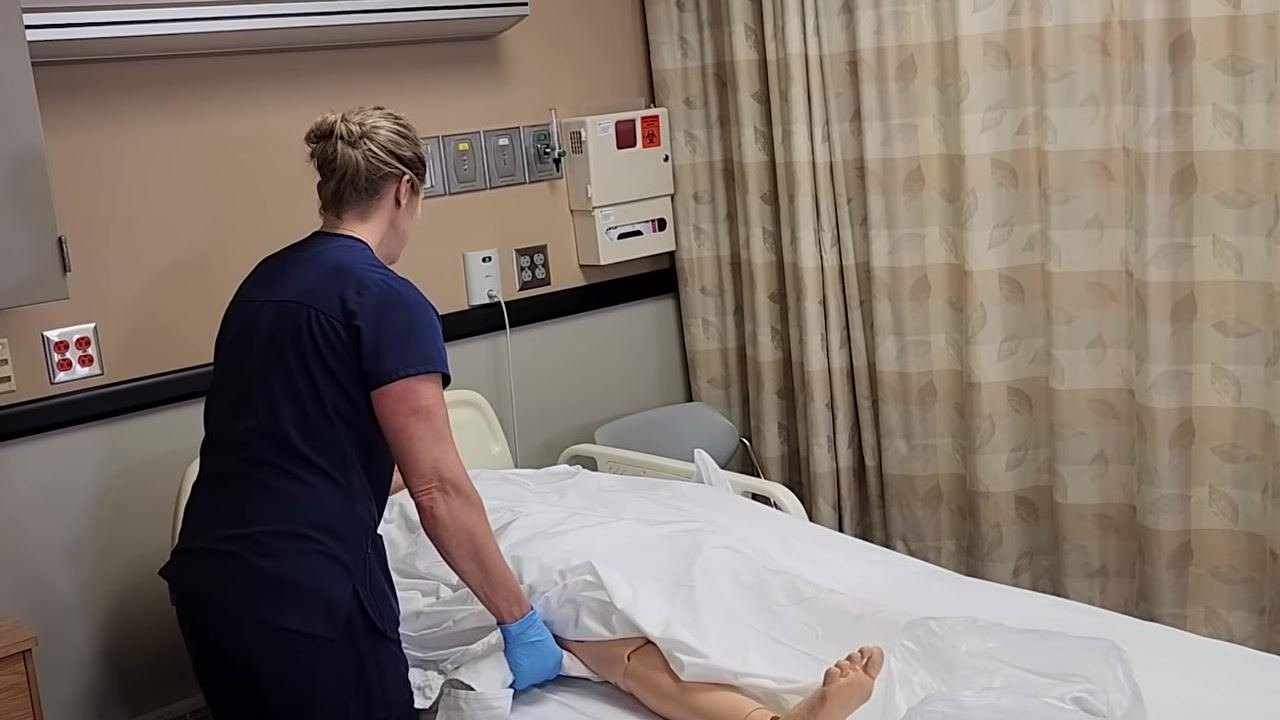
- Put on fresh gloves and prepare to turn the resident. Put on a new pair of gloves, explain to the resident that you will assist them in turning onto their side, and raise the side rail on the opposite side of the bed for safety and to provide a handhold.
-
Reposition the resident. Instruct the resident to move their arm out of the way so they do not lie on it, then on the count of three, gently assist them in turning onto their left side, making sure their arm is positioned safely and comfortably.
-
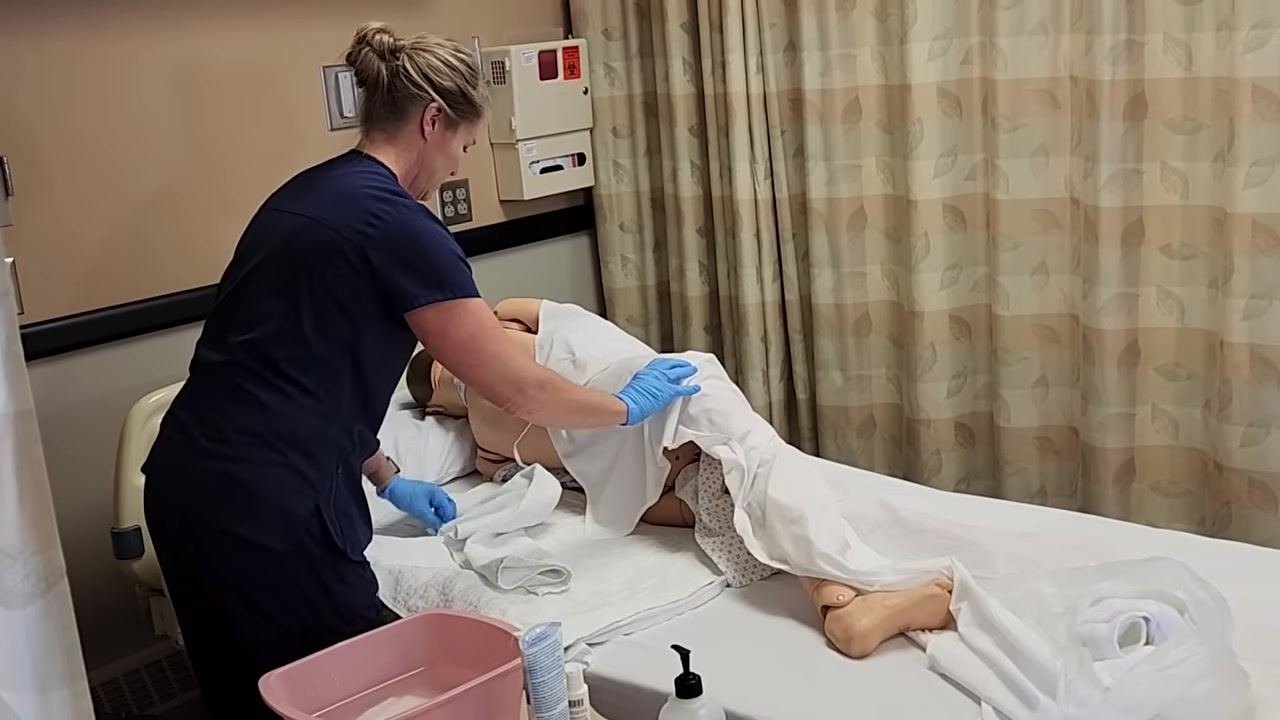
Turn the resident and adjust their position. On the count of three, turn the resident onto their left side, check that they are comfortable and that their face is not pressed against the pillow, and keep them covered with a sheet or towel for privacy.
-
Adjust the pillow and maintain privacy. Adjust the pillow so the resident's face is not obstructed, keep their body covered as much as possible to maintain dignity and warmth, and confirm their comfort before proceeding.
-
Complete final positioning. Ensure the resident is securely on their side with their back exposed for cleaning, keep the lower body and legs covered except for the area being cleaned, and prepare clean towels and washcloths for the next steps.
Key points for this section: - Always change gloves between different cleaning areas to prevent cross-contamination. - Dispose of all soiled linens and washcloths immediately after use. - Maintain resident privacy and comfort by keeping them covered and explaining each step. - Use the side rail and proper body mechanics to safely reposition the resident. - Prepare all necessary supplies before beginning the next cleaning procedure.
Cleaning and rinsing the back and backside
Follow these steps to properly clean, rinse, and dry the resident's back and backside, ensuring comfort, privacy, and infection control throughout.
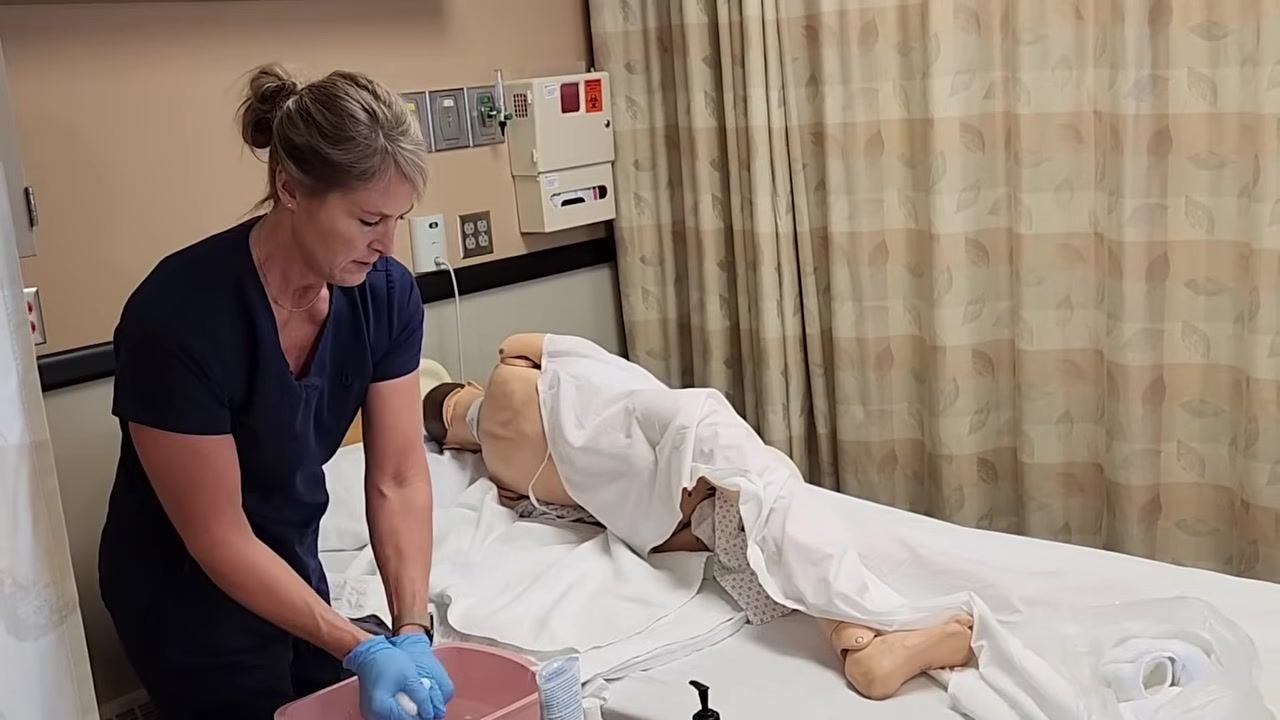
- Prepare a clean washcloth for back cleaning. Take a new, clean washcloth, moisten it with soapy water from the basin, and make sure you are wearing fresh gloves. Approach the resident, who should be positioned on their side with their back exposed and the rest of their body covered for privacy.
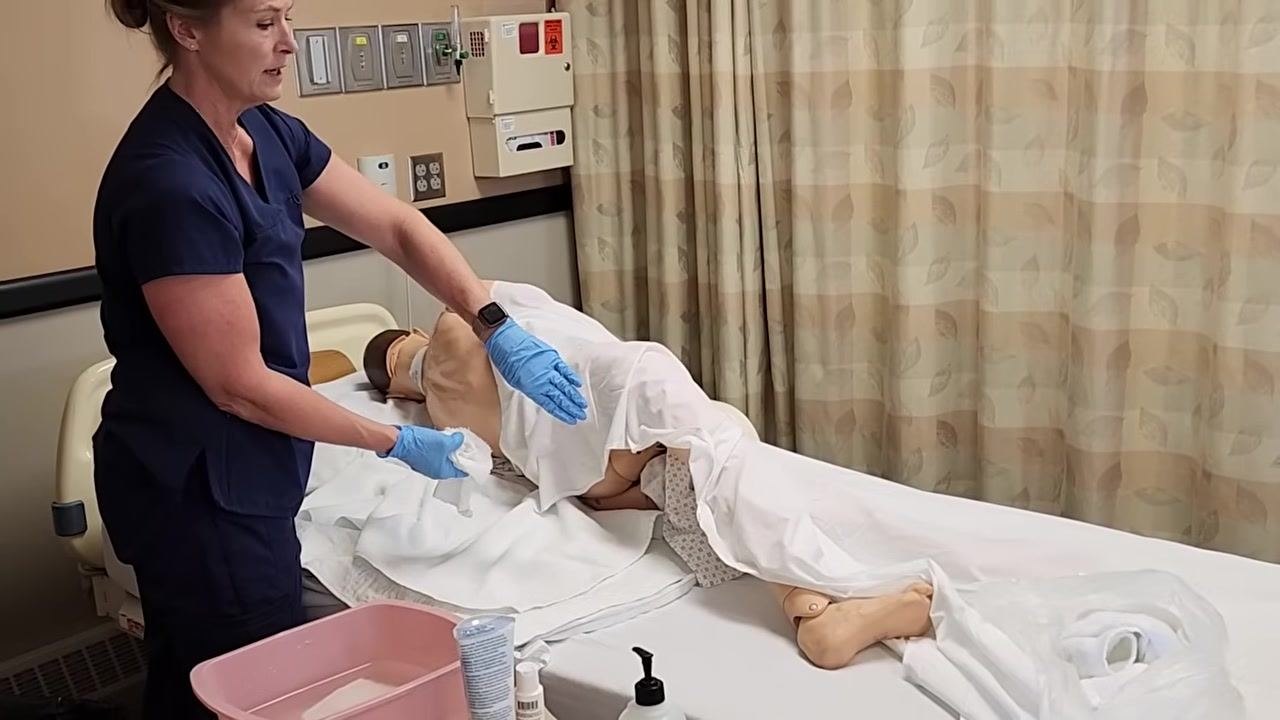
- Wash the entire back. Gently wash the entire back with the soapy washcloth, keeping the lower body and backside covered as long as possible to maintain privacy, and lift the sheet only as needed to access the back and upper buttocks.
-
Clean the back of the legs if needed. If the resident is mobile enough, wash the back of their legs at this time. If you already washed the back of the legs while the resident was lying face-up, you may skip this step. Prepare to perform backside perineal care if required, following the dedicated perineal care procedure for detailed instructions.
-
Dispose of the used washcloth. Place the soiled washcloth into the linen bag or designated disposal area. Do not reuse it for rinsing or drying, and prepare a new, clean washcloth for rinsing.
-
Rinse the back. Take a clean rinse washcloth, moisten it with clean water, and gently rinse the resident's back, removing all soap residue. While rinsing, visually inspect the skin for any reddened areas or signs of irritation and report any concerns to the nurse.
-
Rinse the back of the legs and perineal area if needed. If necessary, rinse the back of the legs and the perineal area using the rinse washcloth, ensuring all soap is removed to prevent skin irritation.
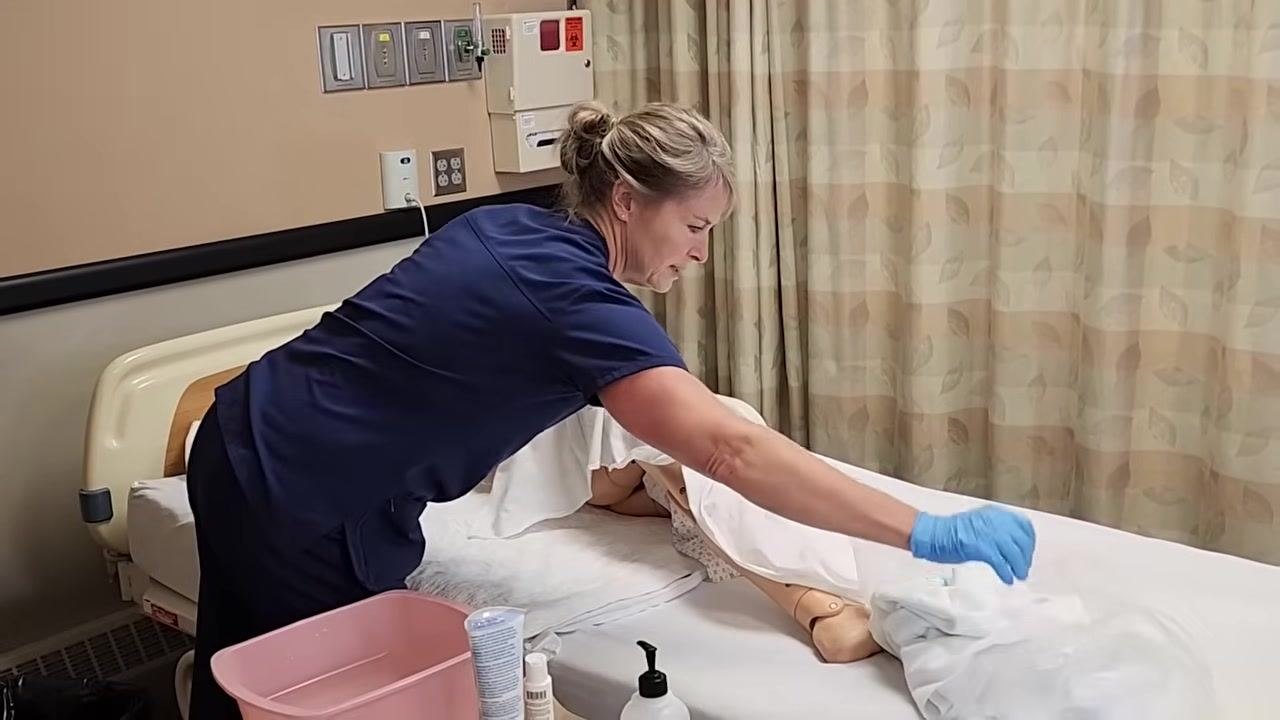
- Dry the back and backside. Use a clean, dry towel to gently pat the back and backside dry, ensuring all areas are thoroughly dried to prevent moisture-related skin issues.
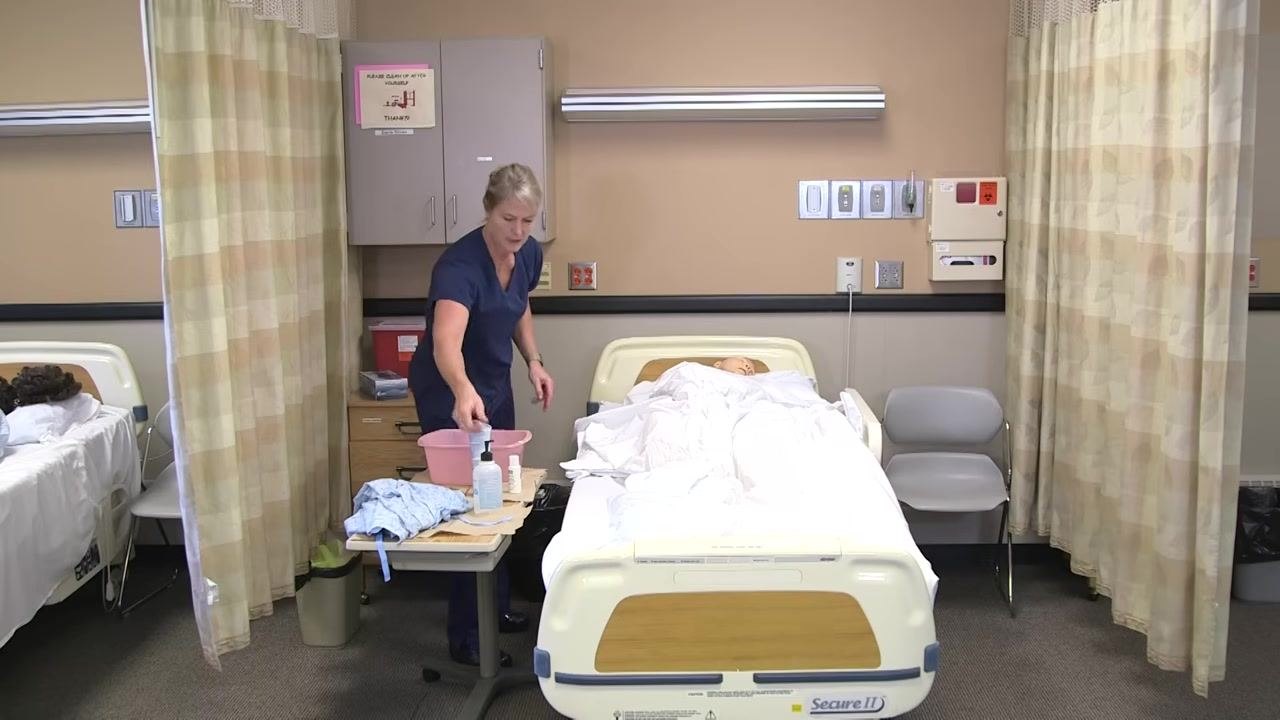
-
Dispose of used towels and washcloths. Place all used towels and washcloths into the linen bag or designated disposal area. Do not leave any soiled linens in the resident's bed or on nearby surfaces.
-
Remove gloves and sanitize your hands. Remove your dirty gloves and dispose of them in the appropriate waste container, then immediately sanitize your hands using hand sanitizer or wash with soap and water. Ensure all supplies are removed from the bedside and the resident is left clean, dry, and comfortable.
Key points for this section: - Always use a clean washcloth for each step: washing, rinsing, and drying. - Maintain resident privacy by keeping them covered as much as possible. - Inspect the skin for redness or irritation and report findings to the nurse. - Dispose of all soiled linens and gloves immediately after use. - Sanitize your hands after glove removal to prevent infection.
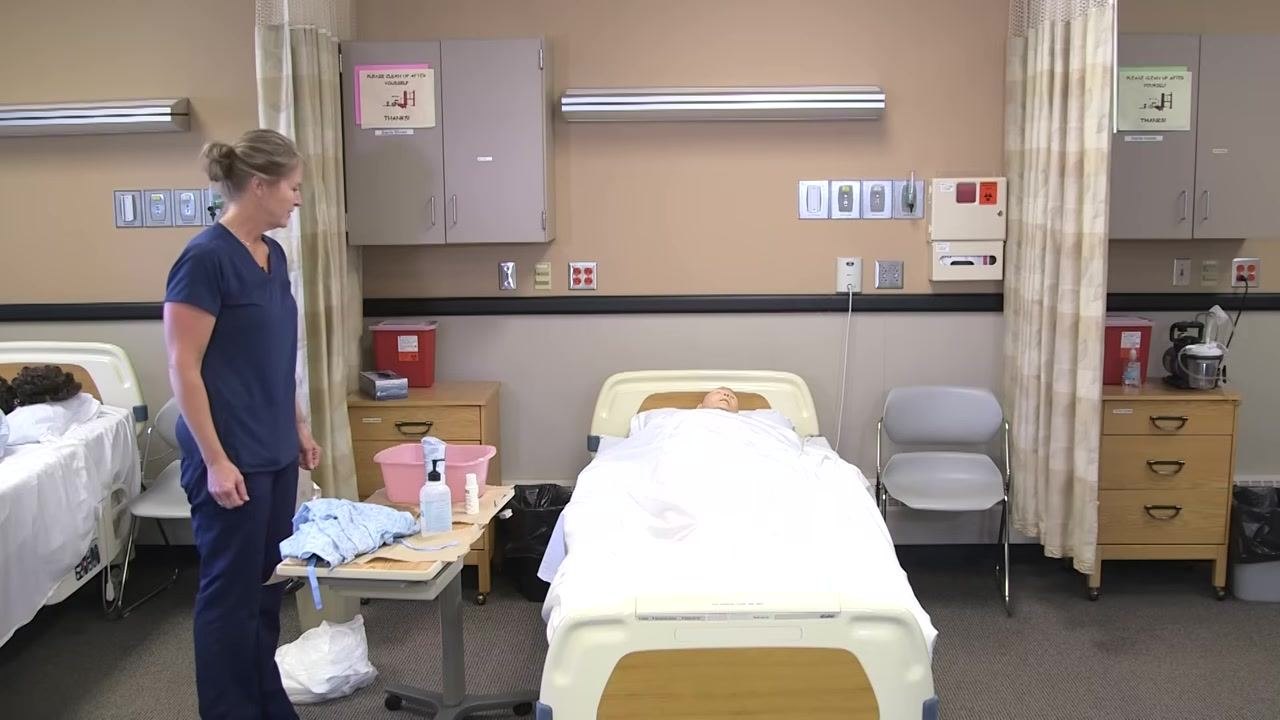
Completing patient care and room reset
Once the bed bath itself is complete, follow these steps to dress the resident and restore the room.
- Change the gown or assist with clothing. Ensure the resident is covered for privacy, offer them a choice between a hospital gown or their own clothes, prepare the clean clothing or gown, and assist them in changing while maintaining their comfort and dignity throughout.
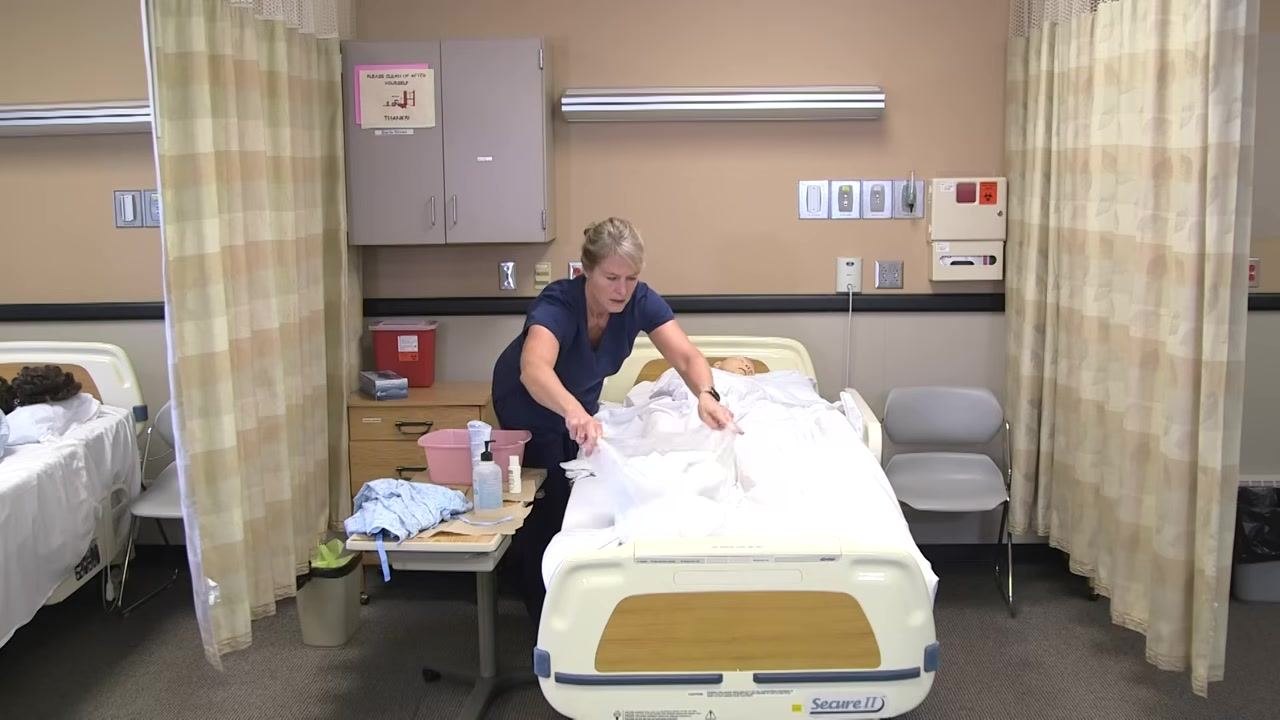
- Remove dirty linens from the bed. Carefully gather all soiled linens from the bed without shaking them, and place them in a designated area or linen bag for disposal.
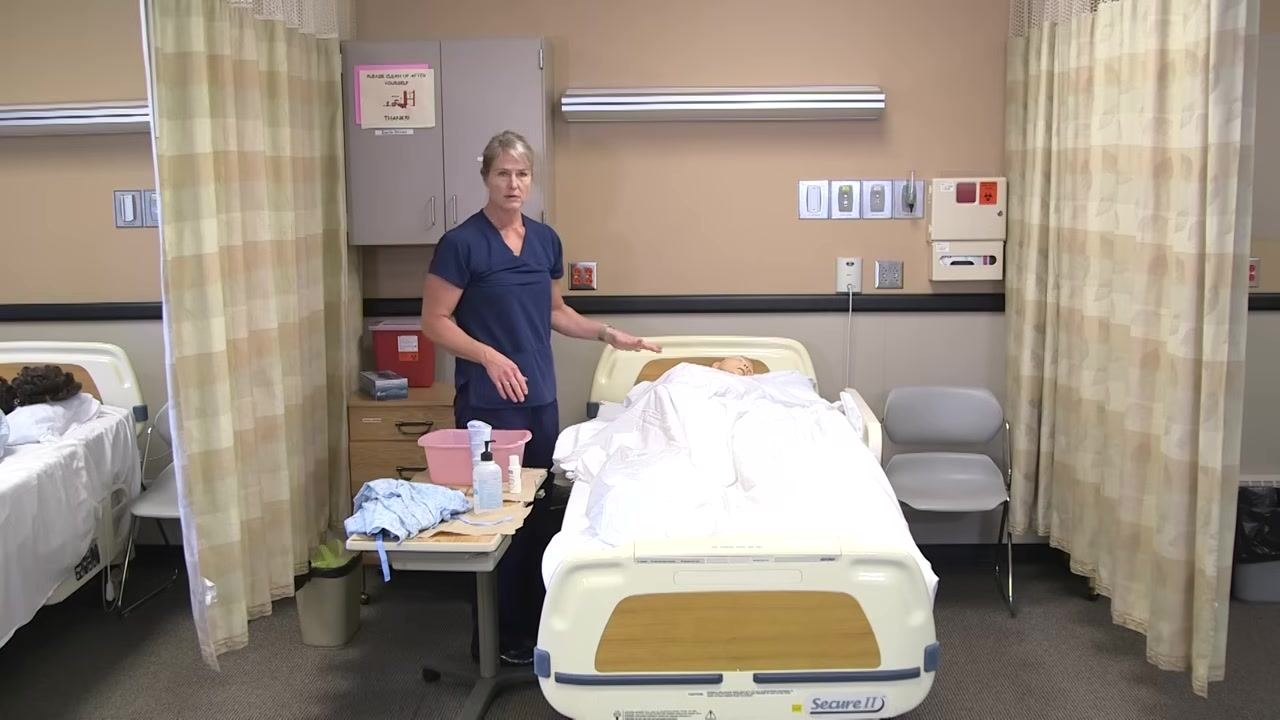
- Dispose of dirty linens properly. Take the gathered dirty linens and place them in the appropriate hamper or linen disposal bin.
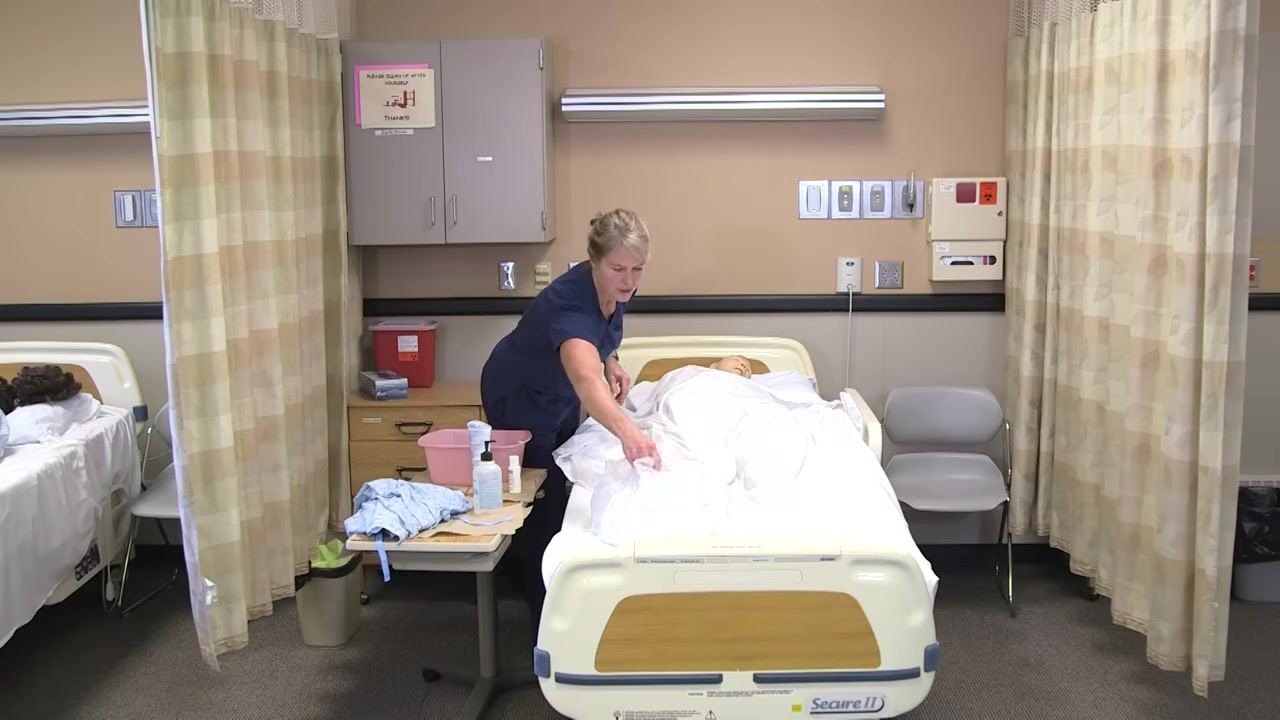
- Check on the resident's comfort. Ask the resident by name whether they feel comfortable, observe their response, and make any necessary adjustments to their position or bedding.
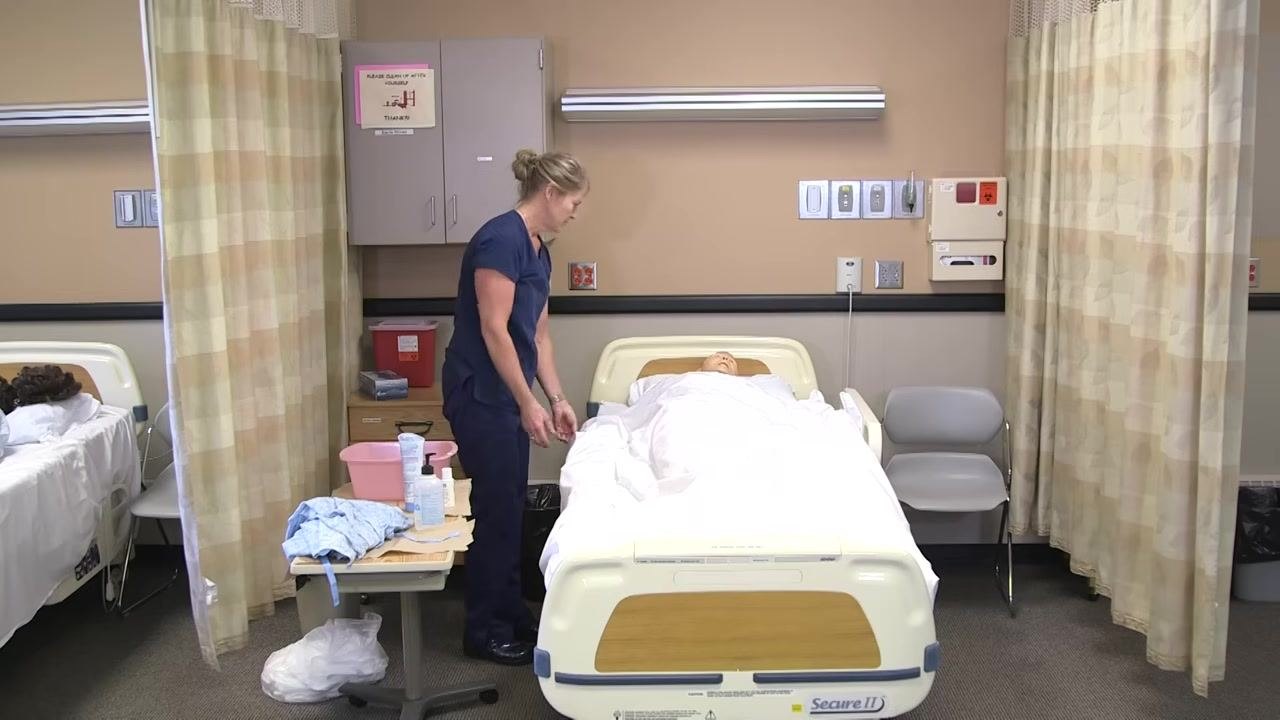
- Confirm comfort and begin tidying up. Acknowledge the resident's response, then continue tidying the area, ensuring all used items are disposed of or removed.
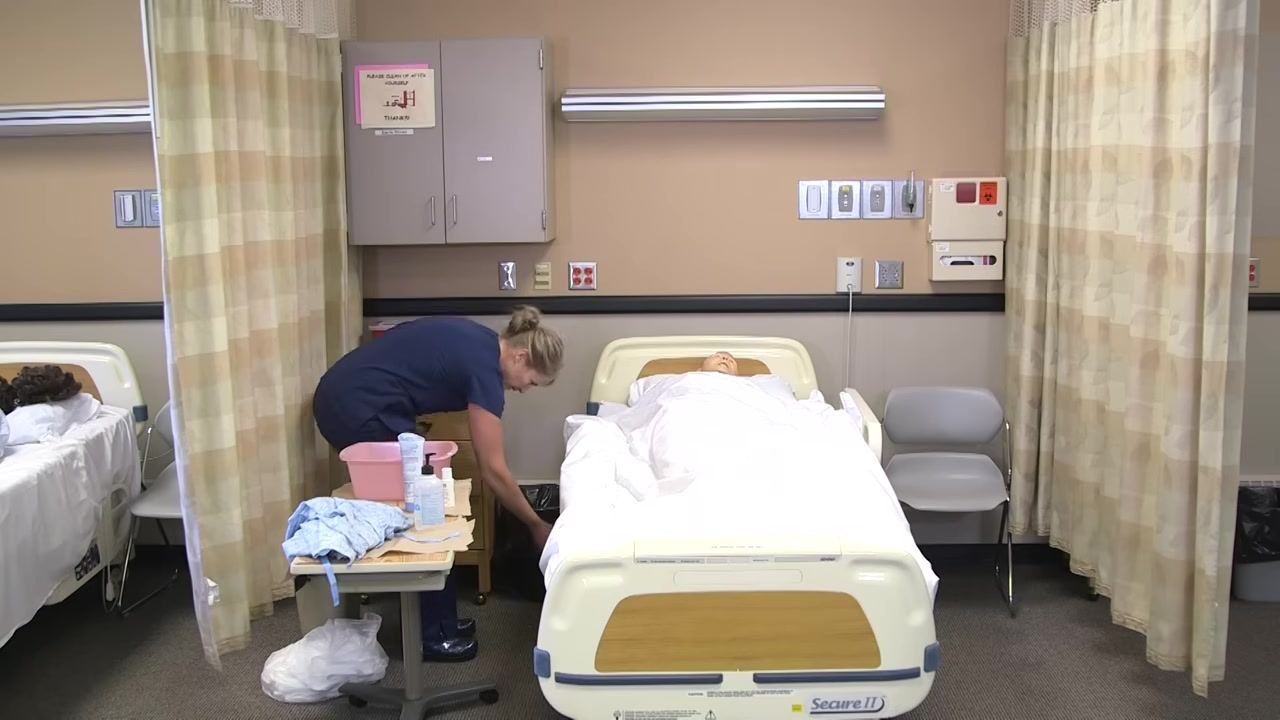
- Provide the call light and lower the side rail. Place the call light within easy reach of the resident and lower the side rail to allow them to move safely if needed.
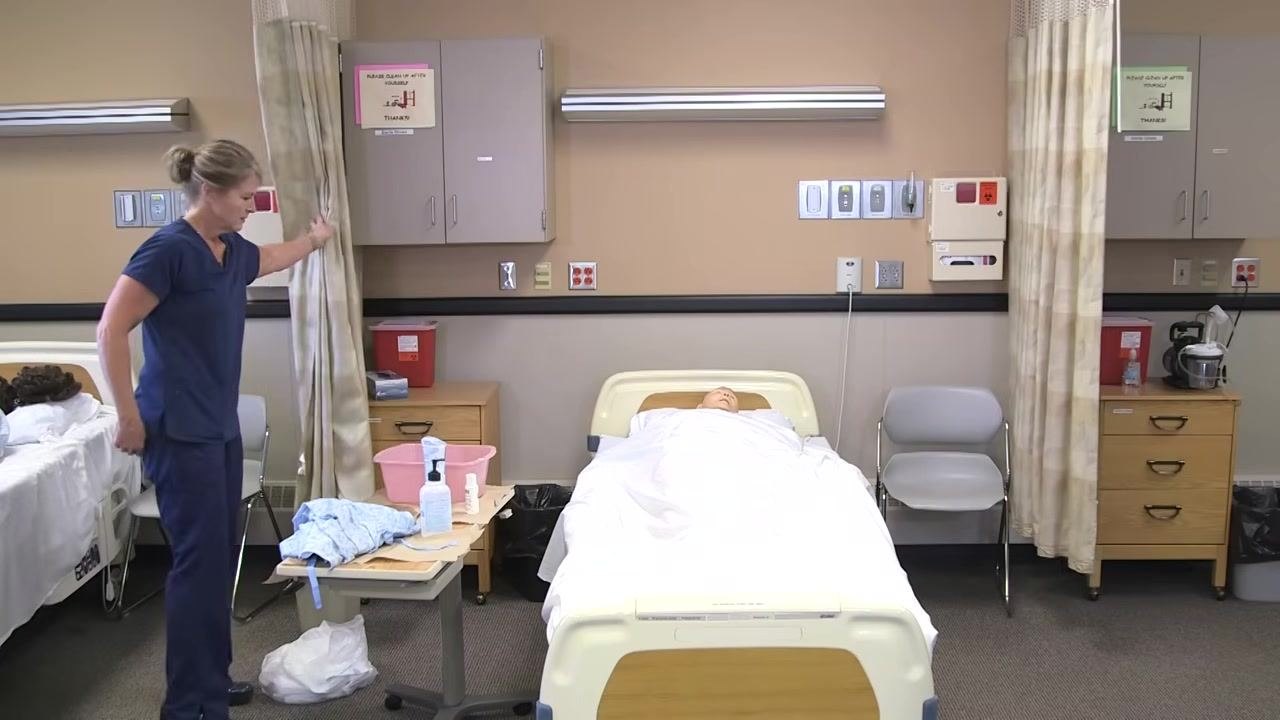
-
Open the privacy curtains. Slide the privacy curtain open to restore visibility and access to the room.
-
Ask if the resident needs anything else. Address the resident by name and ask if there is anything else you can get for them, then wait for their response and fulfill any reasonable requests.
-
Say goodbye and exit the room. Let the resident know you will see them later, and confirm they are safe and comfortable before leaving.
-
Dispose of any remaining dirty linens. Take any remaining dirty linens and place them in the designated linen hamper, ensuring the resident's area is clean and free of used supplies.
Post-procedure steps and final documentation
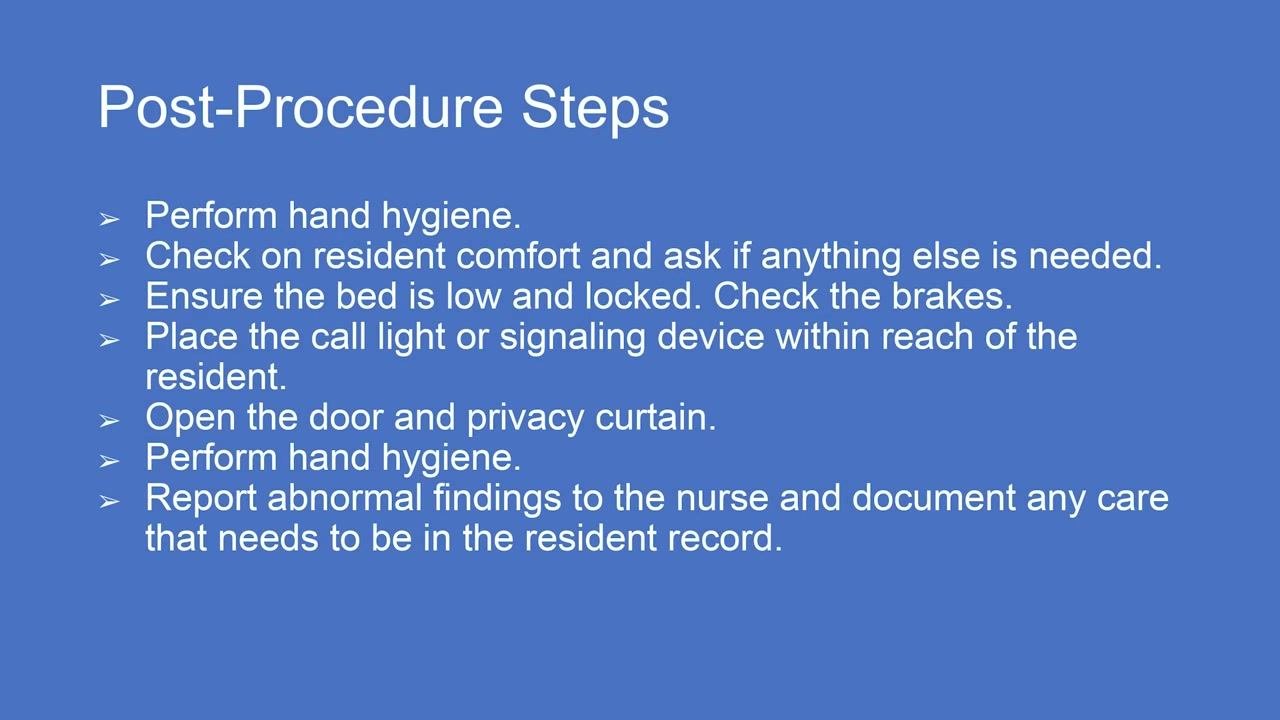
After completing direct patient care and resetting the room, complete the following post-procedure steps to ensure safety, compliance, and thorough documentation.
-
Perform hand hygiene. Wash your hands thoroughly with soap and water, or use an alcohol-based hand sanitizer, immediately after completing patient care and before touching any other surfaces.
-
Check on resident comfort and needs. Approach the resident and ask if they are comfortable and whether there is anything else you can get for them, then address any additional requests.
-
Ensure the bed is low and locked; check the brakes. Lower the bed to its lowest position to reduce fall risk, and confirm the bed brakes are engaged and the bed is stable.
-
Place the call light within reach. Ensure the call light or signaling device is easily accessible to the resident so they can request assistance if needed.
-
Open the door and privacy curtain. Slide open the privacy curtain to restore visibility and access to the room, and open the door to allow for observation and easy entry and exit.
-
Perform hand hygiene again. Repeat hand hygiene after leaving the resident's immediate environment to prevent the spread of infection.
-
Report and document. Communicate any unusual observations, such as changes in skin condition, vital signs, or behavior, to the nurse promptly, and accurately document all care provided and any abnormal findings in the resident's medical record.
Summary
This procedure covers how to give a bed bath from start to finish: preparing supplies and the resident, washing and rinsing the face, arms, chest, legs, feet, back, and backside, dressing the resident, and resetting the room afterward. Throughout the process, always use a clean washcloth for each new task, never re-dip a used cloth into clean water, keep the resident covered and warm except for the area being cleaned, pay close attention to drying skin folds and between the toes (especially for diabetic residents), and change gloves between different body areas. Complete the care cycle by performing hand hygiene before and after contact, confirming the environment is safe, ensuring the resident can call for help, restoring room access, and documenting any abnormal findings for the nurse.
Generation details: cost, quality tiers
Docsie billed 6,000 credits ($4.20) to analyze this 12-minute video at standard quality. The rewrite, template fill and Word/PDF exports were included. The same video at each quality tier:
| Quality | Frames sampled | Credits | Approx. cost |
|---|---|---|---|
| Draft | every 16-30 s | 3,000 | $2.10 |
| Standard (this guide) | every 8-15 s | 6,000 | $4.20 |
| Detailed | every 4-7 s | 12,000 | $8.40 |
| Ultra | every 1-3 s | 24,000 | $16.80 |
Credits priced at $0.70 per 1,000; plans include a monthly allowance. Enterprise customers on on-premise or bring-your-own-model deployments run this on their own inference and pay no per-video credits.
Generated by Docsie Video-to-Docs on 2026-09-09 from a 11-minute video. Screenshots are frames from the source video and belong to their creator, WisTech Open | Open RN, whose original is embedded above. If you own this video and want the guide removed or credited differently, contact us and we will act within one business day.