
How to Draw Blood
Learning how to draw blood safely requires a consistent, patient-centered approach that covers preparation, execution, and post-procedure care. This guide walks you through the complete venepuncture process, from introducing yourself to the patient through to sealing samples for laboratory transport, so you can perform the procedure confidently and in line with best clinical practice.
Video: Venepuncture - How to take a blood sample - OSCE Guide | UKMLA | CPSA | PLAB 2 by Geeky Medics (2017). All credit for the demonstration goes to the creator; watch the original on YouTube. The written guide below was generated from this video by Docsie. Creator? Request a change or removal.
Learning how to draw blood safely requires a consistent, patient-centered approach that covers preparation, execution, and post-procedure care. This guide walks you through the complete venepuncture process, from introducing yourself to the patient through to sealing samples for laboratory transport, so you can perform the procedure confidently and in line with best clinical practice.
Purpose
This document provides a standardized procedure for performing venepuncture (blood draw) safely and effectively, covering patient communication, equipment preparation, the blood draw itself, and proper disposal of clinical waste.
Scope
This procedure applies to any healthcare professional or student performing venepuncture on a patient in a clinical setting. It covers patient identification, consent, equipment gathering, the draw itself, and post-procedure steps including sample handling and waste disposal.
Required equipment and PPE
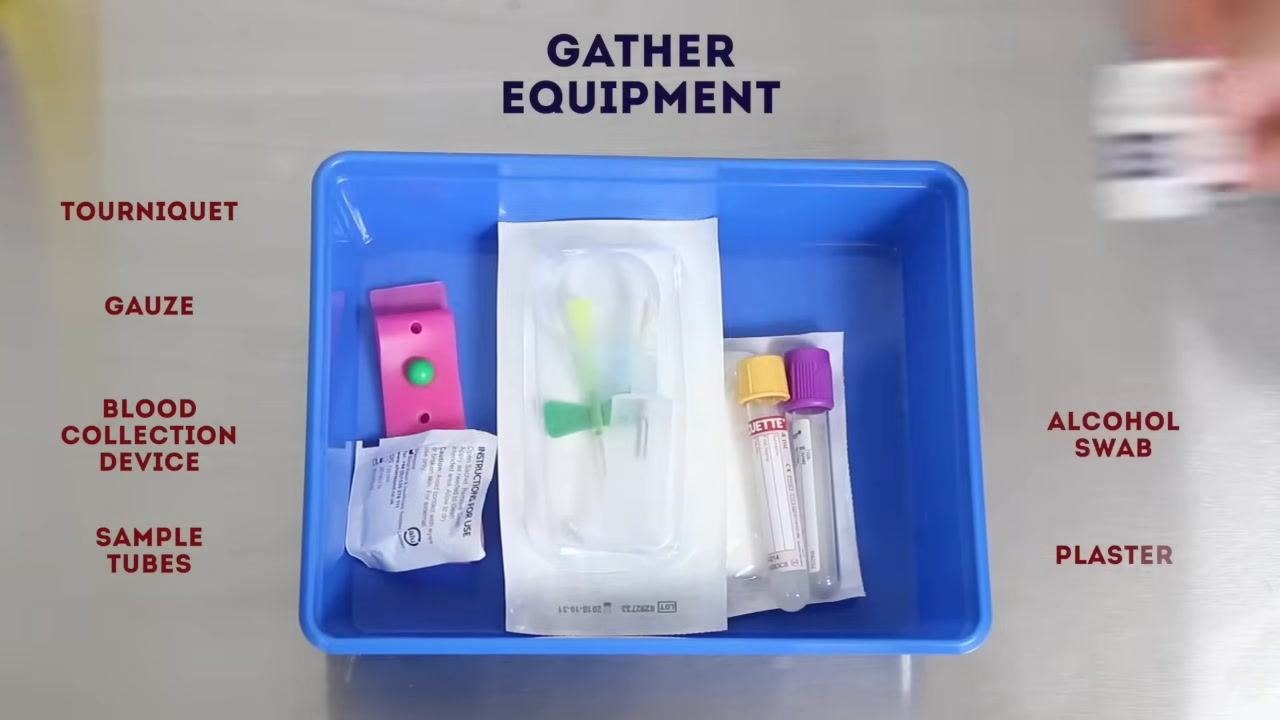
Before starting, gather the following items and place them in a clean tray:
- Tourniquet (e.g., pink with a green release button)
- Gauze
- Blood collection device (e.g., butterfly needle)
- Sample tubes (e.g., yellow-top and purple-top)
- Alcohol swab
- Plaster
- Apron (PPE)
- Gloves
Ensure all equipment is within easy reach before you begin the procedure.
Step-by-step procedure
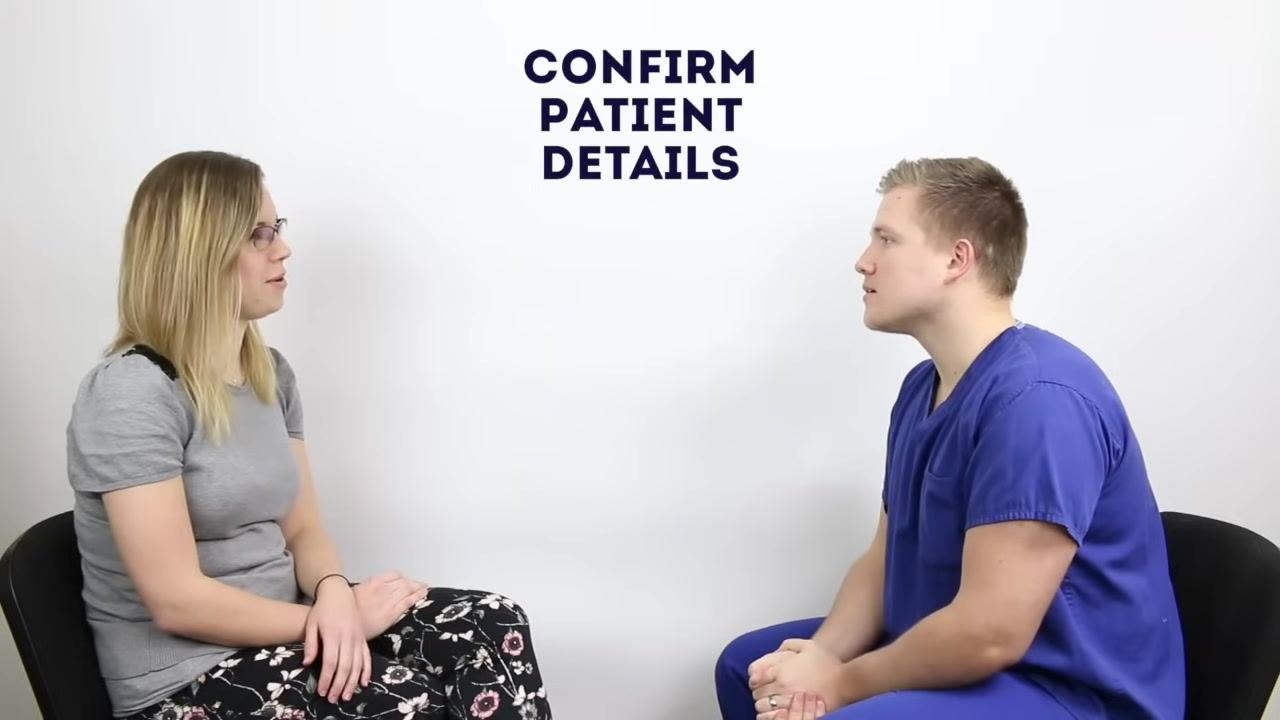
Introduce yourself and confirm patient identity
Greet the patient and introduce yourself clearly, for example: "Hi there, I'm one of the final year medical students." Ask the patient to confirm their name and date of birth: "Could I just confirm your name and date of birth please?" Wait for their response, then acknowledge and confirm the details they provide.
Explain the procedure
Clearly explain what you are about to do: "Today I've been asked to take some blood from you. Would that be okay?" Describe what the patient can expect: "This will just involve using a small needle and inserting it into one of the veins in your arm. It might be a touch uncomfortable but won't be painful. Is that alright?" Wait for verbal consent before continuing.
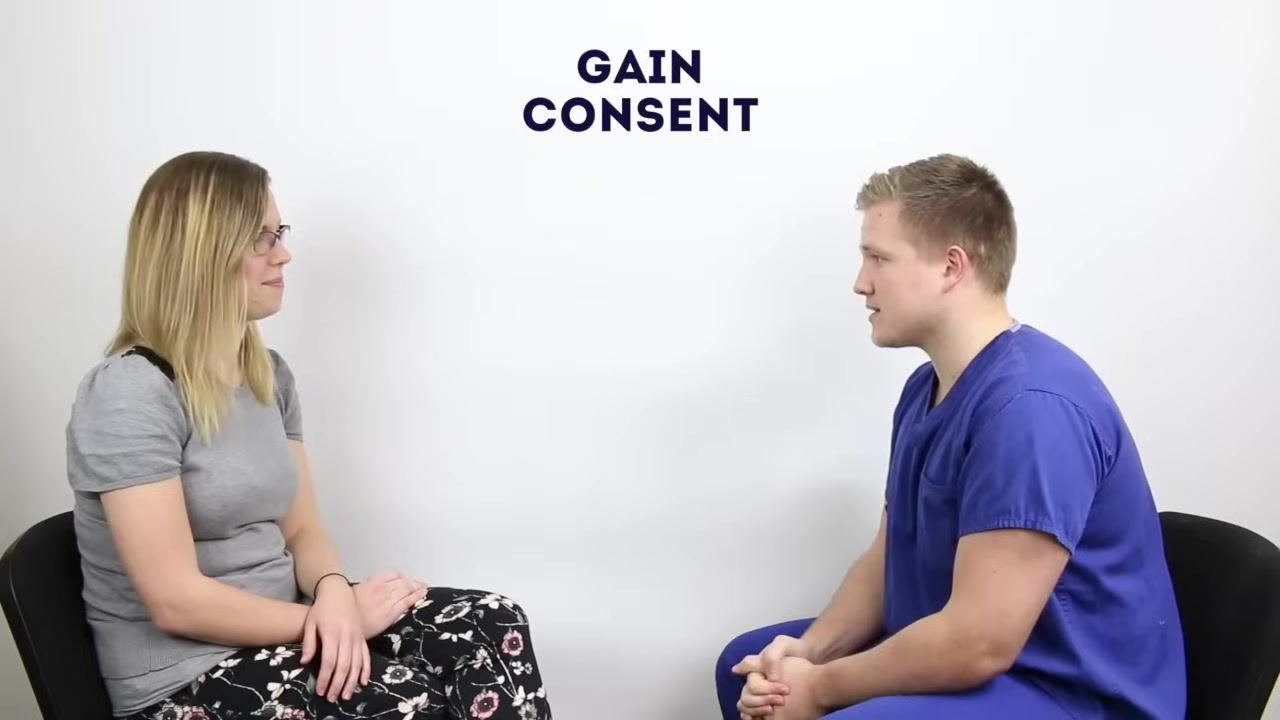
Check for allergies and gain consent
Ask the patient directly: "Are you allergic to anything at all?" Wait for their response and acknowledge it, for example: "Fantastic." Do not proceed until you have obtained explicit consent from the patient.
Gather all necessary equipment
Collect the tourniquet, gauze, blood collection device, sample tubes, alcohol swab, and plaster, and arrange them in a clean tray. Having everything within easy reach before you start helps the procedure run smoothly and safely.
Apply the tourniquet
Position the patient's arm comfortably on a pillow or support surface. Apply the tourniquet around the upper arm to make the veins more prominent and easier to access.
Don personal protective equipment (PPE)
Put on an apron to maintain infection control standards. Make sure it is securely tied and fully covers your clothing before you proceed.
Anchor the vein and prepare for venepuncture
With gloved hands, anchor the vein from below using your thumb to stabilize it. Hold the blood collection device steady in your other hand, ready to insert the needle, and confirm that all sample tubes are within reach before proceeding.
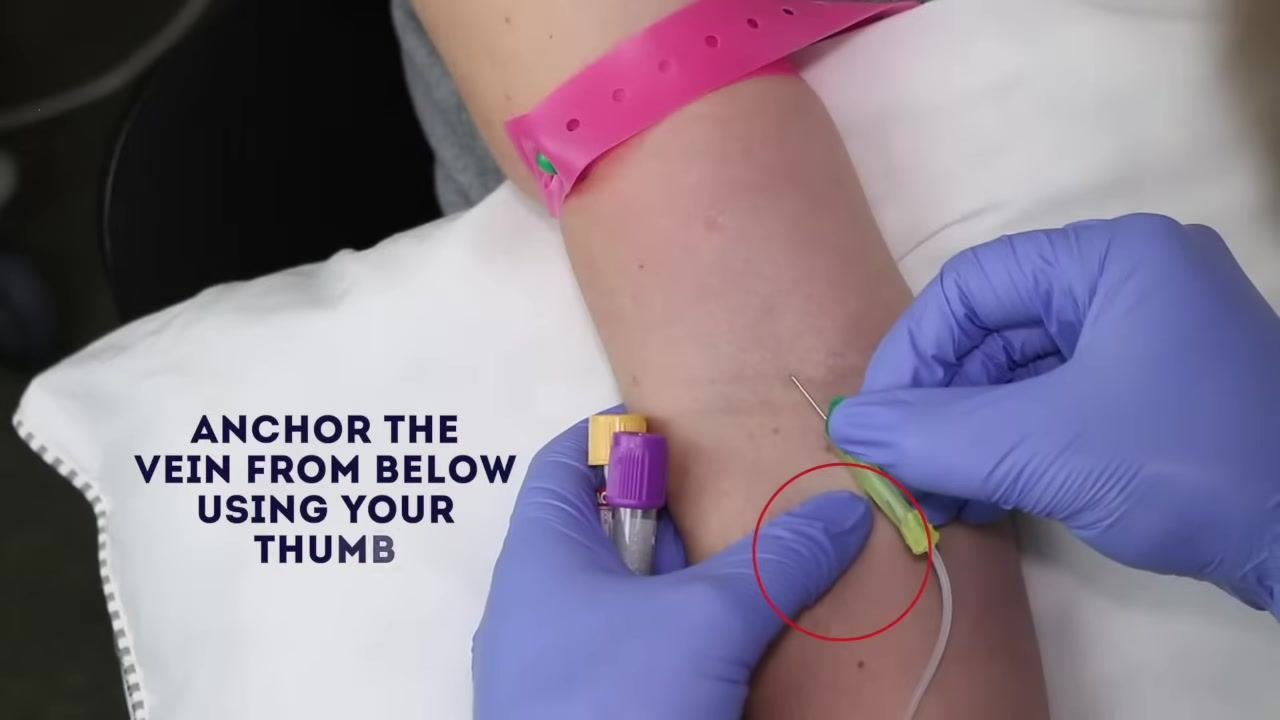
Fill the sample bottles
Once the venepuncture is successful, allow blood to flow into the sample bottles. Hold the blood collection device steady and ensure each required tube fills to the correct volume, observing the blood entering the tube to confirm proper collection.
Release the tourniquet
Once all blood samples are collected, release the tourniquet from the patient's arm by pressing the release mechanism (e.g., the green button). Always ensure the tourniquet is removed before withdrawing the needle.
Dispose of sharps appropriately
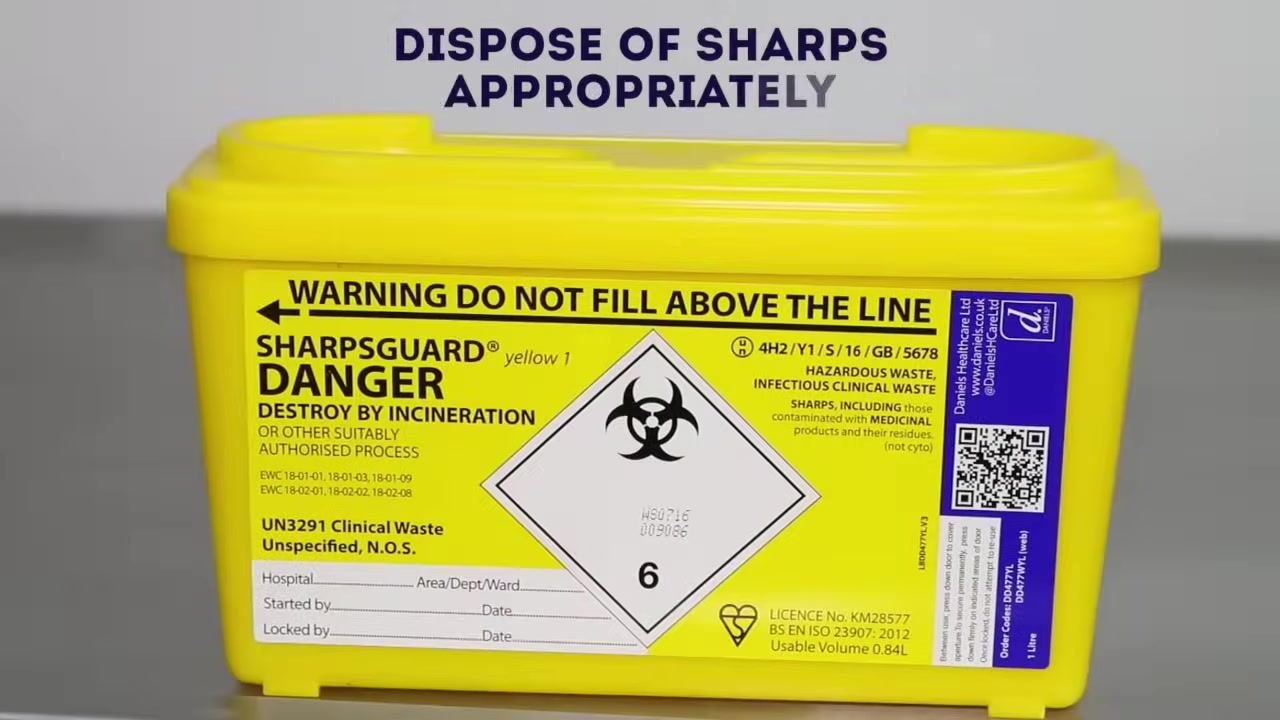
Immediately dispose of the used needle and any other sharps in a designated sharps container. Do not recap the needle or leave it unattended, and make sure the container is never filled above its marked line.
Remove apron and dispose of all clinical waste appropriately
Remove your apron carefully to avoid contamination. Dispose of the apron along with any other clinical waste, such as gloves and gauze, in the appropriate clinical waste bin, following your local infection control protocols.
Thank the patient and confirm wellbeing
Thank the patient for their cooperation, for example: "Thank you, that completes the procedure. Are you feeling okay?" Wait for their response and ensure they are comfortable before they leave.
Seal the samples in a bag for transport to the lab
Place all filled and labeled blood sample tubes into a pathology sample bag. Confirm that the request form is attached and that all patient details are correct, then seal the bag securely for safe transport to the laboratory.
Safety notes
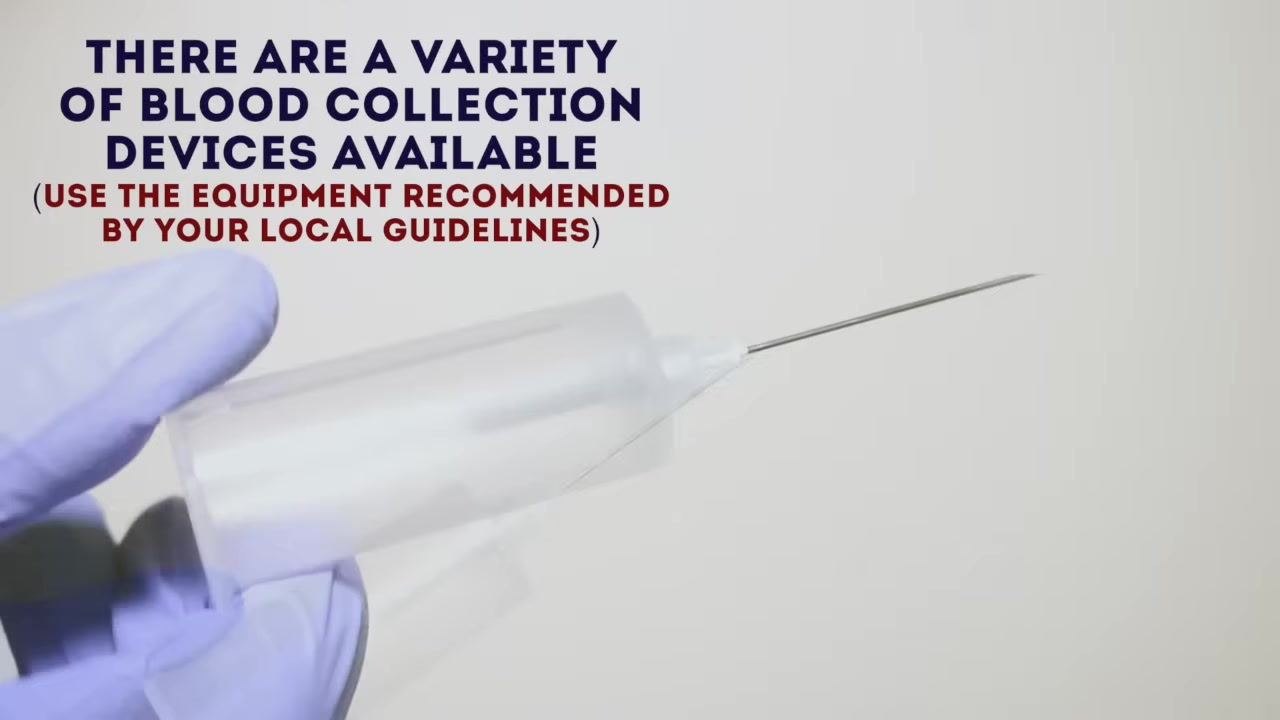
- A variety of blood collection devices are available; always use the equipment recommended by your local guidelines.
- This guide is intended for educational purposes only. Always follow your professional clinical training and local protocols, as no liability is accepted for loss incurred as a result of reliance on this information.
Verification and summary
By following these steps, you ensure patient safety, comfort, and proper preparation throughout the venepuncture procedure. Confirming patient identity, explaining the process, checking for allergies, and obtaining consent at the start sets up a safe draw. Anchoring the vein correctly, filling sample bottles to the right volume, releasing the tourniquet before withdrawing the needle, disposing of sharps and waste properly, and sealing samples correctly for transport ensures the procedure is completed safely, efficiently, and in accordance with best clinical practice.
What's next
After completing the procedure, confirm that all samples are correctly labeled and that the request form matches the patient's details before sending them to the laboratory. Continue to follow your local clinical protocols for any follow-up documentation or patient monitoring required after venepuncture.
Generation details: cost, quality tiers
Docsie billed 2,000 credits ($1.40) to analyze this 4-minute video at standard quality. The rewrite, template fill and Word/PDF exports were included. The same video at each quality tier:
| Quality | Frames sampled | Credits | Approx. cost |
|---|---|---|---|
| Draft | every 16-30 s | 1,000 | $0.70 |
| Standard (this guide) | every 8-15 s | 2,000 | $1.40 |
| Detailed | every 4-7 s | 4,000 | $2.80 |
| Ultra | every 1-3 s | 8,000 | $5.60 |
Credits priced at $0.70 per 1,000; plans include a monthly allowance. Enterprise customers on on-premise or bring-your-own-model deployments run this on their own inference and pay no per-video credits.
Generated by Docsie Video-to-Docs on 2026-09-09 from a 3-minute video. Screenshots are frames from the source video and belong to their creator, Geeky Medics, whose original is embedded above. If you own this video and want the guide removed or credited differently, contact us and we will act within one business day.