
How to Do CPR
This document explains how to do CPR when you witness someone suddenly collapse and become unresponsive. It walks you through checking for a response, calling for emergency help, opening the airway, checking for normal breathing, and performing chest compressions with rescue breaths until professional help arrives.
Video: How to perform CPR - A Step-by-Step Guide by Victor Chang Cardiac Research Institute (2022). All credit for the demonstration goes to the creator; watch the original on YouTube. The written guide below was generated from this video by Docsie. Creator? Request a change or removal.
Purpose
This document explains how to do CPR when you witness someone suddenly collapse and become unresponsive. It walks you through checking for a response, calling for emergency help, opening the airway, checking for normal breathing, and performing chest compressions with rescue breaths until professional help arrives.
Scope
This procedure applies to any situation where a person collapses and does not respond to verbal or physical stimulation. It covers the full sequence from initial safety checks through chest compressions, rescue breaths, rescuer handover, and the transition into defibrillator (AED) use. Continue following this procedure until emergency services arrive, an AED becomes available, or the person shows signs of life.
Required equipment
- A phone to call emergency services (dial 000 in Australia)
- Bystanders to assist with calling for help and locating equipment
- An automated external defibrillator (AED), if available nearby
Ensure safety
Before approaching the person, check your surroundings to confirm there is no danger to yourself or others. Only proceed once you have confirmed it is safe to do so.
Check for response
Approach the person and try to get a response. Speak loudly and clearly: "Hello, can you hear me? What's your name? Squeeze my hands." If there is no verbal response, gently pinch their shoulders and observe for any movement, sound, or reaction. If the person does not respond, move on to the next step.
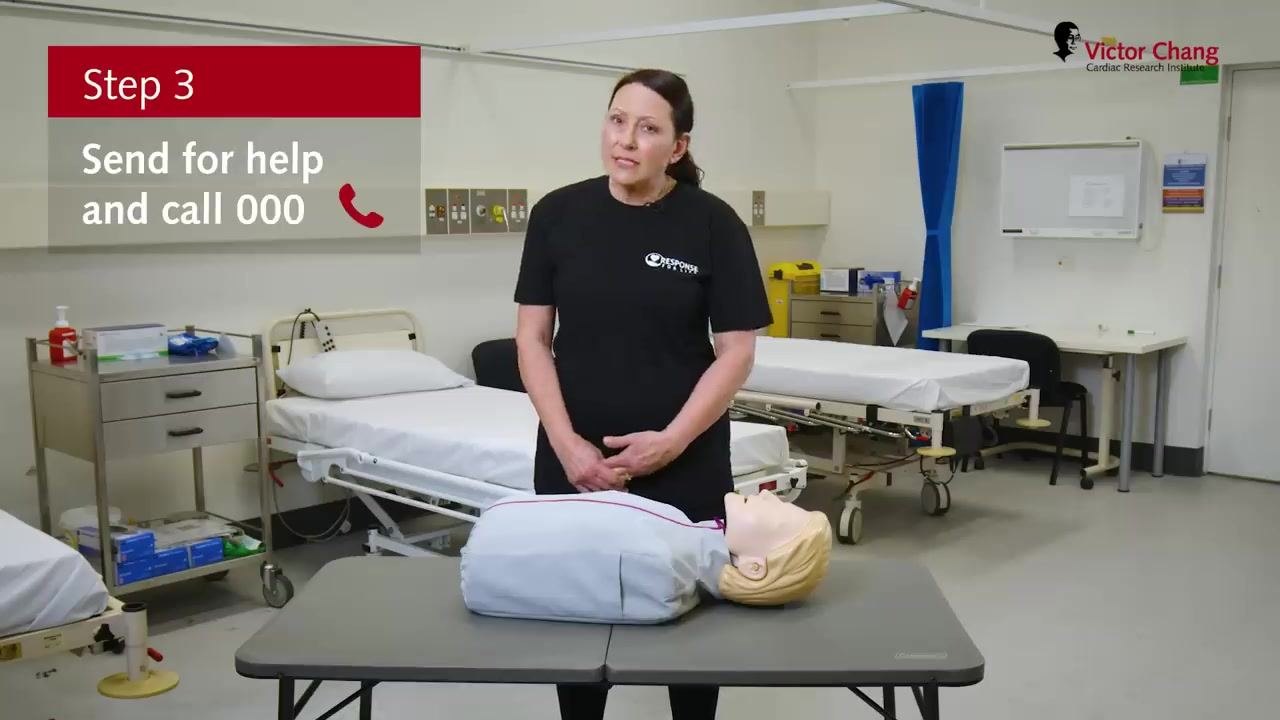
Send for help
Call for emergency services immediately. In Australia, dial 000 for emergency assistance. If bystanders are present, instruct someone specifically to call 000 and report back to you. Ask other bystanders to locate and bring the nearest defibrillator (AED) as soon as possible.
Open the airway
Kneel beside the person and gently tilt their head back to open the airway. Check inside the mouth for any visible obstructions and remove foreign objects if it is safe to do so.
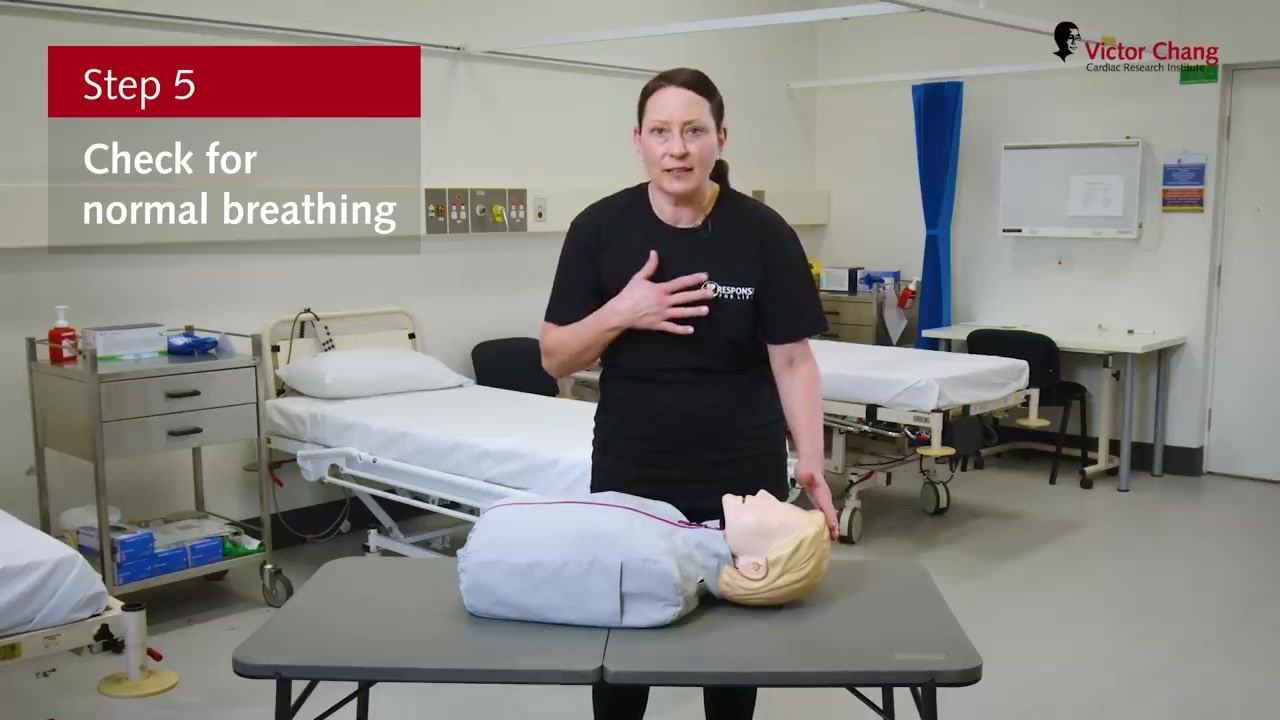
Check for normal breathing
Look over the person's chest for a normal, gentle rise and fall. Listen for sounds of normal breathing and feel for breath on your cheek or movement of the chest. If the person is not breathing, or is not breathing normally (for example, only gasping), proceed immediately to the next step.
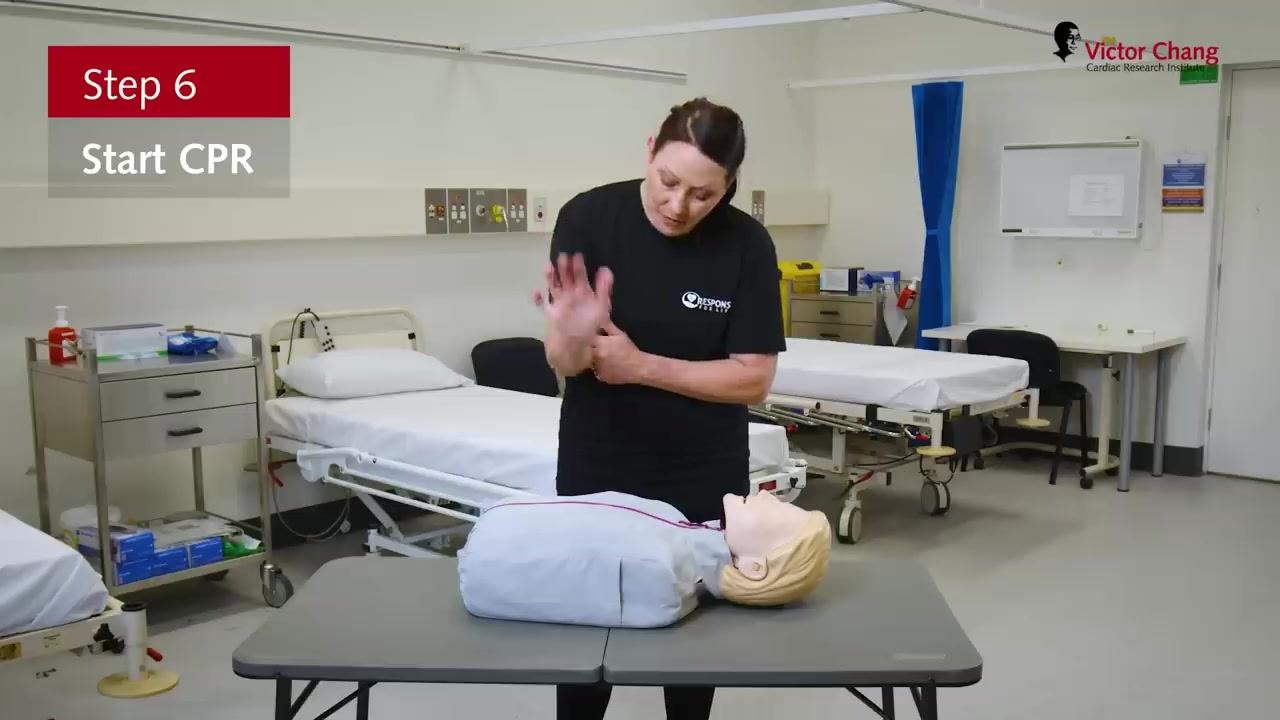
Start CPR
If the person is unresponsive and not breathing normally, begin CPR immediately. Prepare to place your hands in the correct position on the center of the chest.
Safety note: Continue CPR and follow further instructions from emergency services until professional help arrives or the person shows signs of life.
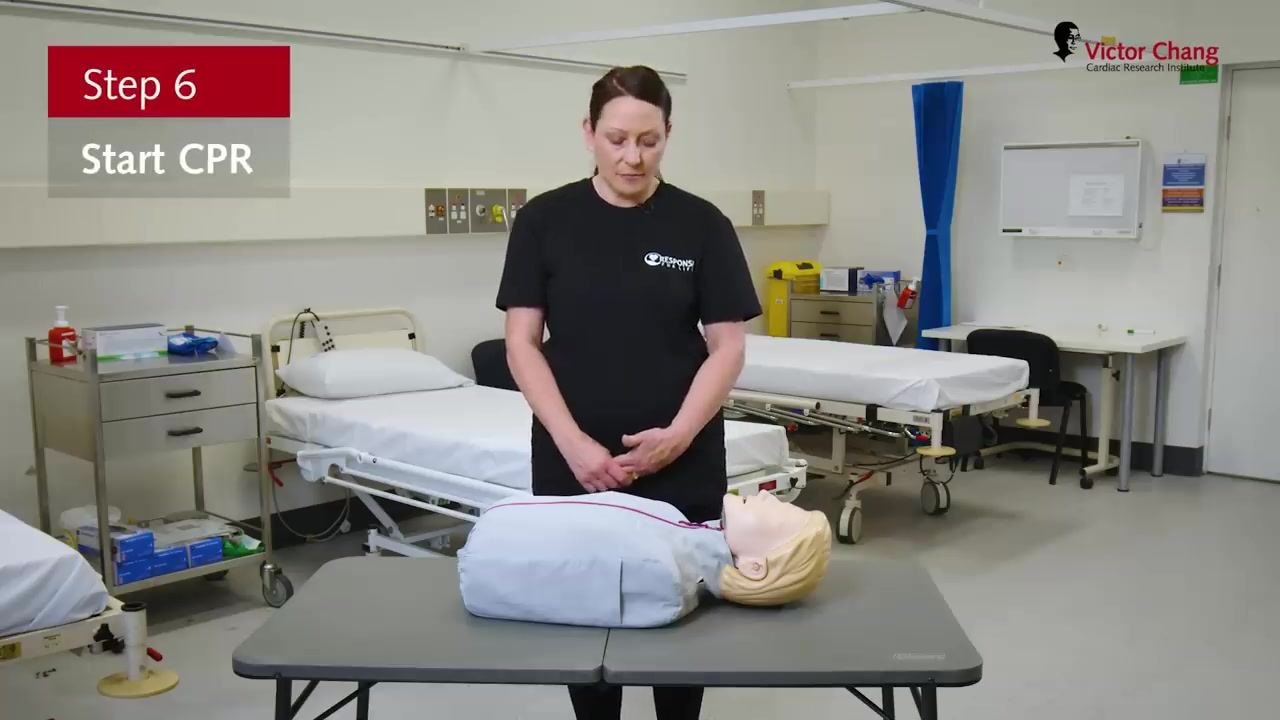
Step 7: Locate the correct hand position for chest compressions
Kneel beside the person. Place your pointer fingers under the armpits and move them to the center of the chest to find the correct position. The correct spot is the lower half of the sternum (breastbone), in the center of the chest.
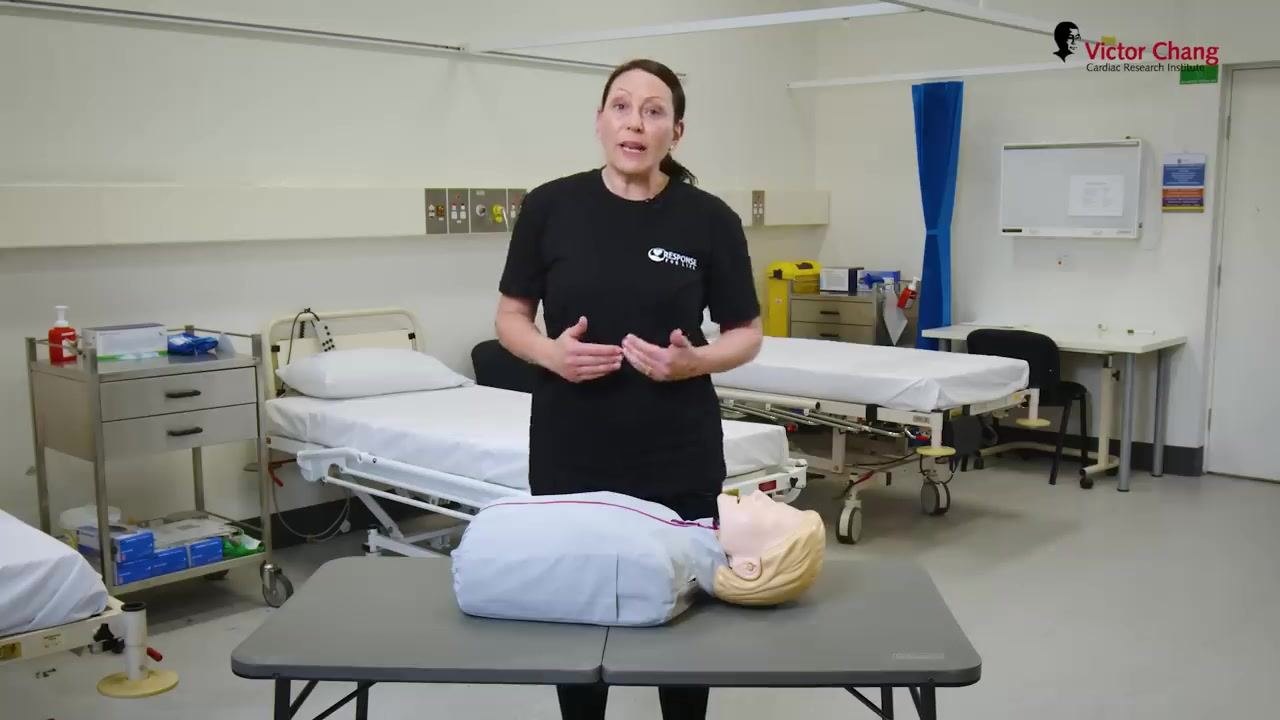
Step 8: Position your hands for compressions
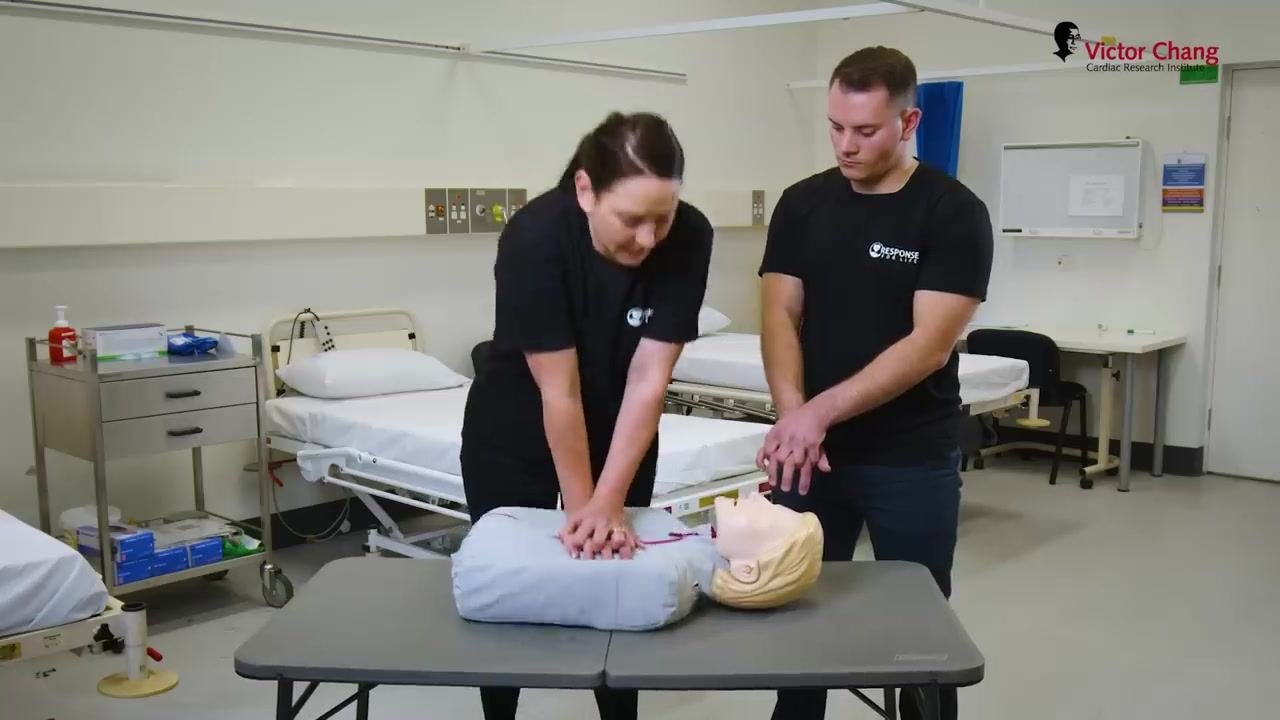
Place the heel of one palm on the center of the chest at the spot you just located, keeping your arm straight. Interlock your other hand on top of the first, ensuring your fingers stay off the chest. Lean over the person's chest so you can use your body weight for compressions.
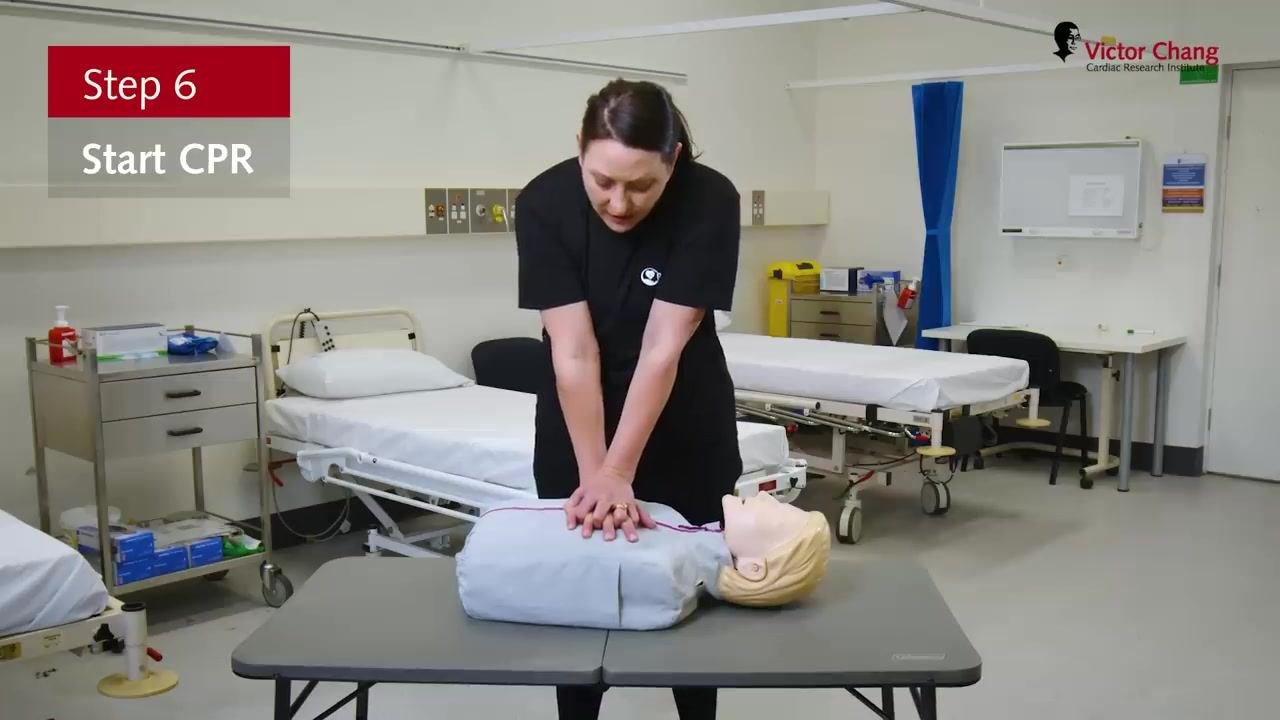
Step 9: Perform chest compressions
Push hard and fast, compressing the chest to about one third of its depth, and allow the chest to fully recoil after each compression. Maintain a rate of 100 to 120 compressions per minute. Keep your arms straight and use your upper body weight for effective compressions.
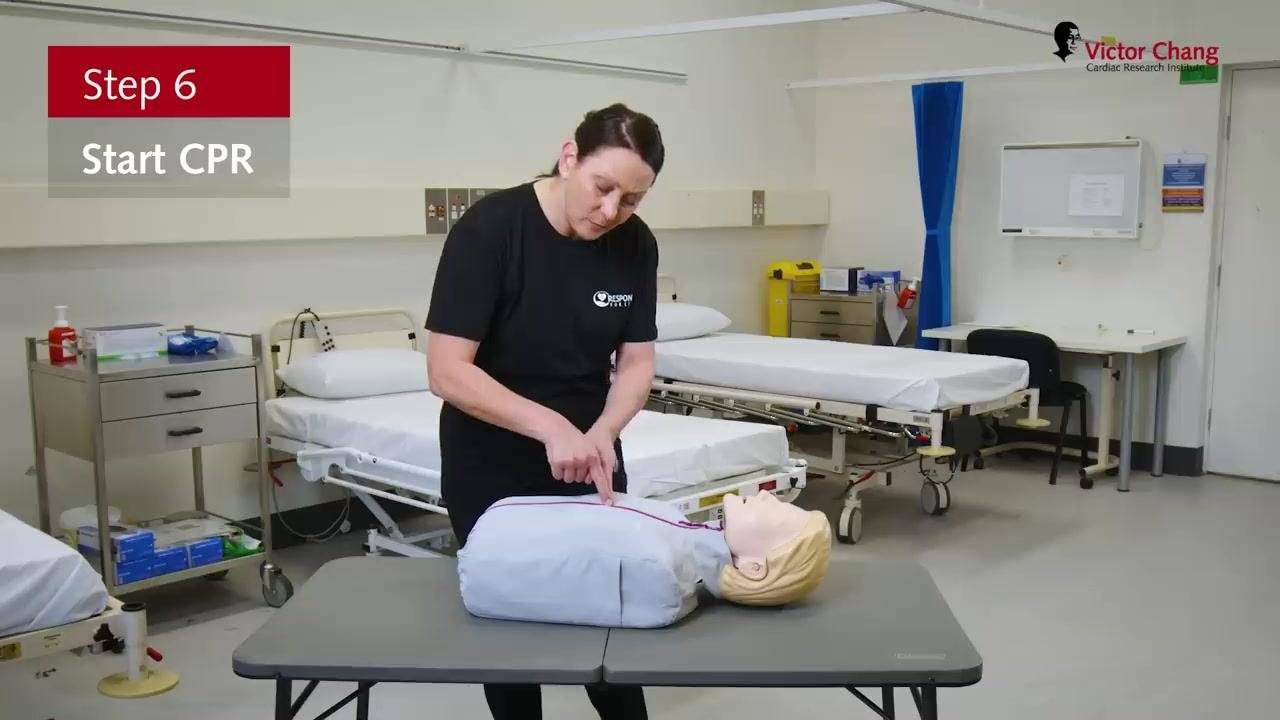
Step 10: Monitor your fatigue and continue compressions
If you become tired, ask a bystander to take over compressions. Communicate clearly to ensure a smooth handover that minimizes time off the chest.
Step 11: Provide rescue breaths (if willing and able)
After every 30 compressions, give 2 rescue breaths. Tilt the person's head back to open the airway, pinch the nose closed, open the mouth, and form a seal with your mouth over theirs. Give one breath while watching for the chest to rise, then give a second breath. Resume chest compressions immediately afterward.
Safety note: If you are unable or unwilling to provide rescue breaths, continue with chest compressions only.
Step 12: Coordinate handover with a bystander
When ready to switch rescuers, count aloud: "One, two, three." The bystander should be ready to take over compressions with minimal interruption.
Step 13: Resume chest compressions after handover
When switching rescuers, count down aloud: "Three, two, one." The new rescuer should immediately begin chest compressions with minimal interruption, maintaining correct hand placement and compression technique as previously described.
Step 14: Prepare for defibrillator (AED) training
Once chest compressions and rescue breaths are underway, remain aware that the next stage of emergency response involves learning how to use a defibrillator (AED). Stay attentive and ready to learn the steps for using an AED, as this is critical in cardiac arrest situations.
Summary and verification
- Always ensure a smooth and immediate transition when switching rescuers during CPR.
- Continue cycles of 30 compressions and 2 breaths until emergency services arrive, an AED is available, or the person shows signs of life.
- If unable to give rescue breaths, continue with compression-only CPR.
- Prepare to learn AED use as the next step in emergency response.
CPR can save a life. By following these steps in order — ensuring safety, checking for response, sending for help, opening the airway, checking breathing, and starting compressions with rescue breaths — you maximize the person's chance of survival until professional help arrives.
Generation details: cost, quality tiers
Docsie billed 2,000 credits ($1.40) to analyze this 4-minute video at standard quality. The rewrite, template fill and Word/PDF exports were included. The same video at each quality tier:
| Quality | Frames sampled | Credits | Approx. cost |
|---|---|---|---|
| Draft | every 16-30 s | 1,000 | $0.70 |
| Standard (this guide) | every 8-15 s | 2,000 | $1.40 |
| Detailed | every 4-7 s | 4,000 | $2.80 |
| Ultra | every 1-3 s | 8,000 | $5.60 |
Credits priced at $0.70 per 1,000; plans include a monthly allowance. Enterprise customers on on-premise or bring-your-own-model deployments run this on their own inference and pay no per-video credits.
Generated by Docsie Video-to-Docs on 2026-09-10 from a 3-minute video. Screenshots are frames from the source video and belong to their creator, Victor Chang Cardiac Research Institute, whose original is embedded above. If you own this video and want the guide removed or credited differently, contact us and we will act within one business day.