
How to Collect a Urine Specimen
This document explains how to collect a urine specimen using the clean catch method, a common diagnostic procedure used to obtain an uncontaminated urine sample for laboratory analysis. It covers patient cleaning instructions, the collection sequence, and proper labeling so that results accurately reflect the patient's urinary tract health.
Video: How to Collect A Clean Catch Urine Sample | Lecturio Nursing by Lecturio Nursing (2022). All credit for the demonstration goes to the creator; watch the original on YouTube. The written guide below was generated from this video by Docsie. Creator? Request a change or removal.
This document explains how to collect a urine specimen using the clean catch method, a common diagnostic procedure used to obtain an uncontaminated urine sample for laboratory analysis. It covers patient cleaning instructions, the collection sequence, and proper labeling so that results accurately reflect the patient's urinary tract health.
Purpose
The purpose of this procedure is to collect a urine specimen that is free from contamination by external bacteria found on the skin of the penis or vagina. Following this method ensures that only internal bacteria present in the urinary tract are detected and treated.
Scope
This procedure applies to any setting where a clean catch urine specimen is collected, including doctor's offices and hospitals. It covers patient instruction, sample collection, and specimen labeling prior to laboratory testing.
Required equipment
- Sterile specimen cup with lid
- Cleaning towelettes (one per wipe area)
- Patient identification labels (pre-printed stickers or blank labels for handwriting)
- Towels for patient cleanup, if needed
Step-by-step procedure
Step 1: Understand the target of the clean catch method
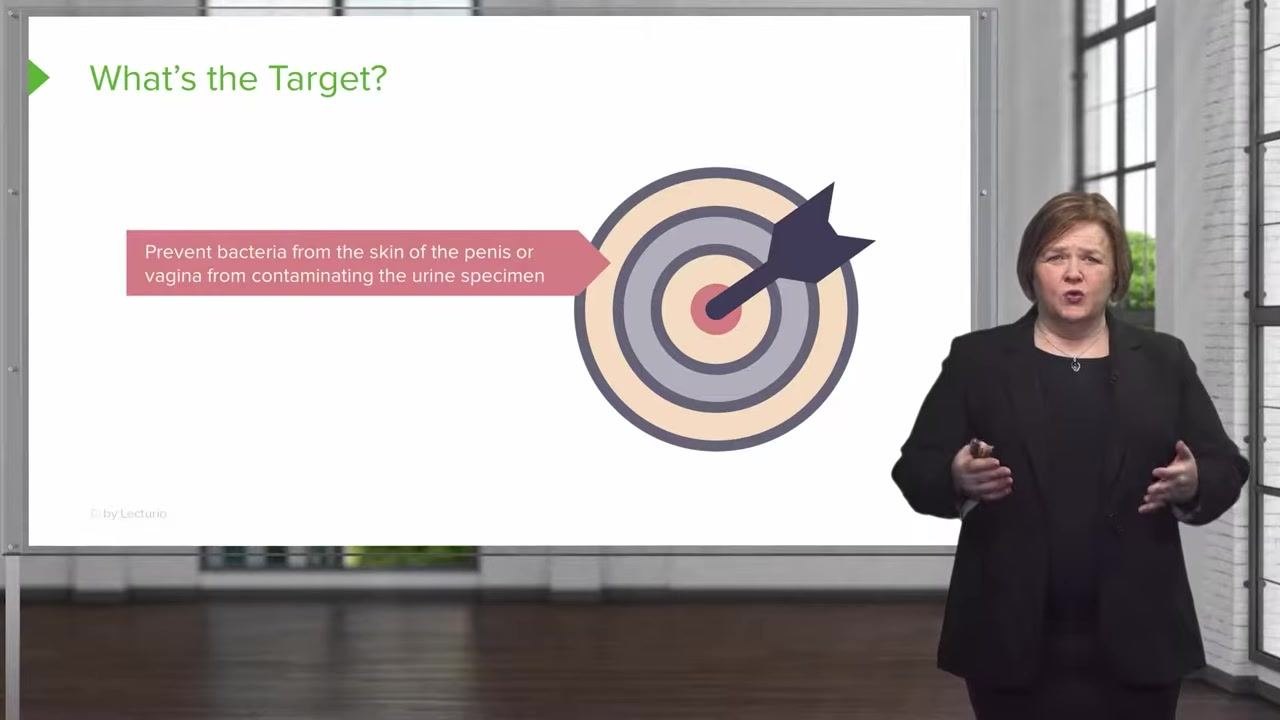
Before instructing the patient, understand that the goal is to prevent bacteria from the skin of the penis or vagina from contaminating the urine specimen. Keeping the sample free of external bacteria ensures that only internal bacteria are identified and treated.
Step 2: Instruct the patient on proper cleaning technique
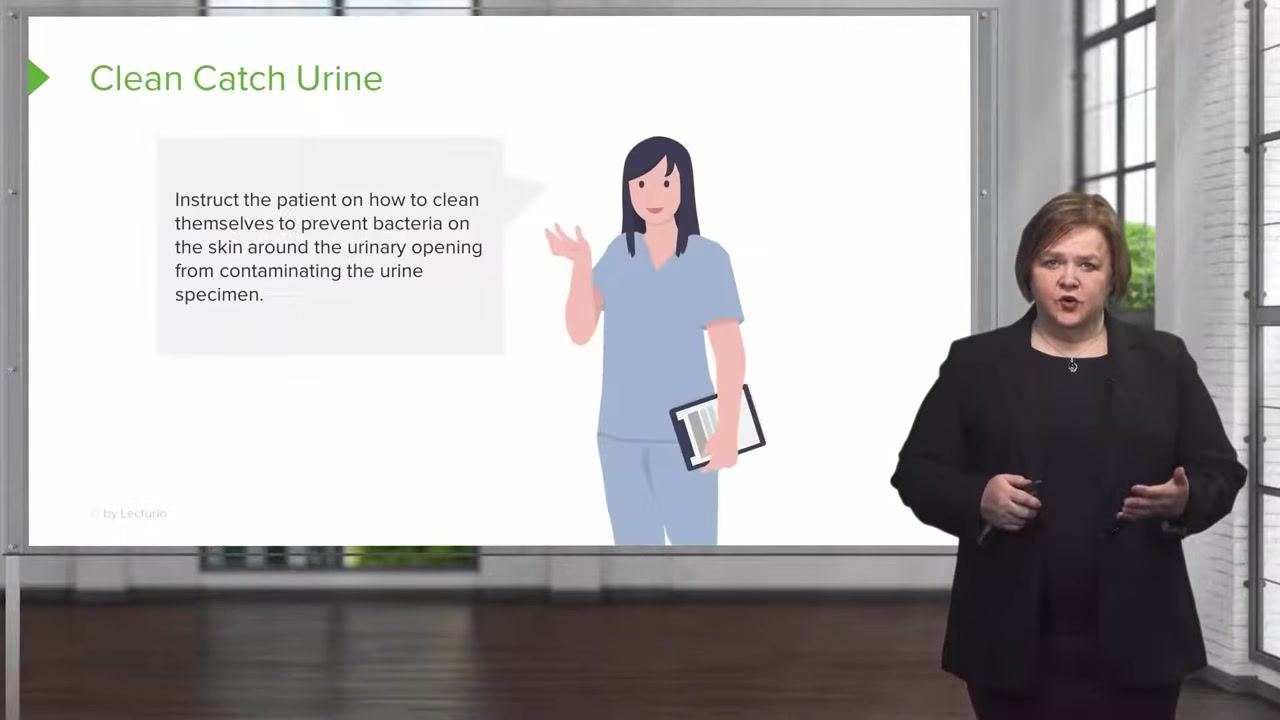
Explain to the patient how to clean themselves before collection to prevent bacteria on the skin around the urinary opening from contaminating the specimen. Clear instruction at this stage is essential to avoid a contaminated sample.
Step 3: Provide gender-specific cleaning instructions
Give the patient cleaning instructions appropriate to their anatomy:
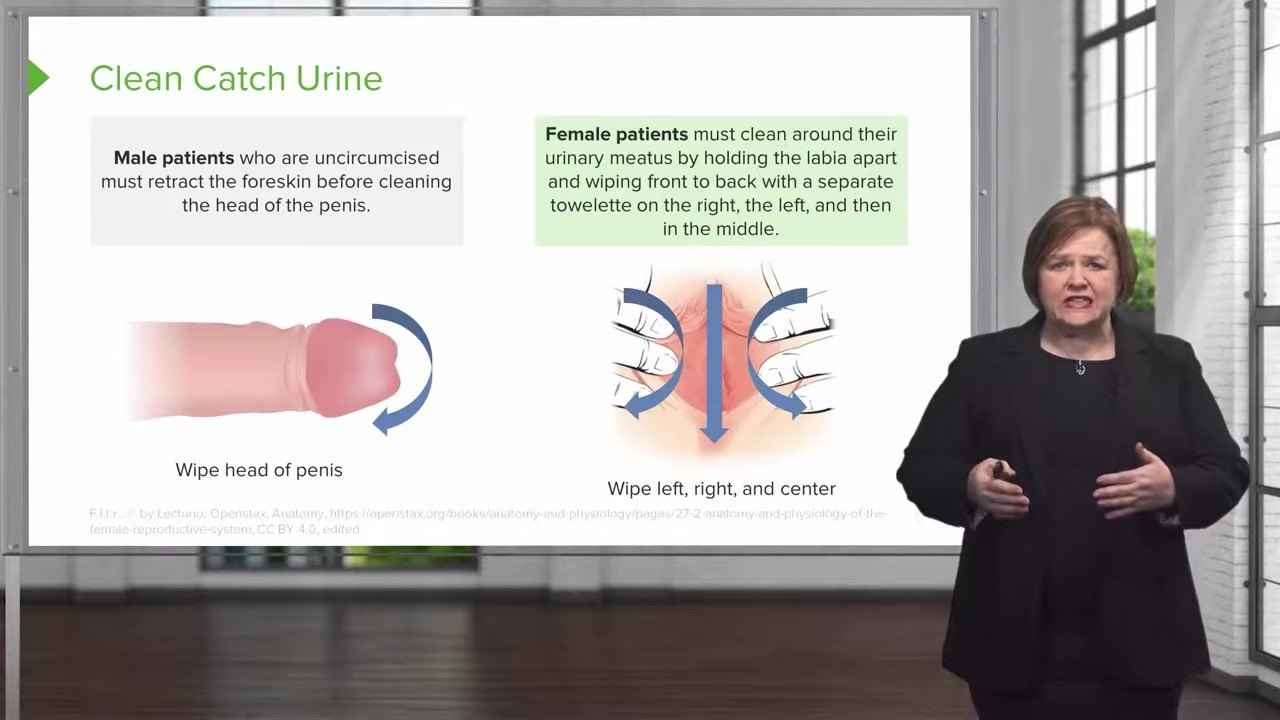
- Uncircumcised male patients: Retract the foreskin before cleaning, then wipe the head of the penis with a towelette.
- Female patients: Hold the labia apart and wipe from front to back, using a separate towelette for the right side, the left side, and then the middle. This technique is similar to the cleaning process used before catheterization.
Safety note: Reinforce that each wipe should be used only once and in the sequence described, to minimize the risk of transferring bacteria back onto the cleaned area.
Step 4: Guide the patient through the collection sequence
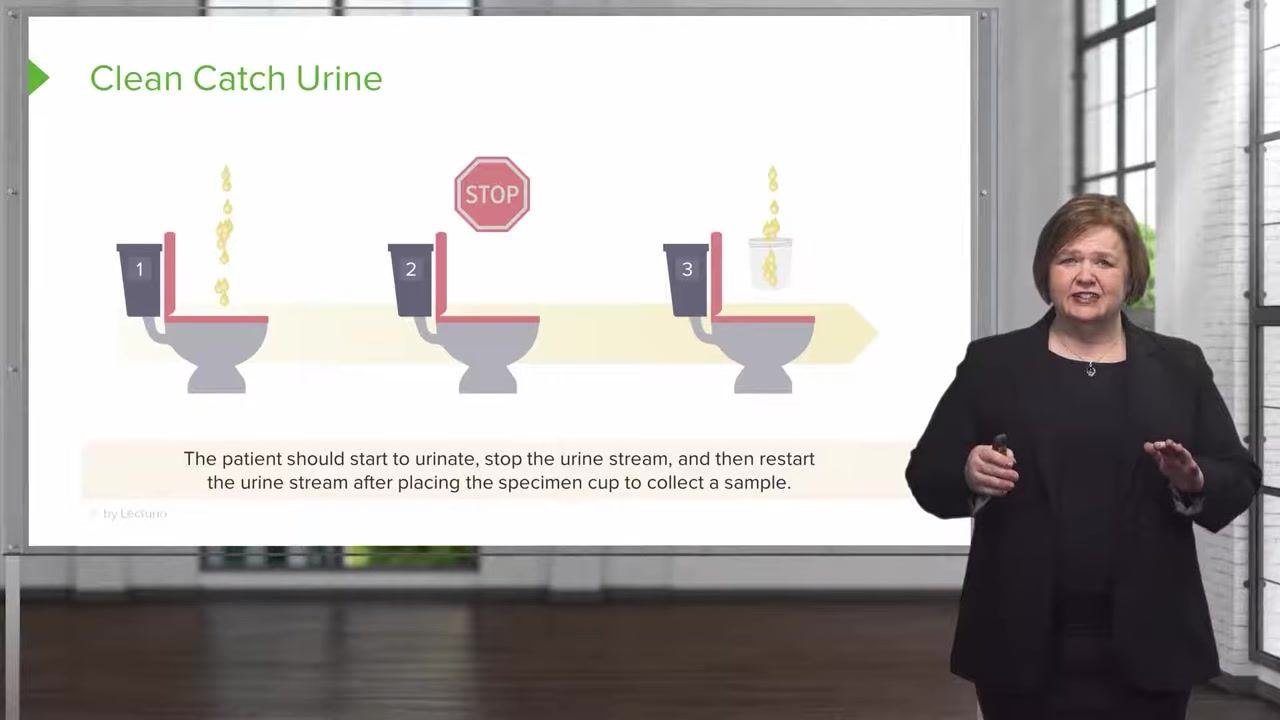
Instruct the patient to follow this three-part sequence when collecting the specimen:
- Start urinating into the toilet.
- Stop the urine stream.
- Restart the stream while positioning the specimen cup to collect the sample.
This sequence prevents bacteria from the initial urine flow from contaminating the collected sample.
Safety note: Let the patient know that this process may be easier for male patients due to a more directional urine stream, while female patients may find it more challenging and experience some mess. Reassure patients that towels are available in the bathroom for cleanup and that proficiency improves with practice.
Step 5: Label the specimen cup before handing it to the patient
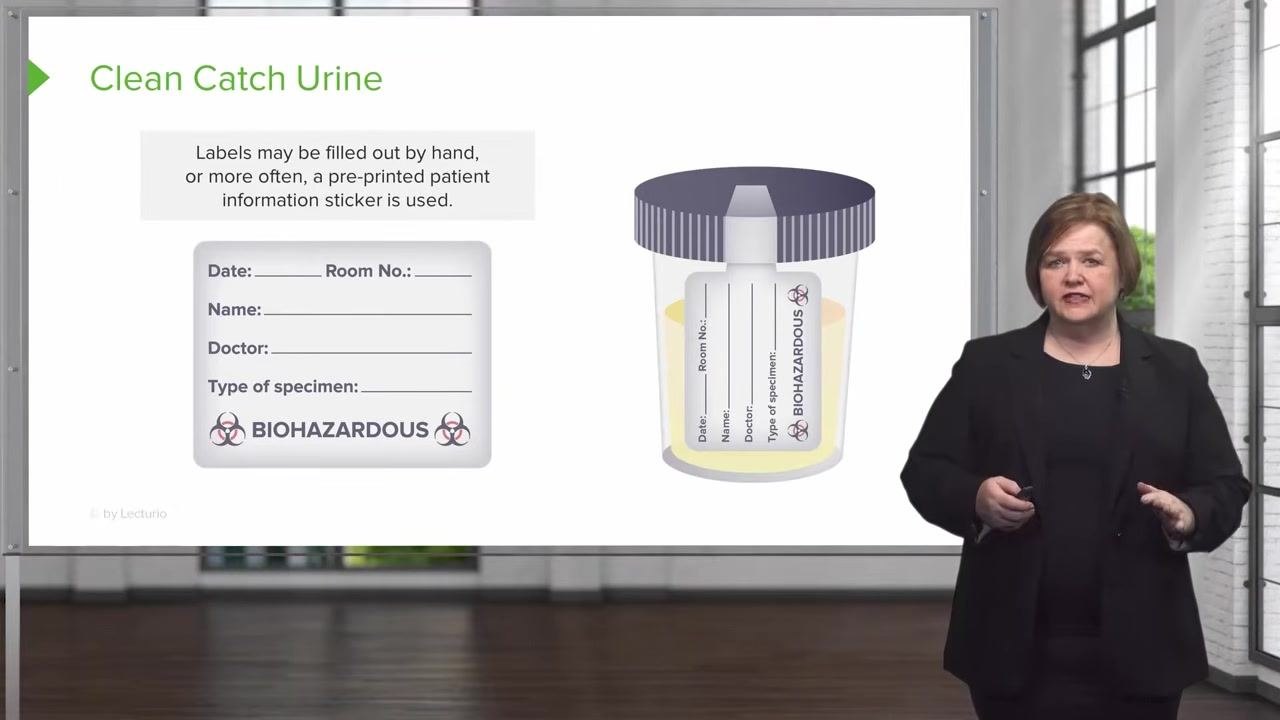
Before giving the specimen cup to the patient, affix a label to the cup itself, not the lid. Ensure the label includes complete patient identification information: date, room number (if applicable), patient name, doctor's name, and type of specimen.
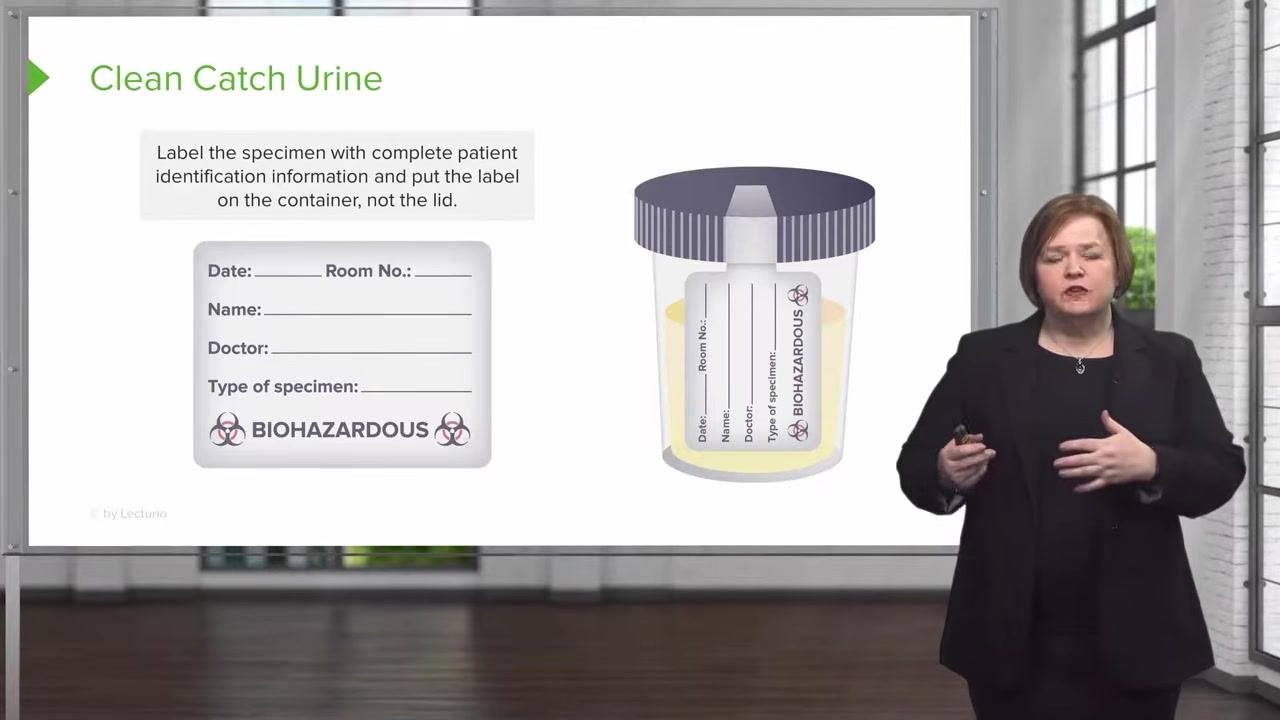
Step 6: Choose a pre-printed or handwritten label
Use either a pre-printed patient information sticker or a handwritten label; both are acceptable, provided the label remains on the cup and not the lid. Confirm the label includes: date of collection, time of collection, patient's name, room number (if applicable), doctor's name, and type of specimen. The date, time, and patient's name are the most critical details for accurate identification and processing.
Step 7: Confirm the date and time on the label
Always record both the date and the exact time the specimen was collected on the label. This information is critical for correct laboratory processing and interpretation of results.
Step 8: Complete the collection process
After the specimen is collected and labeled, direct the patient to place the cup in the designated area in a doctor's office, or ensure it is transported to the laboratory in a hospital setting.
Verification and summary
Before sending the specimen for testing, verify the following:
- The patient followed the correct cleaning technique for their anatomy.
- The start-stop-restart urination sequence was used to avoid contamination.
- The label is affixed to the cup, not the lid.
- The label is complete and legible, including date, time, patient name, room number (if applicable), doctor's name, and type of specimen.
Following these steps ensures a clean catch urine specimen is collected and labeled correctly, minimizing contamination and supporting accurate laboratory results.
Generation details: cost, quality tiers
Docsie billed 2,000 credits ($1.40) to analyze this 4-minute video at standard quality. The rewrite, template fill and Word/PDF exports were included. The same video at each quality tier:
| Quality | Frames sampled | Credits | Approx. cost |
|---|---|---|---|
| Draft | every 16-30 s | 1,000 | $0.70 |
| Standard (this guide) | every 8-15 s | 2,000 | $1.40 |
| Detailed | every 4-7 s | 4,000 | $2.80 |
| Ultra | every 1-3 s | 8,000 | $5.60 |
Credits priced at $0.70 per 1,000; plans include a monthly allowance. Enterprise customers on on-premise or bring-your-own-model deployments run this on their own inference and pay no per-video credits.
Generated by Docsie Video-to-Docs on 2026-09-09 from a 3-minute video. Screenshots are frames from the source video and belong to their creator, Lecturio Nursing, whose original is embedded above. If you own this video and want the guide removed or credited differently, contact us and we will act within one business day.