
How to Change a Wound Dressing
This procedure explains how to change a wound dressing using the wet-to-dry method. It covers preparing supplies, maintaining sterile technique, packing the wound with saline-soaked gauze to support debridement, and securing the final dressing. Follow these steps in order to ensure the wound is cleaned, packed, and protected correctly.
Video: Dressing Changes - Wet to Dry (Nursing Skills) NURSING.com by NURSINGcom (2021). All credit for the demonstration goes to the creator; watch the original on YouTube. The written guide below was generated from this video by Docsie. Creator? Request a change or removal.
This procedure explains how to change a wound dressing using the wet-to-dry method. It covers preparing supplies, maintaining sterile technique, packing the wound with saline-soaked gauze to support debridement, and securing the final dressing. Follow these steps in order to ensure the wound is cleaned, packed, and protected correctly.
Purpose
This SOP provides step-by-step guidance for performing a wet-to-dry wound dressing change while maintaining sterile technique and supporting effective debridement of non-viable tissue.
Scope
This procedure applies to any clinical staff member performing a wound dressing change after a wound assessment has already been completed. It assumes basic familiarity with sterile technique.
Prerequisites
- A wound assessment must have already been performed before starting the dressing change.
- The clinician should be familiar with maintaining a sterile field and using sterile forceps.
- Specific provider orders for dressing type, frequency, and any wound cleanser must be reviewed before beginning.
Required equipment and PPE
- Dressing change kit (if available), or, if not available:
- Two packs of sterile 4x4 gauze
- One ABD (abdominal) pad
- Sterile bottle of saline
- Sterile forceps
- Sterile gloves
- Medical tape (one-inch tape is acceptable; three-inch wide silk tape is recommended for better coverage and adhesion)
- Wound cleanser spray, if ordered by the provider
Depending on wound size, you may need two, three, or four packs of sterile gauze. Prepare the appropriate amount and note the quantity used, as this must be documented later.
Procedure
Step 1: Remove the old dressing and assess the wound
Remove the old dressing from the wound and assess the wound thoroughly before proceeding. This confirms the wound is ready for a fresh dressing and gives you a baseline to compare against once the new dressing is applied.
Step 2: Gather and prepare supplies
Obtain a dressing change kit if one is available and open it to access the sterile supplies inside. If a kit is not available, gather two packs of sterile 4x4 gauze and one ABD pad.
Open all packages and prepare supplies before putting on sterile gloves, since the outside of the packages is not sterile. Communicate the number of gauze packs used in your report — for example, "I needed three packs of sterile gauze for this dressing change."
Step 3: Set up a sterile field
Arrange all dressing supplies on a clean, accessible surface near the patient before you begin handling any sterile items.
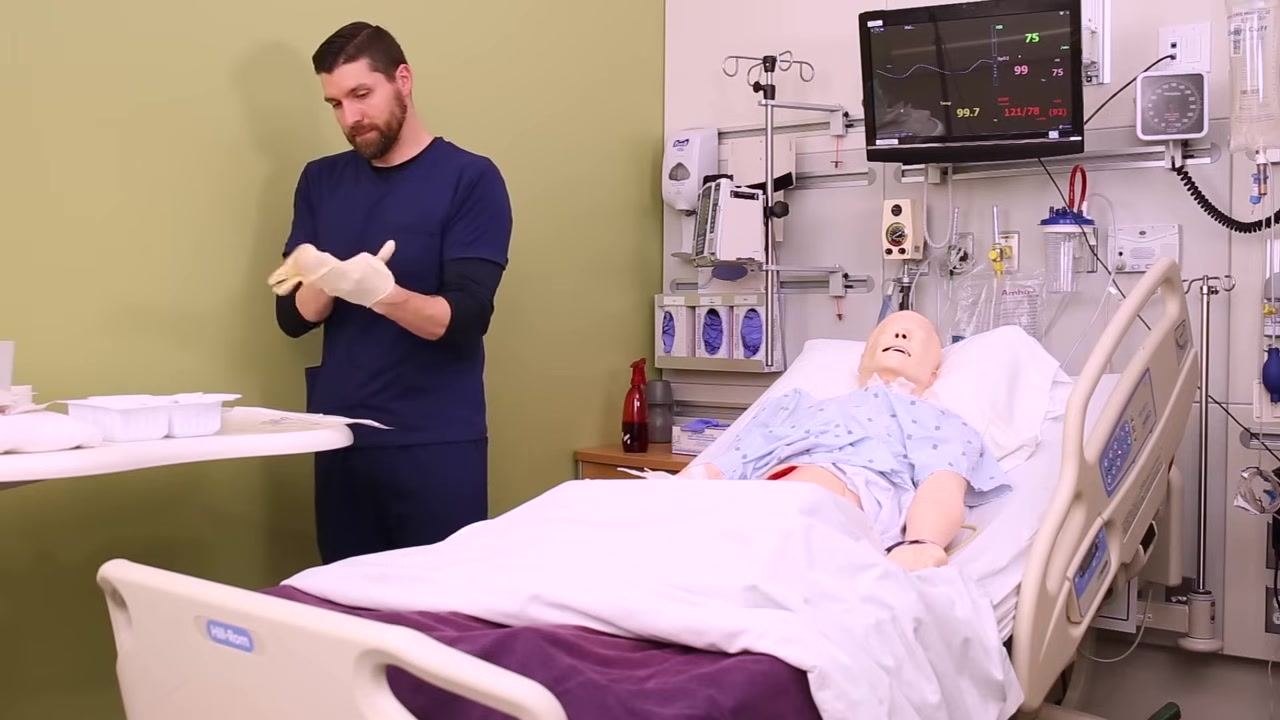
Step 4: Don sterile gloves
Put on sterile gloves only after all supplies are prepped and opened. Ensure the gloves are worn properly to maintain sterility throughout the rest of the procedure.
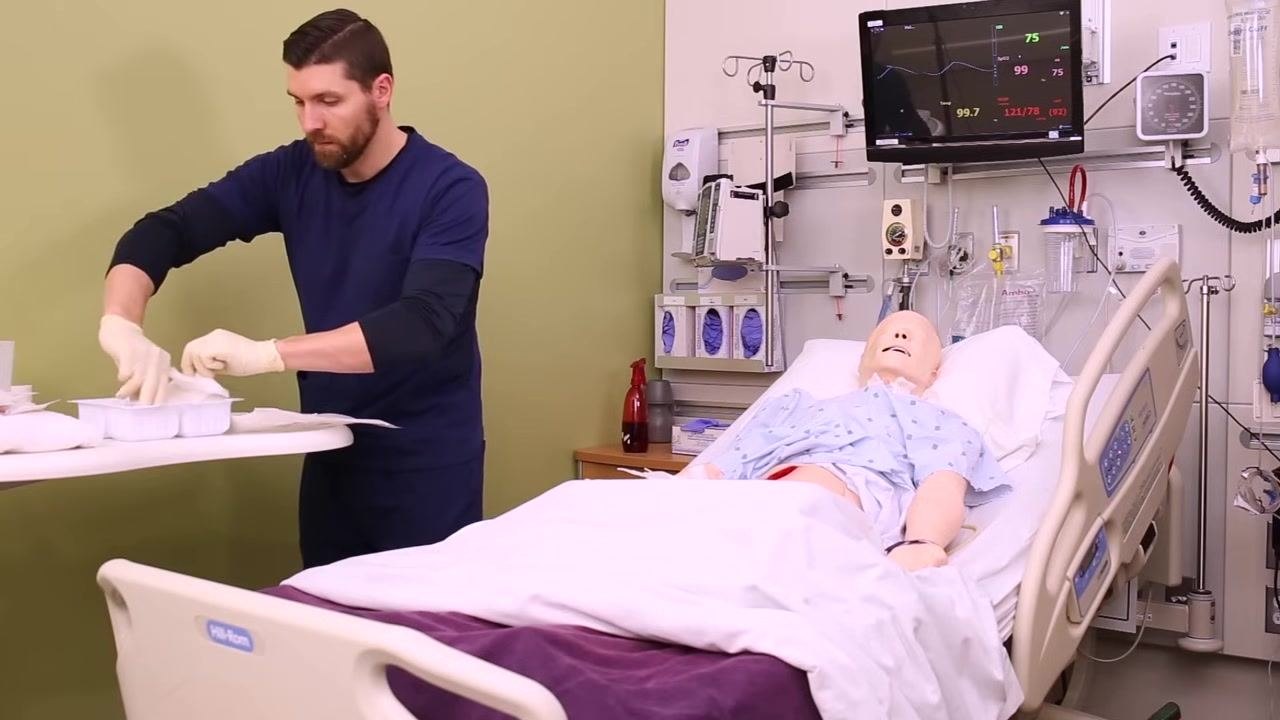
Step 5: Separate gauze into wet and dry portions
Identify the dry gauze in your kit and separate it from the gauze you will soak. You need both dry and wet gauze available for the packing and covering steps that follow.
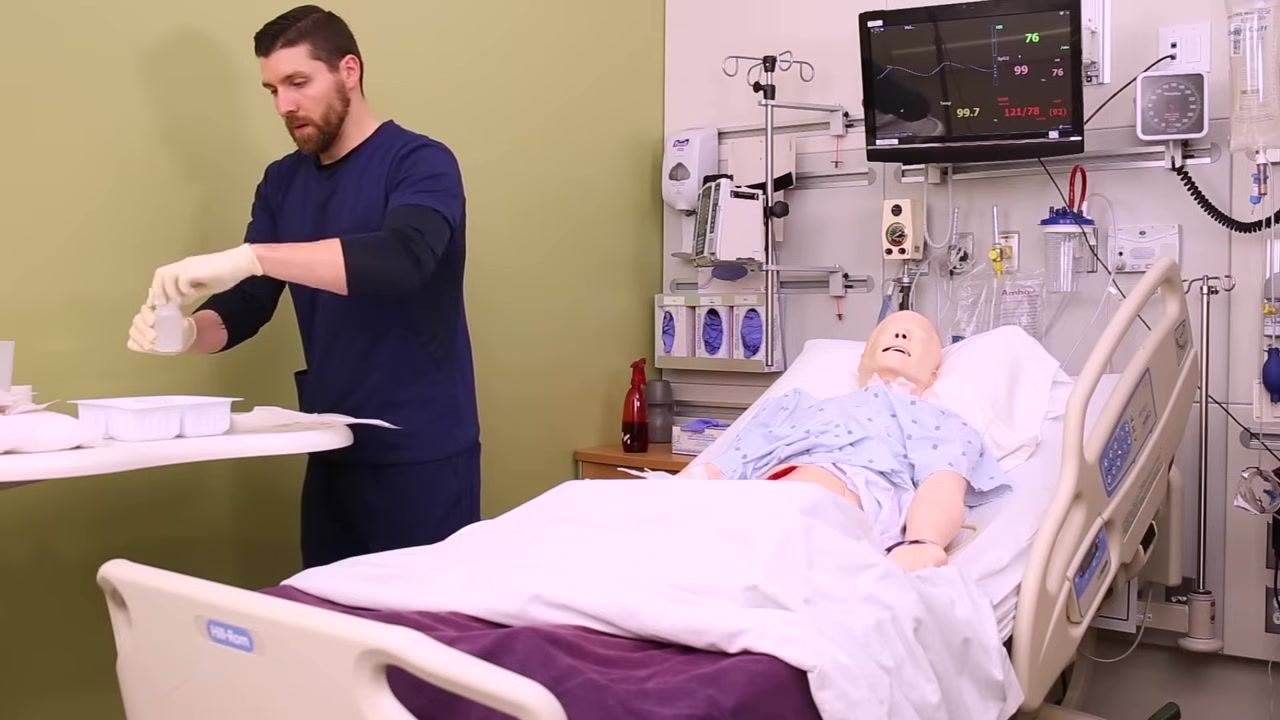
Step 6: Soak the gauze in sterile saline
Open the sterile saline bottle and pour saline over half of the gauze pads, ensuring they are thoroughly soaked. Leave the remaining gauze pads dry for use later in the procedure.
Note: If a wound cleanser spray has been ordered, apply it before donning sterile gloves — spray the wound with the cleanser, pat it dry with sterile gauze, and then proceed with sterile technique from Step 4.
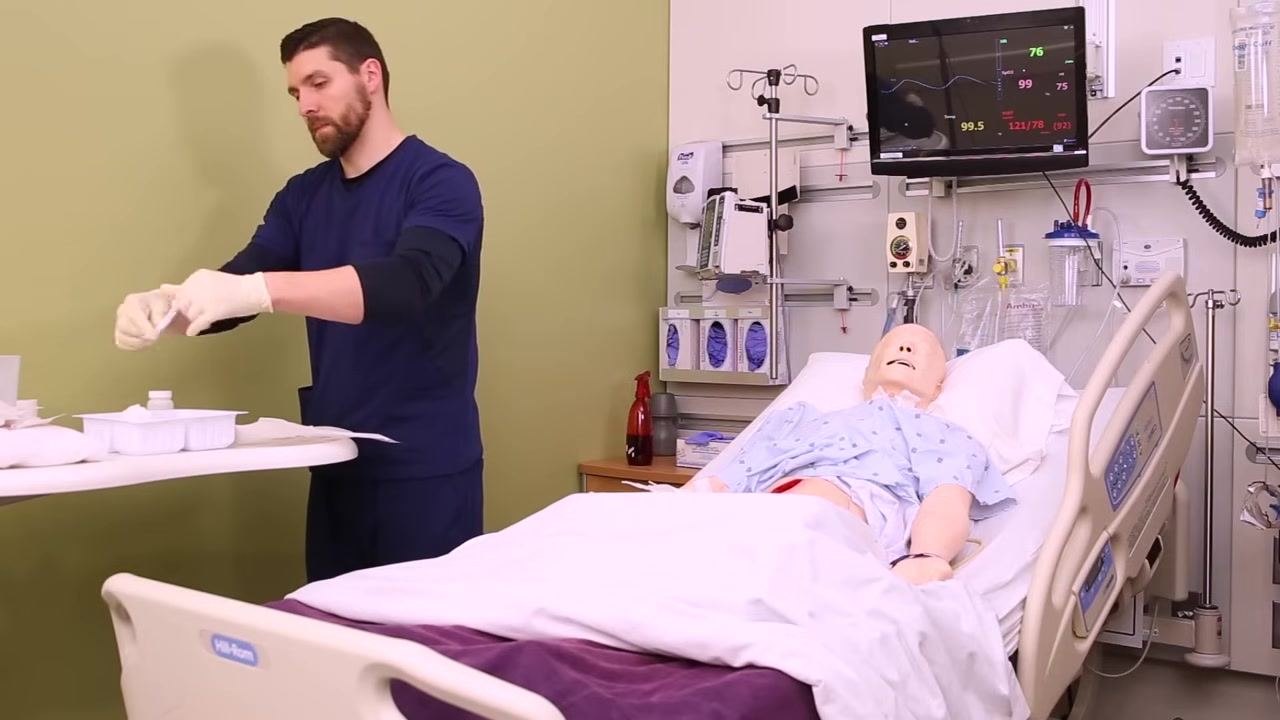
Step 7: Wring out the saline-soaked gauze
Using sterile technique, pick up one piece of saline-soaked gauze at a time and fully open it so it is unfolded. Wring out the gauze to remove excess saline — it should be moist but not dripping wet, since the wound environment should be moist rather than overly wet or dry.
Step 8: Pack the wound with saline-soaked gauze
Using sterile forceps, pick up the wrung-out, saline-soaked gauze and carefully pack it into the wound bed, covering the entire surface. Avoid packing the wound too tightly — the gauze should fill the wound without creating pressure. Do not allow your gloved fingers to touch the wound edges, to preserve sterility.
Continue with additional pieces of saline-soaked gauze until the wound bed is fully covered. Use as many pieces as the wound size requires.
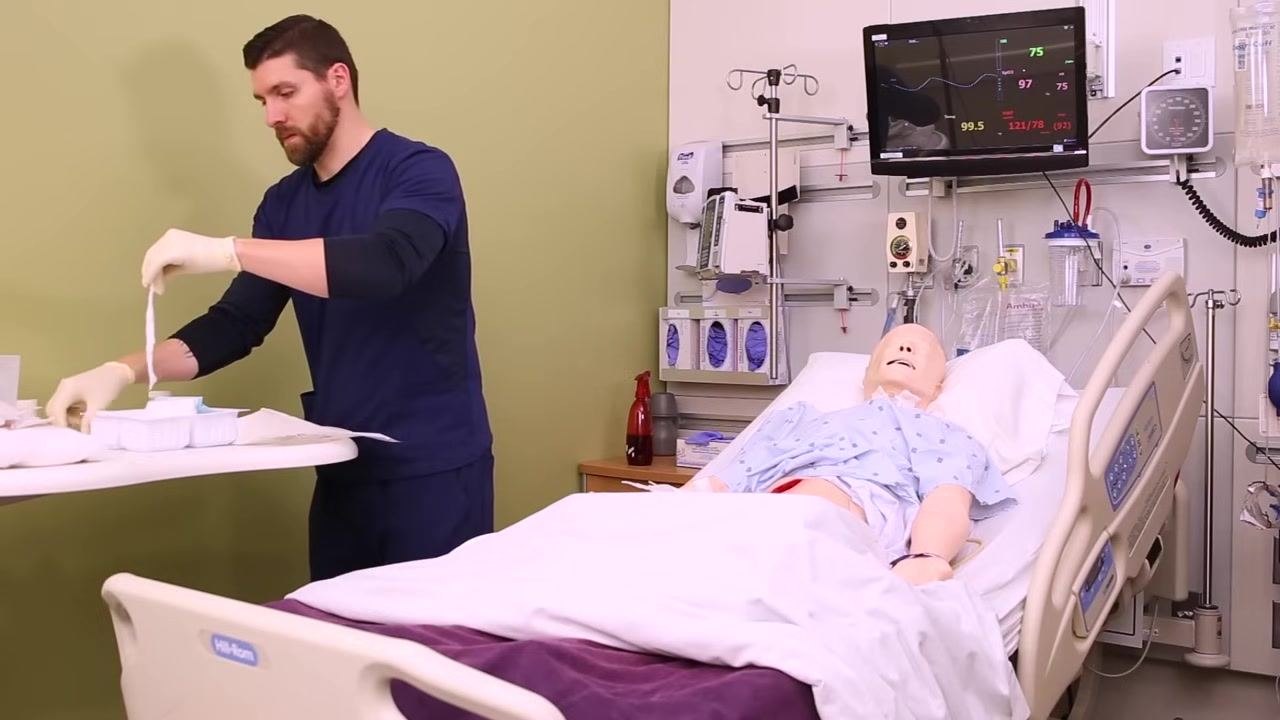
Step 9: Ensure the packing contacts all wound surfaces
Trim any excess tissue from the wound sidewalls if necessary so the packing can reach every surface. Make sure the saline-soaked gauze is in direct contact with the entire wound bed and sidewalls — if the dressing does not touch the wound walls, it will not aid in debridement. As before, avoid packing too tightly.
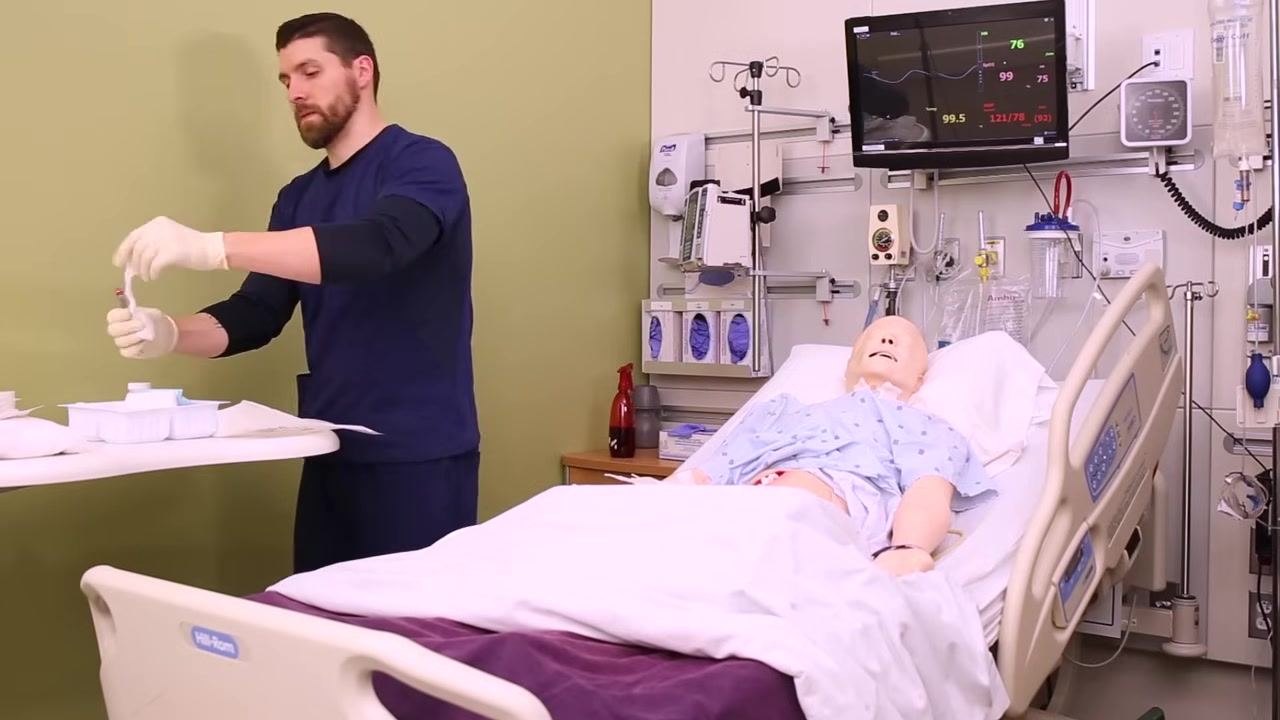
Step 10: Apply dry gauze over the packed wound
Once the wound is fully packed, place a couple of pieces of dry gauze directly over the saline-soaked packing. This dry layer acts as a barrier that prevents moisture from the internal packing from transferring to the external dressing.
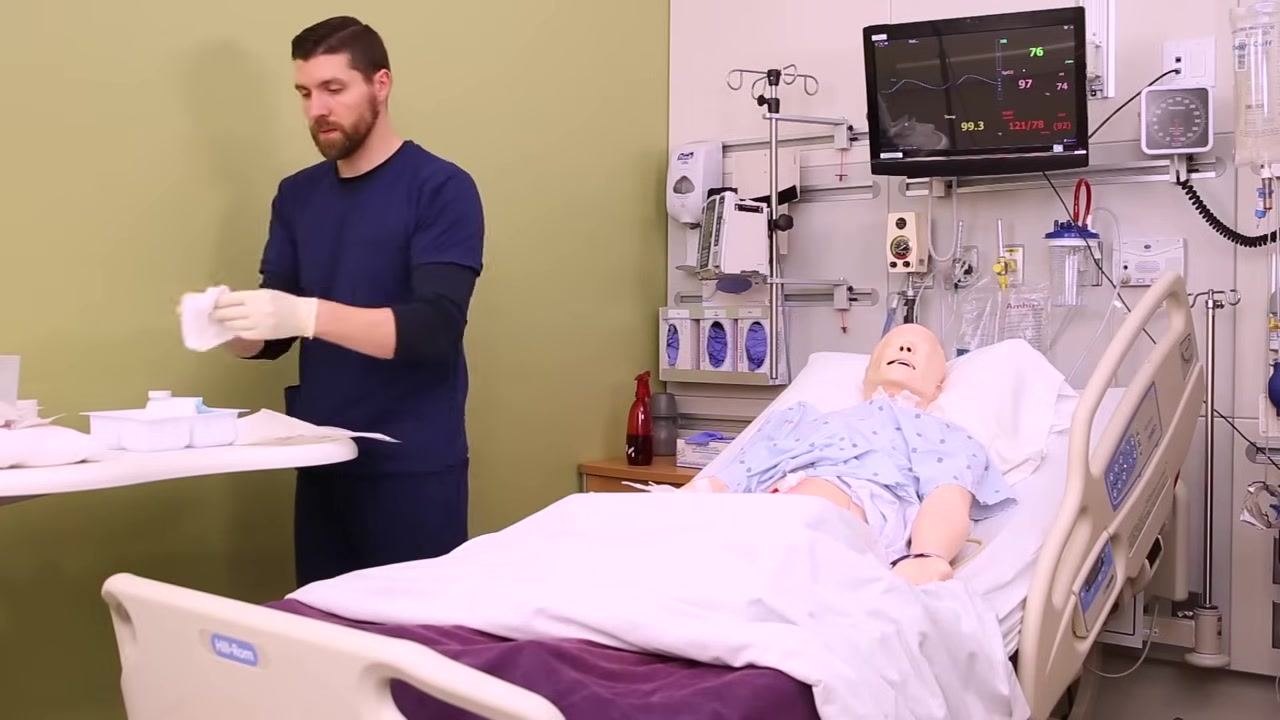
Step 11: Cover with an ABD pad
Take an ABD (abdominal) pad and place it over the dry gauze for additional absorption and protection. Ensure the pad fully covers both the wound area and the dry gauze underneath.
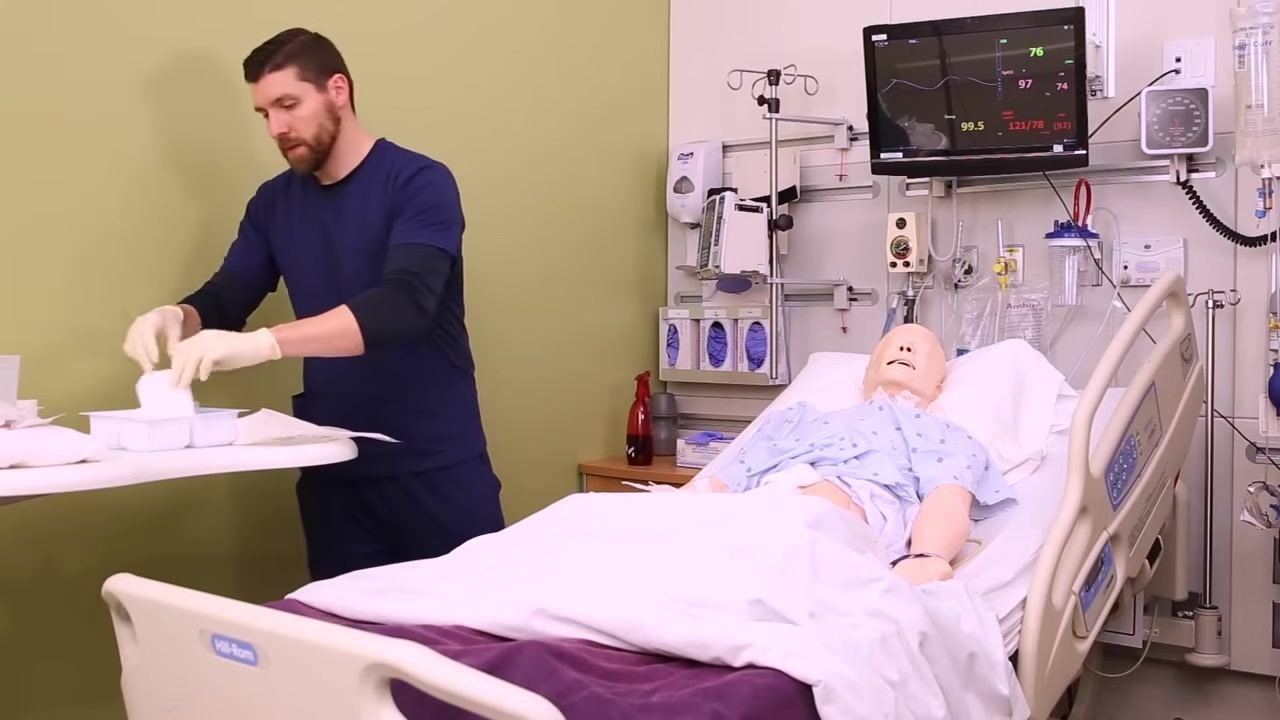
Step 12: Secure the dressing with tape
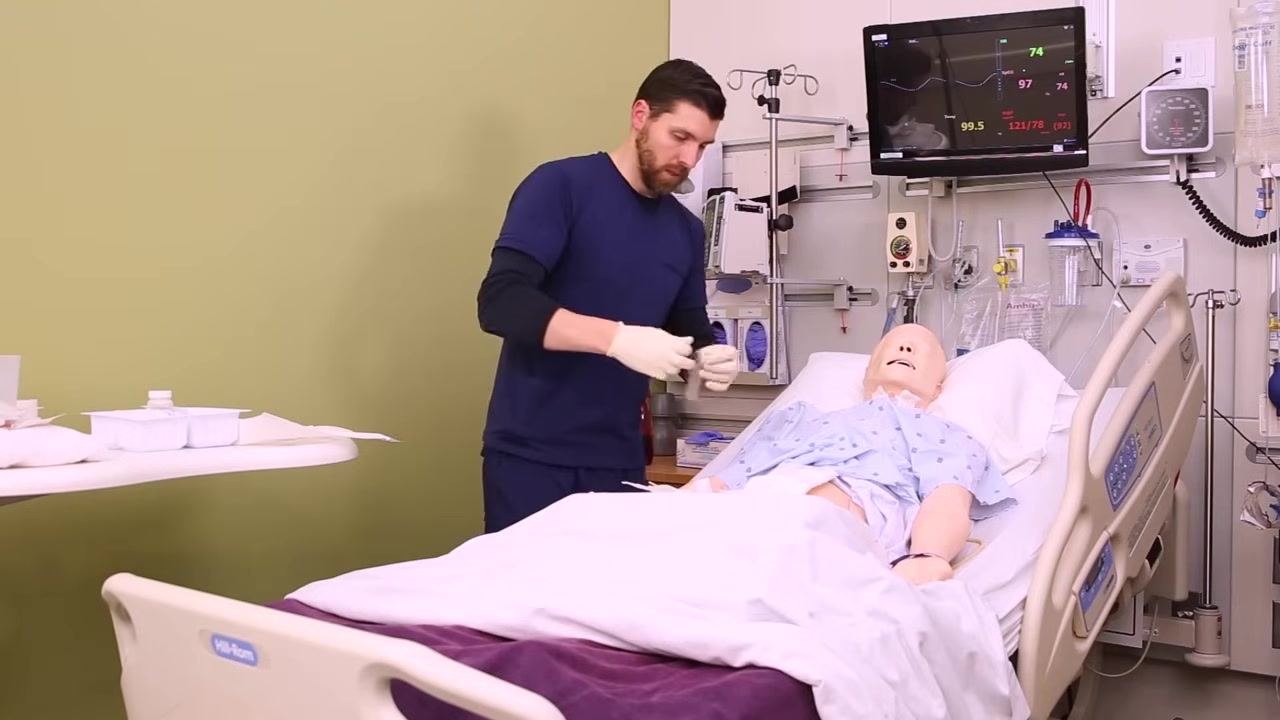
Use medical tape to secure all four sides of the ABD pad to the patient's skin. One-inch tape is acceptable, though three-inch wide silk tape is recommended for better coverage and adhesion. Apply the tape firmly but not so tight that it causes discomfort or restricts circulation.
Step 13: Note the change in sterility requirements
Once the wound is covered with the dressing, sterile technique is no longer required. It is now acceptable to touch the patient's skin, gown, or sheets, since the wound is protected.
Step 14: Label and document the dressing change
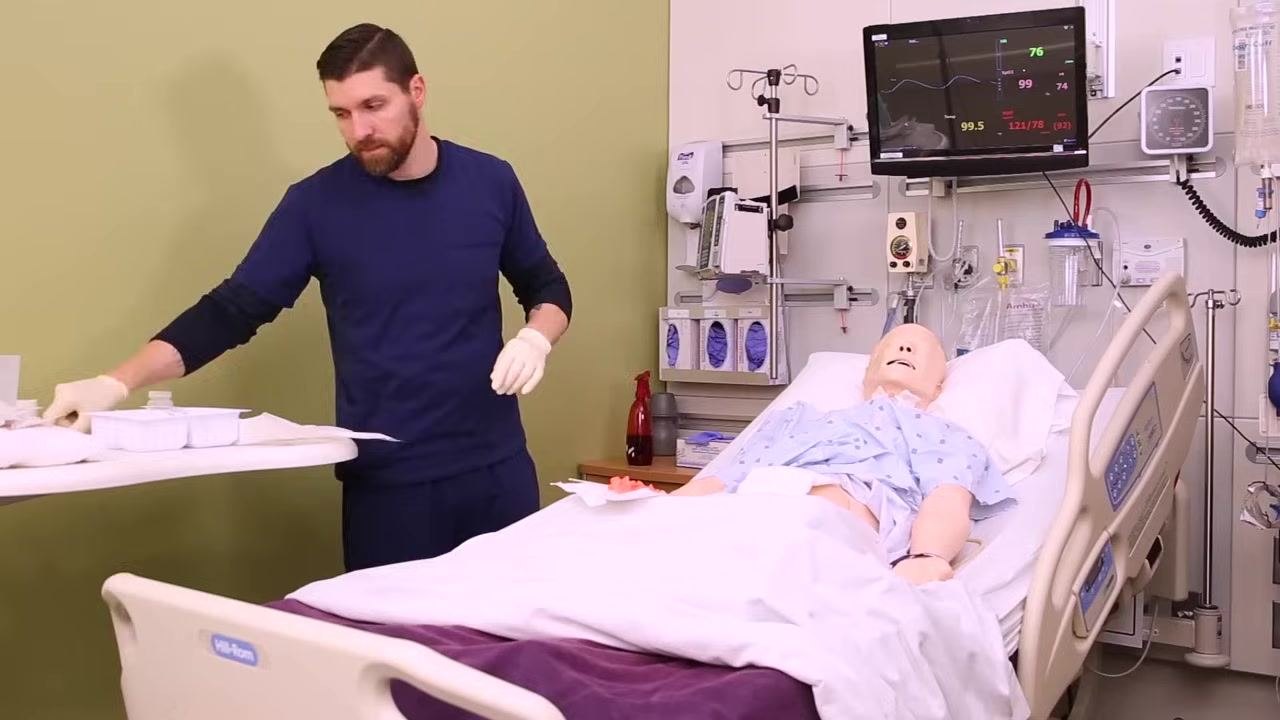
Write the time, date, and your initials on the outer dressing to indicate when it was changed. Document the dressing change and wound assessment in the patient's medical record, including the number of gauze pieces used and any observations about the wound.
Step 15: Complete the procedure
Remove your gloves once the dressing change and documentation are complete.

Verification and summary
- Confirm the entire wound bed and sidewalls were covered with saline-soaked gauze, with no exposed areas.
- Confirm dry gauze and an ABD pad were placed over the packing, and that the ABD pad is fully secured on all four sides.
- Confirm the outer dressing is labeled with the time, date, and your initials.
- Confirm the number of gauze packs used and any wound observations are documented in the patient's medical record.
- Always follow the provider's specific orders for dressing type and frequency.
- The wet-to-dry technique aids debridement because the gauze dries in place and removes non-viable tissue when the dressing is next changed.
- If you are unsure about sterile technique or any step of the dressing change, seek guidance from a clinical instructor or experienced nurse.
- Like any clinical skill, wound dressing changes improve with practice — technique will become more confident and consistent the more often the procedure is performed.


Generation details: cost, quality tiers
Docsie billed 3,000 credits ($2.10) to analyze this 6-minute video at standard quality. The rewrite, template fill and Word/PDF exports were included. The same video at each quality tier:
| Quality | Frames sampled | Credits | Approx. cost |
|---|---|---|---|
| Draft | every 16-30 s | 1,500 | $1.05 |
| Standard (this guide) | every 8-15 s | 3,000 | $2.10 |
| Detailed | every 4-7 s | 6,000 | $4.20 |
| Ultra | every 1-3 s | 12,000 | $8.40 |
Credits priced at $0.70 per 1,000; plans include a monthly allowance. Enterprise customers on on-premise or bring-your-own-model deployments run this on their own inference and pay no per-video credits.
Generated by Docsie Video-to-Docs on 2026-09-09 from a 5-minute video. Screenshots are frames from the source video and belong to their creator, NURSINGcom, whose original is embedded above. If you own this video and want the guide removed or credited differently, contact us and we will act within one business day.