
How to Change a Gastrostomy Tube
This procedure explains how to change a gastrostomy tube (G-tube) when it comes out unexpectedly, and how to prepare for and perform a routine tube replacement. It is intended for caregivers and clinical staff supporting a patient—commonly a pediatric patient—who relies on a gastrostomy tube for feeding. Following these steps in order helps protect the stoma, confirm correct tube placement, and prevent complications before resuming feeds.
Video: Feeding Tube Skills: Replacing the Gastrostomy Tube by American College of Surgeons (2015). All credit for the demonstration goes to the creator; watch the original on YouTube. The written guide below was generated from this video by Docsie. Creator? Request a change or removal.
This procedure explains how to change a gastrostomy tube (G-tube) when it comes out unexpectedly, and how to prepare for and perform a routine tube replacement. It is intended for caregivers and clinical staff supporting a patient—commonly a pediatric patient—who relies on a gastrostomy tube for feeding. Following these steps in order helps protect the stoma, confirm correct tube placement, and prevent complications before resuming feeds.
Purpose & Scope
This procedure applies whenever a gastrostomy tube comes out accidentally or is due for a routine change. It covers the immediate response at the bedside or in the home, the supplies required, and the technique for reinserting the tube and confirming placement. It applies to caregivers who have been trained to perform this task, as well as clinical staff supervising or teaching the skill. It does not apply to jejunostomy tubes, which must never be replaced by the caregiver.
Patient Assessment
Before replacing the tube, assess the situation to determine whether it is safe to proceed or whether emergency care is needed.
| Assessment point | What to check |
|---|---|
| Patient stability | Remain calm; note any bleeding at the site, leakage of stomach contents, or pain/discomfort |
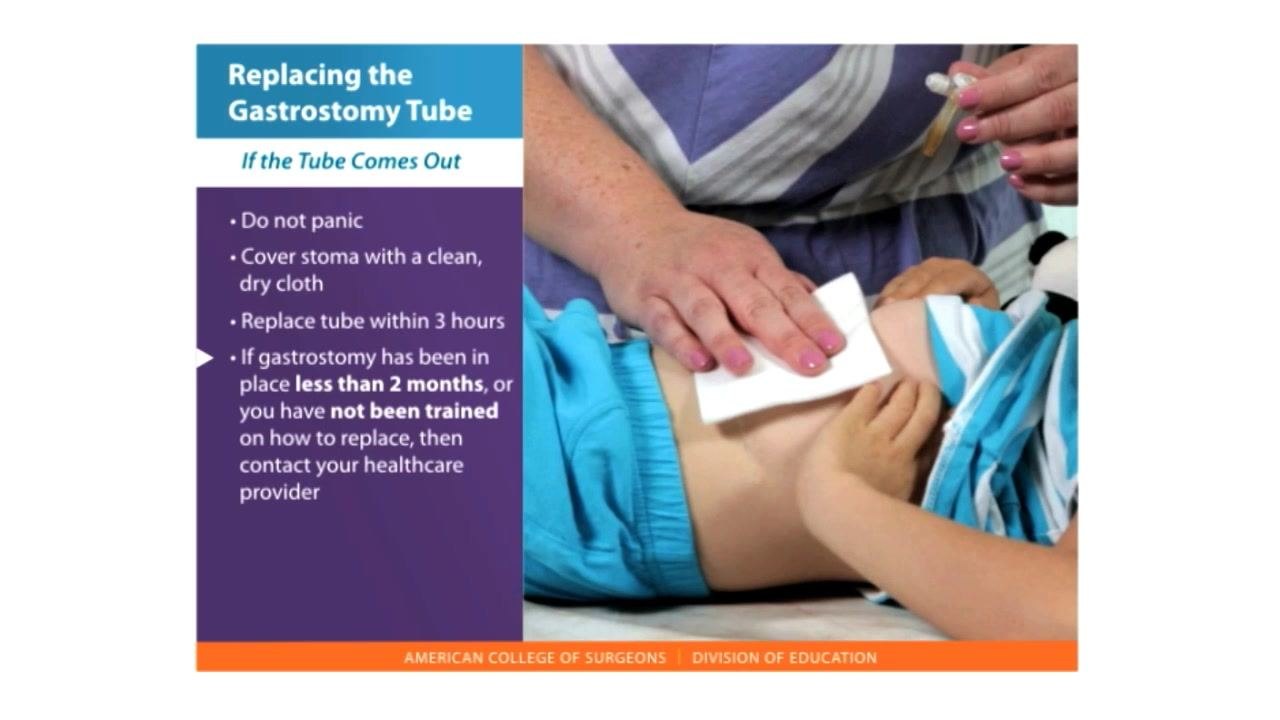
| Stoma protection | Cover the stoma with a clean, dry cloth to protect the site and absorb leakage |
| Time since placement | If the gastrostomy has been in place less than two months, do not attempt replacement |
| Caregiver training | If you have not been trained to replace the tube, do not attempt it |
| Time elapsed | The tube should be replaced within three hours of coming out, to prevent the tract from closing |
If either the "less than two months" or "not trained" condition applies, contact your healthcare provider or go to the emergency room immediately rather than proceeding.

Care Protocol
Once the assessment confirms it is appropriate to proceed, follow these phases to change the gastrostomy tube.
Phase 1: Gather supplies
Collect all items before starting so the replacement can be done promptly:
- The tube that fell out (if it is a balloon-type tube), or a new replacement gastrostomy tube
- A 5 or 10 milliliter slip-tip syringe
- A feeding or irrigation syringe
- A cup of water or surgical lubricant to moisten the tube
- pH paper
Phase 2: Prepare for tube replacement
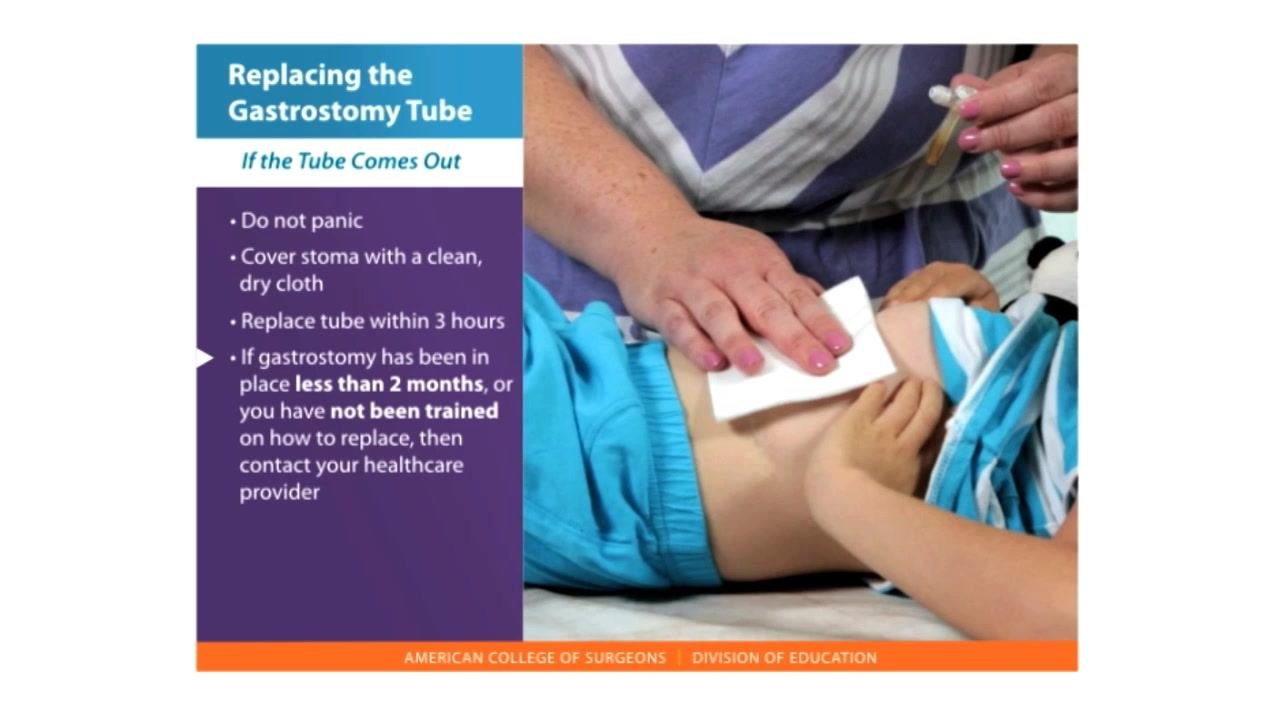
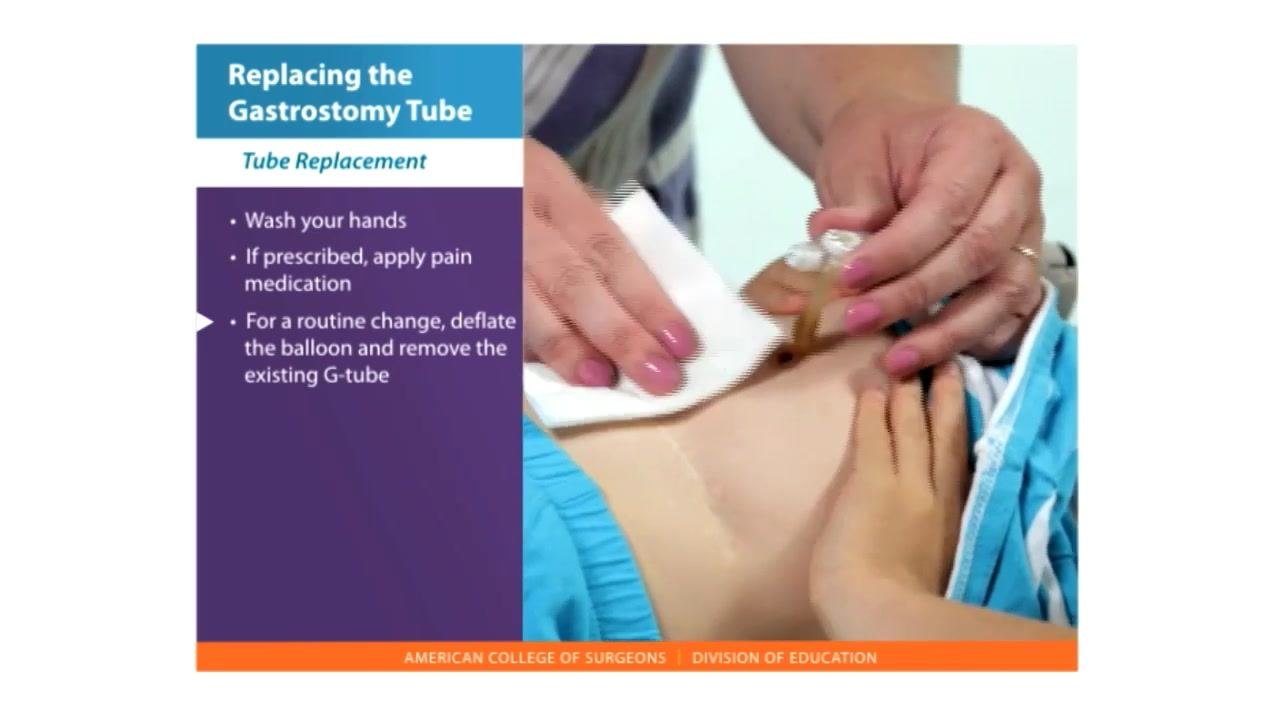
- Wash your hands thoroughly.
- If prescribed, give or apply the pain medication ordered by the doctor for tube replacement.
- For a routine change, deflate the balloon and remove the existing G-tube.
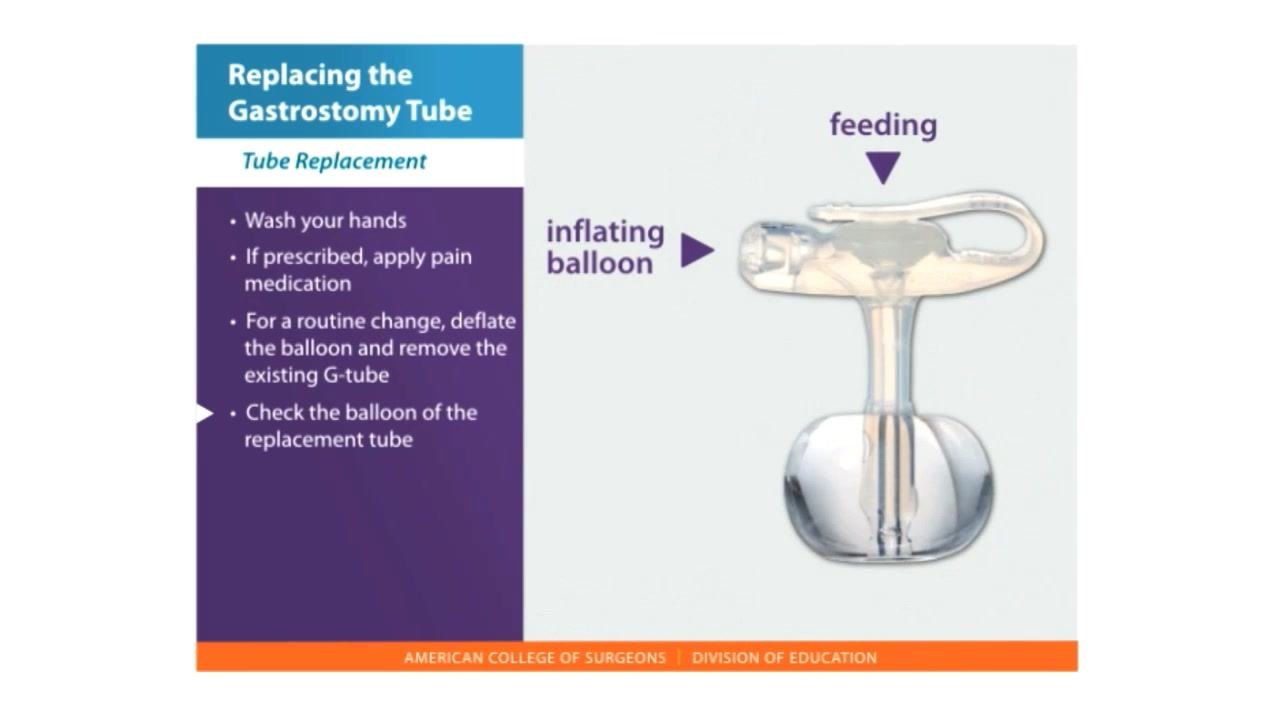
- Check the balloon of the replacement tube by injecting the same amount of water (usually 5 mL) with a small syringe to confirm it inflates and holds water. Identify the tube's two portals: one for feeding and one for inflating the balloon.
Phase 3: Replace the gastrostomy tube
- Deflate the balloon of the existing tube. Attach a syringe to the balloon port and withdraw all the water to fully deflate it.
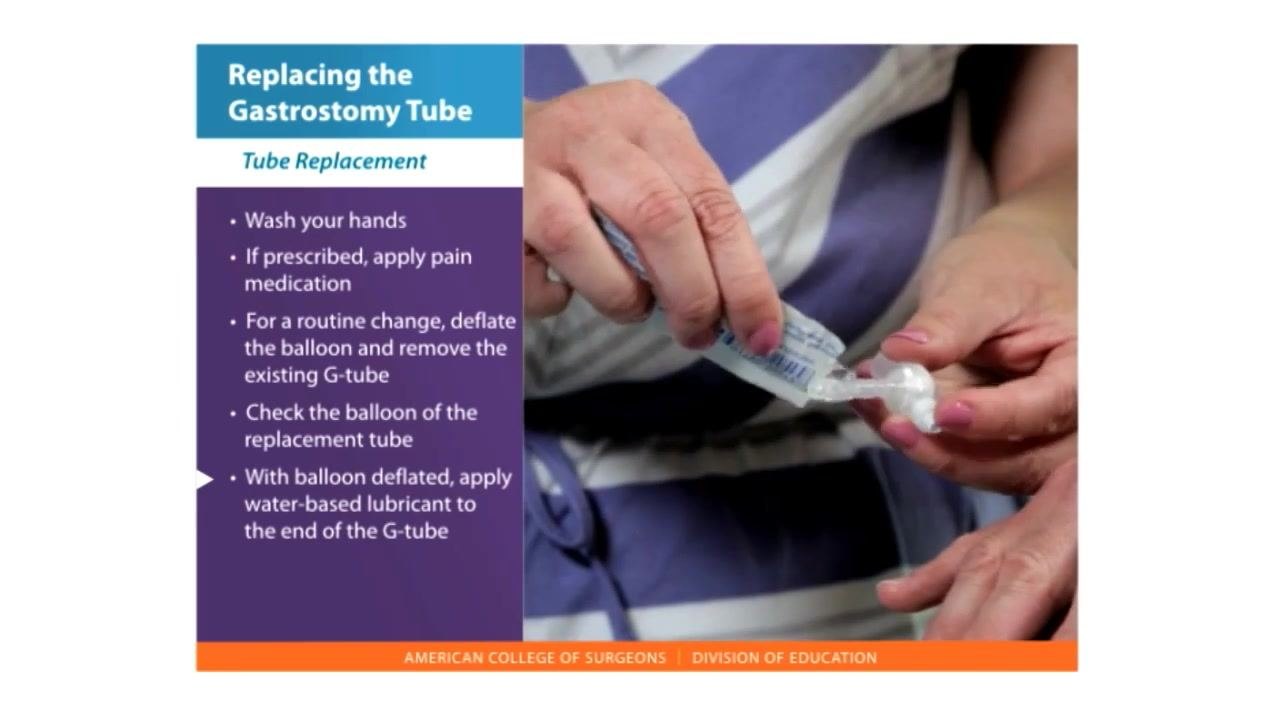
- Apply water-based lubricant to the replacement tube. With the balloon deflated, apply a generous amount of lubricant to the end of the tube to ease insertion.
-
Insert the tube into the tract smoothly. Gently insert the lubricated tube into the stoma in a smooth motion until the fit is snug. If the tube does not pass smoothly, do not force it—it may be at the wrong angle or entering the wrong cavity.
-
Inflate the balloon. Use a syringe to inject the exact amount of water marked on the balloon port (usually 5 mL, but always check the tube's label).
- Gently pull back on the tube after inflating the balloon until you feel resistance, confirming it is firmly in place.
-
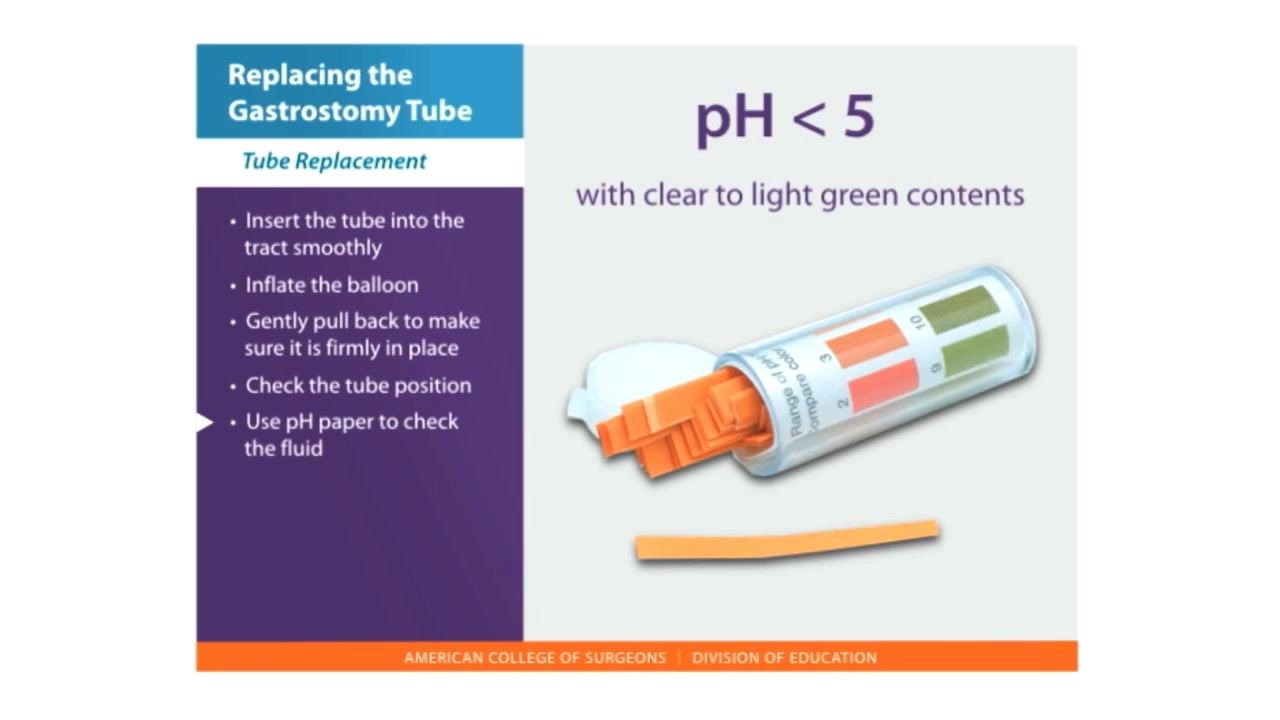
Check the tube position. Attach a syringe to the feeding portal and gently pull back to aspirate and check for gastric fluid return.
-
Verify stomach placement using pH paper. Test the aspirated fluid; a pH of less than 5 with clear to light green contents confirms correct stomach placement.
Pain Management
If the patient's doctor has ordered pain medication for tube replacement, give or apply it as instructed before beginning the procedure. The source material does not specify a drug, dose, route, or frequency; refer to the patient's individual medication order for these details, and consult the prescribing clinician if pain is not controlled.
Mobility Milestones
This procedure addresses gastrostomy tube replacement only and does not include mobility goals or a progressive activity timeline; any mobility plan for the patient should be documented separately according to the individual's care plan.
Complication Monitoring
Watch for the following signs during and after tube replacement, and escalate promptly.
| Sign observed | Action |
|---|---|
| Tube meets resistance during insertion | Do not force it; it may be at the wrong angle or entering the wrong cavity |
| No stomach contents or feeding return on aspiration | Retry aspiration or call the healthcare provider for further instructions; do not proceed with feeding if unsure |
| pH of aspirated fluid is not less than 5, or contents are not clear to light green | Do not proceed with feeding; recheck placement |
| Jejunostomy tube is misplaced or falls out | Do not attempt to replace it yourself; contact the healthcare team immediately |
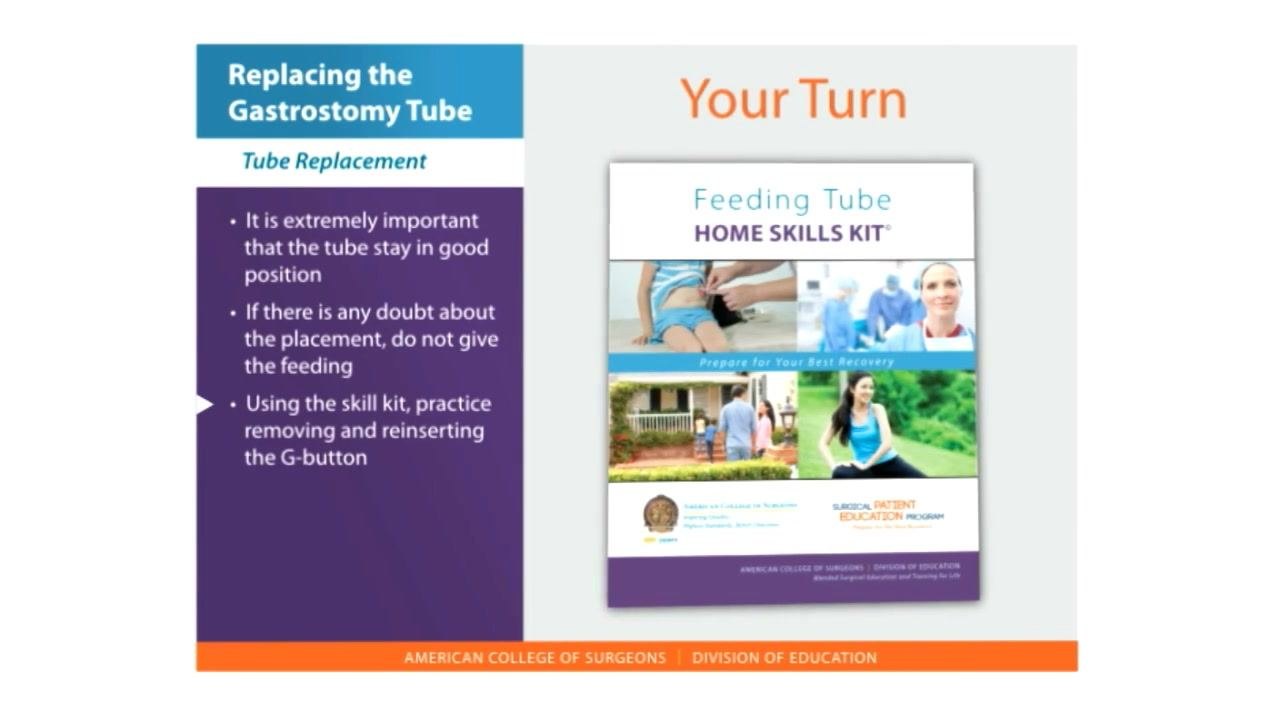
| Any doubt about tube placement | Do not give any feeding; call the nurse or physician for instructions |
Discharge Criteria
This procedure covers tube replacement at home or bedside rather than a hospital admission, so the source material does not define discharge criteria; any discharge decision should follow the patient's individual care plan and clinician guidance.
Patient Education
Before relying on this procedure independently, caregivers should understand the following:
- Do not panic if the tube comes out; cover the stoma with a clean, dry cloth and replace the tube within three hours to prevent the tract from closing.
- Contact a healthcare provider or go to the emergency room if the gastrostomy has been in place less than two months, or if you have not been trained to replace the tube.
- Never force the tube if resistance is met.
- Never attempt to replace a jejunostomy tube yourself; contact the healthcare team immediately.
- When in doubt about placement, do not feed the patient and contact your healthcare provider immediately.
- If available, practice removing and reinserting the gastrostomy button (G-button) using a feeding tube skill kit to build confidence with the technique.
Generation details: cost, quality tiers, downloads
Docsie billed 2,000 credits ($1.40) to analyze this 4-minute video at standard quality. The rewrite, template fill and Word/PDF exports were included. The same video at each quality tier:
| Quality | Frames sampled | Credits | Approx. cost |
|---|---|---|---|
| Draft | every 16-30 s | 1,000 | $0.70 |
| Standard (this guide) | every 8-15 s | 2,000 | $1.40 |
| Detailed | every 4-7 s | 4,000 | $2.80 |
| Ultra | every 1-3 s | 8,000 | $5.60 |
Credits priced at $0.70 per 1,000; plans include a monthly allowance. Enterprise customers on on-premise or bring-your-own-model deployments run this on their own inference and pay no per-video credits.
Generated by Docsie Video-to-Docs on 2026-09-14 from a 3-minute video. It was generated straight into Docsie's Patient Care Procedure template, so every section of that template is filled from the video. Screenshots are frames from the source video and belong to their creator, American College of Surgeons, whose original is embedded above. If you own this video and want the guide removed or credited differently, contact us and we will act within one business day.