
How to Calibrate a Blood Pressure Monitor
Ensuring your blood pressure machine gives accurate readings is essential, since even small differences in measurements can lead to incorrect medication adjustments. This document explains how to calibrate a blood pressure monitor at home by checking its accuracy against a clinical device, and how to maintain proper technique so your readings remain reliable over time.
Video: How to Calibrate a Blood Pressure Cuff by ehowhealth (2015). All credit for the demonstration goes to the creator; watch the original on YouTube. The written guide below was generated from this video by Docsie. Creator? Request a change or removal.
Ensuring your blood pressure machine gives accurate readings is essential, since even small differences in measurements can lead to incorrect medication adjustments. This document explains how to calibrate a blood pressure monitor at home by checking its accuracy against a clinical device, and how to maintain proper technique so your readings remain reliable over time.
Purpose
This procedure describes how to verify the accuracy of a home electronic blood pressure monitor by comparing it against a clinical wall-mounted device, and outlines best practices for consistent, reliable home measurements.
Scope
This procedure applies to individuals who use a home electronic blood pressure monitor and want to confirm that its readings can be trusted for tracking health and guiding medication decisions in partnership with a healthcare provider.
Required equipment
- Home electronic blood pressure monitor with an upper arm cuff
- Access to a healthcare provider's office with a manual aneroid wall-mounted sphygmomanometer
- A properly sized cuff matching your arm circumference
Understand why accuracy matters
Recognize that an inaccurate blood pressure machine can lead your provider to make incorrect medication adjustments. Confirming accuracy before relying on home readings protects your health decisions.
Identify your device type
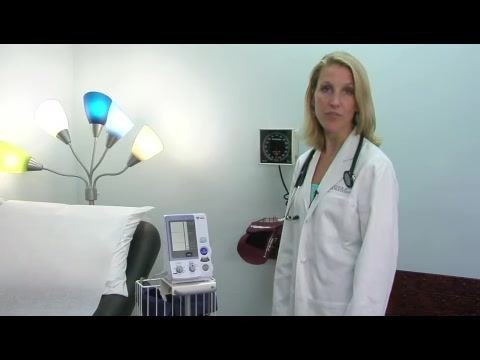
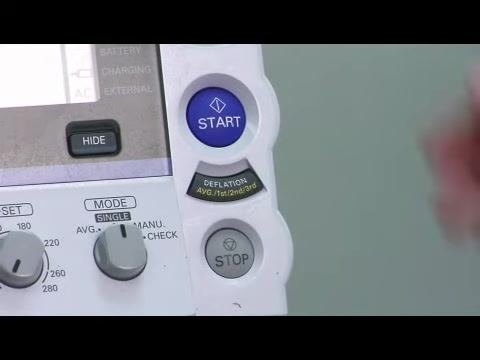
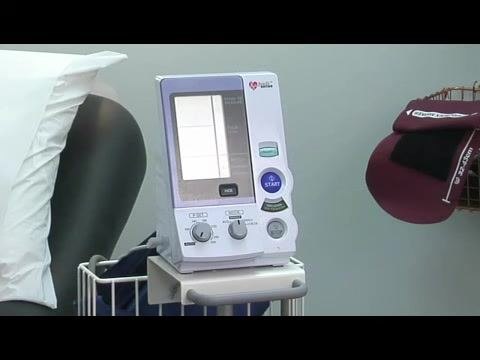
Most home users rely on an electronic blood pressure machine designed for easy self-measurement. The cuff typically fastens with Velcro so it can be secured with one hand, and a reading is taken by pressing the Start button.
Recognize the difference between home and clinical devices
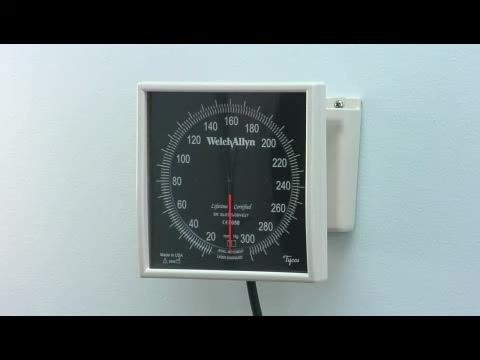
Medical offices often use a manual aneroid wall unit instead of an electronic device. This type of device requires special training and usually a second person to operate, since the operator must listen over the artery to detect pulsations and determine the reading. The cuff itself is placed on the arm the same way as with a home device.
Understand what calibration means for home devices
Calibrating a blood pressure monitor at home does not involve zeroing a scale or physically adjusting the device. Instead, calibration means comparing readings from your home machine to readings from a clinical wall unit under identical conditions to confirm they agree closely enough to be trustworthy.
Check your device's accuracy against a clinical unit
Bring your home blood pressure machine to your healthcare provider's office across several visits. During each visit, take a reading with your home device and immediately compare it to a reading from the clinic's wall unit. Make sure both readings are taken under the same circumstances, such as the same arm, the same body position, and the same time.
Safety note: Always compare readings under matched conditions; comparing a home reading to a clinic reading taken at a different time, arm, or position will not give a valid accuracy check.
Interpret the comparison results
It is acceptable for your home device to consistently read slightly higher or lower than the clinic device. Consistency matters more than perfect accuracy — a device that always reads 10 points high is preferable to one that produces inconsistent results from visit to visit.
Choose the right blood pressure monitor
Purchase a blood pressure machine over the counter; typical prices range from $30 to $100. Choose an upper arm cuff model rather than a wrist or finger monitor, since wrist and finger devices are generally more expensive and less accurate.
Ensure proper cuff fit
Select a cuff sized correctly for your arm. If the cuff is too small, your readings will be artificially high. Check the size range printed on the cuff (for example, 17–23 cm) and compare it to your arm circumference before use.
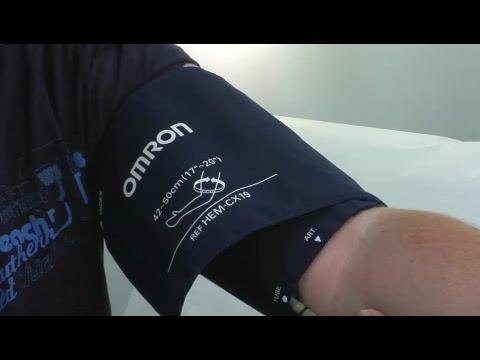
Position your arm correctly during measurement
Hold your arm at the level of your heart when taking a reading. To find this position, place one hand over your heart (as in the pledge of allegiance) and raise your other arm so both are at the same height. If your arm is lower than your heart, the reading will be too high; if it is higher, the reading may be falsely low.
Avoid common positioning errors
Safety note: Do not let your arm hang down or raise it above heart level in an attempt to influence the reading. Consistent arm positioning is essential for accurate and comparable results over time.
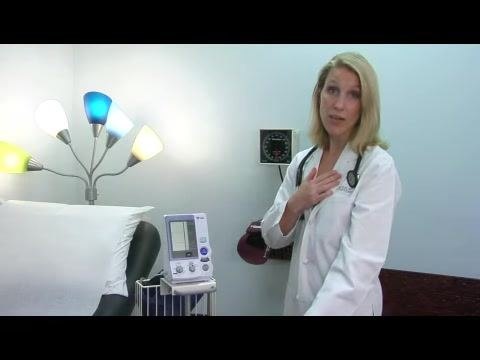
Record all readings
Write down every value you obtain from your blood pressure measurements. Record readings at different times of day and under various circumstances, such as morning, evening, after exercise, and at rest. This comprehensive log helps your doctor adjust your medications for both dose and timing.
Verification and summary
Calibrating a blood pressure monitor means confirming that its readings agree reasonably well and consistently with a clinical device, not physically adjusting the machine. To verify your device:
- Bring it to your doctor's office and ask them to check it against the clinic's manual device.
- Repeat this comparison over several visits to confirm consistency.
- Use a good-quality machine with an arm cuff that fits you properly.
- Maintain consistent arm position and technique for every home reading.
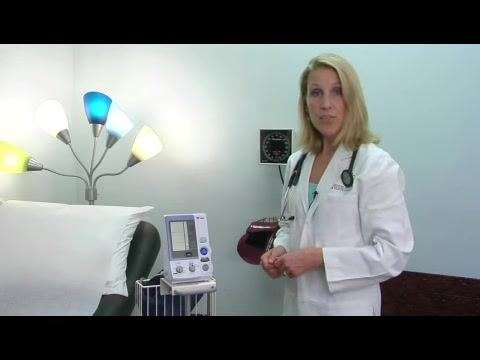
By following this procedure, you can confirm that your home blood pressure monitor provides consistent, trustworthy readings to support your healthcare provider in managing your treatment.
Generation details: cost, quality tiers
Docsie billed 2,000 credits ($1.40) to analyze this 4-minute video at standard quality. The rewrite, template fill and Word/PDF exports were included. The same video at each quality tier:
| Quality | Frames sampled | Credits | Approx. cost |
|---|---|---|---|
| Draft | every 16-30 s | 1,000 | $0.70 |
| Standard (this guide) | every 8-15 s | 2,000 | $1.40 |
| Detailed | every 4-7 s | 4,000 | $2.80 |
| Ultra | every 1-3 s | 8,000 | $5.60 |
Credits priced at $0.70 per 1,000; plans include a monthly allowance. Enterprise customers on on-premise or bring-your-own-model deployments run this on their own inference and pay no per-video credits.
Generated by Docsie Video-to-Docs on 2026-09-08 from a 3-minute video. Screenshots are frames from the source video and belong to their creator, ehowhealth, whose original is embedded above. If you own this video and want the guide removed or credited differently, contact us and we will act within one business day.