
How to Restaurant Kitchen Inspection Checklist
This restaurant kitchen inspection checklist guides you through verifying handwashing stations, checking refrigeration and hot holding temperatures, confirming safe food storage, and reviewing dishwashing and cross-contamination controls in a food premise. Completing each step helps you confirm that your kitchen meets food safety requirements and reduces the risk of illness outbreaks caused by improper handling or contamination.
Video: Restaurant Inspection by a Public Health Inspector by Algoma Public Health (2014). All credit for the demonstration goes to the creator; watch the original on YouTube. The written guide below was generated from this video by Docsie. Creator? Request a change or removal.
This restaurant kitchen inspection checklist guides you through verifying handwashing stations, checking refrigeration and hot holding temperatures, confirming safe food storage, and reviewing dishwashing and cross-contamination controls in a food premise. Completing each step helps you confirm that your kitchen meets food safety requirements and reduces the risk of illness outbreaks caused by improper handling or contamination.
Purpose
This checklist helps you confirm that a food premise has the required handwashing facilities, maintains safe food temperatures during storage and hot holding, follows proper dishwashing practices, and prevents cross-contamination between raw and ready-to-eat foods.
Scope
This procedure applies to any food premise with a designated handwashing station, walk-in refrigeration unit, hot holding unit, and three-compartment sink used for dishwashing.
Required equipment and materials
- Liquid hand soap
- Paper towel
- Hot and cold running water
- Probe (food) thermometer
- 70% isopropyl alcohol swabs, for sanitizing the probe thermometer
- Quaternary ammonium sanitizer, for the third sink compartment
- Three-compartment sink
- Separate cutting boards and knives for raw and ready-to-eat foods
Inspecting the handwashing station
Step 1: Verify the handwashing station is properly equipped
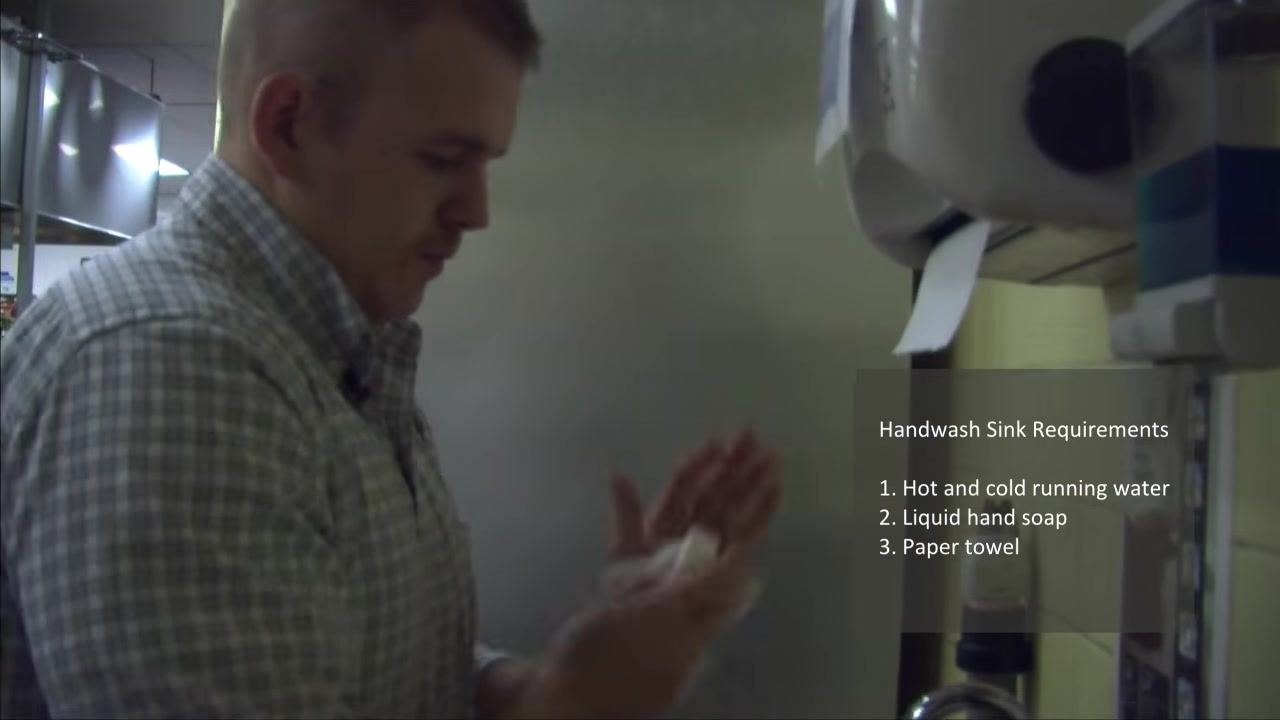
Locate the designated hand wash station in the food preparation area. Confirm it is used only for handwashing and check for signage reading Hand Wash Station Only. Verify that a paper towel dispenser and a liquid soap dispenser are present, and that the sink is accessible and operational with both hot and cold running water.
Step 2: Wash your hands thoroughly
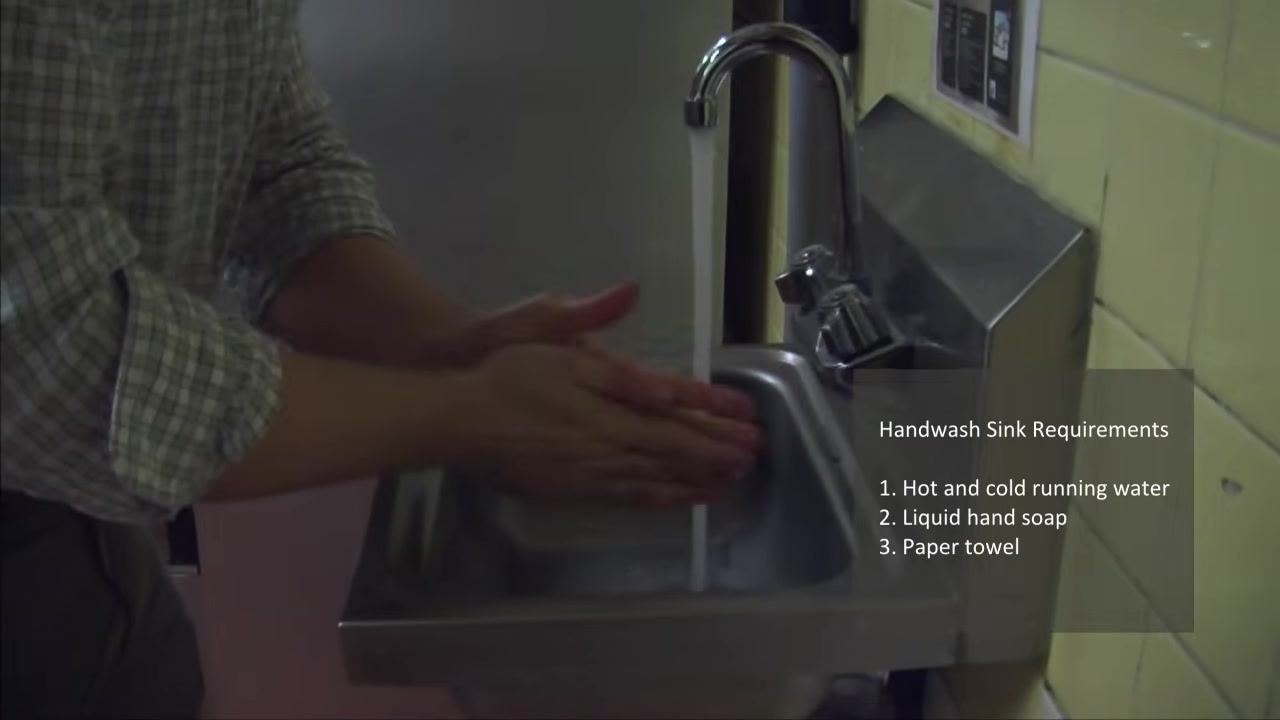
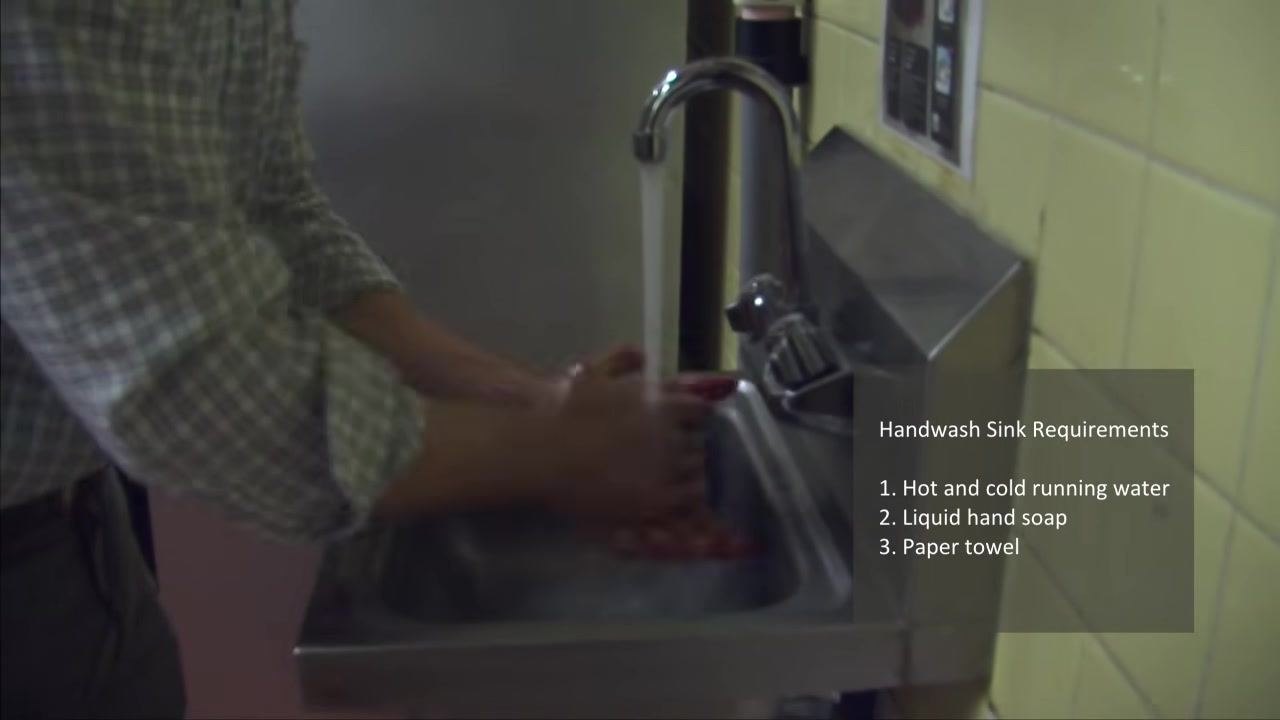
Turn on the tap and confirm both hot and cold water flow. Dispense liquid hand soap and wash your hands thoroughly under running water, then rinse completely. A compliant handwash sink must have hot and cold running water, liquid hand soap, and paper towel.
Step 3: Dry your hands and dispose of the paper towel
Dry your hands using paper towel from the dispenser, then dispose of the used towel in the appropriate waste bin.
Reviewing refrigeration temperature safety
Step 4: Know the temperature danger zone
The temperature danger zone falls between 4°C and 60°C. Minimize the time food spends in this range to prevent bacterial growth.
Step 5: Keep cold foods cold and hot foods hot
Maintain cold foods at 4°C or below, and hot foods at 60°C or above, to keep food out of the temperature danger zone.
Step 6: Check the walk-in refrigerator's external thermometer
Before entering the walk-in refrigeration unit, check the external thermometer. It should read between 3°C and 4°C, indicating a safe storage temperature, before you enter to continue the inspection.
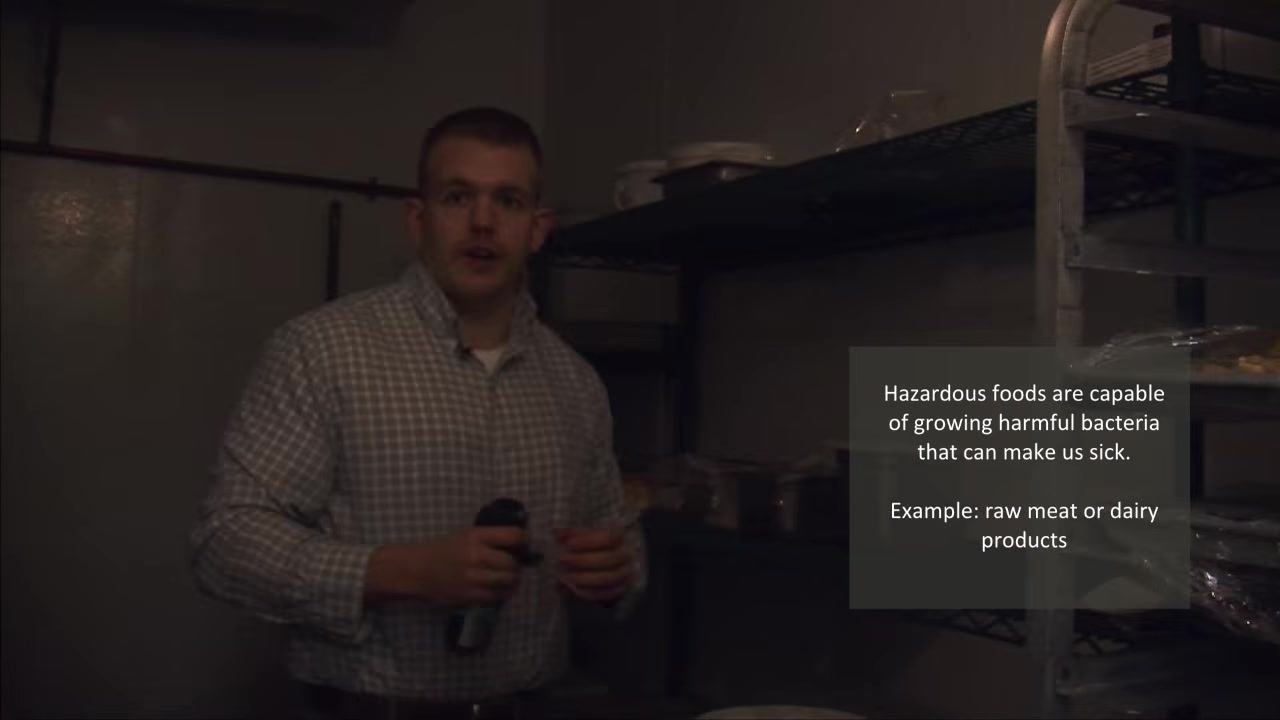
Step 7: Probe hazardous foods for internal temperature
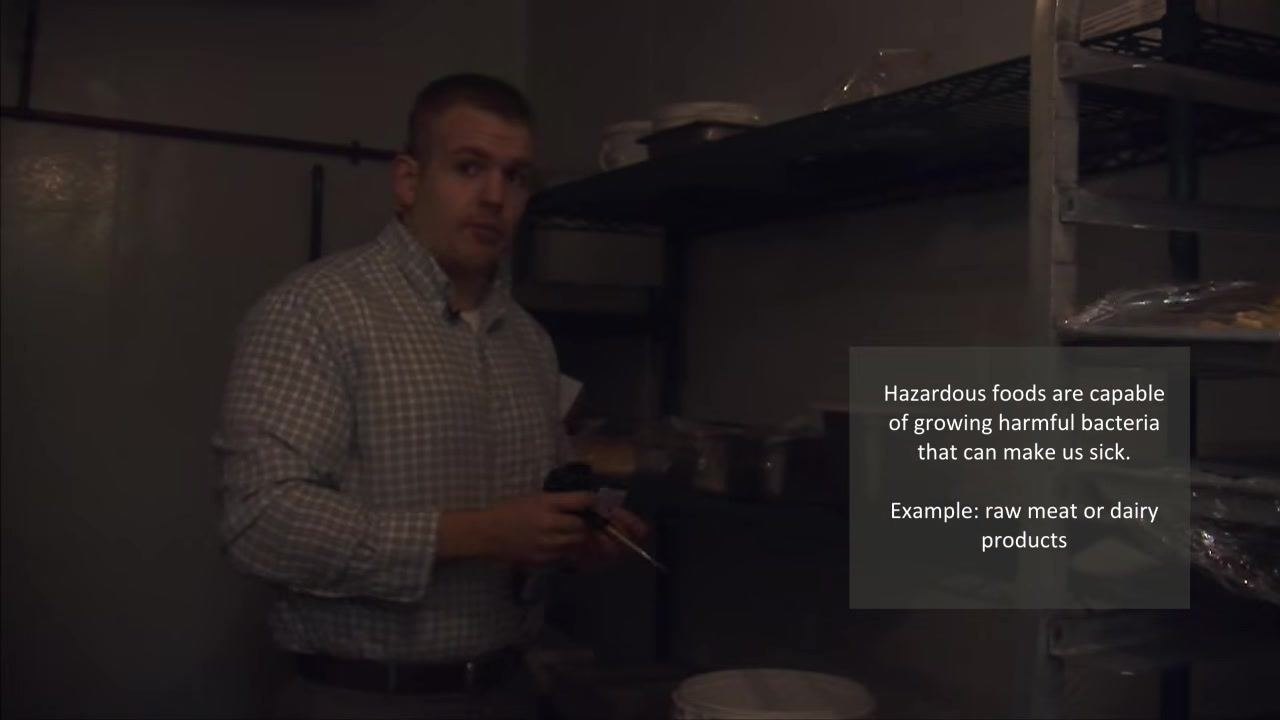
Select a hazardous food item, such as raw meat or dairy, for temperature probing. Hazardous foods are capable of growing harmful bacteria and toxins, so use a probe thermometer to check that their internal temperature stays below 4°C.
Verifying refrigerator performance and storage conditions
Step 8: Sanitize the probe thermometer before use
Clean the probe thoroughly with a 70% isopropyl alcohol swab before each use, then allow it to air dry for about one minute before proceeding.
Step 9: Measure food temperature at its thickest point
Insert the sanitized probe into the thickest part of the food item and wait for the reading to stabilize. A reading of approximately 3°C confirms the food is stored safely below 4°C.
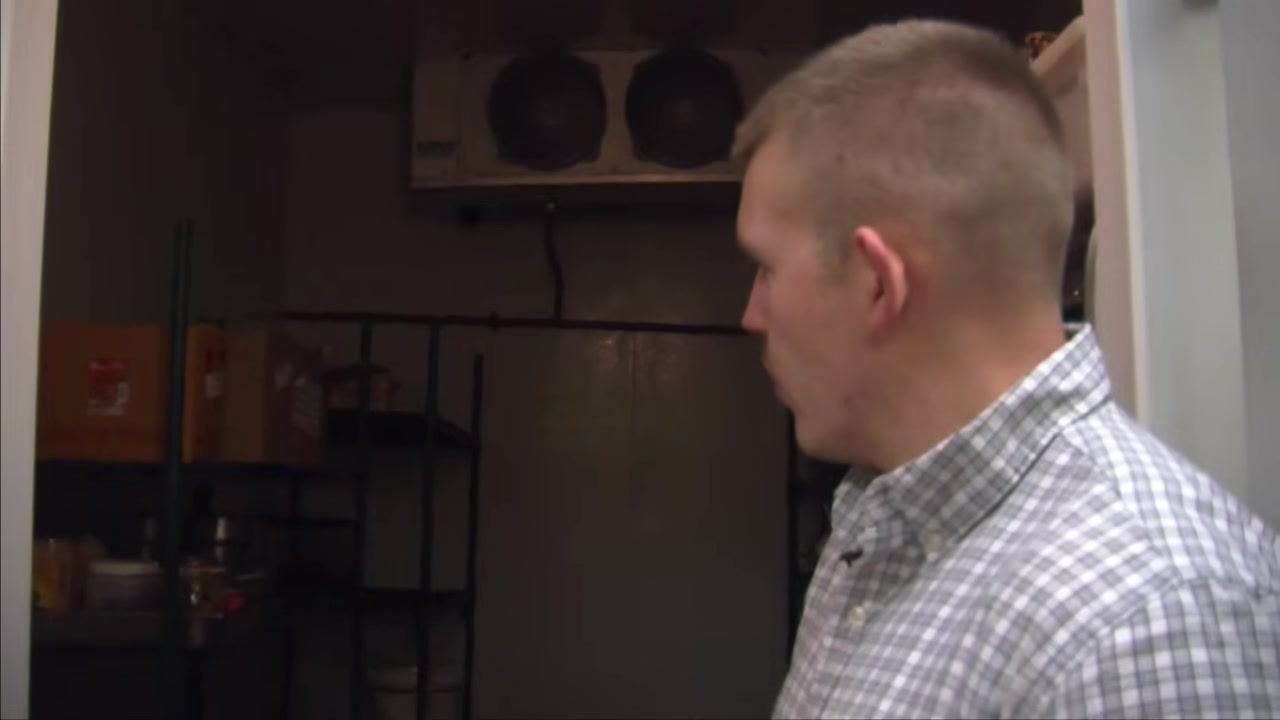
Step 10: Confirm the refrigeration unit is functioning correctly
If the food temperature reads at or below 4°C, the refrigeration unit is cooling food to a safe temperature.
Step 11: Inspect refrigerator shelving units
Check that all shelving units are smooth, non-absorbent, and easy to clean. Damaged or corroded shelving can lead to physical contamination of food.
Step 12: Assess overall shelf condition
Visually inspect every shelf for wear, rust, or peeling paint. Replace or repair any shelving that is not in good condition to prevent contamination.
Step 13: Store foods correctly to prevent cross-contamination
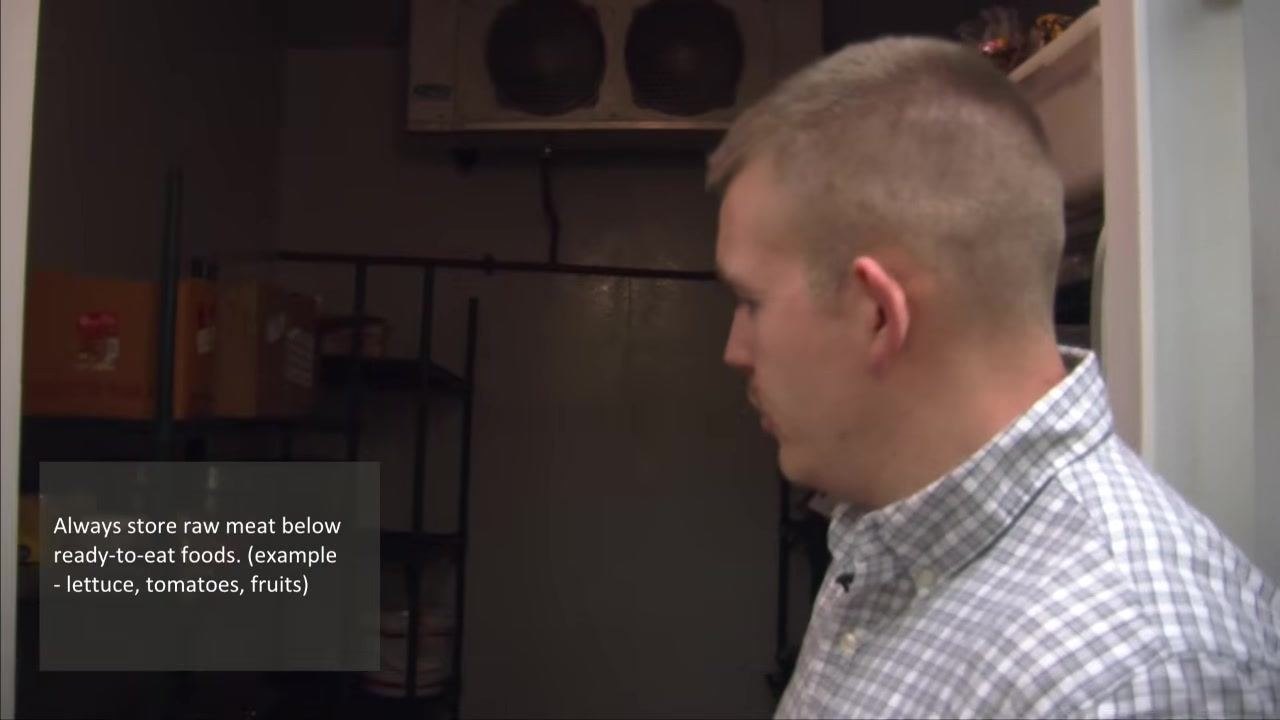
Always store raw foods, such as raw meat, below ready-to-eat foods. Ready-to-eat foods include items that will not undergo further cooking, such as cooked meats, fresh produce, lettuce, tomatoes, and fruit. Follow the rule: Always store raw meat below ready-to-eat foods.
Confirming hot holding temperatures
Step 14: Prepare to measure hot holding food temperature
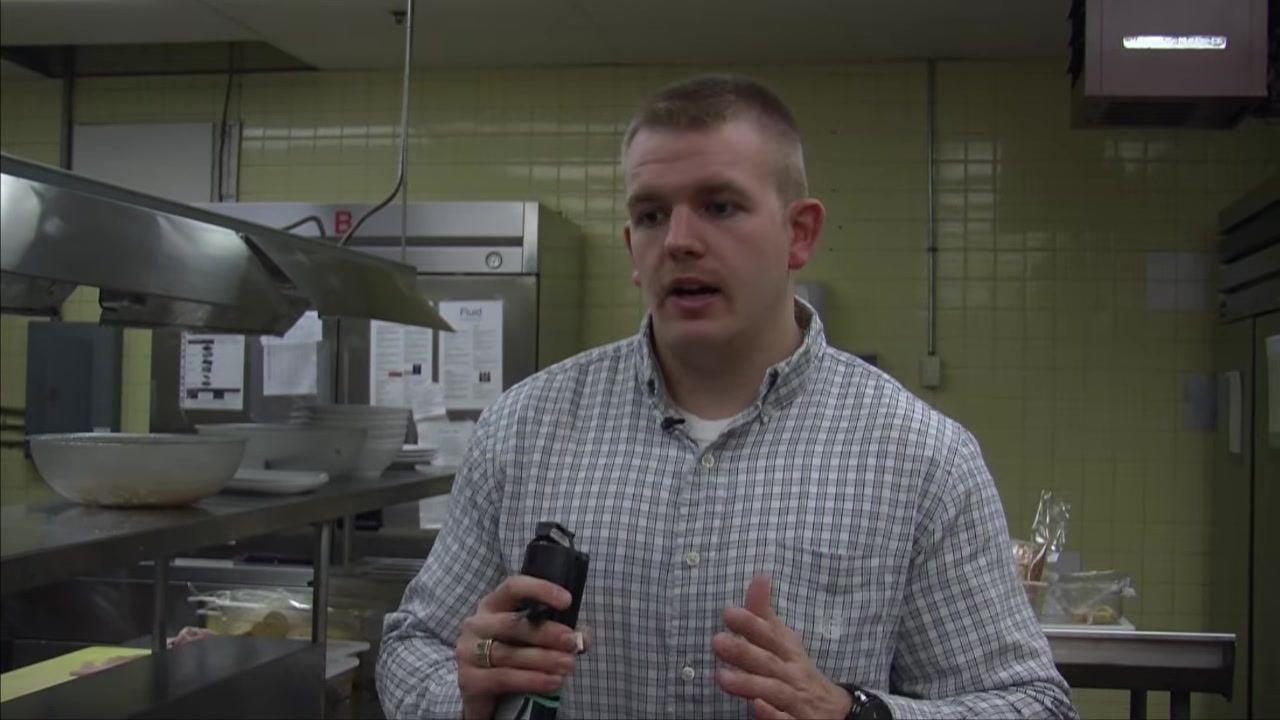
Move to the hot holding area and identify a hot holding food item, such as creamy broccoli soup. Prepare to take its temperature using the sanitized probe thermometer. Hot foods must be held at 60°C or greater to minimize time in the temperature danger zone.
Step 15: Stir and measure hot holding food temperature
Stir the hot food in the holding unit to ensure even temperature distribution, then insert the sanitized probe. A reading of approximately 65°C is above the temperature danger zone and confirms safe hot holding.
Step 16: Verify food is held above the temperature danger zone
Confirm the hot food stays at or above 60°C. Food held below 60°C enters the temperature danger zone of 4°C to 60°C, increasing the risk of bacterial growth.
Step 17: Cook food to the proper internal temperature before hot holding
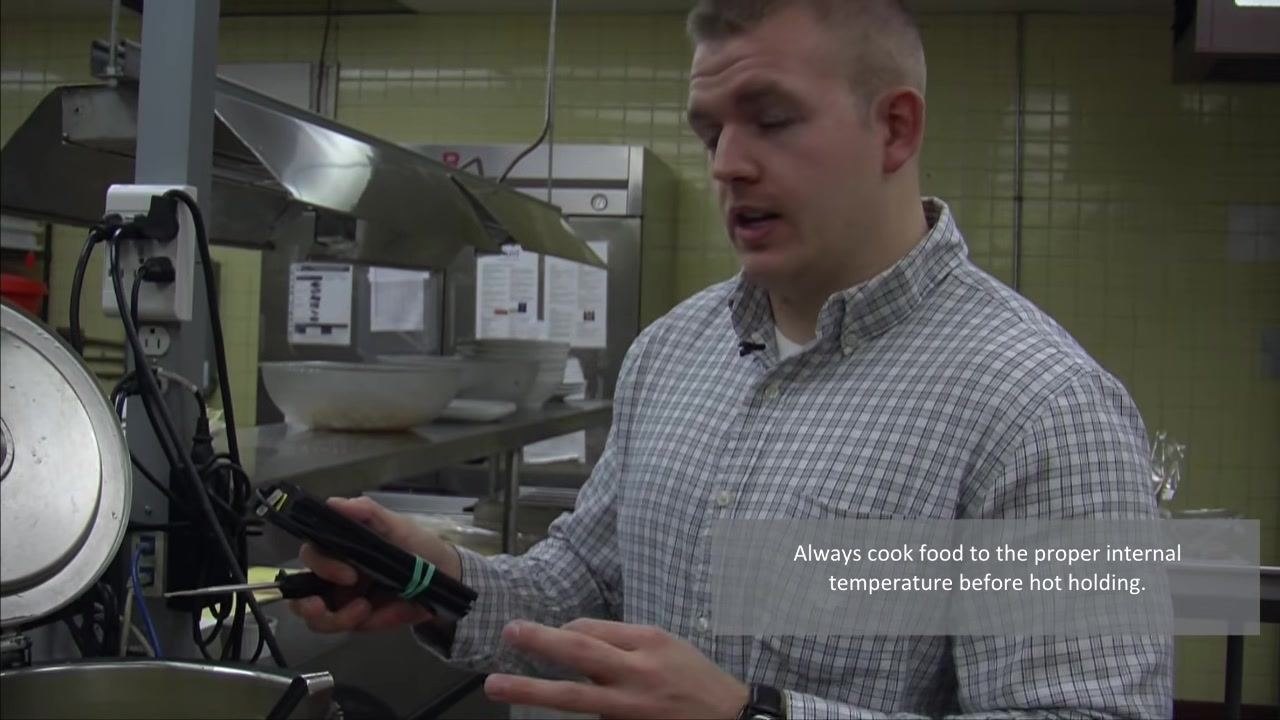
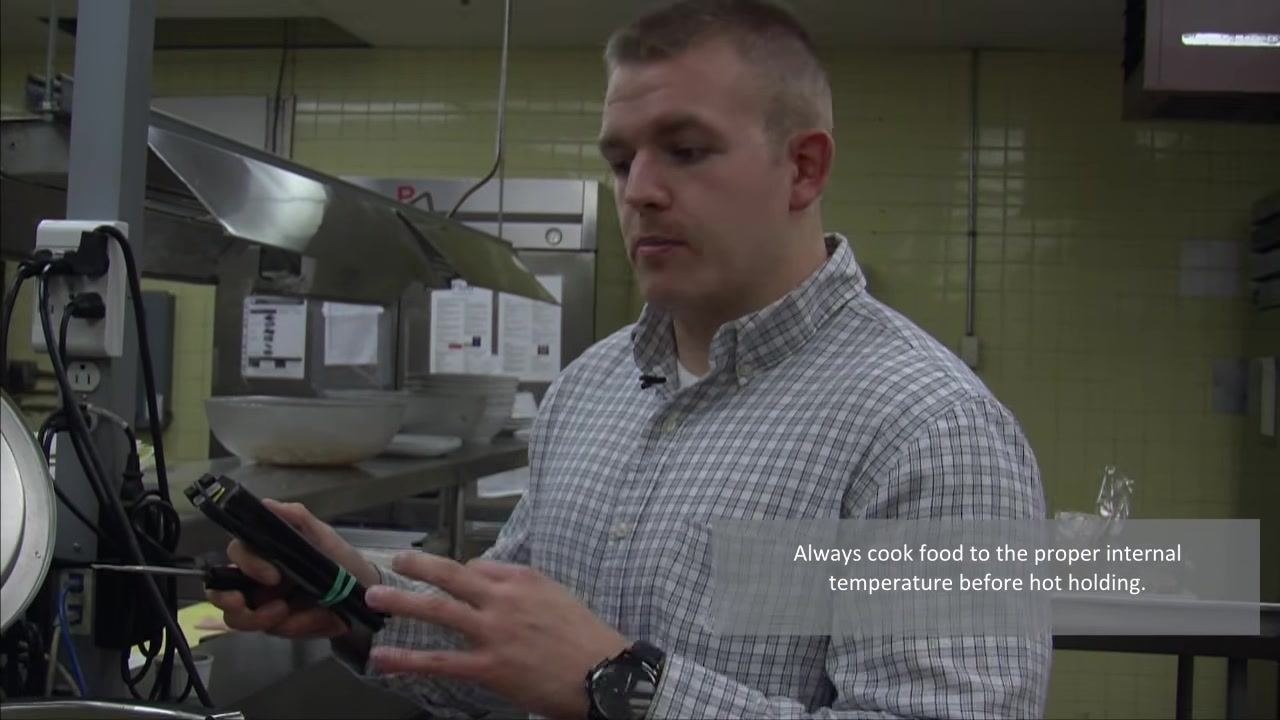
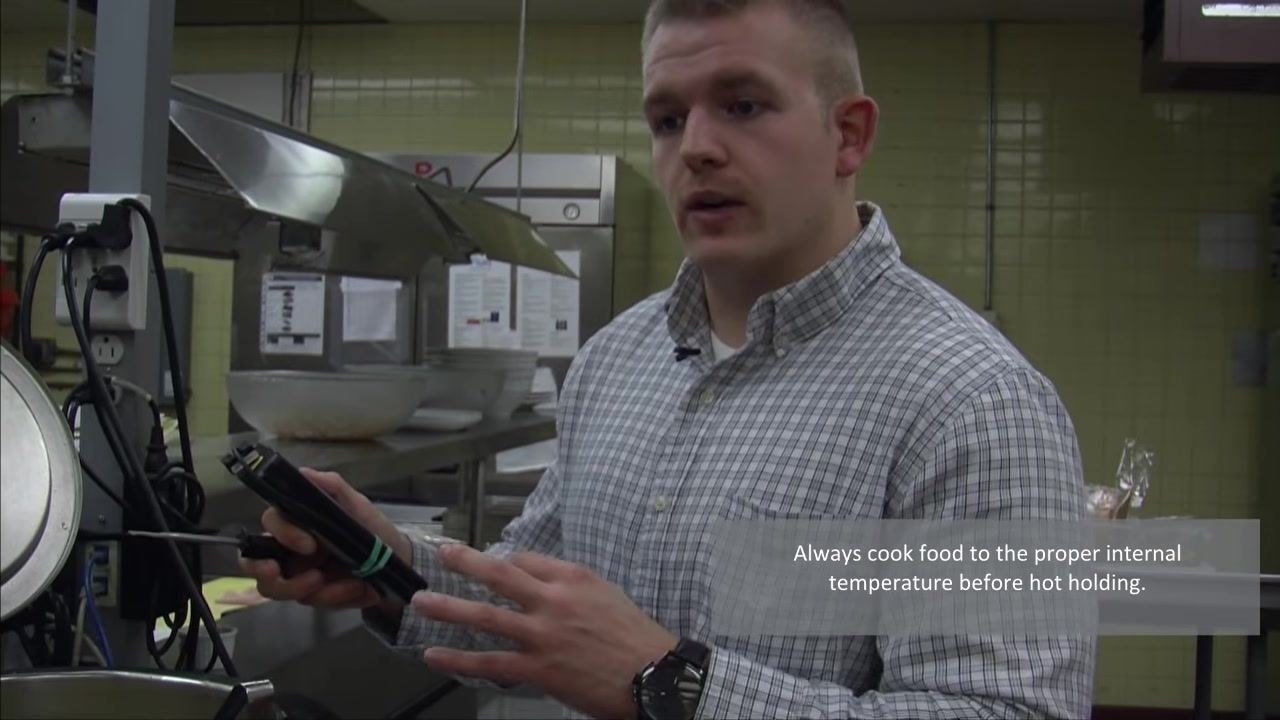
Always cook food to the correct internal temperature before placing it in a hot holding unit. For example, reheat leftover soup from the refrigerator to at least 74°C before holding it at 60°C. Most hot holding units are designed to maintain temperature, not to cook or reheat food.
Step 18: Reinforce proper cooking and holding temperatures
Cook food to the proper internal temperature before transferring it to hot holding, and maintain hot foods at 60°C or higher at all times.
Following the three-compartment sink dishwashing method
Step 19: Wash, rinse, and sanitize dishware
Use a three-compartment sink for effective dishwashing:
- First sink: Wash dishes in warm, soapy water.
- Second sink: Rinse dishes in clean, warm water.
- Third sink: Sanitize dishes using a quaternary ammonium sanitizer at the correct concentration.
Allow sanitized items to soak for at least 45 seconds, then air dry.
Preventing cross-contamination
Step 20: Use separate cutting tools for raw and ready-to-eat foods
Cross-contamination is the transfer of harmful microorganisms, such as bacteria, from one food to another, or from hands and equipment to food. Use separate knives and cutting boards for raw and ready-to-eat foods, and wash your hands frequently to reduce this risk.
Additional resources
For further food safety information, you can view restaurant inspection reports online at www.algomapublichealth.com.

Summary and verification checklist
Before completing your restaurant kitchen inspection checklist, confirm the following:
- The handwashing station has hot and cold running water, liquid soap, and paper towel, and is used only for handwashing.
- Cold foods are held at 4°C or below and hot foods at 60°C or above.
- The walk-in refrigerator's external thermometer reads between 3°C and 4°C, and hazardous foods inside measure below 4°C.
- Refrigerator shelving is smooth, non-absorbent, and free of rust or peeling paint.
- Raw foods are stored below ready-to-eat foods.
- Hot holding units maintain food at or above 60°C, and food is cooked to the proper internal temperature before hot holding.
- Dishwashing follows the wash, rinse, and sanitize sequence in the three-compartment sink, with sanitized items soaking for at least 45 seconds.
- Separate cutting boards and knives are used for raw and ready-to-eat foods to prevent cross-contamination.
Completing these checks confirms that your food premise meets handwashing, refrigeration, hot holding, dishwashing, and cross-contamination prevention requirements.
Generation details: cost, quality tiers
Docsie billed 3,000 credits ($2.10) to analyze this 6-minute video at standard quality. The rewrite, template fill and Word/PDF exports were included. The same video at each quality tier:
| Quality | Frames sampled | Credits | Approx. cost |
|---|---|---|---|
| Draft | every 16-30 s | 1,500 | $1.05 |
| Standard (this guide) | every 8-15 s | 3,000 | $2.10 |
| Detailed | every 4-7 s | 6,000 | $4.20 |
| Ultra | every 1-3 s | 12,000 | $8.40 |
Credits priced at $0.70 per 1,000; plans include a monthly allowance. Enterprise customers on on-premise or bring-your-own-model deployments run this on their own inference and pay no per-video credits.
Generated by Docsie Video-to-Docs on 2026-09-10 from a 5-minute video. Screenshots are frames from the source video and belong to their creator, Algoma Public Health, whose original is embedded above. If you own this video and want the guide removed or credited differently, contact us and we will act within one business day.