
How to Clean a Grease Trap
Cleaning out a grease trap can be quick and easy if you follow the correct steps. This SOP walks you through how to clean a grease trap efficiently, from initial preparation through final reassembly, so the system is thoroughly cleaned and ready for continued use.
Video: How to Properly Clean a Grease Trap in 8 Steps by Imperial Brady (2023). All credit for the demonstration goes to the creator; watch the original on YouTube. The written guide below was generated from this video by Docsie. Creator? Request a change or removal.
Cleaning out a grease trap can be quick and easy if you follow the correct steps. This SOP walks you through how to clean a grease trap efficiently, from initial preparation through final reassembly, so the system is thoroughly cleaned and ready for continued use.

Purpose
This procedure describes the steps needed to properly clean a grease trap, preventing blockages, controlling odors, and keeping the system operating correctly.

Scope
This procedure applies to any staff member responsible for cleaning and maintaining a foodservice grease trap.
Required equipment and PPE
Before you begin, gather the following tools and equipment:
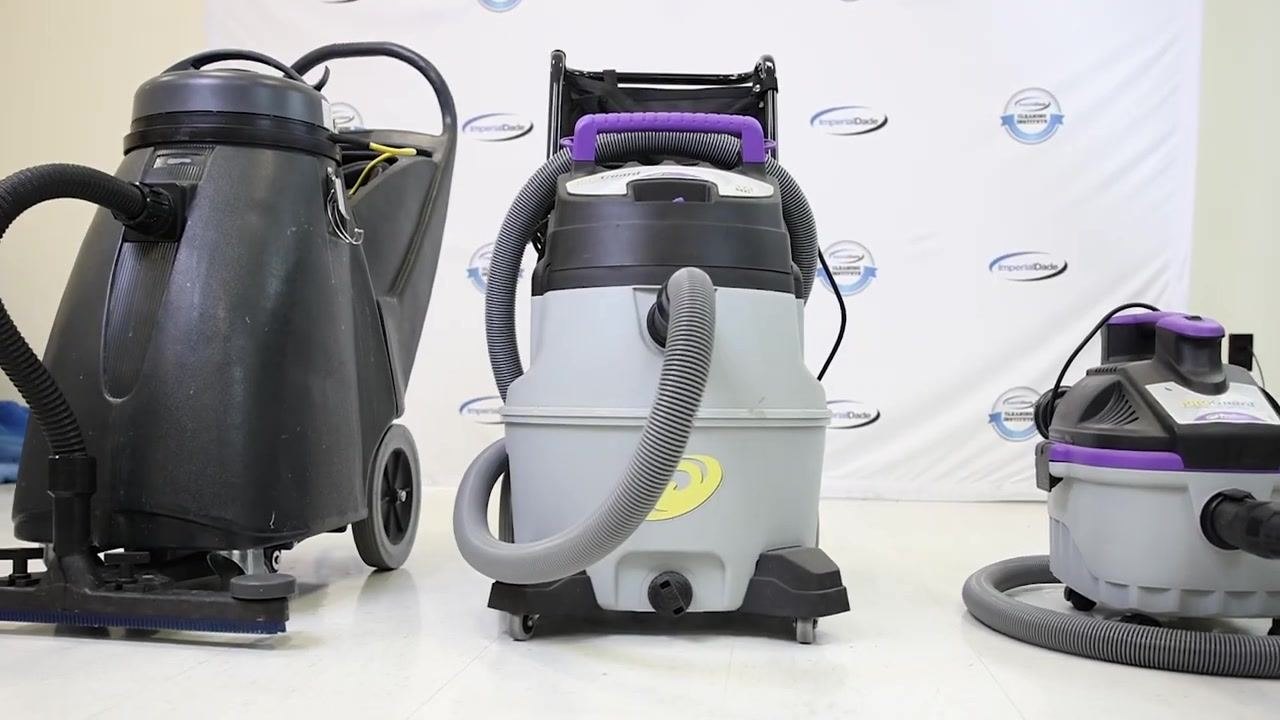
- Wet dry vac
- Scooper ladle
- Steel pot scrubber or scraper
- Crowbar or wrench (depending on the type of grease trap lid)
You also need the following personal protective equipment (PPE):
- Rubber gloves, to protect your skin from chemicals and bacteria
- Face mask, to protect against harmful bacteria and odors
- Protective coveralls, to protect your clothing
- Nose plug (optional, but highly recommended due to foul odors)
Safety notes
- Do not clean the grease trap during business hours. Cleaning at this time can spread foul odors throughout the facility.
- Turn off all dishwashers connected to the grease trap and confirm the sink is not in use during cleaning, so the trap does not refill while you are working.
Procedure
Step 1: Pump cool water into the system
Once you are equipped with your PPE, pump cool water into the grease trap system and let it sit for about 10 minutes. Cool water helps congeal any remaining fats, oils, and grease (FOG).
Step 2: Allow the FOG to congeal
Wait for the fats, oils, and grease to congeal on the surface of the water before proceeding.
Step 3: Remove the grease trap lid
Carefully remove the grease trap's lid. Use a crowbar or wrench if the lid is metal. If the lid is plastic, it should snap off easily.
Step 4: Scoop out the FOG layer
With the inside of the grease trap exposed, use a ladle to scoop up the thick layer of FOG floating on top of the water. Store the scooped FOG in an airtight container until you can dispose of it in the trash.
Step 5: Remove water and solid debris
Use the wet dry vac to remove all remaining water and solid debris from the grease trap. Make sure the tank is fully drained before continuing.
Step 6: Prevent the trap from refilling during cleaning
Keep dishwashers connected to the grease trap turned off and confirm the sink stays out of use throughout the cleaning process. This prevents water from refilling the trap while you work.
Step 7: Clean the tank walls, lid, and baffles
After draining, inspect the tank walls, lid, and baffles for remaining residue. Mix dish soap with warm water to prepare a cleaning solution, then use a steel pot scrubber or scraper to scrub away residue from the baffles, lid, and tank walls.
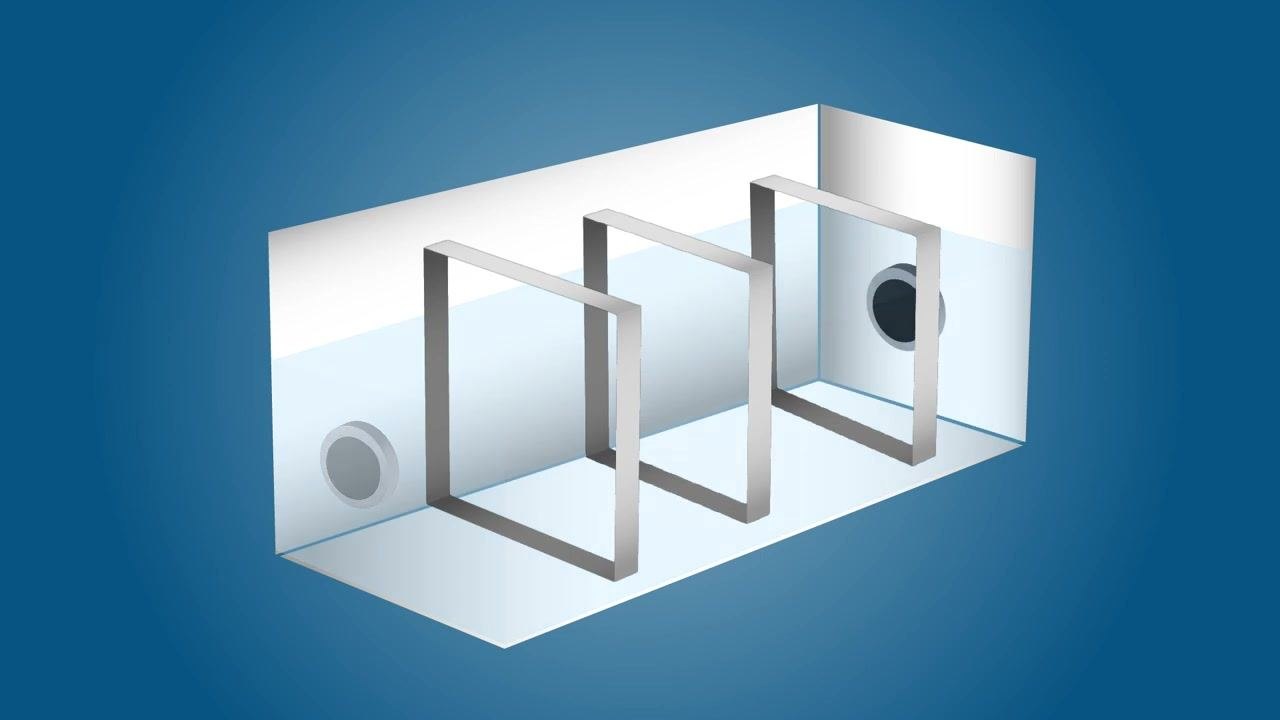
Baffles are devices inside the grease trap designed to prevent fats, oils, and grease from leaving the trap and causing blockages. Small to average size grease traps usually have at least three baffles; larger traps may have more.
Step 8: Apply the cleaning solution
Apply your dish soap and warm water solution to all internal surfaces of the grease trap before flushing.
Step 9: Flush out soap and debris
Pour a gallon of warm or room-temperature water down the sink drain to flush any remaining soap and debris through the grease trap. Observe the water flow:
- If the water flows easily, the system is clear.
- If the water does not flow, there may be a blockage. Contact a licensed plumber.
Step 10: Reassemble the grease trap
Replace all baffles in their original positions and securely cover the tank with its lid.
Verification and summary
Once reassembled, the grease trap should be fully drained of old FOG and debris, with clean tank walls, lid, and baffles, and water flowing freely through the system. Confirm the lid is securely in place before returning the sink and any connected dishwashers to normal use.

What's next
If you have questions about cleaning or maintaining a grease trap, or need equipment and products, contact an Imperial Dade representative. For more information, visit ImperialDade.com.
Generation details: cost, quality tiers
Docsie billed 2,000 credits ($1.40) to analyze this 4-minute video at standard quality. The rewrite, template fill and Word/PDF exports were included. The same video at each quality tier:
| Quality | Frames sampled | Credits | Approx. cost |
|---|---|---|---|
| Draft | every 16-30 s | 1,000 | $0.70 |
| Standard (this guide) | every 8-15 s | 2,000 | $1.40 |
| Detailed | every 4-7 s | 4,000 | $2.80 |
| Ultra | every 1-3 s | 8,000 | $5.60 |
Credits priced at $0.70 per 1,000; plans include a monthly allowance. Enterprise customers on on-premise or bring-your-own-model deployments run this on their own inference and pay no per-video credits.
Generated by Docsie Video-to-Docs on 2026-09-08 from a 3-minute video. Screenshots are frames from the source video and belong to their creator, Imperial Brady, whose original is embedded above. If you own this video and want the guide removed or credited differently, contact us and we will act within one business day.