
How to Water Heater How to Install
This SOP walks you through how to install a water heater, covering the full replacement of an electric water heater from initial diagnosis through final startup. Follow each step in order, and always confirm your work against local building codes and the manufacturer's instructions before moving to the next stage.
Video: Electric Water Heater Installation by Lowe's Home Improvement (2016). All credit for the demonstration goes to the creator; watch the original on YouTube. The written guide below was generated from this video by Docsie. Creator? Request a change or removal.
This SOP walks you through how to install a water heater, covering the full replacement of an electric water heater from initial diagnosis through final startup. Follow each step in order, and always confirm your work against local building codes and the manufacturer's instructions before moving to the next stage.
Purpose
This procedure provides a repeatable, safe method for removing a failed or aging electric water heater and installing a new unit in its place, including pressure management, plumbing connections, electrical reconnection, and post-installation verification.
Scope
This procedure applies to standard residential electric water heater replacements. It covers diagnosis, safety preparation, removal of the old tank, installation of the new tank, and system startup checks. It does not cover gas water heaters or commercial installations.
Required equipment and materials
- Pressure gauge (for outdoor spigot and post-installation checks)
- Pressure-reducing valve (if house pressure exceeds 80 PSI)
- Thermal expansion tank and inline pressure gauge
- Push-fit fittings, or soldering supplies (soldering paste, solder, heat source) if sweating joints
- Hand air pump (for setting expansion tank pressure)
- Voltage detector
- Garden hose and buckets (or access to a floor drain)
- Hand truck (for safely moving the tank)
- Drain pan
- New T&P relief valve and discharge pipe
- Flexible hose kit (two flexible hoses, heat trap nipples, brass connectors, plumber's tape)
- Dielectric fittings (if required by local code)
- Compression nuts and pipe-cutting tools
- Seismic straps and wall-mounting hardware
- Wire connectors (wire nuts) and a screwdriver
- New electric water heater matching your current unit's specifications
Diagnose the issue
Before you begin, confirm that a replacement is actually needed.
- If you are not getting hot water, check for a damaged heating element.
- If you see water pooling on the floor near the water heater, the tank itself has likely failed and needs replacement.
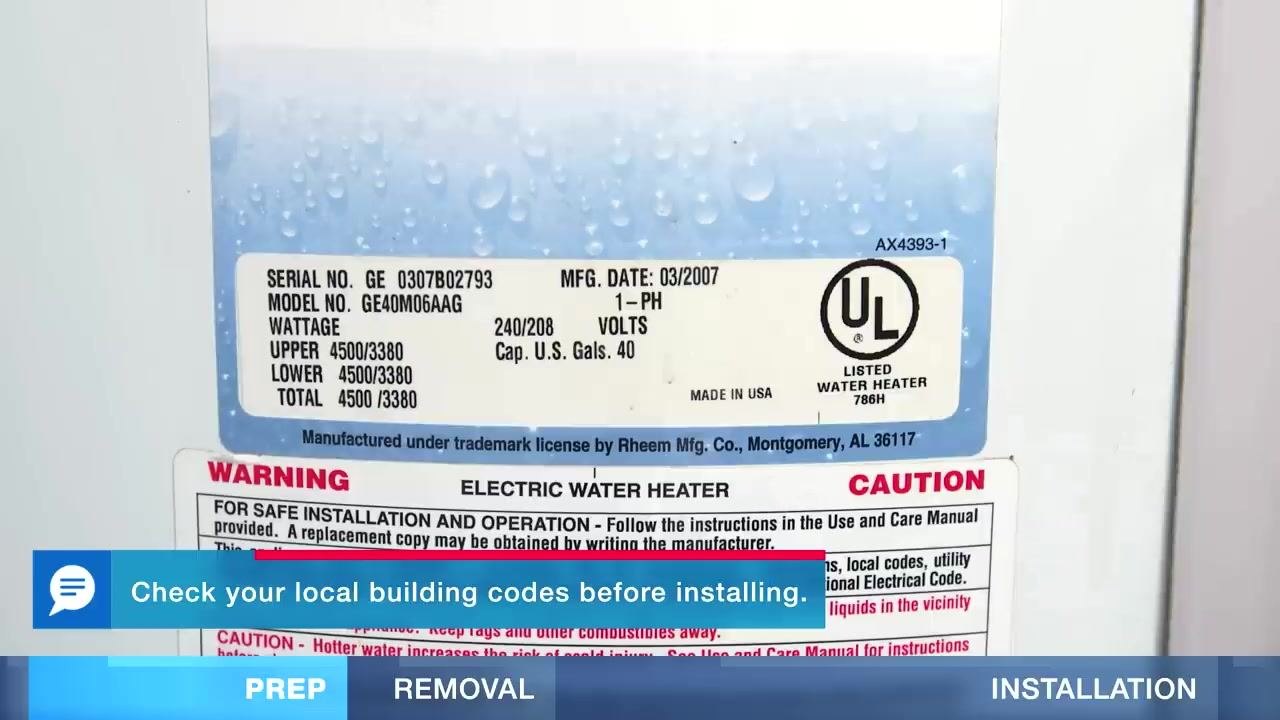
Record your water heater's specifications
Locate the data label on your current unit and record the details you'll need to purchase a matching replacement.
- Model No., Serial No., and Manufacture Date
- Capacity (in U.S. gallons)
- Voltage and wattage ratings (upper element, lower element, and total)
Check your local building codes before installing a new water heater.
Check your home's water pressure
Attach a pressure gauge to an outdoor spigot to measure your home's water pressure. Ideal pressure is between 50 and 60 PSI. If the reading is higher than 80 PSI, you will need to install a pressure-reducing valve after the main water shut-off.
Install an inline pressure gauge and thermal expansion tank (recommended)
An inline pressure gauge and thermal expansion tank help manage excess pressure in the system. Turn off the water supply before installing the pressure-reducing valve and expansion tank. The expansion tank should be installed on the cold supply line.
Select and prepare the expansion tank
Choose an expansion tank sized to match your system's requirements. Check the manufacturer's instructions for size recommendations before installing.
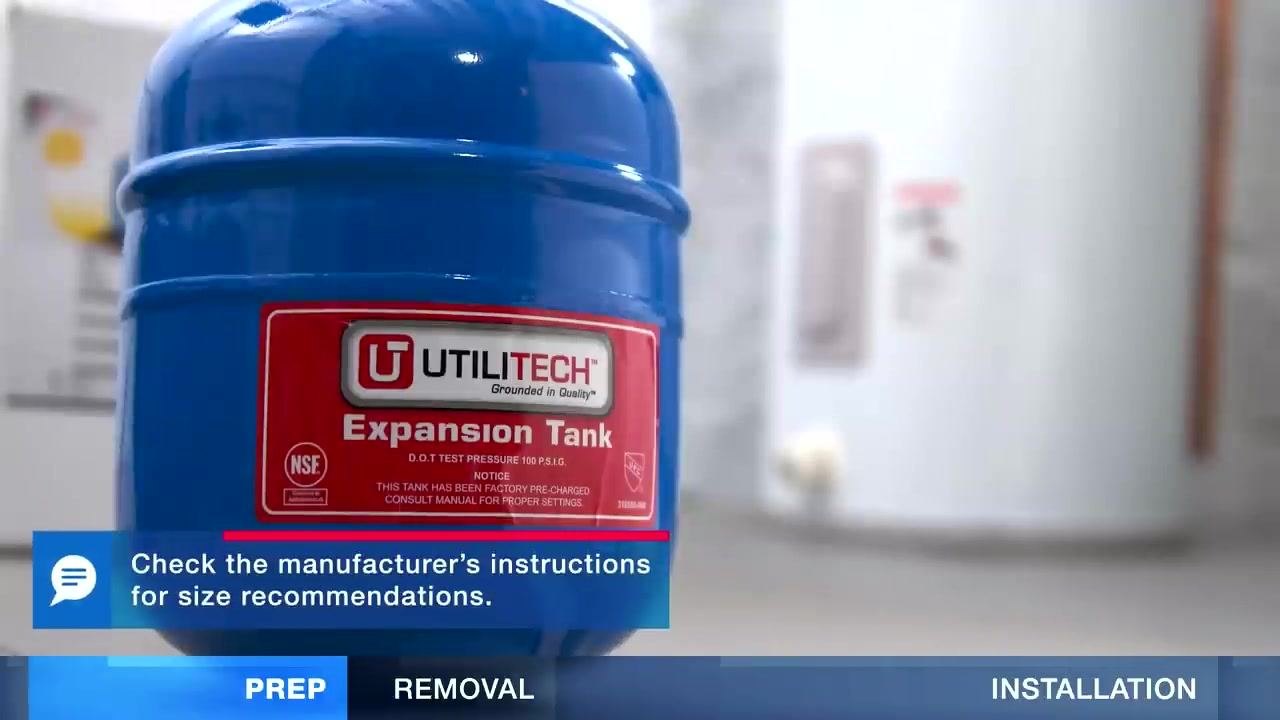
Install the expansion tank with push-fit fittings
Push-fit fittings allow you to connect the expansion tank to the pipe without soldering. Simply slide the fitting onto the pipe until it is fully seated.
Solder the expansion tank fittings (optional alternative)
If you choose to solder instead of using push-fit fittings, deburr and clean the pipes and fittings first. Apply soldering paste and assemble the joint, then heat the fitting and apply solder to seal the connection.
Set the expansion tank pressure
The expansion tank pressure must match your home's main water pressure. Use a hand air pump to increase the pressure, or depress the valve to lower it as needed.
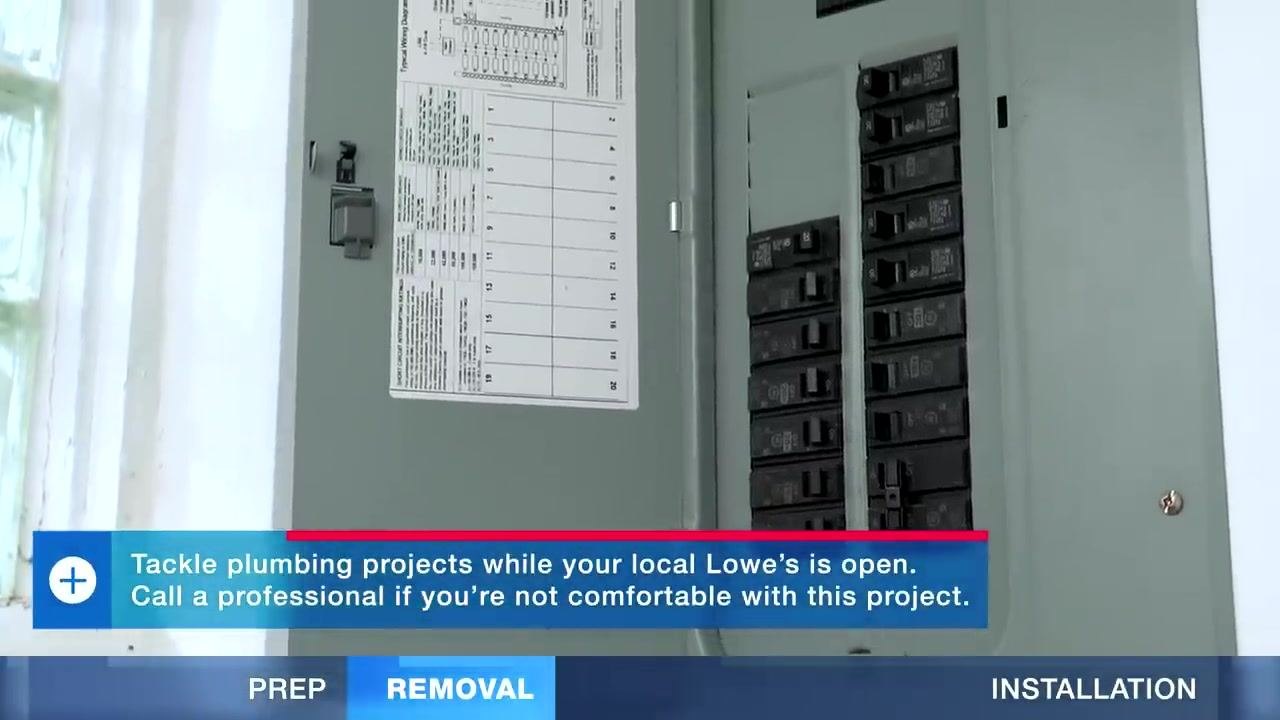
Turn off power to the water heater
Go to your electrical panel and turn off the circuit breaker for the water heater before doing any further work.
Safety note: If you are not comfortable working with electrical panels or plumbing, call a licensed professional.
Verify power is off
Use a voltage detector to confirm that power to the water heater is fully off before you touch any wiring.
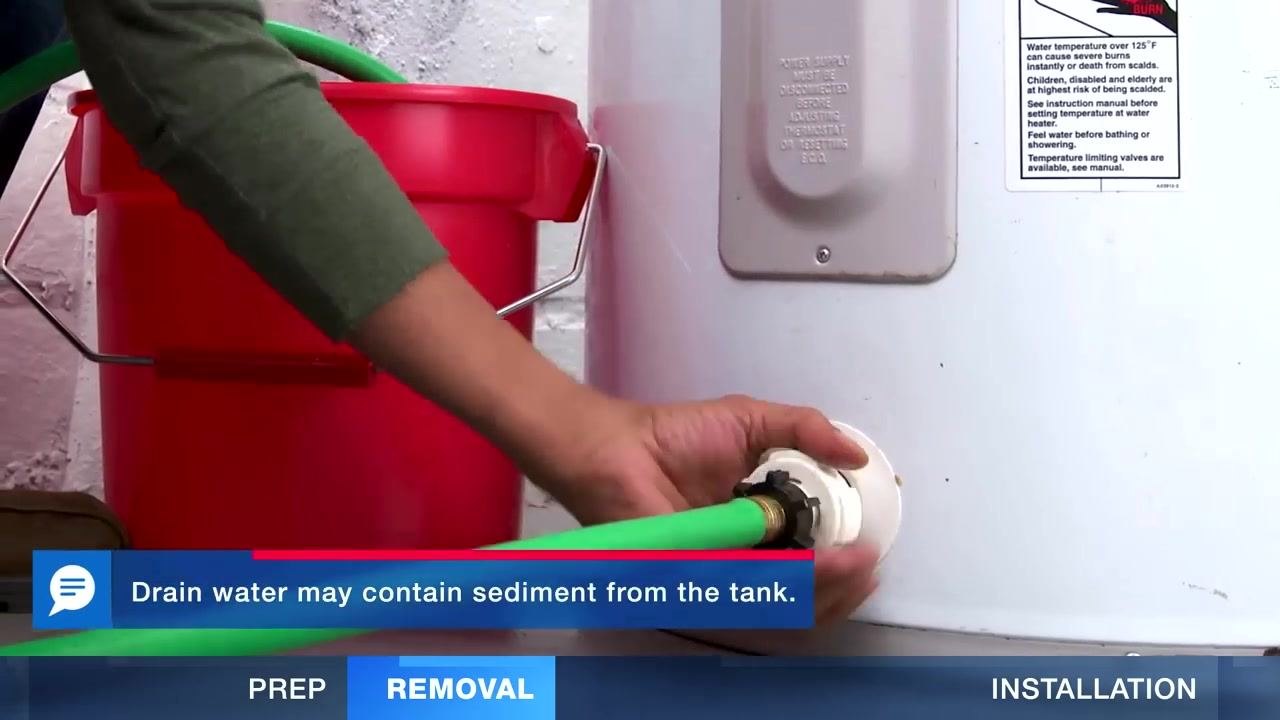
Shut off the cold water supply and drain the tank
Turn off the cold water supply to the water heater. Connect a garden hose to the drain valve at the bottom of the tank and route the other end into buckets or toward a floor drain. Open the drain valve and open a hot water faucet in your home to help the tank drain faster.
Note: Drain water may contain sediment from the tank.
Remove the discharge pipe from the T&P relief valve
Once the tank is fully empty, remove the discharge pipe from the temperature and pressure (T&P) relief valve. You can reuse the discharge pipe, but do not reuse the old T&P relief valve.
Disconnect the water supply pipes
Disconnect the water supply pipes from the old water heater. If you need to cut the pipes, leave them as long as possible to make reconnection easier later.
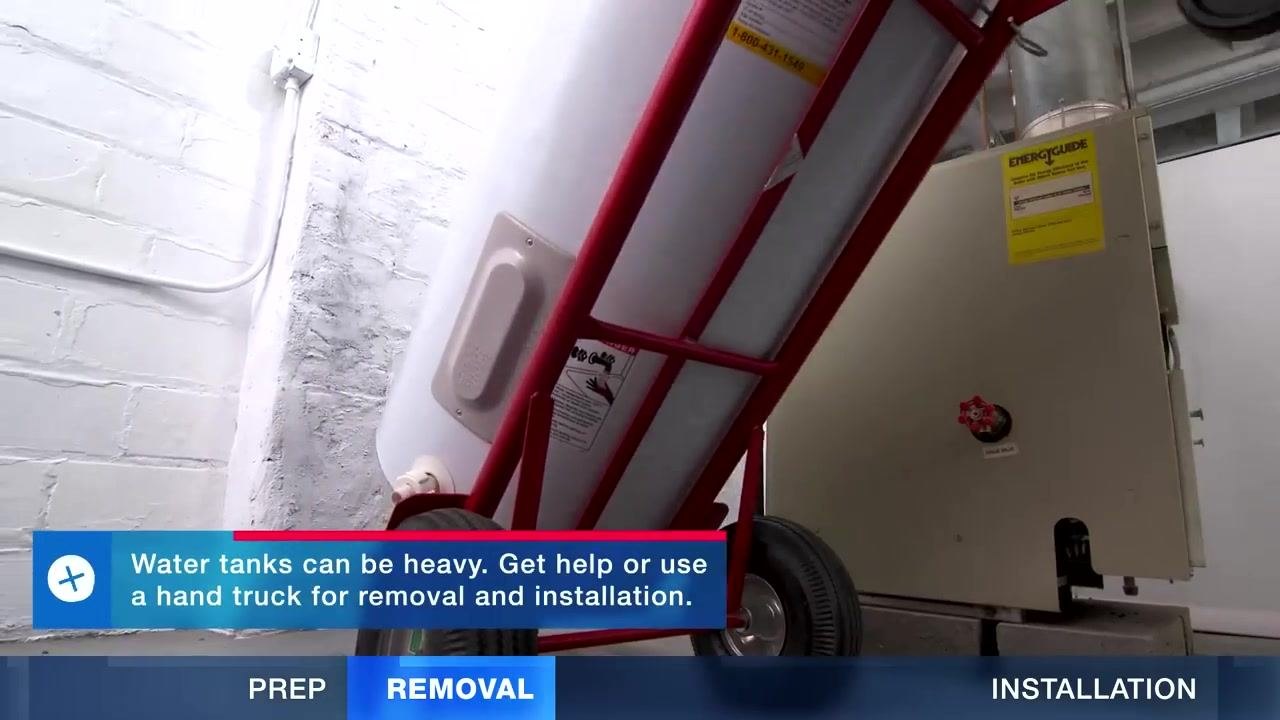
Remove the old water heater tank
Carefully remove the old tank from its location. Water tanks can be heavy, so get help or use a hand truck for safe removal.
Set the new tank in place
Place the new water heater in a drain pan to catch any leaks or drips. Route the drain pan to a floor drain if possible to avoid flooding.
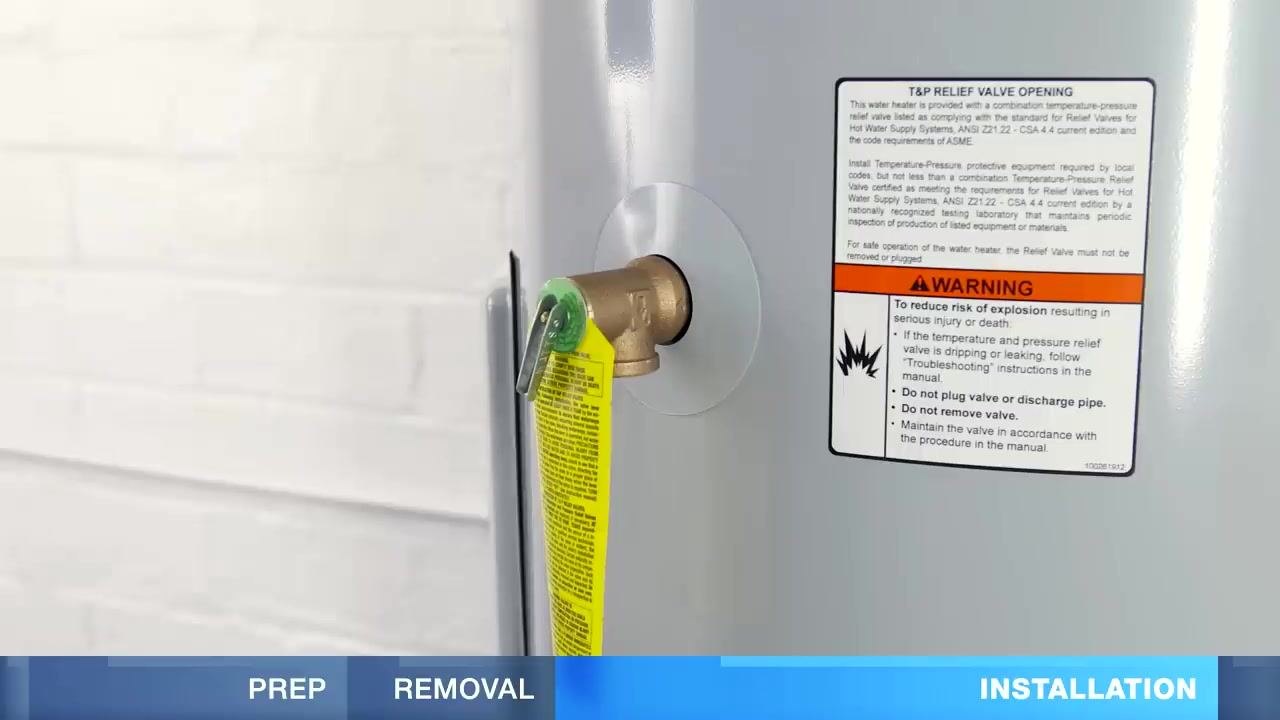
Install the T&P relief valve and discharge pipe
Install the new T&P relief valve on the water heater and attach the discharge pipe to direct water toward a drain. If no drain is available, place a bucket under the pipe and cut the pipe so it sits no more than six inches above the bucket.
Prepare the flexible hose kit for water connections
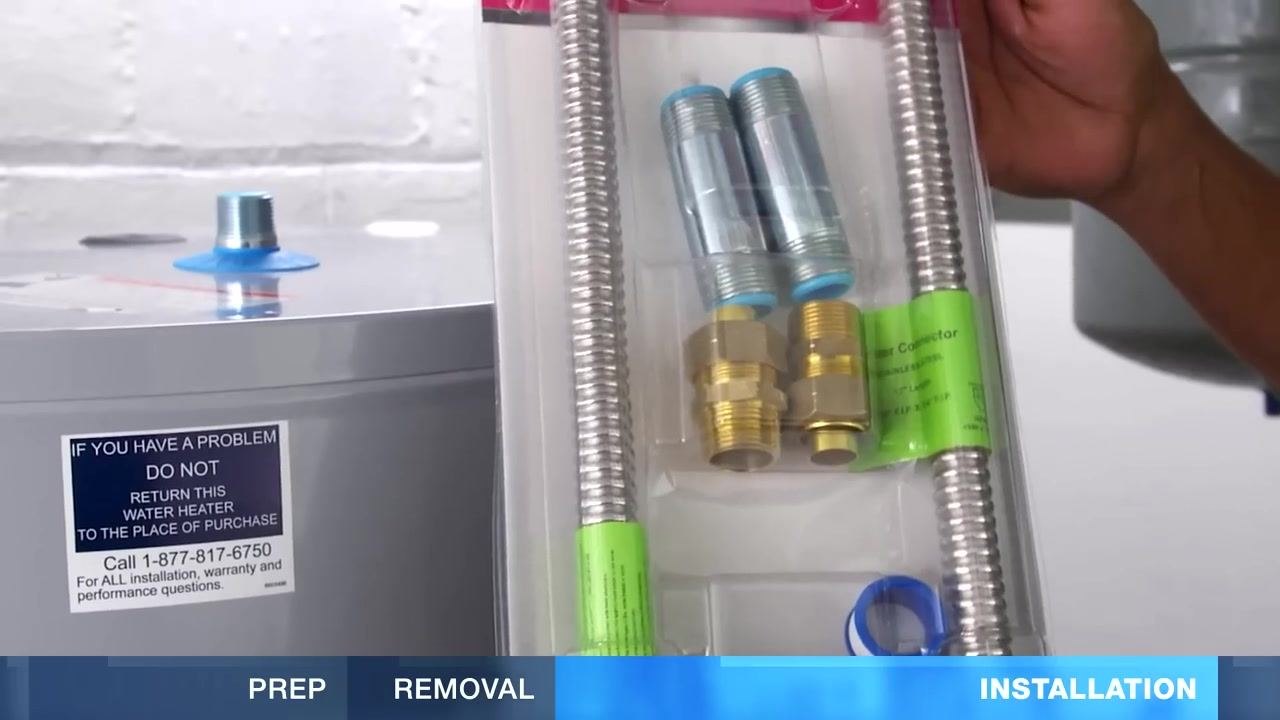
Use a flexible hose kit to connect the water supply lines; this is recommended for earthquake safety. A typical kit includes two flexible hoses, heat trap nipples, brass connectors, and plumber's tape.
Apply plumber's tape and attach hoses
Apply plumber's tape to the threads of the heat trap nipples, then attach the flexible hoses to the nipples on the water heater.
Install dielectric fittings (if required)
In some areas, dielectric fittings are required to reduce corrosion between different metals. Add plumber's tape to the connector body threads and secure the dielectric fitting to the hose.
Connect hoses to the water supply pipes
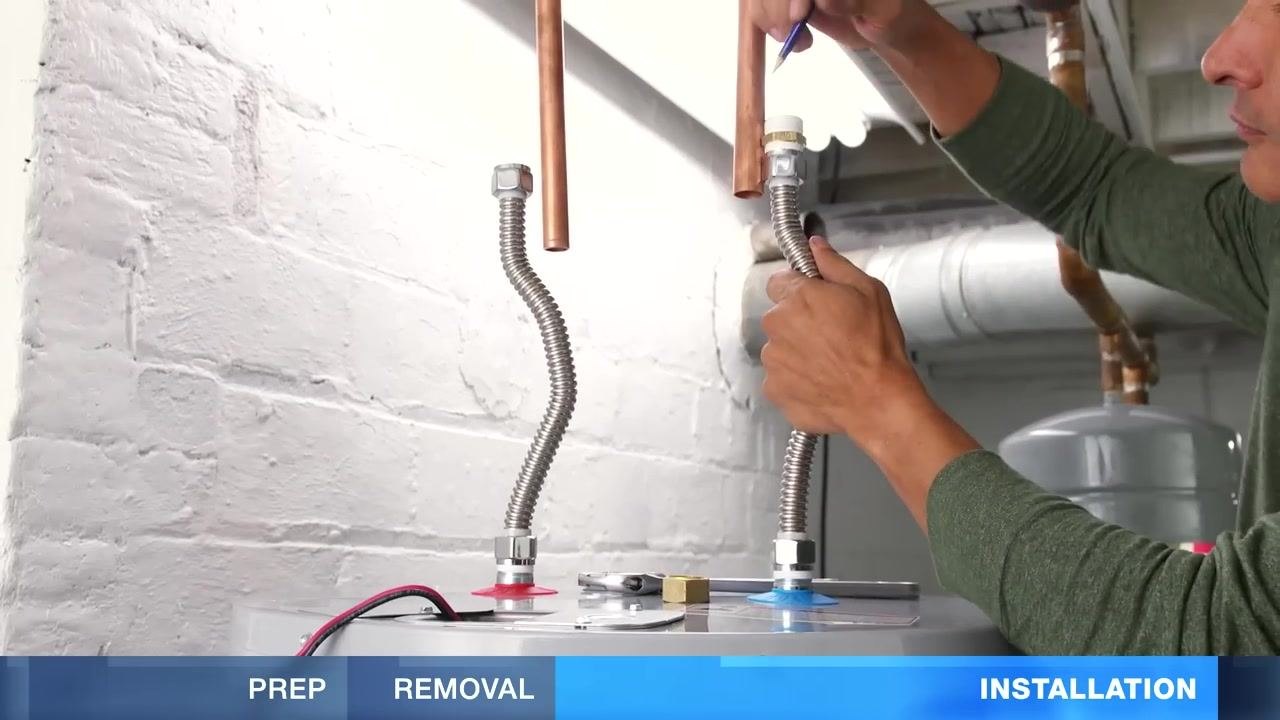
Hold the flexible hose up to the water supply pipe, leaving a little slack, and mark the pipe at the correct length.
Cut the pipe at the mark, remove any burrs, and slide the compression nut onto the pipe.
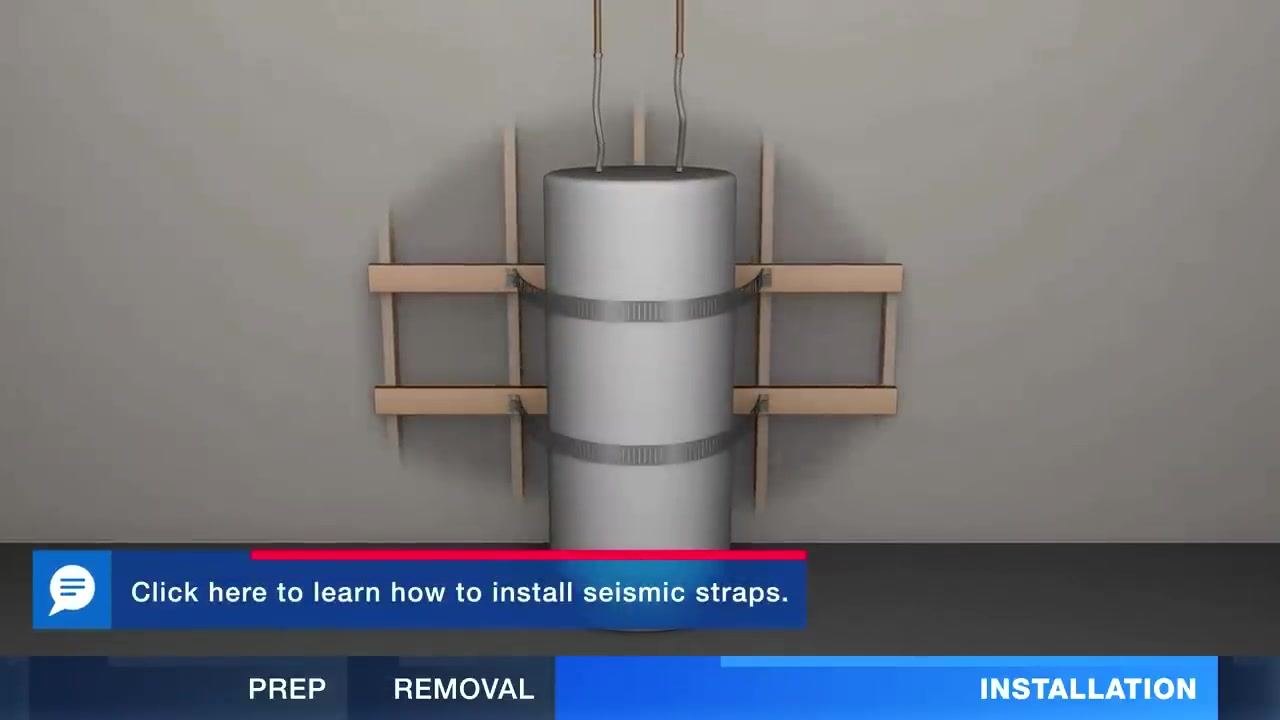
Install seismic straps
Install seismic straps around the water heater to brace it securely against the wall. Position one strap in the upper third and one in the lower third of the tank, and attach the straps to wall studs or a solid backing to prevent the tank from toppling during an earthquake. Refer to local codes for specific installation requirements.
Remove the aerator from the nearest faucet
Go to the faucet closest to the water heater and unscrew the aerator from the faucet spout. This prevents debris from clogging the aerator during startup.
Purge air and fill the tank
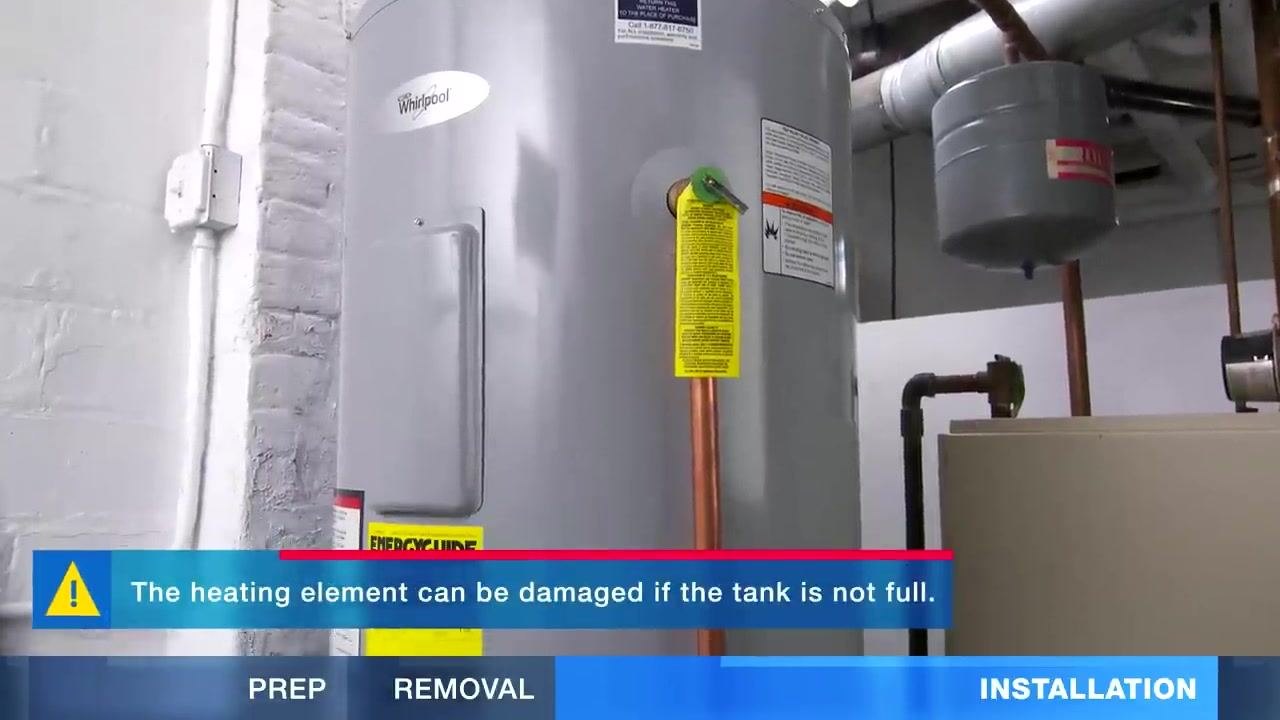
Open the hot side of the nearest faucet, then turn on the cold water supply to the water heater. Check all water connections for leaks as the tank fills; if none are found, allow the tank to continue filling. When water flows steadily from the open faucet, the tank is full. Let the water run for about three minutes to purge air and flush out any debris.
Safety note: The heating element can be damaged if the tank is not completely full.
Connect the electrical wiring
Ensure the tank is completely full before proceeding. Remove the junction box cover on the water heater and attach the ground wire to the green ground screw inside the box. Using the previous wiring connections as a guide, twist the corresponding wires together using wire connectors, then replace the junction box cover securely.
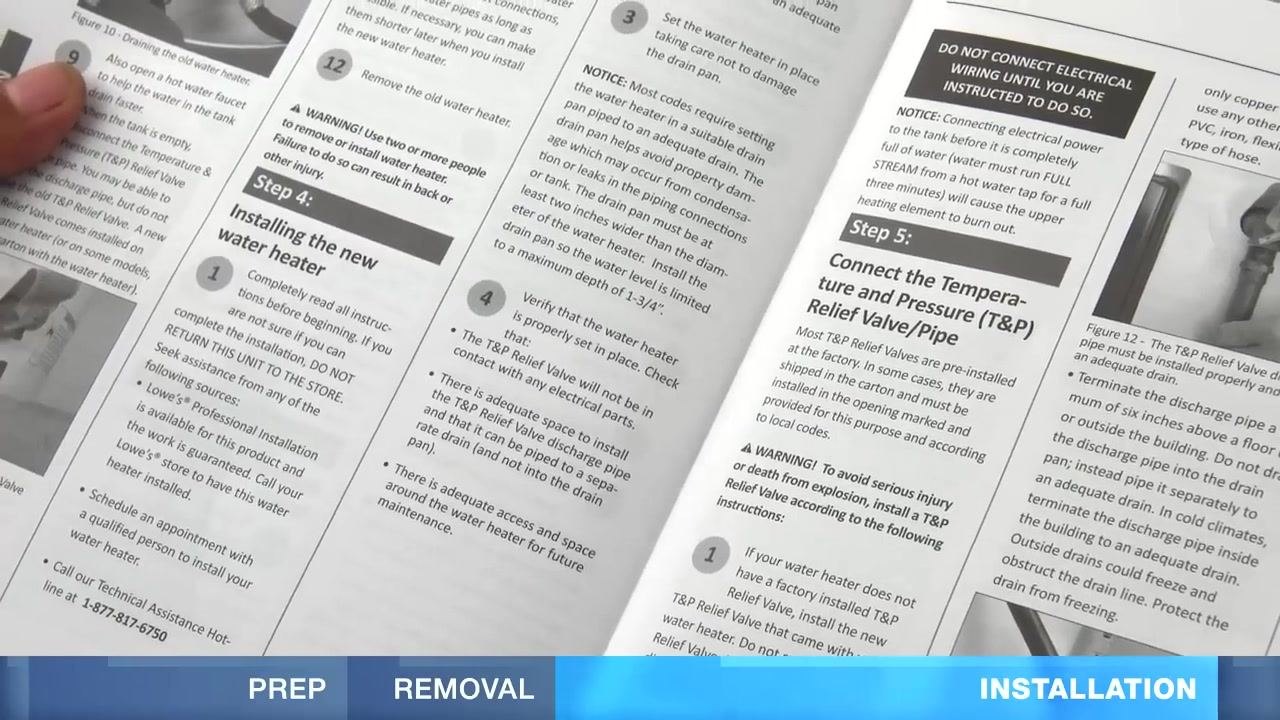
Restore power and test operation
Turn on the circuit breaker to restore power to the water heater. If the unit does not power on, turn off the breaker and double-check all wiring connections. Follow the manufacturer's operation instructions for initial startup and settings.
Wait for the water to heat
Allow several hours for the water heater to reach the desired temperature. Set the thermostat to 120°F (49°C) for optimal safety and efficiency.
Check the discharge pipe and water pressure
After a few hours, inspect the discharge pipe from the T&P relief valve. If the pipe is dripping, water pressure may be too high. Use a pressure gauge to check the system pressure and adjust the pressure regulator to keep it below 80 PSI.
Clean faucet aerators if needed
If any faucet stops working after installation, remove the aerator and clean out any debris or sediment. Reinstall the aerator and run hot water to flush out any remaining loose sediment.
Verification and summary
Once installation is complete, confirm the following before considering the job finished:
- The tank was completely full before power was restored, protecting the heating elements from damage.
- All water connections show no signs of leaking.
- The discharge pipe from the T&P relief valve is dry, and system pressure reads below 80 PSI.
- The thermostat is set to 120°F (49°C).
- All faucets run smoothly with no clogged aerators.
Important reminders:
- Always follow local codes and manufacturer instructions for installation and operation.
- Never power on the water heater before the tank is completely full, to avoid damaging the heating elements.
- Regularly check for leaks and proper operation after installation.
- This procedure is intended as a general guideline. Always check and comply with local building codes and regulations, and consult a licensed professional if you have any doubts about your project.
What's next
With your new water heater installed and verified, monitor its performance over the following days for any delayed leaks or pressure issues. Keep your recorded model and serial number information on file for future maintenance or warranty needs.


Generation details: cost, quality tiers
Docsie billed 3,000 credits ($2.10) to analyze this 6-minute video at standard quality. The rewrite, template fill and Word/PDF exports were included. The same video at each quality tier:
| Quality | Frames sampled | Credits | Approx. cost |
|---|---|---|---|
| Draft | every 16-30 s | 1,500 | $1.05 |
| Standard (this guide) | every 8-15 s | 3,000 | $2.10 |
| Detailed | every 4-7 s | 6,000 | $4.20 |
| Ultra | every 1-3 s | 12,000 | $8.40 |
Credits priced at $0.70 per 1,000; plans include a monthly allowance. Enterprise customers on on-premise or bring-your-own-model deployments run this on their own inference and pay no per-video credits.
Generated by Docsie Video-to-Docs on 2026-09-09 from a 5-minute video. Screenshots are frames from the source video and belong to their creator, Lowe's Home Improvement, whose original is embedded above. If you own this video and want the guide removed or credited differently, contact us and we will act within one business day.