
How to Preventive Maintenance Checklist
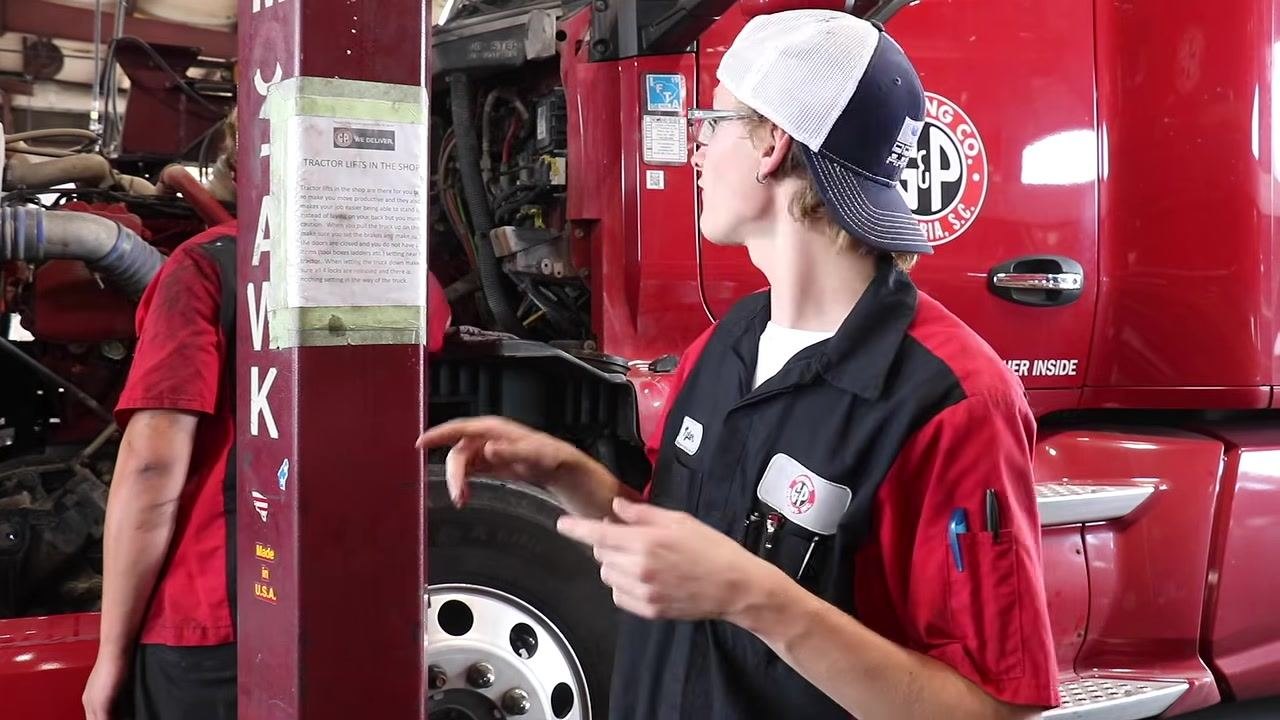
This preventive maintenance checklist walks you through the scheduled PEM (Preventative Maintenance) procedure performed by mechanics at the GMP Trucking shop in Greer, SC. Following this checklist step by step helps you inspect the engine compartment, brakes, tires, undercarriage, and exterior safety equipment, and correctly service fluids and filters so that fleet trucks remain safe and roadworthy.
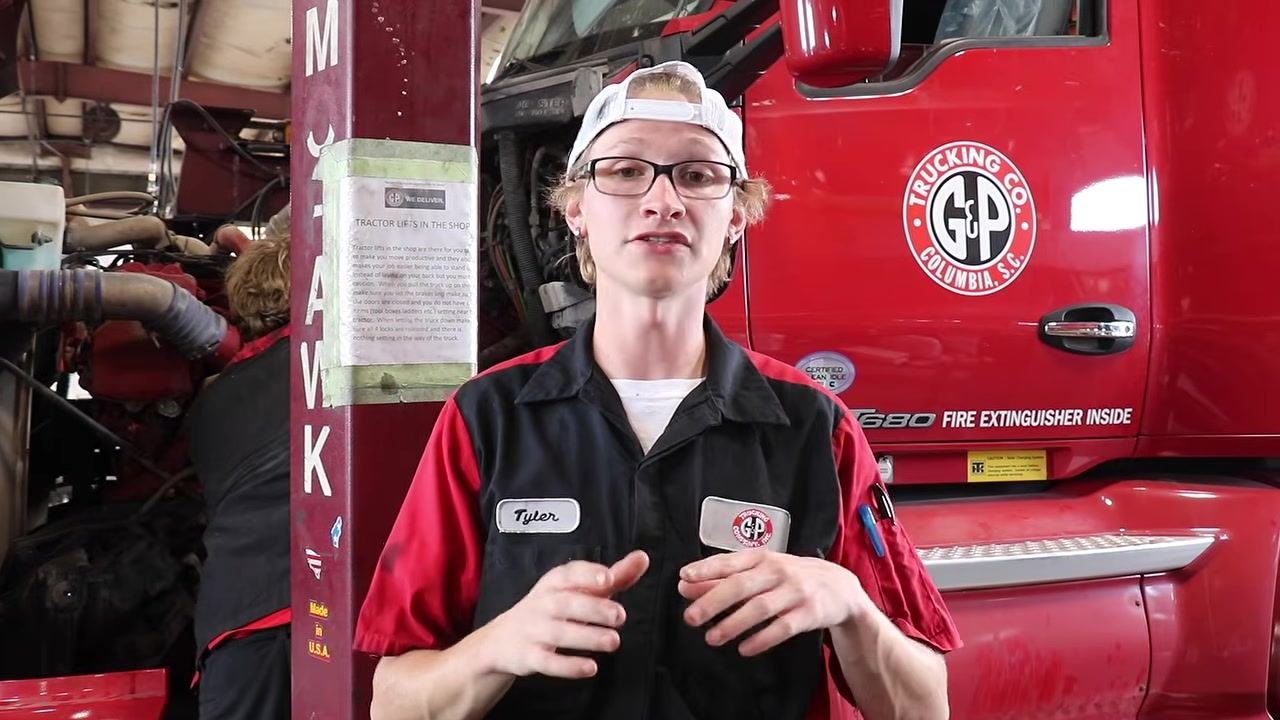
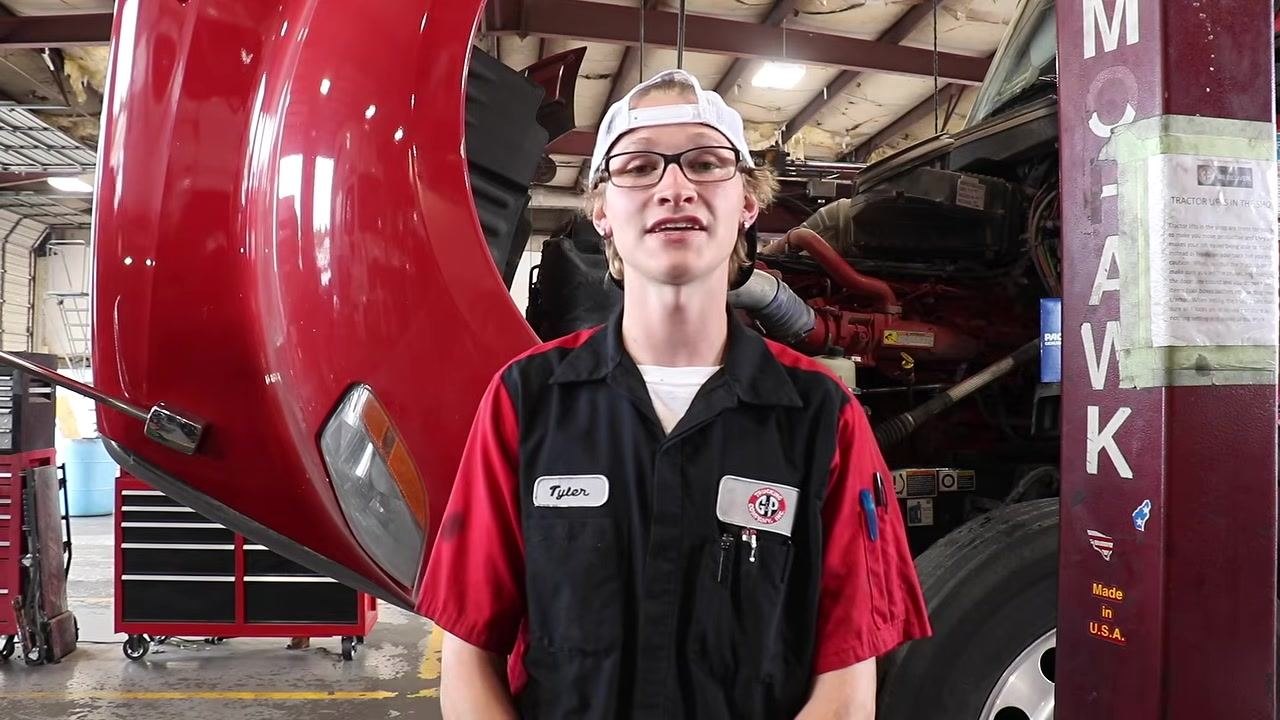
Video: Scheduled Preventative Maintenance at G&P Trucking Company, Tyler Walker by G&P Trucking Company (2019). All credit for the demonstration goes to the creator; watch the original on YouTube. The written guide below was generated from this video by Docsie. Creator? Request a change or removal.
This preventive maintenance checklist walks you through the scheduled PEM (Preventative Maintenance) procedure performed by mechanics at the GMP Trucking shop in Greer, SC. Following this checklist step by step helps you inspect the engine compartment, brakes, tires, undercarriage, and exterior safety equipment, and correctly service fluids and filters so that fleet trucks remain safe and roadworthy.
Purpose
This checklist standardizes the scheduled preventive maintenance (PEM) process for GMP Trucking equipment. It ensures every truck receives a consistent, thorough inspection and service before returning to operation, and that any deficiencies are documented and corrected according to company and DOT standards.
Scope
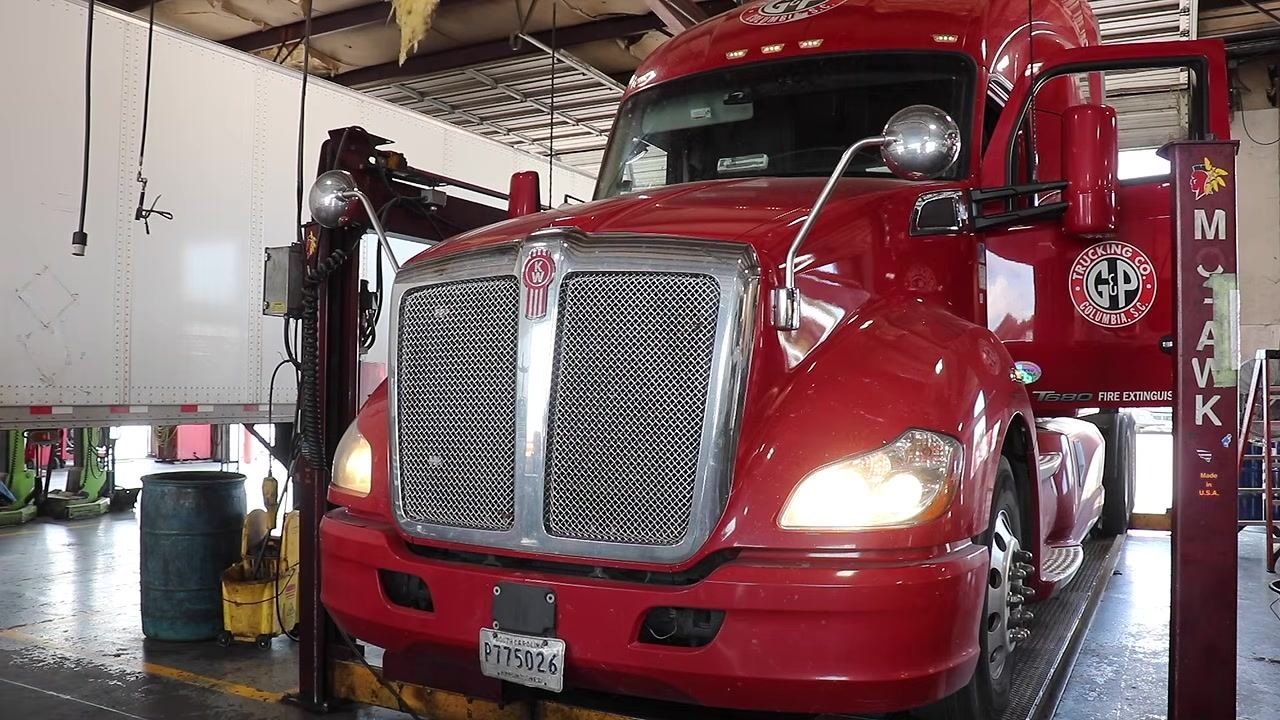
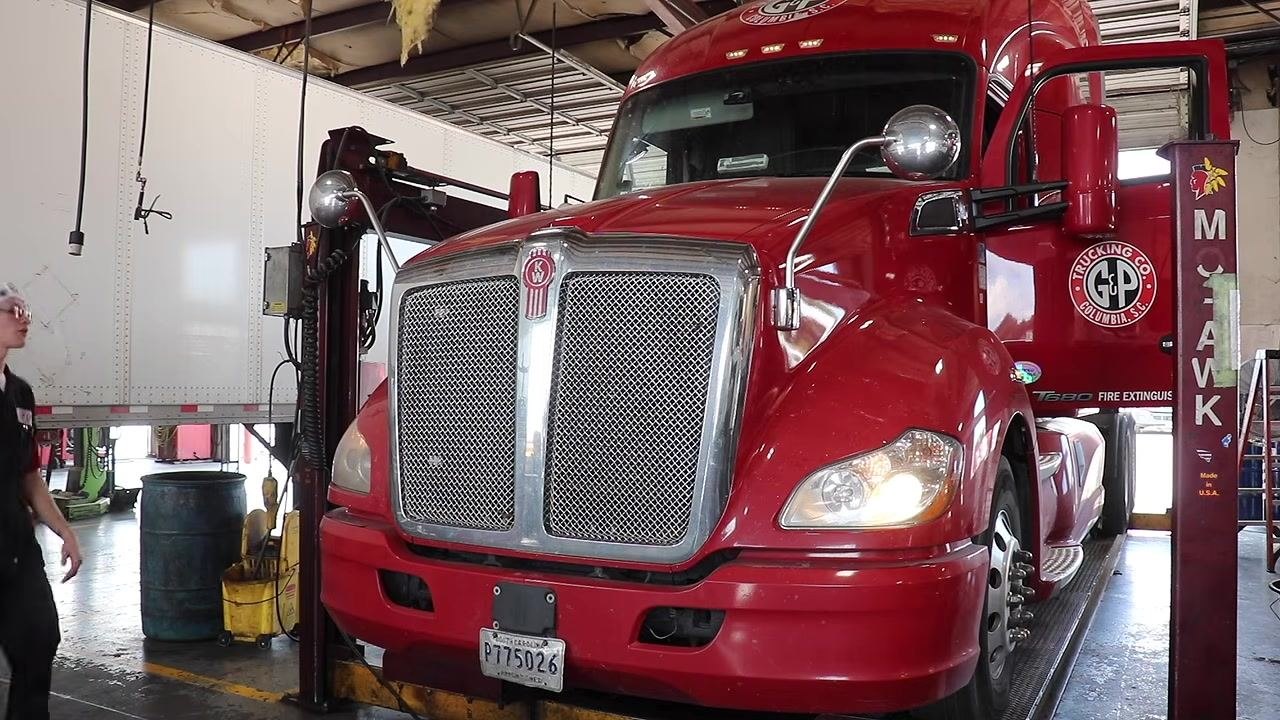
This preventive maintenance checklist applies to routine PM service performed on GMP Trucking semi-trucks (such as the red Kenworth tractors serviced at the Greer, SC shop). It covers the engine compartment inspection, brake and steering inspection, frame and suspension inspection, exterior and safety equipment checks, lighting and trailer connection tests, the undercarriage inspection, and the oil, filter, and fluid service.
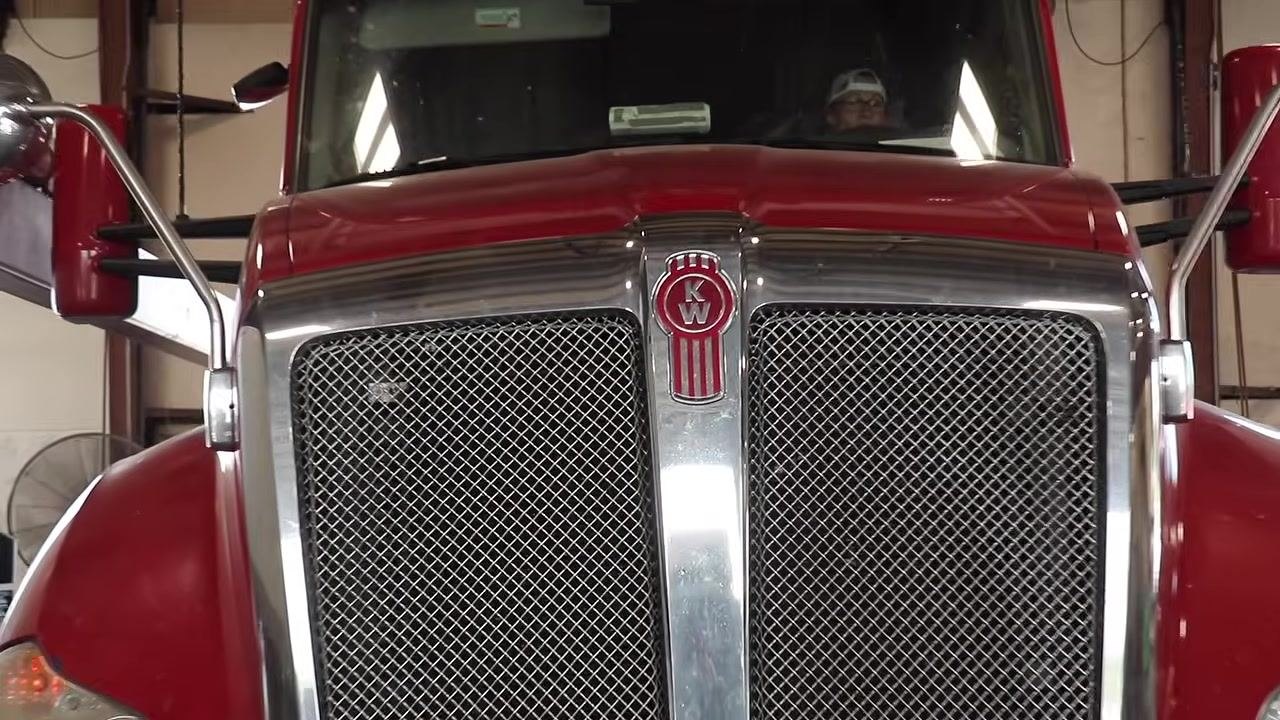
Required equipment and PPE
- Safety glasses and company uniform
- Flashlight
- Protective work gloves (orange gloves for oil handling)
- Clean gloves for oil fill tasks
- Oil filter wrench (strap-type)
- Breaker bar
- Trailer light tester
- Oil drain pan
- Wrench and ratchet set
- Clipboard and PM checklist for recording parts used
- Replacement parts: oil filter, secondary fuel filter, fuel water separator, cabin air filter, and 22-inch windshield wipers
- Synthetic 10W-30 engine oil
- Hydraulic lift
- Mop and cleaning supplies for spills
Prepare the truck for inspection
-
Park the truck safely inside the maintenance shop before beginning the PEM process.
-
Open the truck hood to expose the engine and related components.
Inspect the engine compartment
-
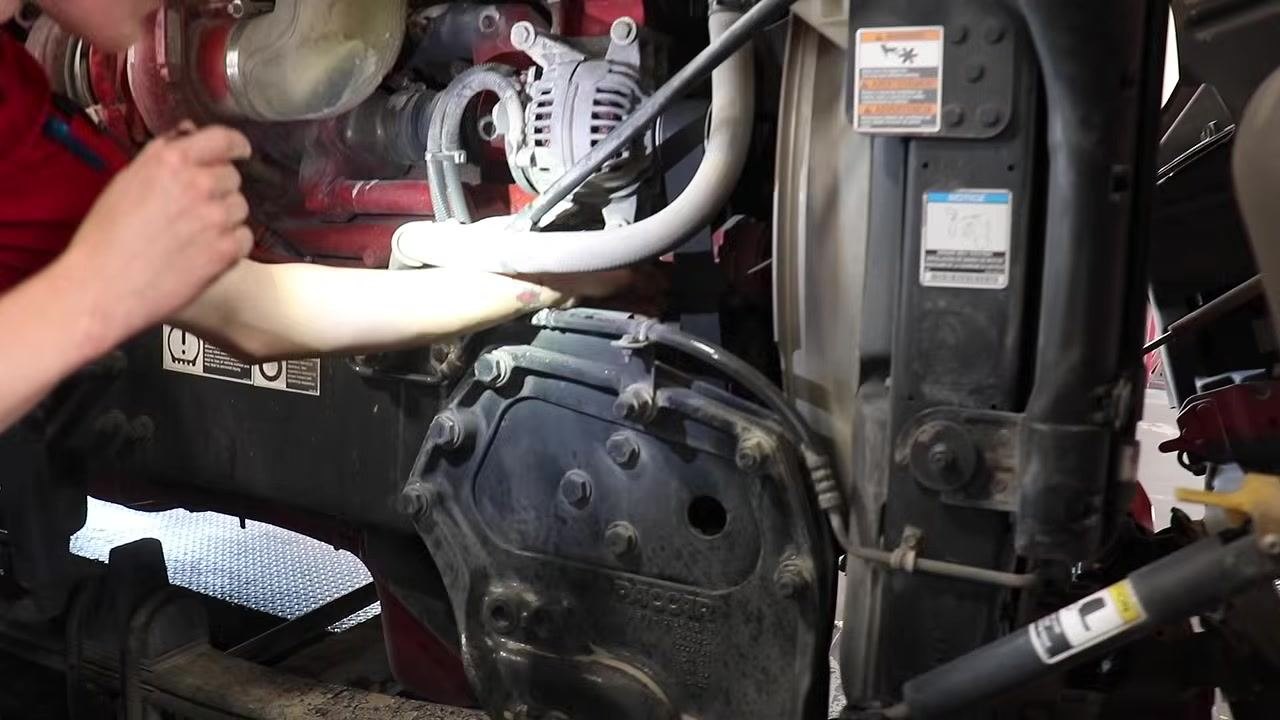
Visually inspect the engine for oil, coolant, or other fluid leaks, and check for hoses that are rubbing or damaged.
-
Check for air and coolant leaks by listening for hissing sounds and looking for visible coolant escaping from hoses or fittings. Inspect all visible hoses and connections for tightness and integrity.
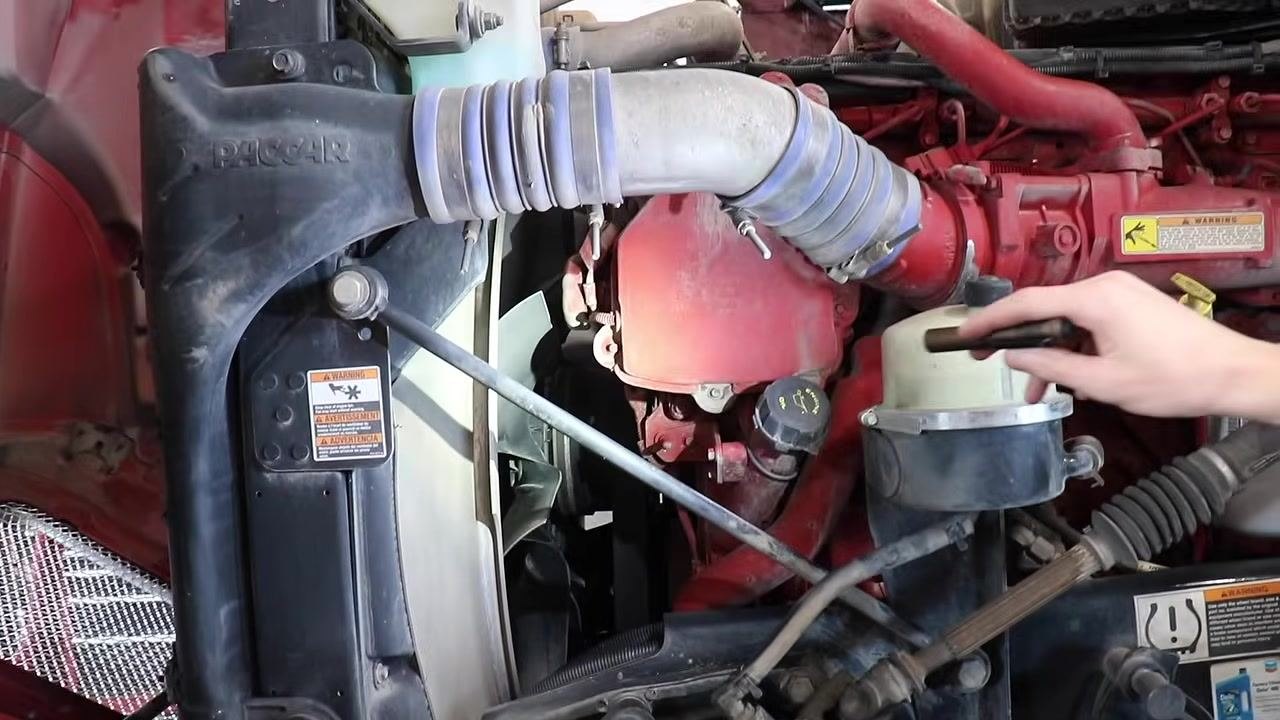
- Inspect the steering column and power steering fluid reservoir to confirm the column is secure and the reservoir is not leaking.
- Note: The power steering fluid level may appear slightly overfilled when the engine is hot. This is normal.
- Examine the power steering fluid reservoir closely to confirm it is not leaking and that the fluid level matches the current engine temperature.
- Inspect the radiator for bad spots, looseness, cracks, leaks, or damage to its mounting points.
- Check the washer fluid reservoir for cracks or leaks.
- Note: The washer fluid reservoir is a DOT (Department of Transportation) item. If it is cracked or leaking, it must be replaced.
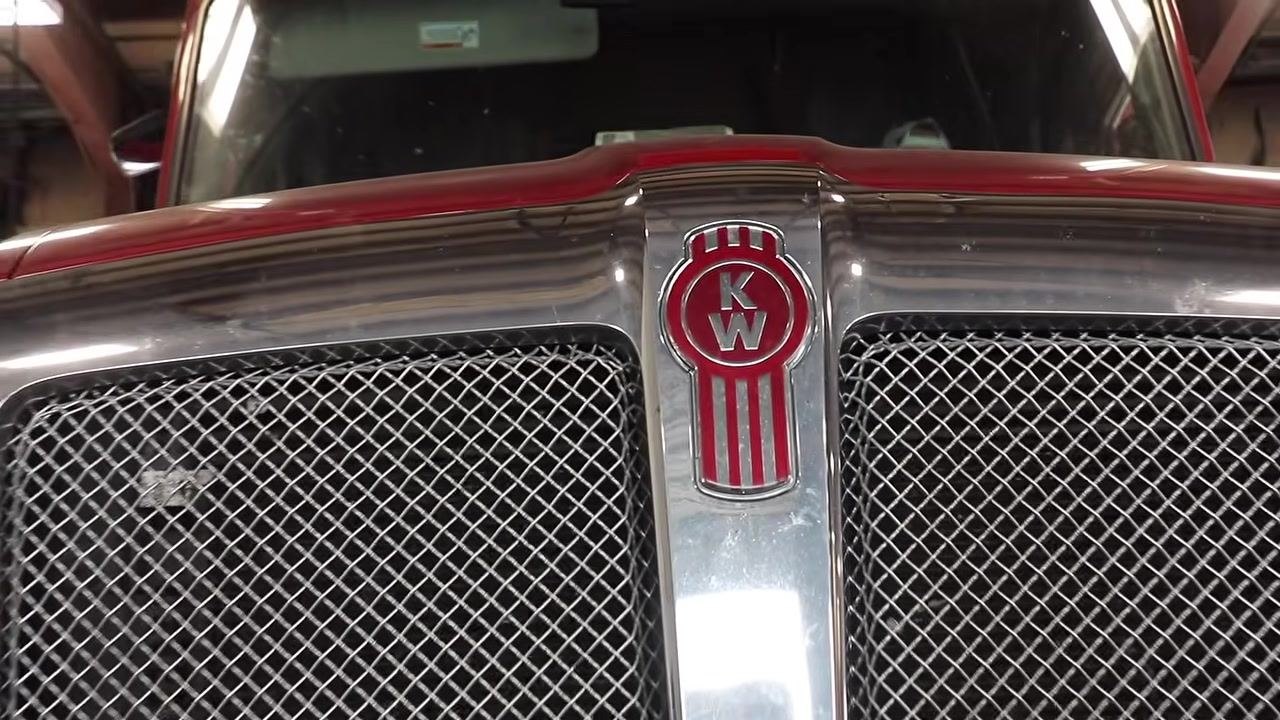
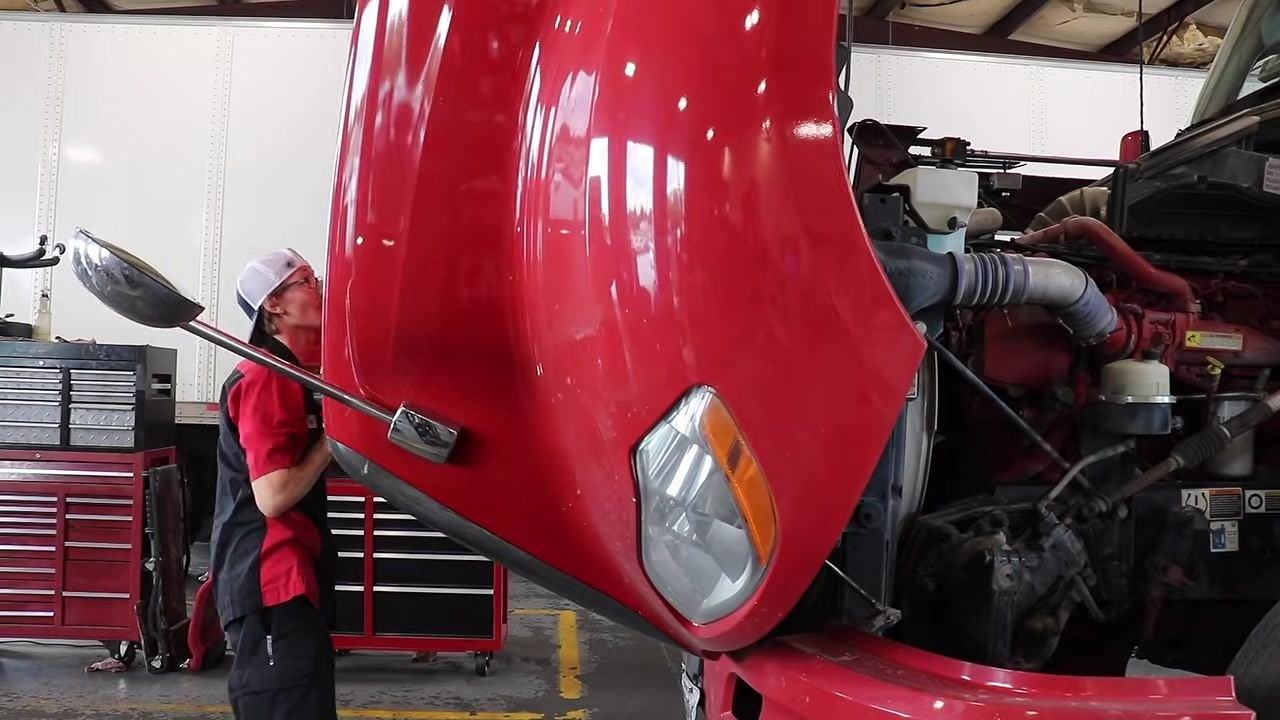
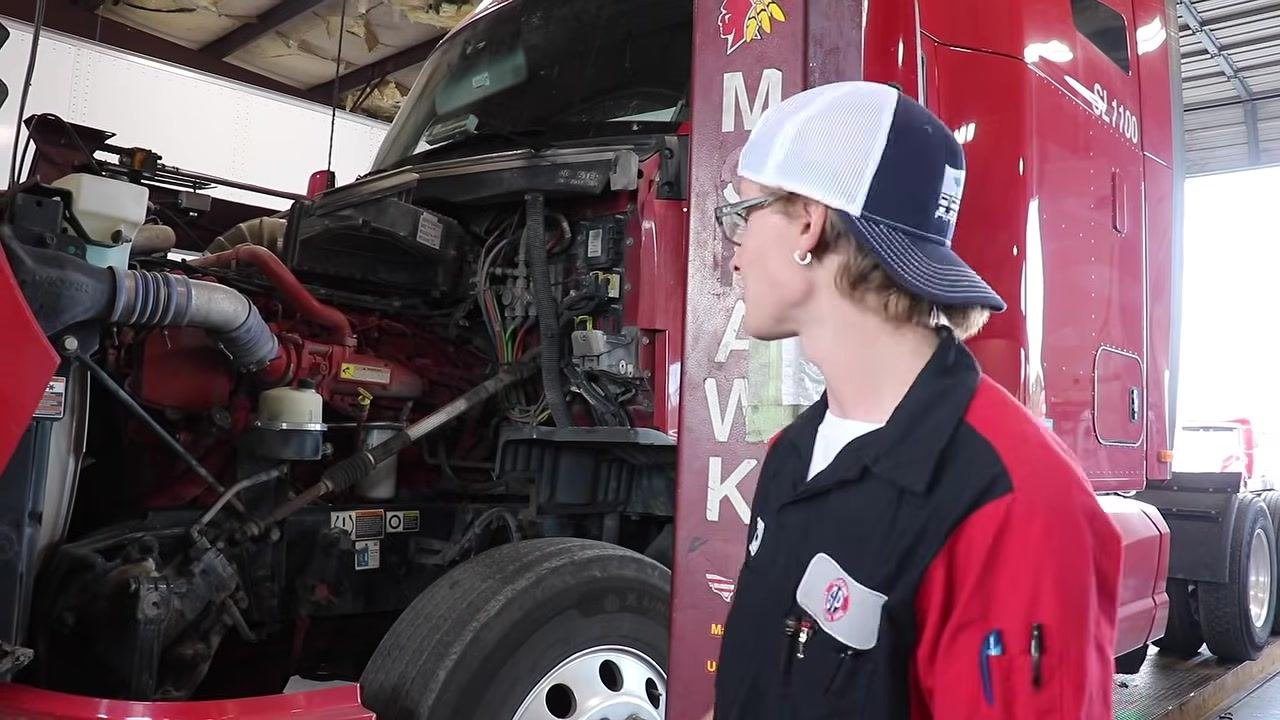
Inspect brakes, steering, and frame components
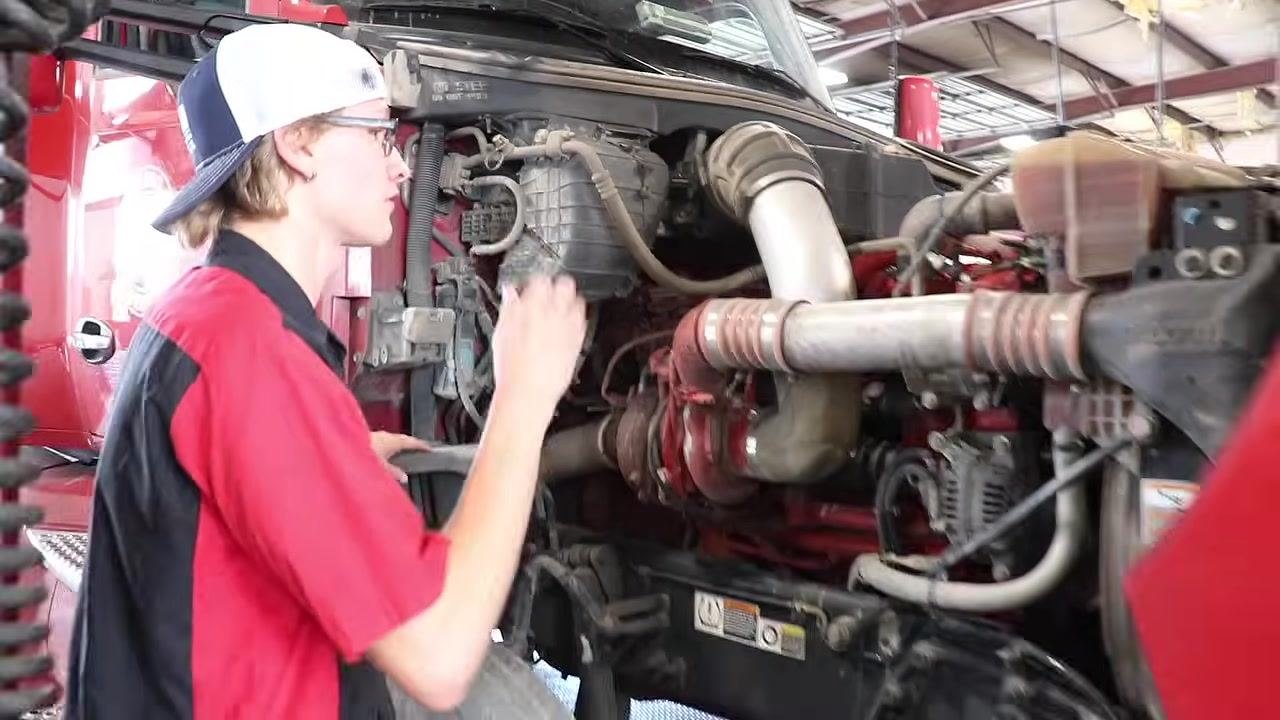
- Lean over the tire to inspect the brake pads for wear, and listen and feel around the brake chamber and hoses for escaping air. If available, use a spray bottle with soapy water to check for air leaks — bubbles indicate a leak.
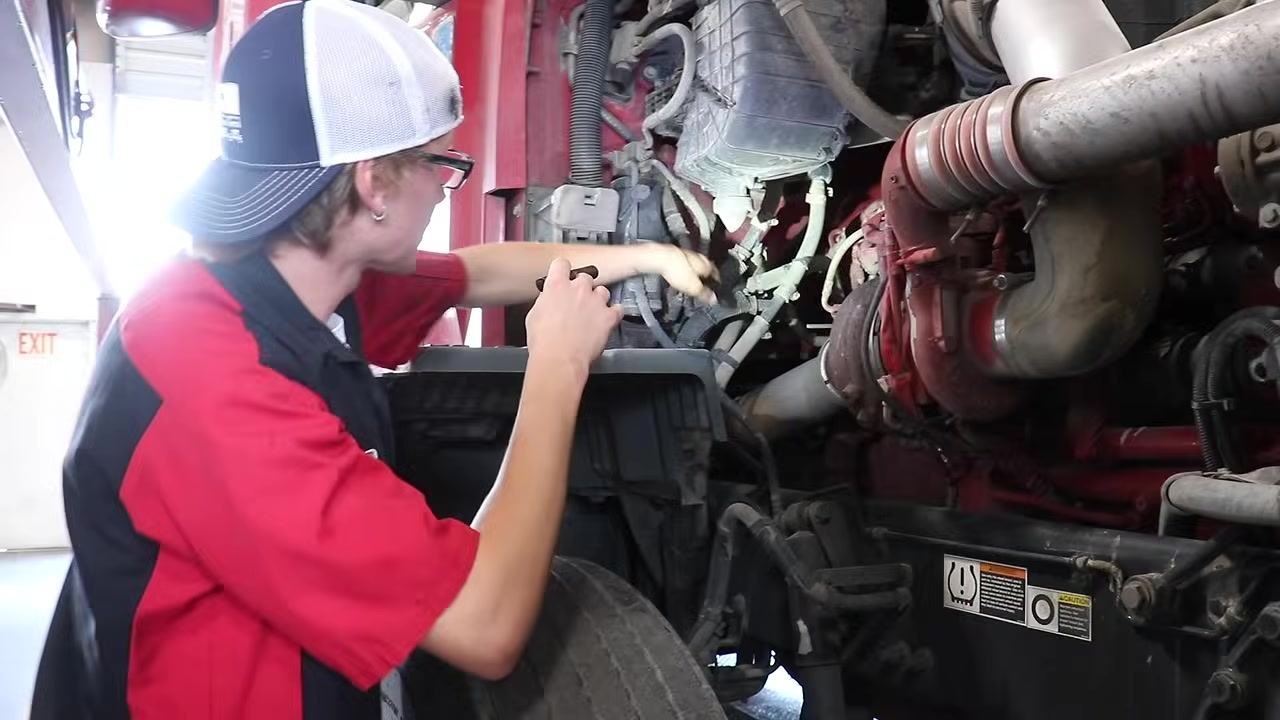
- Use your hands and a flashlight to check the steering and brake lines for air leaks, gently moving hoses to listen and feel for leaks, the same way you would check a tire for air leaks.
-
Check the passenger-side coolant reservoir for cracks or damage. Shine a light into the reservoir to verify the coolant level is correct and confirm all components in the area are secure.
-
Inspect all AC, coolant, and air hoses for leaks and secure attachment, tracing each hose and connection by hand and with a flashlight.
-
Inspect the engine belts to confirm they are not cracked, frayed, torn, or cut, and press on each belt to check for excessive play.
- Note: The maximum allowable belt deflection is 3/4 inch.
-
Confirm belt deflection does not exceed 3/4 inch, and adjust or replace any belt with excessive play or visible damage.
-
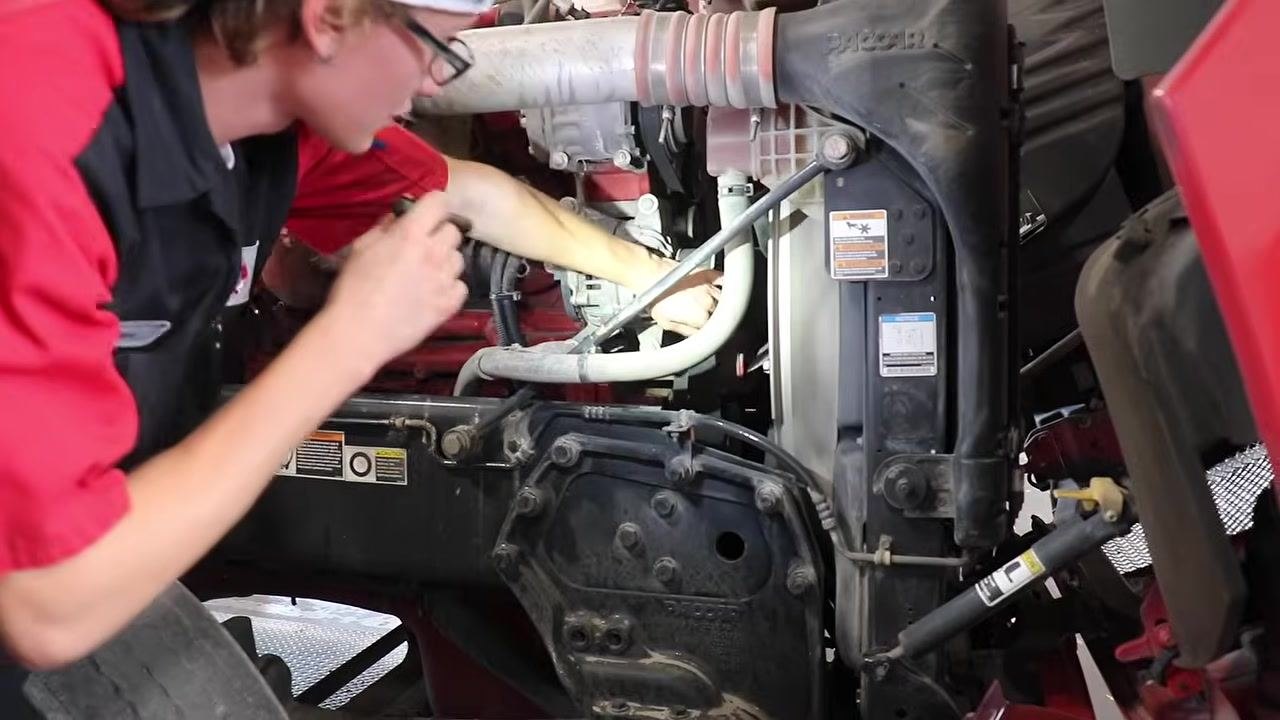
Use a flashlight to continue checking all areas around the coolant system for leaks, paying close attention to hose connections and the radiator area.
-
Inspect the frame rail, springs, and U-bolts to confirm all bolts are present and tight, and that springs and U-bolts show no cracks, breaks, or missing hardware.
- Listen and feel for air leaks around the brake chamber and air hoses on the opposite side of the truck, confirming no leaks are present.
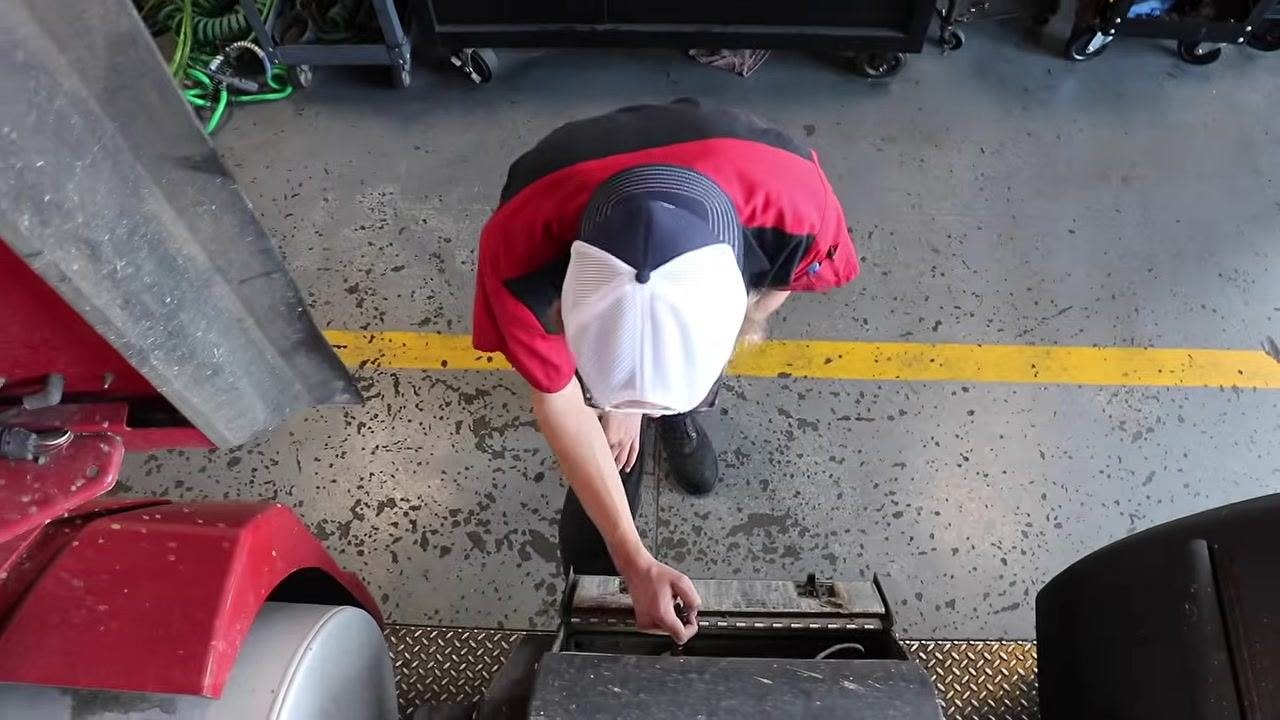
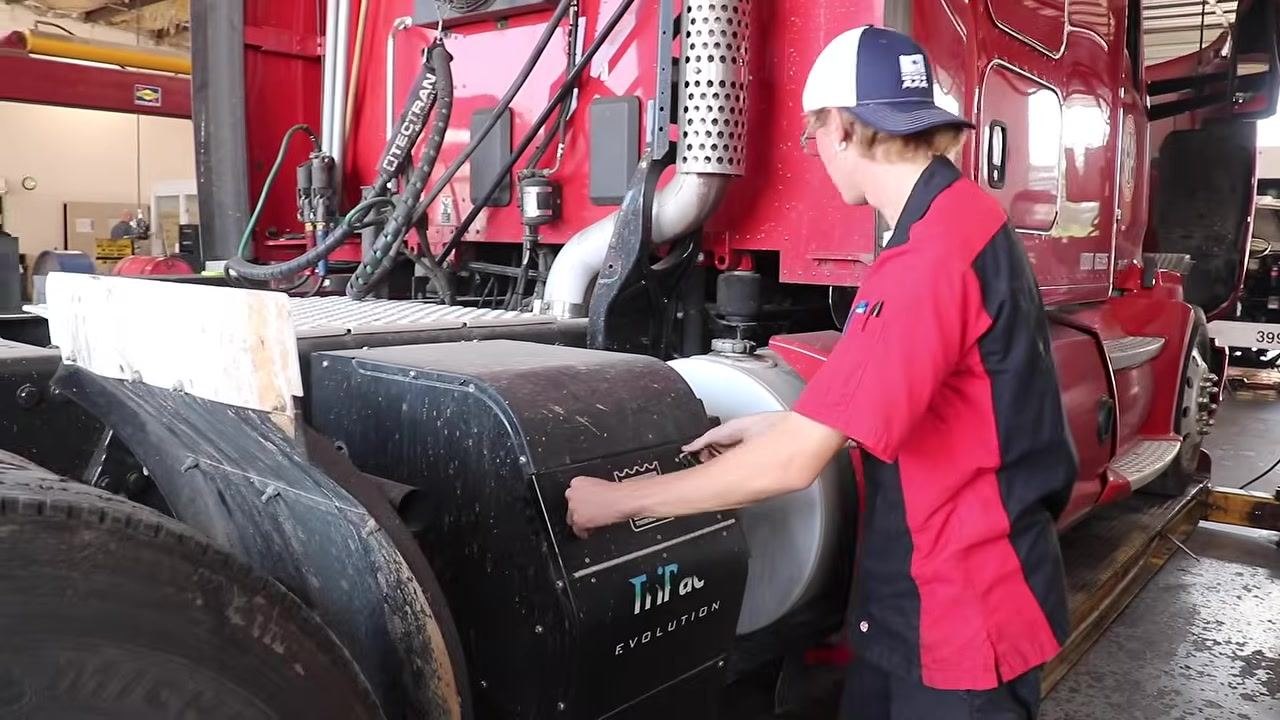
- Inspect the APU (Auxiliary Power Unit) for the same issues checked on the main engine, including belt condition and tension, using a flashlight to thoroughly examine all visible components.
Inspect exterior and safety equipment
- Walk around the truck to visually inspect each tire for proper inflation, tread depth, and damage. Check all airbags for leaks, cracks, or wear, and inspect brake components for wear, damage, and air leaks, covering the same items checked in the engine compartment.
-
Move to the rear and undercarriage of the truck, using a flashlight to check hard-to-see areas and confirm all safety and mechanical components are in good working order.
-
Locate the emergency triangles and confirm they are present, undamaged, and functional. Inspect all reflectors on the truck for cracks, dirt, or missing pieces.
-
Locate the fire extinguisher and confirm it is securely mounted, the pressure gauge needle is in the green zone, and it shows no signs of expiration or damage.
Test lights and trailer connections
-
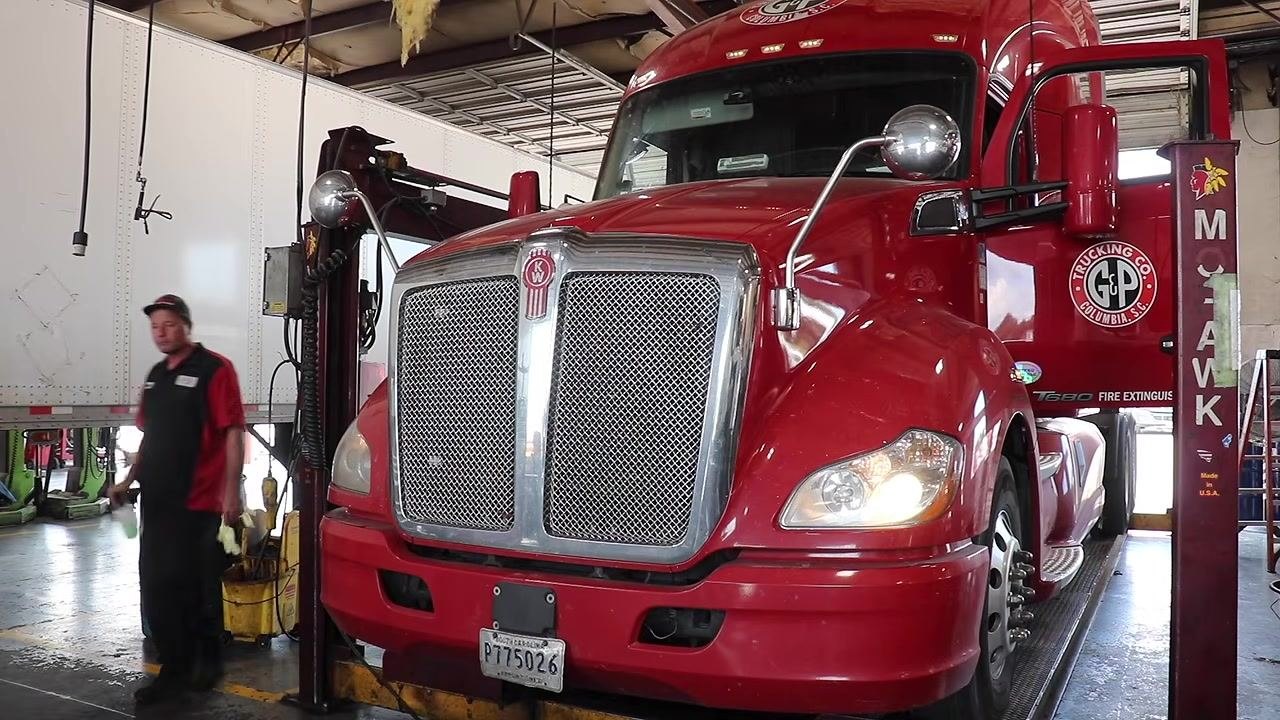
Request assistance to activate the left turn signal, right turn signal, and high beams, then observe the front of the truck to confirm all lights are functioning. Record any lights that are not working, such as a headlight that is out, so the issue can be addressed before the truck leaves the facility.
-
Stand in front of the truck to confirm that both headlights and all turn signals are working as they are activated. Document any headlight or signal that is out for repair.
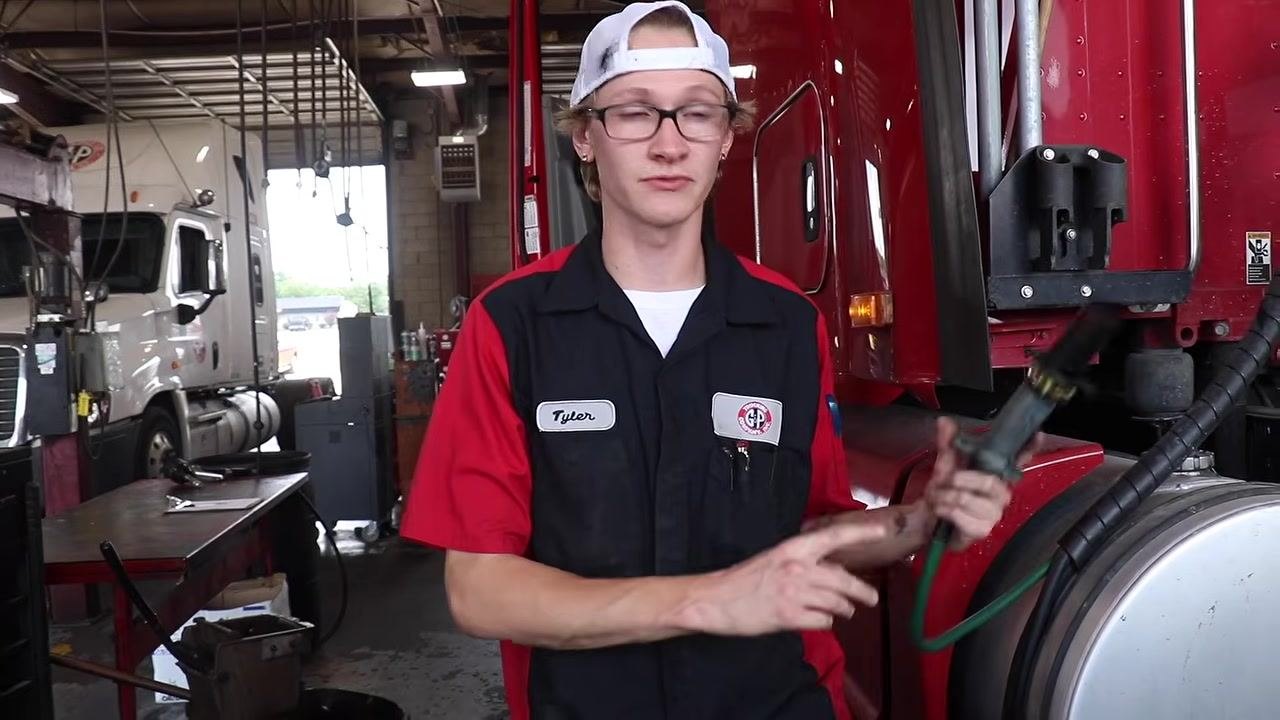
- Use a trailer light tester to confirm that power is being sent from the tractor to the trailer, verifying that all trailer lights function correctly when activated from the cab.
- Hold the trailer light tester at the rear of the tractor and confirm power is present at the connector pins for each circuit — brake, turn, tail, and marker. If any circuit does not show power, document the issue for immediate repair before connecting a trailer.
- Note: Perform this check in a well-lit area, such as the maintenance bay, with the tractor parked and secured.
Perform the undercarriage inspection
- Approach the truck with the hood open and put on safety glasses and the required uniform before continuing the inspection.
-
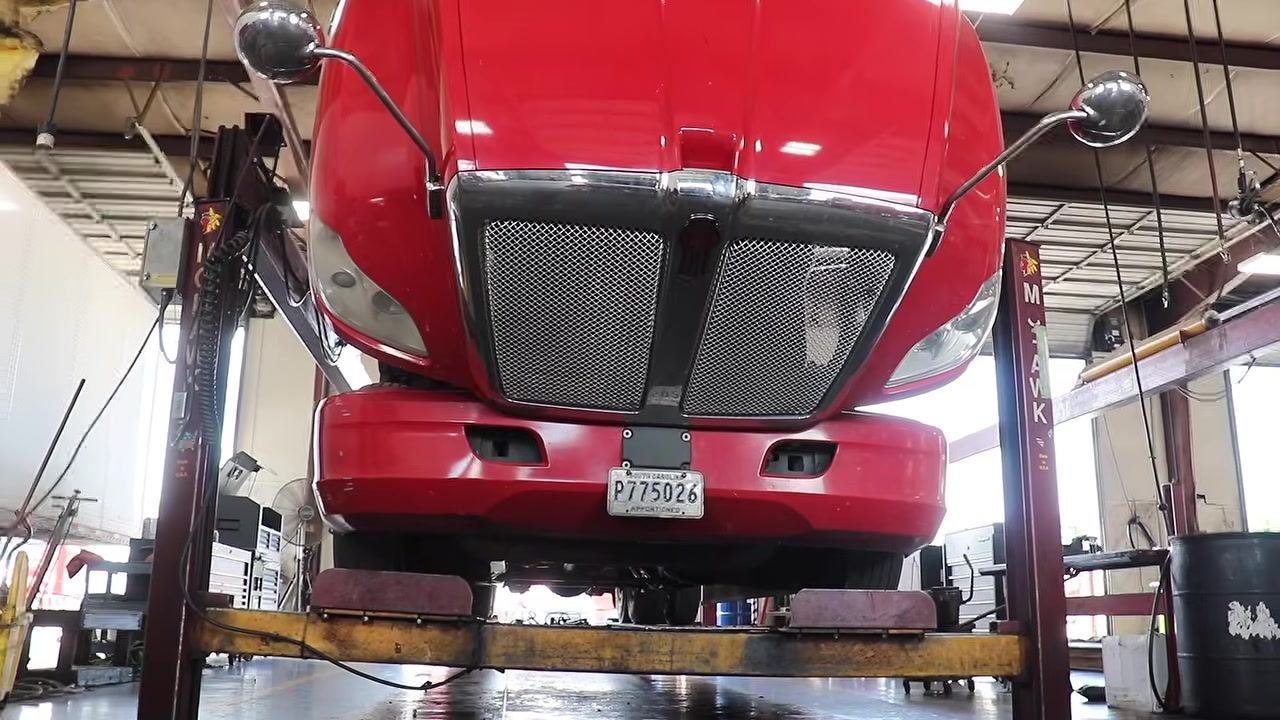
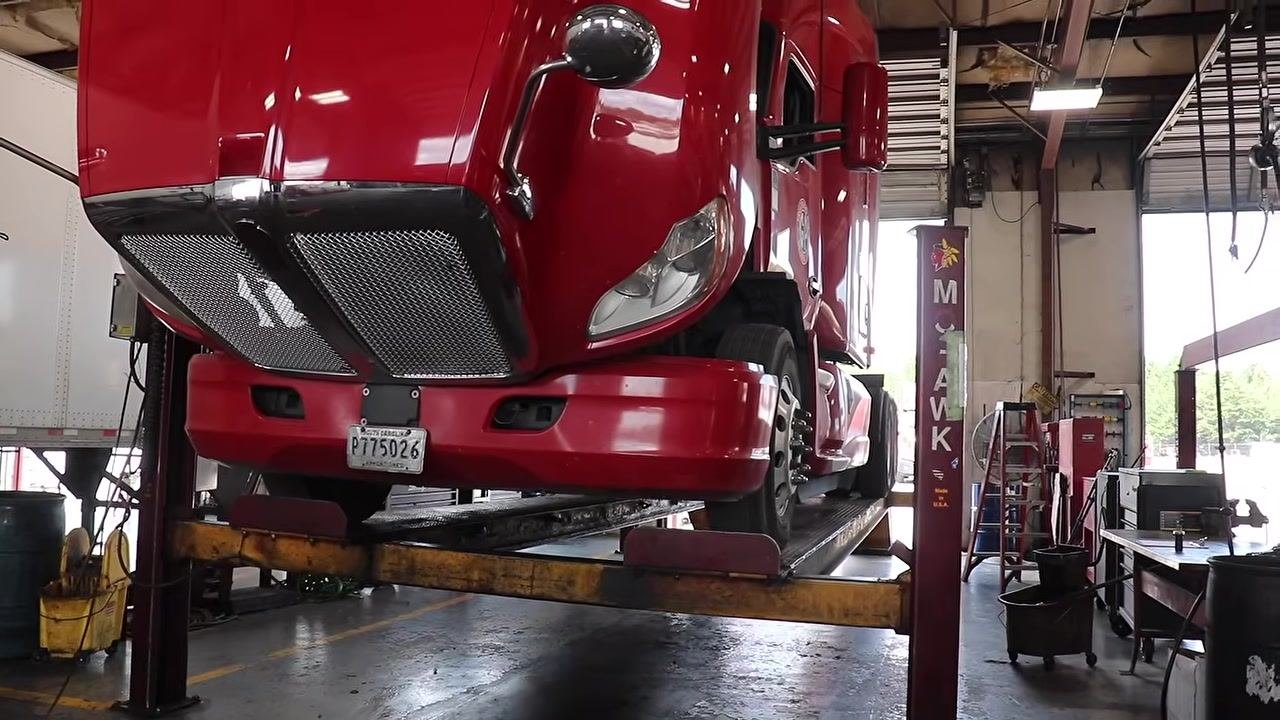
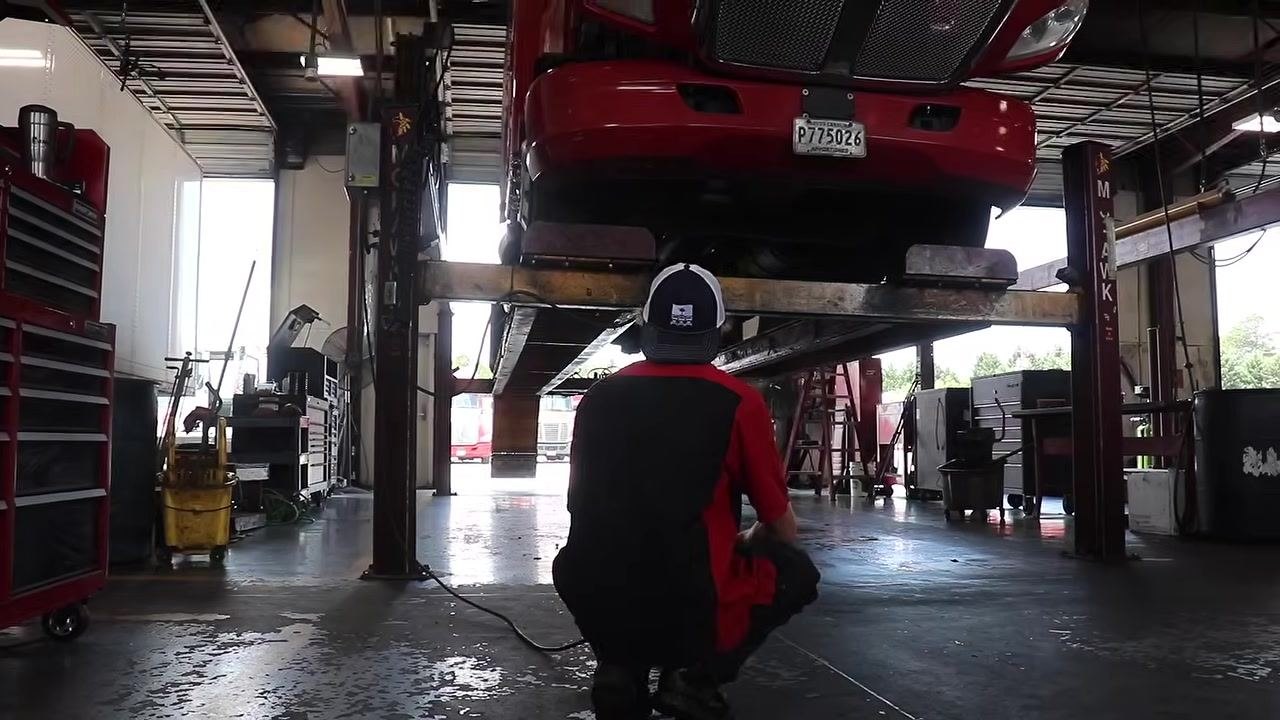
Position the truck on a hydraulic lift inside the shop, ensuring it is securely elevated with the front wheels off the ground and the area clear of obstructions.
-
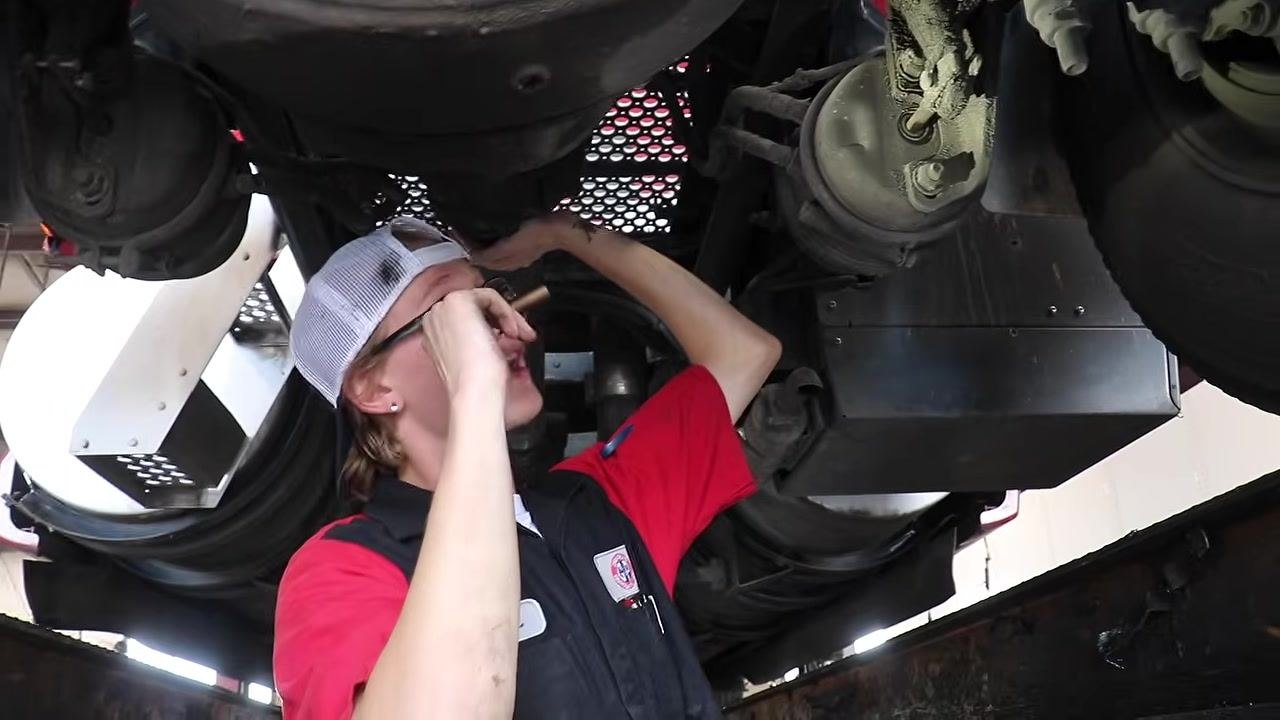
Move underneath the elevated truck and prepare to visually inspect the engine's underside for leaks, damage, or loose components using a flashlight or inspection tool.
-
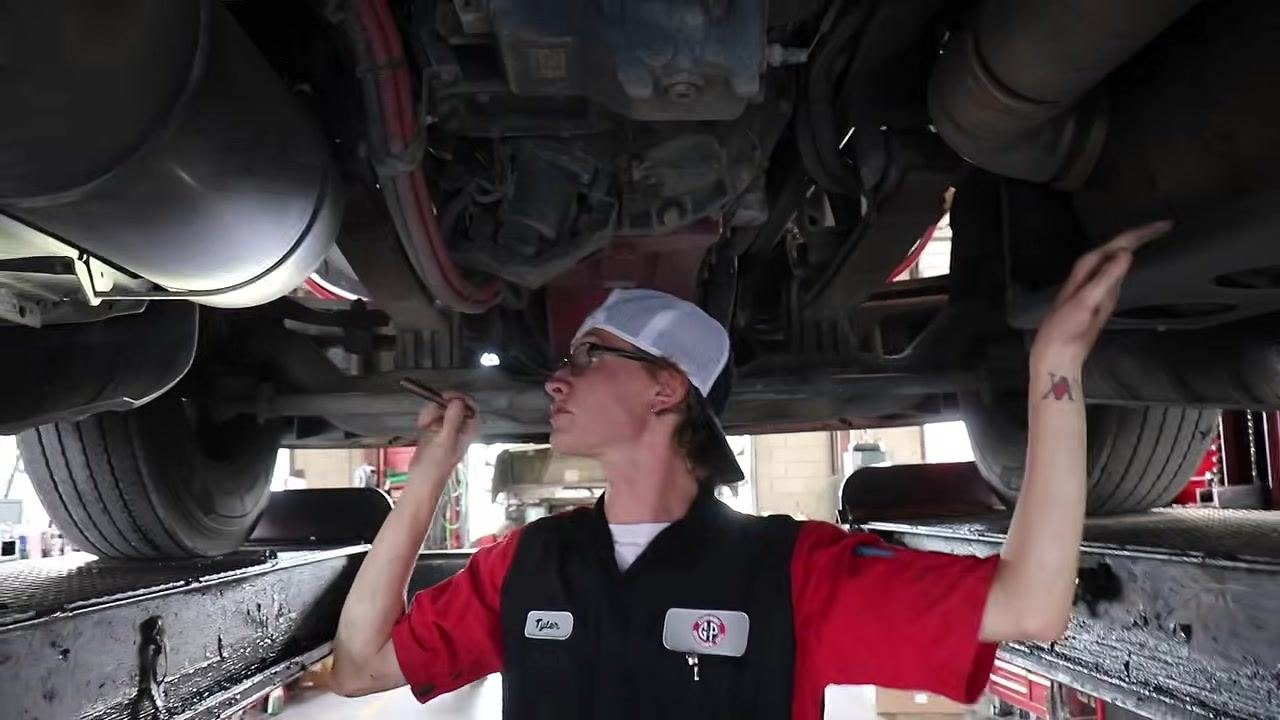
Shine a flashlight on the engine's lower components, checking hoses, wiring, and the oil pan for wear, leaks, or damage.
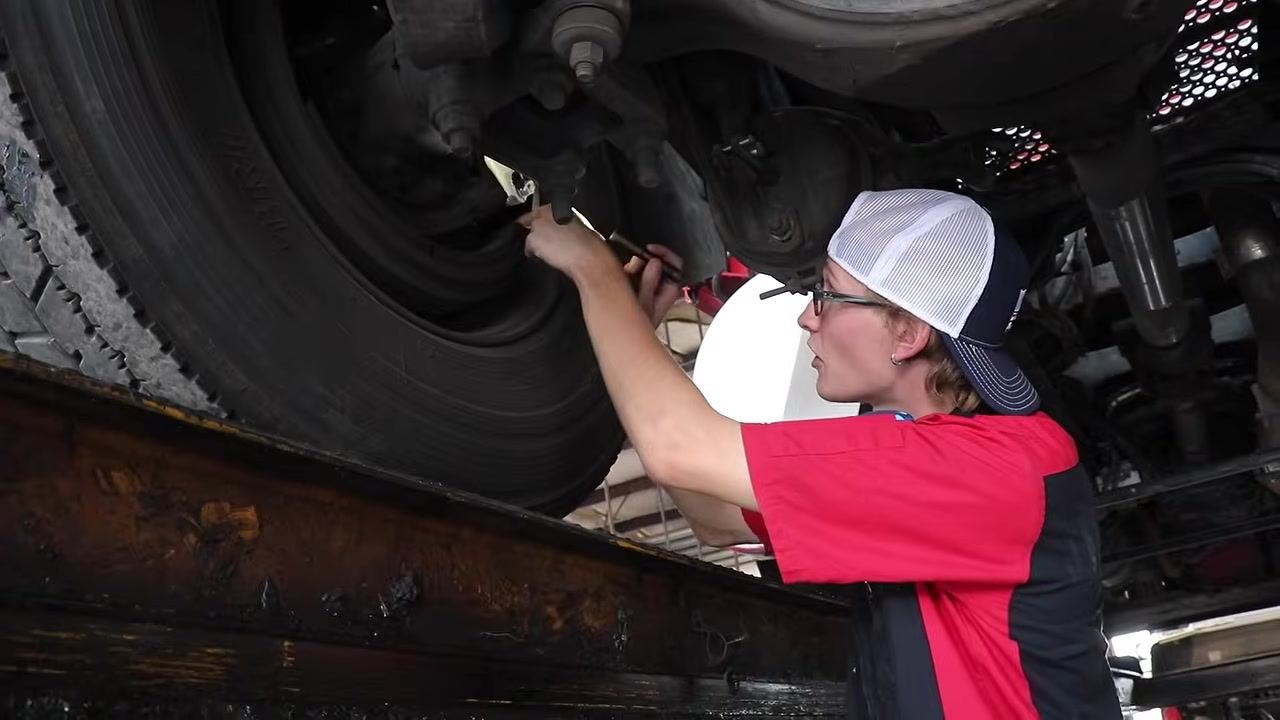
- Move to the wheel area and use a flashlight to examine the brake disc for grooves, cracks, or irregularities, confirming the brake surface is smooth and free of debris.
- Continue inspecting the underside, focusing on suspension, axles, and structural elements, gently moving parts by hand to confirm nothing is loose or broken.
-
Locate the drive shaft and push or pull on it to confirm there is no excessive play, which could indicate worn bearings or joints. Visually inspect the surrounding area for leaks, damage, or loose fittings.
-
Stand up and visually scan the entire underside of the truck to double-check that all inspected parts are secure before proceeding to the next diagnostic step.
Inspect wheels, brake chambers, and locate the oil drain plug
- Position yourself under the elevated truck facing the inside of the wheel, and use a flashlight to examine the wheel well and rim for signs of rubbing, wear, or holes caused by contact with other components. Run your hand along the inner rim to feel for irregularities.
-
Continue moving the flashlight and hand along the rim to inspect its full circumference, paying special attention to areas where components may contact the rim.
-
Shift focus to the brake chambers, using a flashlight to confirm they are securely mounted and free of leaks or visible damage, and that hoses and fittings are properly connected.
-
Inspect the brake drum for cracks or separation, and check the area where the wheel seal sits for signs of oil leaks or damage.
- Shine a flashlight into the inner wheel area to check the wheel seal for oil residue or wetness, which would indicate a leak, and confirm the seal is intact and properly seated.
-
Visually check the suspension and steering linkages near the wheel for loose, damaged, or misaligned parts, gently moving components by hand to confirm they are secure.
-
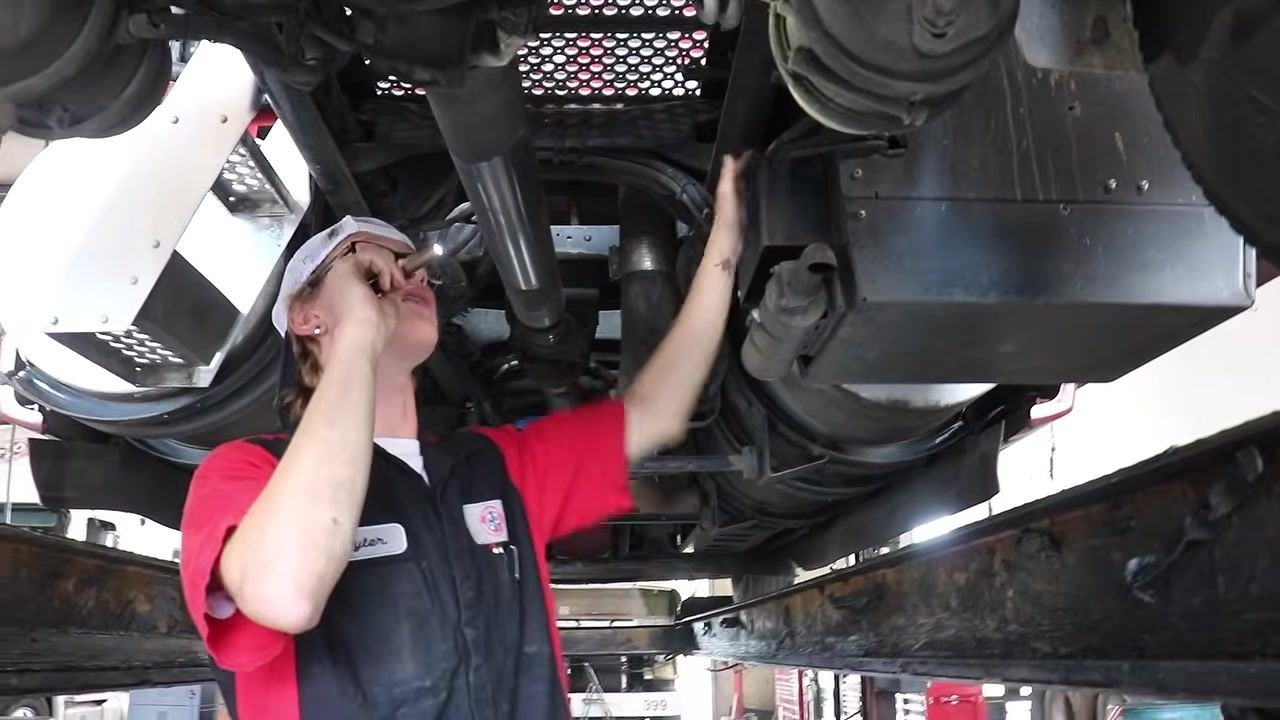
Move beneath the oil pan and use a flashlight to locate the oil drain plug in preparation for the oil change procedure.
-
Confirm the oil change interval and prepare the correct oil and tools before proceeding.
- Note: Oil should be changed every 25,000 miles for these trucks. Confirm you have the correct oil filter and replacement oil for the truck model.
-
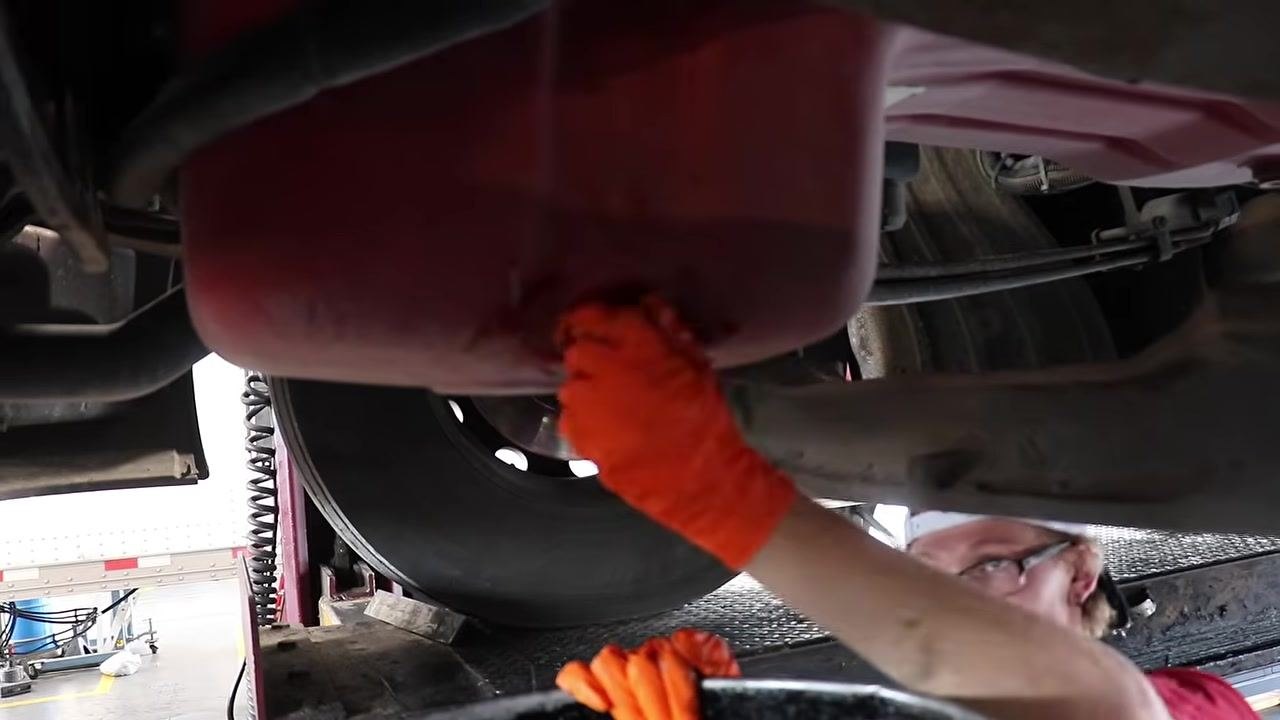
Put on protective gloves and position an oil drain pan beneath the oil plug before using the appropriate wrench to loosen it.
Remove the oil drain plug and prepare oil filter tools
- Position yourself directly beneath the oil pan and use both hands to unscrew and remove the oil drain plug, confirming the drain pan is correctly positioned to catch the draining oil.
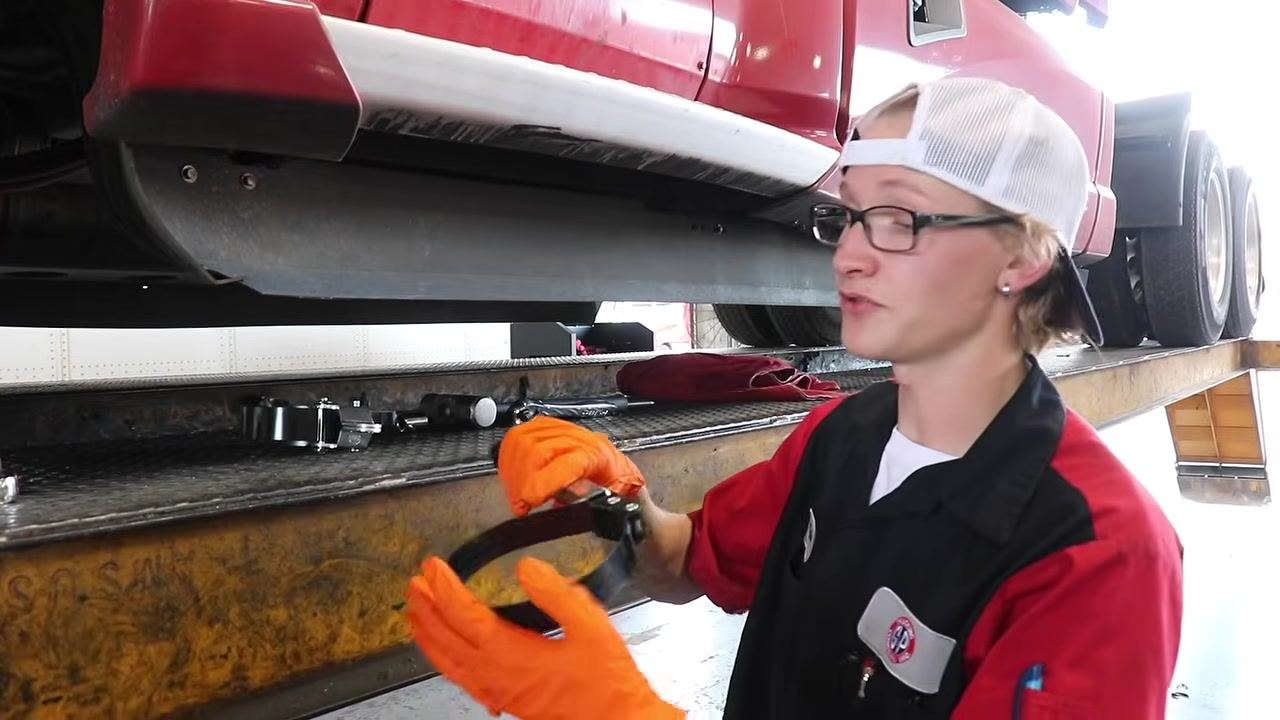
- Select an oil filter wrench (strap-type) for removing and installing the oil filter. This tool helps avoid over-tightening and makes it easier to break the filter loose.
- Demonstrate how the oil filter wrench is used to loosen a tight oil filter, providing extra leverage to break it free.
-
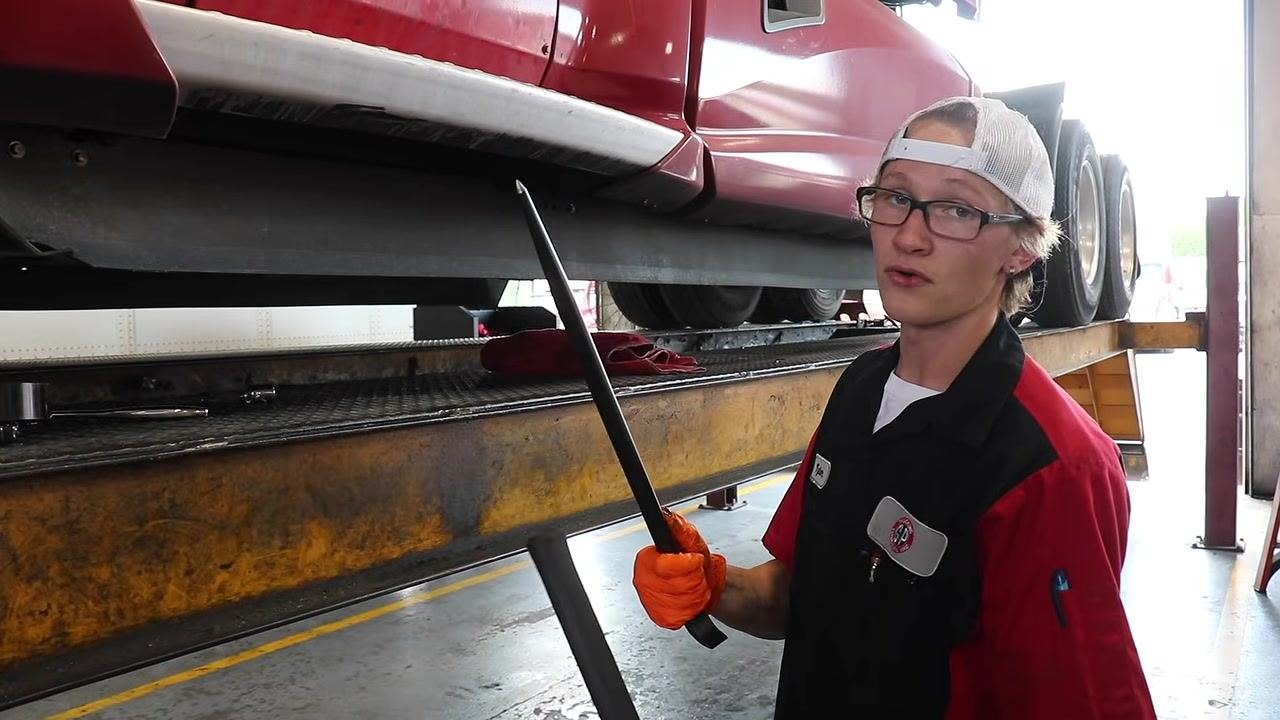
Use a breaker bar for additional leverage when removing the oil filter, since it can be heavy and awkward to handle overhead.
-
Position the breaker bar for optimal leverage to pull the oil filter loose more easily.
Drain the oil filter and check hub oil
-
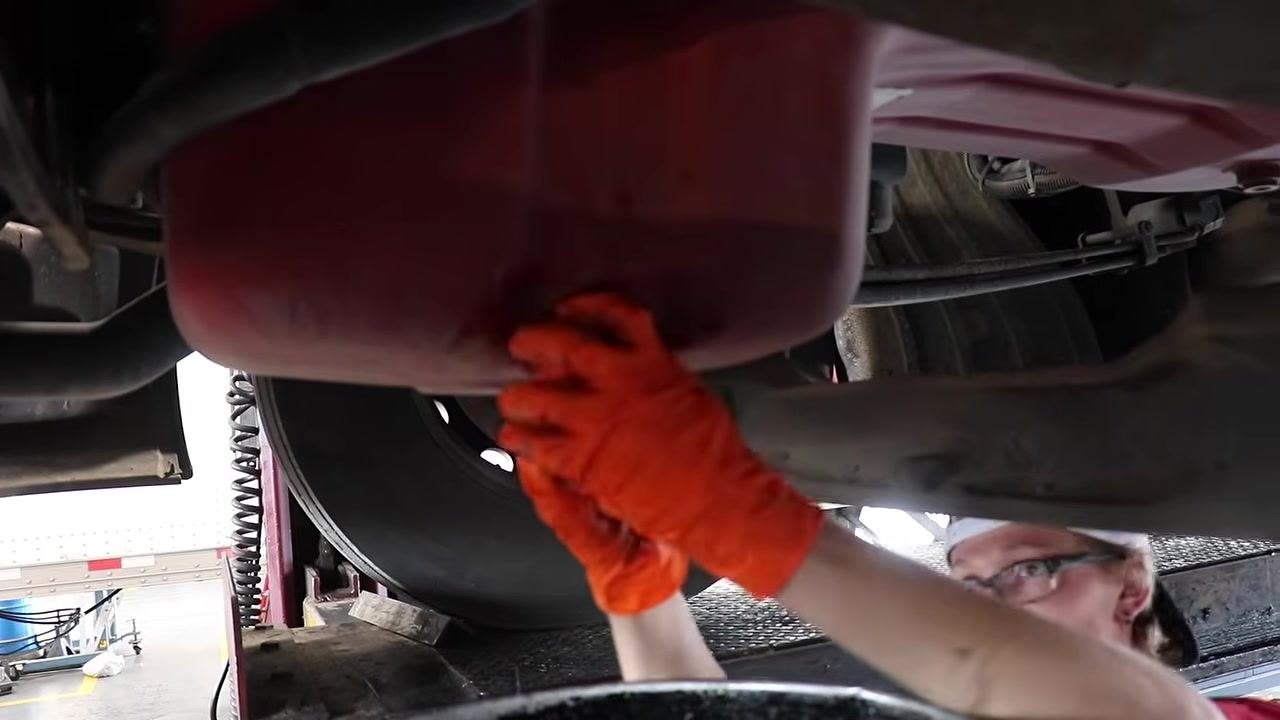
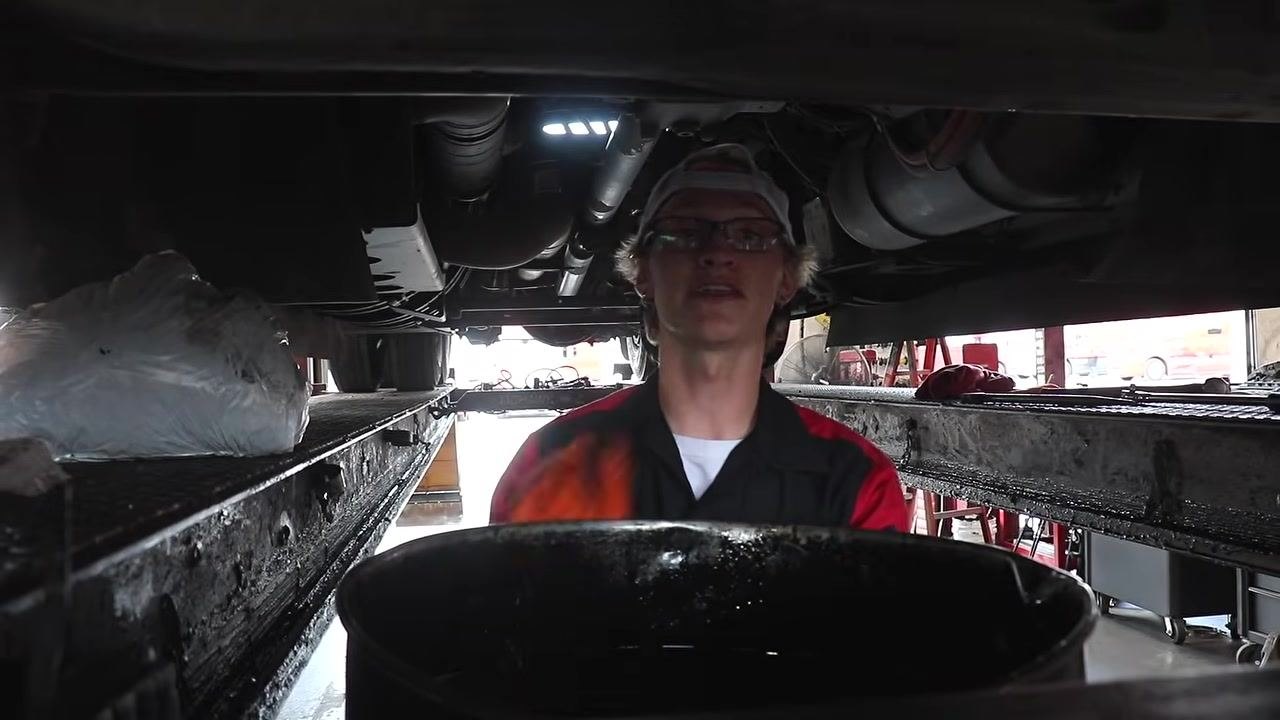
Move back under the truck directly beneath the oil filter and position the drain pan to catch any oil as it drains.
-
Confirm the drain pan is directly under the oil filter and allow the oil to drain into the pan.
-
Look up at the oil filter to check for remaining oil and confirm it is fully drained before removal.
-
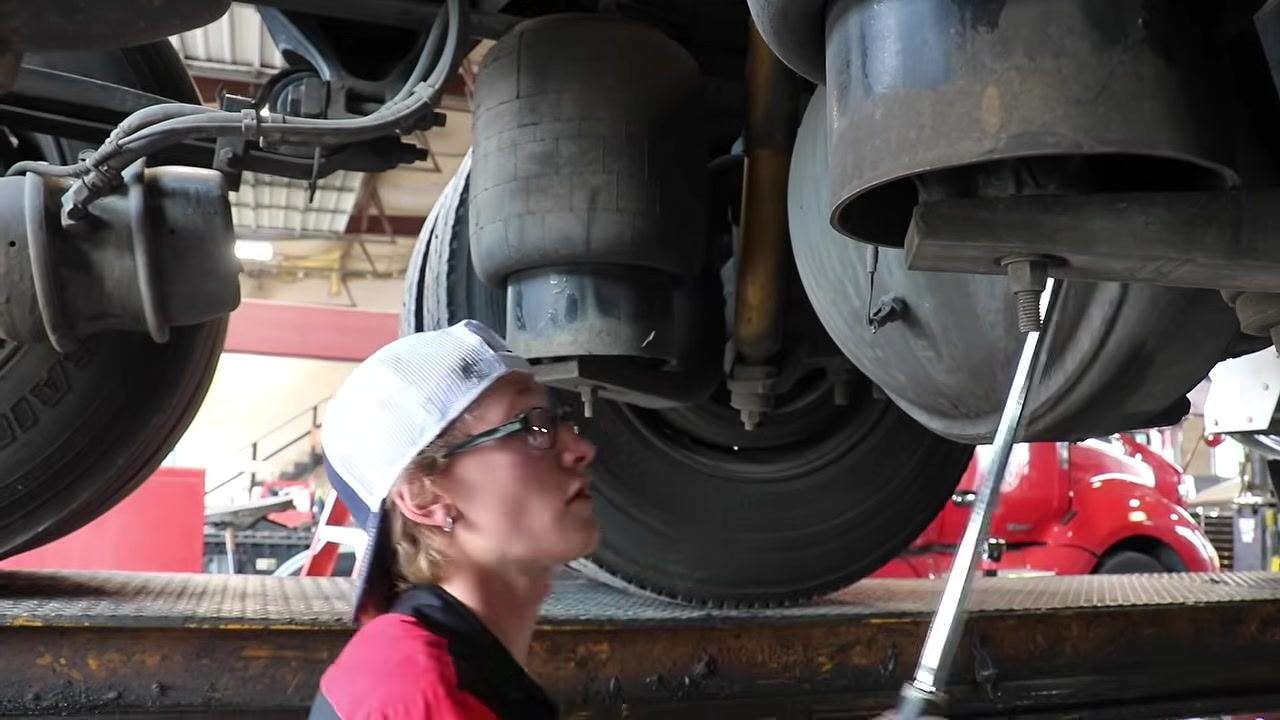
Move to the rear wheel area and use a ratchet or wrench to remove the hub oil plug so you can check that the hub oil is at the correct level.
Check the differential fluid level and gather replacement parts
- With the vehicle safely lifted and supported, locate the differential fill plug on the side of the axle housing and use a wrench to remove it.
-
Check that the fluid level is even with the bottom of the fill plug hole. If fluid begins to seep out or is visible at the edge, the level is correct.
-
Deposit any used filters or removed parts into the appropriate waste container, handling all waste fluids and filters according to shop safety and environmental procedures.
-
Wipe down any spilled fluids, dispose of used rags properly, and clean up the work area before gathering replacement parts.
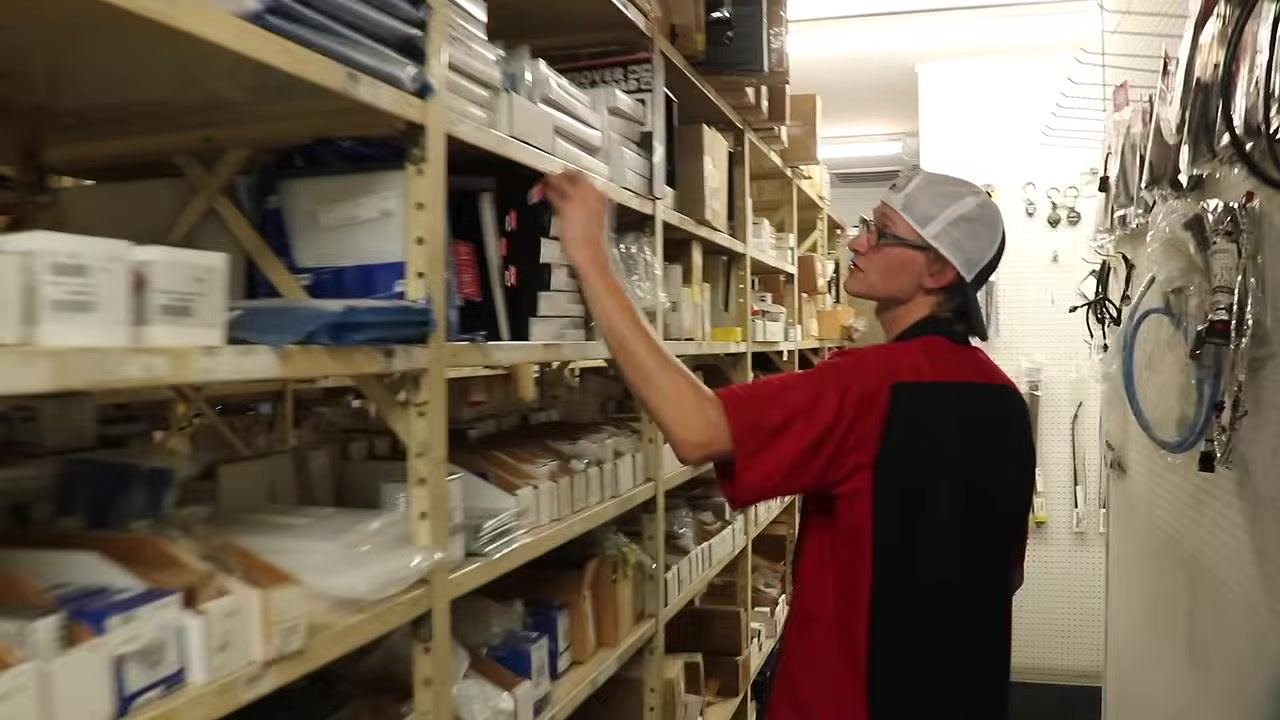
- Go to the parts room and retrieve a cabin air filter from the shelf.
- Collect the remaining required parts: an oil filter, a secondary fuel filter, a fuel water separator, and 22-inch windshield wipers. Confirm you have every part before returning to the work area.
-
Record each part used for the PM procedure on a clipboard checklist (for example, 22" Alliance windshield wipers and Baldwin filters) to track inventory and maintain accurate maintenance records.
-
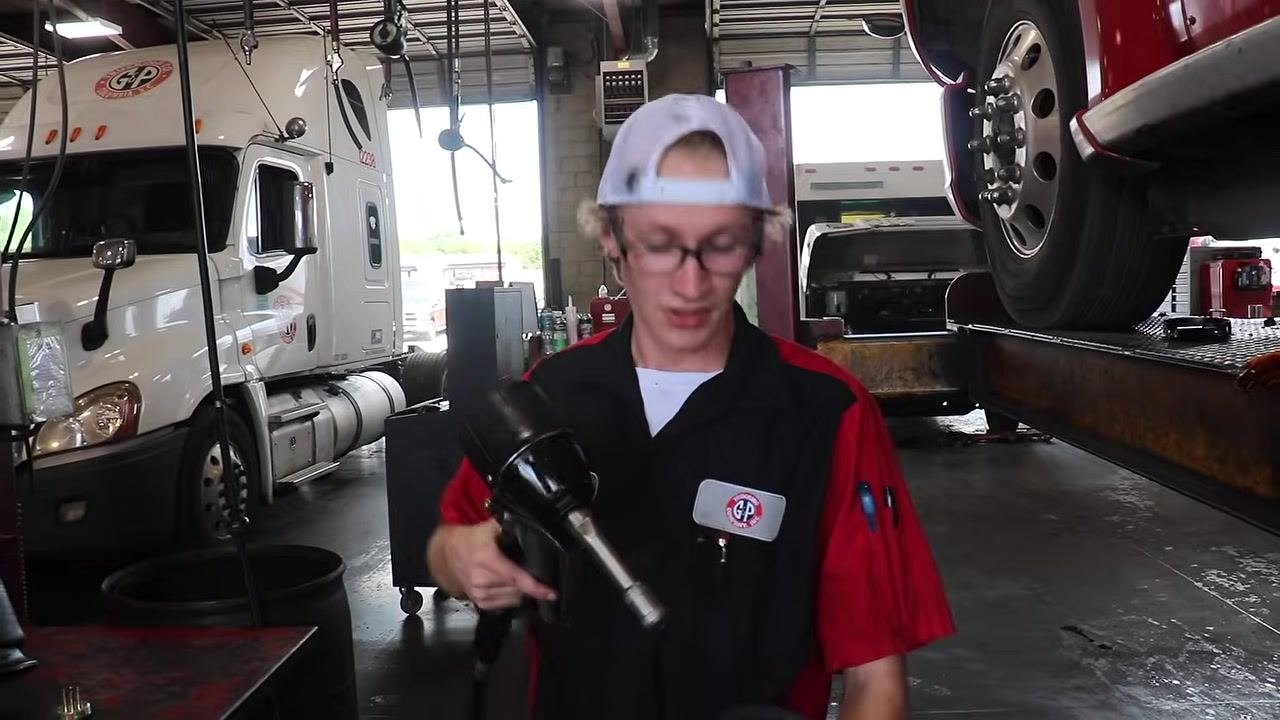
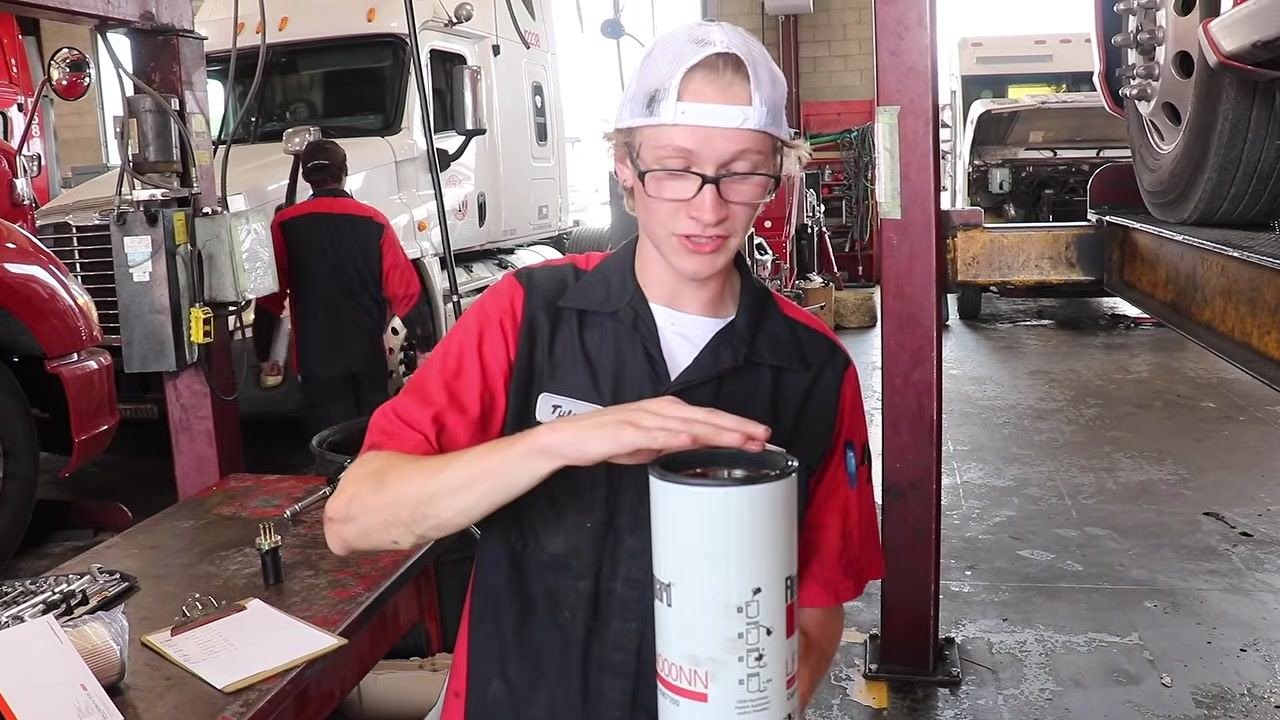
Move to the oil dispensing station and position the new oil filter under the dispensing nozzle in preparation for filling.
-
Dispense oil into the new filter until it is adequately filled, then set aside a small amount of oil to lubricate the filter gasket in the next step.
Install the new oil filter and complete the oil change
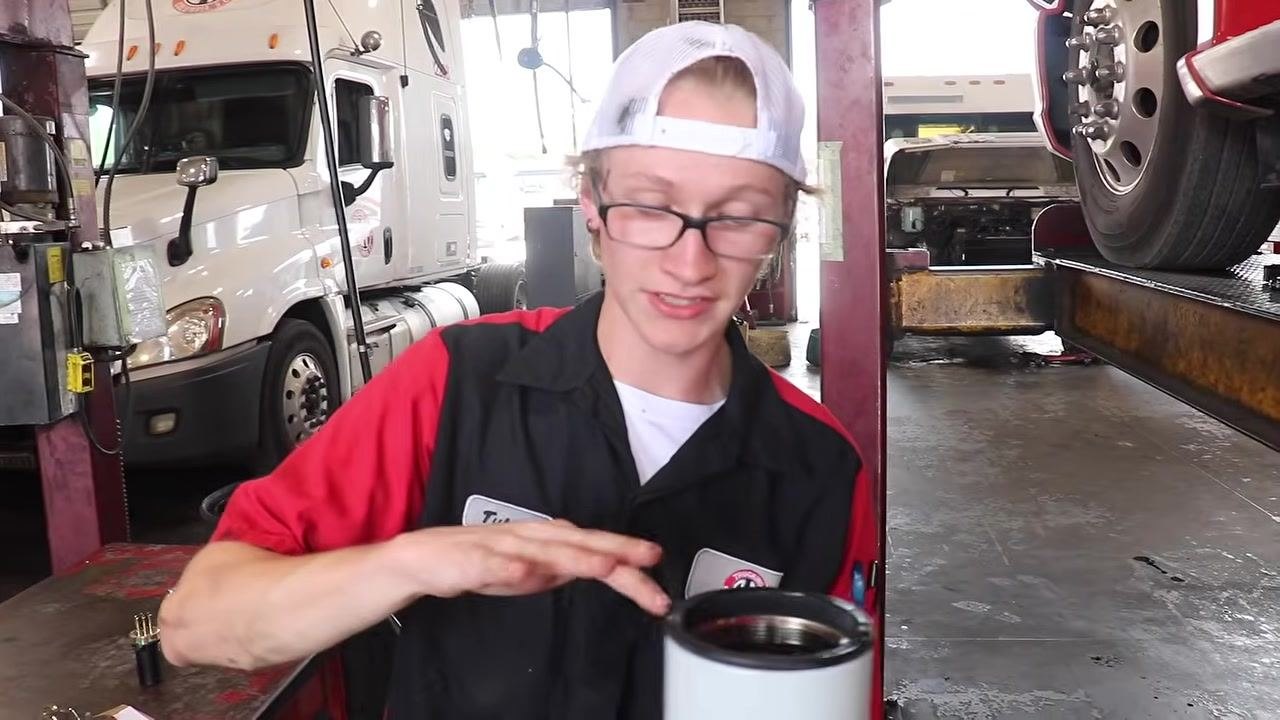
- Pour a small amount of fresh oil onto your finger and apply it evenly around the rubber gasket on the top of the new oil filter, so the gasket loads properly and seals correctly once installed.
-
Run your finger around the entire circumference of the gasket to confirm complete coverage and prevent sticking or tearing during installation.
-
Position yourself under the truck, align the new oil filter with the filter mount, and twist it on by hand until snug, ensuring it is threaded correctly to avoid cross-threading.
-
Use a filter wrench to tighten the oil filter further, applying only enough force to secure it without overtightening. Controlling the torque prevents damage to the filter and makes future removal easier.
- Visually check that the installed oil filter is properly seated and tightened, with no leaks or misalignment.
-
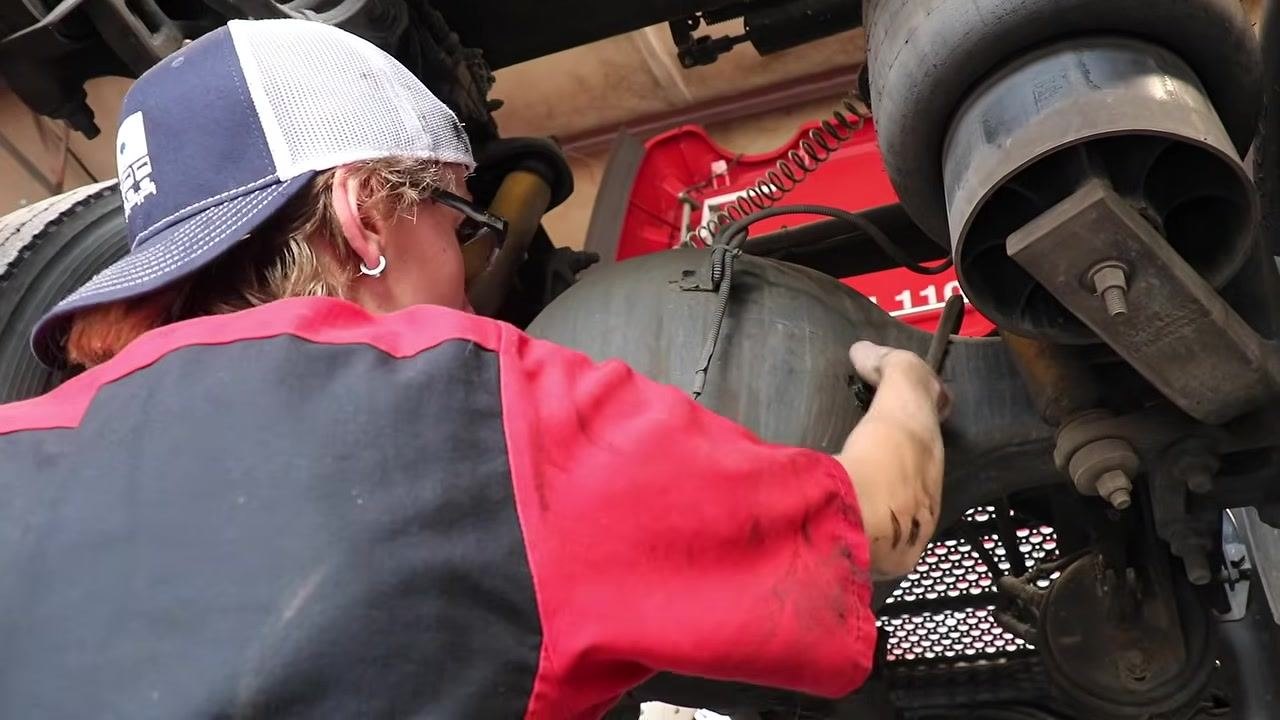
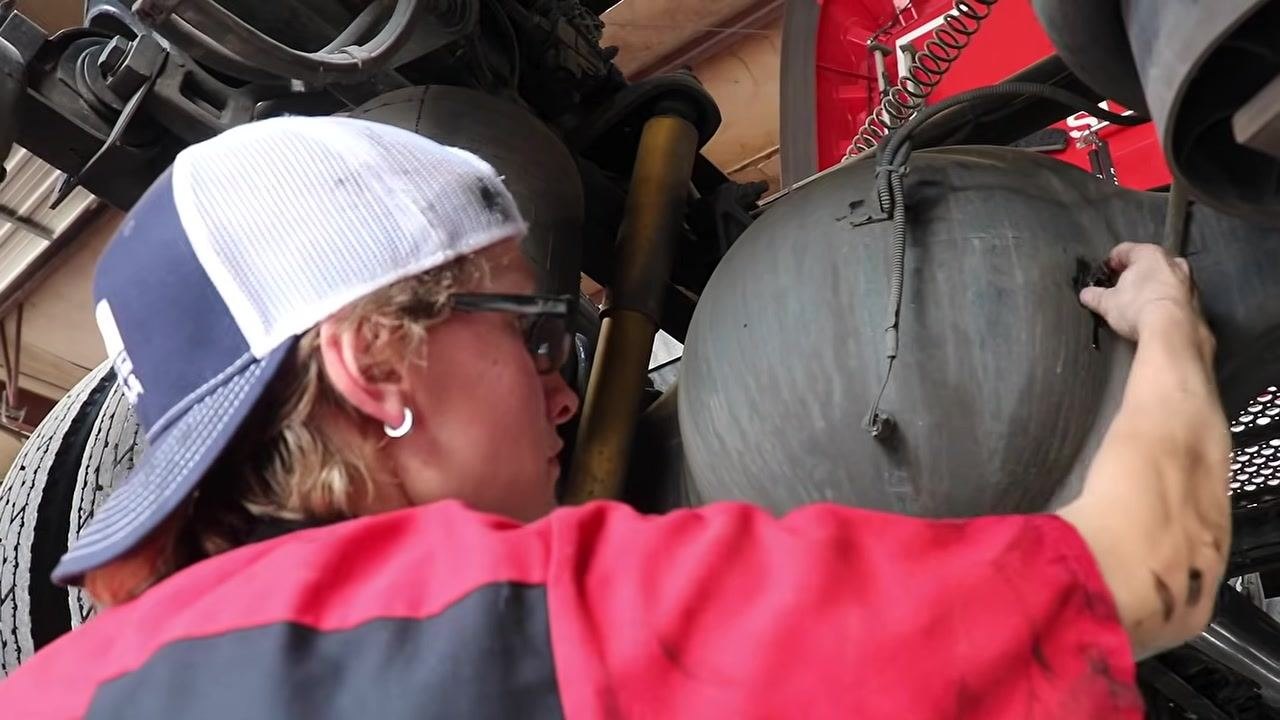
Locate the air tank drain valve under the truck and open it to release any accumulated water, confirming the air system is dry and functioning properly.
-
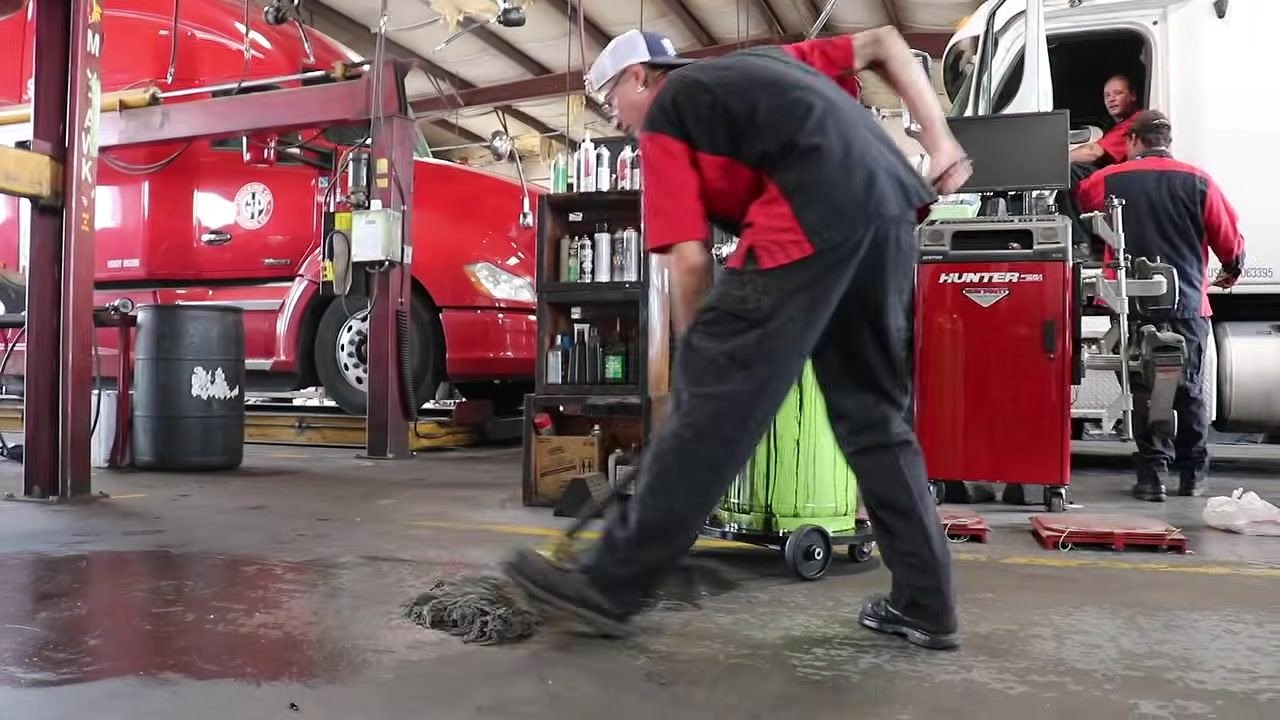
Mop up any spilled oil or water on the shop floor to maintain a safe and tidy workspace.
-
Move to the front of the truck, open the hood, locate the oil fill cap, remove it, and put on clean gloves before gathering the oil dispensing equipment. Confirm the correct oil type for the truck.
-
Insert the oil dispensing nozzle into the fill opening and add synthetic 10W-30 oil as specified, monitoring the amount added to avoid overfilling.
-
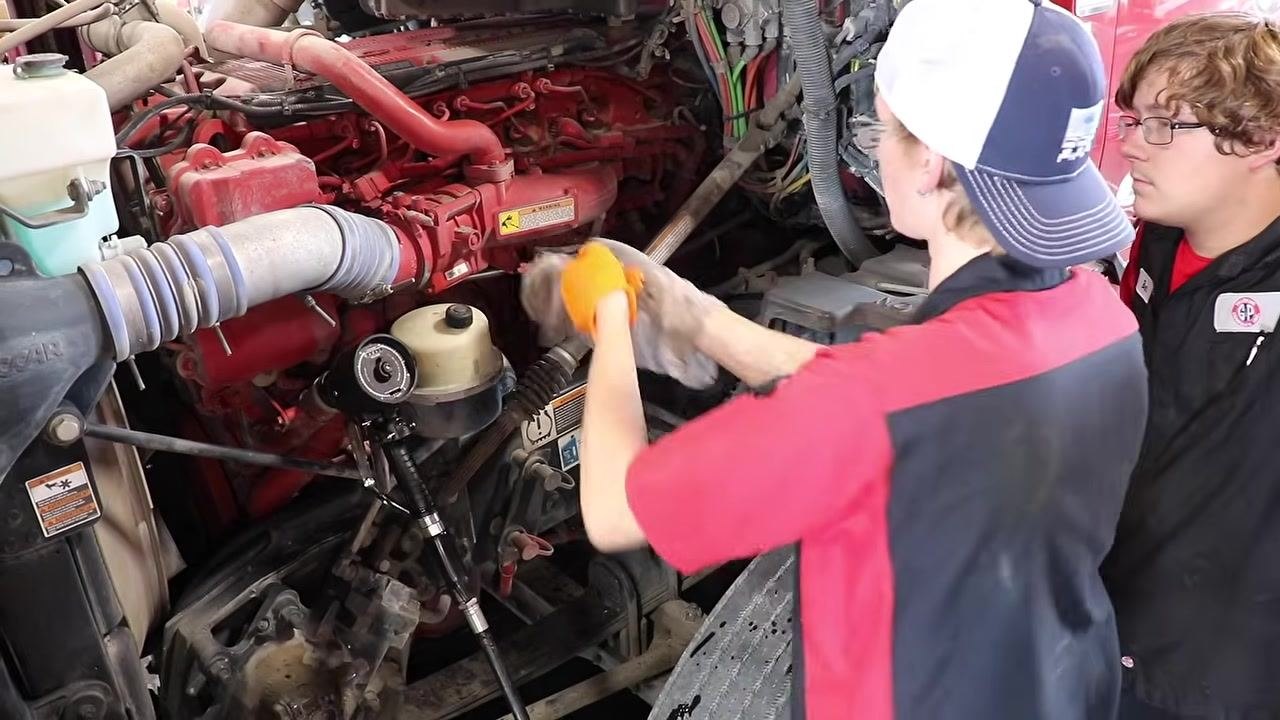
Use the engine dipstick to verify the oil level reaches the "Full" mark. If the oil is at the "Add" line, add more oil until the correct level is reached, then wipe the dipstick clean and reinsert it.
Verification: Complete the preventive maintenance checklist
- Pull out the engine dipstick and confirm the oil reaches the "Full" mark, noting the location of the "Add" line for reference — oil should never be below this line.
-
Inspect the air filter and determine whether it is due for replacement, referencing the maintenance checklist posted in the shop.
-
Note any further preventive maintenance to schedule, such as replacing the windshield wipers and changing the cabin air filter to ensure clean air inside the cab.
-
Perform a final review to confirm all maintenance tasks are complete, all fluids are at proper levels, and all components inspected during this preventive maintenance checklist are secure before the truck is cleared for use.
-
Double-check that all fluids — oil, coolant, and others — are filled to the correct levels and that the truck is ready for operation.
What's next
Not every maintenance step is covered in this guide, but the majority of essential preventive maintenance tasks are addressed here. Consult the full preventive maintenance checklist for any additional steps not shown, and schedule the noted follow-up items — such as air filter replacement, windshield wiper replacement, and cabin air filter replacement — as part of ongoing preventive maintenance for the truck.

Generation details: cost, quality tiers
Docsie billed 7,500 credits ($5.25) to analyze this 15-minute video at standard quality. The rewrite, template fill and Word/PDF exports were included. The same video at each quality tier:
| Quality | Frames sampled | Credits | Approx. cost |
|---|---|---|---|
| Draft | every 16-30 s | 3,750 | $2.62 |
| Standard (this guide) | every 8-15 s | 7,500 | $5.25 |
| Detailed | every 4-7 s | 15,000 | $10.50 |
| Ultra | every 1-3 s | 30,000 | $21.00 |
Credits priced at $0.70 per 1,000; plans include a monthly allowance. Enterprise customers on on-premise or bring-your-own-model deployments run this on their own inference and pay no per-video credits.
Generated by Docsie Video-to-Docs on 2026-09-10 from a 14-minute video. Screenshots are frames from the source video and belong to their creator, G&P Trucking Company, whose original is embedded above. If you own this video and want the guide removed or credited differently, contact us and we will act within one business day.