
How to Void a Check in Business Central
When a check is issued incorrectly or needs to be reversed after posting, you can void a check in Business Central even if it was issued in a prior period. This guide walks you through locating the posted check, running the void process, and confirming that the reversal is correctly reflected in your bank account ledger.
Video: How to Void a Posted Check from a Prior Period in Microsoft Dynamics 365 Business Central by Crestwood Associates (Microsoft & Acumatica VAR) (2019). All credit for the demonstration goes to the creator; watch the original on YouTube. The written guide below was generated from this video by Docsie. Creator? Request a change or removal.
When a check is issued incorrectly or needs to be reversed after posting, you can void a check in Business Central even if it was issued in a prior period. This guide walks you through locating the posted check, running the void process, and confirming that the reversal is correctly reflected in your bank account ledger.
Prerequisites
- Access to Dynamics 365 Business Central with permissions to view and process check ledger entries.
- The check number, bank account, and other identifying details of the check you want to void.
- Knowledge of whether the check was applied to a payables invoice, since this determines which void option you select.
Start from the Business Central homepage
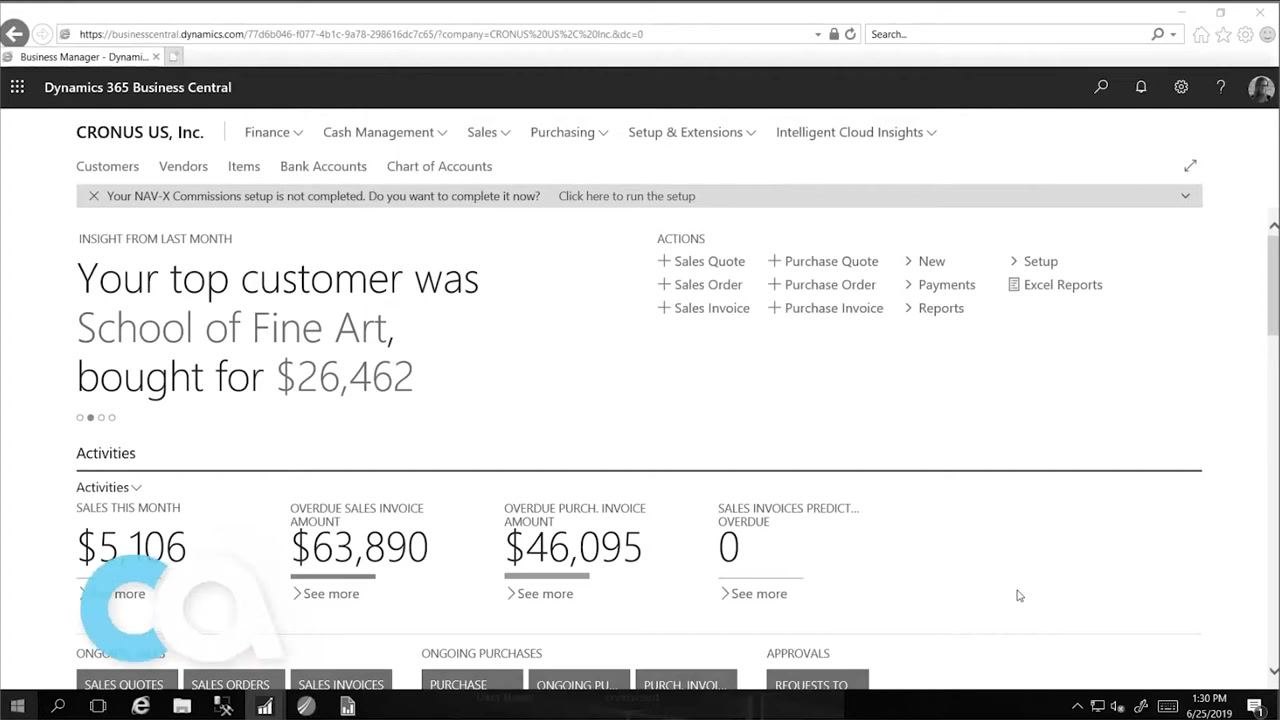
Open your Dynamics 365 Business Central homepage. The homepage displays company insights, activities, and quick actions, such as summaries of your top customers and recent transactions.
Search for check ledger entries
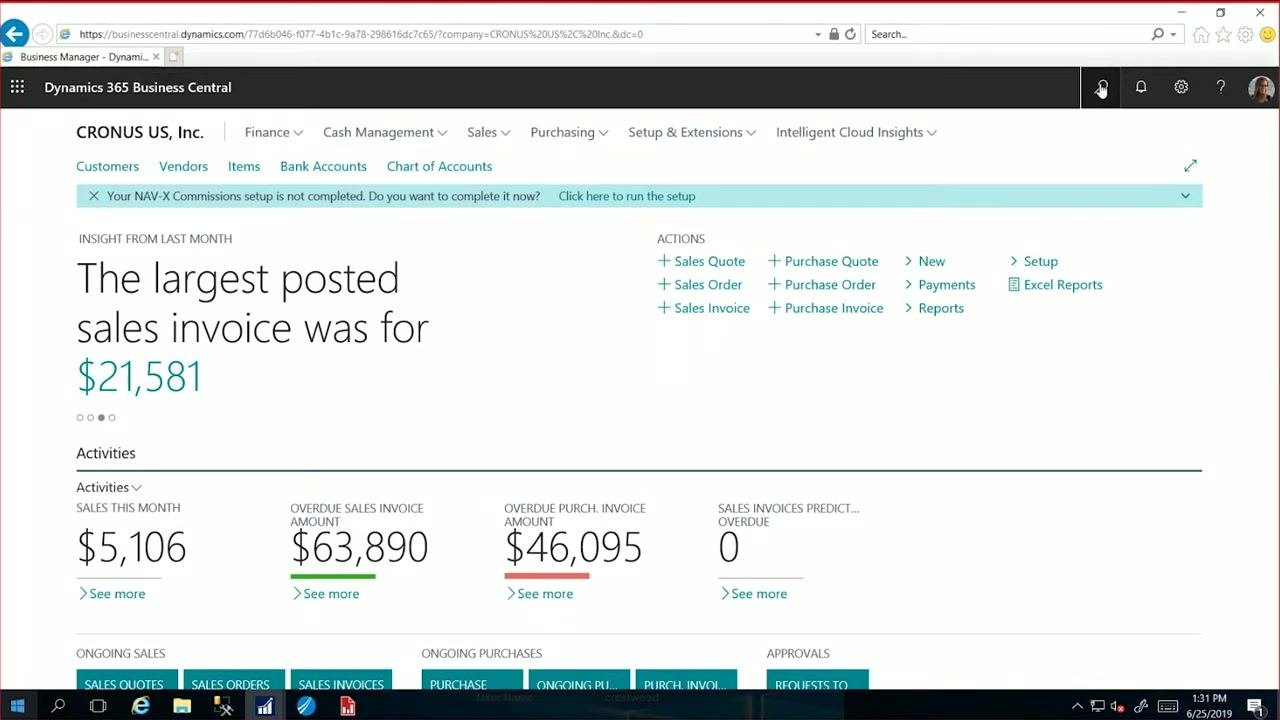
Click the search icon or the Tell Me What You Want To Do bar, then type "check ledger" into the search field. Select Check Ledger Entries from the search results to open the list of posted checks.
Review the list of posted checks
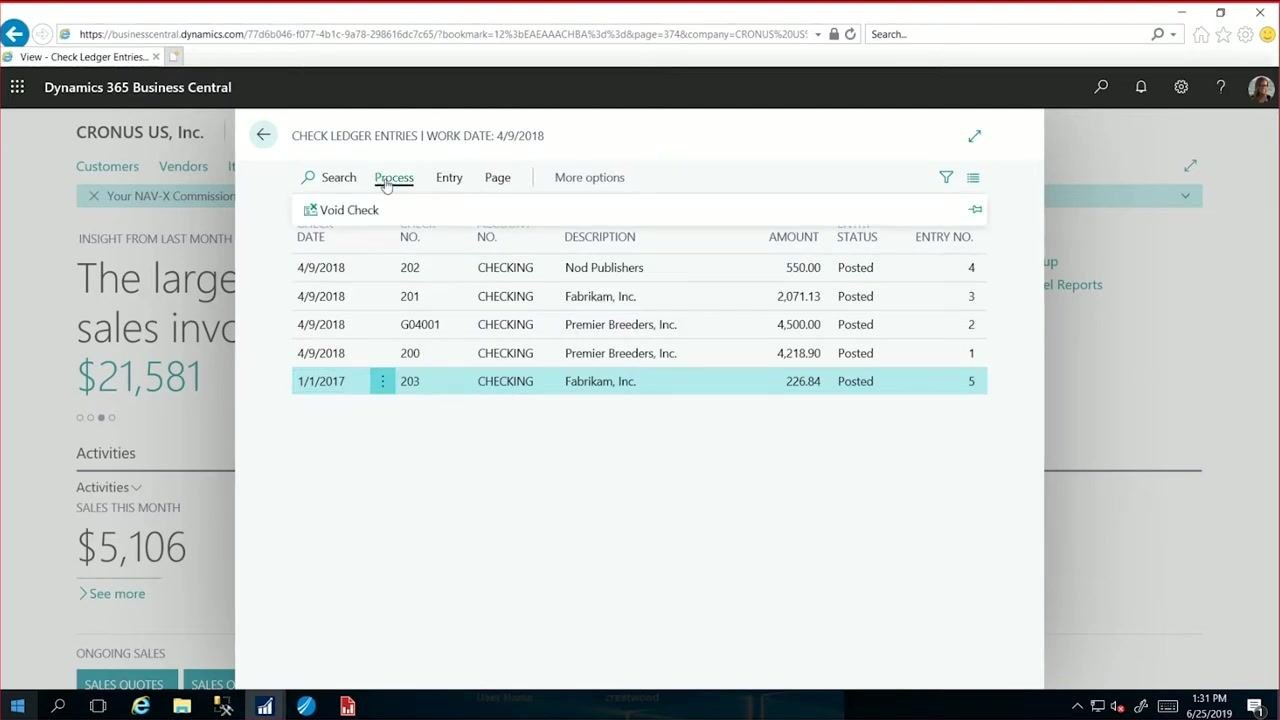
In the Check Ledger Entries window, review the columns for Check Date, Check No., Bank Account No., Description, Amount, Entry Status, and Entry No. For example, you might see a check dated 1/1/2017, Check No. 203, Bank Account No. CHECKING, Description "Fabrikam, Inc.," Amount 226.84, with an Entry Status of Posted.
Select the check you want to void
Click on the row for the specific check you want to void, such as Check No. 203 dated 1/1/2017.
Open the void check option
Click the Process menu at the top of the Check Ledger Entries window, then select Void Check from the dropdown menu.
Confirm the void details
A prompt appears asking, "Do you want to void this check?" Set the Void Date, for example 1/1/2017, then choose the appropriate Type of Void:
- Unapply and void check — select this option if the check was applied to a payables invoice.
- Void check only — select this option if you do not need to unapply the check.
Review the details shown, including Bank Account No. (CHECKING), Check No. (203), Vendor No. (10000), and Amount (226.84). Click Yes to confirm and proceed with voiding the check.
Verify the check status has updated
After confirming, the Entry Status for the voided check updates accordingly. The check remains listed in the Check Ledger Entries window but is now marked as voided.
Return to the homepage
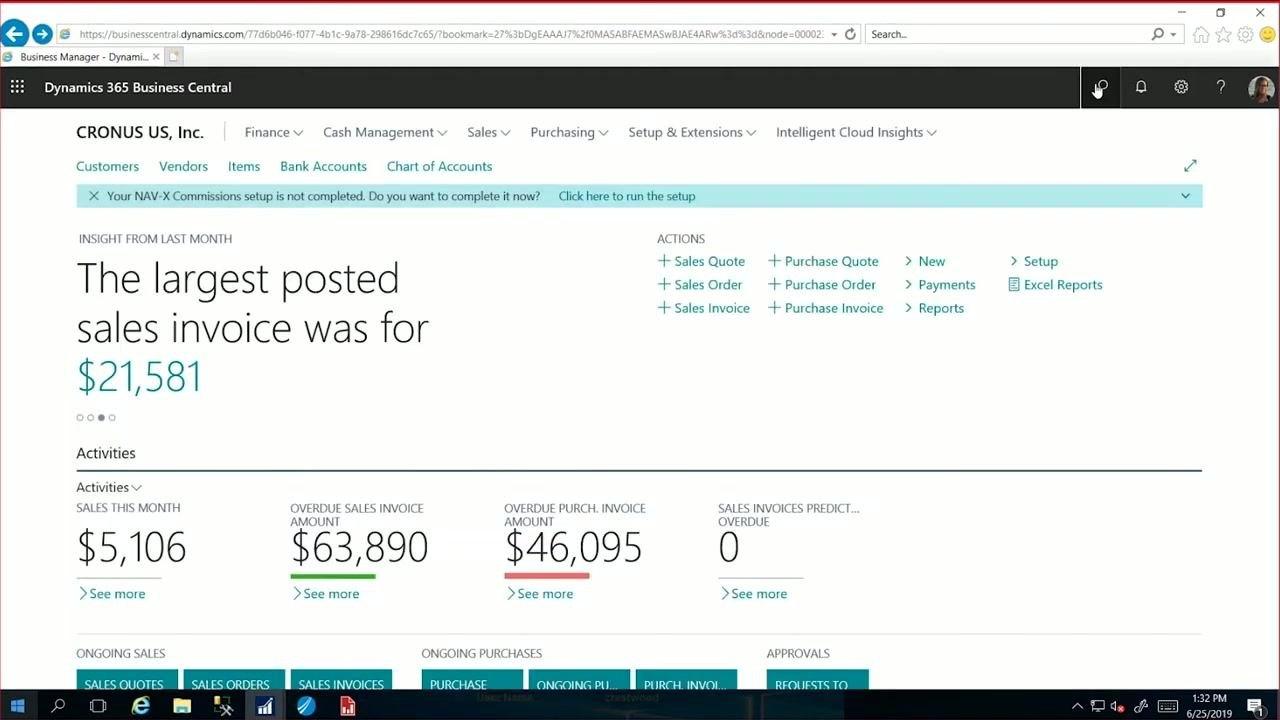
Navigate back to the main dashboard to confirm that the voided check is no longer showing as active.
(Optional) Review the bank account
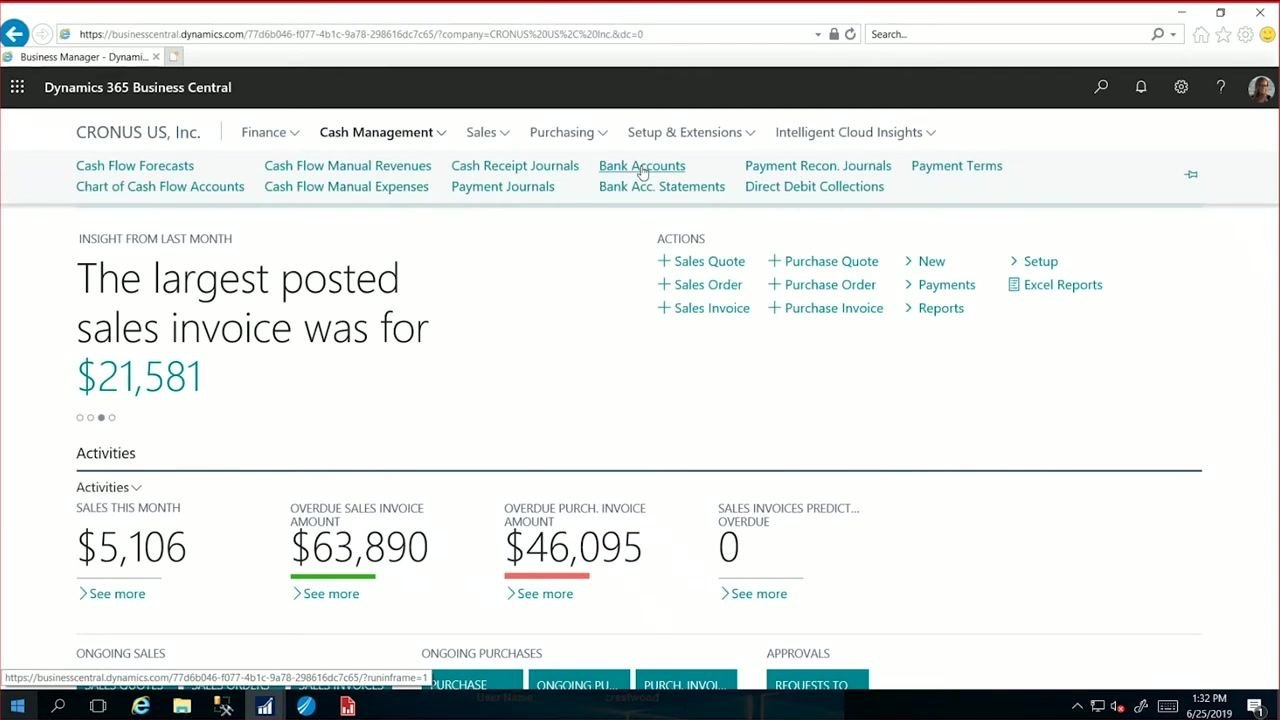
To view the checking account details, go to the Cash Management menu and click Bank Accounts.
Review the bank account ledger entries
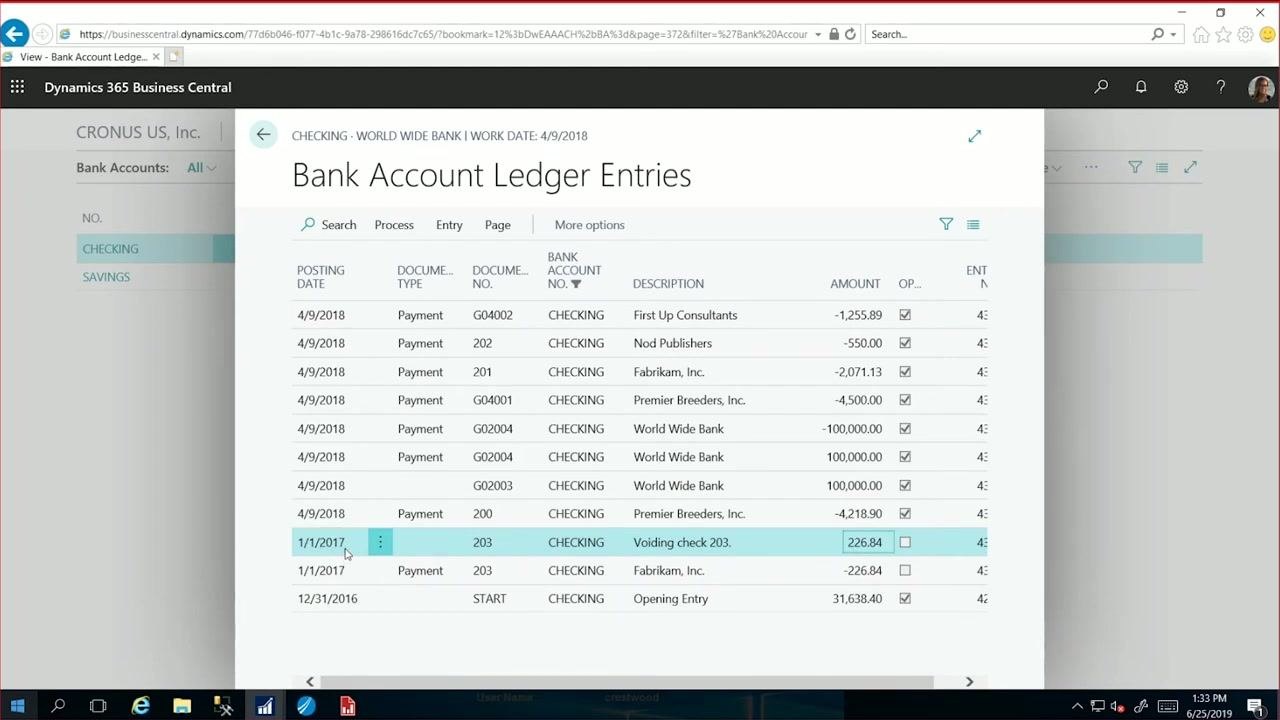
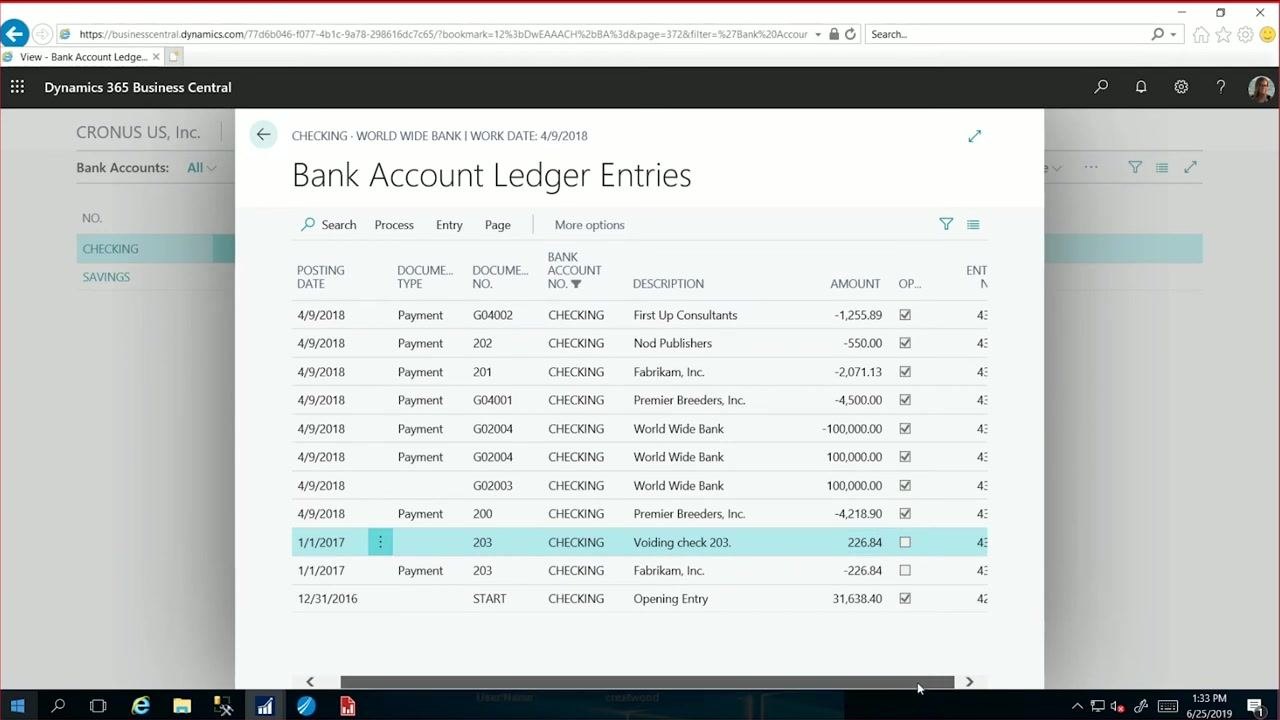
Open the Bank Account Ledger Entries window for the relevant bank account, such as CHECKING, to verify the voided check's impact on the account balance. Examine the list of entries that make up the checkbook account balance:
- Locate the original payment entry for the voided check, for example Payment, Document No. 203, Description "Fabrikam, Inc.," Amount -226.84.
- Identify the voiding entry that reverses the original payment, for example Description "Voiding check 203," Amount 226.84.
- Confirm that both the deduction (original payment) and the reversal (void entry) appear in the ledger.
Note that both entries use the posting date 1/1/2017 by default, since this was the default value during the void process. You can change the posting date during the void process if you need the voided transaction to reflect a different date.
Summary
Once the voiding entry appears alongside the original payment in the Bank Account Ledger Entries window, the ledger accurately reflects both the deduction and the reversal for the voided check, and no further action is required. This confirms that the check has been properly voided and that your bank account ledger is accurate.
What's next
If you need to adjust the transaction date, you can repeat the void process and change the posting date as needed. For further assistance with voiding checks or other Business Central procedures, consult your Dynamics 365 documentation.
Generation details: cost, quality tiers
Docsie billed 1,500 credits ($1.05) to analyze this 3-minute video at standard quality. The rewrite, template fill and Word/PDF exports were included. The same video at each quality tier:
| Quality | Frames sampled | Credits | Approx. cost |
|---|---|---|---|
| Draft | every 16-30 s | 750 | $0.52 |
| Standard (this guide) | every 8-15 s | 1,500 | $1.05 |
| Detailed | every 4-7 s | 3,000 | $2.10 |
| Ultra | every 1-3 s | 6,000 | $4.20 |
Credits priced at $0.70 per 1,000; plans include a monthly allowance. Enterprise customers on on-premise or bring-your-own-model deployments run this on their own inference and pay no per-video credits.
Generated by Docsie Video-to-Docs on 2026-09-08 from a 2-minute video. Screenshots are frames from the source video and belong to their creator, Crestwood Associates (Microsoft & Acumatica VAR), whose original is embedded above. If you own this video and want the guide removed or credited differently, contact us and we will act within one business day.