
How to Create a Supervisory Organization in Workday
A supervisory organization is a foundational element of Workday's organizational structure. It represents a group of workers or positions that report to a common managerial structure, defining reporting relationships and responsibilities. Supervisory organizations help establish clear reporting lines and streamline management processes, making them essential for organizational hierarchy. This guide walks you through how to create a supervisory organization in Workday, from launching the task to saving and confirming the new organization.
Video: How to Create Supervisory Organization in Workday by Wizard of HCM (2023). All credit for the demonstration goes to the creator; watch the original on YouTube. The written guide below was generated from this video by Docsie. Creator? Request a change or removal.
A supervisory organization is a foundational element of Workday's organizational structure. It represents a group of workers or positions that report to a common managerial structure, defining reporting relationships and responsibilities. Supervisory organizations help establish clear reporting lines and streamline management processes, making them essential for organizational hierarchy. This guide walks you through how to create a supervisory organization in Workday, from launching the task to saving and confirming the new organization.
Prerequisites
- Access to your Workday account with valid login credentials.
- The necessary permissions to create supervisory organizations.
Log in to Workday
Log in to your Workday account using your credentials. Make sure your account has the permissions required to create supervisory organizations before you begin.
Go to the Workday Home dashboard
After logging in, you land on the Workday Home dashboard. Here you'll see a welcome message ("Let's Get Started"), the current date, and sections such as Awaiting Your Action that list pending tasks.
Search for the Create Supervisory Organization task
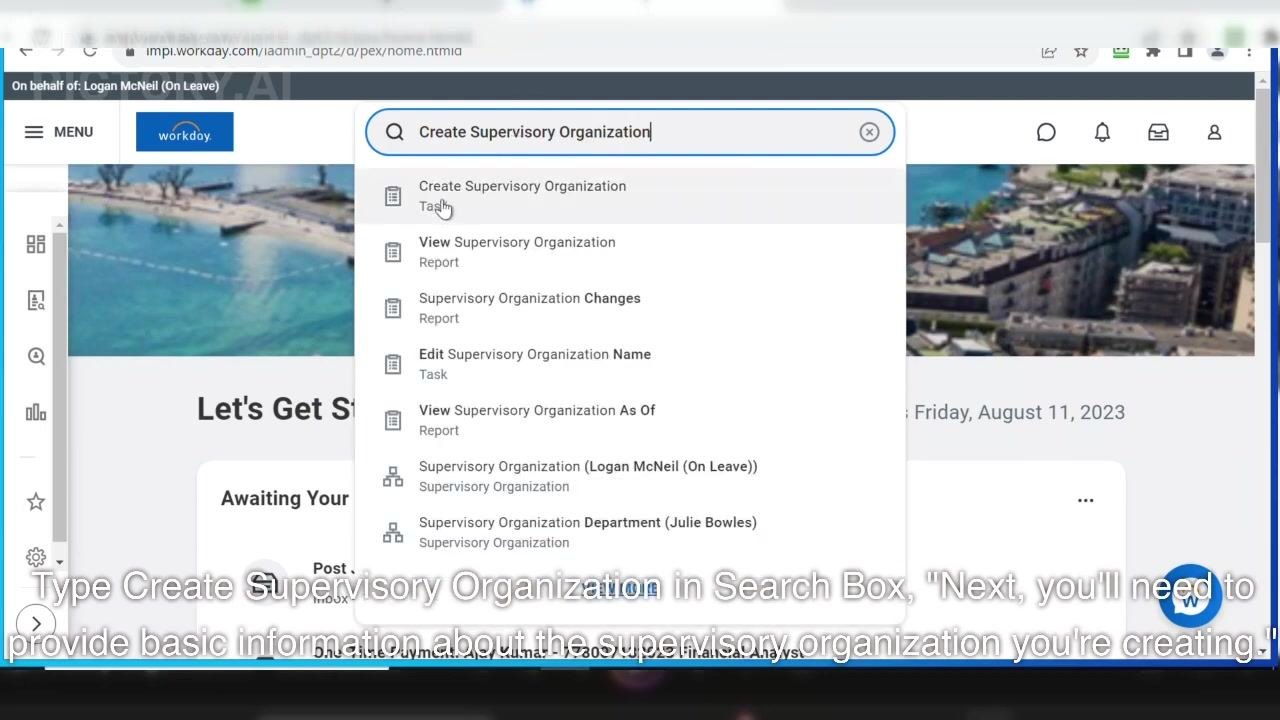
Click into the search bar at the top of the dashboard and begin typing Create Supervisory Organization.
Select the task from the search results
As you type, a dropdown list appears with matching tasks and reports. Click Create Supervisory Organization under the Task section to open the creation dialog.
Select a reorganization
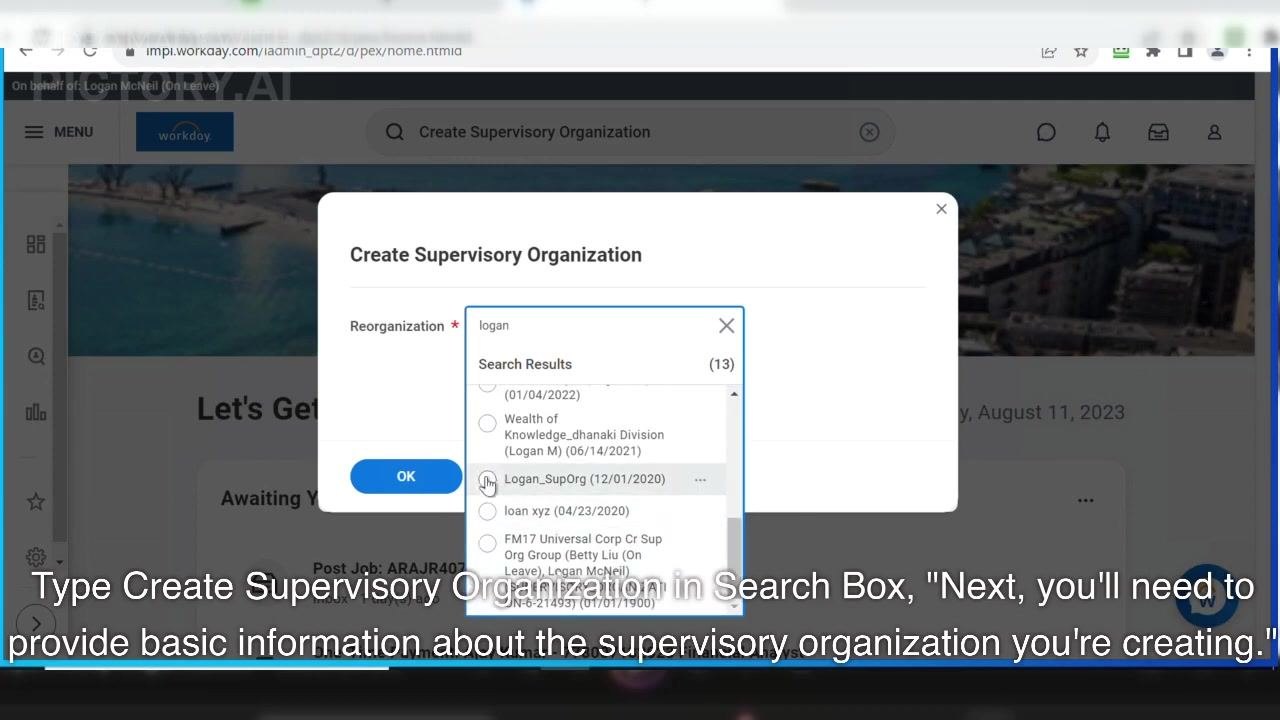
In the Create Supervisory Organization dialog, click into the Reorganization field and type a keyword (for example, "logan") to filter the available reorganizations. Select the relevant option from the dropdown list, such as Logan_SupOrg (12/01/2020).
Confirm the reorganization
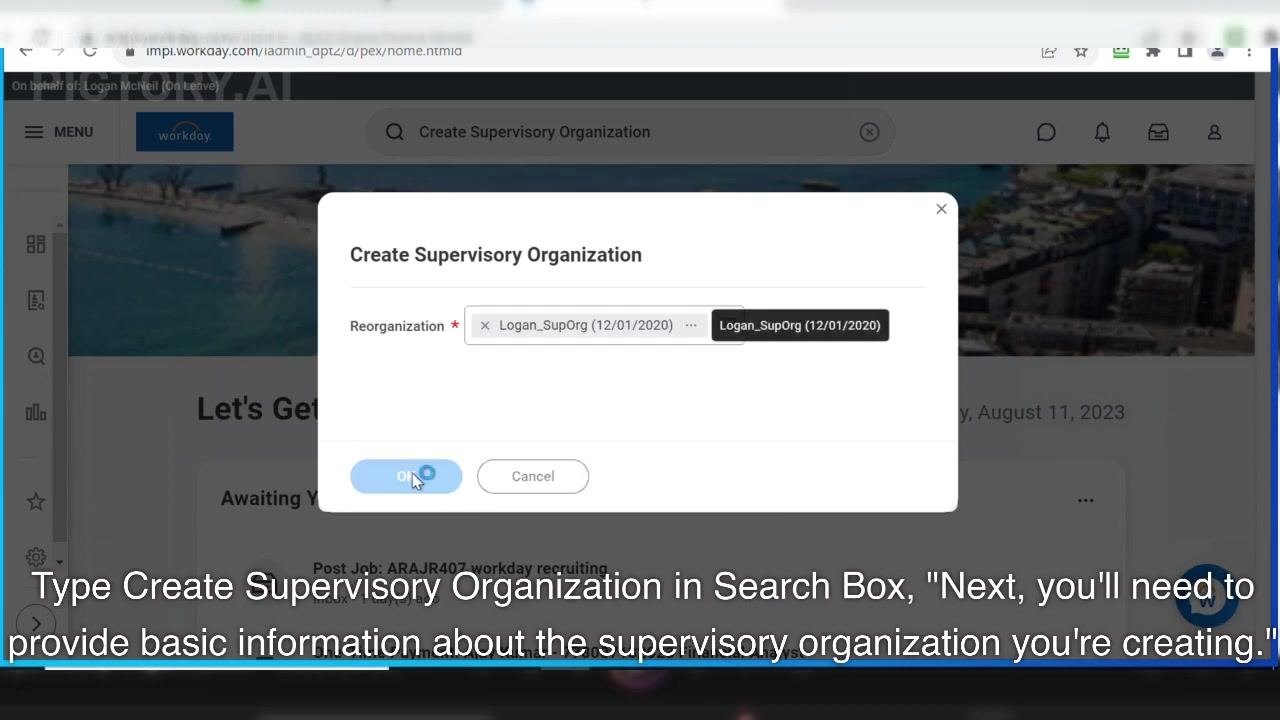
Once the correct reorganization appears in the field, click OK to proceed to the organization details form.
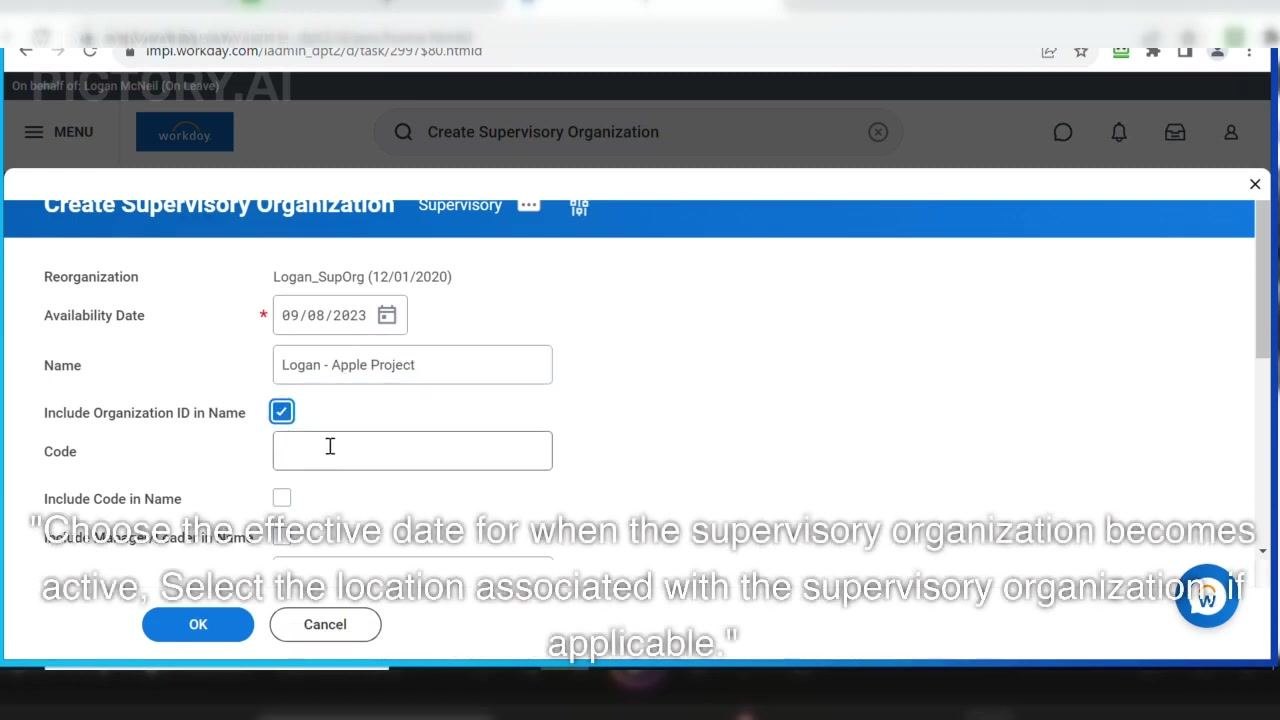
Enter basic organization information
Fill in the core details for your new supervisory organization:
- Availability Date: Click the calendar icon and select the effective date the organization becomes active (for example, 09/08/2023).
- Name: Enter a name for the organization (for example, "Logan - Apple Project").
- Include Organization ID in Name: Optional checkbox if you want the ID shown in the name.
- Code: Enter a unique code for the organization (for example, "123").
- Include Code in Name: Optional checkbox if you want the code shown in the name.
- Include Manager/Leader in Name: Optional checkbox if you want the manager's name shown in the name.
Specify additional organization attributes
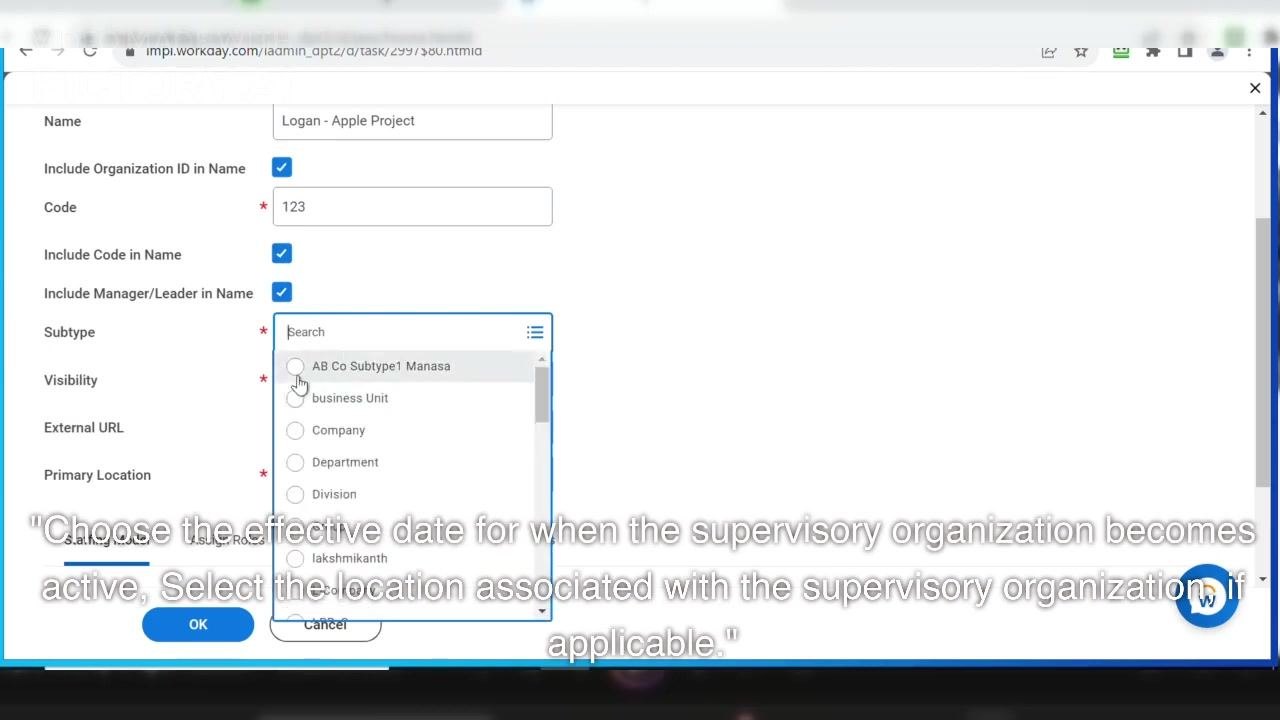
Continue completing the form with the following fields:
- Subtype: Choose the appropriate subtype (for example, "AB Co Subtype1 Manasa," "Business Unit," "Company," "Department," or "Division").
- Visibility: Choose who can view the organization (for example, "Everyone," "Role Assignees," "Role Assignees and Members," or "Role Assignees, Current and Superiors").
- External URL: Optional field if applicable.
- Primary Location: Select the location associated with the organization.
Select the manager
In the Manager or Manager/Leader field, search for and select the person who will oversee this supervisory organization. This individual manages the employees within the group.
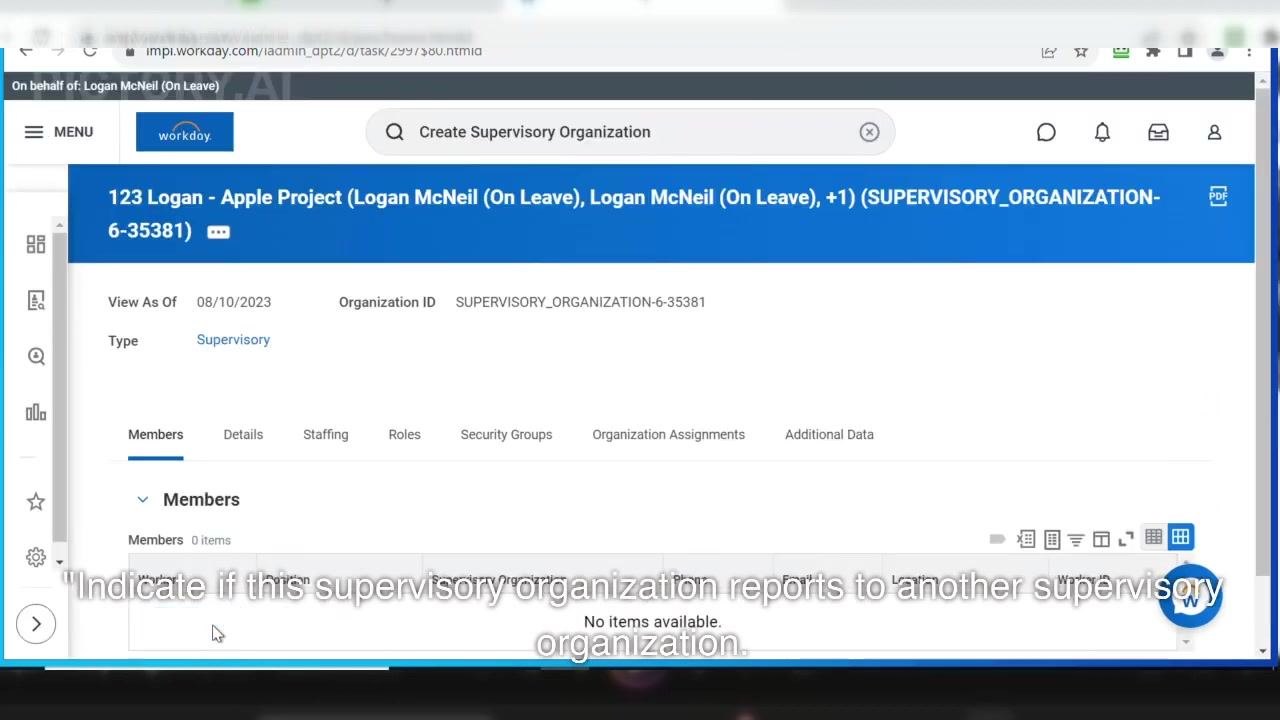
Set the reporting relationship
Indicate whether this supervisory organization reports to a higher-level supervisory organization. If it does, search for and select the appropriate organization from the list.
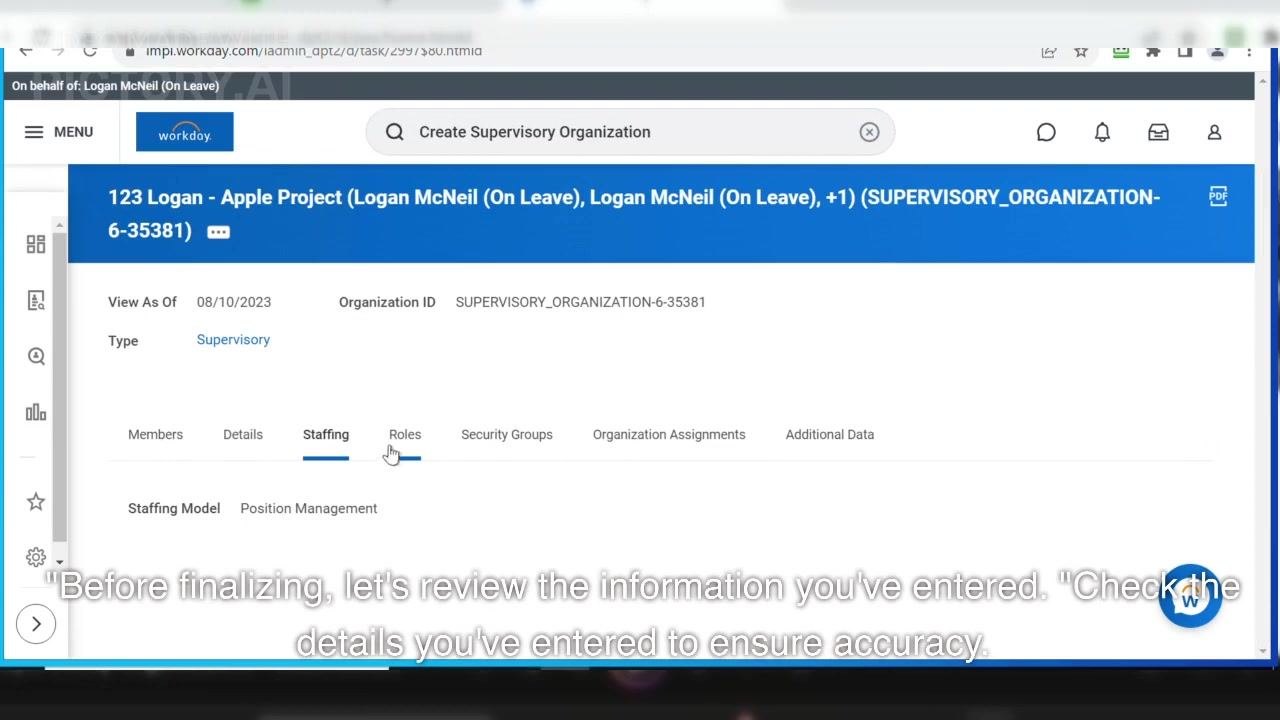
Review your entries
Before saving, carefully check all the information you've entered, including:
- Reorganization
- Availability Date
- Name
- Code
- Subtype
- Visibility
- Primary Location
- Manager
- Reporting Organization (if applicable)
Make any necessary corrections to ensure accuracy.
Verify role assignments
Go to the Roles tab to confirm that the correct manager and any other roles are assigned. Check that the Assigned To column lists the correct individuals and that effective dates are accurate.
Save the supervisory organization
Once you've confirmed all information, click Save to finalize the creation of the supervisory organization.
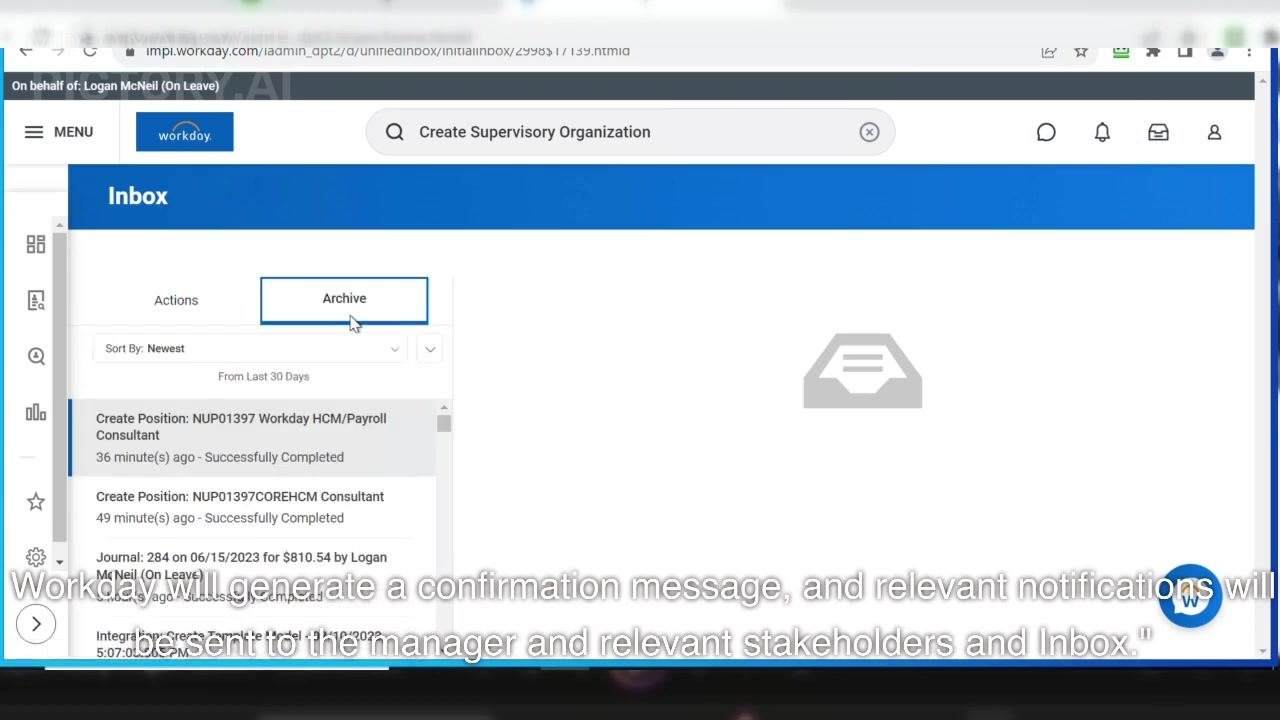
Confirm creation and check notifications
Workday displays a confirmation message indicating the supervisory organization was created successfully. Relevant notifications are sent to the assigned manager and other stakeholders through the Workday inbox.
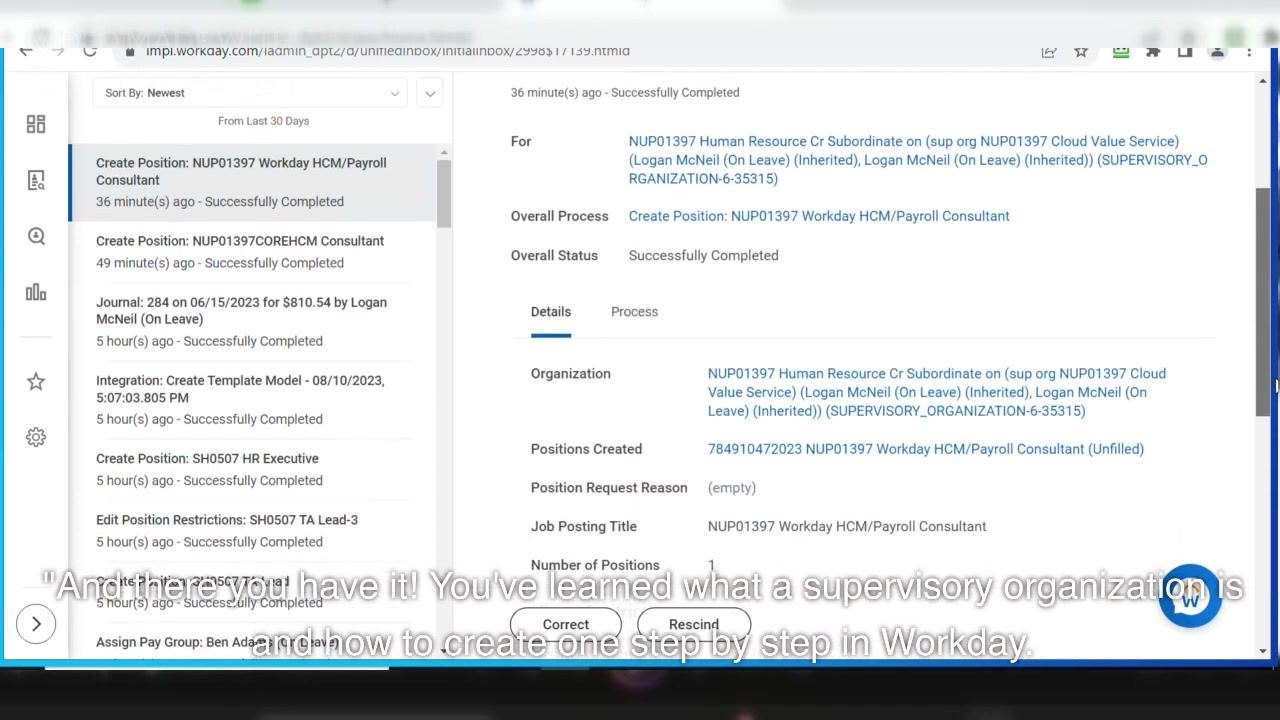
Review process details in your inbox
In the Workday inbox, open the archived notifications to review the completed process. Check details such as the organization name, positions created, and overall status.
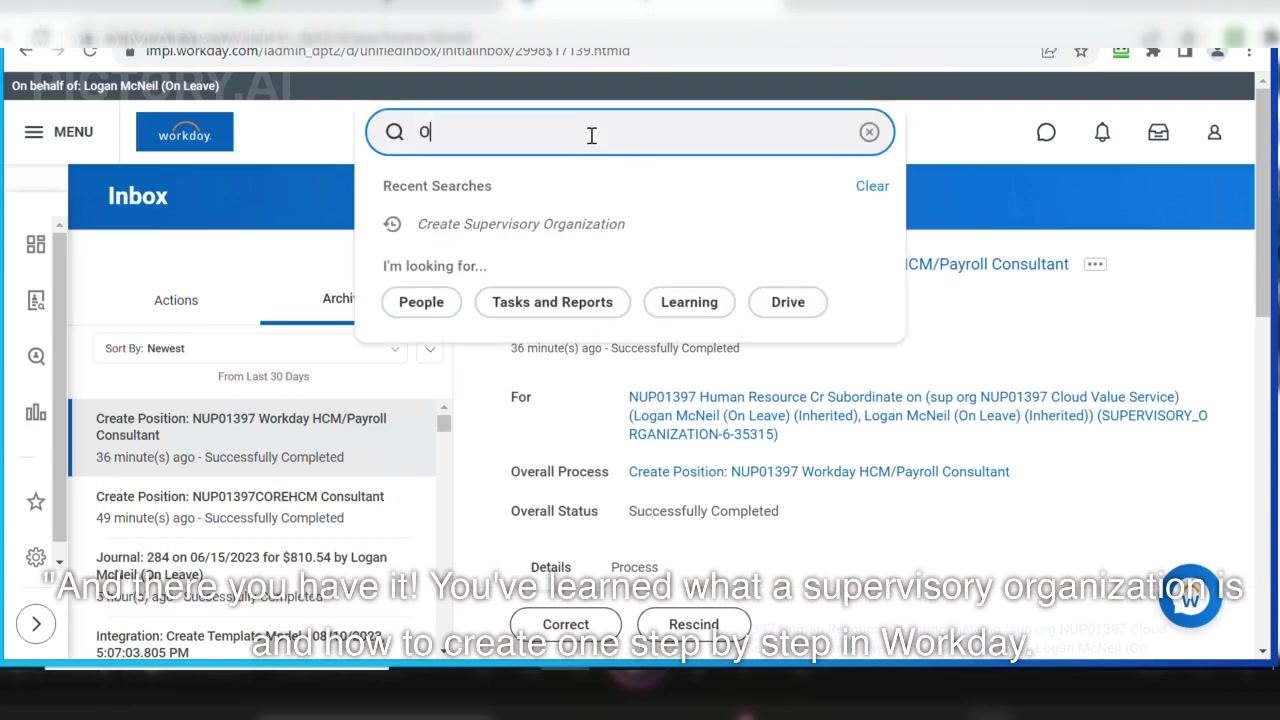
Step 16 (Optional): Start a new task or search
Use the search bar at the top of the Workday screen to begin a new task or locate additional information as needed.
Summary of key fields and example values
| Field | Example value |
|---|---|
| Reorganization | Logan_SupOrg (12/01/2020) |
| Availability Date | 09/08/2023 |
| Name | Logan - Apple Project |
| Include Organization ID in Name | Optional |
| Code | 123 |
| Include Code in Name | Optional |
| Include Manager/Leader in Name | Optional |
| Subtype | AB Co Subtype1 Manasa |
| Visibility | Everyone |
| Primary Location | Select as appropriate |
What's next
You have now successfully created a supervisory organization in Workday, defined its reporting relationships, and ensured all stakeholders are notified. This process is essential for maintaining a clear organizational structure and management oversight.
To continue building your Workday knowledge, explore additional Workday Learn sessions and stay engaged with ongoing training to strengthen your proficiency with Workday's features and functionalities.
Generation details: cost, quality tiers
Docsie billed 3,000 credits ($2.10) to analyze this 6-minute video at standard quality. The rewrite, template fill and Word/PDF exports were included. The same video at each quality tier:
| Quality | Frames sampled | Credits | Approx. cost |
|---|---|---|---|
| Draft | every 16-30 s | 1,500 | $1.05 |
| Standard (this guide) | every 8-15 s | 3,000 | $2.10 |
| Detailed | every 4-7 s | 6,000 | $4.20 |
| Ultra | every 1-3 s | 12,000 | $8.40 |
Credits priced at $0.70 per 1,000; plans include a monthly allowance. Enterprise customers on on-premise or bring-your-own-model deployments run this on their own inference and pay no per-video credits.
Generated by Docsie Video-to-Docs on 2026-09-14 from a 5-minute video. Screenshots are frames from the source video and belong to their creator, Wizard of HCM, whose original is embedded above. If you own this video and want the guide removed or credited differently, contact us and we will act within one business day.