
How to Add Items to Toast POS
Adding items to your Toast POS menu lets you expand your retail or food offerings without starting from scratch. This guide walks you through how to add items to Toast POS by editing existing products and duplicating them to create new menu entries, complete with pricing, images, and visibility settings.
Video: Adding and Editing New Items in Toast POS in 2023 by Eamonn Cottrell. All credit for the demonstration goes to the creator; watch the original on YouTube. The written guide below was generated from this video by Docsie. Creator? Request a change or removal.
Adding items to your Toast POS menu lets you expand your retail or food offerings without starting from scratch. This guide walks you through how to add items to Toast POS by editing existing products and duplicating them to create new menu entries, complete with pricing, images, and visibility settings.
Prerequisites
- An active Toast admin account with access to menu management.
- Permissions to edit menus and publish changes.
Access the Toast Admin Dashboard
Open your web browser and log in to your Toast admin account. The main dashboard appears with navigation options on the left and categorized management sections in the center, including Menu, Analytics & Reports, Manager, Labor, and Marketing.
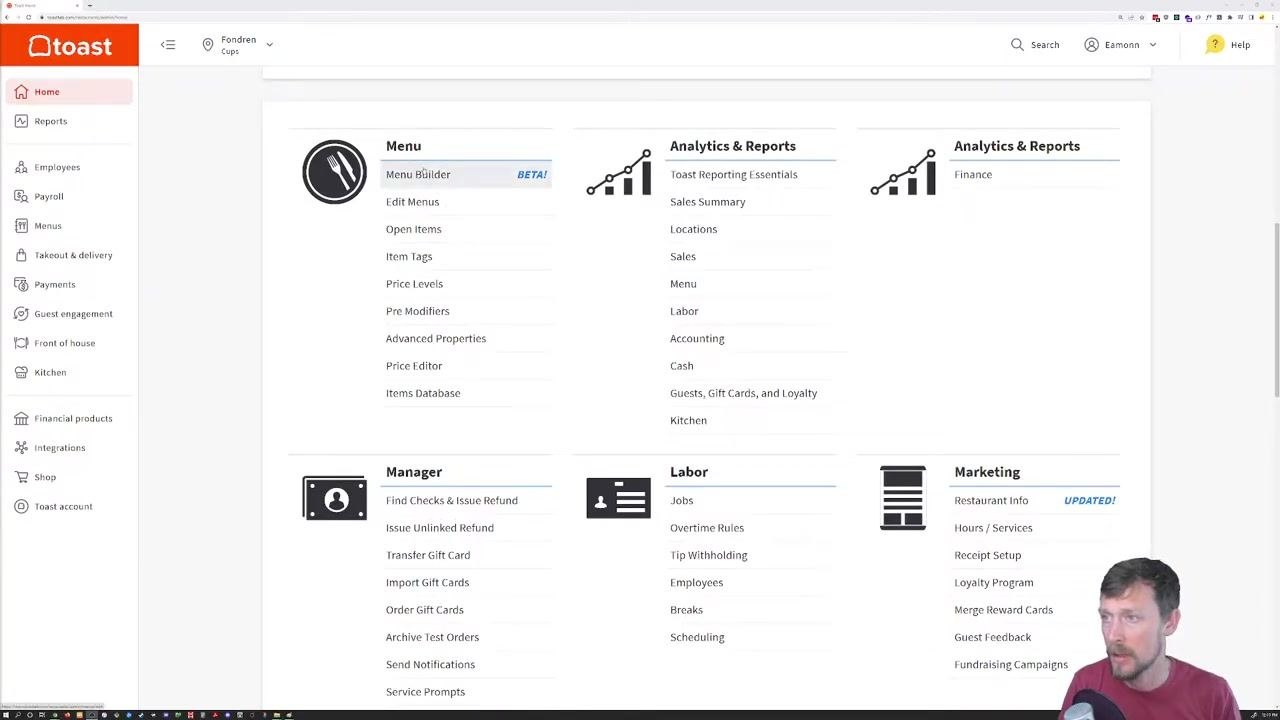
Navigate to menu management
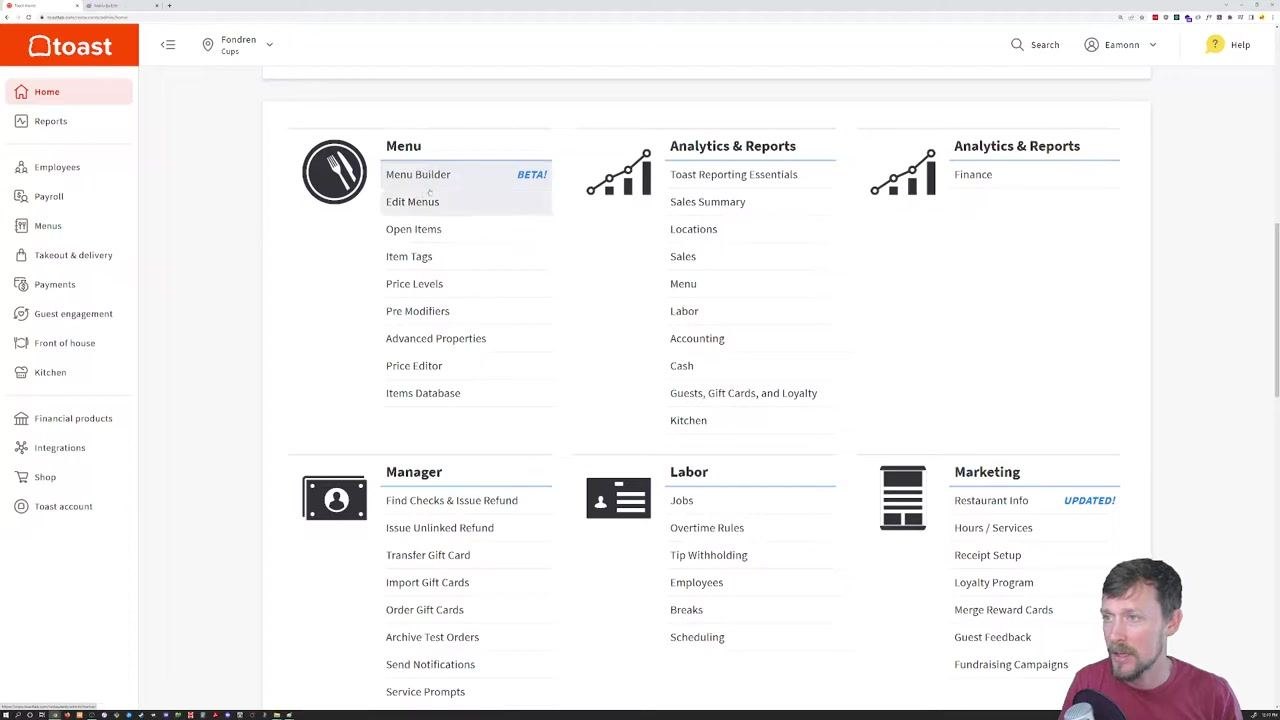
In the left sidebar, click Menus to expand the menu management options. In the central Menu section, locate and select Edit Menus rather than Menu Builder (BETA), since the beta builder may contain bugs.
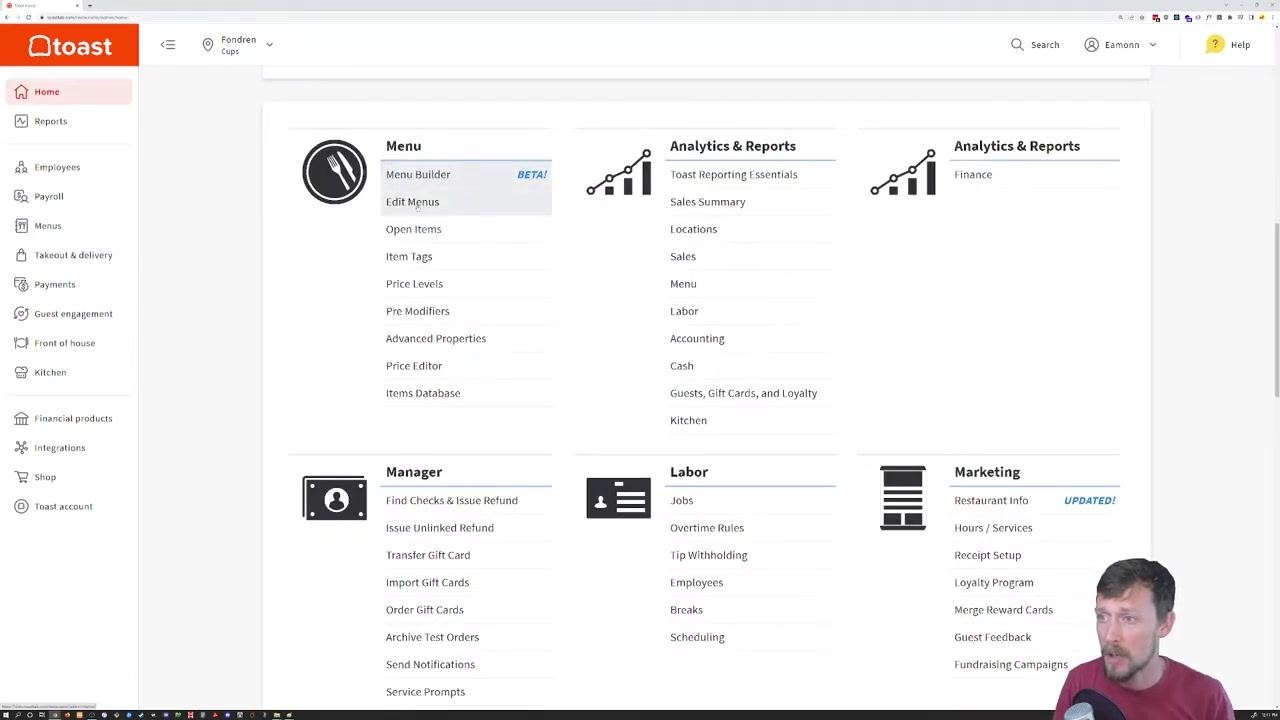
Select the menu group to edit
You'll see a list of menu groups, such as COFFEE, ESPRESSO, FRAPPE, TEA, NON-COFFEE DRINKS, SEASONAL DRINKS, FOOD, BEANS, and RETAIL. Click the RETAIL group to expand its submenu.
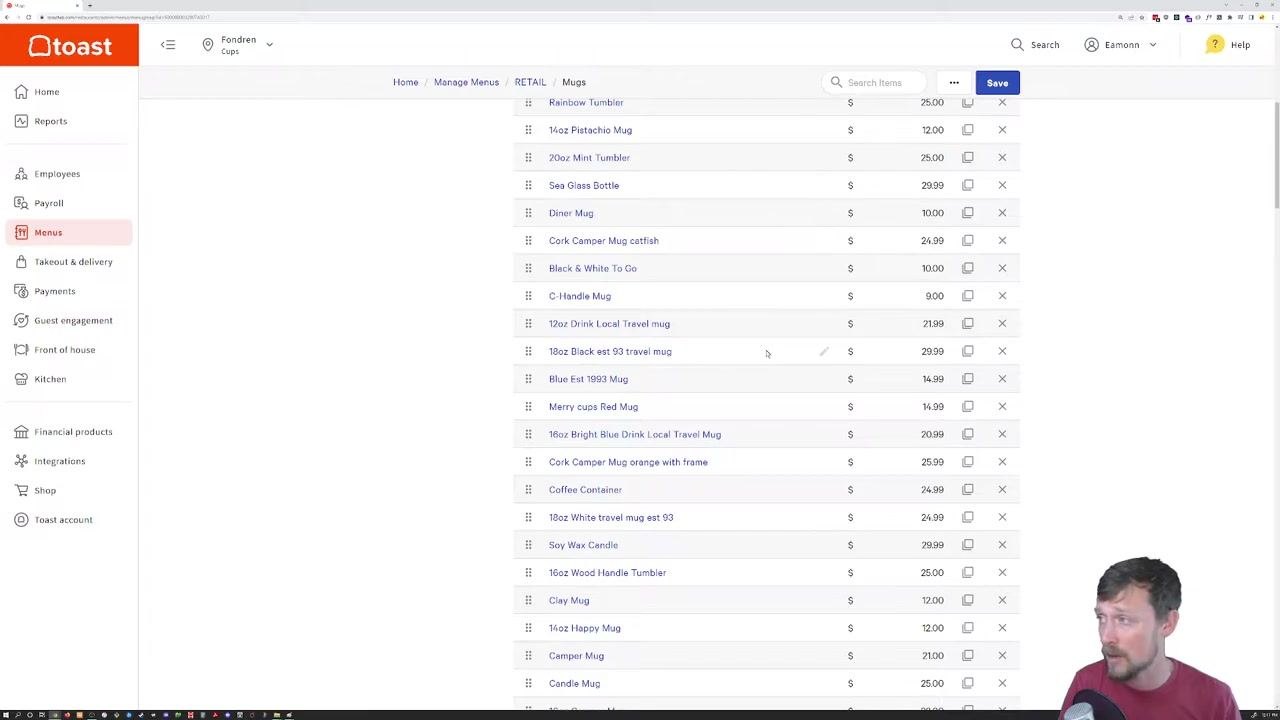
Within the RETAIL group, select the Mugs submenu to view all mug items.
Edit an existing item
In the Mugs submenu, you'll see a table with columns for item name and price. Locate the item you want to edit, such as Sea Glass Bottle. Click the price field, enter the new price (for example, $29.00), and click Save at the top right to apply your changes.
Duplicate an existing item to add a new one
To add a new item similar to an existing one, find the item you want to duplicate, such as Sea Glass Bottle, and use the duplicate option, typically shown as a copy icon in the item row. This creates a new item with all properties and modifiers copied over, reducing manual entry errors.
Edit the duplicated item
Rename the duplicated item to the new product name, for example Frost Bottle. You can optionally assign a unique button color for easy identification on the POS, and adjust the price if needed. You can also change inventory settings here, but it's generally best to leave items in stock and manage visibility instead.
Adjust pricing and modifiers
In the item details, set the Pricing Provider to "Specify pricing on this item." Set the Pricing Strategy to "Base Price" and enter the base price, for example $29.99. If needed, configure Modifier Groups for items with options, using the Add, Edit, or Alphabetize buttons to manage them, and choose whether to use parent group modifiers.
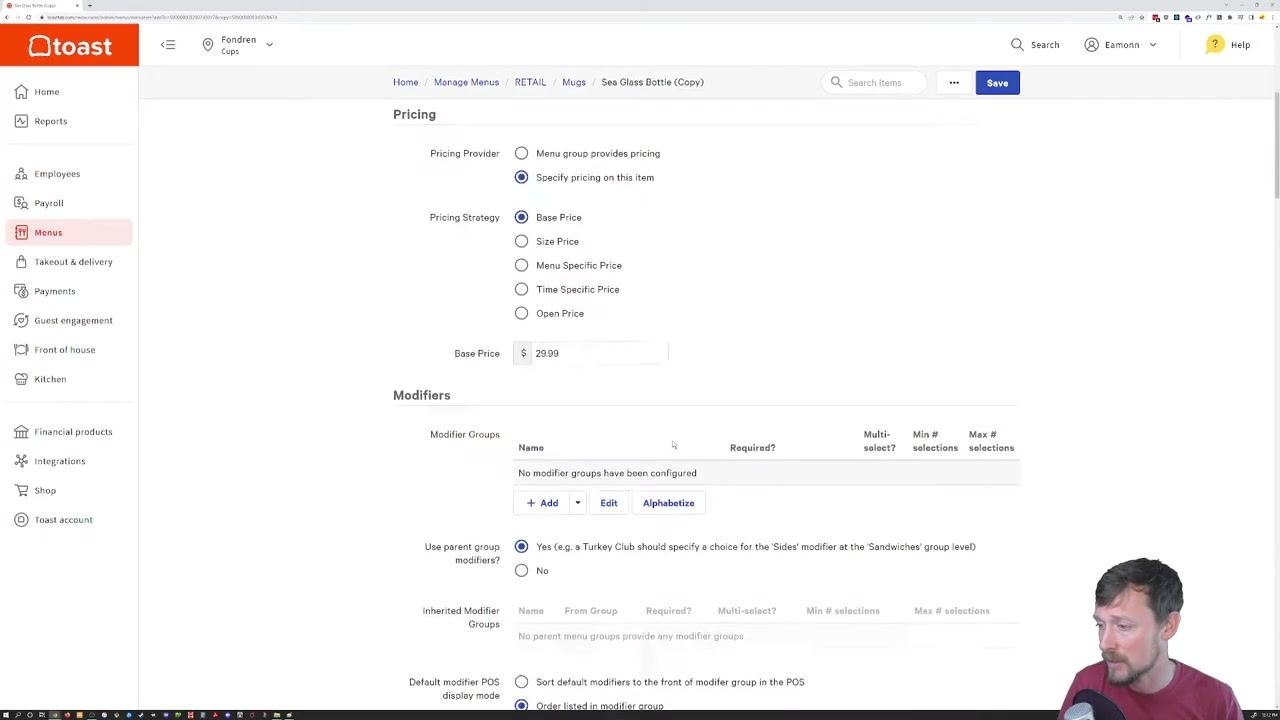
Set item visibility and add an image
In the item details screen, locate the Visible To section and select where the item should appear, such as In-store orders: POS or Online orders: Toast. If you turn off all visibility options, the item won't appear on the store's register or online ordering until you return and enable it.
To add an image, click Choose Image and select the desired file, for example Cups-Water-Bottle-2022.jpg. The image won't display in the item details until you click Save. Scroll down afterward to confirm the image is attached.
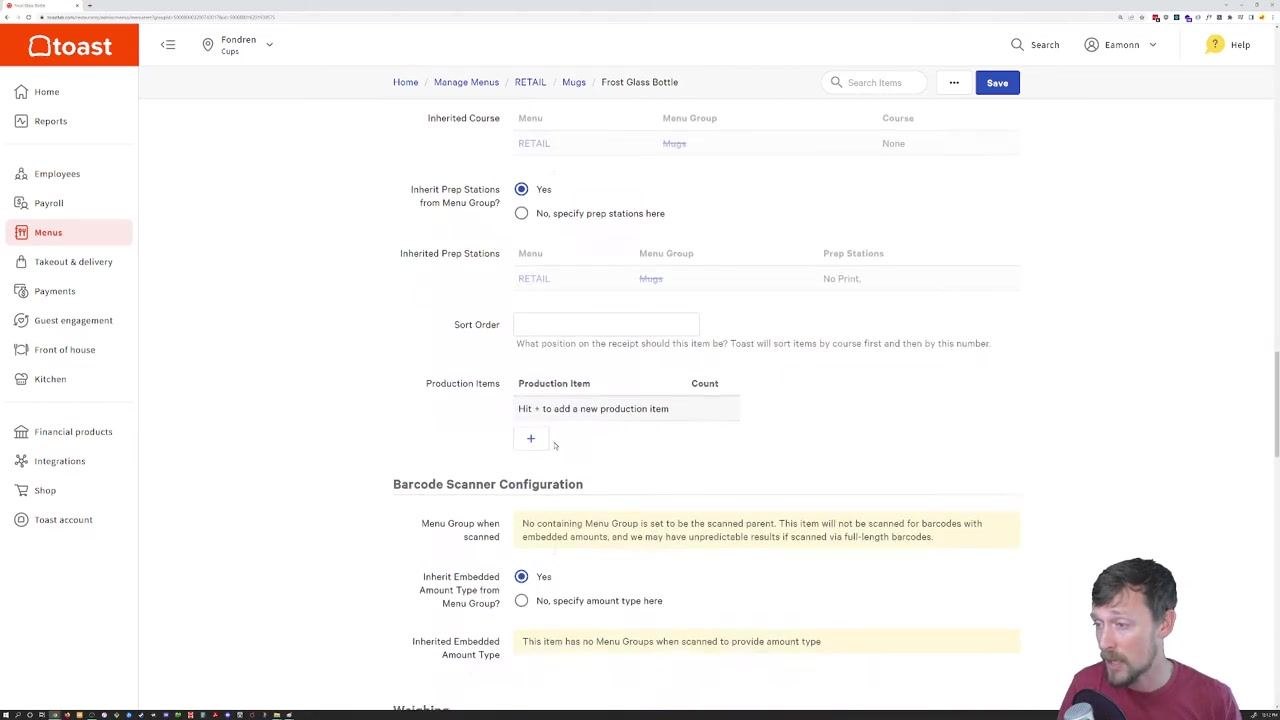
Review advanced item settings (optional)
Scroll through the advanced settings for the item, which include:
- Preparation: Set preparation time if needed.
- Production Items: Add production items if your kitchen workflow requires it.
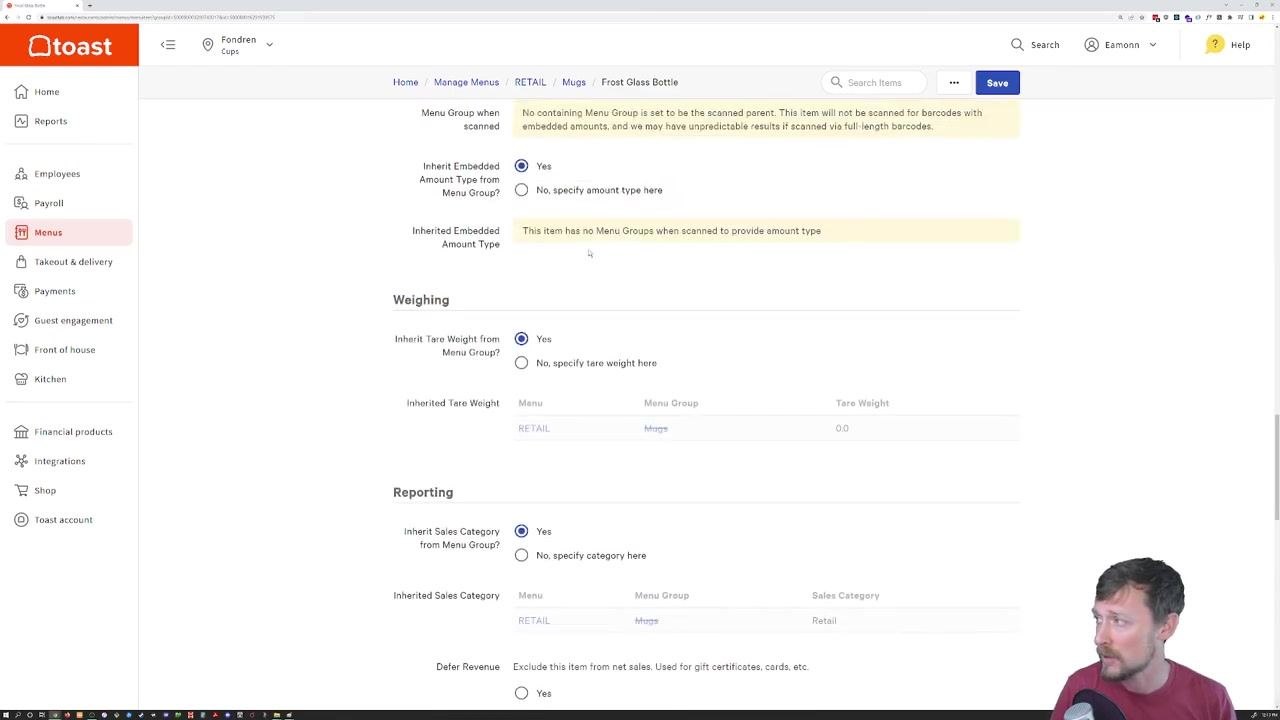
- Barcode Scanner Configuration: Configure barcode scanning if applicable.
- Weighing: Set tare weight if the item is sold by weight.
- Reporting: Inherit or specify sales category and revenue settings.
- Discounting: Inherit or specify discount configuration.
- Taxes: Inherit or specify tax rates, inclusion options, and dining option taxes.
For simple retail items, you can typically leave these settings inherited from the menu group.
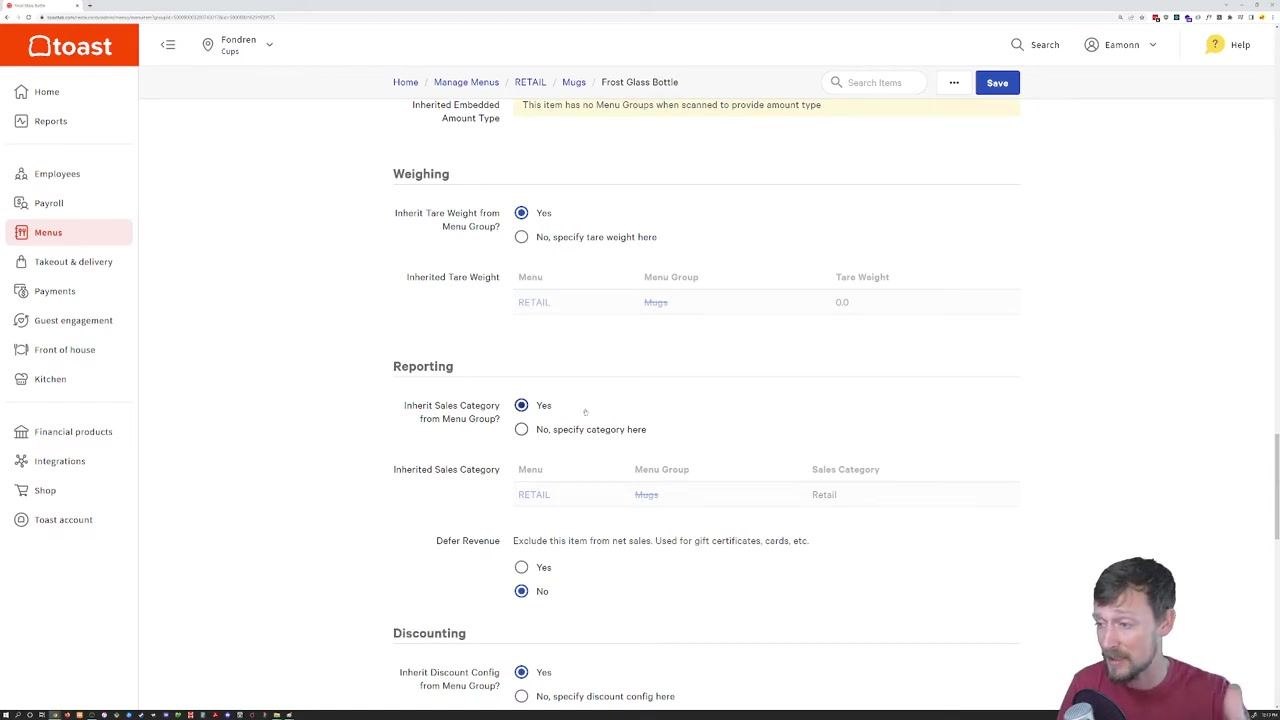
Save and publish the item
After making all your changes, click Save at the top right of the screen and wait for the confirmation message: Menu item saved successfully. To make the item available on registers and online ordering, click Publish Now in the green confirmation banner. Saving alone doesn't push the item to the POS—publishing is required for changes to take effect.
Summary
You now know how to add items to Toast POS by navigating to Edit Menus, selecting the appropriate menu group and submenu, and either editing an existing item or duplicating one to create a new product. After configuring pricing, modifiers, visibility, and an image, remember to save your changes and click Publish Now to make the item live on your registers and online ordering channels.
Generation details: cost, quality tiers
Docsie billed 2,000 credits ($1.40) to analyze this 4-minute video at standard quality. The rewrite, template fill and Word/PDF exports were included. The same video at each quality tier:
| Quality | Frames sampled | Credits | Approx. cost |
|---|---|---|---|
| Draft | every 16-30 s | 1,000 | $0.70 |
| Standard (this guide) | every 8-15 s | 2,000 | $1.40 |
| Detailed | every 4-7 s | 4,000 | $2.80 |
| Ultra | every 1-3 s | 8,000 | $5.60 |
Credits priced at $0.70 per 1,000; plans include a monthly allowance. Enterprise customers on on-premise or bring-your-own-model deployments run this on their own inference and pay no per-video credits.
Generated by Docsie Video-to-Docs on 2026-10-12 from a 3-minute video. Screenshots are frames from the source video and belong to their creator, Eamonn Cottrell, whose original is embedded above. If you own this video and want the guide removed or credited differently, contact us and we will act within one business day.