
How to Create a Retention Policy in Microsoft 365
This guide explains how to create a retention policy in Microsoft Purview, using a 7-year retention period as an example. A retention policy helps your organization manage the lifecycle of its data, ensuring critical content is retained for compliance and operational needs. It defines how long data is kept and what happens once the retention period ends, which is essential for meeting regulatory requirements and safeguarding important information.
Video: How to Create a 7-Year Retention Policy in Microsoft Purview by Admin365 (2025). All credit for the demonstration goes to the creator; watch the original on YouTube. The written guide below was generated from this video by Docsie. Creator? Request a change or removal.
This guide explains how to create a retention policy in Microsoft Purview, using a 7-year retention period as an example. A retention policy helps your organization manage the lifecycle of its data, ensuring critical content is retained for compliance and operational needs. It defines how long data is kept and what happens once the retention period ends, which is essential for meeting regulatory requirements and safeguarding important information.
Prerequisites
Before you begin, make sure you have one of the following roles in Microsoft Purview:
- Global Administrator
- Compliance Administrator
- Security Administrator
Sign in to Microsoft Purview
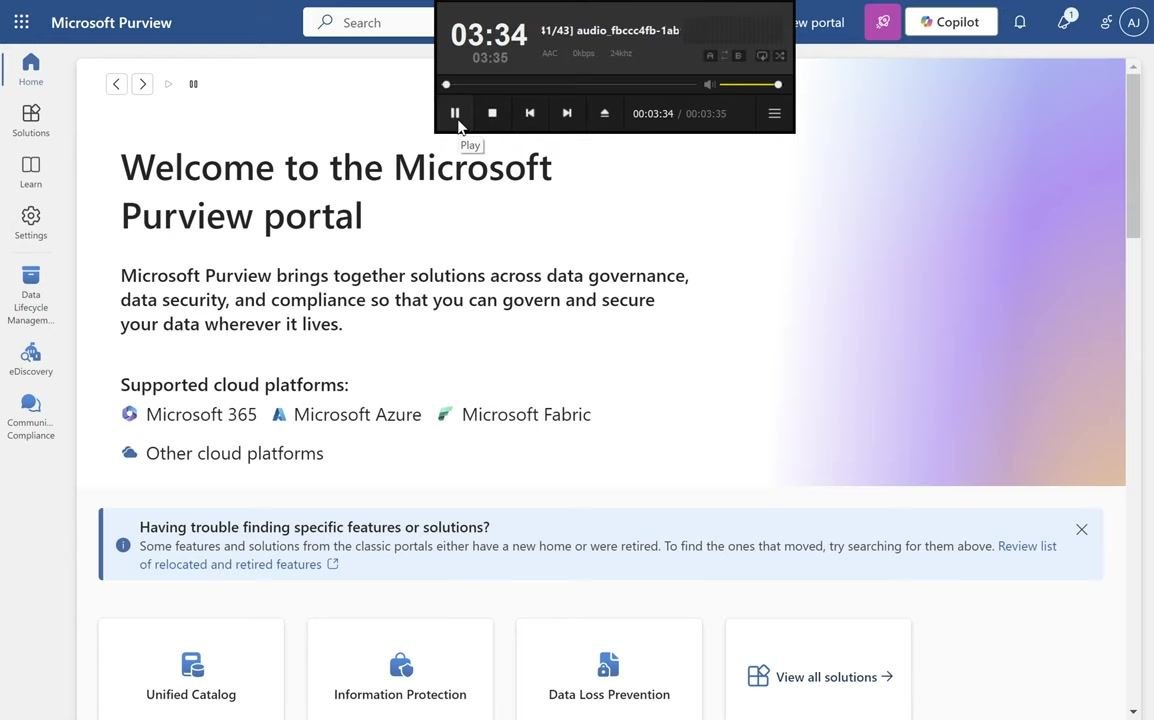
Open your web browser and go to the Microsoft Purview portal at https://purview.microsoft.com. Sign in using one of the admin credentials listed above. You'll see the portal's welcome screen with the navigation menu on the left.
Access Data Lifecycle Management
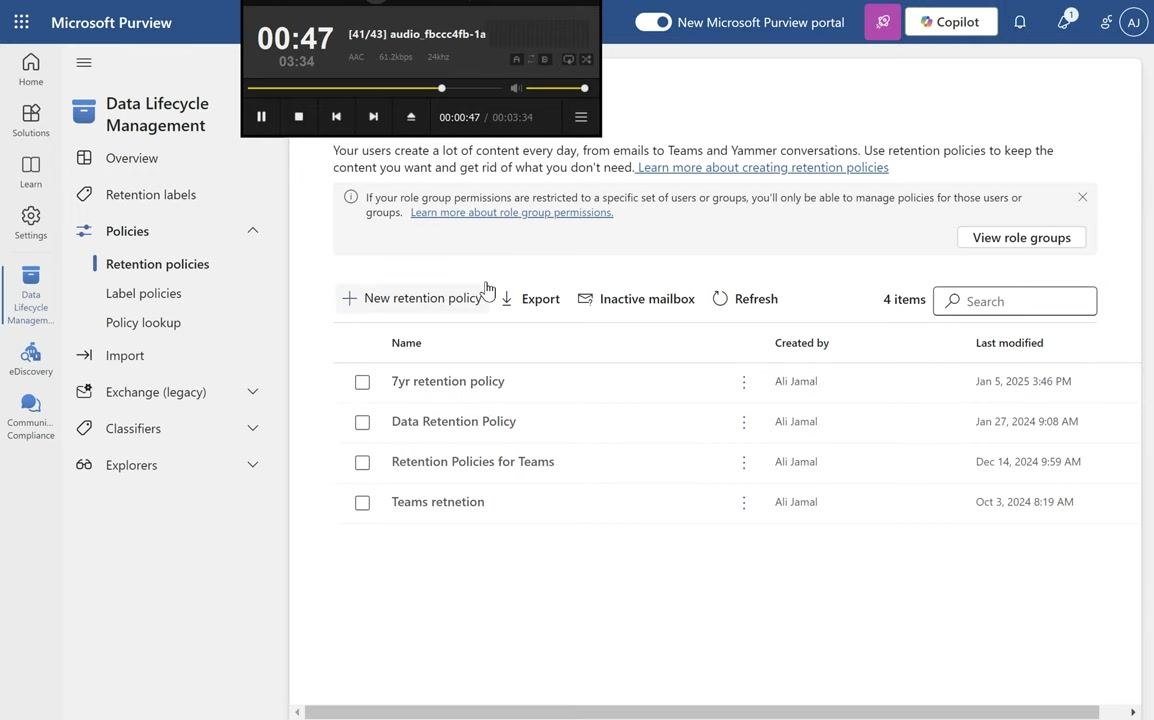
In the left navigation pane, select View all solutions, then click Data Lifecycle Management. Under Data Lifecycle Management, select Policies, and then choose Retention.
Create a new retention policy
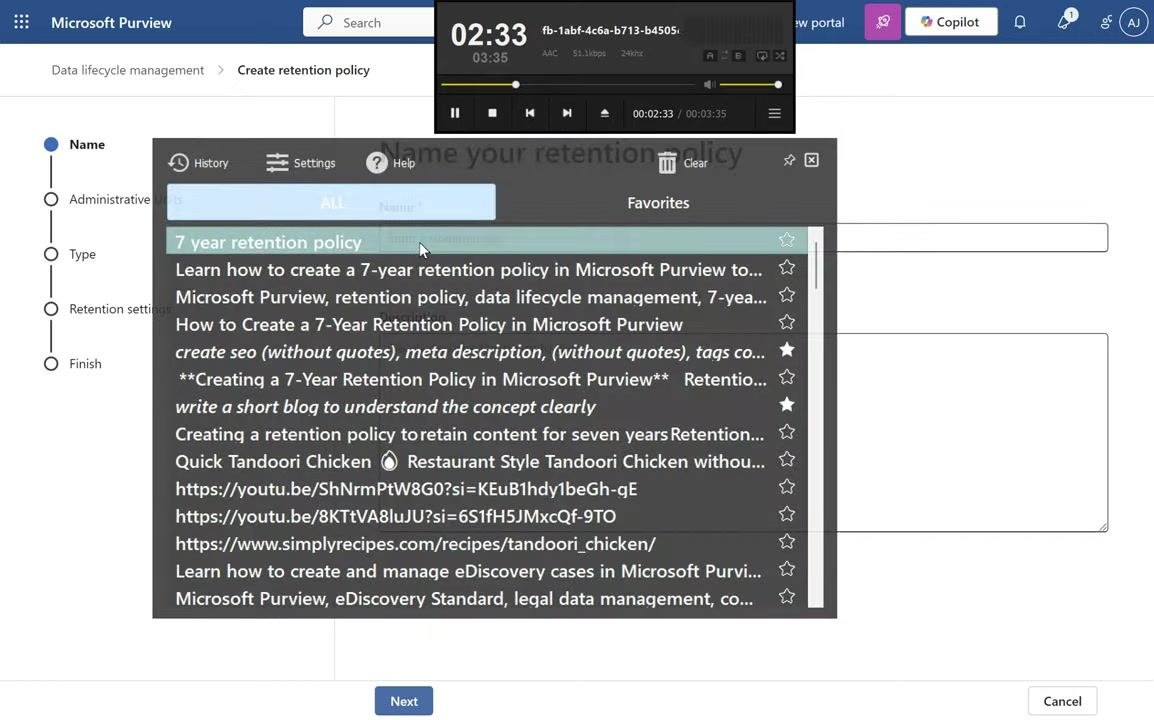
Click New Retention Policy. In the policy creation form, enter a name such as 7-Year Retention Policy (or "7yr retention policy") and add a clear description, for example "Retain content for 7 years for compliance." Click Next to continue.
Define the policy scope
In the policy wizard, review the policy scope section. To apply the policy across your entire organization, keep the scope set to All Users and Guests, then continue through the wizard to configure the remaining settings.
Configure administrative units (optional)
On the Administrative Units step, choose whether to apply the policy to the entire directory or to specific admin units. To target specific groups, click Add or remove admin units and select the units you want. For organization-wide coverage, leave the setting as Full directory.
Specify how locations are selected
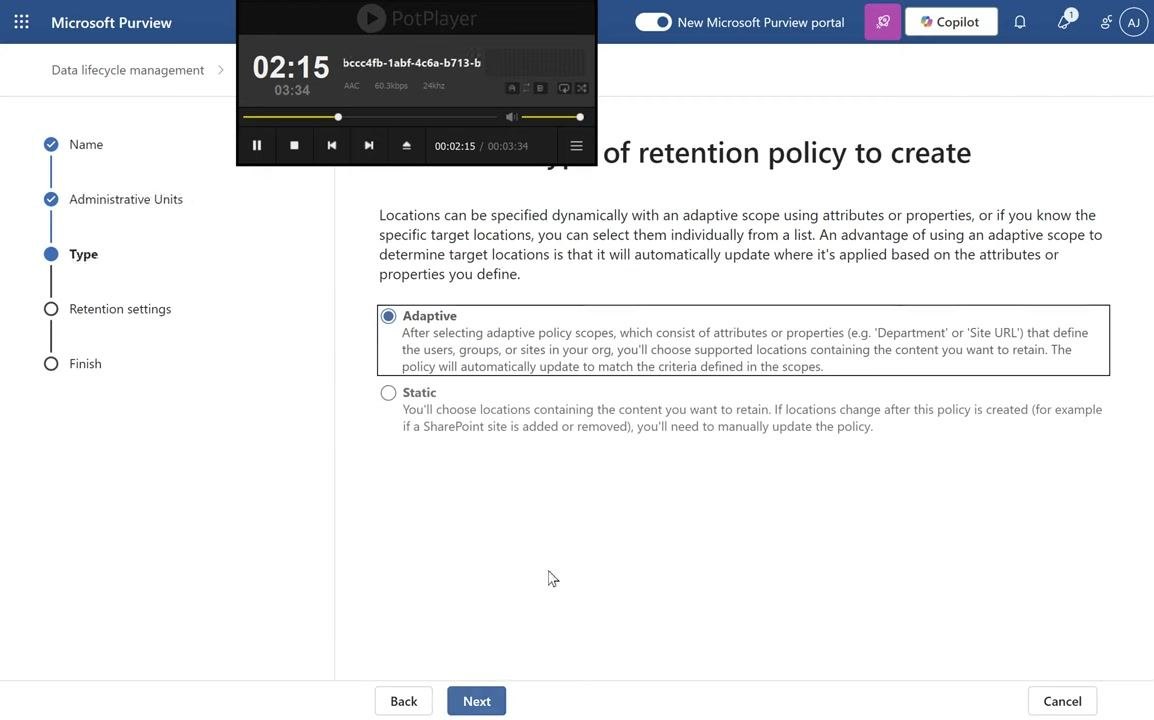
On the Type step, choose how you want to specify locations for the retention policy:
- Adaptive: Uses attributes or properties (such as Department or Site URL) for dynamic targeting. The policy automatically updates as users, groups, or sites matching the criteria change.
- Static: Lets you manually choose specific locations. This is the recommended option for this scenario.
Select Static to identify exact locations for the policy.
Select locations
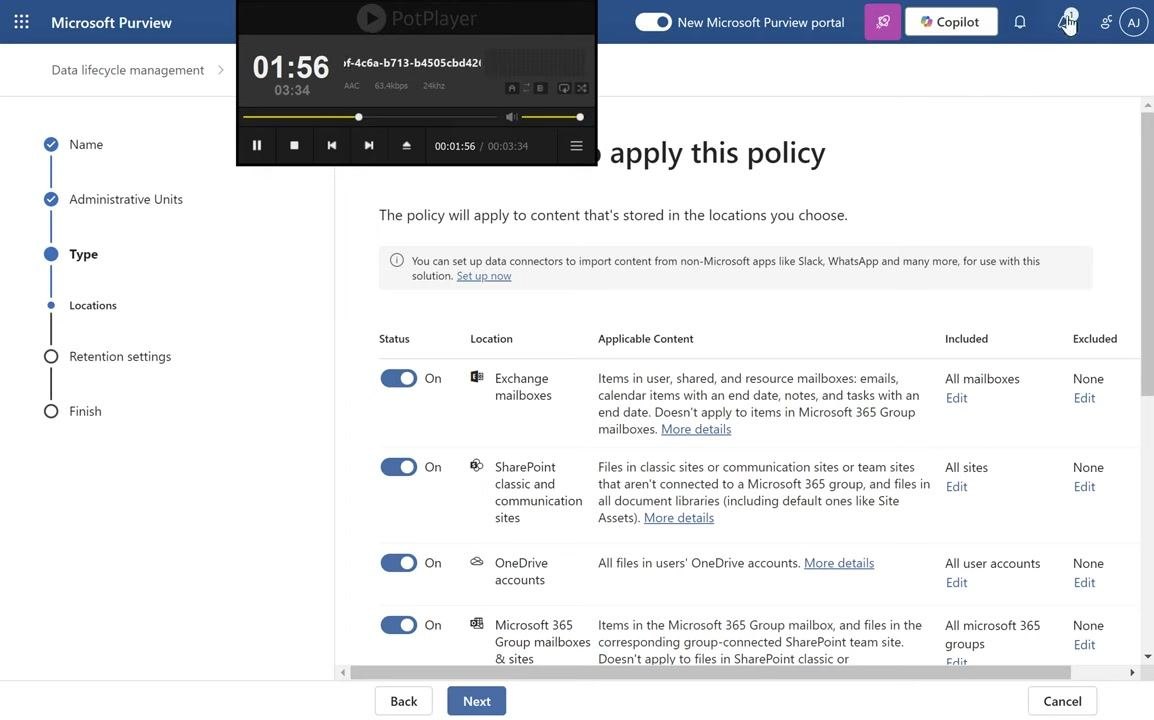
On the Locations step, toggle on the locations you want the policy to apply to:
- Exchange mailboxes
- SharePoint classic and communication sites
- OneDrive accounts
- Microsoft 365 group mailboxes & sites
Make sure each location's toggle is set to On.
Configure retention settings
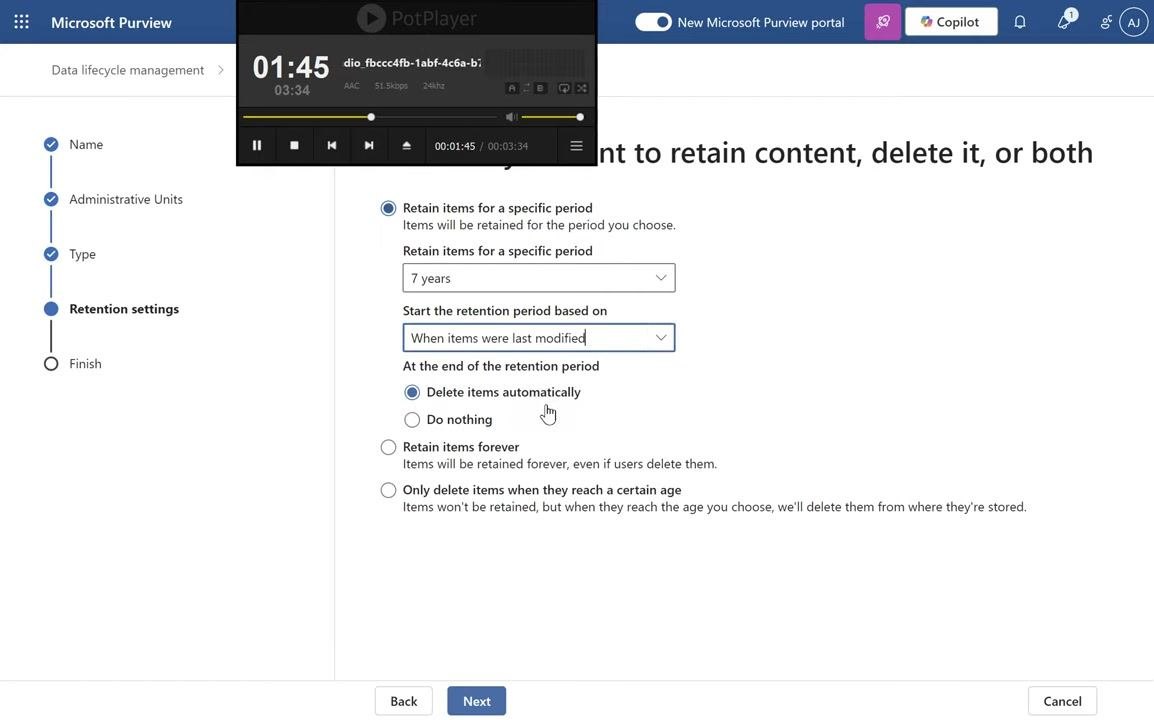
On the Retention settings step, configure the following:
- Select Retain items for a specific period.
- Set the retention period to 7 years.
- Set Start the retention period based on to When items were last modified.
- Under At the end of the retention period, select Do nothing, so content is not automatically deleted after 7 years.
Review and submit the policy
On the Review and finish step, confirm the policy name, description, selected locations, and retention settings. The summary should show:
- Policy name: 7yr retention policy
- Locations: Exchange mailboxes (All Recipients), SharePoint classic and communication sites (All Sites), OneDrive accounts (All Sites), Microsoft 365 Group mailboxes & sites (All Groups)
- Retention settings: Retain items for 7 years based on when they were last modified; don't delete items at the end of the retention period
Click Submit to activate the policy.
Confirm the policy was created
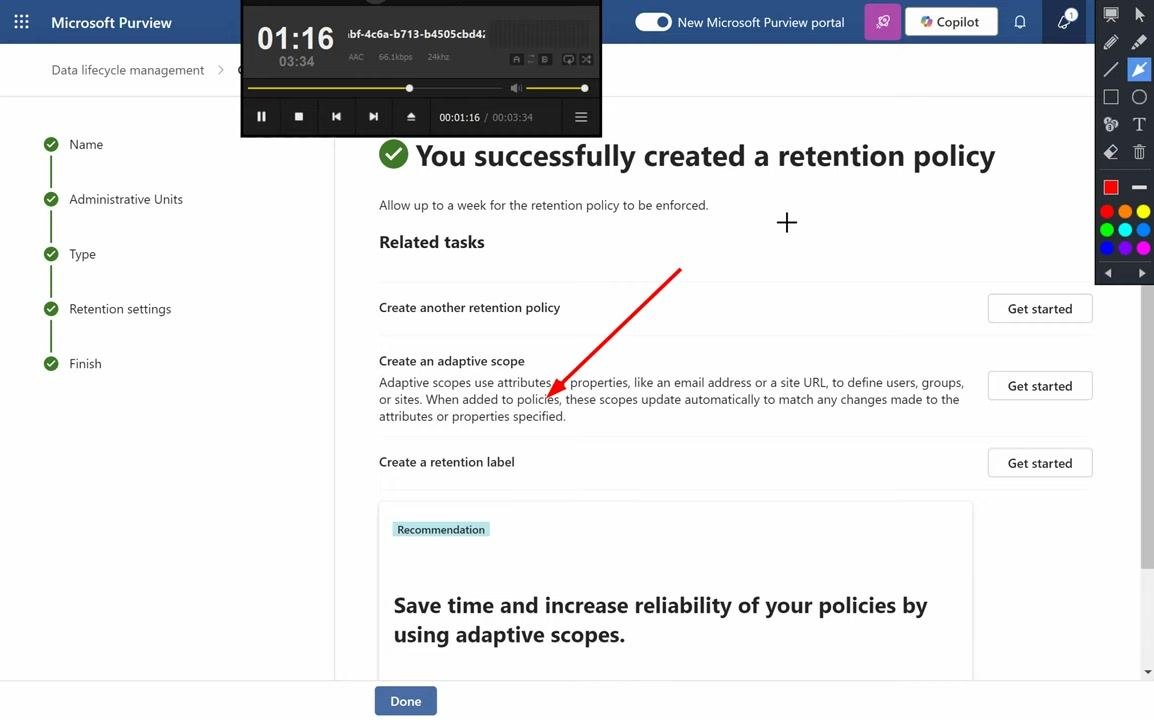
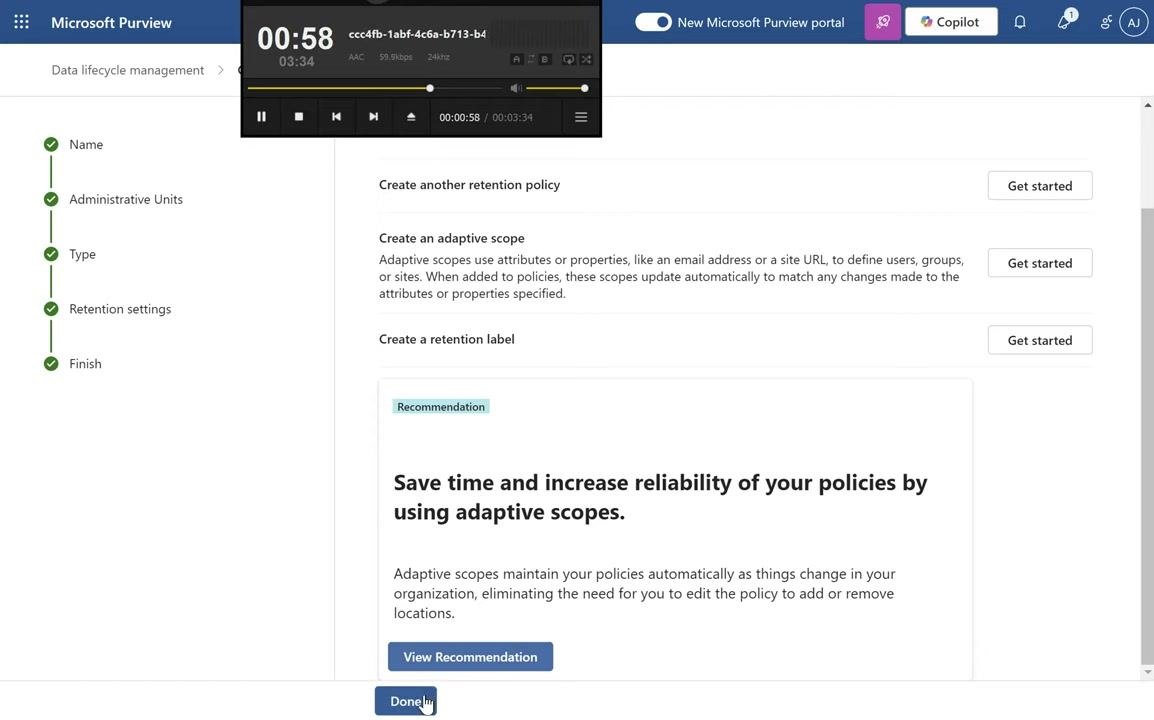
After submission, a confirmation screen indicates that the retention policy was successfully created. It can take up to a week for the policy to be enforced across all selected locations. From this screen, you can also access related tasks:
- Create another retention policy
- Create an adaptive scope, using attributes or properties (like email address or site URL) to define dynamic groups or sites for future policies
- Create a retention label, for more granular control over individual documents or items
Explore retention labels for more granular control
Retention labels give you finer control over data management than a broad policy alone. They let you:
- Specify custom retention durations for specific items.
- Apply longer or shorter retention periods as needed.
- Align retention with data sensitivity and classification to strengthen data governance.
To create one, click Get started next to "Create a retention label" on the confirmation screen.
Understanding retention label application methods
Retention labels can be applied in two ways:
- Manual application: Users assign retention labels to emails, documents, or other items as needed.
- Automated application: Labels are applied automatically based on predefined criteria, such as keywords, sensitive information types, or specific locations.
Use automated labeling to ensure consistent compliance and reduce the burden on users, while still allowing manual labeling for exceptions or unique scenarios that automation doesn't cover.
Best practices for retention management
- Use broad retention policies to cover general compliance requirements across your organization.
- Apply retention labels to handle exceptions or provide more granular control over specific items or locations.
- Regularly review your retention policies and labels to keep them aligned with evolving regulatory requirements and organizational needs.
Exploring the Microsoft Purview portal further
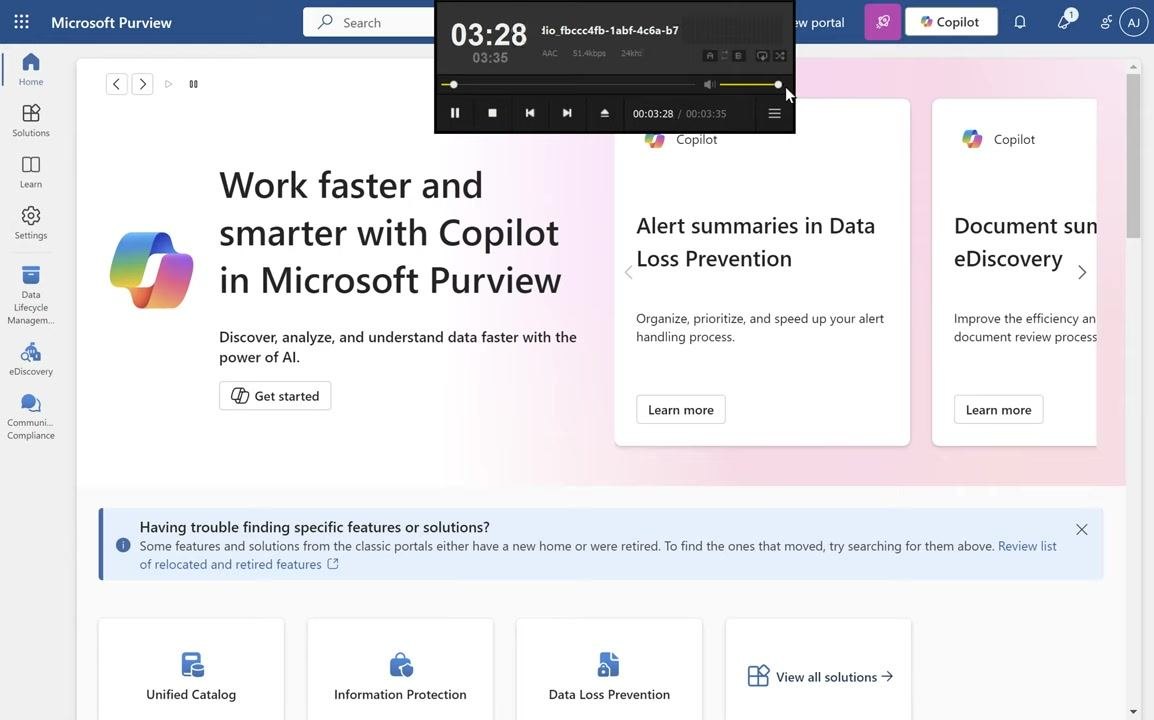
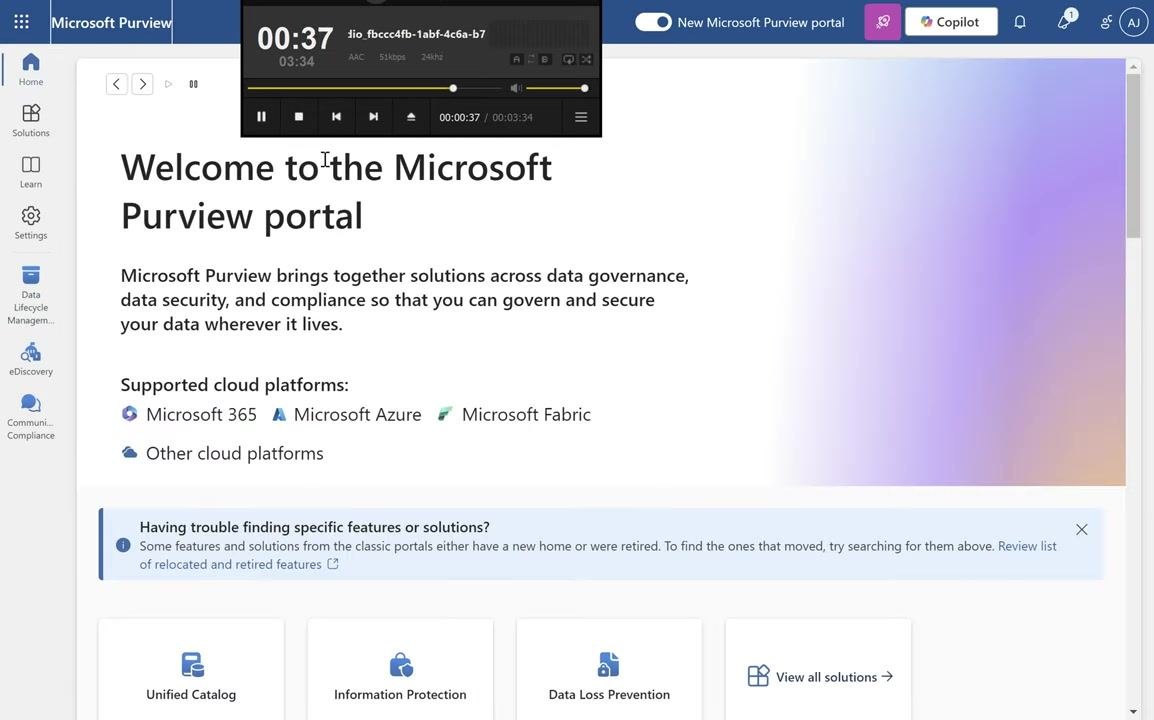
The Microsoft Purview portal supports data governance, security, and compliance across multiple cloud platforms, including Microsoft 365, Microsoft Azure, Microsoft Fabric, and other cloud platforms. From the main dashboard, you can access features such as Unified Catalog, Information Protection, Data Loss Prevention, and more.
Additional resources are available to enhance your data governance efforts:
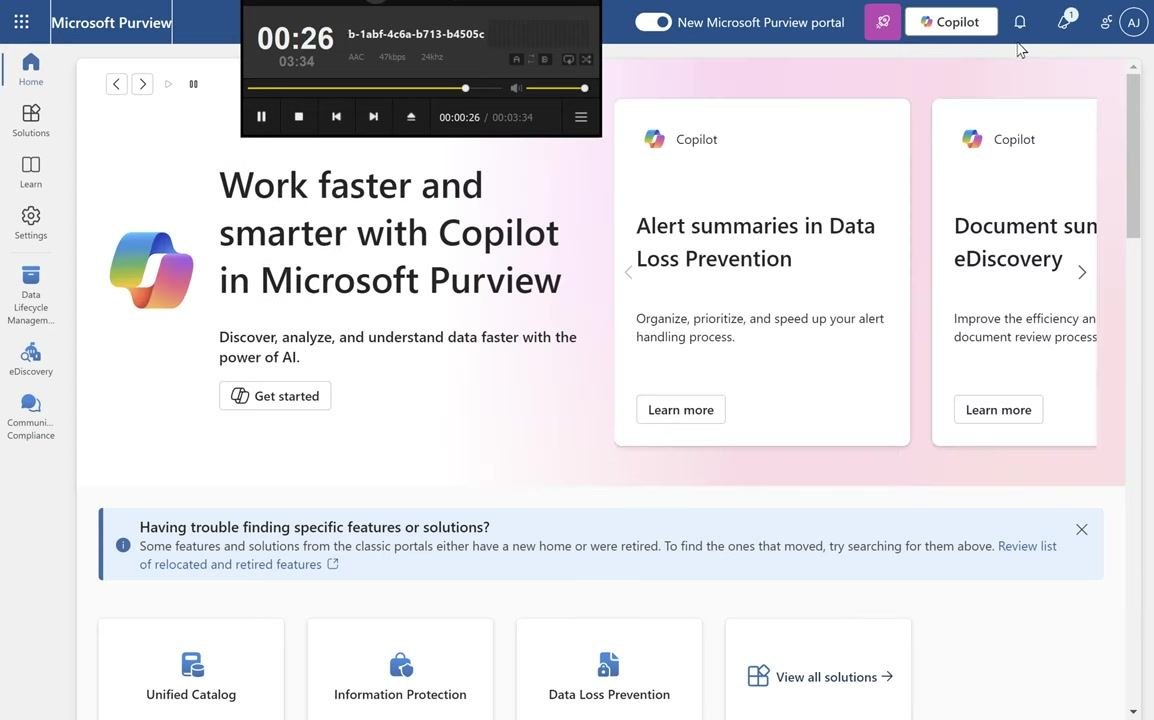
- Copilot in Microsoft Purview: AI-powered tools to analyze, understand, and manage data faster.
- Alert summaries in Data Loss Prevention: Organize and prioritize alerts to speed up alert handling.
- Document summaries in eDiscovery: Improve efficiency in document review processes.
Click Get started or Learn more on the portal dashboard to access these features.
Summary
You have now created a 7-year retention policy in Microsoft Purview covering Exchange, SharePoint, OneDrive, and Microsoft 365 group sites, helping ensure your organization's data is managed in line with compliance requirements. To further strengthen your data governance, consider using adaptive scopes for dynamic targeting and retention labels for more granular, flexible retention control.
What's next
- Periodically revisit your retention policies and labels to ensure they remain up to date with current compliance and business requirements.
- Adjust automated and manual label application as your organization's needs evolve.
- Use the Microsoft Purview portal on an ongoing basis to monitor and continuously improve your data lifecycle management.
Generation details: cost, quality tiers
Docsie billed 2,000 credits ($1.40) to analyze this 4-minute video at standard quality. The rewrite, template fill and Word/PDF exports were included. The same video at each quality tier:
| Quality | Frames sampled | Credits | Approx. cost |
|---|---|---|---|
| Draft | every 16-30 s | 1,000 | $0.70 |
| Standard (this guide) | every 8-15 s | 2,000 | $1.40 |
| Detailed | every 4-7 s | 4,000 | $2.80 |
| Ultra | every 1-3 s | 8,000 | $5.60 |
Credits priced at $0.70 per 1,000; plans include a monthly allowance. Enterprise customers on on-premise or bring-your-own-model deployments run this on their own inference and pay no per-video credits.
Generated by Docsie Video-to-Docs on 2026-09-14 from a 3-minute video. Screenshots are frames from the source video and belong to their creator, Admin365, whose original is embedded above. If you own this video and want the guide removed or credited differently, contact us and we will act within one business day.