
How to Weld Stainless Steel
This procedure explains how to weld stainless steel to produce a consistent, high-quality fillet weld using MIG welding equipment. It covers workstation setup, machine parameters, shielding gas configuration, welding technique, and the visual and audible cues that indicate a properly executed weld. Following these steps helps you achieve results suitable for both home repairs and industrial stainless steel fabrication.
Video: Stainless Steel MIG Welding Tips by Weld.com (2016). All credit for the demonstration goes to the creator; watch the original on YouTube. The written guide below was generated from this video by Docsie. Creator? Request a change or removal.
This procedure explains how to weld stainless steel to produce a consistent, high-quality fillet weld using MIG welding equipment. It covers workstation setup, machine parameters, shielding gas configuration, welding technique, and the visual and audible cues that indicate a properly executed weld. Following these steps helps you achieve results suitable for both home repairs and industrial stainless steel fabrication.
Purpose
This document provides standardized instructions for performing a stainless steel fillet weld with a MIG welding machine, ensuring correct machine settings, shielding gas composition, and welding technique are used consistently.
Scope
This procedure applies to fillet welding of 304 stainless steel using .035" 309L filler wire and tri-mix shielding gas. It is suitable for home repair projects as well as industrial stainless steel fabrication work.
Required equipment and PPE
- 304 stainless steel workpieces
- .035" 309L stainless steel welding wire
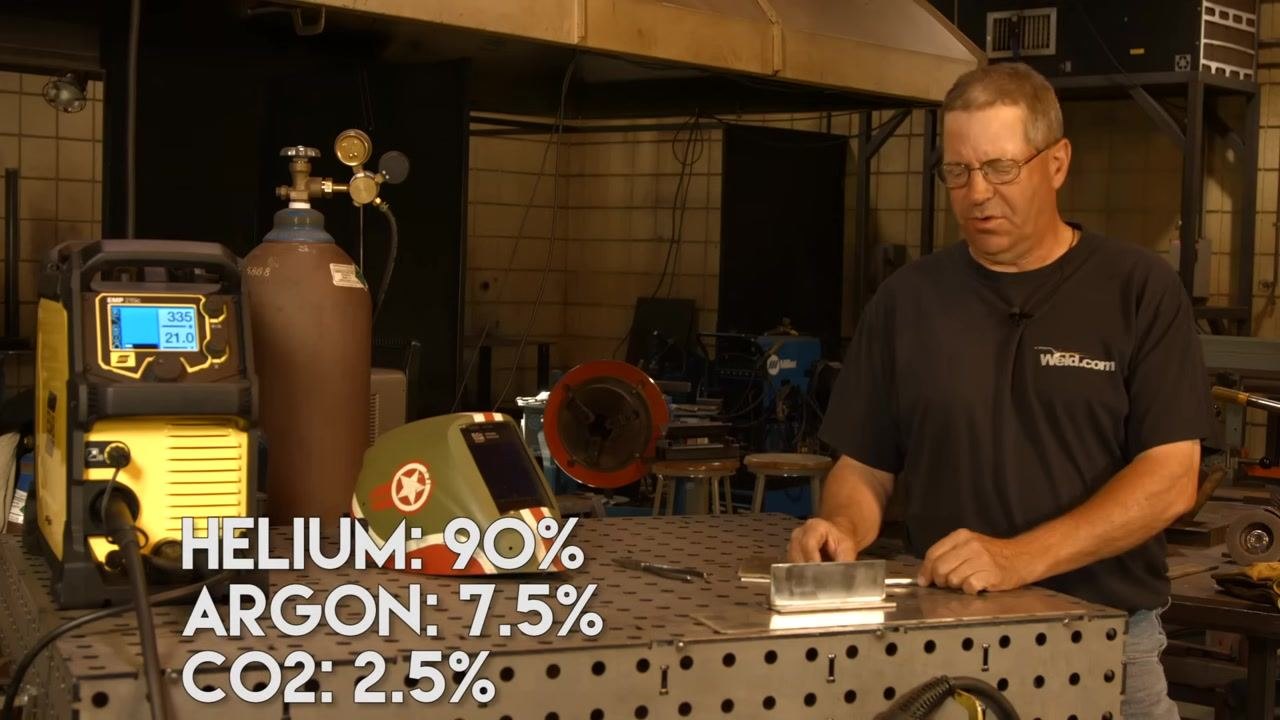
- Tri-mix shielding gas (Helium 90%, Argon 7.5%, CO2 2.5%)
- MIG welding machine with an inductance control feature (such as an ESAB EMP 215ic or EMP 210)
- Gas cylinder fitted with a dual-gauge regulator
- Perforated welding table for stable workpiece positioning
- Welding helmet, gloves, and protective clothing (jacket, safety glasses, cap)
- Basic hand tools (pliers, marker) for setup and adjustments
- A well-ventilated welding shop equipped with ventilation hoods
Procedure
Prepare the work area and materials
Work in a well-ventilated shop with proper safety equipment and ventilation hoods in place. Place the stainless steel workpieces on a perforated welding table for stability, and set up the welding machine and gas cylinder alongside your workpieces. Put on your welding helmet, gloves, and protective clothing before proceeding.
Configure the shielding gas mixture
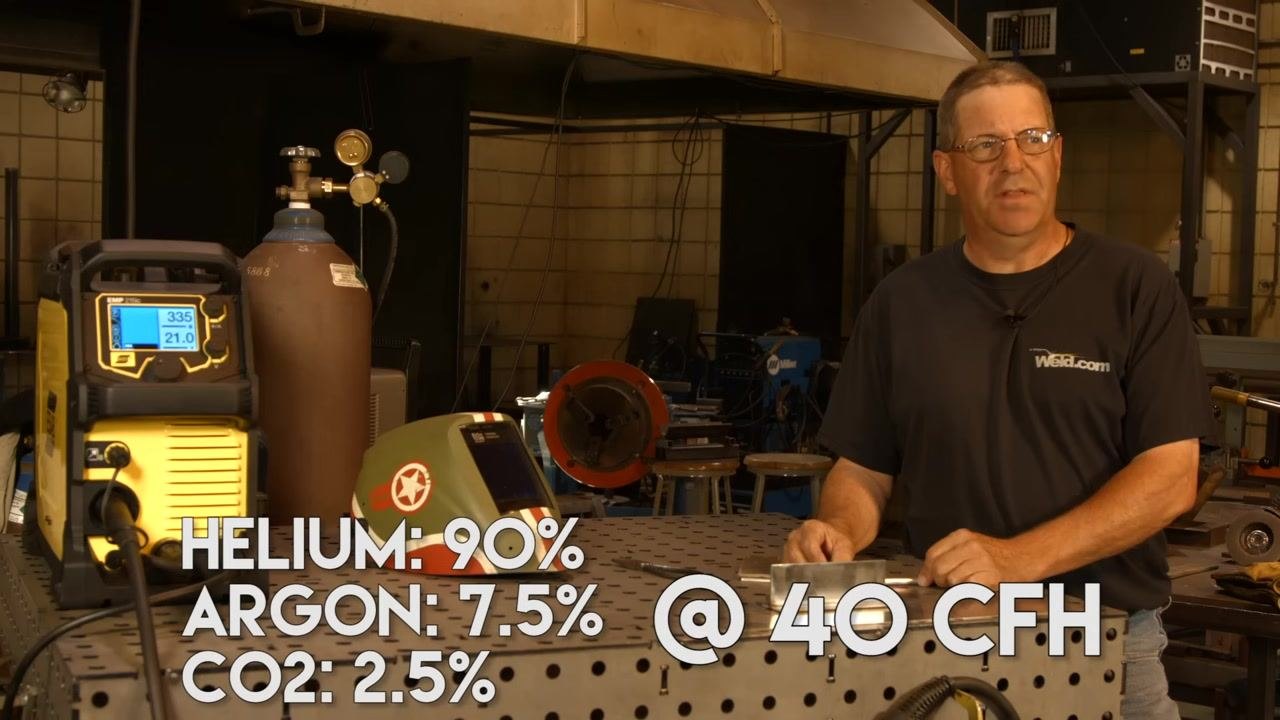
Set your shielding gas to a tri-mix blend consisting of 90% Helium, 7.5% Argon, and 2.5% CO2. This mixture is essential for proper arc characteristics when welding stainless steel.
Set the gas flow rate
Because of the high helium content in the mixture, adjust the gas flow rate to 40 cubic feet per hour (CFH). This higher flow rate compensates for helium's properties and ensures adequate shielding coverage.
Position yourself and the welding gun
Set the welding machine to a Wire Feed Speed (WFS) of 335 inches per minute and a voltage of 21.0 volts. Position yourself comfortably at the welding table and hold the welding gun at a slight angle, approximately 5 degrees forward from vertical, in preparation for welding.
Weld using the stitch method
Begin welding with a slight oscillation motion, rocking the gun back and forth as you travel along the joint. Maintain a steady hand and consistent travel speed, and adjust your technique as needed to produce a uniform bead.
Monitor parameters during welding
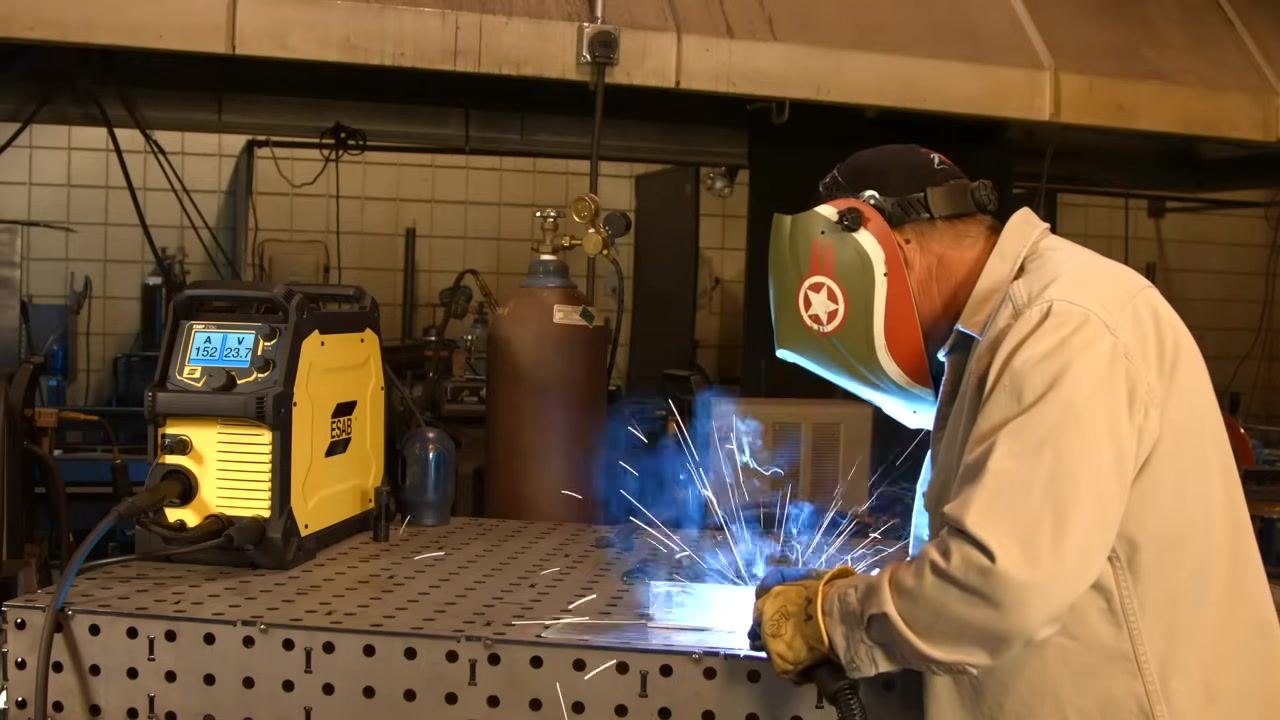
Watch the welding machine display for real-time feedback, as amperage and voltage will fluctuate during welding (for example, readings such as 152A/23.7V, 128A/21.5V, or 129A/21.2V are normal). Confirm your settings remain at Wire: .035" 309L, WFS: 335, Volts: 21, and Gas: Tri Mix throughout the weld.
Weld using the straight pass method
On the opposite side of the joint, perform a smooth, straight weld without oscillation. Maintain the same gun angle and travel speed used previously to keep results consistent, and monitor the arc and bead formation as you go.
Listen to the weld sound
Note that stainless steel welding produces a different sound than carbon steel welding. Expect a "fluffy" or "fluttering" sound rather than the "crispy" sound typical of carbon steel. This sound is normal and results from the high helium content in the shielding gas.
Assess weld color and heat input
Inspect the completed weld bead for color. A properly executed weld should have a light, iridescent color rather than dark gray. Dark gray coloring indicates overheating, which can compromise the material's properties, so treat color as a key quality indicator.
Terminate the weld at the corner
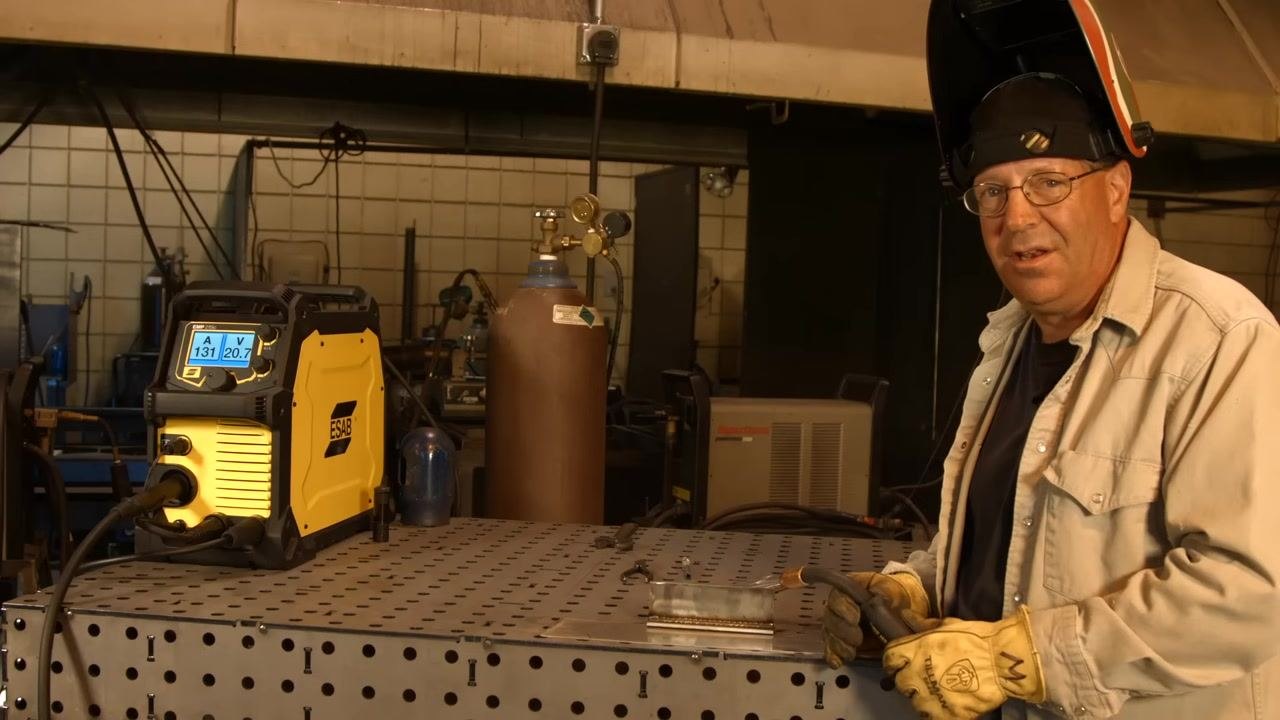
As you approach the end of the joint at the corner, do not simply stop at the edge. Instead, pull the weld bead back into the fillet to fill the corner completely and avoid leaving a void.
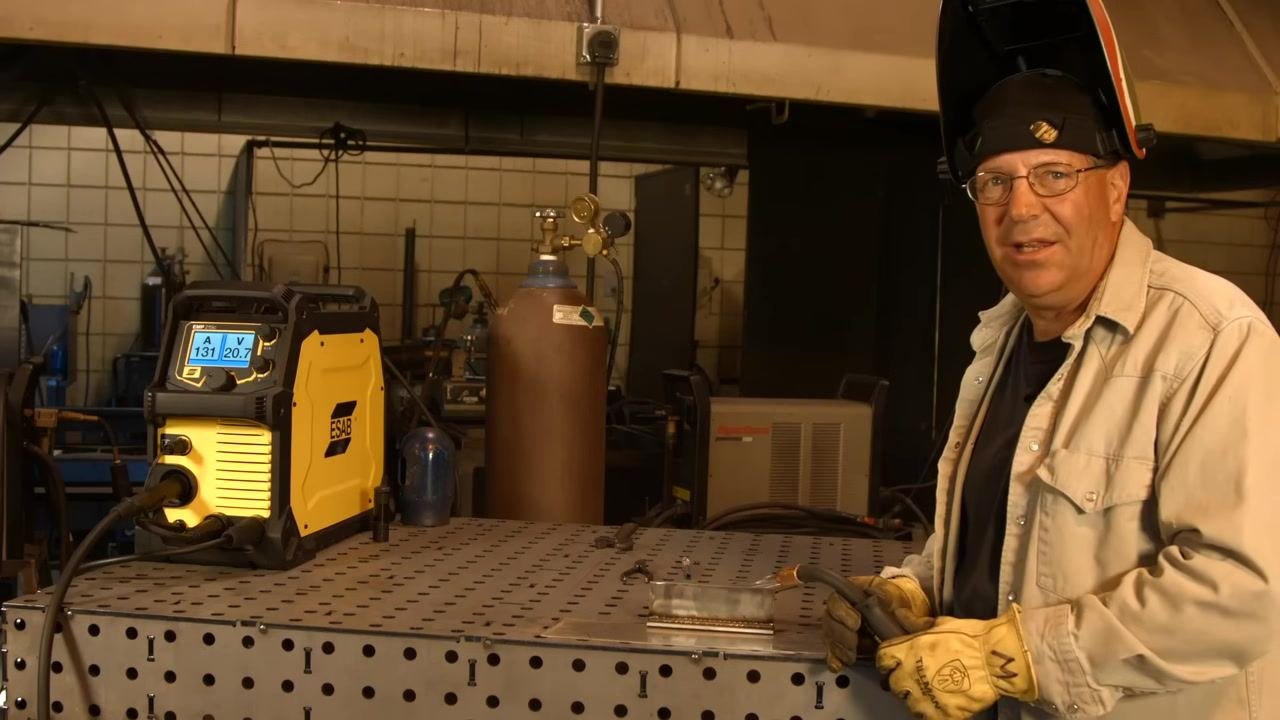
Avoid leaving a void at the outer edge
Do not terminate the weld directly at the outer edge, as this can leave a void in the joint. Instead, either start or end your weld on a tack, or bring the weld out to the edge and then pull it back through the fillet to achieve a full, consistent profile.
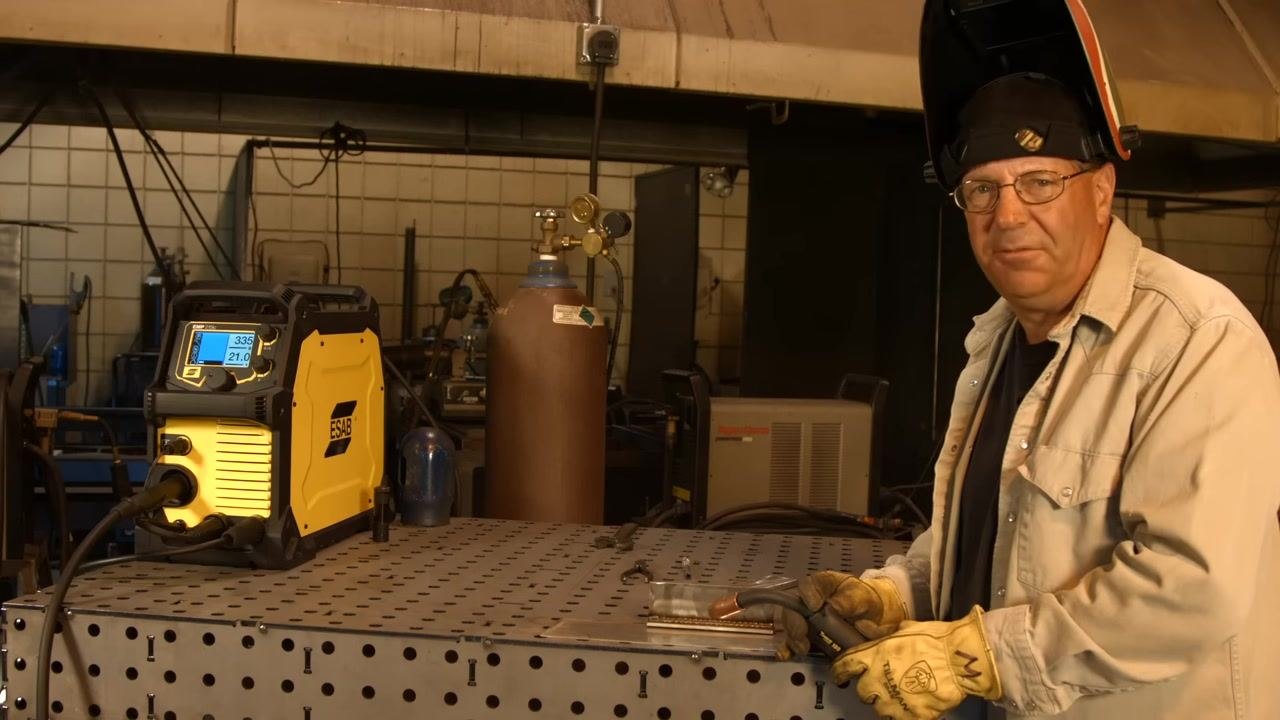
Prepare for a smooth straight pass
For the next section of the weld, plan for smooth, continuous travel with no oscillation or stitch motion. Hold the welding gun so the wire points almost straight in, with only a slight 1–2 degree angle back toward yourself, and maintain a steady travel speed for a uniform bead.
Position the gun for the straight pass
Place the welding gun at the start of the joint with the angle held slightly back toward you, about 1–2 degrees. Begin the weld with a smooth, straight motion down the fillet.
Confirm settings before welding the second side
Before starting the second side of the joint, confirm your parameters: Wire .035" 309L, WFS 335, Voltage 21, and Tri Mix gas. Verify these settings are displayed correctly on the welding machine before proceeding.
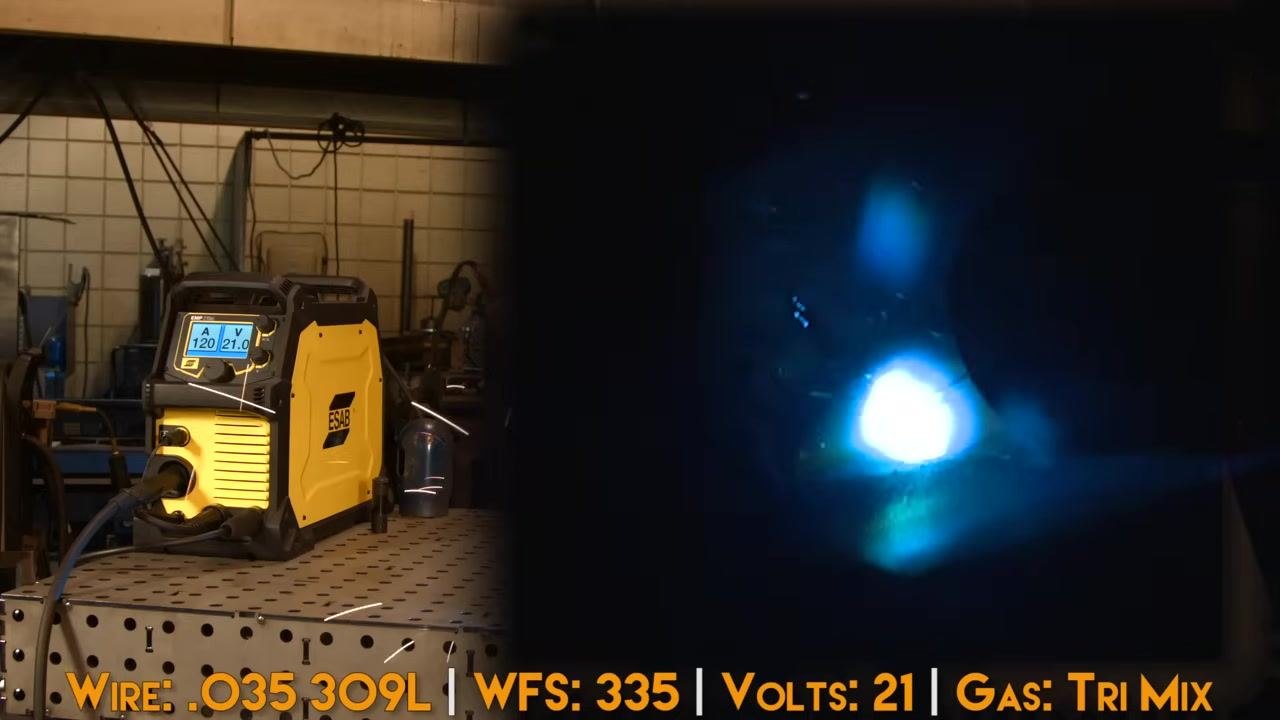
Weld the second side with a smooth pass
Travel smoothly along the joint without oscillation or stitch motion. Maintaining a perfectly smooth motion can be challenging, particularly if you are more accustomed to a stitch technique, so observe the arc and bead formation closely as you weld.
Monitor arc stability and adjust technique
Watch the arc stability and bead profile throughout the weld. If your travel speed varies, you may notice slight inconsistencies in the weld toe, where the weld meets the base metal. Continued practice will improve your ability to maintain a steady, smooth pass.
Inspect the completed weld bead
Examine the finished fillet weld for a consistent bead profile, good color (light and iridescent, not dark gray), and proper blending at the toe of the weld. Minor variations are acceptable if the overall weld is sound and meets requirements.
Review variations in the weld toe
Look for areas where changes in travel speed may have caused slight variation in the weld toe. Recognize that repeated practice will help you achieve more uniform results over time.
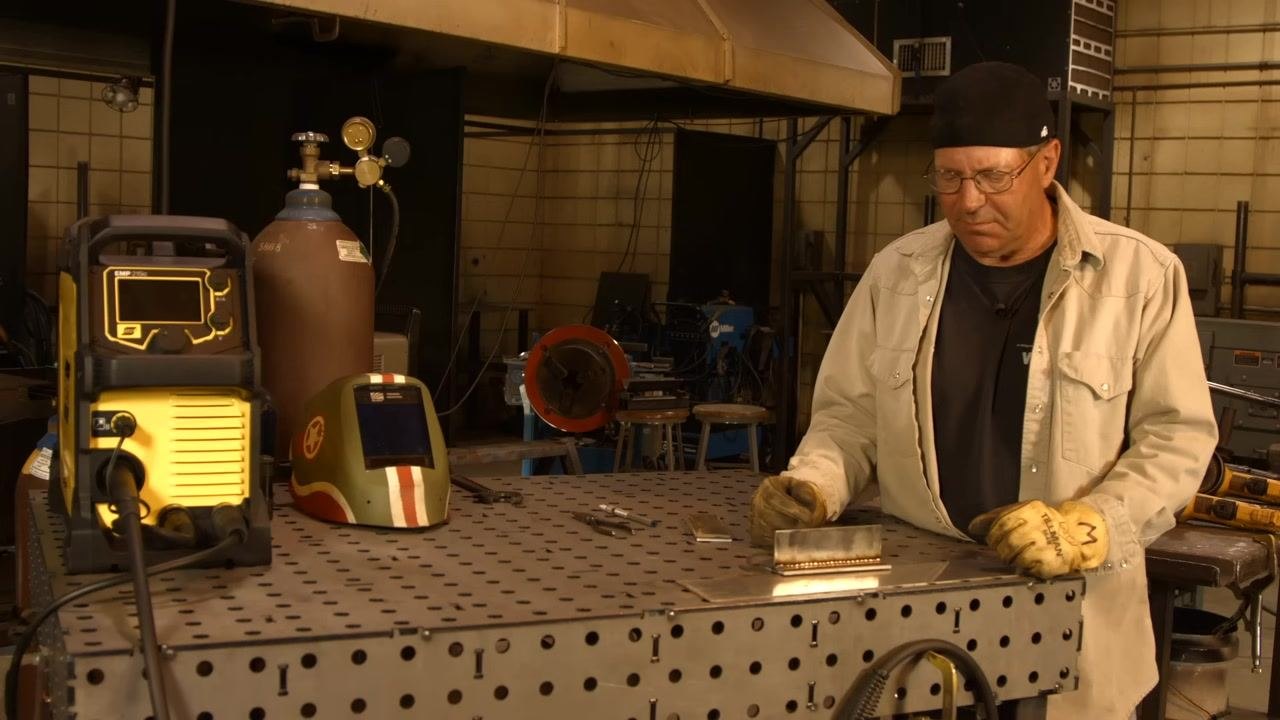
Confirm final weld quality
Confirm that the weld is of acceptable size, with good color and sound mechanics. The bead should be well-blended, with a consistent profile along the joint.
Use the machine's inductance feature
If your welding machine includes an inductance feature, use it to help stabilize the arc and improve weld quality. This feature can be particularly beneficial when performing stainless steel MIG welding.
Review the complete equipment setup
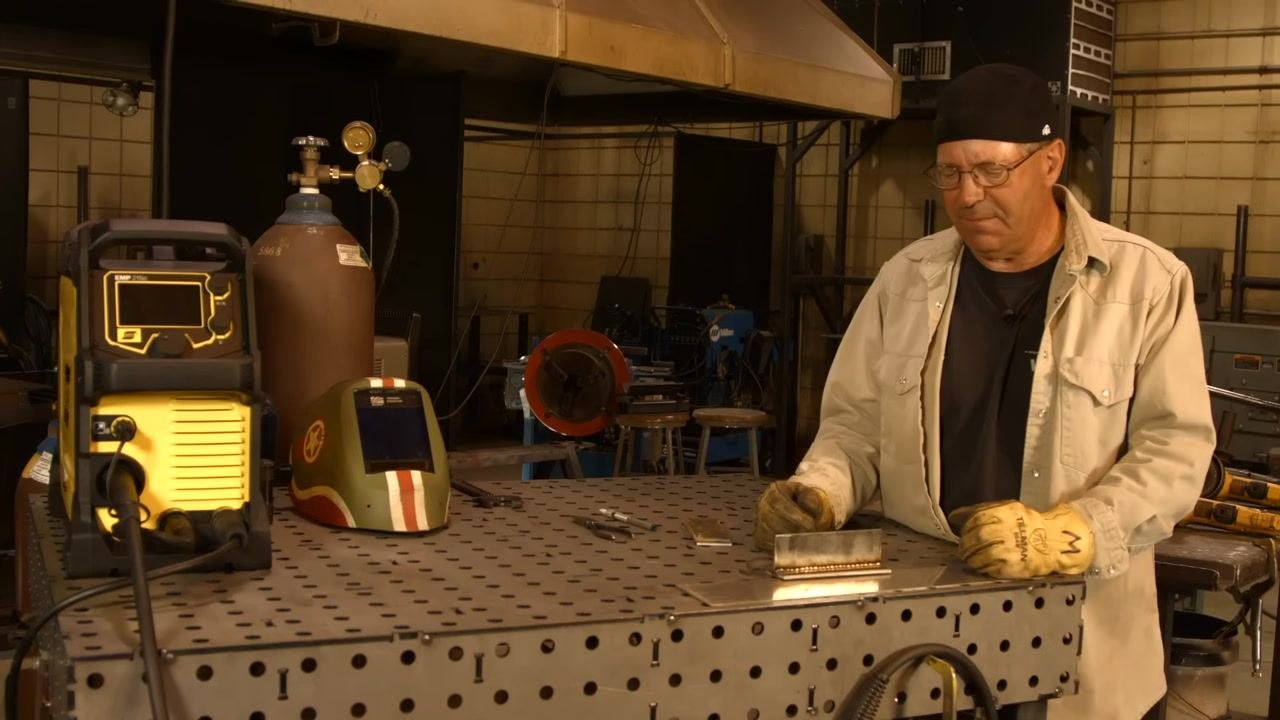
Review your full workbench setup, which should include the welding machine positioned on a perforated metal work table, a gas cylinder with a dual-gauge regulator, your welding helmet, basic hand tools for adjustments, and the completed weld sample for reference. Confirm your safety gear, including jacket, gloves, and glasses, remains in place throughout the session.
Verification and quality summary
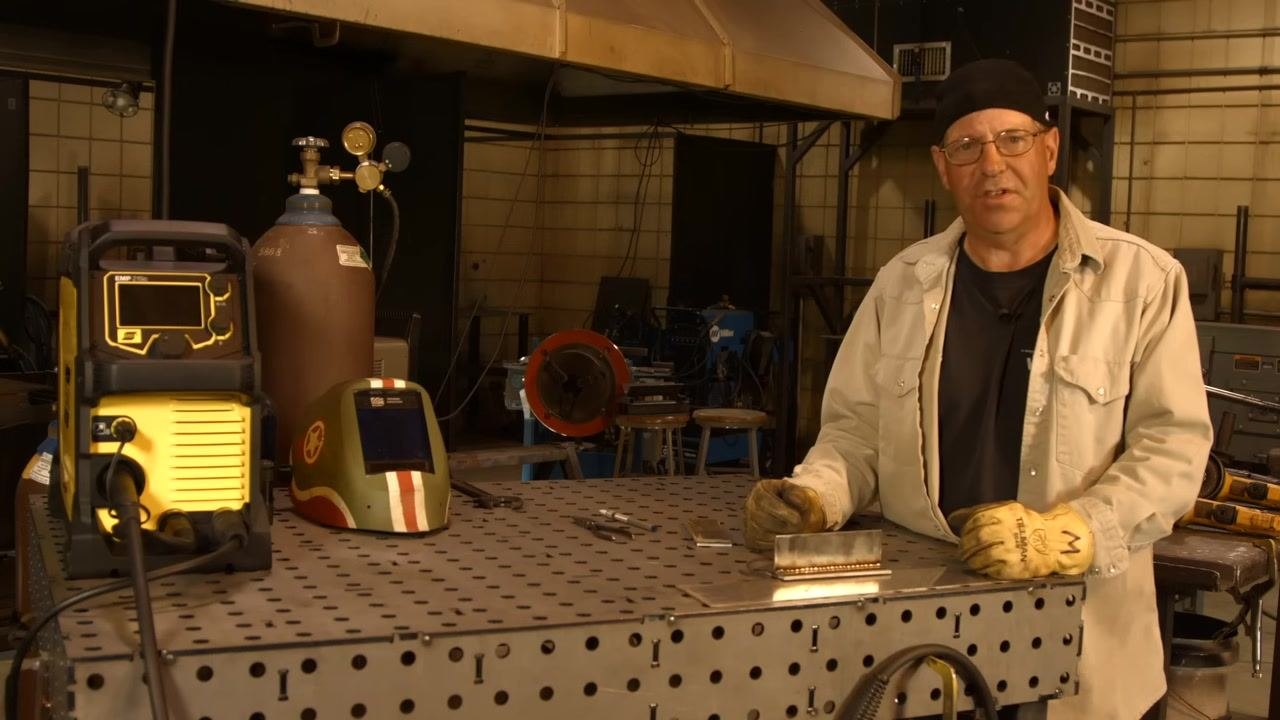
A properly executed stainless steel fillet weld will exhibit a light, iridescent color rather than dark gray, a consistent bead profile with well-blended toes, and a "fluffy" or "fluttering" arc sound rather than the crispy sound typical of carbon steel. Weld terminations should be free of voids, achieved by pulling the bead back into the fillet at corners rather than stopping directly at the edge. Minor variations in bead profile from changes in travel speed are acceptable as long as the overall weld meets size, color, and mechanical requirements.
What's next
These techniques for how to weld stainless steel apply equally to home repair projects and industrial stainless steel fabrication work. Remember that the gas blend and higher voltage and wire speed settings used here differ from typical carbon steel welding parameters. Continued practice with the stitch and straight pass methods, along with attentive use of machine features such as inductance, will help you produce more consistent, professional-quality welds over time. Always keep your workspace clean and ensure all equipment is safely stored after use.
Generation details: cost, quality tiers
Docsie billed 3,000 credits ($2.10) to analyze this 6-minute video at standard quality. The rewrite, template fill and Word/PDF exports were included. The same video at each quality tier:
| Quality | Frames sampled | Credits | Approx. cost |
|---|---|---|---|
| Draft | every 16-30 s | 1,500 | $1.05 |
| Standard (this guide) | every 8-15 s | 3,000 | $2.10 |
| Detailed | every 4-7 s | 6,000 | $4.20 |
| Ultra | every 1-3 s | 12,000 | $8.40 |
Credits priced at $0.70 per 1,000; plans include a monthly allowance. Enterprise customers on on-premise or bring-your-own-model deployments run this on their own inference and pay no per-video credits.
Generated by Docsie Video-to-Docs on 2026-09-14 from a 5-minute video. Screenshots are frames from the source video and belong to their creator, Weld.com, whose original is embedded above. If you own this video and want the guide removed or credited differently, contact us and we will act within one business day.