
How to Tram a Milling Machine
This procedure explains how to tram a milling machine vise using a precision test indicator and a soft-faced hammer. Many machinists avoid checking vise alignment regularly because the task seems complicated and time-consuming. In practice, you can tram a vise in under 60 seconds, and often faster, once you understand the technique described below.
Video: Milling Machine fundamentals - Tramming your vice by Build Something Cool (2015). All credit for the demonstration goes to the creator; watch the original on YouTube. The written guide below was generated from this video by Docsie. Creator? Request a change or removal.
Purpose
This procedure explains how to tram a milling machine vise using a precision test indicator and a soft-faced hammer. Many machinists avoid checking vise alignment regularly because the task seems complicated and time-consuming. In practice, you can tram a vise in under 60 seconds, and often faster, once you understand the technique described below.
Scope
This procedure applies to standard milling machine vises mounted on a milling table, whether the table uses a rotary base or standard T-slots. The T-slots on a standard table provide enough flexibility to complete the alignment without a rotary base.
Required equipment
- Milling machine with power feed
- Vise mounted on the milling table
- Precision test indicator (e.g., a Mitsutoyo test indicator accurate to 0.0005", where each mark represents half a thousandth)
- Suitable holder for mounting the indicator to the spindle
- Soft-faced hammer
- Digital readout (for reference during setup)
Procedure
Loosen the vise
Loosen the vise from the milling table before beginning the alignment. A rotary base is not required for this process; the T-slots on a standard table give you enough movement to make adjustments.
Set up the test indicator
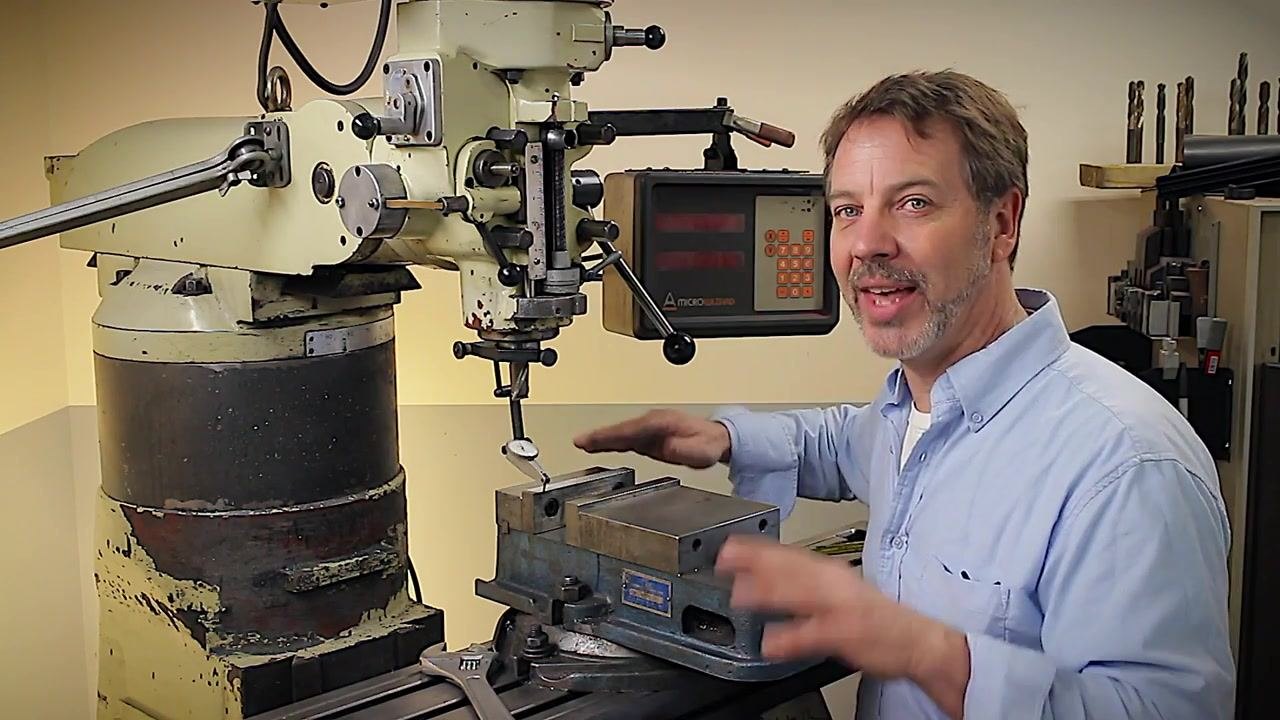
Install the precision test indicator onto the milling machine spindle or a suitable holder. Position the indicator tip against the fixed jaw of the vise so it can track any movement as the table travels.
Intentionally misalign the vise
Gently tap the vise out of alignment with the soft-faced hammer. This step lets you clearly see the effect of the realignment process. Confirm the misalignment by watching the indicator needle move as you check it.
Identify the correction direction
Based on the indicator reading, determine which side of the vise needs to be tapped to bring it back into alignment.
Activate the power feed and begin tapping
Turn on the milling machine's power feed to move the table—and the vise with it—laterally. As the table moves, lightly tap the vise with the hammer on the side that needs adjustment. Continue tapping until the indicator needle stops moving, which signals that the vise is aligned.
Note: The goal is not to reach a specific reading on the indicator. The goal is to have the needle stop moving as the table traverses, which confirms the vise is parallel to the machine axis.
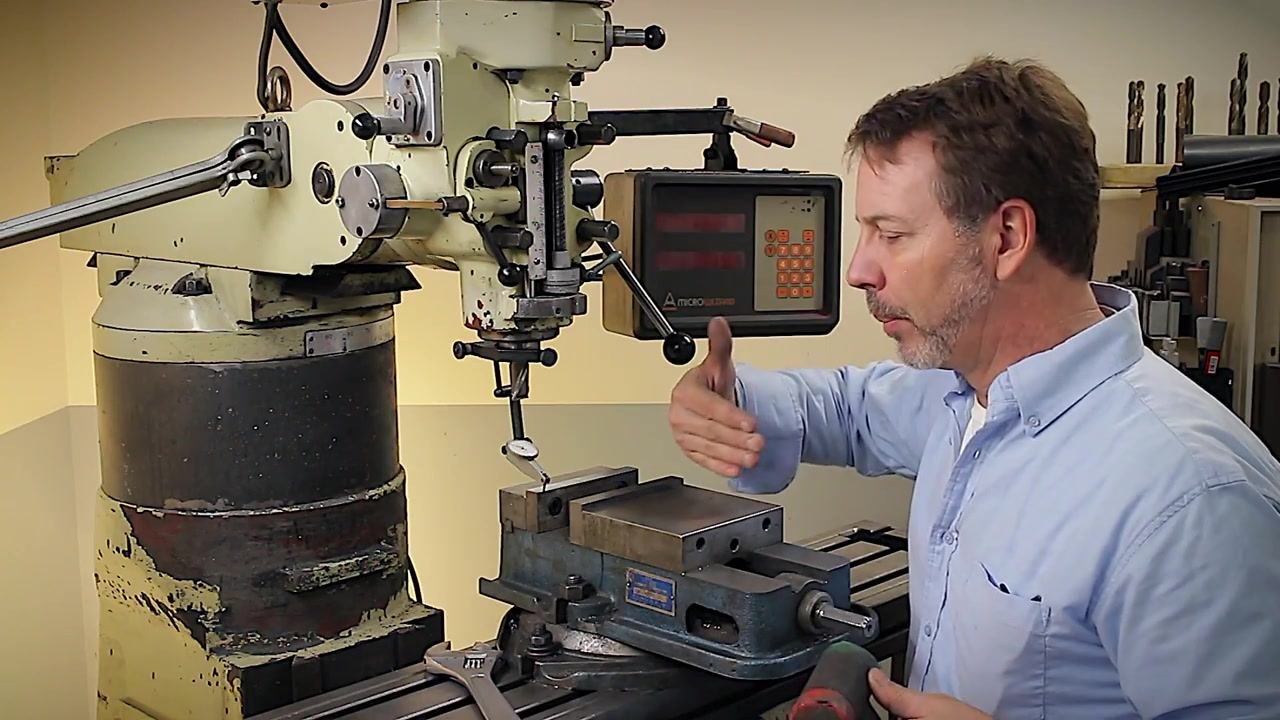
Observe the indicator needle movement
Watch the test indicator needle closely as you move the milling table. Note the direction of needle movement—clockwise or counterclockwise—to determine which way the vise is misaligned.
- If the needle moves clockwise, continue tapping the vise in the direction needed to stop the movement.
- If the needle reverses and moves counterclockwise, adjust your tapping direction accordingly.
Repeat this process until the needle stops moving as the table traverses.
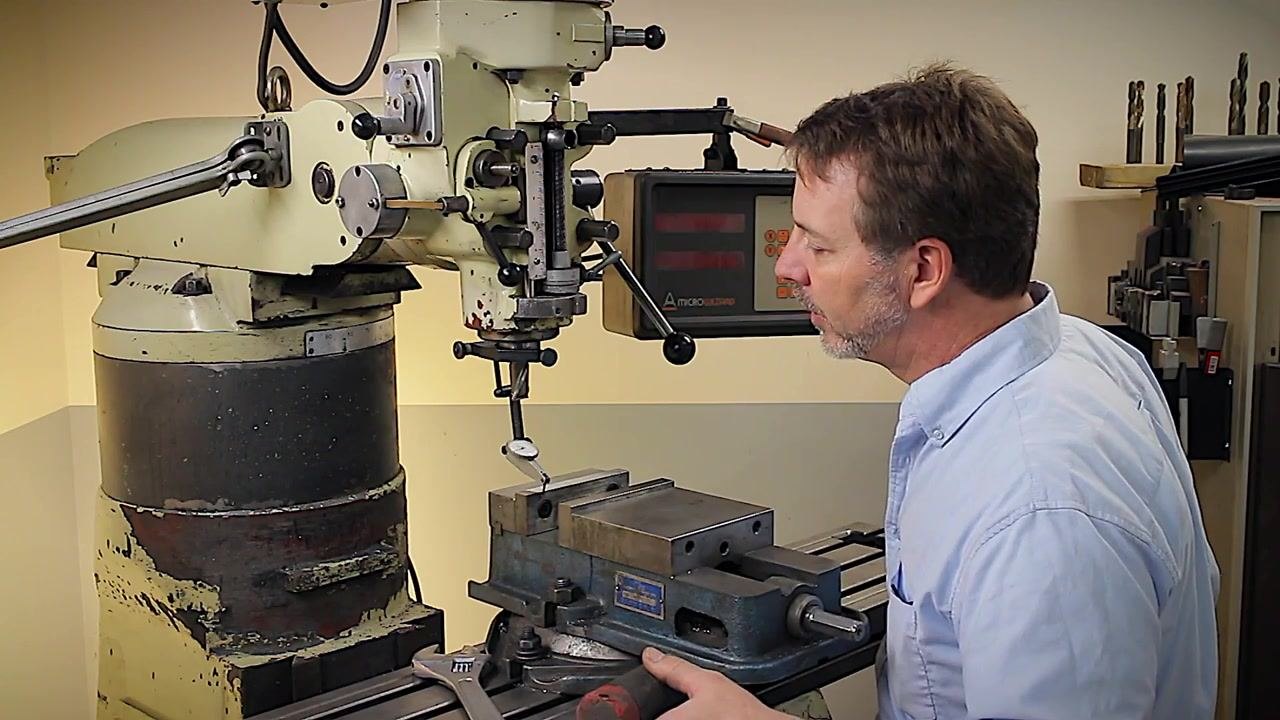
Fine-tune the alignment
Make small, gentle taps with the soft-faced hammer to bring the vise into alignment. Monitor the indicator needle after each tap to confirm it moves less with each adjustment. If the needle starts moving in the opposite direction, tap the vise slightly the other way to correct course.
Zero the indicator
Once the needle stops moving as the table travels, set the indicator to zero. Move the table back and forth across the vise jaw to check for consistency.
Verify alignment accuracy
Confirm that the indicator reading stays consistent across the full travel of the vise jaw. The alignment should be accurate to within a half-thousandth (0.0005") over six inches.
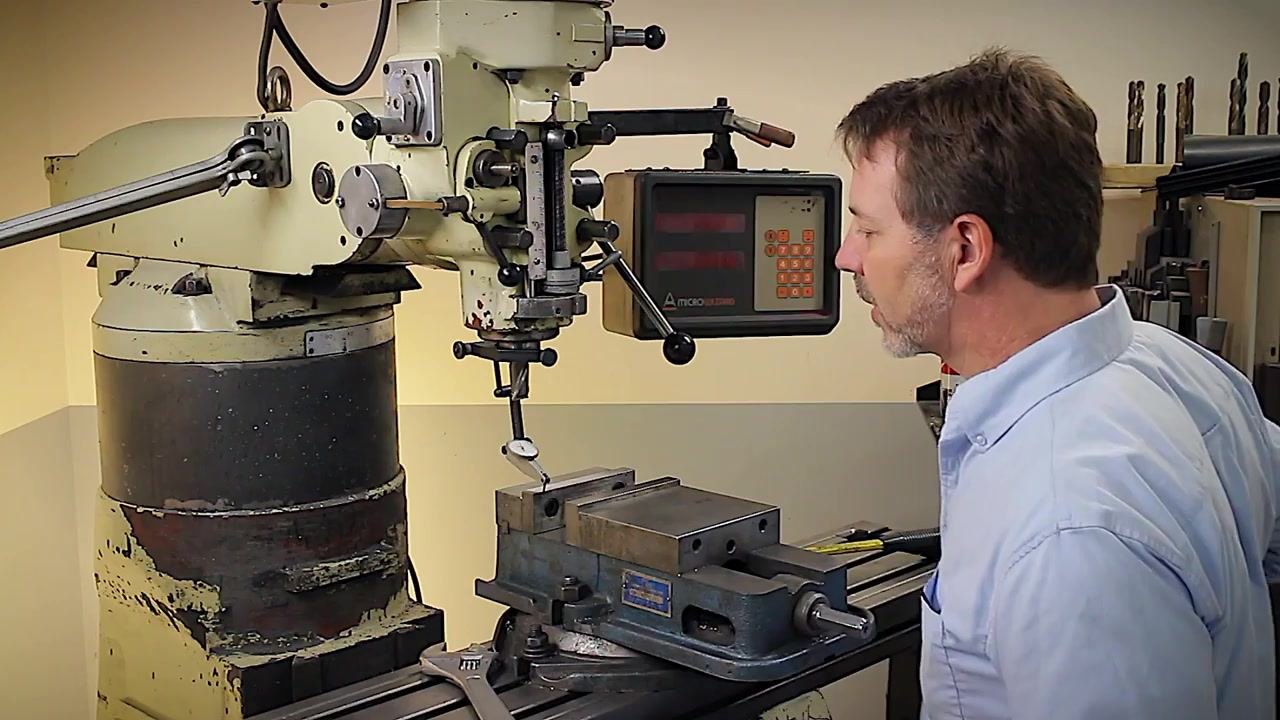
Verification and summary
A vise is considered "trammed" when the fixed jaw is parallel to the machine axis within the specified tolerance—0.0005" over six inches, in this procedure. By following these steps, you can tram a milling machine vise quickly and accurately: loosen the vise, set the indicator against the fixed jaw, misalign it intentionally, then use the power feed with light hammer taps to bring the needle to a stop. This method keeps the process simple and efficient, ensuring precision for your machining operations.
Generation details: cost, quality tiers
Docsie billed 2,000 credits ($1.40) to analyze this 4-minute video at standard quality. The rewrite, template fill and Word/PDF exports were included. The same video at each quality tier:
| Quality | Frames sampled | Credits | Approx. cost |
|---|---|---|---|
| Draft | every 16-30 s | 1,000 | $0.70 |
| Standard (this guide) | every 8-15 s | 2,000 | $1.40 |
| Detailed | every 4-7 s | 4,000 | $2.80 |
| Ultra | every 1-3 s | 8,000 | $5.60 |
Credits priced at $0.70 per 1,000; plans include a monthly allowance. Enterprise customers on on-premise or bring-your-own-model deployments run this on their own inference and pay no per-video credits.
Generated by Docsie Video-to-Docs on 2026-09-14 from a 3-minute video. Screenshots are frames from the source video and belong to their creator, Build Something Cool, whose original is embedded above. If you own this video and want the guide removed or credited differently, contact us and we will act within one business day.