
How to Torque Head Bolts
This procedure explains how to torque head bolts on a BMW E30 M20B25 engine using a torque angle gauge tool. Correctly torquing the head bolts ensures even clamping force across the cylinder head and helps prevent head gasket failures. Because this engine's final tightening stages are completed by turning each bolt a specific number of degrees rather than to a fixed torque value alone, following the sequence and angle steps precisely is essential to a reliable engine build.
Video: How To Torque Cylinder Head Bolts by RevMatchTV (2019). All credit for the demonstration goes to the creator; watch the original on YouTube. The written guide below was generated from this video by Docsie. Creator? Request a change or removal.
This procedure explains how to torque head bolts on a BMW E30 M20B25 engine using a torque angle gauge tool. Correctly torquing the head bolts ensures even clamping force across the cylinder head and helps prevent head gasket failures. Because this engine's final tightening stages are completed by turning each bolt a specific number of degrees rather than to a fixed torque value alone, following the sequence and angle steps precisely is essential to a reliable engine build.
Purpose
The purpose of this procedure is to guide you through cleaning, assembling, and correctly torquing the cylinder head bolts on a BMW E30 M20B25 engine so that clamping force is distributed evenly and the risk of head gasket or engine damage is minimized.
Scope
This procedure applies to the BMW E30 M20B25 six-cylinder engine using Torx® head bolts. It covers deck and head preparation, gasket and head installation, the initial torque stage, and the two subsequent 90-degree angle-turn stages. Hex-head bolt procedures differ and are not covered here.
Requirements
Before beginning, confirm you have the following on hand:
- A torque angle gauge (protractor-style tool) that attaches between the socket and the torque wrench
- A high-quality, accurate torque wrench (a lower-cost, less precise wrench is not recommended for this work)
- A Torx® socket sized for the head bolts used on this engine
- The complete set of Torx® head bolts for the engine
- The official BMW service manual, open to the cylinder head bolt tightening sequence and torque table
- Painter's tape or a marker to highlight the 0° and 90° positions on the angle gauge
- Gloves, for safety and cleanliness during assembly
Preparation and background
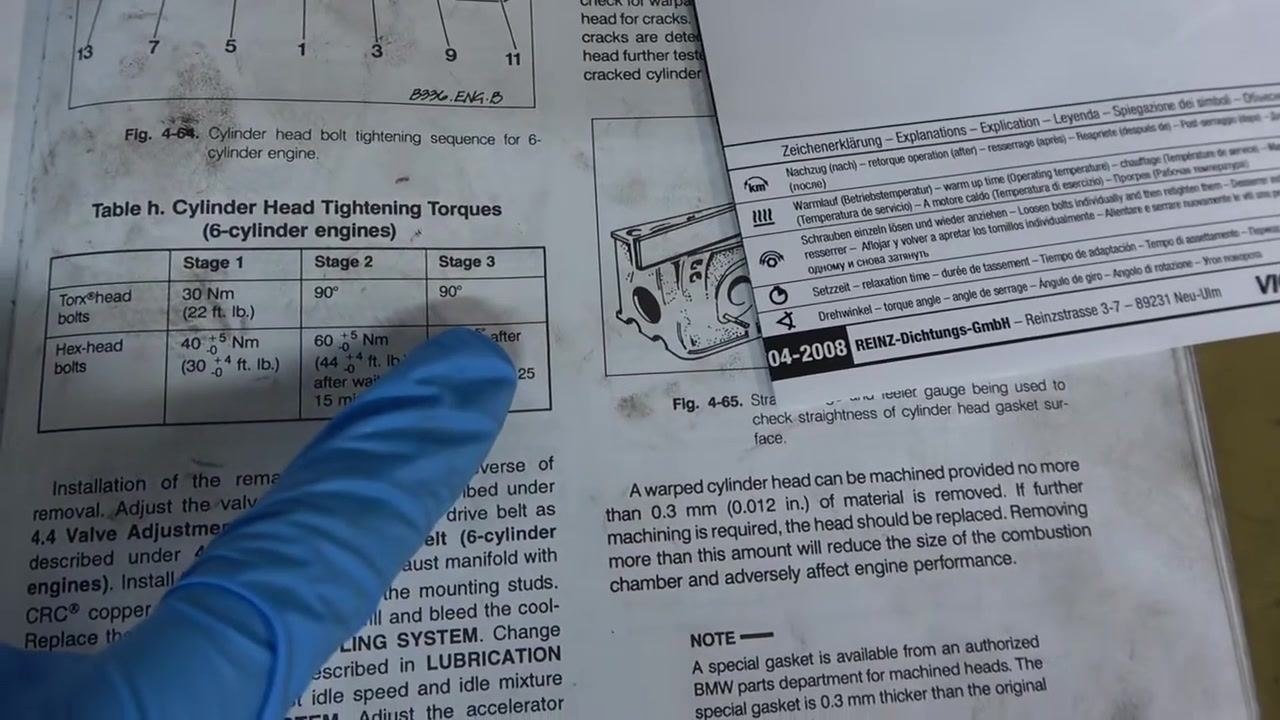
Before assembly, understand that this engine's head bolts are tightened using an angle-based final step rather than torque value alone. Uneven torque across the bolts can lead to a blown head or gasket, so consistency at every stage matters. Acquire a torque angle gauge tool in advance; it is an inexpensive tool and is commonly available for purchase online.
Step-by-step procedure
Clean the engine block deck
Thoroughly clean the entire deck surface of the engine block before assembly. The surface must be free of debris, oil, and old gasket material. If the engine has been recently rebuilt, confirm the deck is visibly clean before proceeding.
Prepare the head bolts
Gather all the head bolts required for installation. Lightly oil each bolt to ensure smooth installation and accurate torque readings during the later stages.
Clean and prepare the cylinder head
Clean the cylinder head thoroughly and confirm the machined head surface is free of contaminants. Place the head on a clean workbench so it is ready for installation.
Set up the torque angle gauge tool
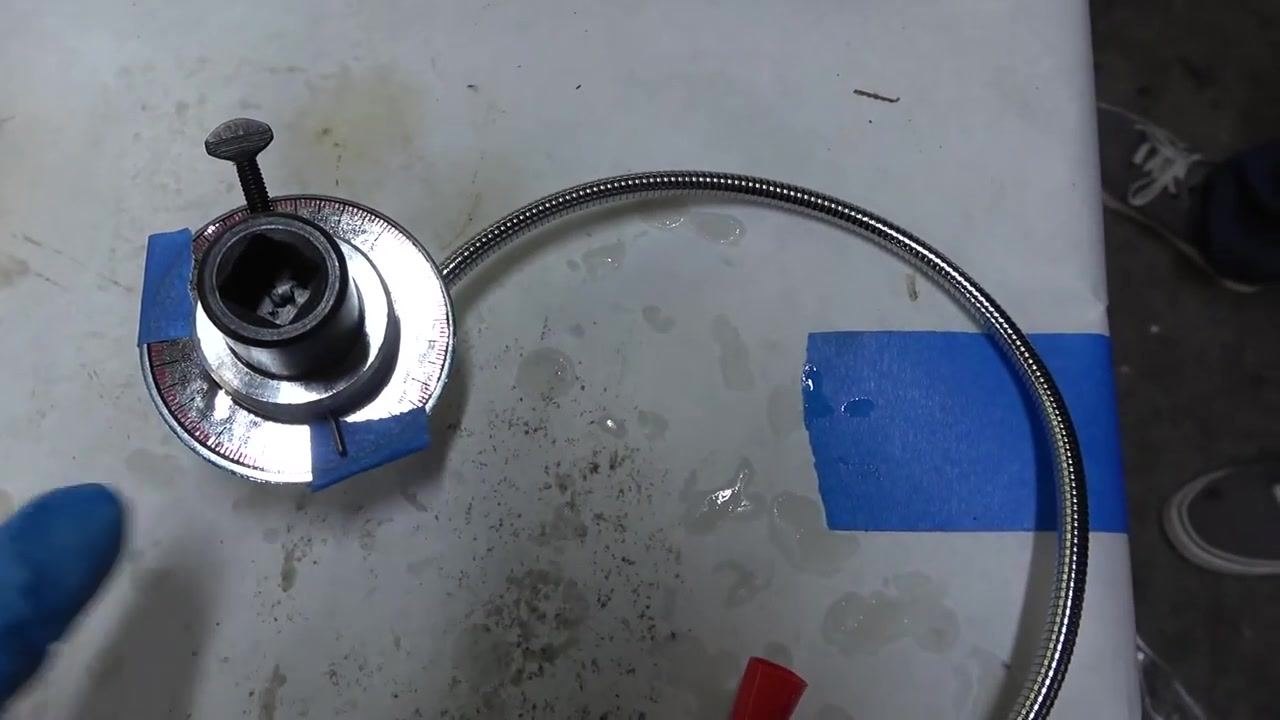
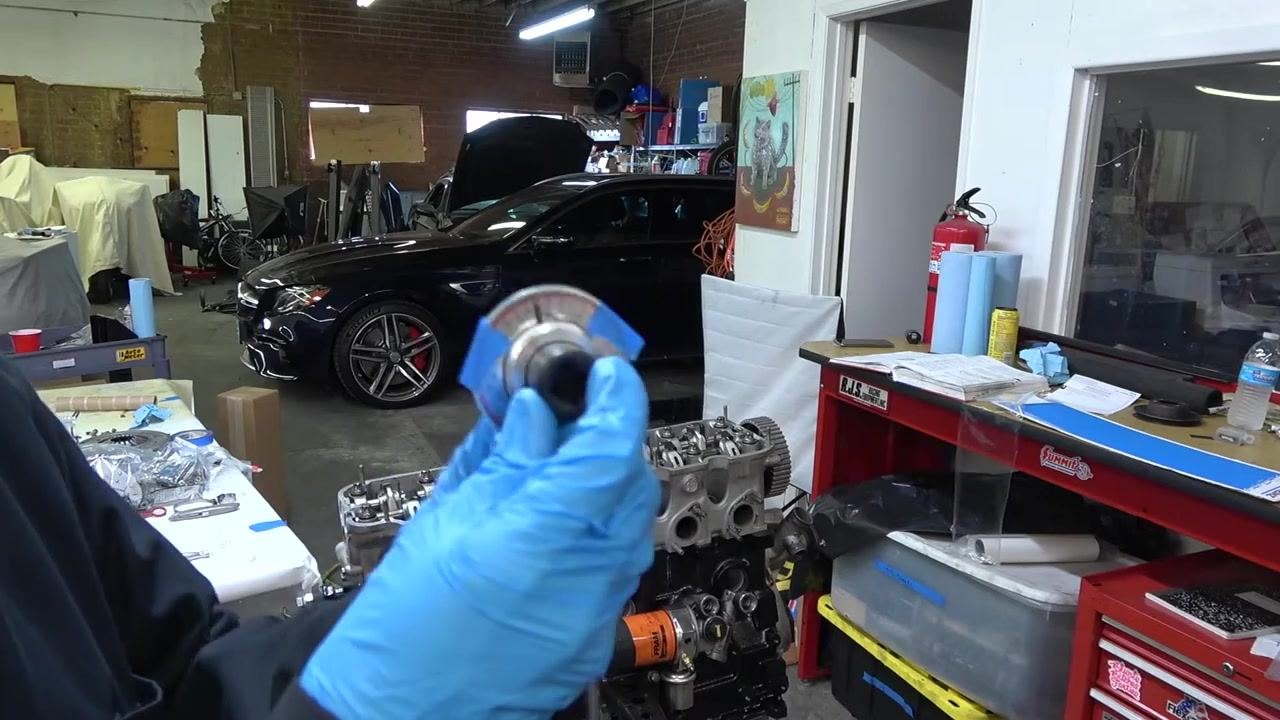
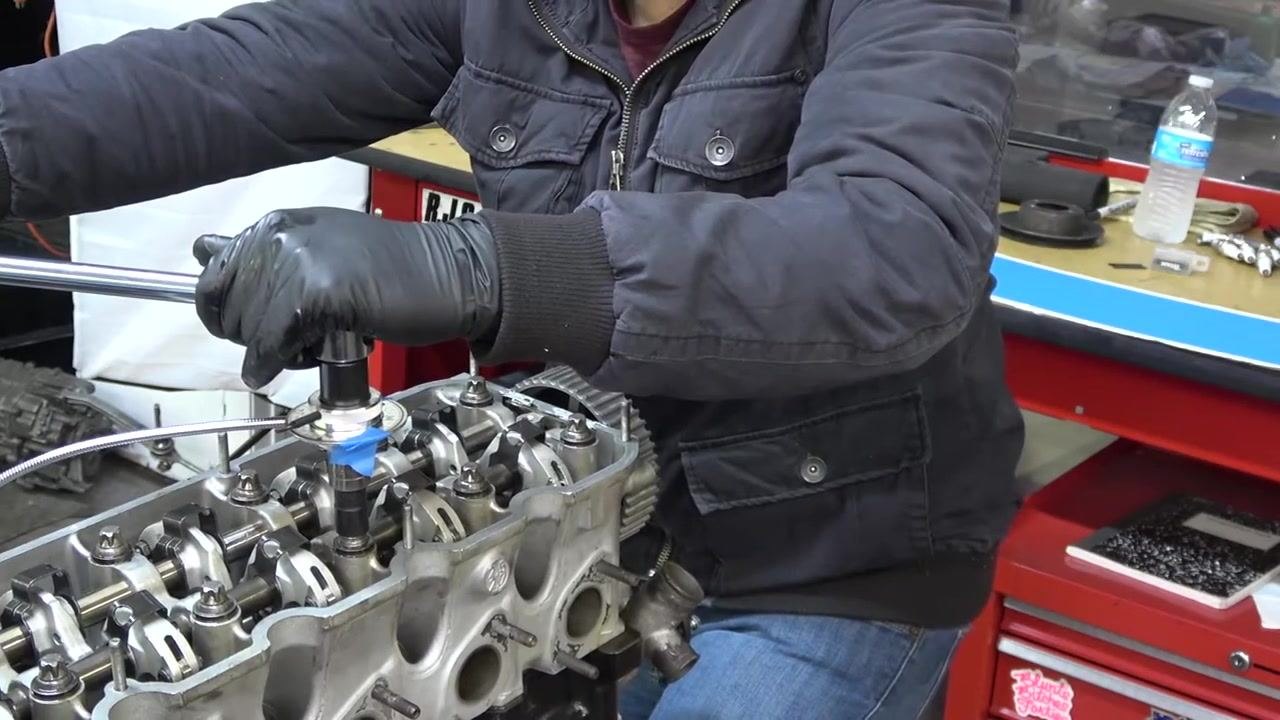
Obtain a torque angle gauge for your torque wrench. Mark the tool with painter's tape at the zero and 90-degree positions for easy reference during the procedure. The tool consists of a rotating dial with degree markings and a flexible arm that anchors it in place during use.

Understand the torquing requirement
The final step in tightening the head bolts is to turn each bolt exactly 90 degrees after the initial torque has been applied. This step ensures correct clamping force and even distribution across the head.
Prepare for installation
Confirm that both the block deck and the cylinder head surfaces are clean and ready. Verify that the torque angle gauge is set up and marked for 90 degrees, and have your torque wrench and all necessary tools within reach before continuing.

Consult the BMW manual for the bolt tightening order
Refer to the official BMW manual for the specific tightening sequence of the head bolts. The manual provides a diagram showing the correct order — numbered 1 through 14 — for tightening the bolts on this six-cylinder engine. Note the manual's caution that cylinder head bolt torque is critical to proper engine operation and that bolts must be tightened in the stages listed in the torque table.
Review the cylinder head tightening torques table
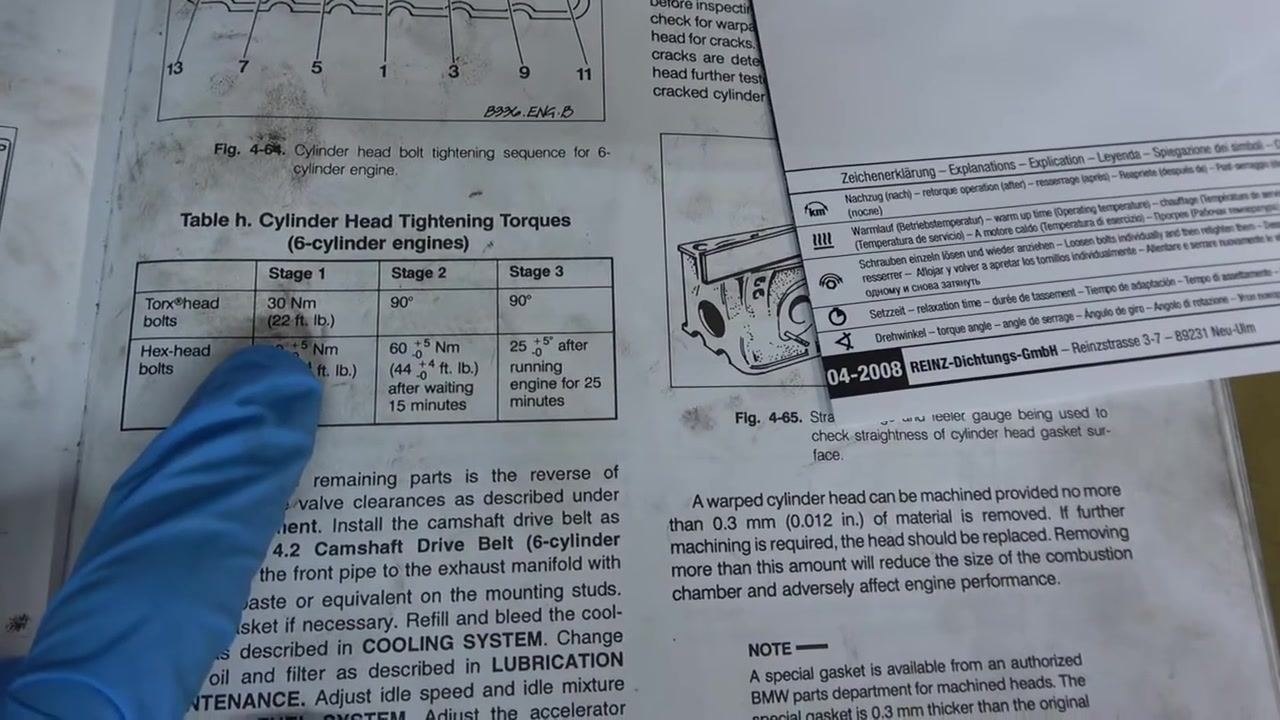
Locate the torque table in the manual detailing tightening torques for six-cylinder engines. For Torx® head bolts, the specified stages are:
- Stage 1: Tighten to 30 Nm (22 ft. lb.)
- Stage 2: Turn an additional 90°
- Stage 3: Turn another 90°
Hex-head bolts follow a different procedure and are not addressed in this guide.
Understand the torquing sequence
The tightening sequence for this engine is unique: an initial torque value is applied, followed by two separate 90° angle turns. This sequence ensures even clamping and proper head gasket sealing.
Install the head gasket
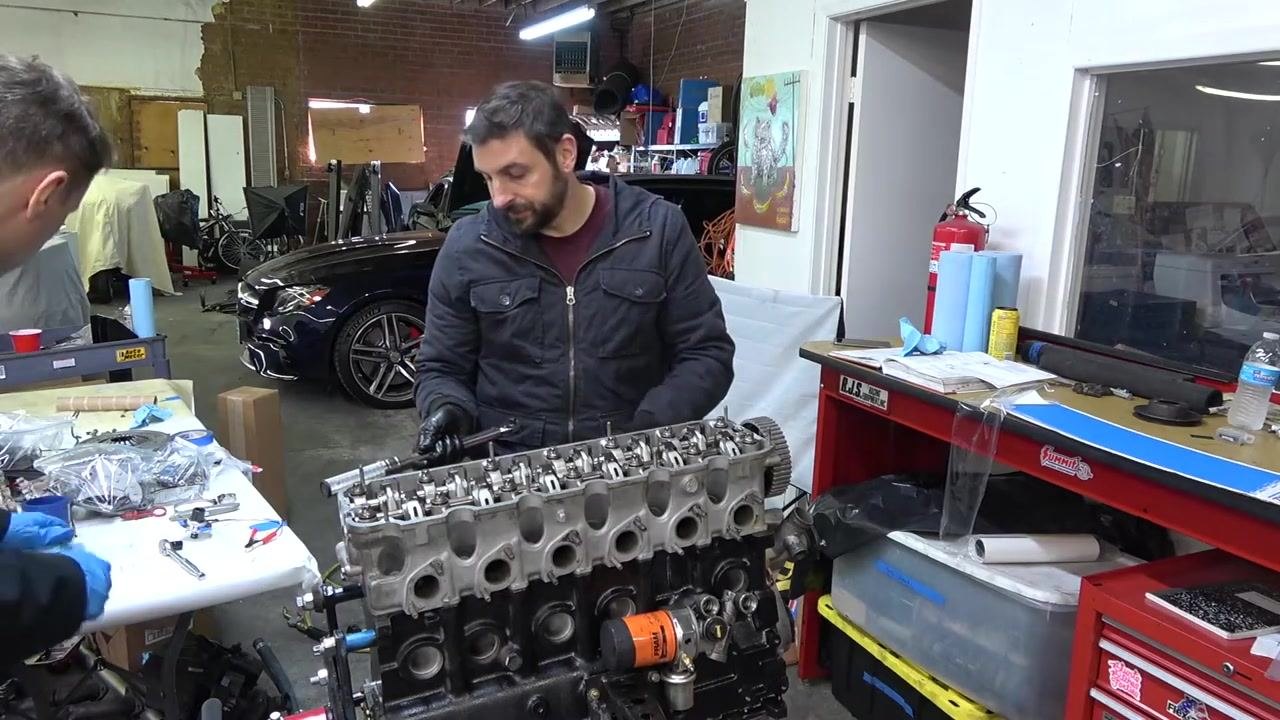
Place the head gasket onto the clean engine block deck. Because the gasket may be slippery on a clean surface, have one person hold it in place to prevent it from sliding off. Confirm the gasket is properly aligned with all dowels and holes before continuing.
Position the cylinder head
With one person holding the gasket steady, have a second person carefully lift and position the cylinder head onto the block. Align the head with the dowels and confirm it sits flat on the gasket.
Insert the head bolts finger tight
Begin inserting the Torx® head bolts into their respective holes. At this stage, only thread the bolts in finger tight; do not apply any torque yet. This confirms that all bolts are in place and the head is properly seated before torquing begins.
Identify and prepare the correct bolts
Use only the specified Torx® head bolts for this engine. These bolts have a unique Torx pattern on the head and require a matching Torx socket for installation. Gather all bolts and the correct tool before proceeding.
Begin installing the bolts
Continue threading all head bolts into the cylinder head by hand. Confirm each bolt starts correctly and is not cross-threaded. Prepare the torque wrench and Torx® socket for the next steps.
Set the torque wrench to the initial value
For this BMW E30 M20B25 engine, set your torque wrench to 30 Nm (22 ft. lb.) as specified in the manual. Use a high-quality, accurate torque wrench, such as a CDI brand model, for best results. Avoid using low-cost, less accurate torque wrenches for critical engine work.
Select a high-quality torque wrench
Choose a torque wrench that is accurate and reliable for engine assembly. Mid-priced torque wrenches are suitable, though higher-priced models offer greater accuracy. Avoid low-quality or imprecise tools for critical engine work, and use a torque wrench with a clear, easy-to-read scale where possible.
Accurate torque application is essential for proper engine assembly and long-term reliability. Investing in a good torque wrench is recommended for anyone performing this type of engine work.
Follow the cross-pattern tightening sequence
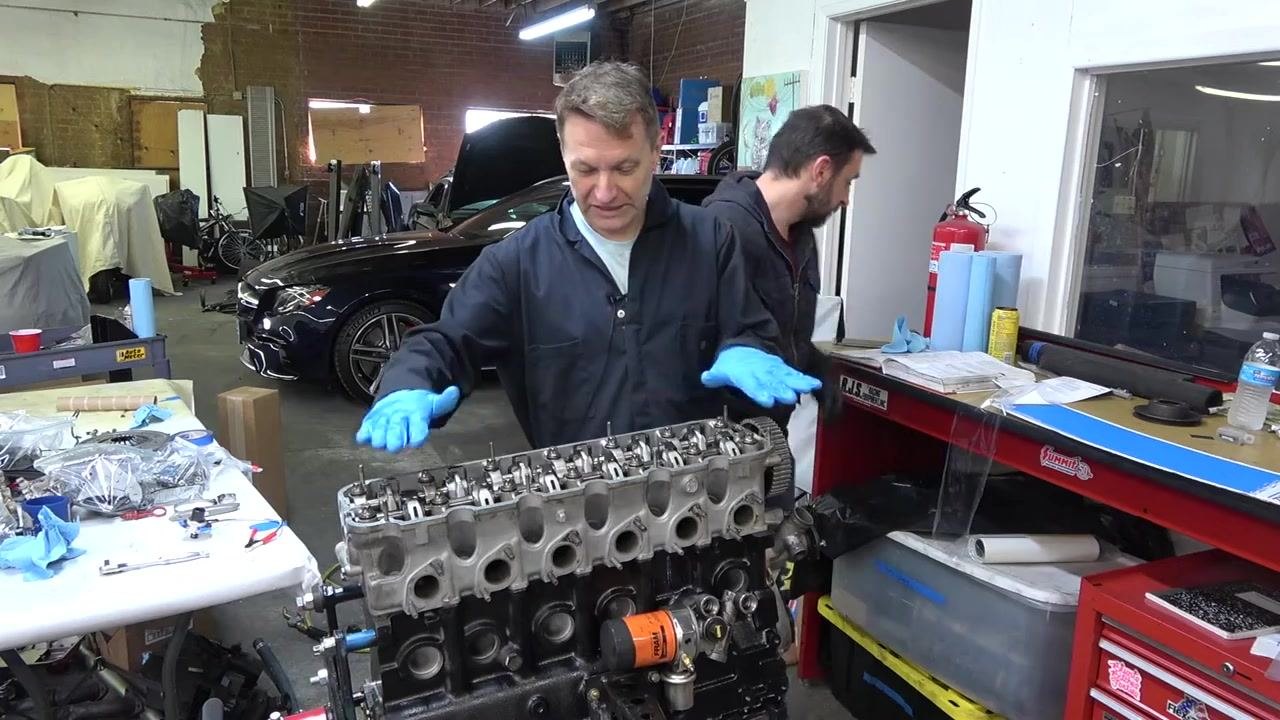
Always use the tightening sequence specified in the BMW manual. Begin torquing from the center bolts and work outward in a cross pattern. This method distributes clamping force evenly across the cylinder head. Set your torque wrench to 22 ft. lb. (30 Nm) for the first round and double-check the setting before proceeding.
Torque the first bolt
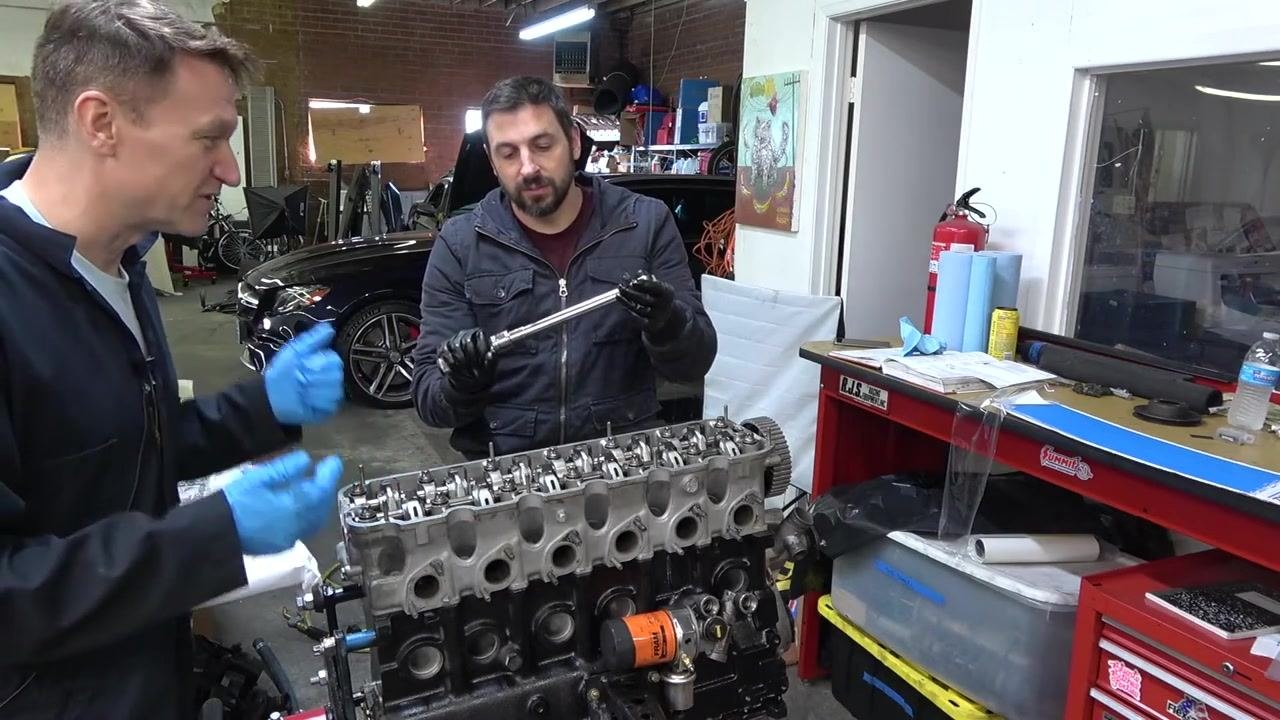
Start with bolt number 1, located at the center of the head as shown in the manual's diagram. Place the torque wrench on the bolt and tighten until you hear or feel a single click. Only one click is needed — do not apply a second click, regardless of any conflicting advice. Refer to your torque wrench manufacturer's instructions if you need confirmation.
Continue with the remaining bolts in sequence
Move to bolt number 2, following the cross pattern, and repeat the process: tighten to 22 ft. lb. (30 Nm) until a single click is heard or felt. Continue this process for all head bolts, always following the specified order.
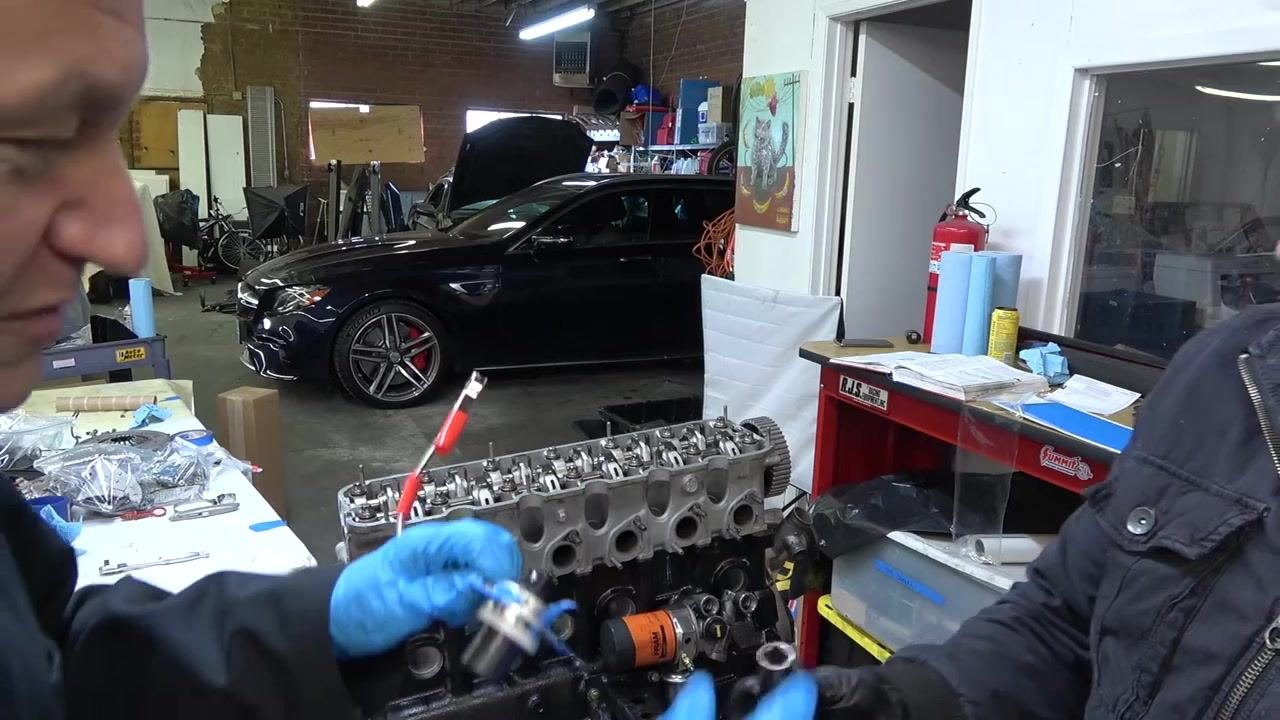
Prepare the angle gauge tool for the next rounds
After completing the initial torque round, prepare to use the angle gauge for the next two tightening stages. Confirm the angle gauge has clear markings at 0° and 90°, using tape or a marker to enhance visibility if needed. The angle gauge attaches between the socket and the torque wrench.
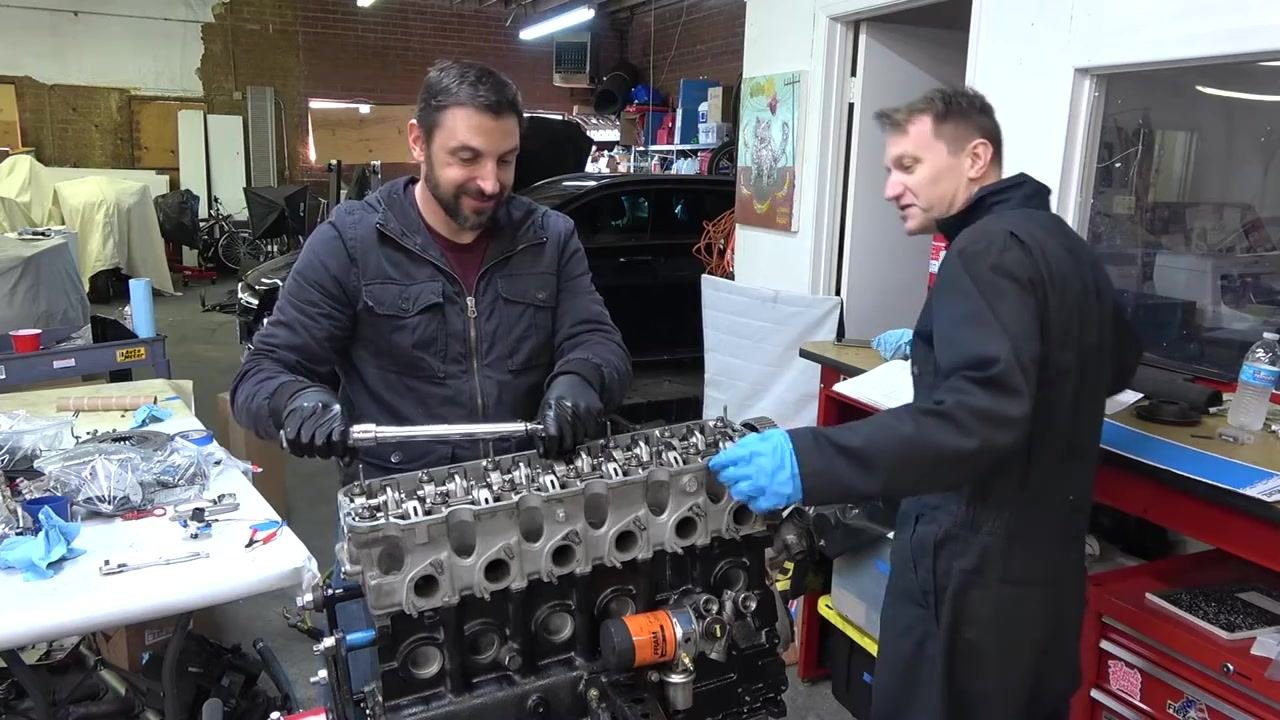
Attach the angle gauge tool
Place the angle gauge onto the bolt, ensuring the 0° mark is aligned. Attach the torque wrench to the angle gauge. One person should hold the angle gauge steady while the other turns the wrench.
Assign a person to hold the angle gauge
Designate one person to hold the angle gauge steady during the tightening process. This ensures the gauge does not move and provides an accurate reading as the bolt is turned. The person holding the gauge should maintain a firm grip and keep the 0° mark aligned with the reference point on the engine.
Safety note: Confirm the angle gauge is securely attached between the socket and the torque wrench, and that the torque wrench is properly seated on the bolt, before applying any turning force.
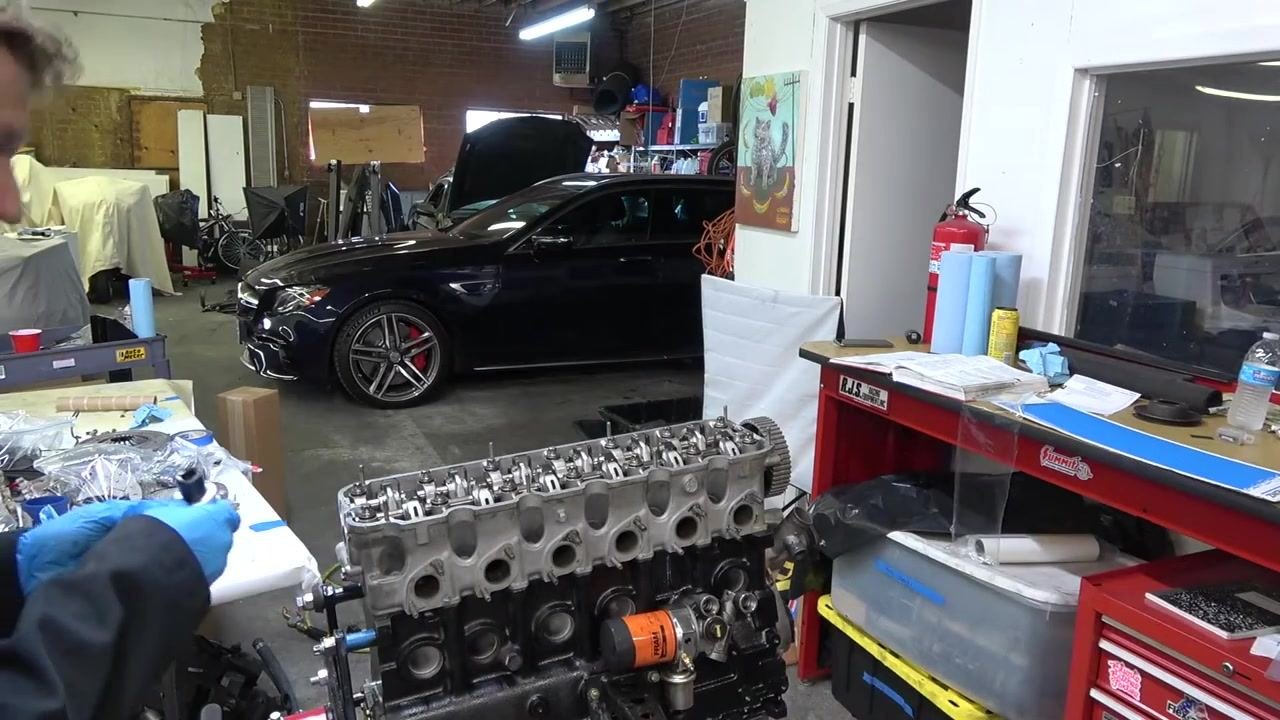
Begin the 90° turn
With the angle gauge held stationary by one person, the second person should slowly and steadily turn the torque wrench, rotating the bolt exactly 90° from the starting position. Watch the angle gauge closely to stop precisely at the 90° mark. Do not exceed or fall short of the 90° turn, as this can affect clamping force and engine reliability.
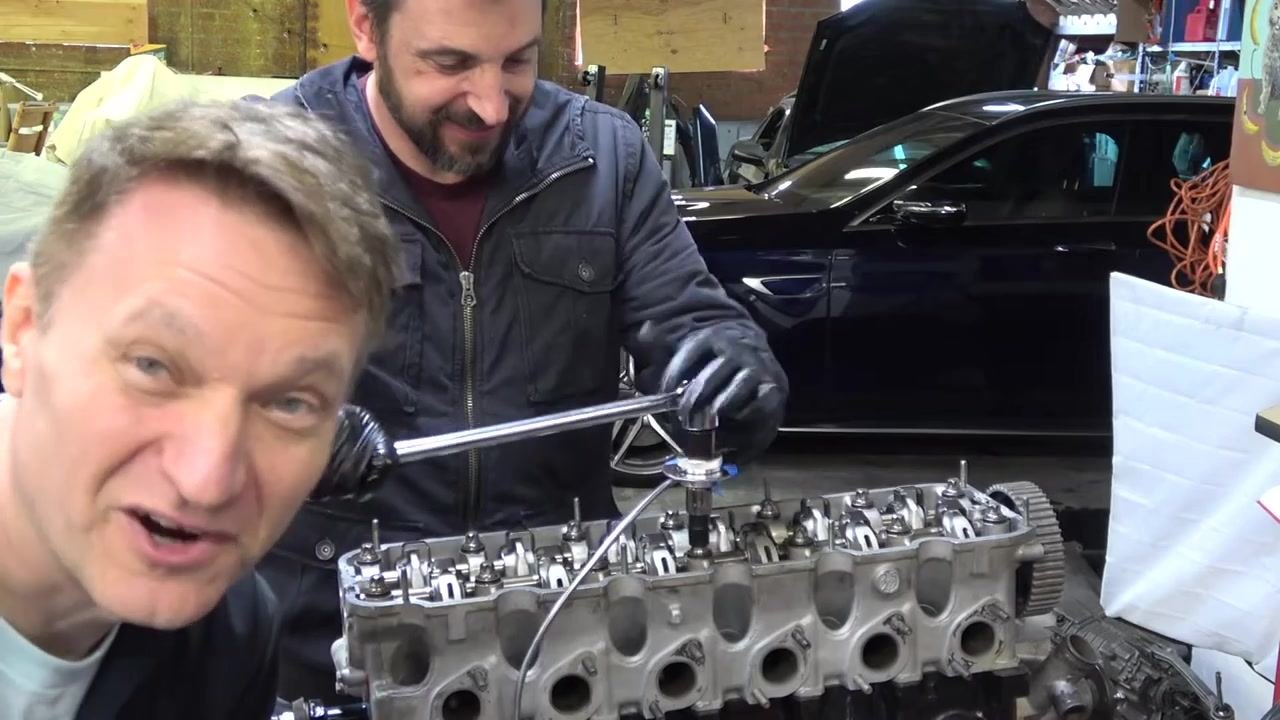
Repeat for each bolt in sequence
Move to the next bolt in the specified tightening order. Repeat the process of holding the angle gauge steady and turning the bolt 90° until all cylinder head bolts have been tightened in the correct sequence.
After completing the 90° turn on all bolts, visually inspect the angle gauge and bolts to confirm each one was turned the correct amount. Correct any bolt that was not turned exactly 90° before proceeding to the next stage.
Ensure the cylinder head is secure
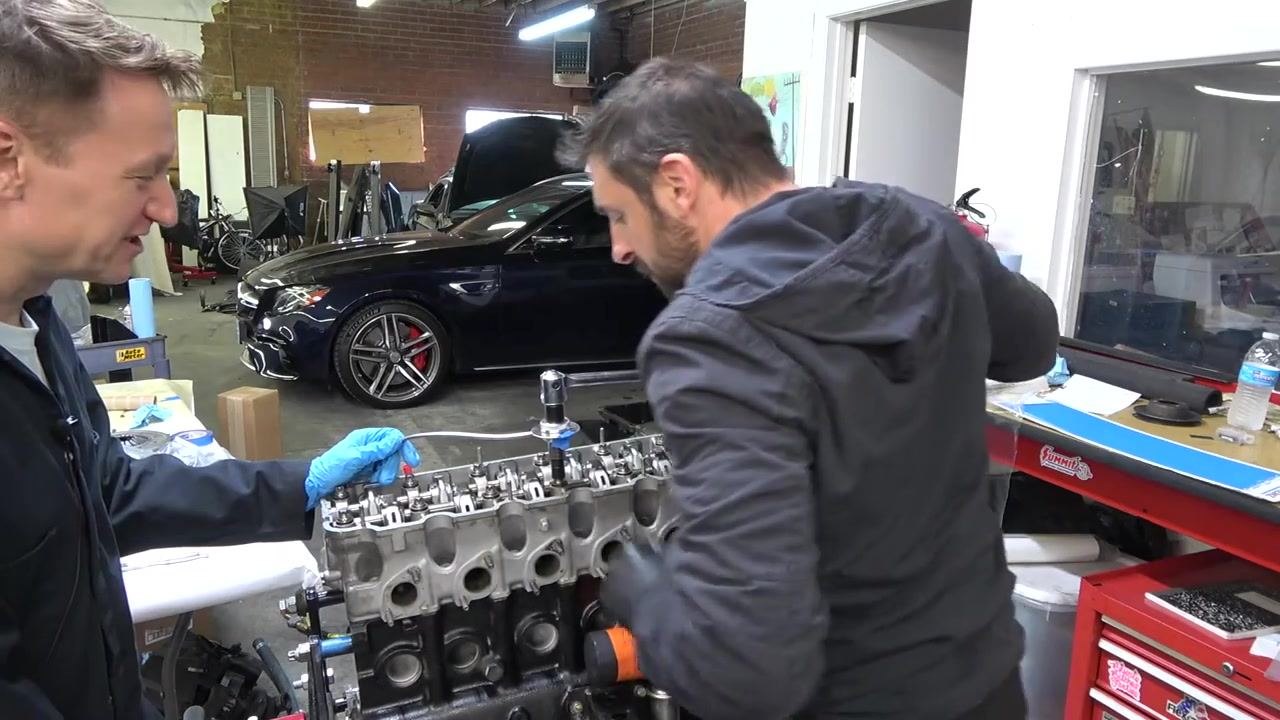
Confirm the engine block is stationary and does not pivot or move during the torquing process. Have one person stabilize the engine if necessary, and wear gloves for safety and cleanliness throughout.
Begin torquing the first bolt of the second stage
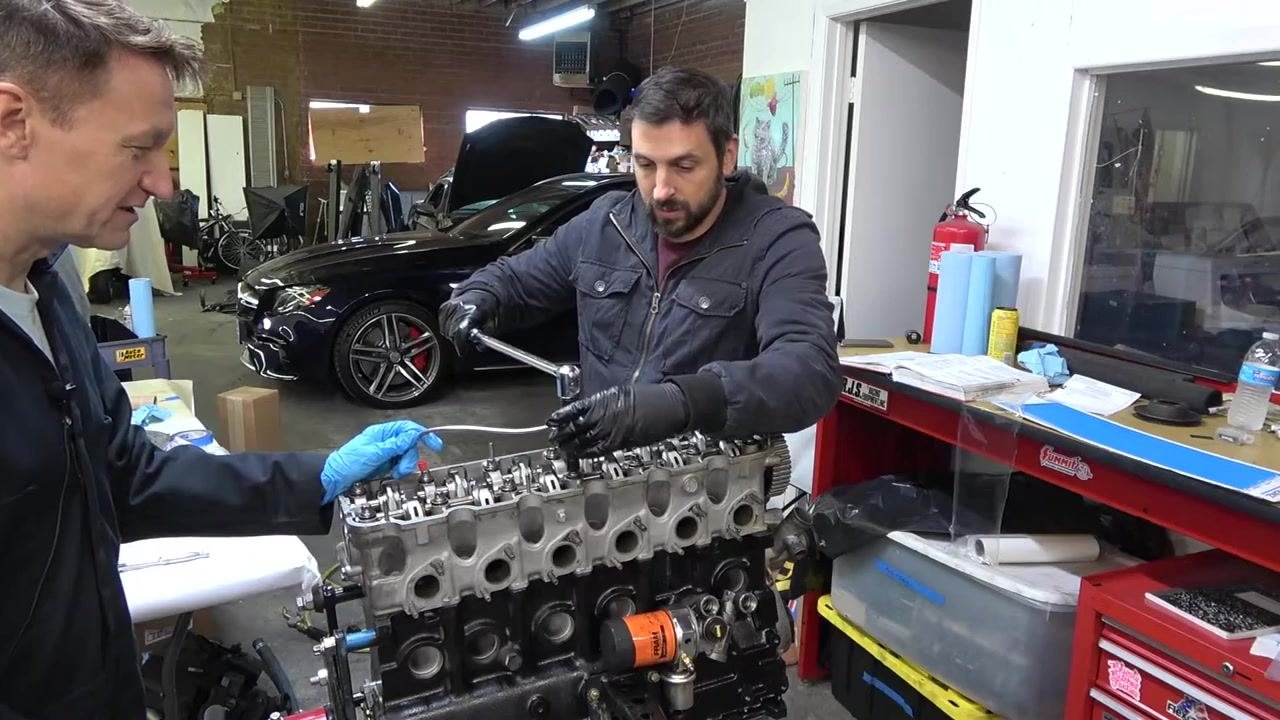
Attach the angle gauge and torque wrench to the first cylinder head bolt. Position yourself so you can apply steady force, and confirm the angle gauge is set to zero and properly aligned before applying torque in a smooth, continuous motion.
Move to the next bolt
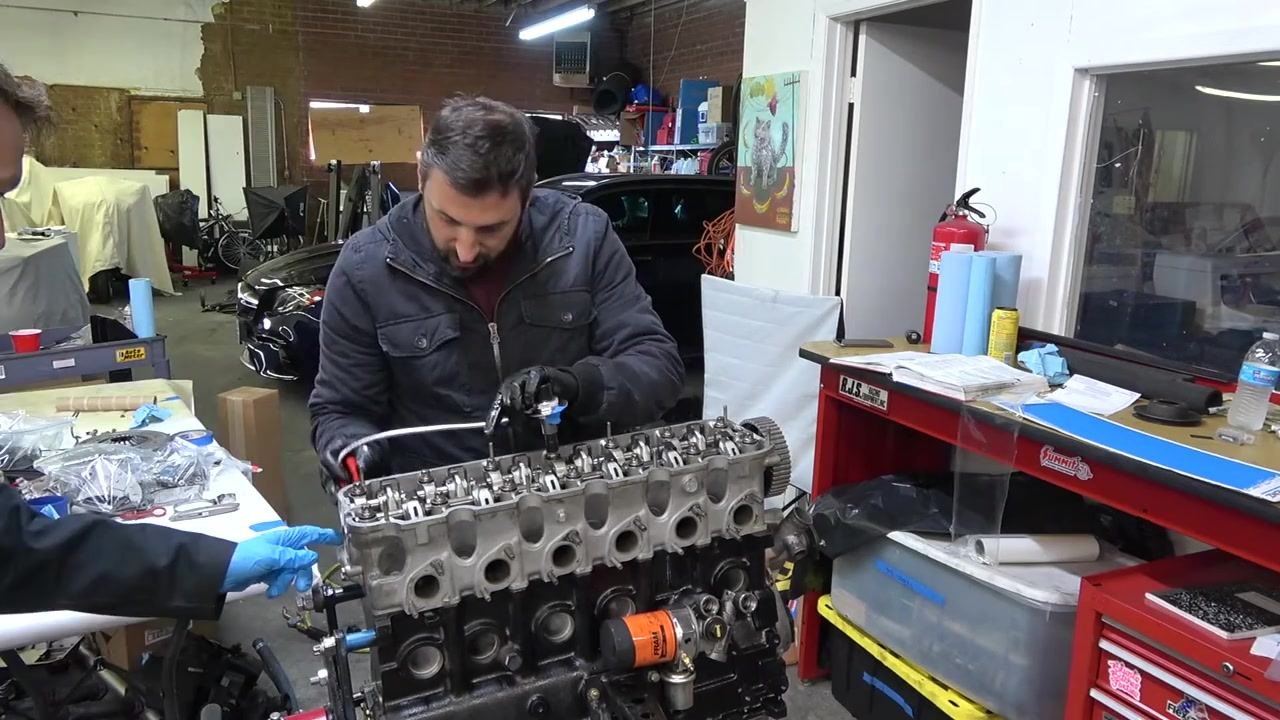
After completing the first bolt, reposition the angle gauge and torque wrench to the next cylinder head bolt. Repeat the torquing process, ensuring the angle gauge is reset to zero for each bolt.
Apply torque in one continuous motion
When tightening each bolt, use a single, steady motion to reach the specified angle. Avoid stopping and starting during the turn, as this helps ensure accuracy.
Set the angle gauge to 90 degrees
Rotate the bolt to exactly 90 degrees as indicated on the angle gauge, using the gauge's markings and any tape indicators to monitor your progress.
Confirm the angle achieved
Verify when you reach 90 degrees on the angle gauge. If you slightly overshoot the target (for example, reaching 90.75 degrees), note the deviation for reference.
Inspect the angle gauge reading
Double-check the angle gauge to confirm the final angle reached, and make minor adjustments if necessary to achieve the correct angle.
Complete the first round of 90-degree turns
After all bolts have been torqued to 90 degrees, confirm completion of this round before preparing for the next round required by your engine's specifications.
Prepare for the second round
Note that the second round may require more effort due to increased resistance in the bolts. Ensure both the angle gauge and torque wrench are ready for the next sequence before starting.
Apply significant torque for the next round
Be prepared to use more force as the bolts become tighter in this round. Maintain a steady, controlled motion throughout to avoid errors.
Apply increased force for the final torque round
Prepare to use additional strength for the final round of torquing, as the bolts require more effort to turn at this stage. Grip the torque wrench firmly with both hands, and confirm the angle gauge is still properly aligned and reset to zero before starting. Apply a steady, controlled force to rotate the bolt to the specified angle, keeping the workspace organized with tools and parts within easy reach.
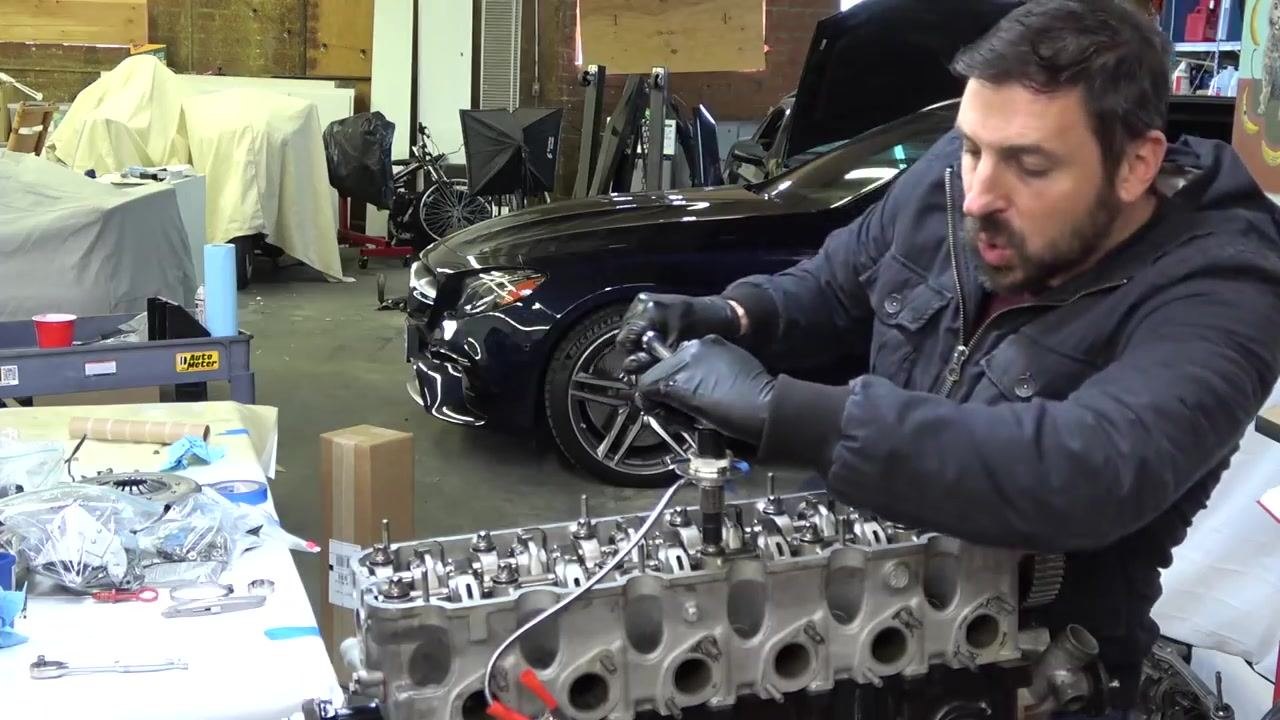
Confirm the setup before the final turn
Once the torque wrench and angle gauge are correctly positioned, confirm that the angle gauge is set and the bolt is ready for the final turn. Maintain a secure grip and proper body positioning for safety and accuracy.
Complete the final torque application
Execute the final torque application in a smooth, continuous motion. Monitor the angle gauge closely to ensure you reach the exact specified angle, and avoid stopping mid-turn to maintain accuracy.
Conclude the torquing process
Remove the torque wrench and angle gauge from the final bolt. Inspect the cylinder head and bolts to confirm all have been torqued to specification.
Verification and summary
Once all head bolts have completed the initial torque stage and both 90° angle-turn stages, visually confirm that every bolt was tightened in the correct cross-pattern sequence and that no bolt was over- or under-turned. This procedure applies specifically to torquing a BMW E30 cylinder head with Torx® head bolts.
Always refer to your engine's official service manual for the exact torque value, angle specification, and tightening sequence required for your specific application. Use an angle gauge for accuracy, and confirm all bolts are torqued evenly and in the correct order before returning the engine to service. After completing the procedure, clean and properly store your tools.
Generation details: cost, quality tiers
Docsie billed 4,000 credits ($2.80) to analyze this 8-minute video at standard quality. The rewrite, template fill and Word/PDF exports were included. The same video at each quality tier:
| Quality | Frames sampled | Credits | Approx. cost |
|---|---|---|---|
| Draft | every 16-30 s | 2,000 | $1.40 |
| Standard (this guide) | every 8-15 s | 4,000 | $2.80 |
| Detailed | every 4-7 s | 8,000 | $5.60 |
| Ultra | every 1-3 s | 16,000 | $11.20 |
Credits priced at $0.70 per 1,000; plans include a monthly allowance. Enterprise customers on on-premise or bring-your-own-model deployments run this on their own inference and pay no per-video credits.
Generated by Docsie Video-to-Docs on 2026-09-14 from a 7-minute video. Screenshots are frames from the source video and belong to their creator, RevMatchTV, whose original is embedded above. If you own this video and want the guide removed or credited differently, contact us and we will act within one business day.