
How to Stick Weld
This standard operating procedure explains how to stick weld a half-inch steel plate using a 7018 5/32" stick rod. It walks you through equipment setup, rod angle, feeding technique, posture, bead guidance, troubleshooting, and proper restart technique so you can lay consistent, high-quality weld beads from start to finish.
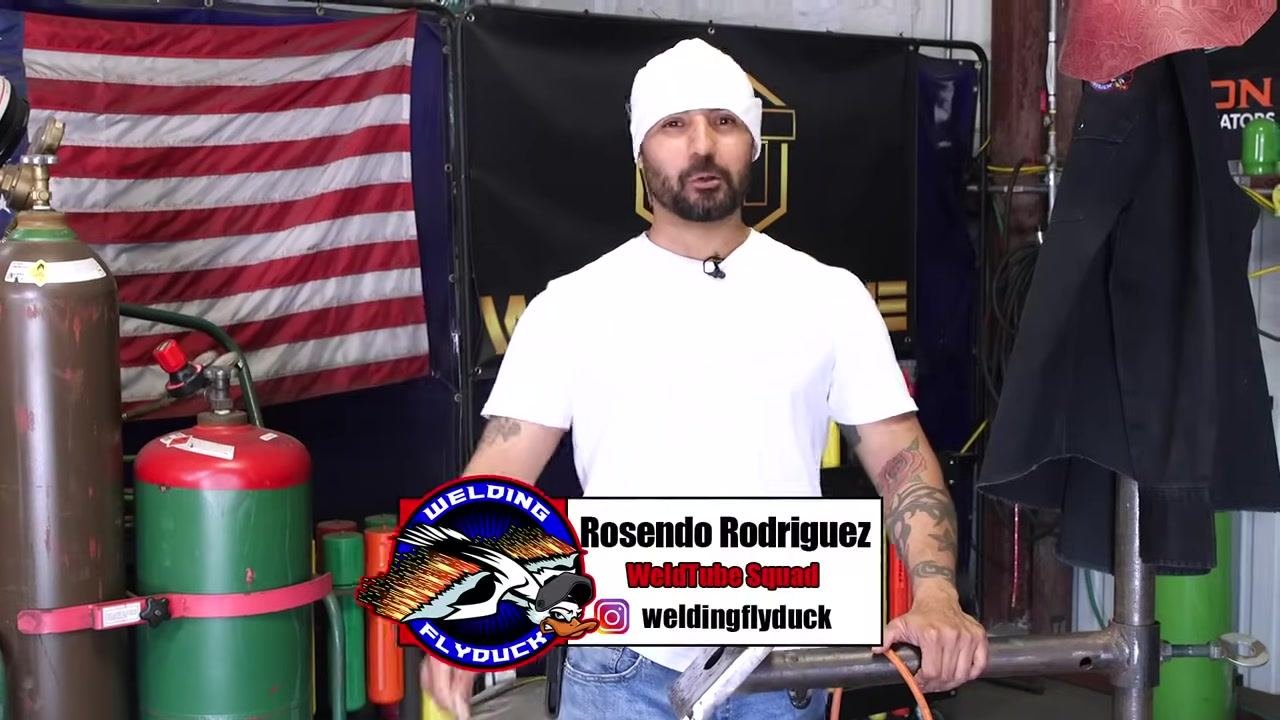
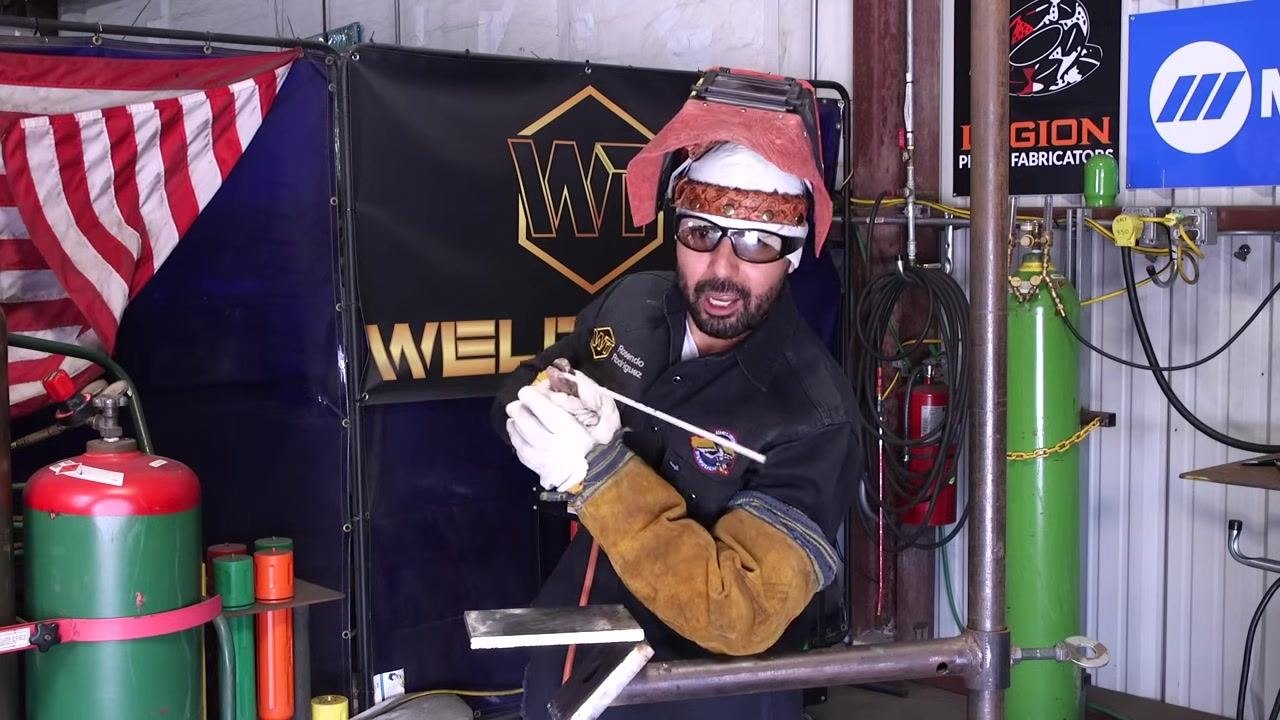
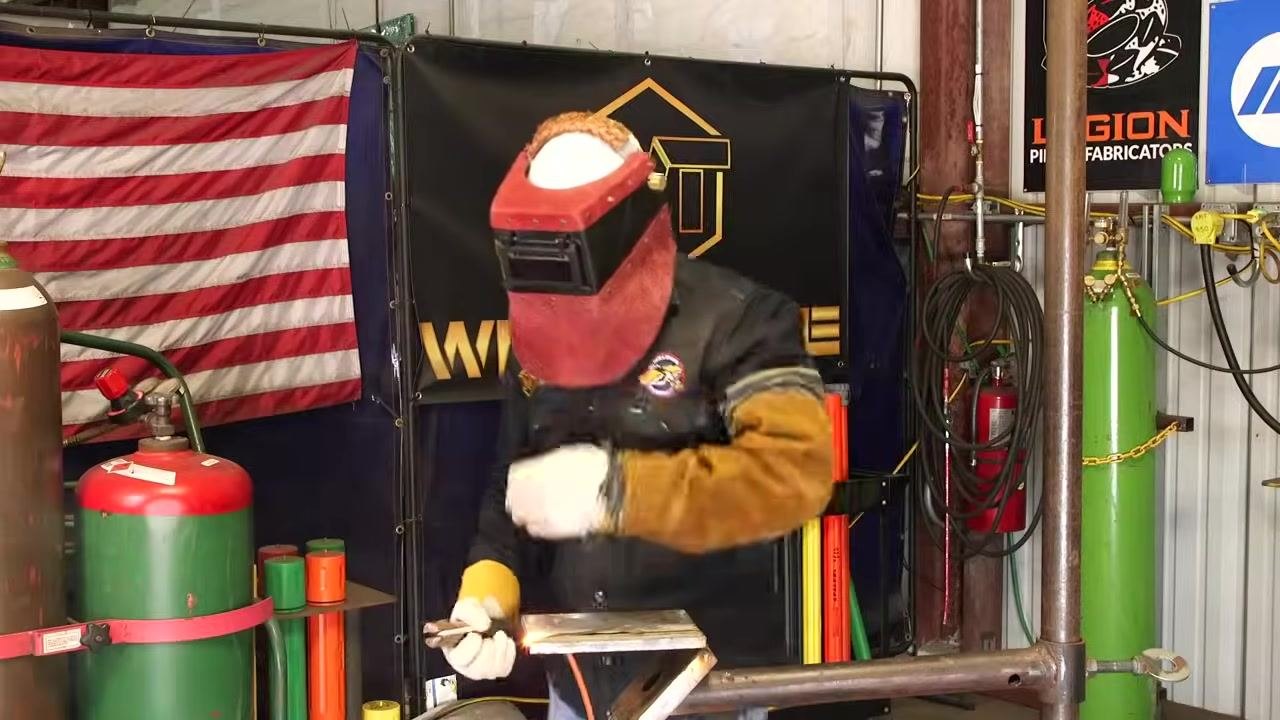
Video: Stick Welding Basics - How to Run Straight Consistent Beads by WeldTube (2023). All credit for the demonstration goes to the creator; watch the original on YouTube. The written guide below was generated from this video by Docsie. Creator? Request a change or removal.
This standard operating procedure explains how to stick weld a half-inch steel plate using a 7018 5/32" stick rod. It walks you through equipment setup, rod angle, feeding technique, posture, bead guidance, troubleshooting, and proper restart technique so you can lay consistent, high-quality weld beads from start to finish.
Purpose
This procedure gives you a repeatable method for producing consistent stick weld beads, maintaining correct posture and rod control, following a weld line with or without a grinder guide, and correcting common issues such as inconsistent bead width, poor visibility, and improper restarts.
Scope
This procedure applies to stick welding on half-inch steel plate using a 7018 5/32" rod at approximately 190 amps. It covers initial setup, basic bead-running technique, advanced bead control, weld-line guidance, troubleshooting, and restart technique.
Required equipment and PPE
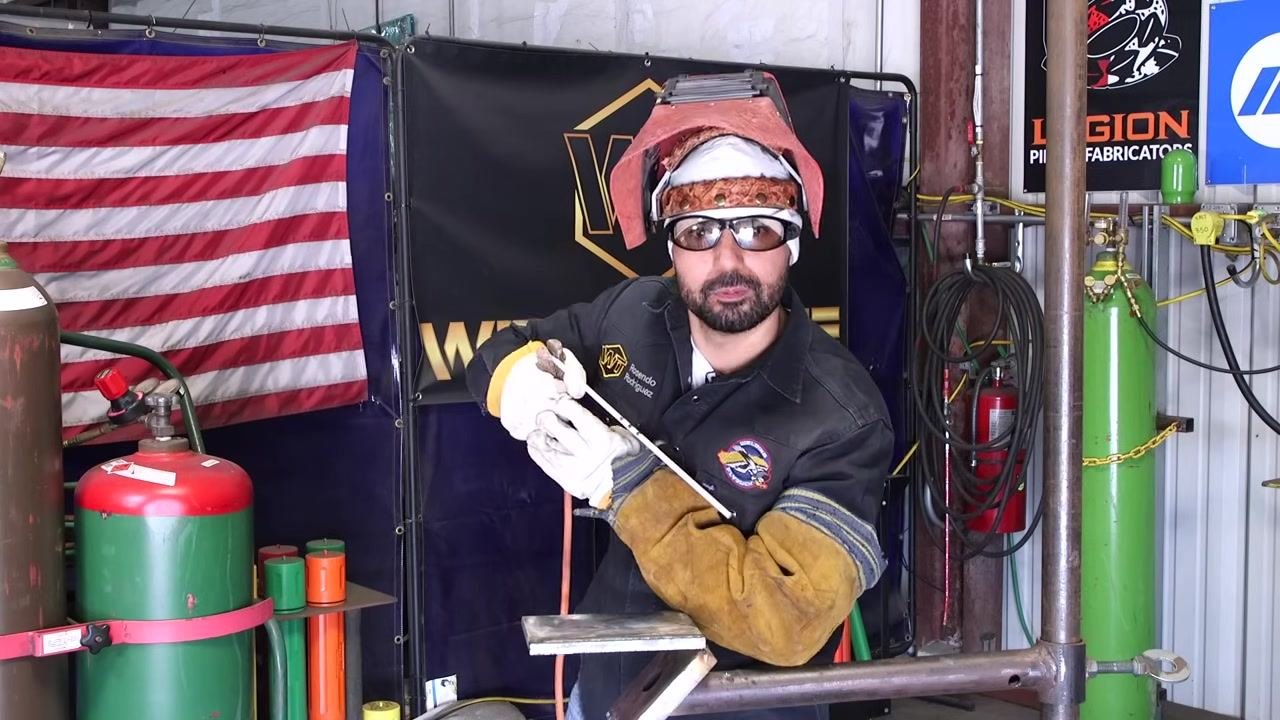
- 7018 5/32" stick welding rod
- Half-inch thick steel plate
- Welding machine capable of running approximately 190 amps
- Welding gloves
- Safety glasses
- Welding jacket
- Welding helmet with the appropriate shade for stick welding
- Angle grinder (optional, for creating a visual guideline or for post-weld cleanup)
- Ventilated, clear workspace with your machine, plate, and tools within reach
Procedure
Setting up for the weld
- Gather your equipment and set up the rod and plate. Set up your welding area with proper ventilation and a clear workspace. Have your 7018 5/32" stick rod, your half-inch steel plate, your welding machine, and all necessary tools ready before you begin.
-
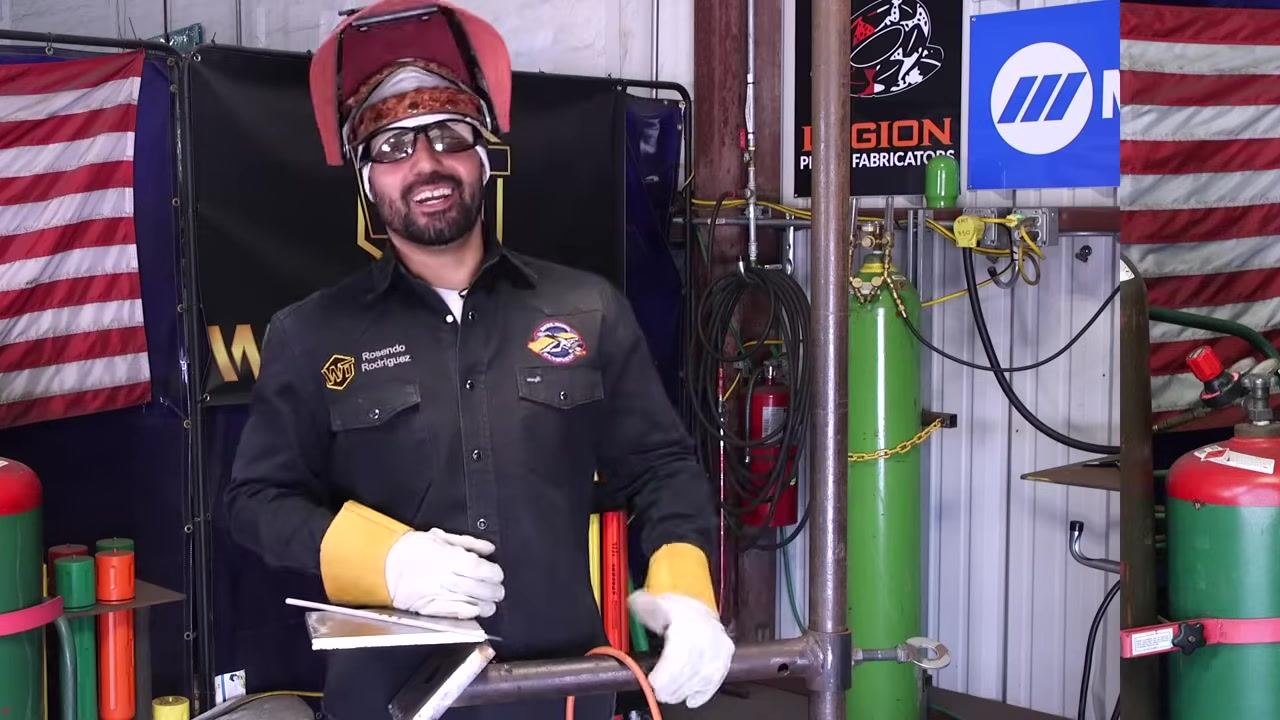
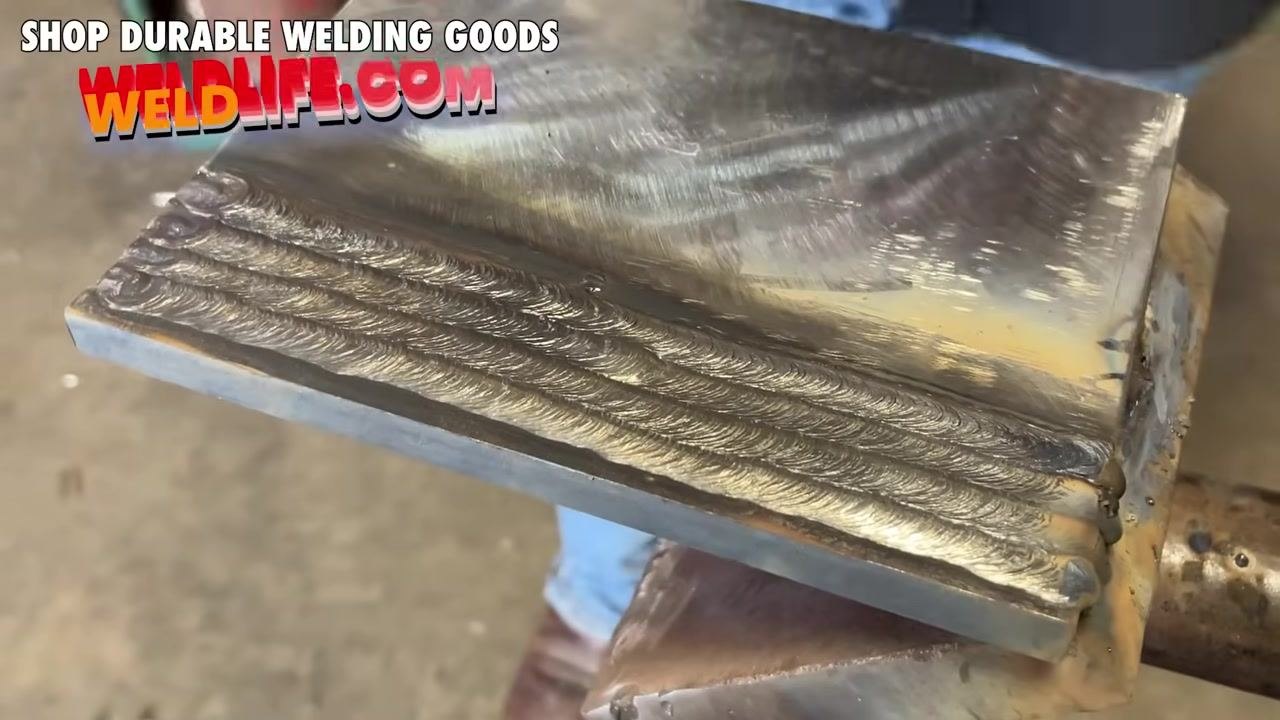
Review example weld beads before you start. Examine a sample plate with several consistent weld beads as a reference for the result you are aiming for. Note the uniformity and spacing between the beads.
-
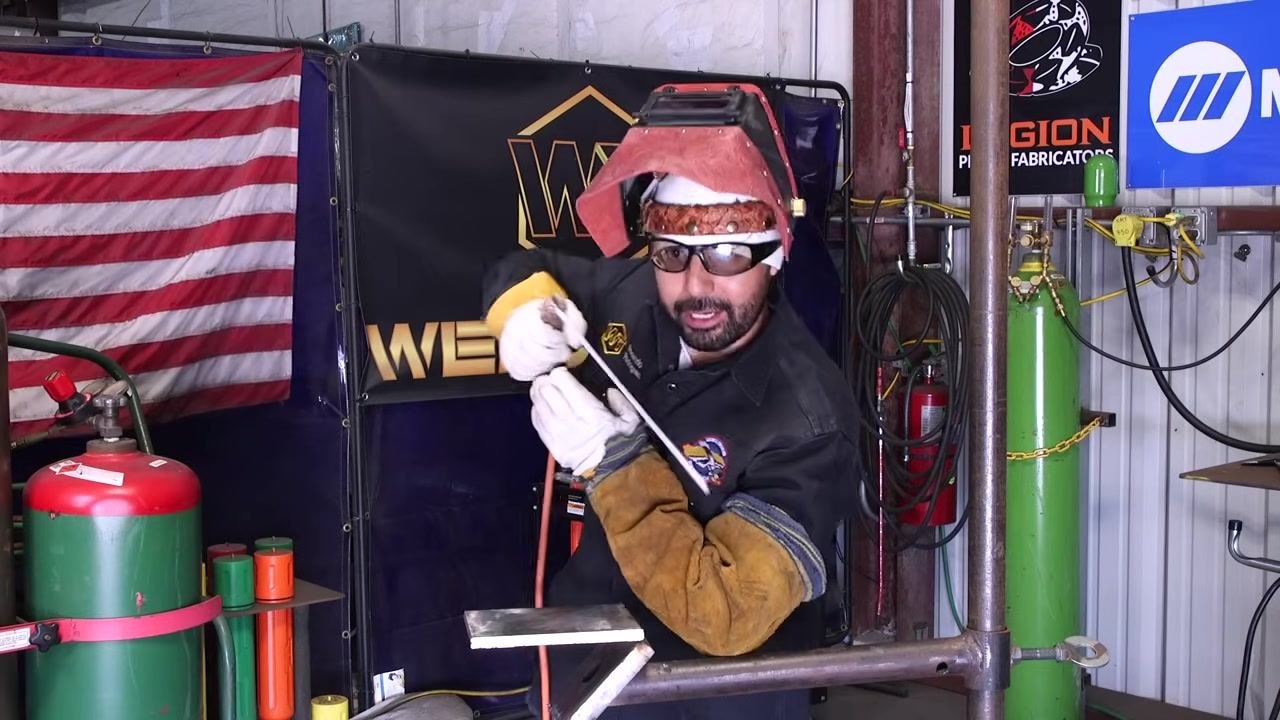
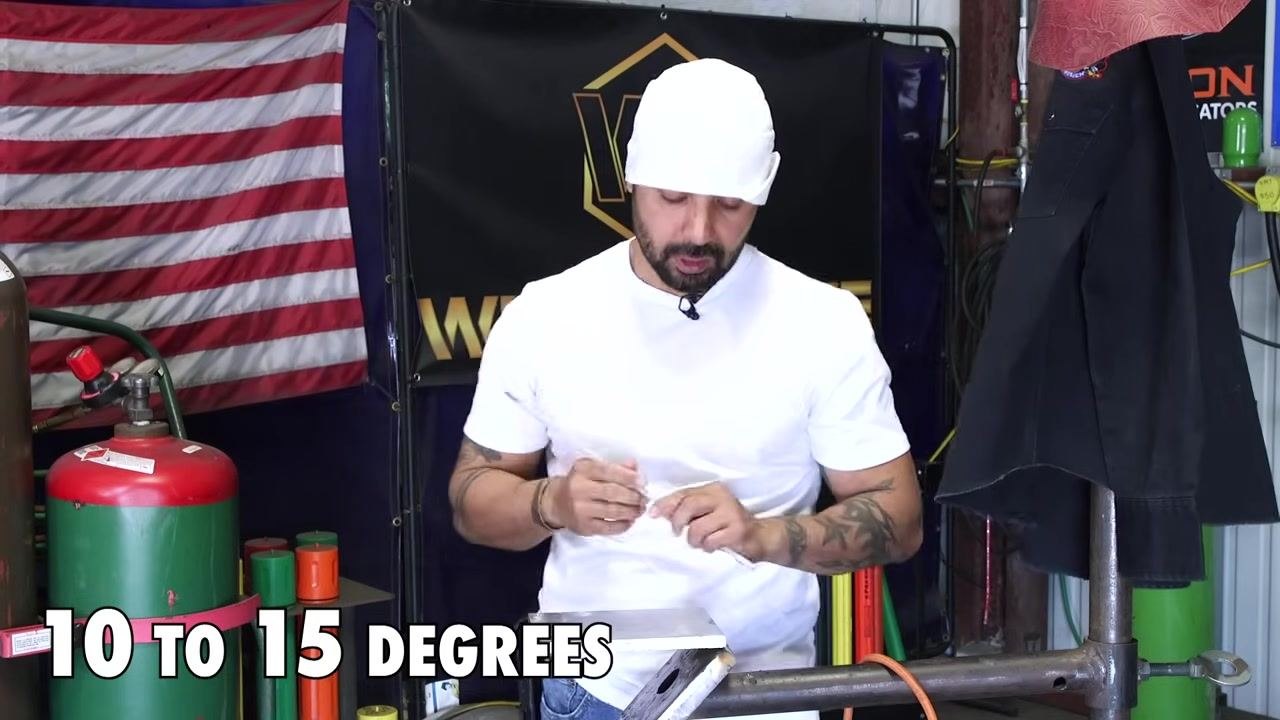
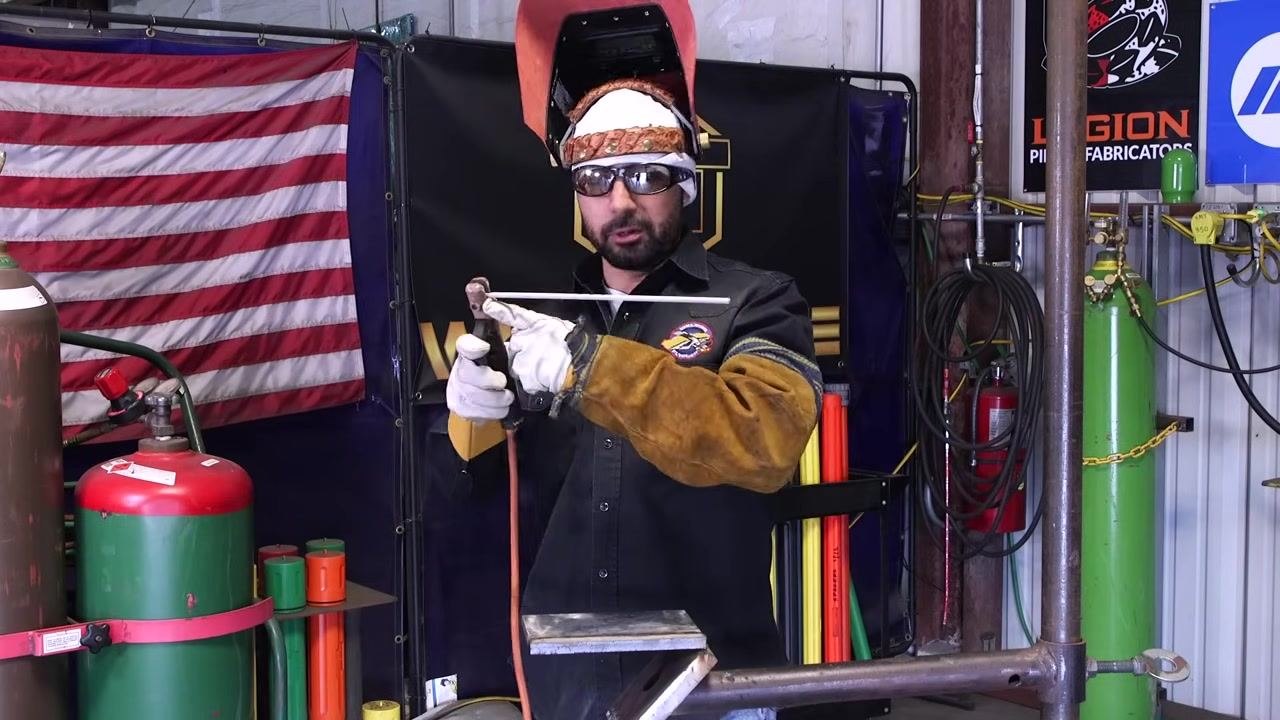
Set the correct rod angle. Hold the rod at a 10–15 degree angle leading to the right if you are right-handed. The angle should run 10–15 degrees toward you and 10–15 degrees away from you, moving to the right, and it should stay consistent throughout the weld.
-
Feed the rod into the puddle. Always feed the rod into your weld puddle. If you cannot see where you are going, move the rod away from the obstructed area so you can maintain visibility.
-
Control rod-to-plate contact. Aim to feel the base metal only slightly with the rod tip, keeping a gap of about 1/32" to 1/16" between the rod and the plate. Too much contact causes spatter; too little means you are long arcing.
-
Practice the technique. Try to maintain slight contact with the plate as you weld, adjusting your angle and feeding as needed to keep your view of the puddle clear and your bead consistent.
-
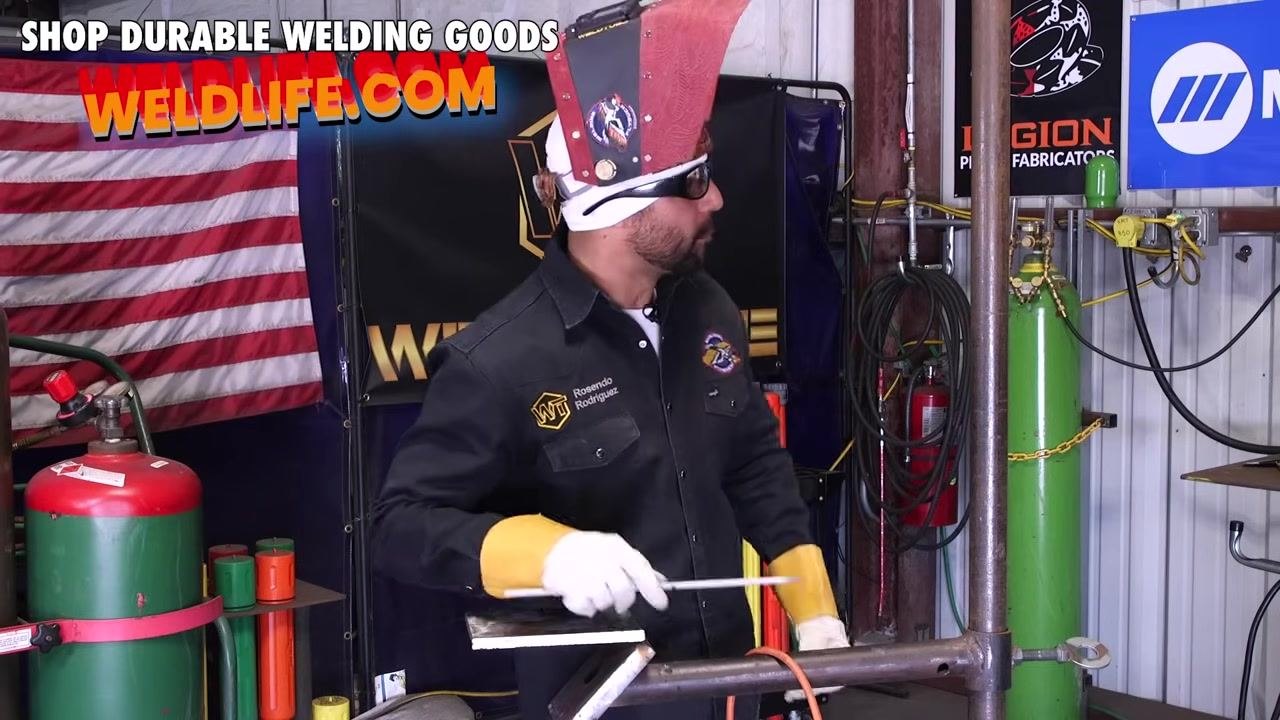
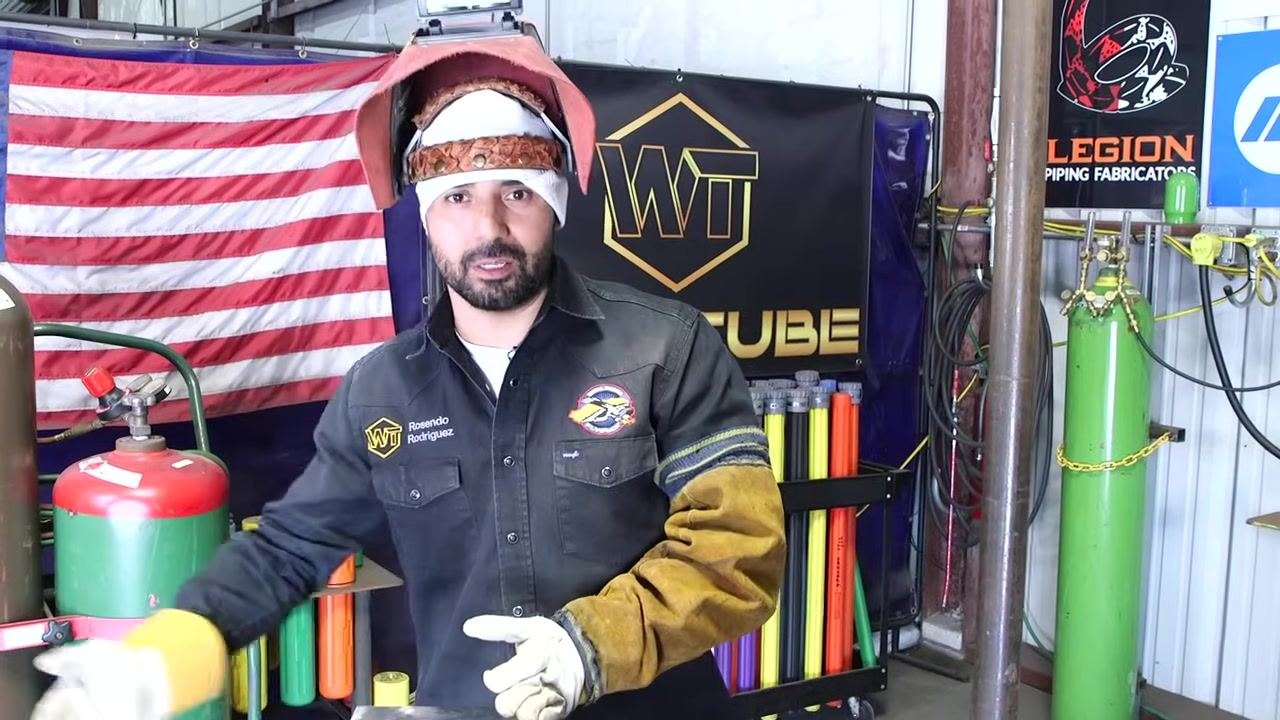
Wear proper personal protective equipment (PPE). Always wear welding gloves, safety glasses, and a welding jacket. Use a welding helmet with the appropriate shade for stick welding before you strike an arc.
Running the weld with proper comfort and posture
-
Double-check your PPE before starting. Confirm you are wearing welding gloves, safety glasses, and a welding jacket, and put on your welding helmet before you begin.
-
Select your rod and set your amperage. Use a 7018 5/32" stick welding rod and set your welding machine to approximately 190 amps, adjusting slightly up or down to your comfort level. This starting amperage is a reliable reference point for this rod size.
-
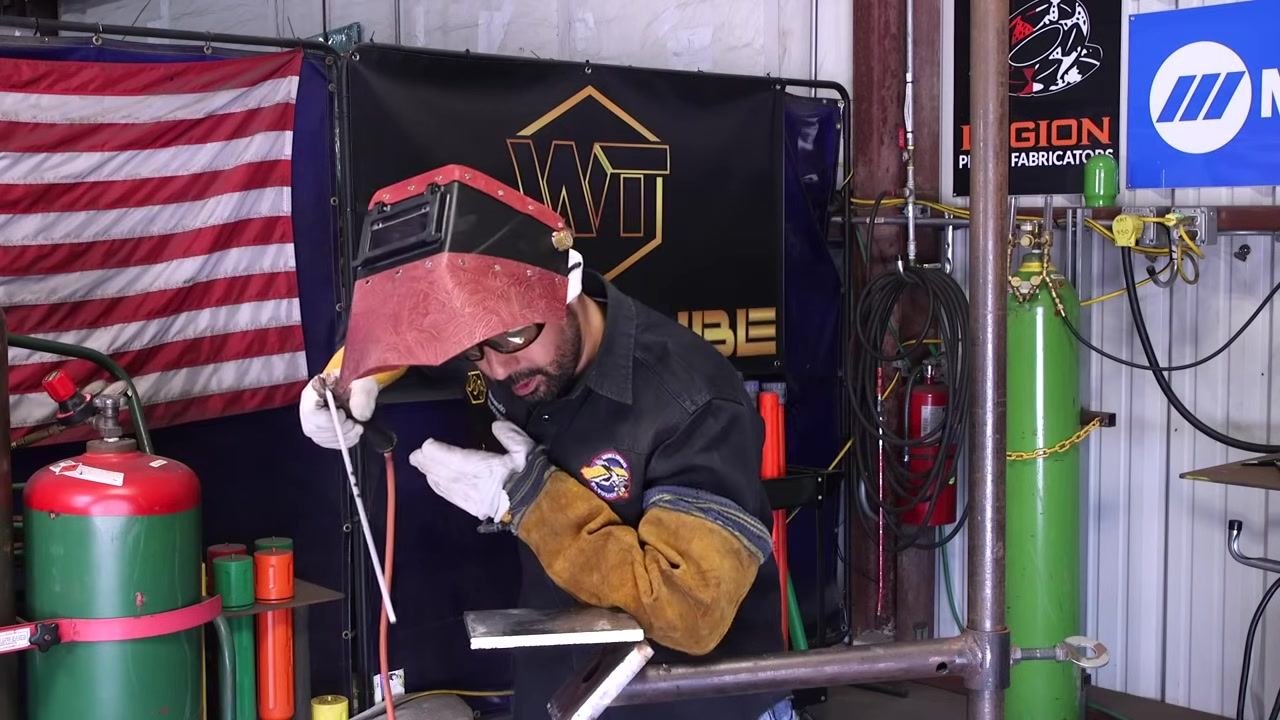
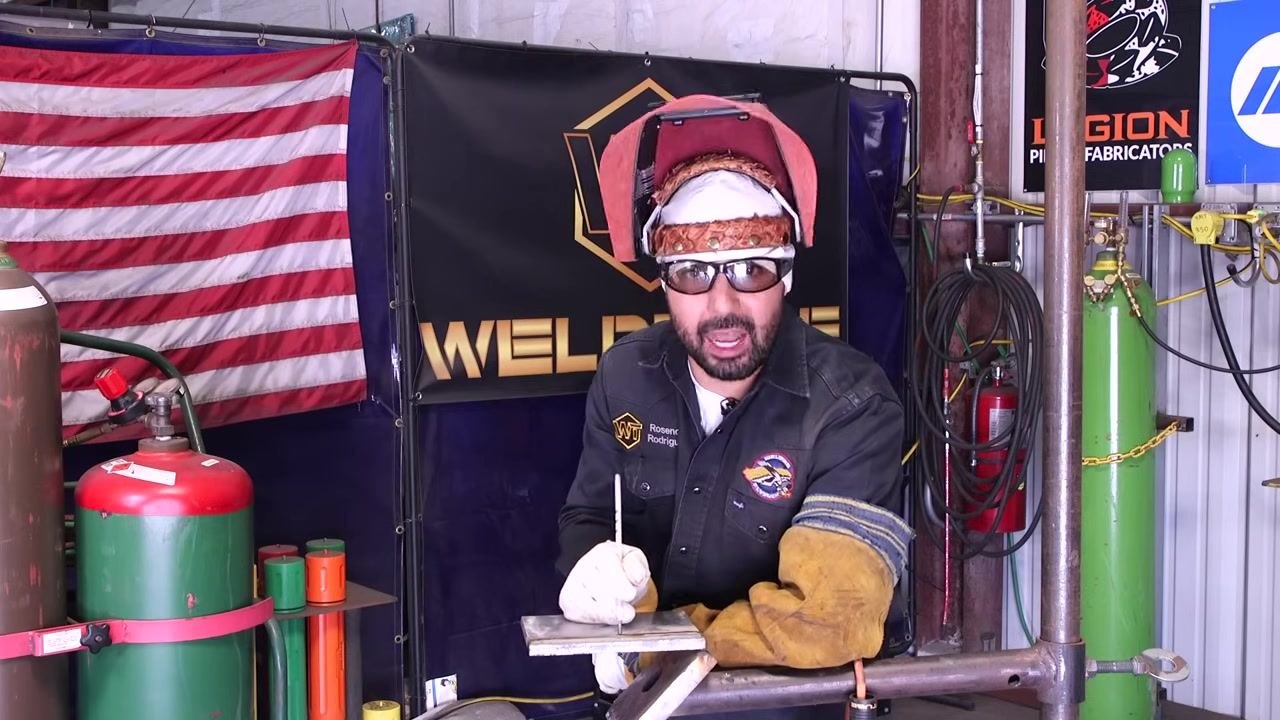
Get comfortable and maintain a steady posture. Position yourself so you are comfortable and stable at the welding station. Rest your arms or body on a support if possible to avoid bouncing or unnecessary movement, and keep a steady posture throughout the weld.
-
Hold the stinger correctly. Do not grip the stinger (electrode holder) too tightly; keep your grip relaxed to avoid fatigue and maintain control. Avoid bundling up or tensing your arms and shoulders—stay loose and flexible.
-
Move with the rod. As you weld, push the rod away from you in a controlled, steady motion, and move your body and arms with the rod to maintain a consistent angle and distance. If you cannot see where you are going, adjust your position so you are not left behind the weld.
-
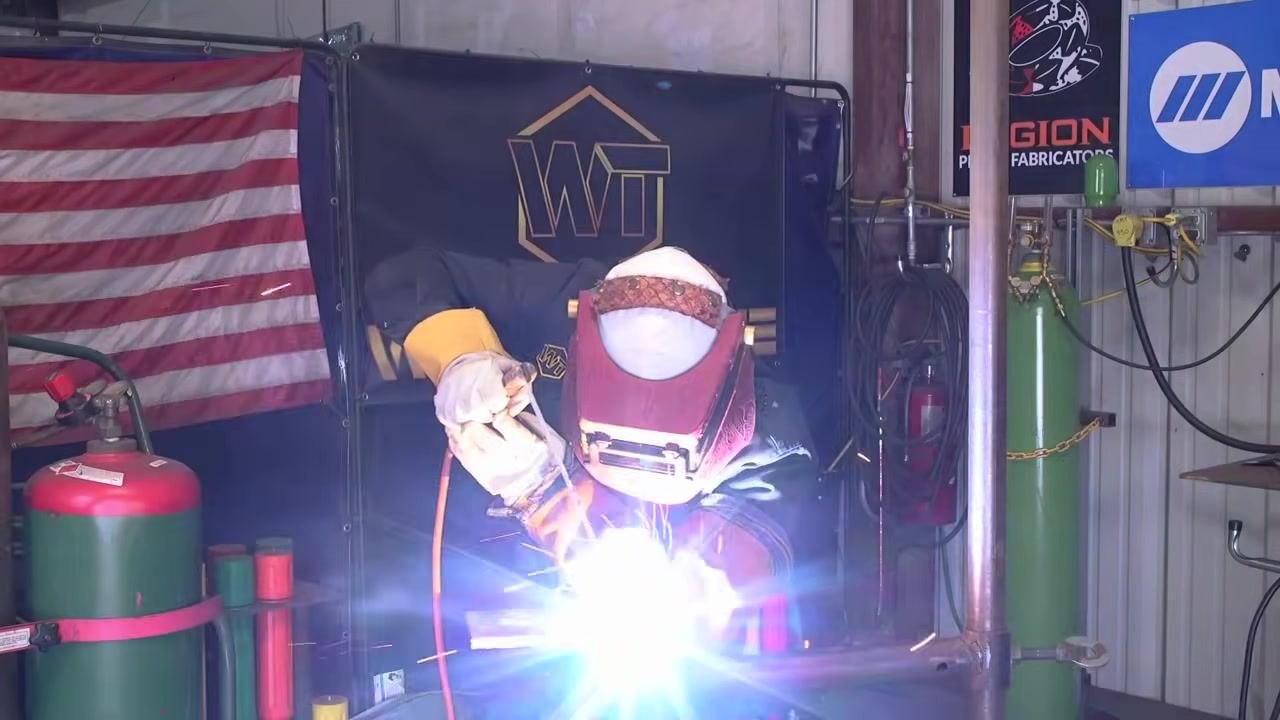
Begin welding. Lower your helmet and strike an arc to start welding. Maintain the correct rod angle and steady movement as you lay the bead.
-
Maintain proper rod-to-plate contact. Feel the plate underneath the rod tip, keeping a gap of about 1/16". Watch your weld puddle closely—it should remain the same size at all times. If you do not feel the plate, you are long arcing and need to feed the rod more.
-
Keep a steady pace. Do not rush the weld. Move at a consistent, controlled speed while continuing to feed the rod and maintain the same angle and contact.
Advanced bead control
-
Feed the rod gradually. When you need to feed more rod, do not shove it in abruptly. Feed it slowly and steadily until you feel it make contact with the plate, and keep a consistent pace all the way through the weld without anticipating the end.
-
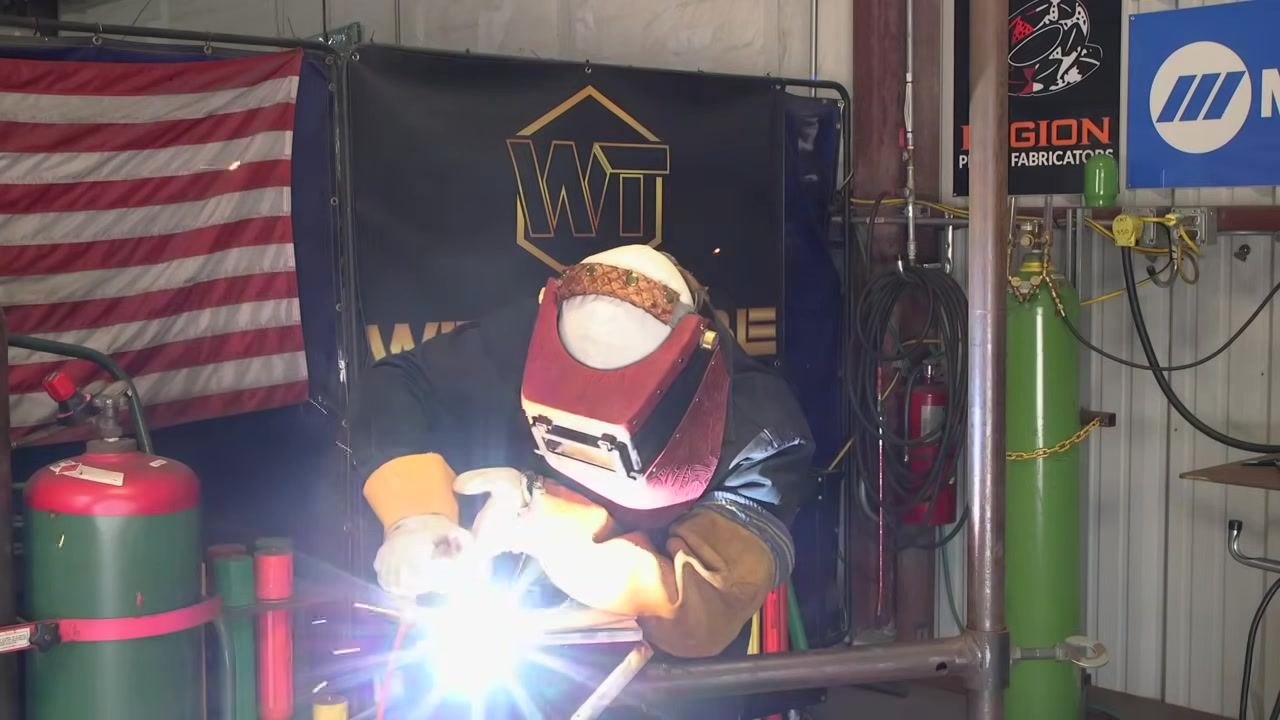
Inspect the weld and identify your guide. After completing a weld, inspect the bead and the plate. Use the very edge of the plate as your visual guide, keeping a distance of approximately 5/32" to 3/16" between the edge of the plate and your stick rod. Watch both the plate edge and the top of your weld puddle to keep this distance consistent throughout the weld—this helps you avoid burning the edge and keeps the bead straight and uniform.
-
Understand the challenge of the first bead. The first bead is often the hardest because you are trying not to burn the edge of the plate. Subsequent beads become easier as you gain confidence and control.
-
Use the correct rod size for visibility. Continue using a 5/32" rod. The larger puddle this rod size creates makes it easier to see your work and maintain control.
-
Maintain the correct amperage. Keep your welding machine set to 190 amps for optimal results with a 5/32" rod.
-
Prepare for the second bead using the previous bead as a guide. To maintain a straight line and uniformity, use the toe line (bottom edge) of your previous bead as a guideline for the next pass. This visual reference helps you keep each bead consistent and parallel.
Following the weld line without a grinder guide
-
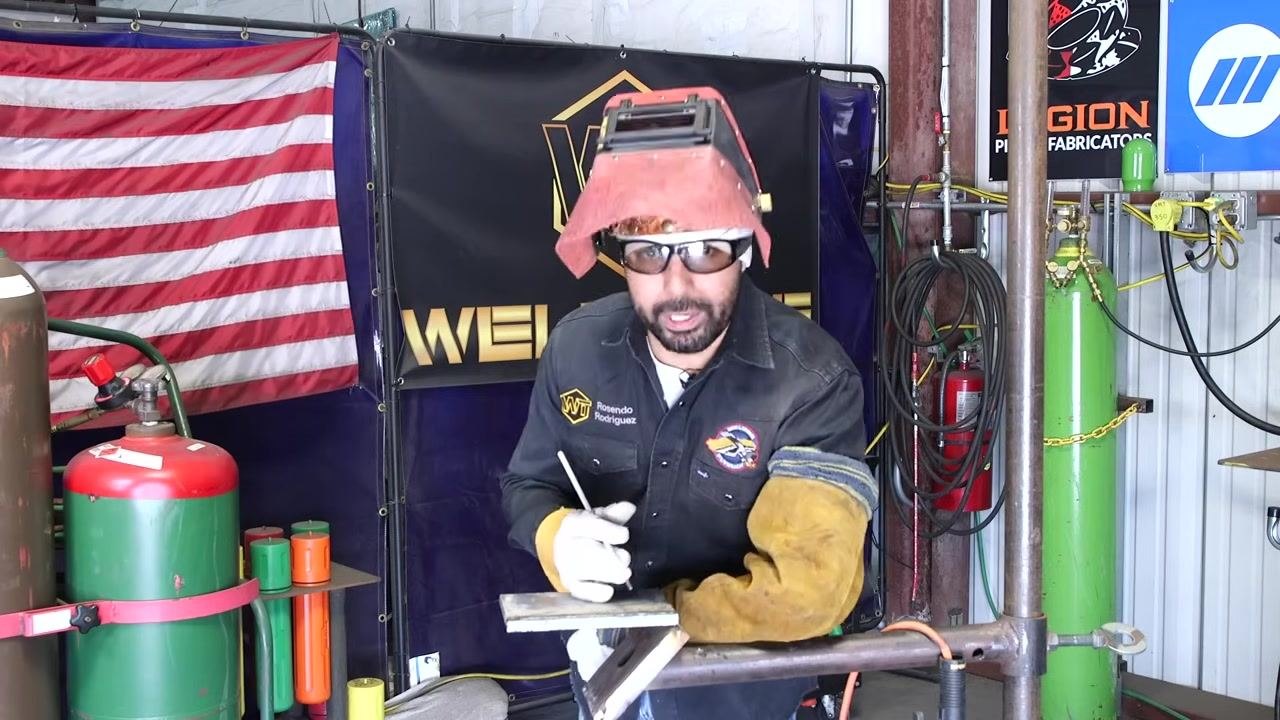
Prepare your area and position the workpiece. Ensure all safety equipment is worn, including welding gloves, jacket, and helmet. Position the workpiece securely so the weld line is clearly visible.
-
Align the rod with the weld path. Hold the stick rod above the weld joint at the starting point, just above the metal surface, so the weld line and any previous bead are visible.
-
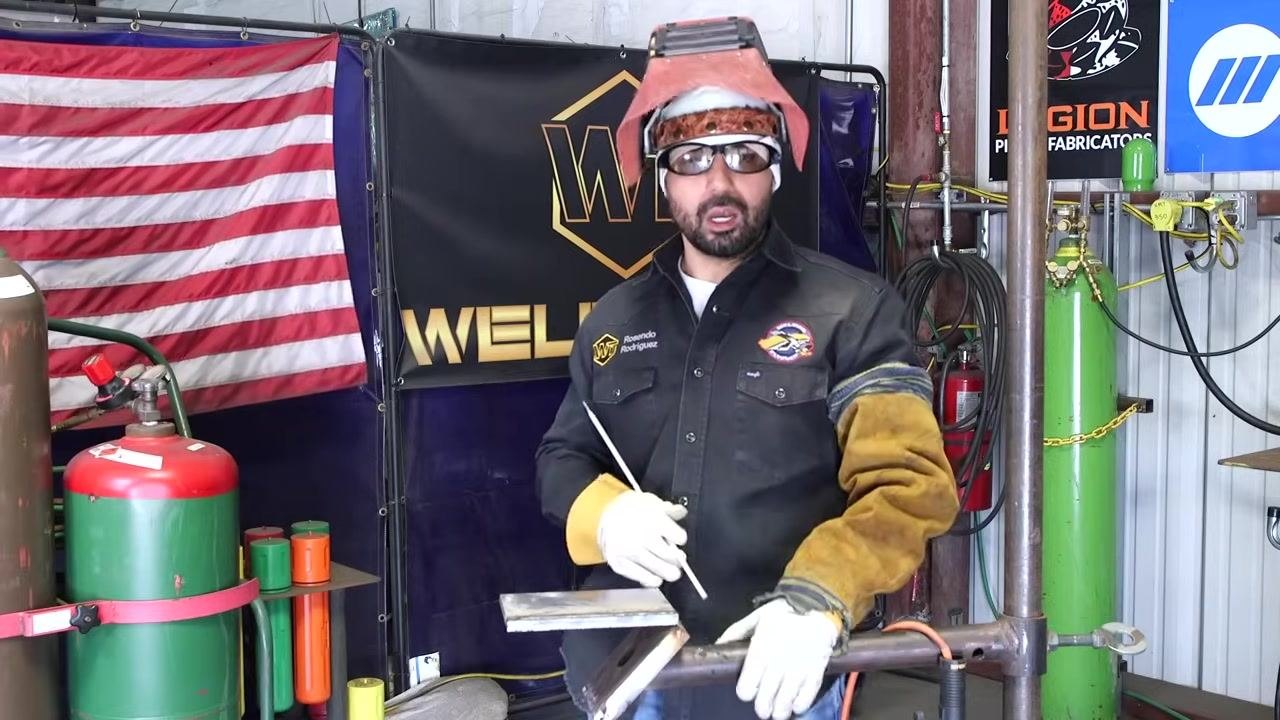
Recognize the common mistake of centering the rod. Many welders instinctively place the stick rod directly in the middle of the joint, which is not ideal for all welds. Be careful not to default to the center position unless the weld requires it.
-
Adjust your rod position below the toe line. Instead of placing the rod in the middle, position it slightly below the weld line or toe line for improved control and weld quality. Use a steady hand and maintain a consistent angle.
-
Focus on the weld puddle, not the rod. During welding, direct your attention to the molten puddle created by the arc rather than the stick rod itself. This helps you maintain a straight and consistent weld.
-
Use a grinder to create a guideline (optional). If you prefer a visual guide, grind a line along the toe line of the joint using an angle grinder. This creates a clear, shiny guideline that is easier to follow visually.
-
Observe the benefits of a grind line. The grind line will be shiny and much easier to see, which aids weld accuracy. Ensure the grind line is straight and clearly visible before starting the weld.
-
Maintain proper body posture. Do not lock your knees while welding, especially on straight welds. Keeping your knees slightly bent allows for better movement and control.
-
Avoid unnecessary body movement. If your knees are locked, you may start swinging or moving back and forth, which can affect weld quality. Stay relaxed and stable for a consistent weld.
-
Practice controlled rod movement. Use smooth, deliberate motions to guide the rod along the weld line. Avoid erratic or swinging movements to maintain a straight, even bead.
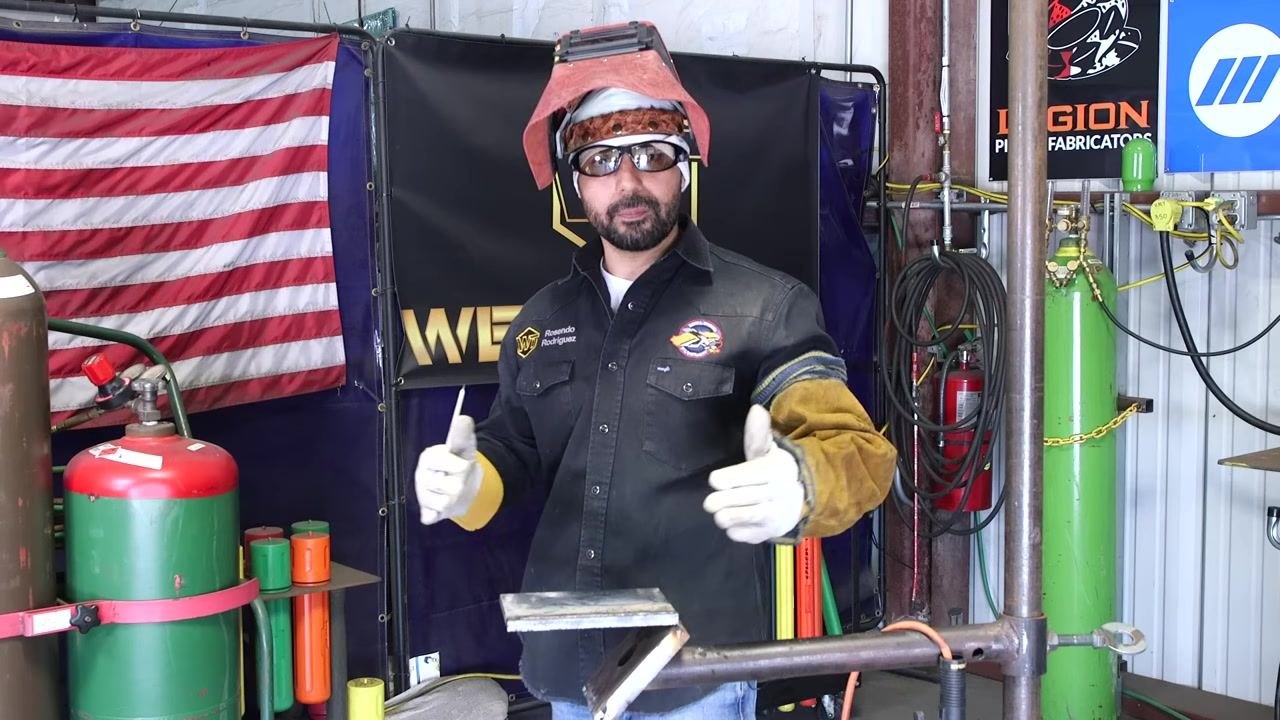
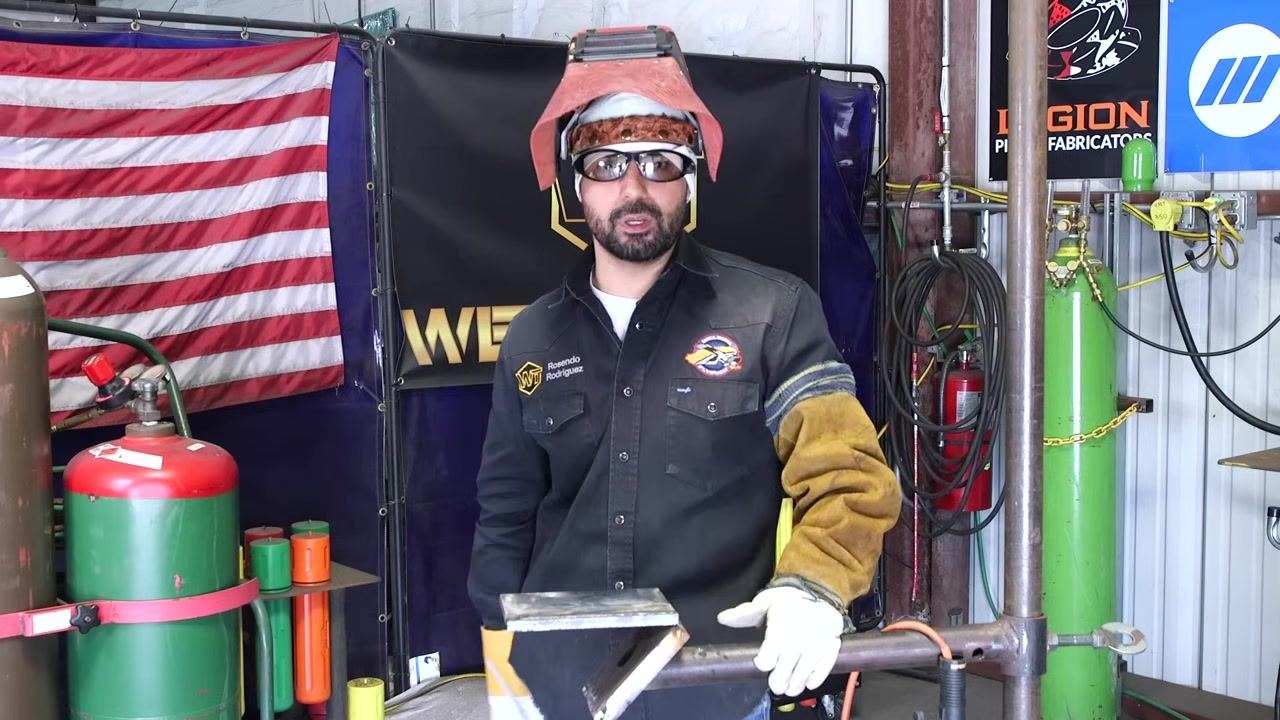
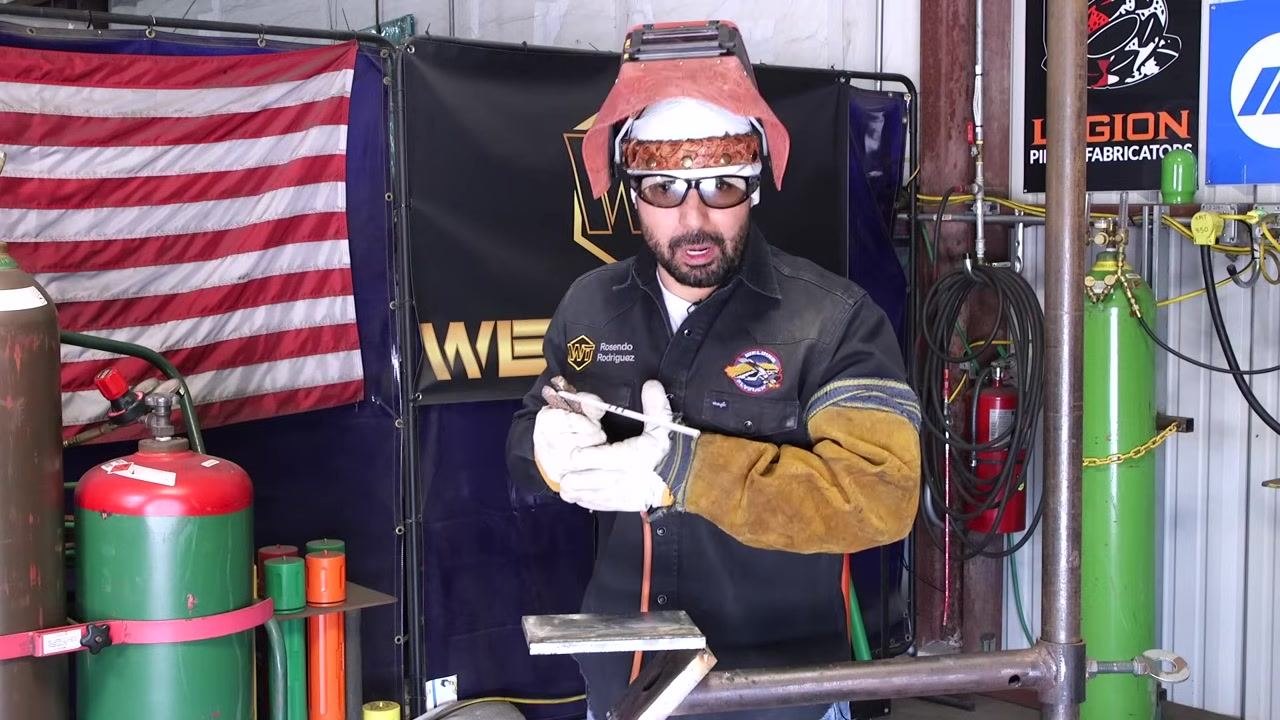
Achieving consistent weld beads and troubleshooting technique
-
Understand the impact of body movement on weld consistency. Locking your knees or holding a rigid posture can cause inconsistent weld beads. Slightly bend your knees to allow for smoother, more controlled movement while welding.
-
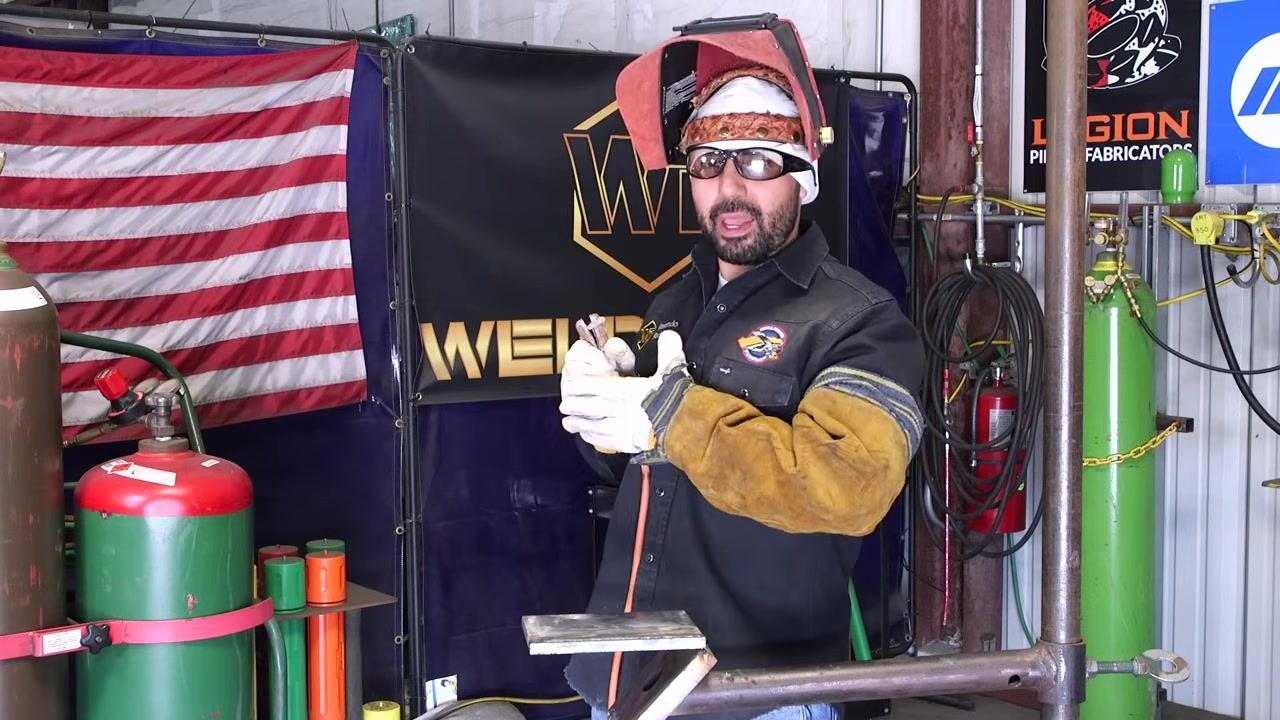
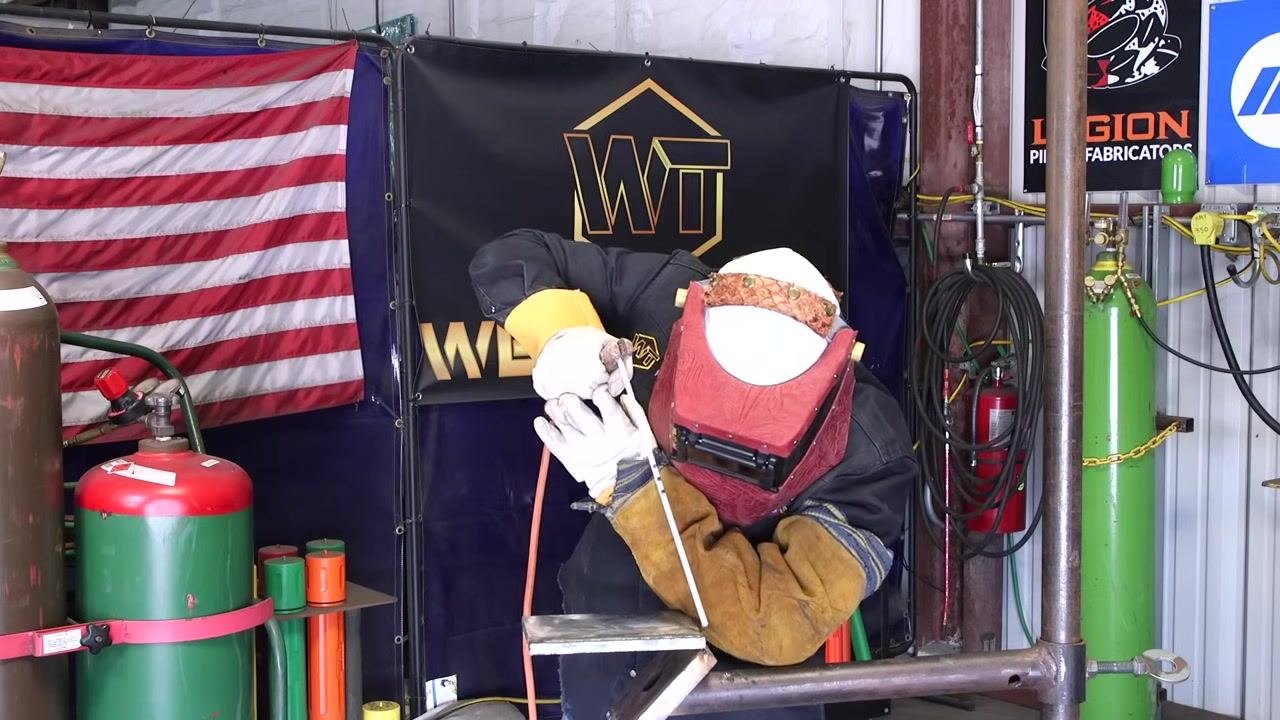
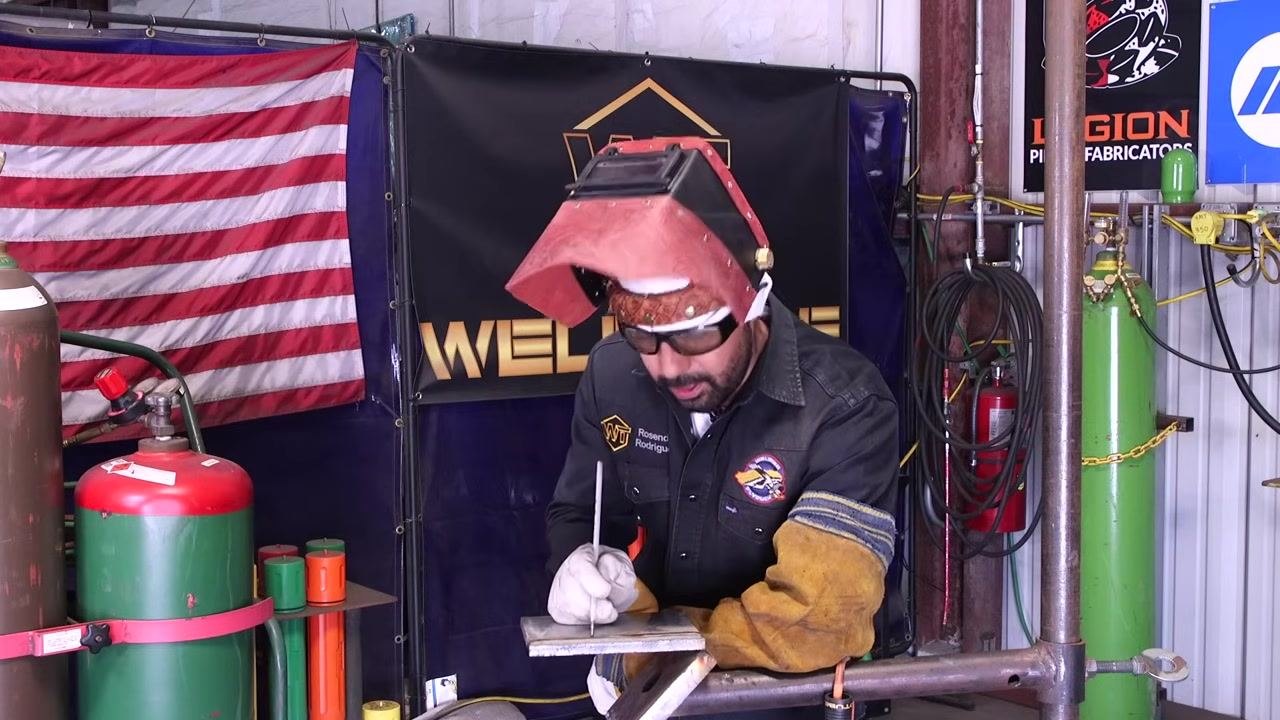
Adopt proper welding posture. Lean forward with your knees bent and maintain a stable stance. Position your face close enough to the workpiece to clearly see the weld puddle, but always keep your helmet down for safety. Hold the rod at a comfortable angle so your view of the weld line is unobstructed.
-
Begin welding with your focus on the puddle. Lower your helmet and strike an arc at the starting point of the weld. Watch the molten puddle closely as you move along the weld line, keeping your rod angle consistent and your movements steady.
-
Maintain visibility of the weld puddle. If you cannot see where you are welding, adjust your head position or the angle of the rod. Avoid blocking your view with your hands, arms, or helmet, and always focus on the puddle rather than just the rod or arc.
-
Adjust rod angle for better visibility. If your view is obstructed, change the angle of the stick rod to regain a clear line of sight to the weld puddle and joint. Continue feeding the rod smoothly, keeping it slightly below the toe line for optimal control.
-
Feed the rod consistently. Keep feeding the rod as you move along the weld line, maintaining the rod tip slightly below the toe line for a straight, even bead.
-
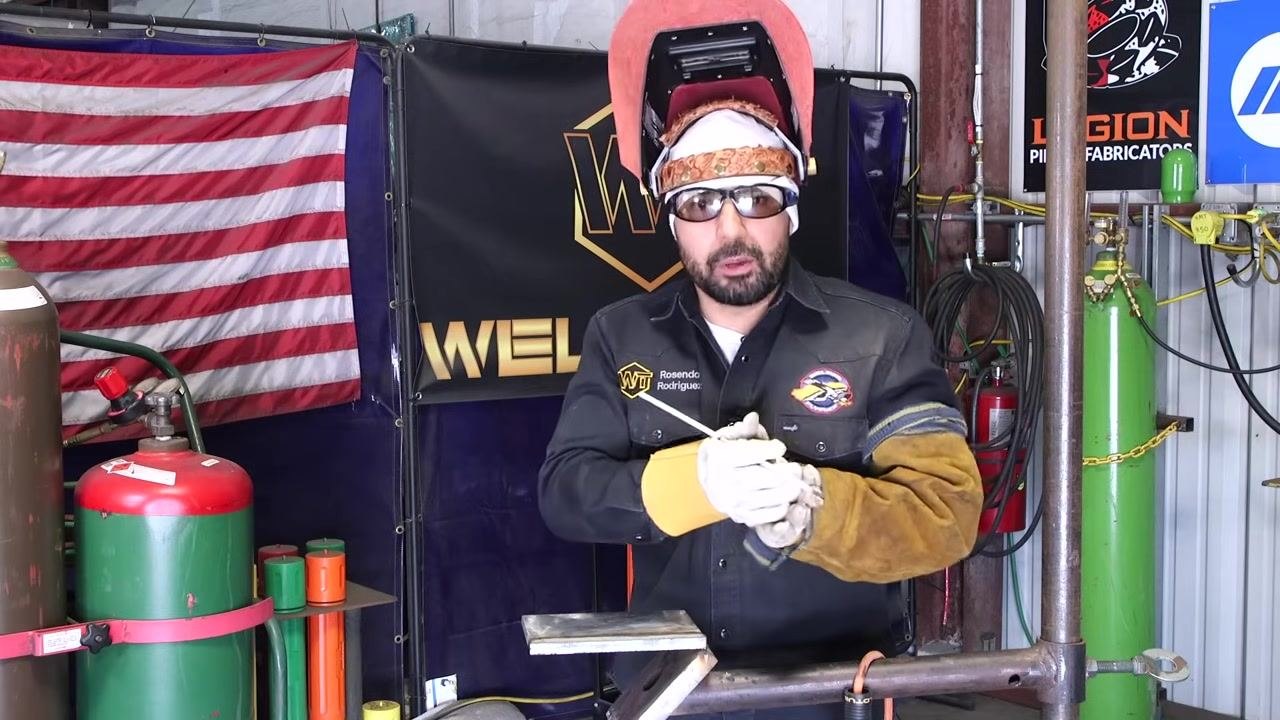
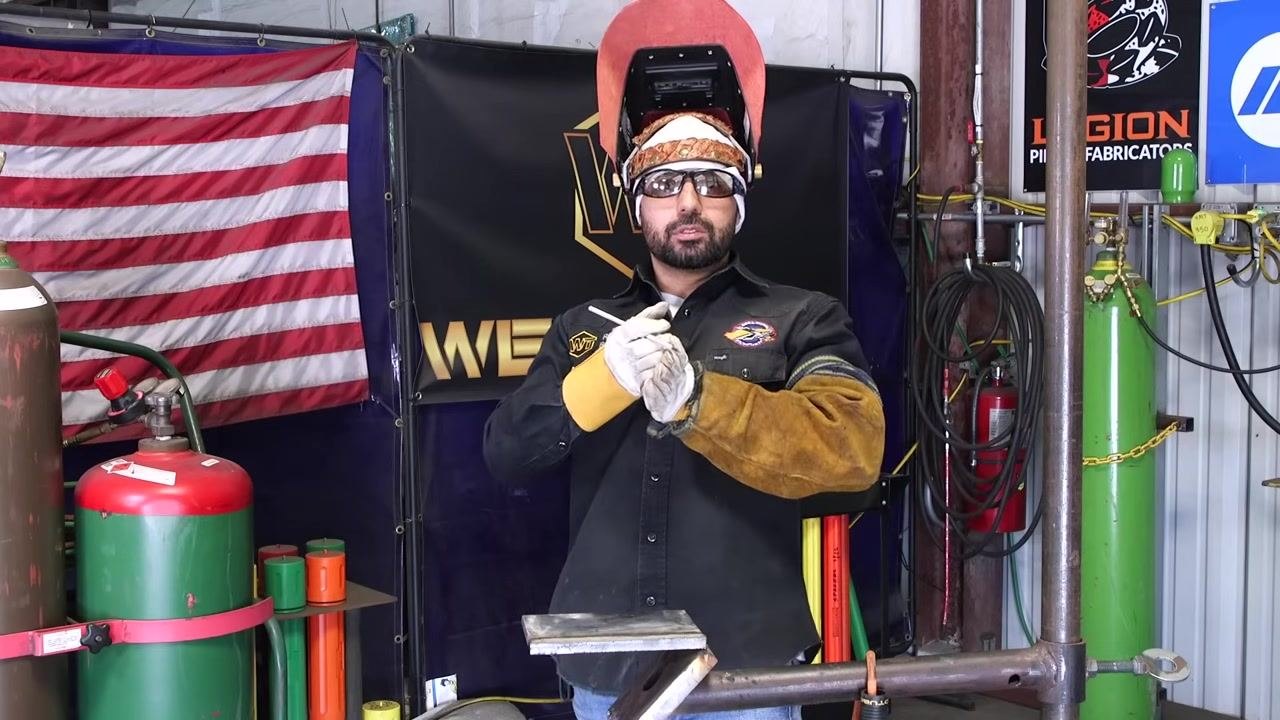
Inspect your weld bead for consistency. After welding, examine the bead for uniform width and appearance. Watch for signs of inconsistency, such as areas that are wide, then skinny, then wide again—these issues are often caused by inconsistent travel speed or poor rod control.
-
Troubleshoot common weld bead issues. If your bead varies in width, you may be moving too fast, then slowing down, then speeding up again. Strive for a steady, even travel speed throughout the weld.
-
Address arc length problems. If you notice porosity or other defects, check whether you are holding the rod too far from the workpiece (long arcing). Maintain a consistent, short arc length for best results.
Diagnosing weld bead issues and performing a proper restart
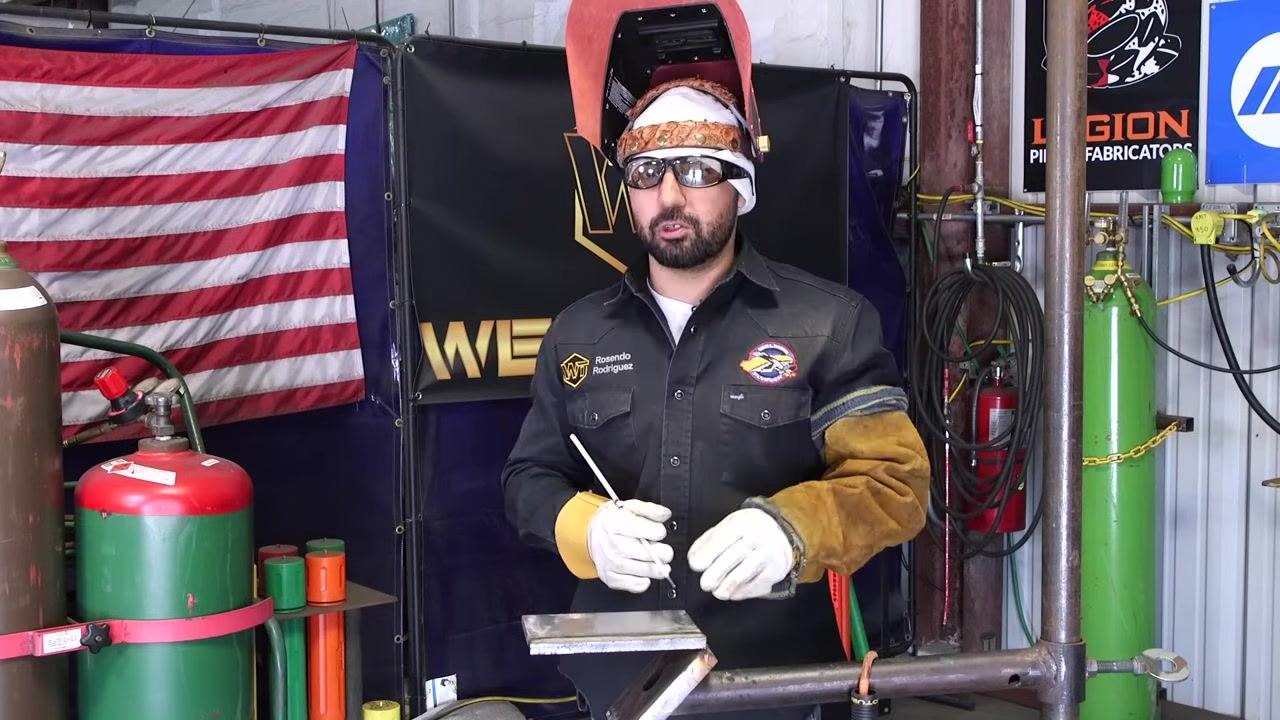
- Recognize insufficient metal deposition. Observe the weld bead to ensure you are depositing enough metal. If the bead appears thin or incomplete, you may not be adding enough filler material.
-
Reflect on your welding process. Stay aware of what you are doing while welding at every point. Welding without paying attention can lead to inconsistent results and leave you unable to identify what went wrong.
-
Prepare to lay another weld bead. Position your hands and rod as needed, ready to begin the next weld pass.
-
Identify issues with flux or slag. If you encounter poor weld quality, check whether flux is missing from the stick rod. Missing flux can cause defects in the weld bead.
-
Address weld defects and prepare for a restart. If you notice a bad weld due to missing flux or other issues, stop welding and prepare to restart at the problem area.
-
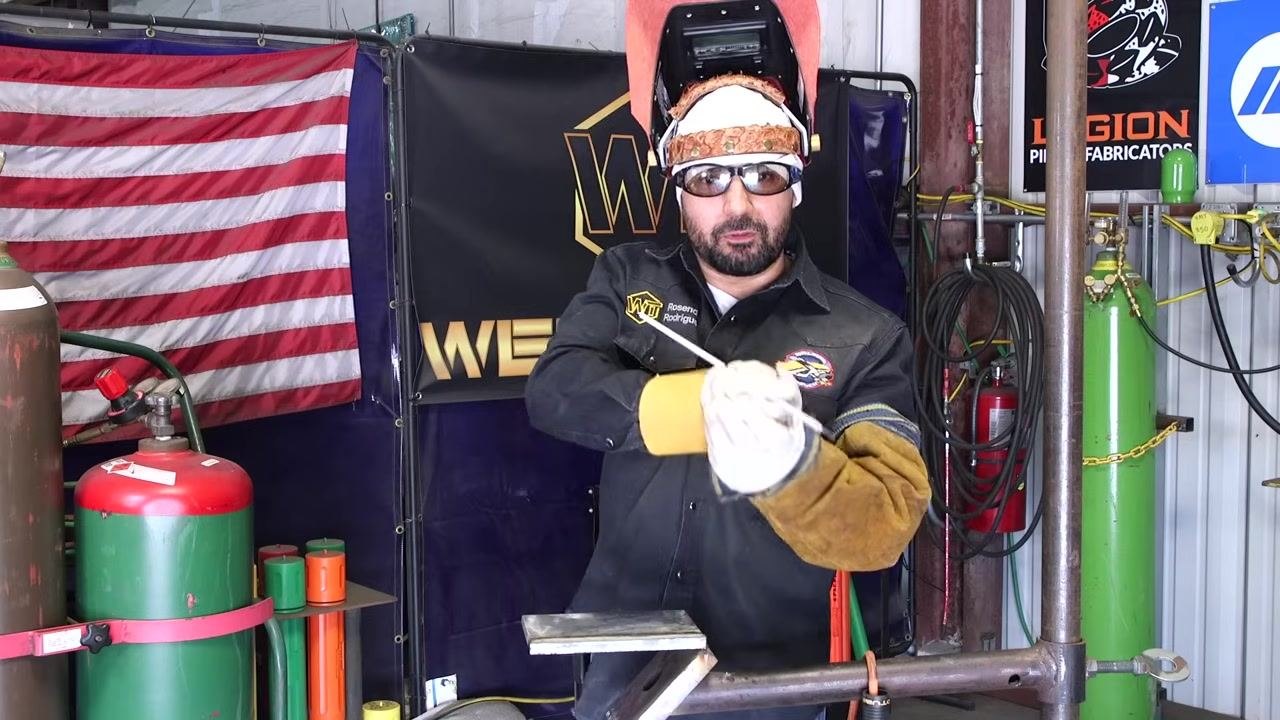
Understand the importance of a proper restart. There are multiple ways to restart a weld, but using a proper method ensures a strong, consistent bead.
-
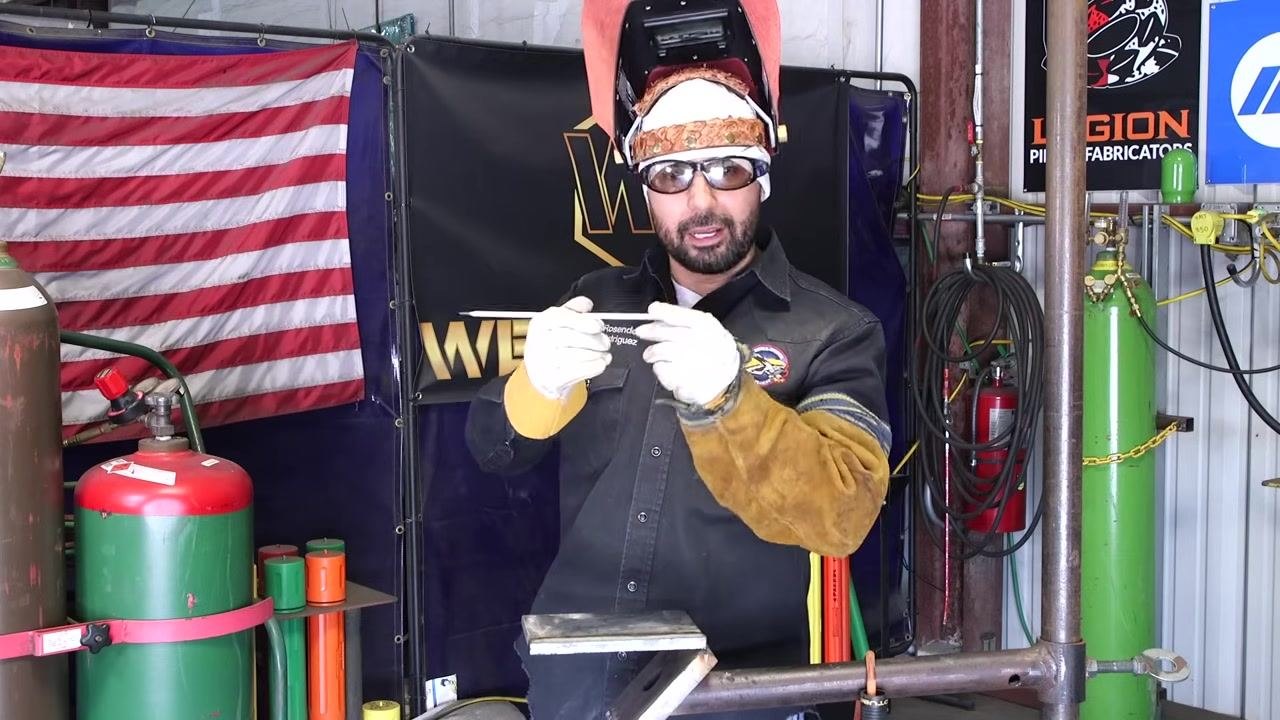
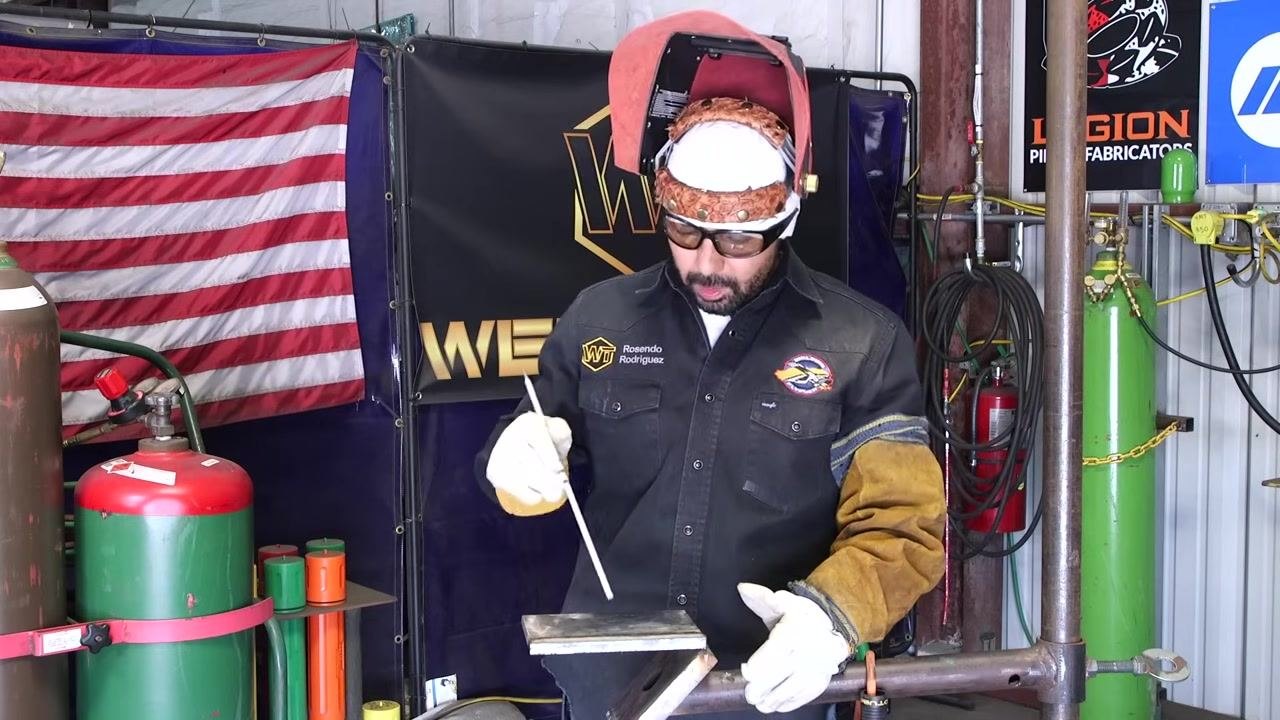
Ensure the rod is secure in the stinger. Before restarting, check that the welding rod is firmly secured in the stinger (electrode holder). A loose rod can cause an inconsistent arc and poor weld quality.
Laying a consistent weld bead and maintaining proper technique
-
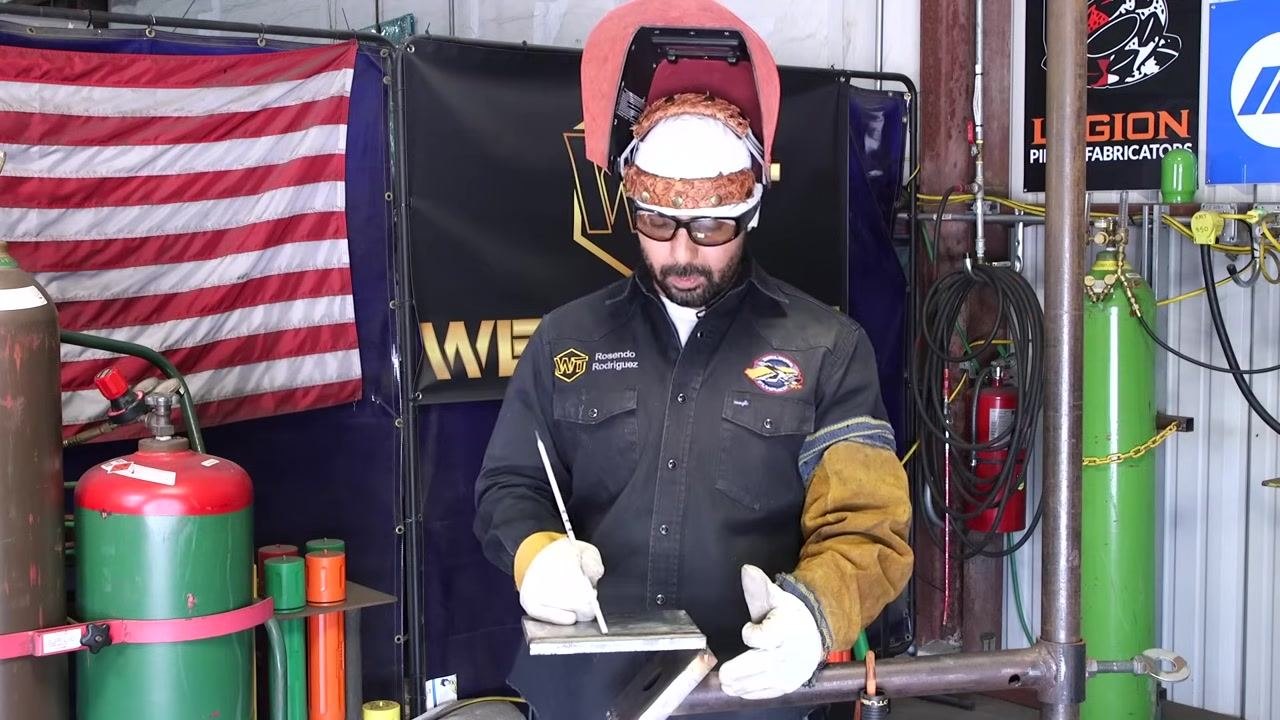
Plan your weld path. Decide to follow the toe line of your previous weld bead, and avoid placing the stick rod directly in the middle of the bead, as this can cause excessive overlap.
-
Position the rod for visibility and control. Hold the stick rod slightly below the guideline or toe line, not directly on top of it, so you can clearly see the line you intend to follow.
-
Focus on the weld puddle, not the rod. Watch the top part of the weld puddle as you move along the line, making sure the top of the puddle covers the guideline rather than the rod itself. This helps you maintain a straight, consistent bead without relying on a grinder-made guideline.
-
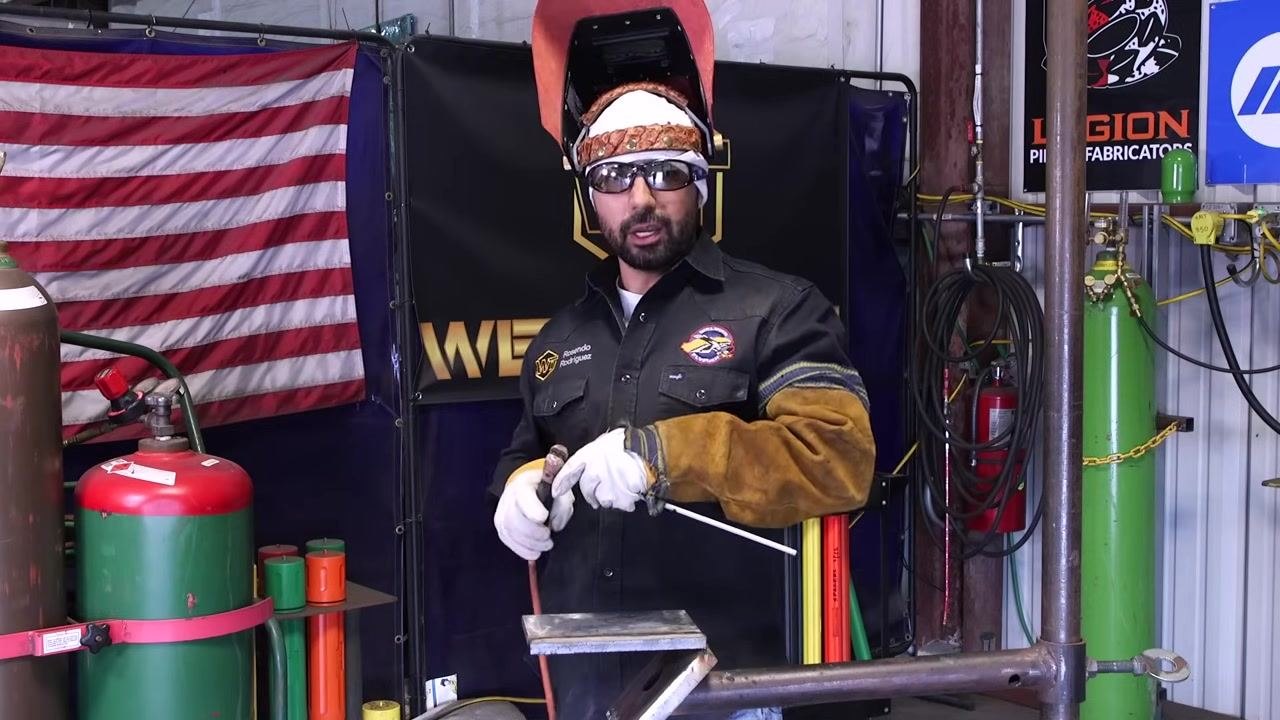
Use a grinder guideline if you are new to welding (optional). Create a visible grind line along the toe line of your workpiece. The grind line will appear shiny and form a small trench, making it easier to follow with your weld. Use this visual aid until you are comfortable welding without it.
-
Prepare to weld along the toe line. Focus your attention and prepare to follow the toe line carefully, maintaining a steady hand and a clear view of your work area.
-
Maintain proper body posture. Do not lock your knees while welding in a straight line. Slightly bend your knees to avoid cutting off circulation, which can cause you to sway or move inconsistently. Proper posture helps you lay down consistent, high-quality beads.
-
Check rod security before welding. Ensure the welding rod is firmly secured in the stinger before starting. A loose rod can snap or cause arc instability during welding.
Proper restart technique and arc control
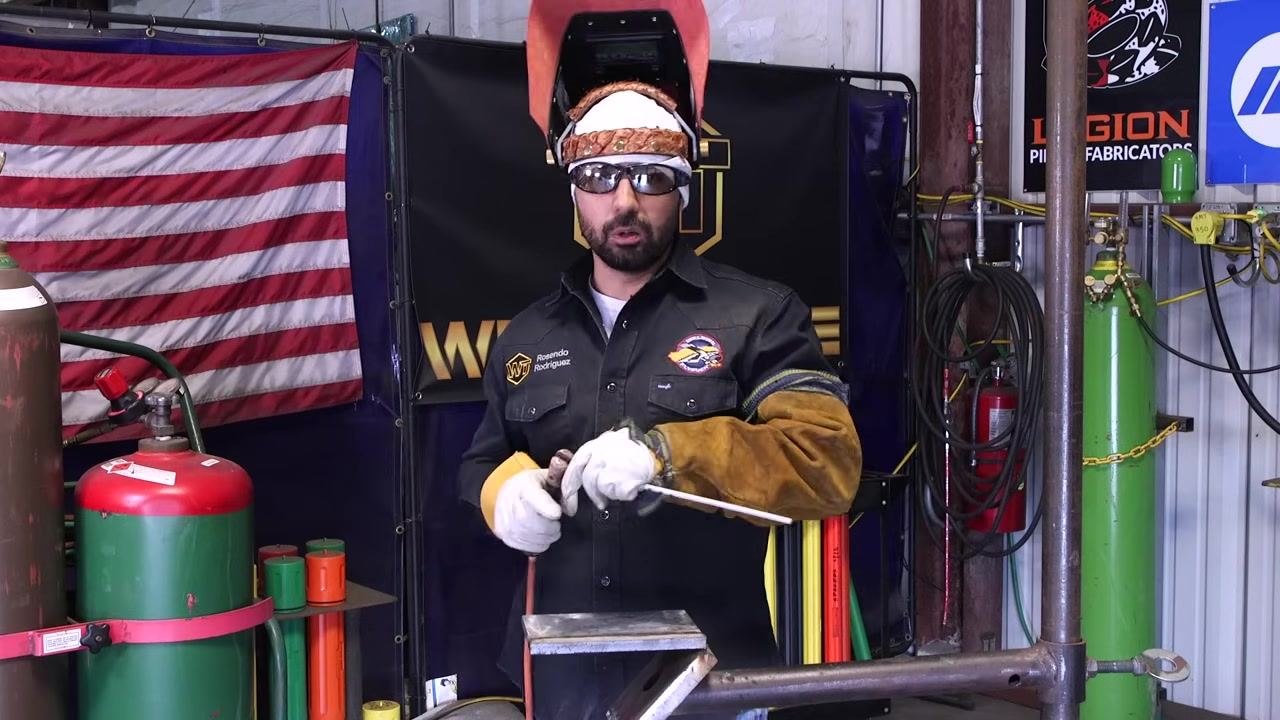
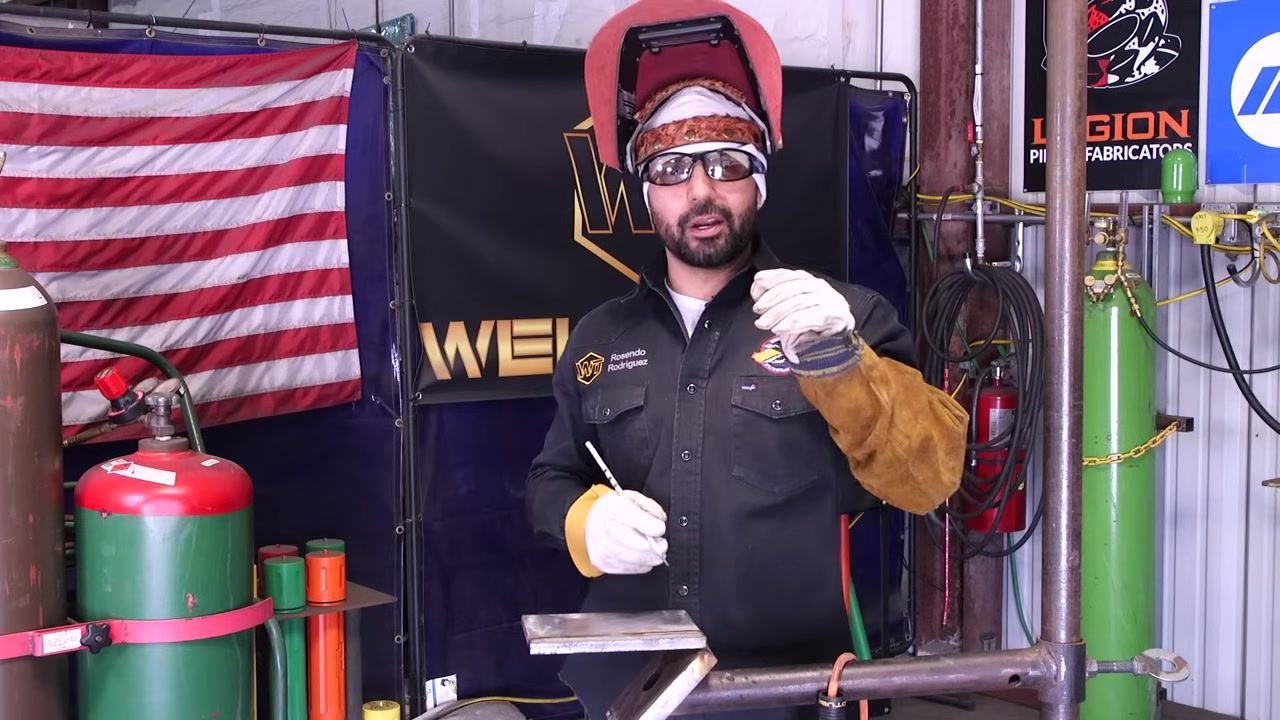
- Double-check your setup before starting to weld. Ensure all equipment is properly set up and secure, inspect your work area for safety and readiness, and confirm that your welding rod and torch are correctly positioned. Failing to check can result in porosity, requiring you to restart the weld.
-
Inspect the grooves and fit-up. Examine the grooves in your workpiece to ensure they are clean and properly aligned, then place the welding rod into the groove, ensuring it fits snugly.
-
Position your body correctly for welding. Adjust your stance and body placement for stability and control, lower your welding helmet, and lean in close to the workpiece for better visibility and control before you begin the weld.
-
Restart the weld at the correct distance. If a restart is needed, begin about 1/2 inch to 1 inch away from the previous stopping point. Hold the welding rod at the correct angle and prepare to strike an arc—starting at the right distance avoids excessive buildup.
-
Control arc length and travel speed. Maintain a tight arc to prevent porosity and excessive buildup. Avoid spending too much time in one spot, as this can cause too much weld metal to accumulate.
-
Practice consistent arc control. Keep the arc tight and steady as you move along the weld. Do not feed too much metal into the plate; maintain a consistent pace. Consistent arc control takes practice and is essential for quality welds.
-
Feed metal evenly through the plate. Ensure the weld bead is uniform and penetrates all the way through the joint. Achieving a consistent weld takes practice and patience.
-
Perform a proper restart. Strike the arc at the restart point and continue welding smoothly—a proper restart is achievable with careful technique.
Final welding tips and visibility
-
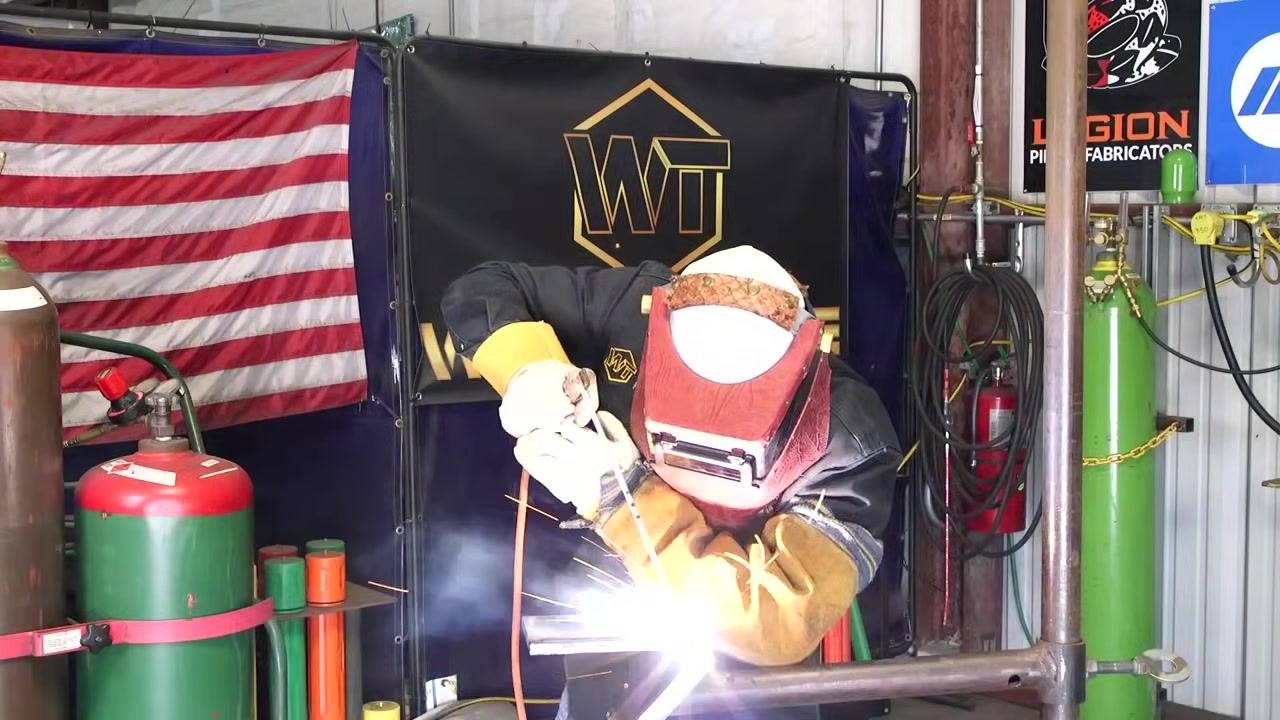
Finish the weld with active, controlled technique. Resume welding using proper body positioning and technique. A bright welding arc and visible sparks are normal—maintain correct posture and safety practices throughout.
-
Clean up the weld with an angle grinder. Use an angle grinder to clean up the finished weld bead. Wear full PPE, including gloves, jacket, and helmet, while grinding, and keep your workspace organized.
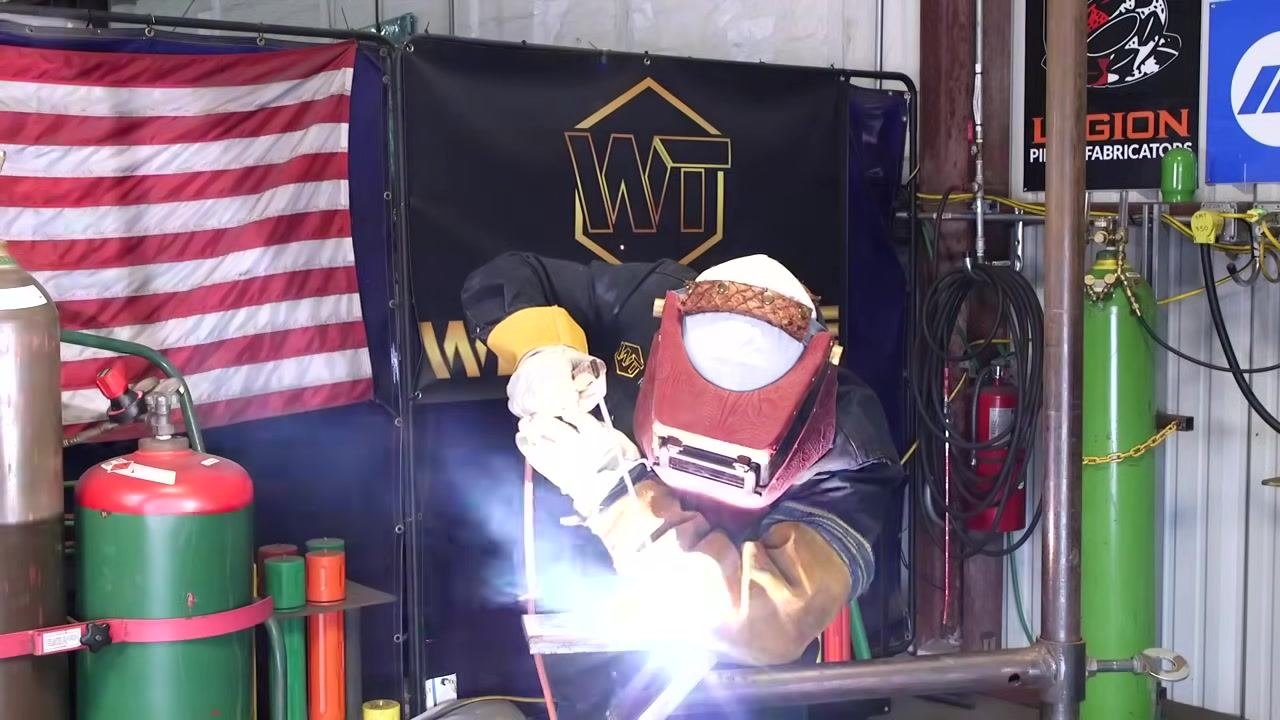
- Maintain visibility while welding. If you cannot see where you are welding, you risk making mistakes. Move with your hands and rod to keep a clear view of the weld pool, especially toward the end of the weld. If the stick rod is blocking your view, adjust your angle or lower your head slightly to see in front of the rod.
Verification
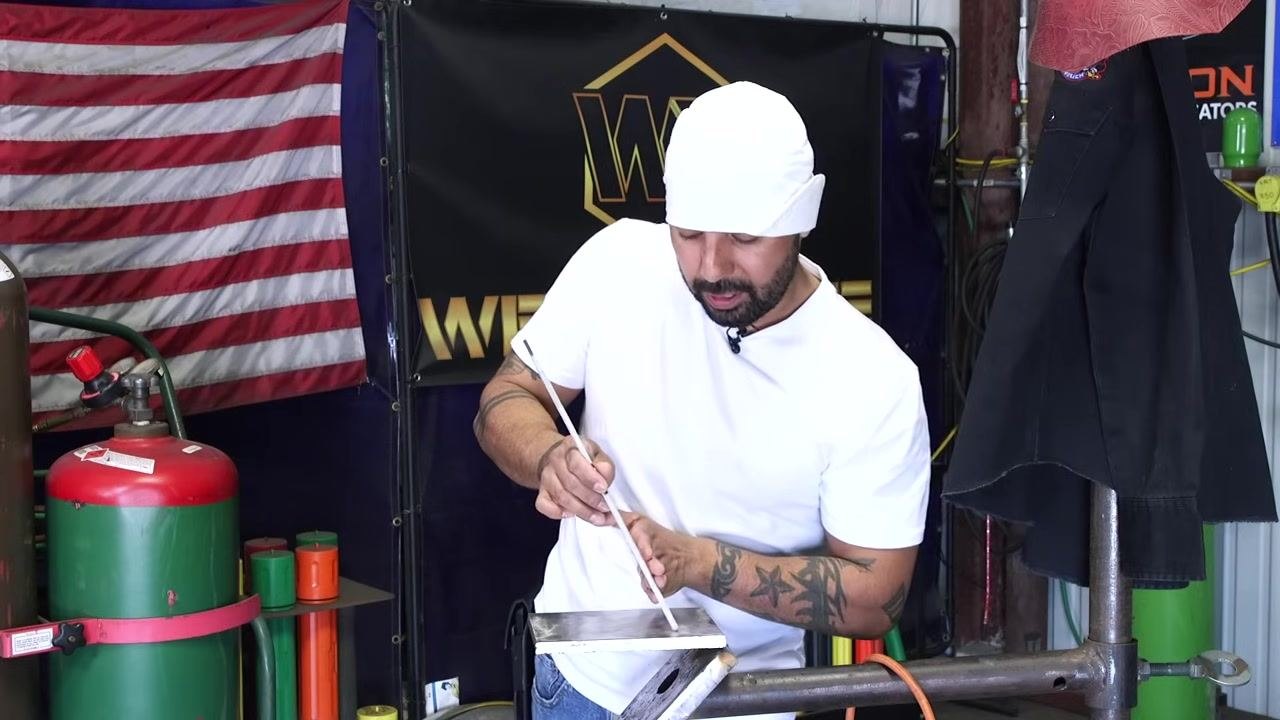
Before you consider a weld complete, confirm the following:
- The rod angle stayed within 10–15 degrees throughout the pass.
- Rod-to-plate contact stayed within 1/32" to 1/16" (roughly 1/16" during active welding), avoiding both excessive spatter and long arcing.
- The weld puddle remained a consistent size for the full length of the bead.
- The bead width is uniform, without alternating wide and skinny sections.
- The rod was fed slowly and steadily, never forced, and travel speed stayed consistent from start to finish.
- Flux coating was present on the rod, and no porosity or defects appeared from missing flux or long arcing.
- Any restart began 1/2 inch to 1 inch from the previous stopping point, with a tight arc and no excessive buildup.
- The rod was secure in the stinger before each pass, and knees stayed slightly bent rather than locked.
- Full PPE—gloves, safety glasses, welding jacket, and a properly shaded helmet—was worn throughout.
Key reminders
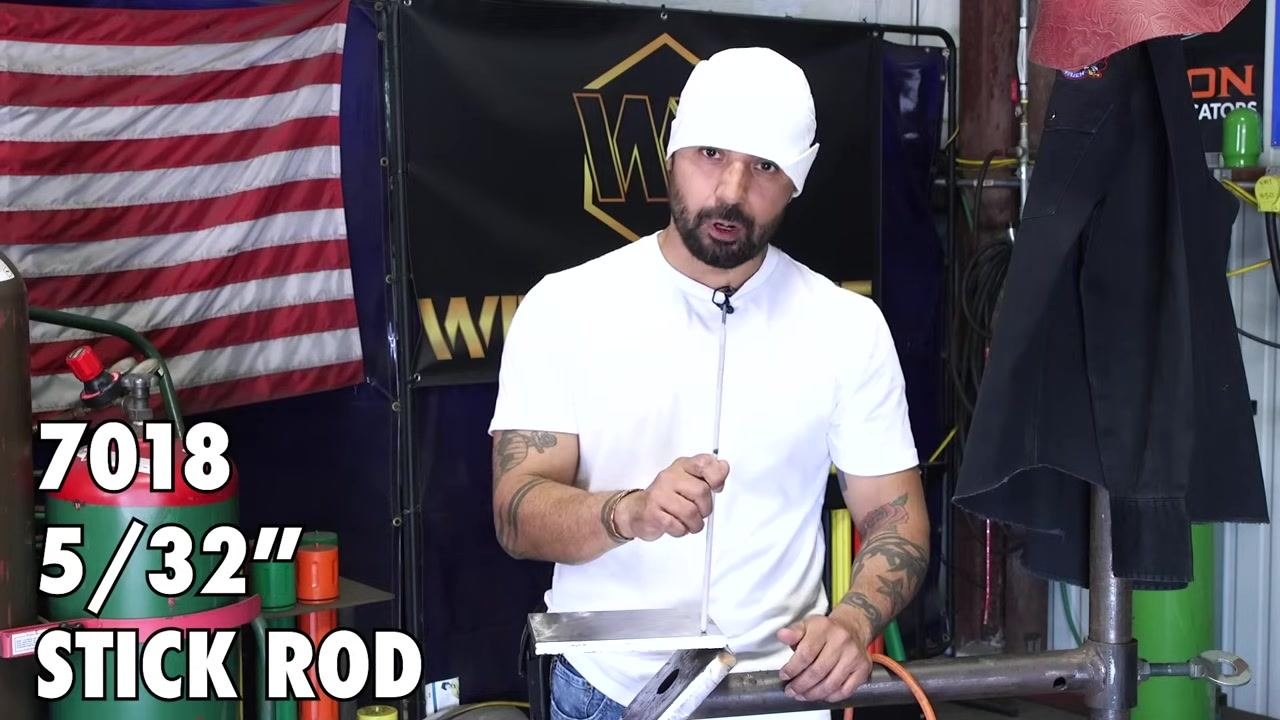
- Use a 7018 5/32" stick rod at approximately 190 amps, adjusting slightly to your comfort level.
- Maintain a 10–15 degree rod angle and a 1/32"–1/16" gap between the rod and the plate.
- Feed the rod into the puddle steadily, and focus on the puddle rather than the rod itself.
- Use the plate edge (5/32" to 3/16" gap) or the toe line of the previous bead as your visual guide, with an optional grind line for beginners.
- Keep your knees slightly bent and your posture relaxed to avoid swaying or inconsistent movement.
- Check that the rod is secure in the stinger before every weld and every restart.
- Restart 1/2 inch to 1 inch from the previous stopping point with a tight, consistent arc.
- Always wear full PPE, and adjust your head or rod angle whenever your view of the puddle is blocked.
Generation details: cost, quality tiers
Docsie billed 7,000 credits ($4.90) to analyze this 14-minute video at standard quality. The rewrite, template fill and Word/PDF exports were included. The same video at each quality tier:
| Quality | Frames sampled | Credits | Approx. cost |
|---|---|---|---|
| Draft | every 16-30 s | 3,500 | $2.45 |
| Standard (this guide) | every 8-15 s | 7,000 | $4.90 |
| Detailed | every 4-7 s | 14,000 | $9.80 |
| Ultra | every 1-3 s | 28,000 | $19.60 |
Credits priced at $0.70 per 1,000; plans include a monthly allowance. Enterprise customers on on-premise or bring-your-own-model deployments run this on their own inference and pay no per-video credits.
Generated by Docsie Video-to-Docs on 2026-09-14 from a 13-minute video. Screenshots are frames from the source video and belong to their creator, WeldTube, whose original is embedded above. If you own this video and want the guide removed or credited differently, contact us and we will act within one business day.