
How to Splice a Conveyor Belt
This procedure explains how to splice a conveyor belt by cutting it to the correct length, preparing the cut edge, and installing and lacing the belt hooks. Follow each step in order to produce a properly squared, evenly laced belt ready for installation.
Video: Conveyor Belt Cutting and Lacing using the Clipper Roller Lacer by 36\18 Alaskan\Florida Life (2020). All credit for the demonstration goes to the creator; watch the original on YouTube. The written guide below was generated from this video by Docsie. Creator? Request a change or removal.
This procedure explains how to splice a conveyor belt by cutting it to the correct length, preparing the cut edge, and installing and lacing the belt hooks. Follow each step in order to produce a properly squared, evenly laced belt ready for installation.
Purpose
This document provides step-by-step instructions for cutting a conveyor belt to a specified length and completing a mechanical lacing splice using a belt cutter and lacing machine.
Scope
This procedure applies to conveyor belts that require cutting to length and mechanical lacing (hook-style) splicing, including both smooth and rough/ribbed belt textures.
Required equipment and PPE
- Tape measure
- Marker
- T-square (for squaring the belt)
- Belt cutter with adjustable handles
- Skeeving tool (for rough-textured belts)
- Utility knife (for ribbed belts)
- Lacing machine with belt hooks
- Safety gloves
- High-visibility vest
Gather tools and put on PPE
Obtain the tape measure, marker, t-square, and belt cutter before starting. Put on safety gloves and a high-visibility vest before handling the belt or equipment.
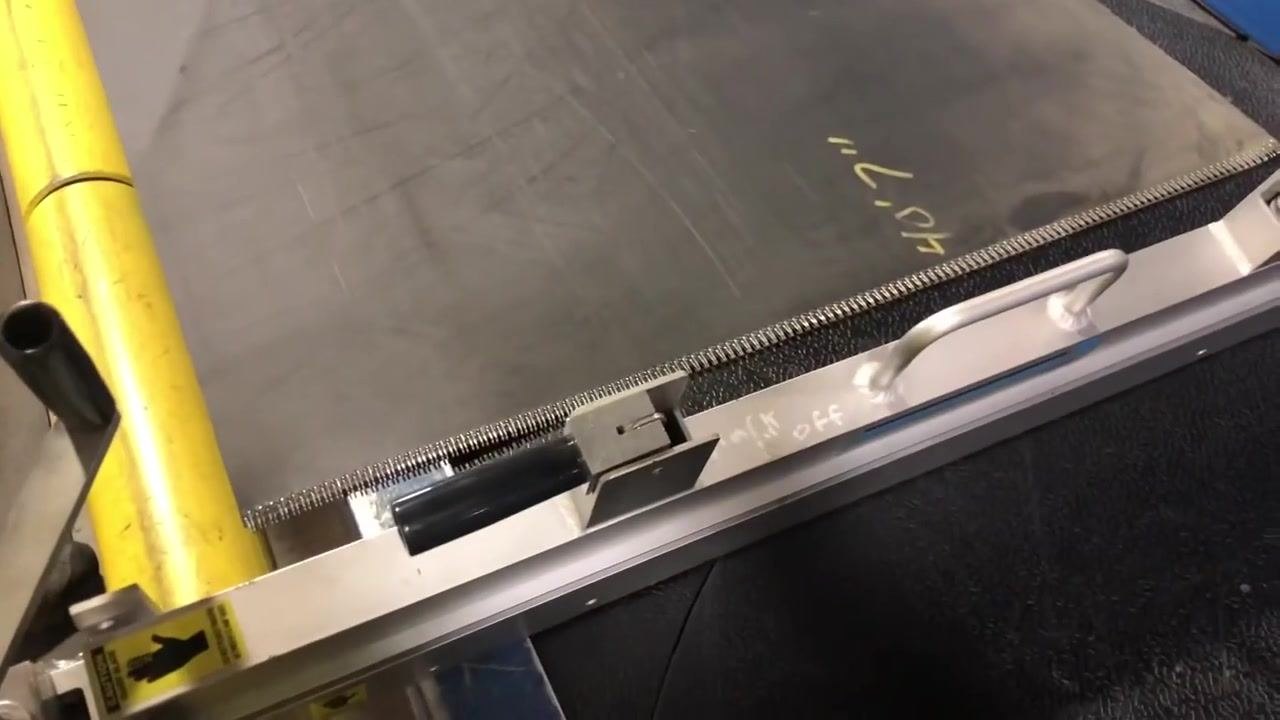
Mark the desired belt length
Decide on the final belt length required. In this example, the target length is 96 inches. Measure out 97 inches — one inch longer than the desired length — and mark this point clearly with the marker. Make a second mark at the actual desired length (96 inches) for reference.
Square the mark using a t-square
Place the t-square so it aligns with the marks you made, ensuring it is perfectly perpendicular to the edge of the belt. Draw a straight, squared-off line across the belt at the 97-inch mark.
Double-check alignment
Confirm that the t-square and marks are positioned one inch longer than the desired belt length. Verify that the line is straight and clear before proceeding to cut.
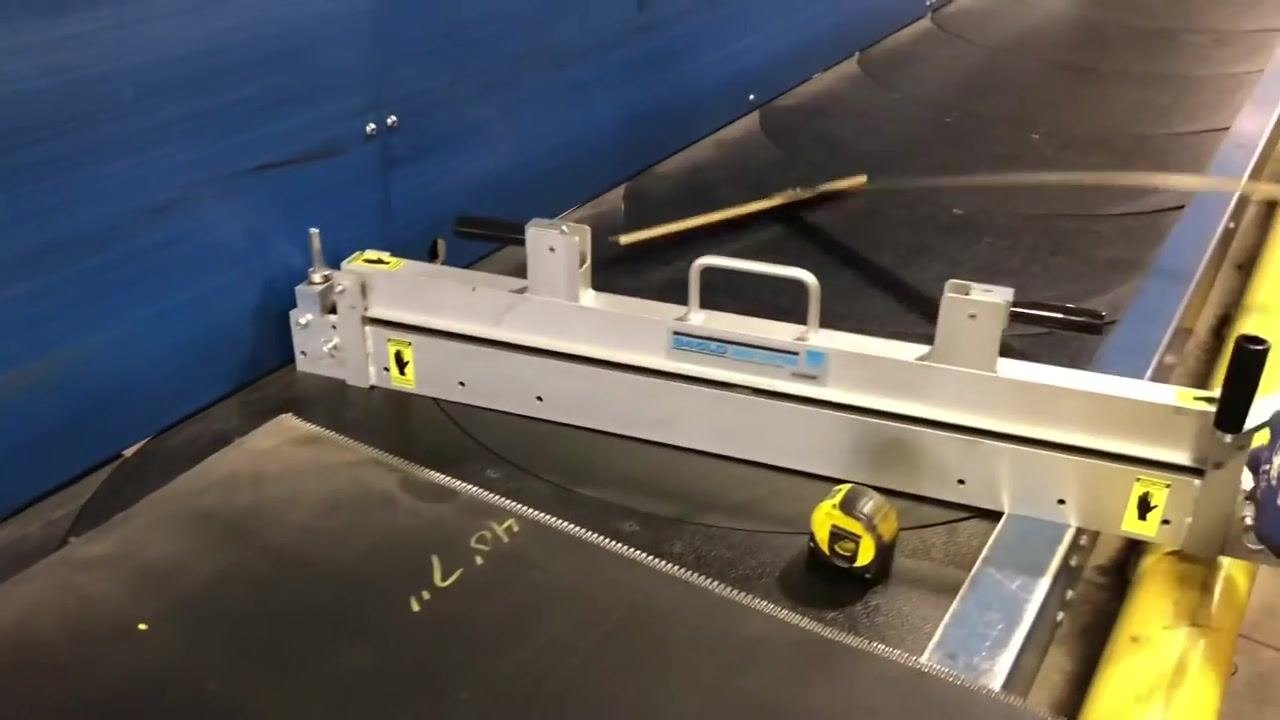
Prepare the belt cutter
Adjust the cutter handle to either side for comfort and accessibility. Pull out both locking pins from the cutter and lift the top piece to open the track. Confirm the cutter head is not obstructing the track and that it is free and clear.
Position the cutter on the belt
Place the cutter over the belt, aligning the cutting edge with the marked line. Lower the top piece of the cutter back into place and reinsert the locking pins to secure it.
Perform a final alignment and safety check
Confirm the cutter head is not in the way and the track is clear. Double-check that the cutter is precisely aligned with the marked line before locking it down.
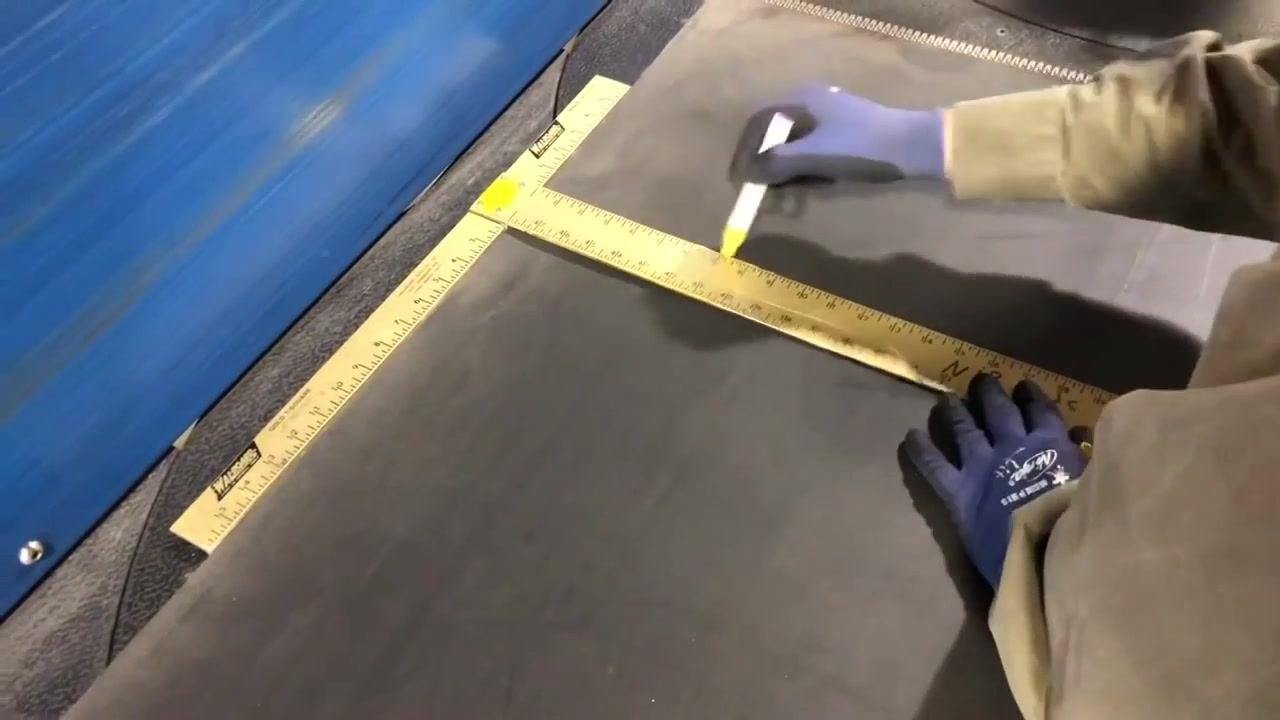
Secure the cutter
Tighten any adjustment handles or knobs to lock the cutter in place. Confirm that all safety features are engaged and the cutter is stable before cutting.
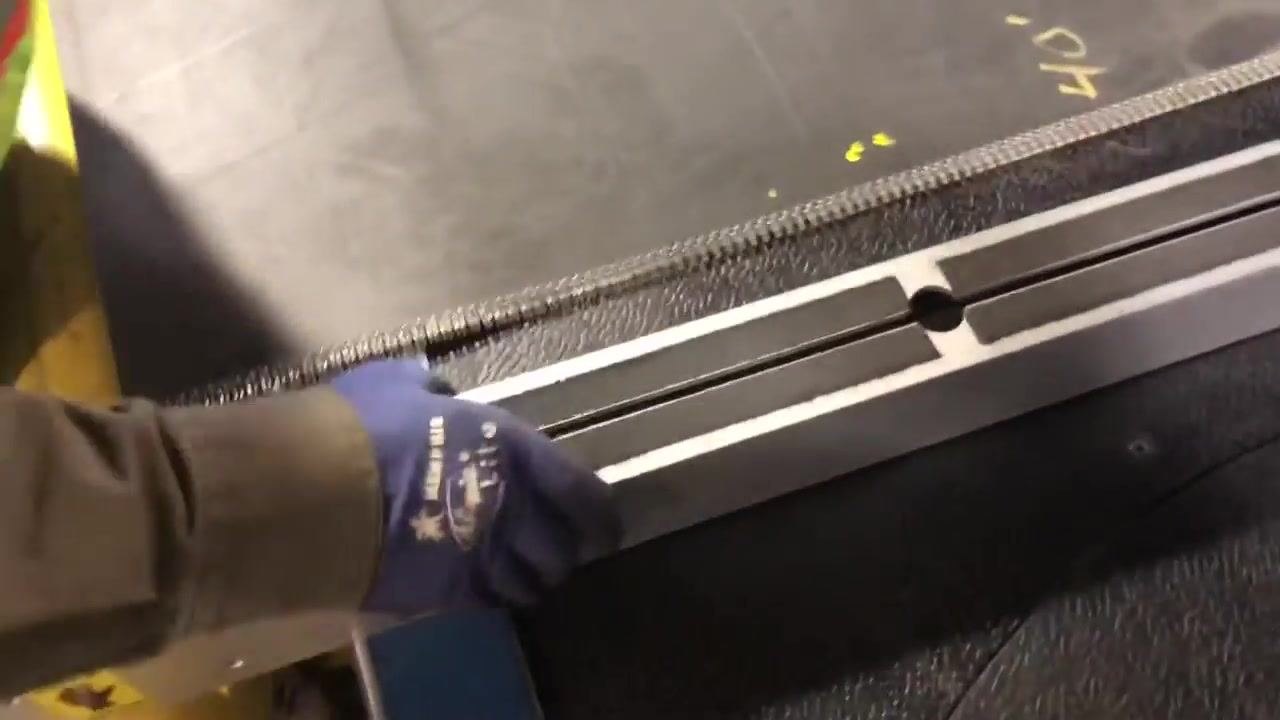
Confirm readiness to cut
Verify that the belt and cutter are properly set up for the cutting operation. Ensure all personnel are clear of the cutting area before proceeding.
Clamp and cut the belt
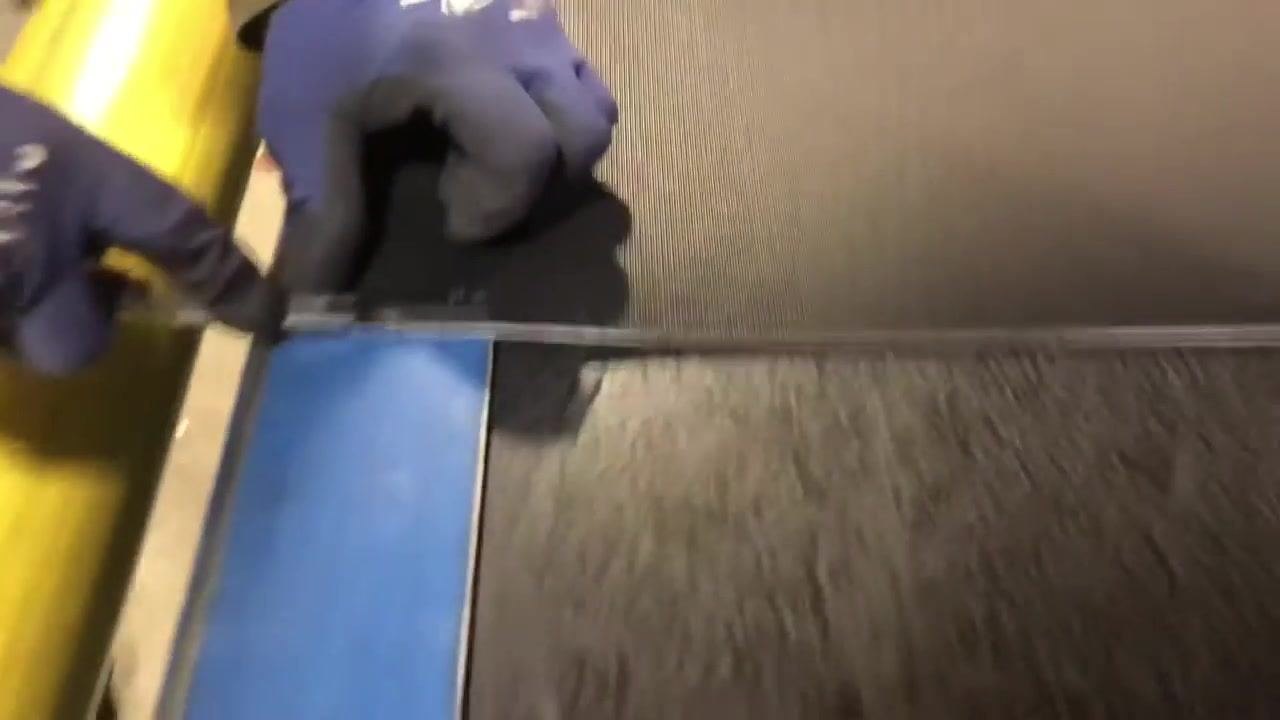
Confirm the belt is squared and aligned at the marked line, then clamp the belt cutter securely onto the belt. Rotate the cutter handle to perform the cut, applying steady pressure.
Release the cutter and remove the cut section
Open the clamps on the cutter and carefully remove it from the belt. Pull the cut belt section away — the remaining belt should now be one inch longer than the final desired length.
Skeeve the edge of a rough-textured belt
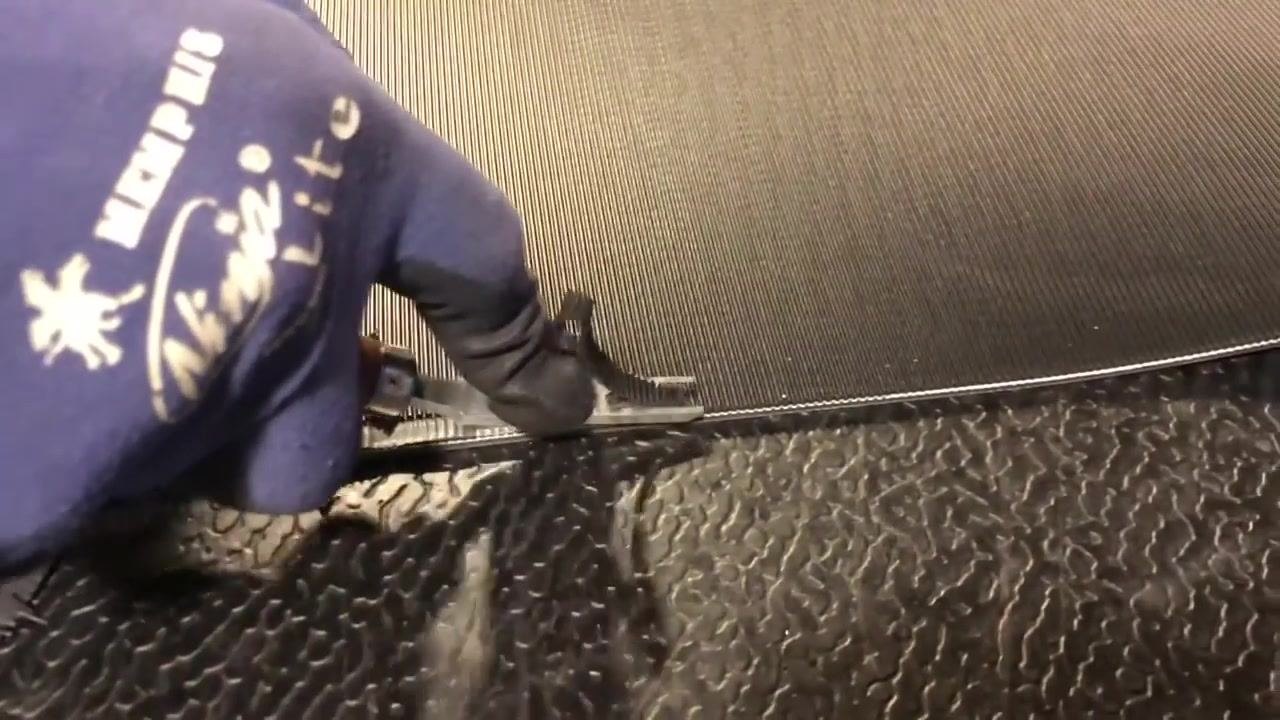
If the belt has a rough or ribbed texture, use a skeeving tool to remove the ribs along the cut edge. Hold the tool firmly and run it along the entire edge of the belt to remove all bumps. This step ensures the belt hooks will attach securely.
Trim the rib on ribbed belts
For belts with a rib, cut it at an angle approximately one inch back from the front edge. Use a utility knife to trim the rib so it sits flush with the belt's front end.
Install hooks in the lacing machine
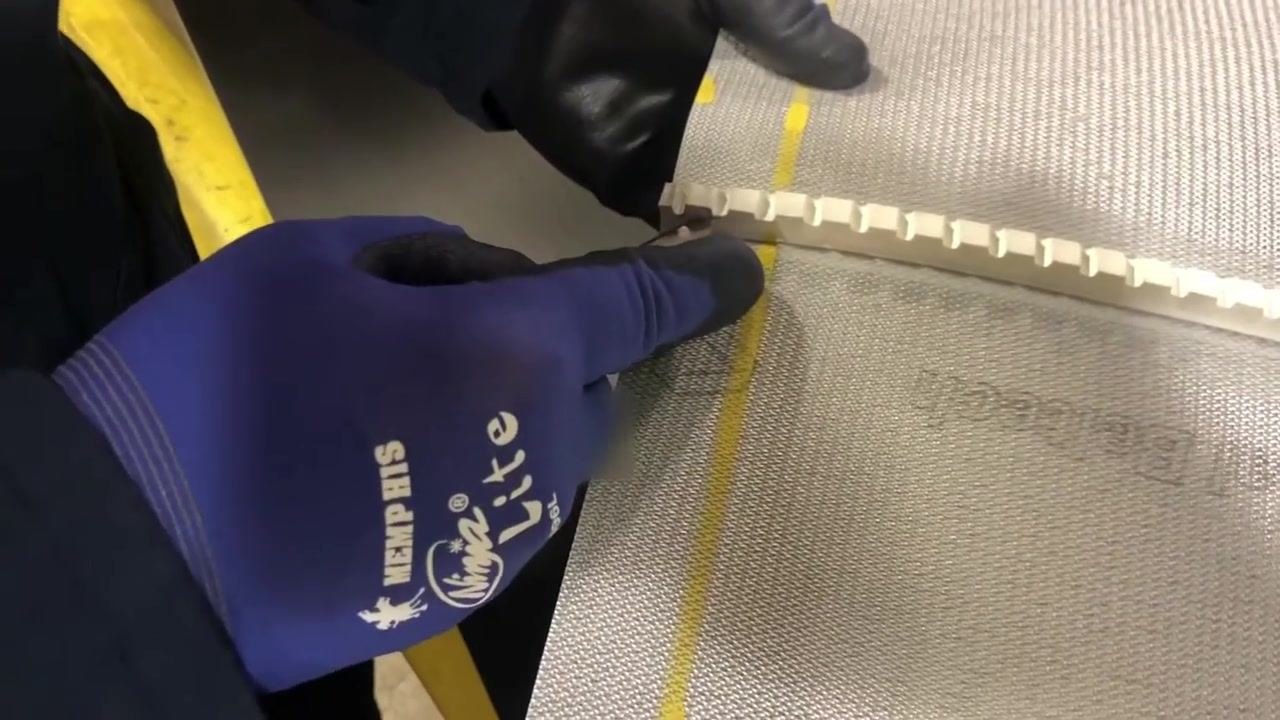
Insert the belt hooks into the lacing machine, ensuring all hooks are properly seated with the lettering facing up and readable.
Correct any misoriented hooks
If any hook is face down with the lettering not visible, remove it from the lacing machine and reinsert it with the lettering facing up.
Reinsert and secure hooks
Place the corrected hook back into the lacing machine, pushing it in from the appropriate end so it is fully seated and aligned with the other hooks.
Clear paper from the lacing area
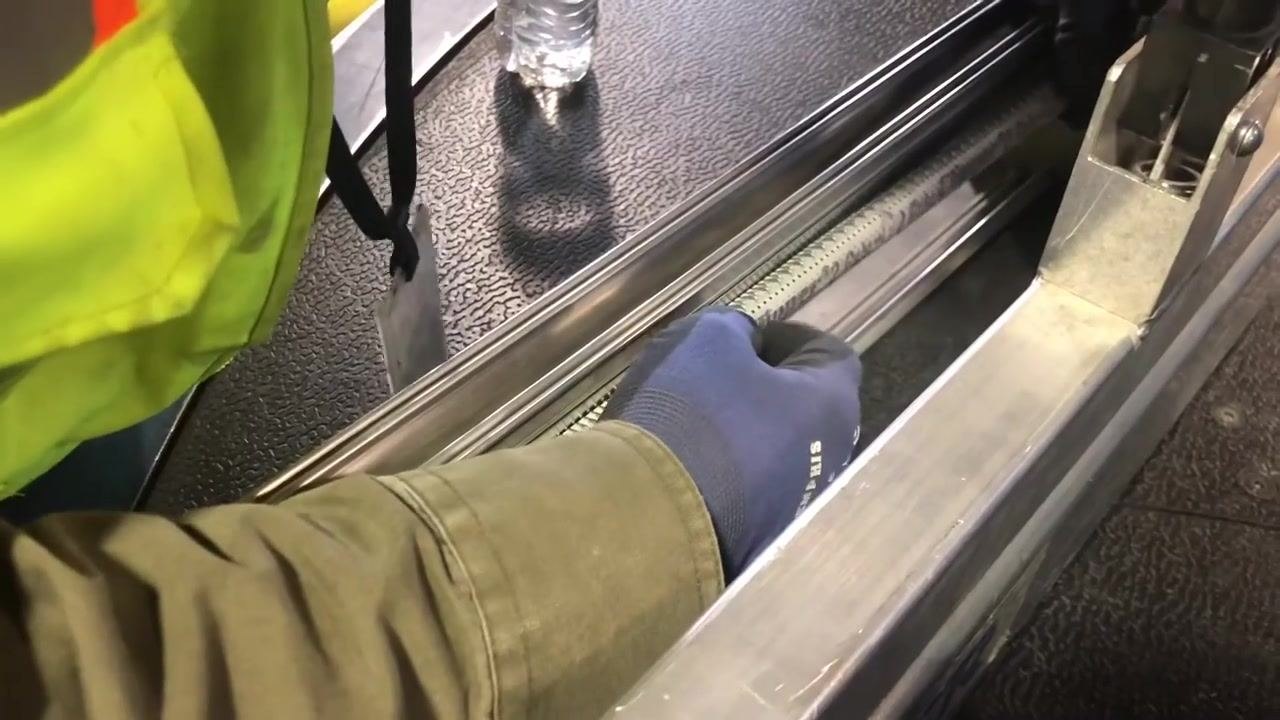
Pull out any paper or packaging material from the lacing area to prevent interference with the lacing process.
Remove remaining paper before belt insertion
Squish any remaining paper together to make it easier to grip, then pull it out completely from the lacing area.
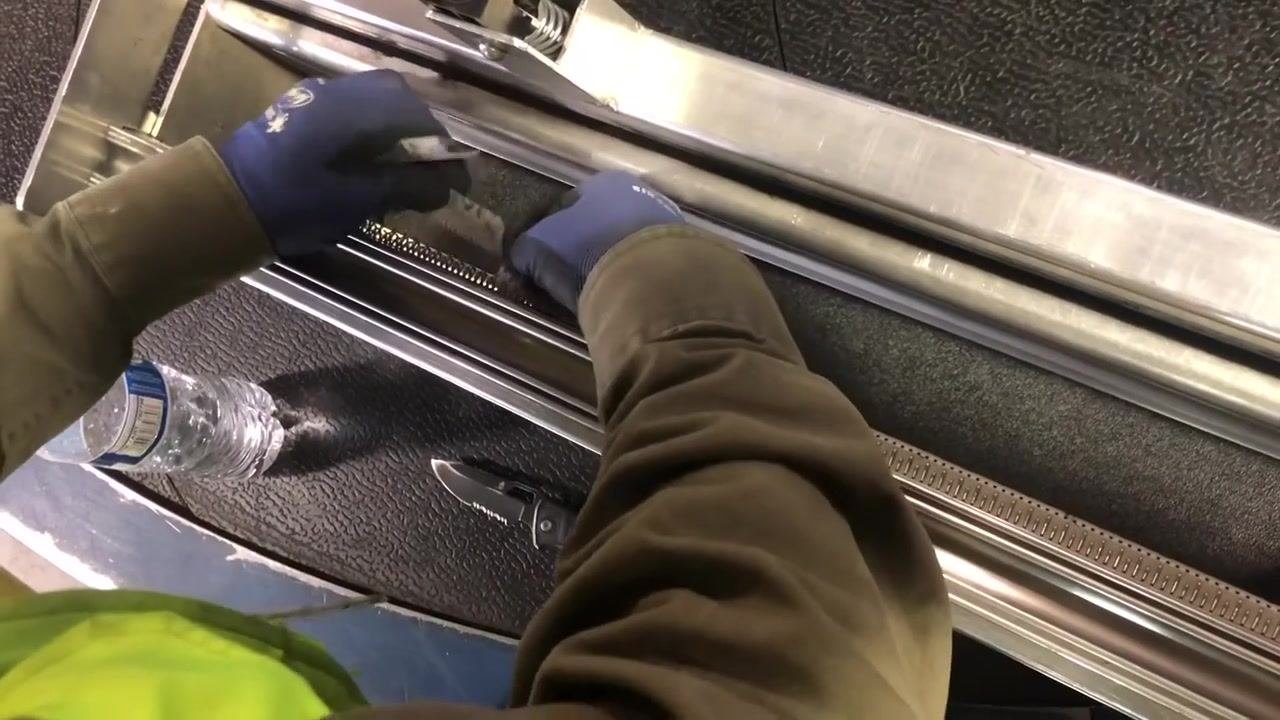
Prepare the lacing machine for belt insertion
Ensure the lacing machine holding handles are in the open, disengaged position. These handles are responsible for holding the belt in place during lacing.
Insert the belt into the lacing machine
Feed the prepared belt into the lacing machine, aligning it with the installed hooks. Make sure the belt is not caught on any hooks, especially underneath, and adjust it so the gap between the hooks and the belt is as tight as possible.
Engage the handles to secure the belt
Once the belt is properly positioned, lock down the handles to secure it in place.
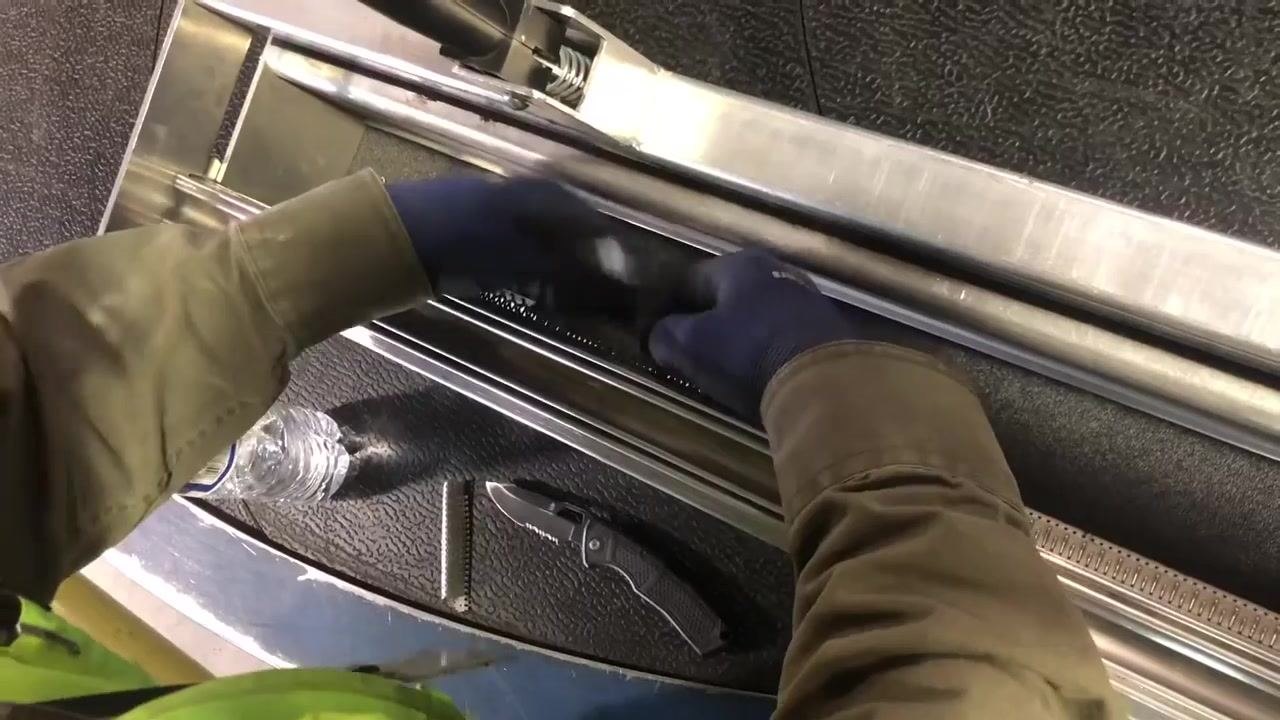
Confirm the belt is fully seated
Double-check that the belt is fully down in the lacing channel and not misaligned. The belt should be flush and tight against the hooks.
Close the rollers
Adjust the rollers on the lacing machine so they are just barely touching the belt and hooks. Do not overtighten; the rollers should only make light contact.
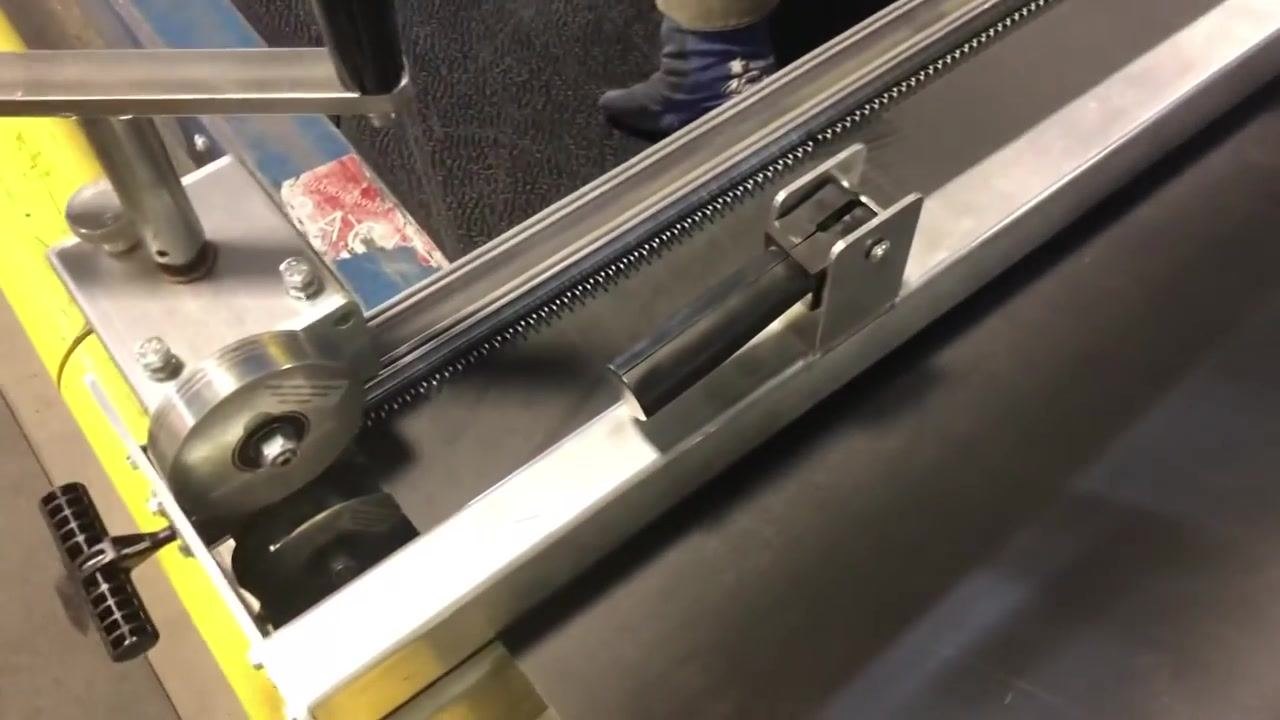
Lace the belt
Turn the handle on the lacing machine to lace the belt, moving it back and forth over the lace and tightening it a few turns at a time. Alternate directions to ensure even and secure lacing.
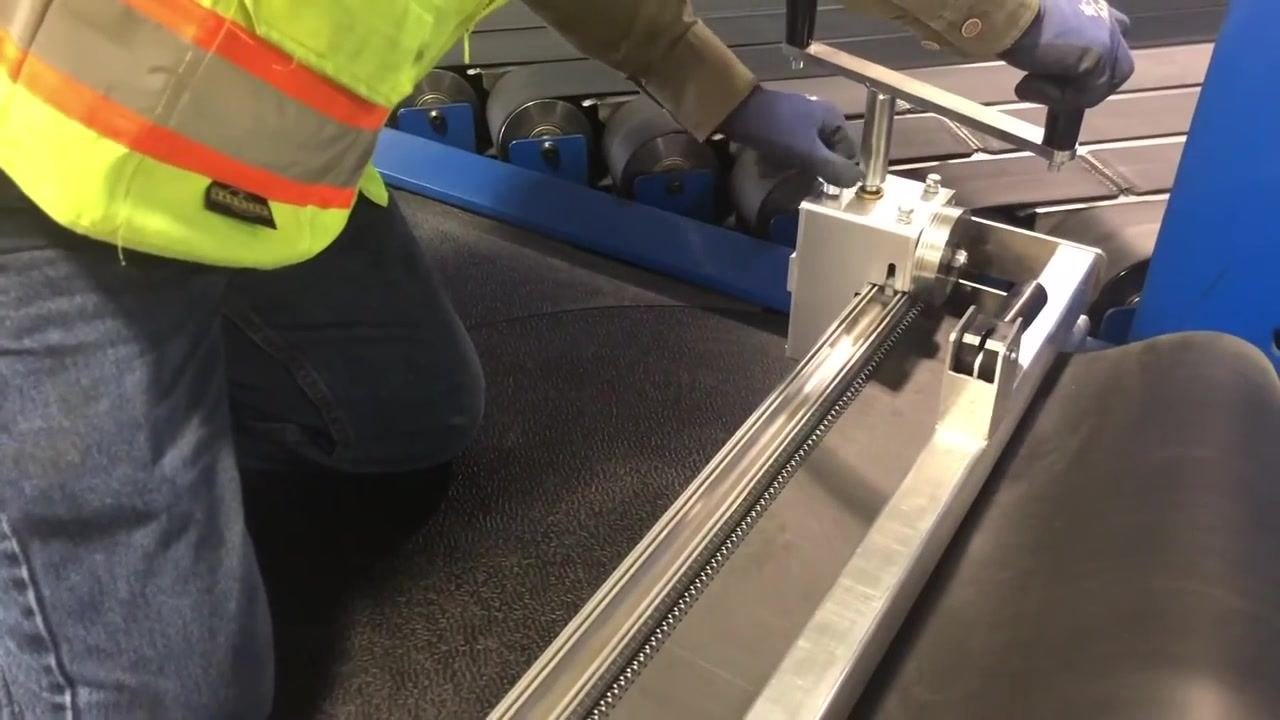
Prepare to inspect the lacing
As lacing nears completion, get ready to check your work. Ensure the lacing machine is still securely holding the belt in place.
Position yourself for inspection
Kneel or position yourself beside the lacing machine for a clear view of the laced area. Wear protective gloves to avoid injury from sharp edges or hooks.
Visually inspect the lacing
Examine the laced section of the belt closely for misaligned hooks, gaps, or uneven tension. Confirm the belt is seated properly in the lacing channel and that the hooks are fully engaged with the belt edge.
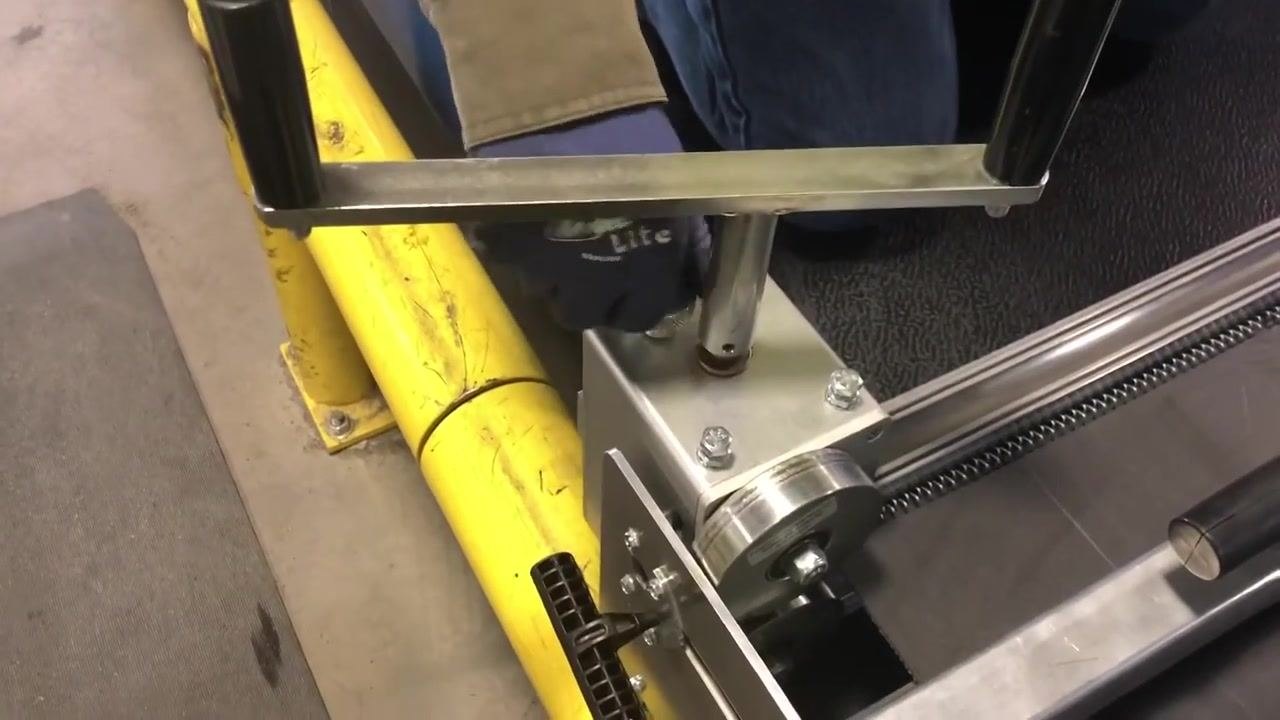
Confirm proper hook engagement
Confirm that all hooks are securely fastened and none are protruding or loose. If any issues are found, adjust the lacing as needed before proceeding.
Put on gloves for final handling
Put on protective gloves before handling the equipment and the laced belt for the final steps.
Press the hooks through the belt
Place your hands over the lacing area and gently run them along the length of the belt where the hooks are being inserted. This action helps the hooks pop through the belt material. Apply even pressure to activate all hooks.
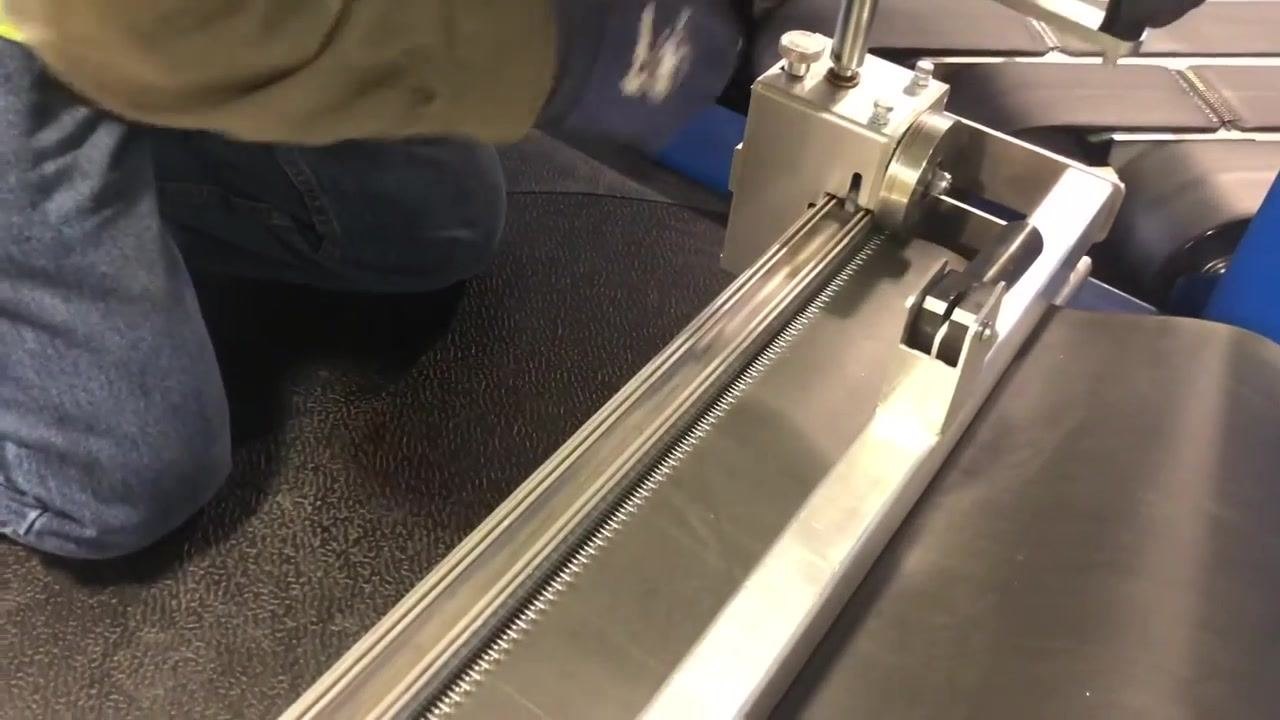
Continue until all hooks pop through
Continue running your hands over the belt until all hooks have popped through and are visible along the edge.
Inspect hook uniformity
Check that all hooks are protruding evenly and smoothly from the belt. If any hooks are not fully through, repeat the previous step until all hooks are smooth and uniform.
Confirm the full length of lacing
Visually check the entire length of the laced area to confirm the hooks are smooth and properly set, aligned without sticking out at odd angles.
Prepare to remove the rod
Once the hooks are smooth and properly set, prepare to remove the rod from the lacing machine. Confirm readiness with your team before proceeding.
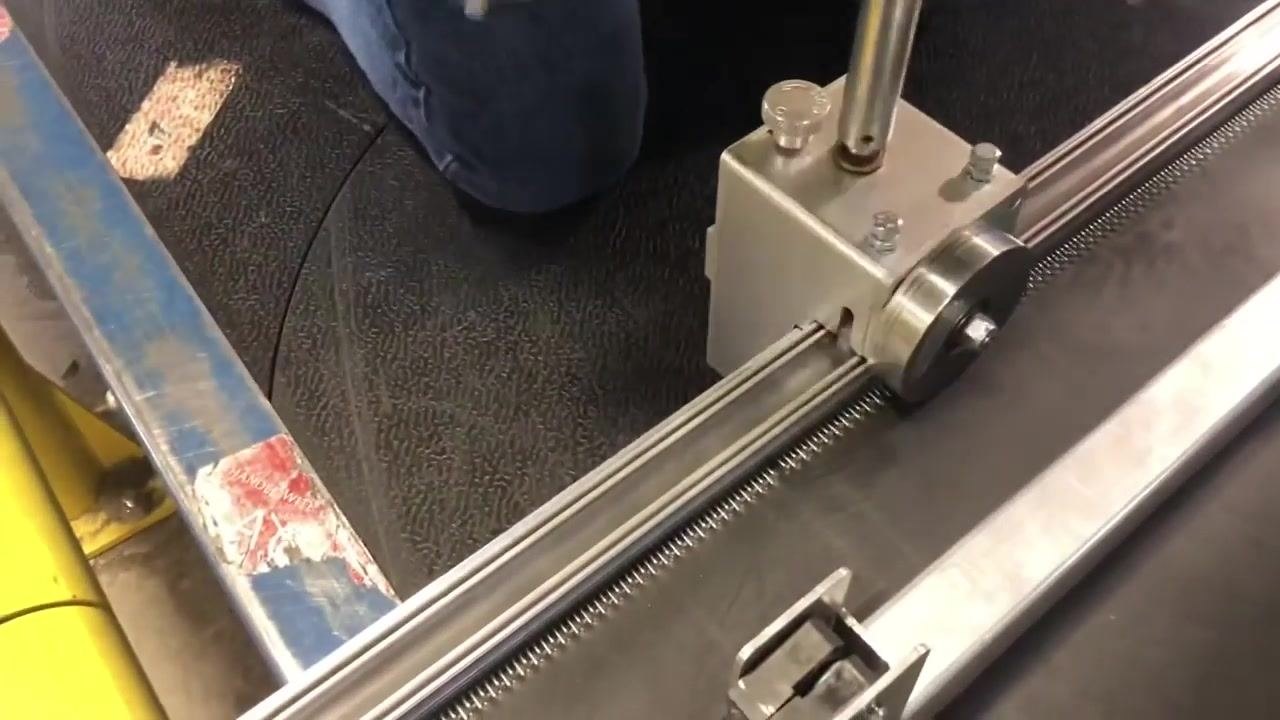
Remove the rod and release the belt
Carefully pull out the rod from the lacing machine to release the laced belt.
Remove the finished laced belt
Remove the finished laced belt from the machine. The belt should now have a row of evenly spaced hooks securely attached.
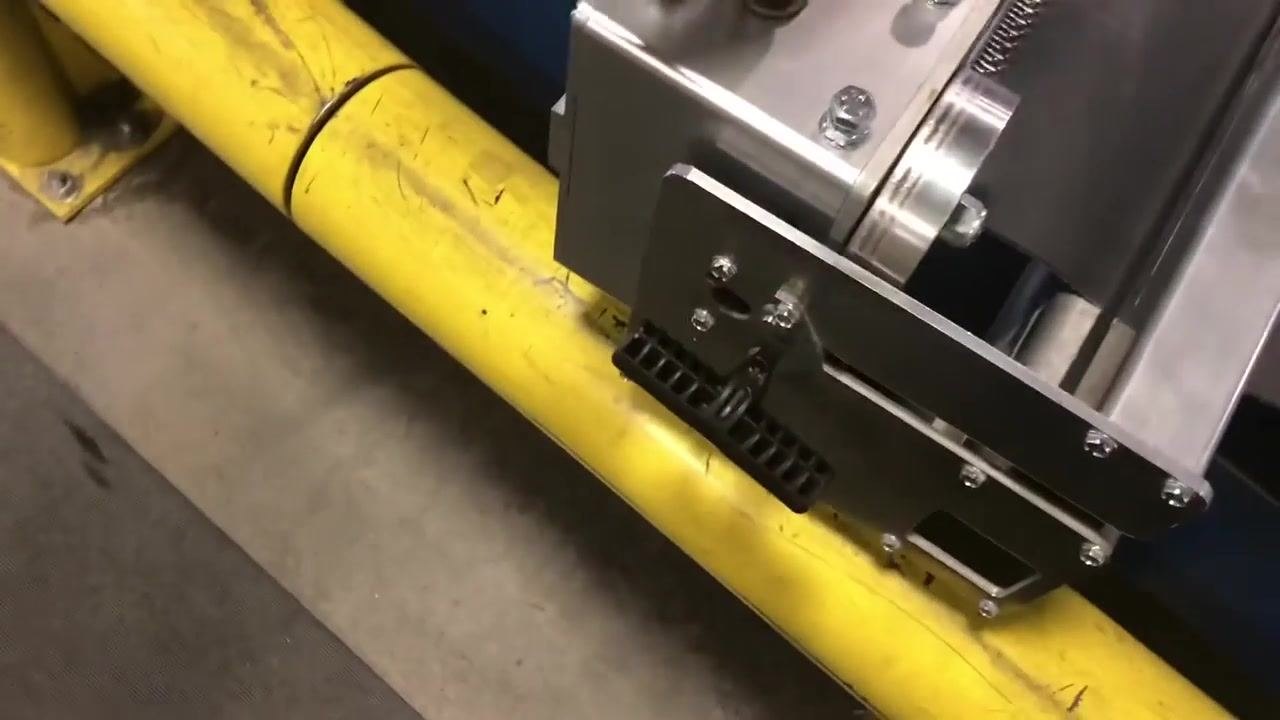
Verification and quality check
Inspect the finished belt to confirm all hooks are secure, evenly spaced, and free of gaps or misalignment. Ensure the lacing is complete and the belt is ready for installation before removing it from the work area.
What's next
Once you have verified the splice, the belt is ready to be installed onto the conveyor system. Always follow all safety procedures throughout the cutting and lacing process and perform a final quality inspection before putting the belt into service.
Generation details: cost, quality tiers
Docsie billed 3,500 credits ($2.45) to analyze this 7-minute video at standard quality. The rewrite, template fill and Word/PDF exports were included. The same video at each quality tier:
| Quality | Frames sampled | Credits | Approx. cost |
|---|---|---|---|
| Draft | every 16-30 s | 1,750 | $1.22 |
| Standard (this guide) | every 8-15 s | 3,500 | $2.45 |
| Detailed | every 4-7 s | 7,000 | $4.90 |
| Ultra | every 1-3 s | 14,000 | $9.80 |
Credits priced at $0.70 per 1,000; plans include a monthly allowance. Enterprise customers on on-premise or bring-your-own-model deployments run this on their own inference and pay no per-video credits.
Generated by Docsie Video-to-Docs on 2026-09-14 from a 6-minute video. Screenshots are frames from the source video and belong to their creator, 36\18 Alaskan\Florida Life , whose original is embedded above. If you own this video and want the guide removed or credited differently, contact us and we will act within one business day.